
Collecting credit card payments is hard for startups and small businesses on the web. You need to apply for a merchant account, make sure your servers are PCI compliant, implement credit card sanity checks and write server side code to integrate with a service such as Authorize.net. These things can take weeks and cause a lot of headache.
Your other option is to use a payment gateway such as PayPal or Google Checkout. The problem with those options is that they don’t look very professional, and you do not have much control over the process.
Stripe is one of the most disruptive companies of 2012. They turned this very painful task of collecting credit card payments into a matter of copy & paste.
How did they accomplish this? How can you collect payments on your pages without worrying about merchant accounts and PCI compliance for your servers? The answer is something called stripe.js. It’s basically a small javascript library that connects your web page to Stripe’s web servers. The data is never sent to your own servers. This makes it so powerful. You don’t have to worry about the server side.
Today, we are very excited to announce integration with Stripe. You can now create professional looking credit card payment forms in minutes.
Using Jotform’s Stripe integration you can create one time Stripe payment forms, donation forms and even recurring billing forms.
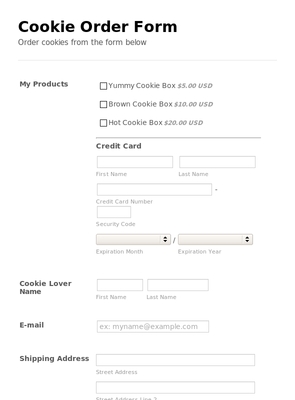
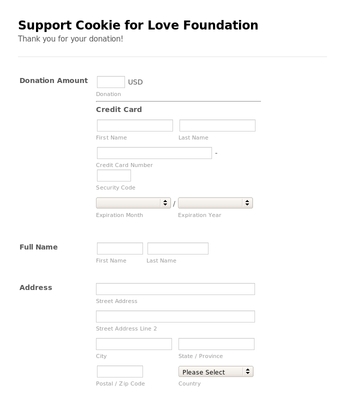
So, what does a form integrated with Stripe look like. Here are some example forms:

Stripe’s rates are great: They charge 2.9% of your transaction fee plus 30 cents per transaction. No setup fees, no monthly fees, no card storage fees, no hidden costs: you only get charged when you earn money.
One downside is that Stripe is currently only available in United States and Canada. But, they are working on providing their service on other countries as well. If Stripe is not available on your country yet, you can make a request for your country.
How to Integrate Your Form with Stripe
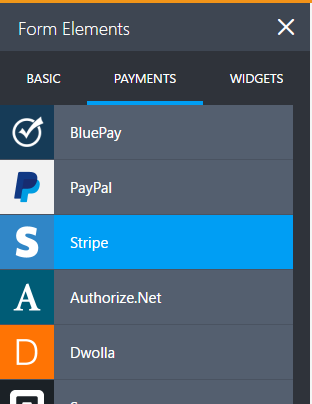
1. First, open your form on the Form Builder. Then, open Payment Tools toolbox on the left side and drag and drop Stripe to your form.
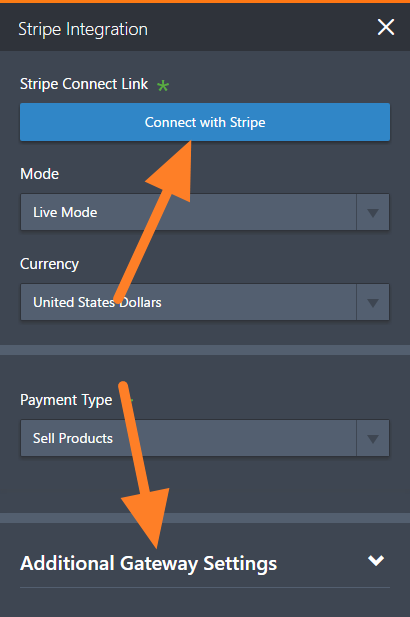
2. On the Integration wizard, click on Connect with Stripe. You can click on Additional Gateway Settings to customize the integration even better.
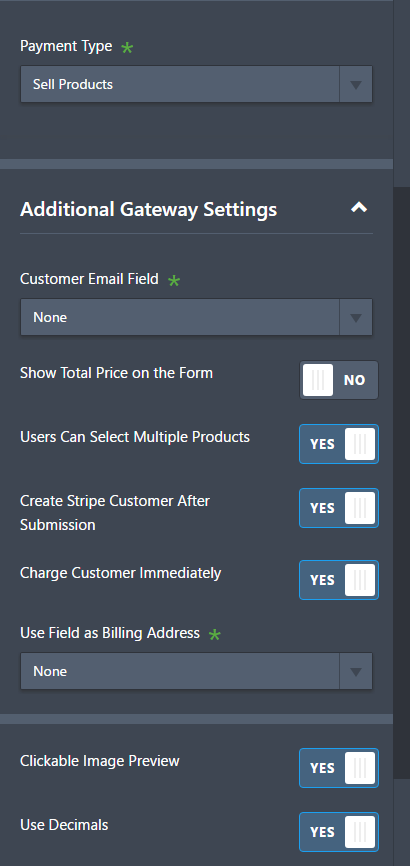
3. Once you are connected, you can choose what you want to sell. Is this a service or a product? Is this going to be for single payment product(s) or recurring payments for a subscription? Or, are you going to collect donations? Do you want to Create a Customer after Submission or Charge Customer Immediately? You might want to choose the type of decimal separator. Do you want to let your user choose multiple products?
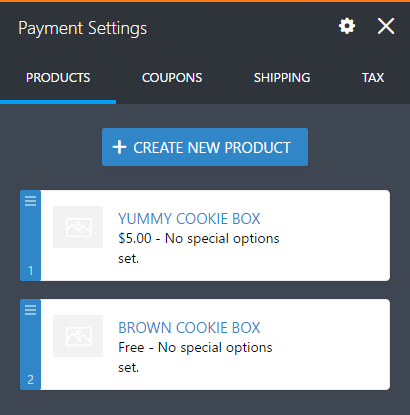
4. Next, enter your products. You have the option to create Coupons, establish a Shipping Fee or Tax.
5. All set. You can now test your form and start selling your products.
That’s it. Give this integration a try and let us know how it turns out in the comments below.


Send Comment:
14 Comments:
More than a year ago
This is great, I have set up the subscription form on my website. I've made a test payment and it works, but is there any way to confirm that the subscription is working and that I will be charged again in a month?
More than a year ago
Currently, I have Stripe setup where I can invoke "Alipay" for clients in China. Can this be easily implemented in Jotform?
More than a year ago
Sounds wonderful. Wish we could use this. Could you remember your many happy international users and point out that this service is only available in the US and Canada?
More than a year ago
Hi can you combine, recurring and one time payment using a jotform stripe integration, or would I have to create 2 forms, one for recurring and one for a one time payment?
More than a year ago
Very nice! I have put it on a few forms to try it out.
More than a year ago
wwo0o0ow
thats perfect!!is it work in another countries by someElse banking services??
can you exchange money for another money units?
More than a year ago
Very interesting!!!
More than a year ago
I can't seem to change the currency to Canadian....will this be remedied soon?
More than a year ago
How do you incorporate the coupons into the form?
More than a year ago
FINALLY! I REQUESTED THIS SO LONG AGO!!! YAY!!!!
More than a year ago
I'm definitely going to look into Stripe... but not immediately clear how this is better than Paypal Pro. Your already-very-good Paypal form lets me handle all the card details on a single form embedded into my site.
Trust me, I'm no fan of Paypal, they've jerked me around as much as any other vendor/consultant who tries to use their services. I'm just saying the benefits of Stripe v. Paypal are not immediately clear here.
More than a year ago
ssl might not be required but no ssl dosnt look secure.. if i think as a customer ill think twice before entering my card details...
More than a year ago
This is great! Does our site need SSL to function with Stripe? Or will using a HTTPS form suffice?
More than a year ago
wow!!! I want to try now!!!! Thank you!!