Nondisclosure agreements (NDAs) are standard operating protocol for many companies. They protect an organization’s confidential information when it’s shared with another party, whether an individual or another company.
Generally, NDAs are required whenever an outside party is privy to an organization’s confidential information during the course of providing their services. For example, if a company hires a freelancer to help produce video content, they will often have the freelancer sign an NDA prior to starting, because that person will need access to the company’s proprietary systems and information to do their work.
It’s also common practice for new employees to sign an NDA with an organization before their first day, to protect any organizational trade secrets and confidential information they learn as part of their work.
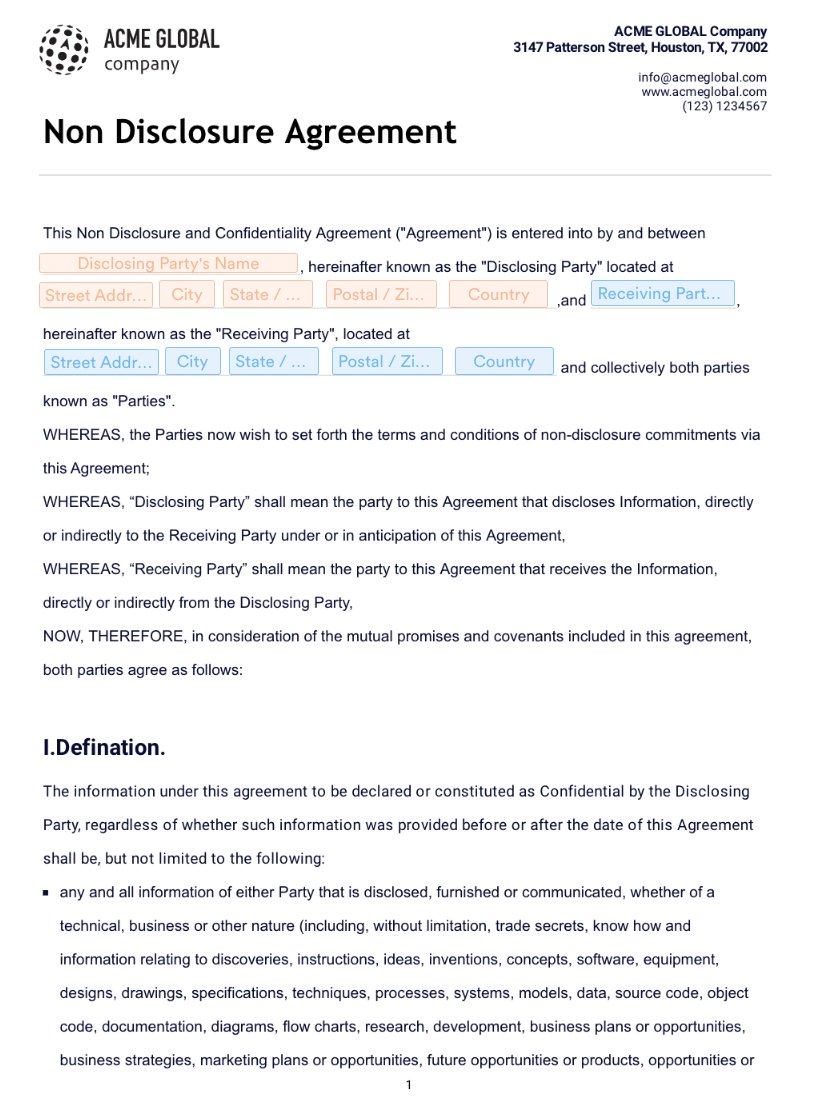
Though NDAs are important in protecting sensitive information, they can be a pain. Because they are legal documents, they’re often lengthy and complex, filled with legal jargon and various fields where dates, names, and signatures are required.
Because of the COVID-19 pandemic, signing paper NDAs has become far less practical, both from a safety and convenience perspective, considering how much more work is being done remotely. Therefore, it’s vital to have a system in place that allows you to easily share and complete NDAs electronically.
This sounds easy enough, but it often gets complicated. What if the NDA your organization has on file isn’t fillable electronically? What if you need to send it to someone, but they don’t have software that enables them to interact with PDFs?
Thankfully, Jotform Smart PDF Forms allows you to convert any PDF — even one as complicated as an NDA — into an easy-to-fill online form. The best part? The tool also populates the original PDF with information entered into the form. If it sounds too good to be true, rest assured, it isn’t.
Read on for detailed instructions about how to transform a fillable PDF NDA into an online form — and then back again.
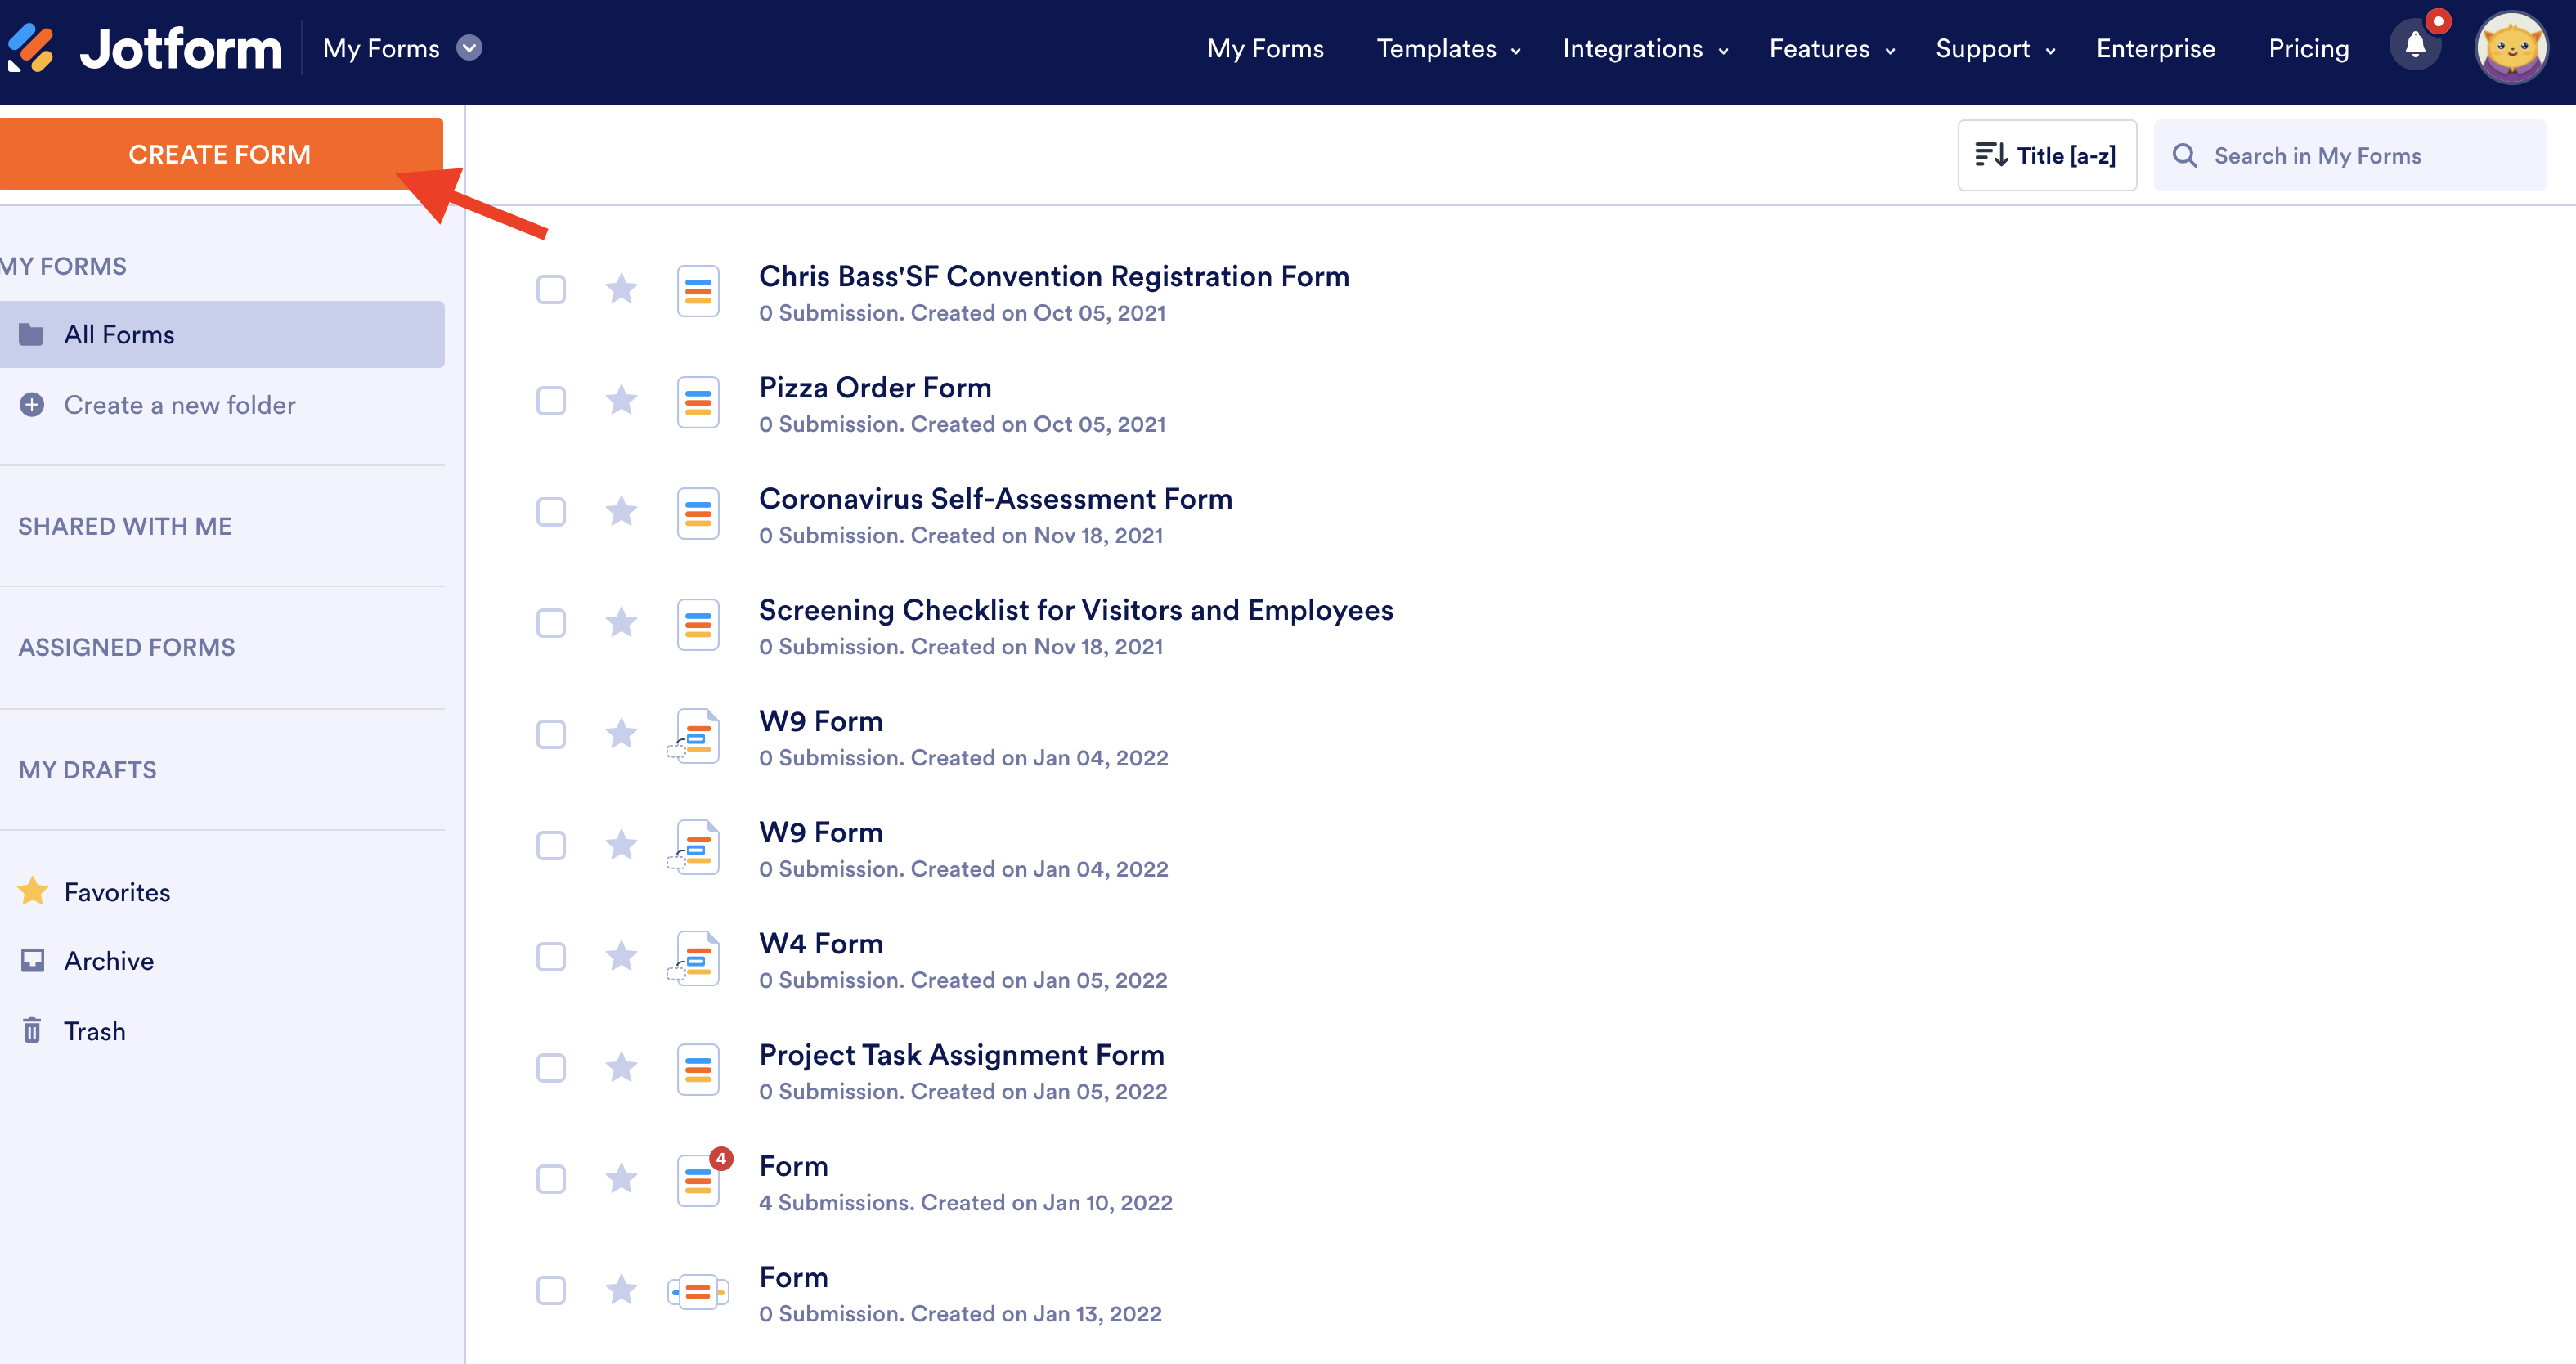
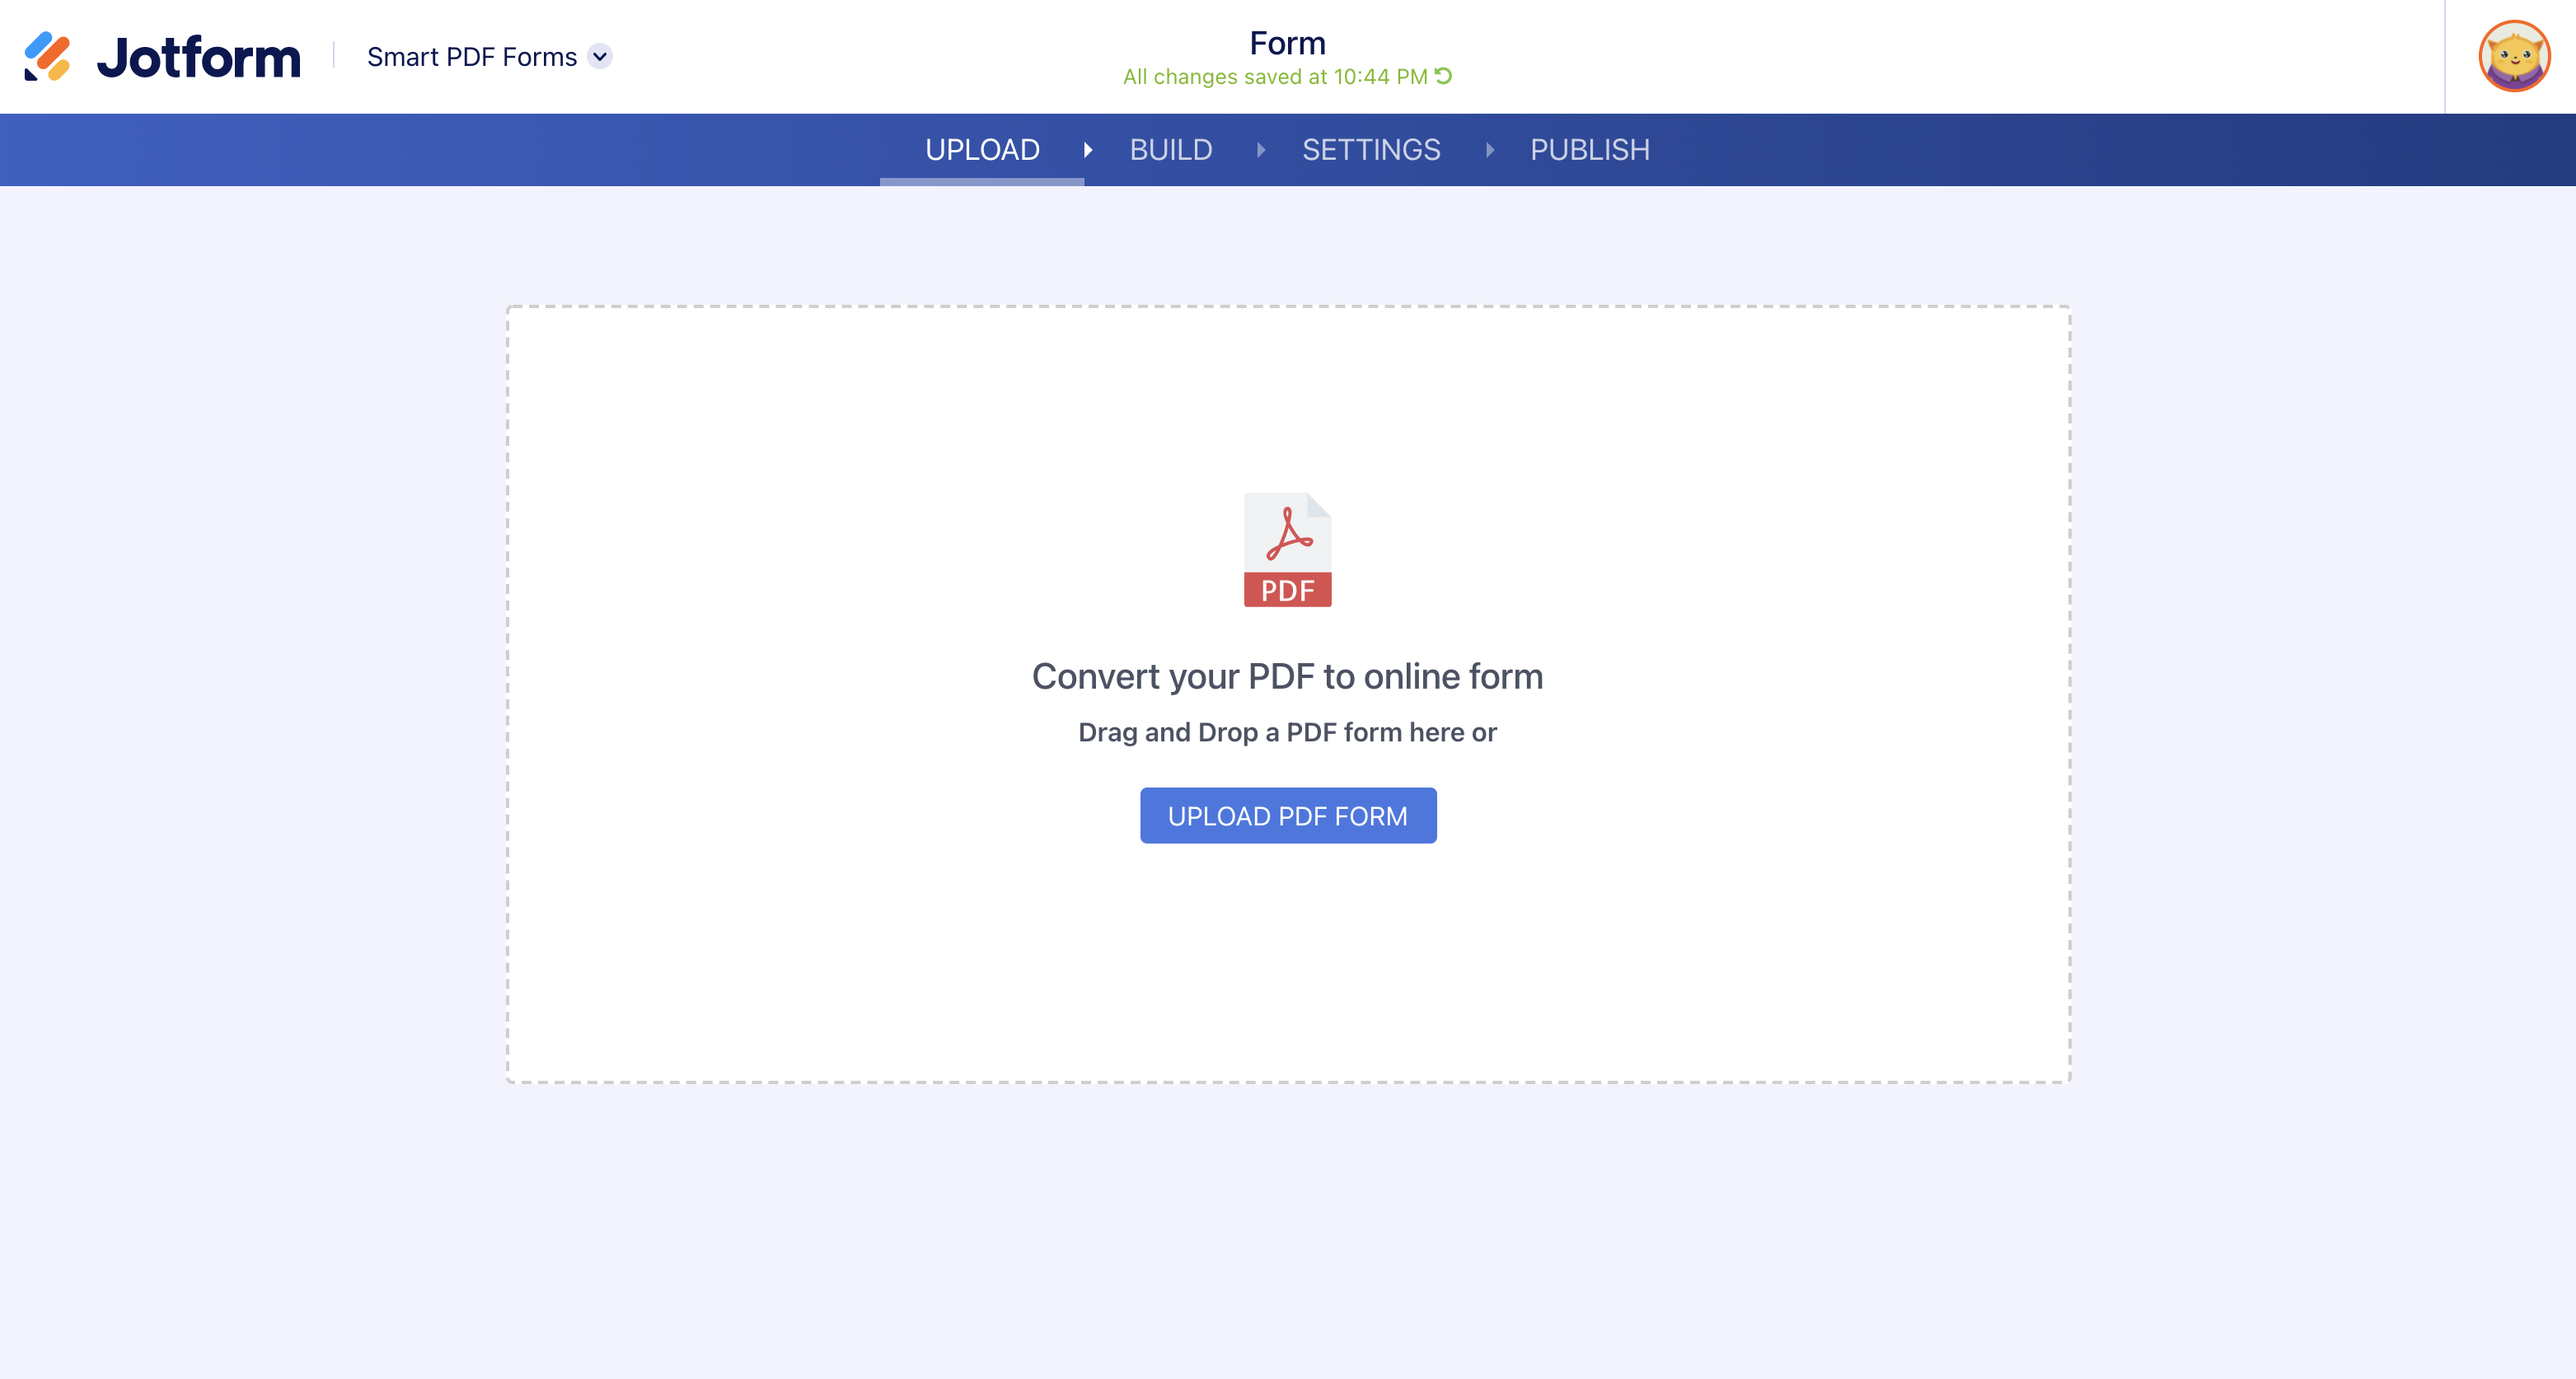
1. Start by clicking on the Create Form button in the top left corner of the My Forms page in JotForm.
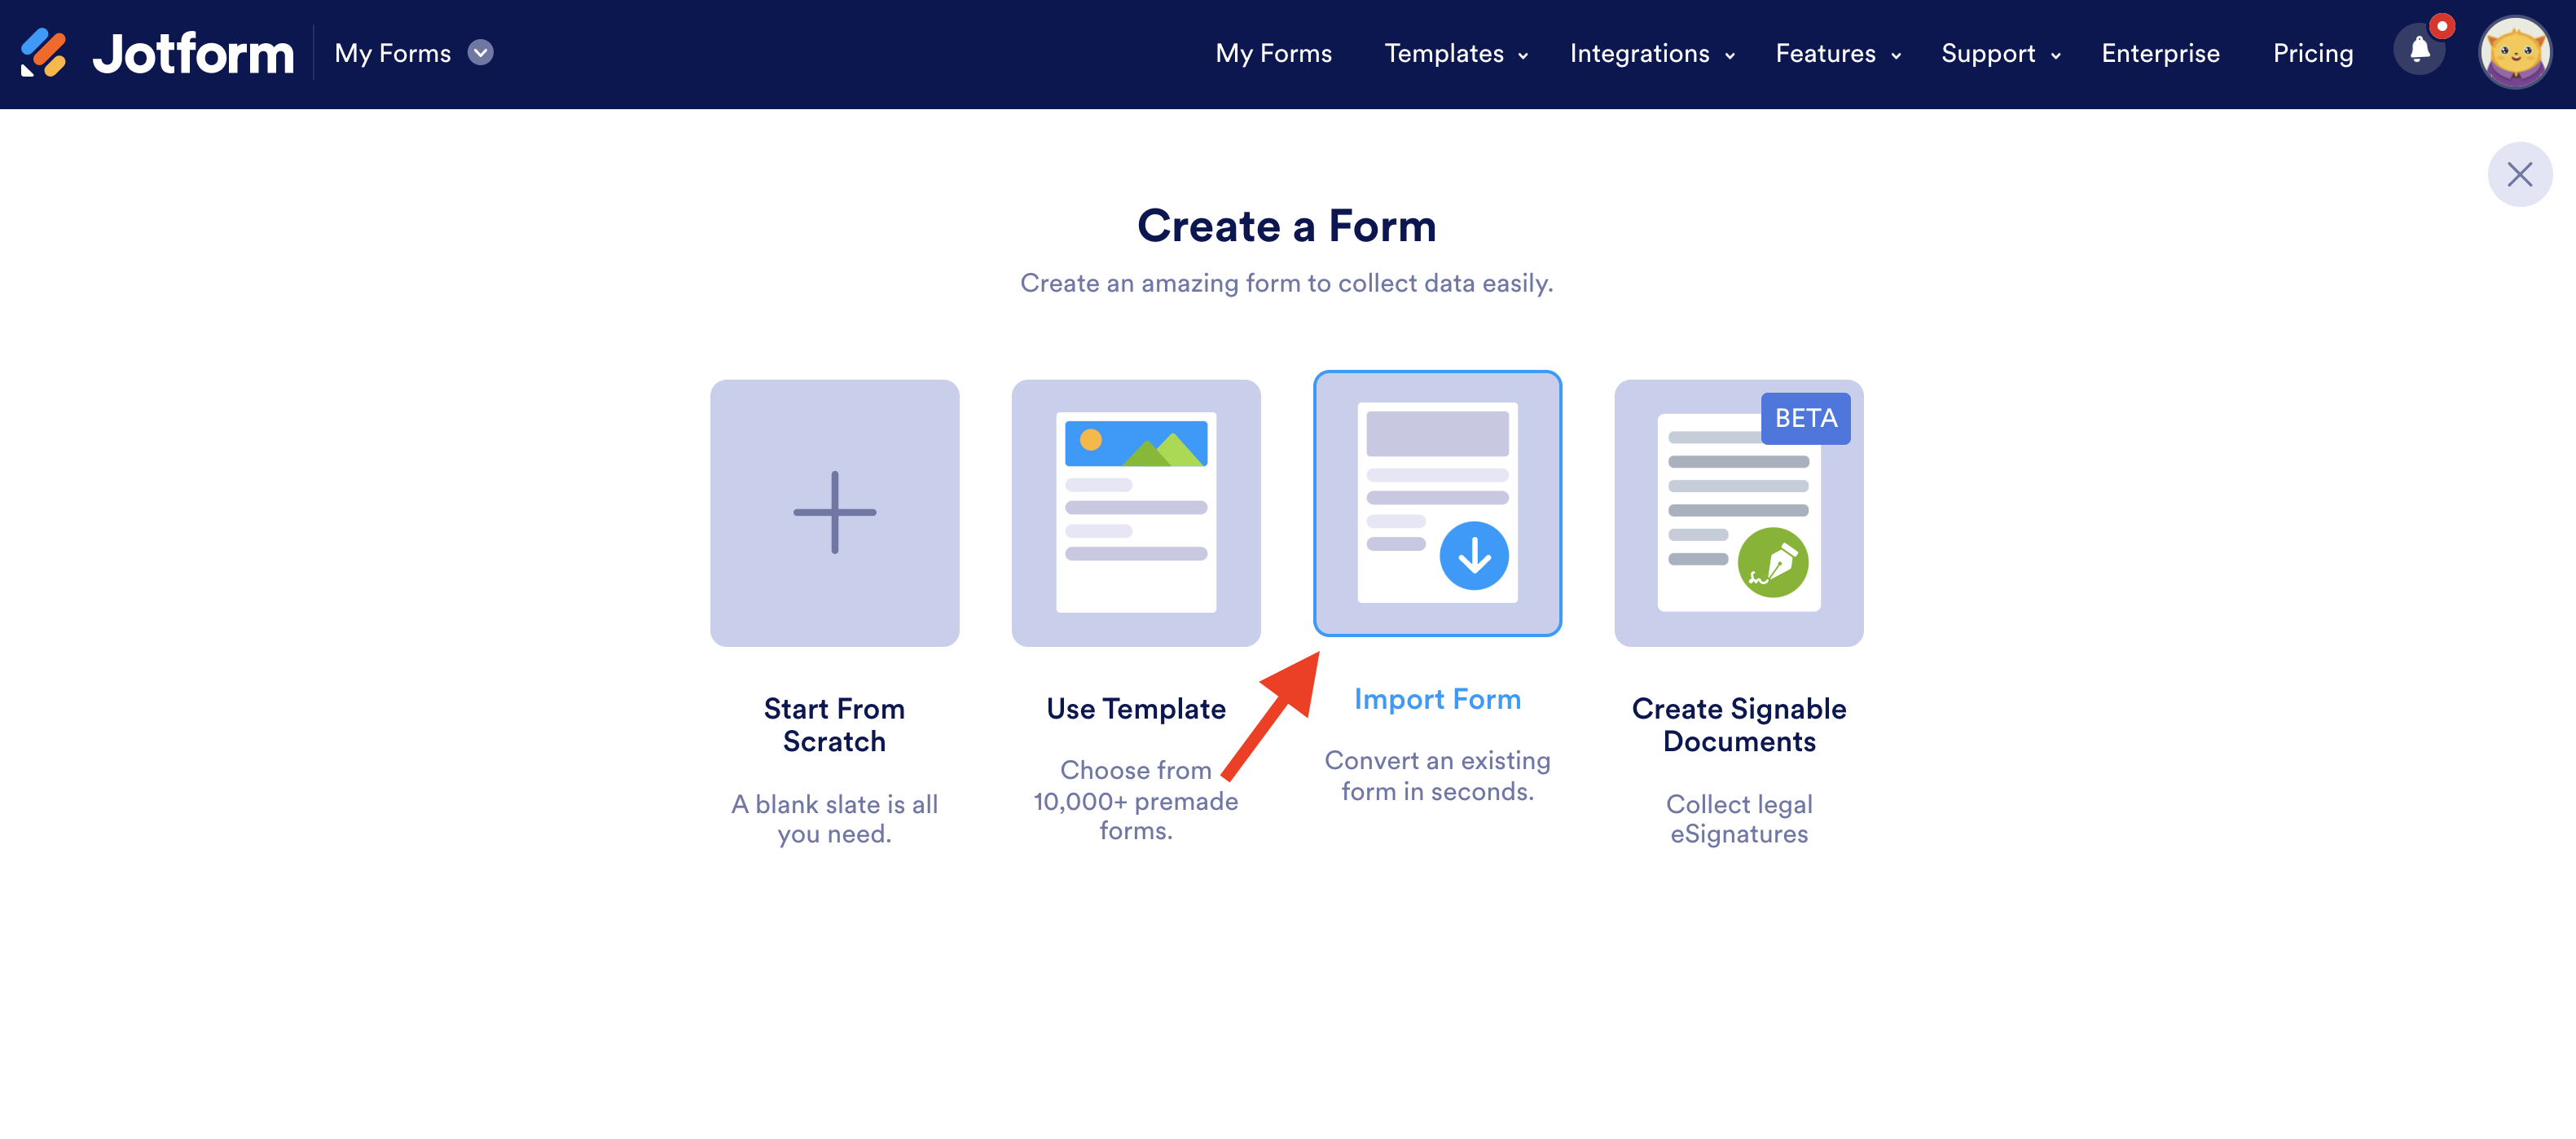
2. Select the Import Form option.
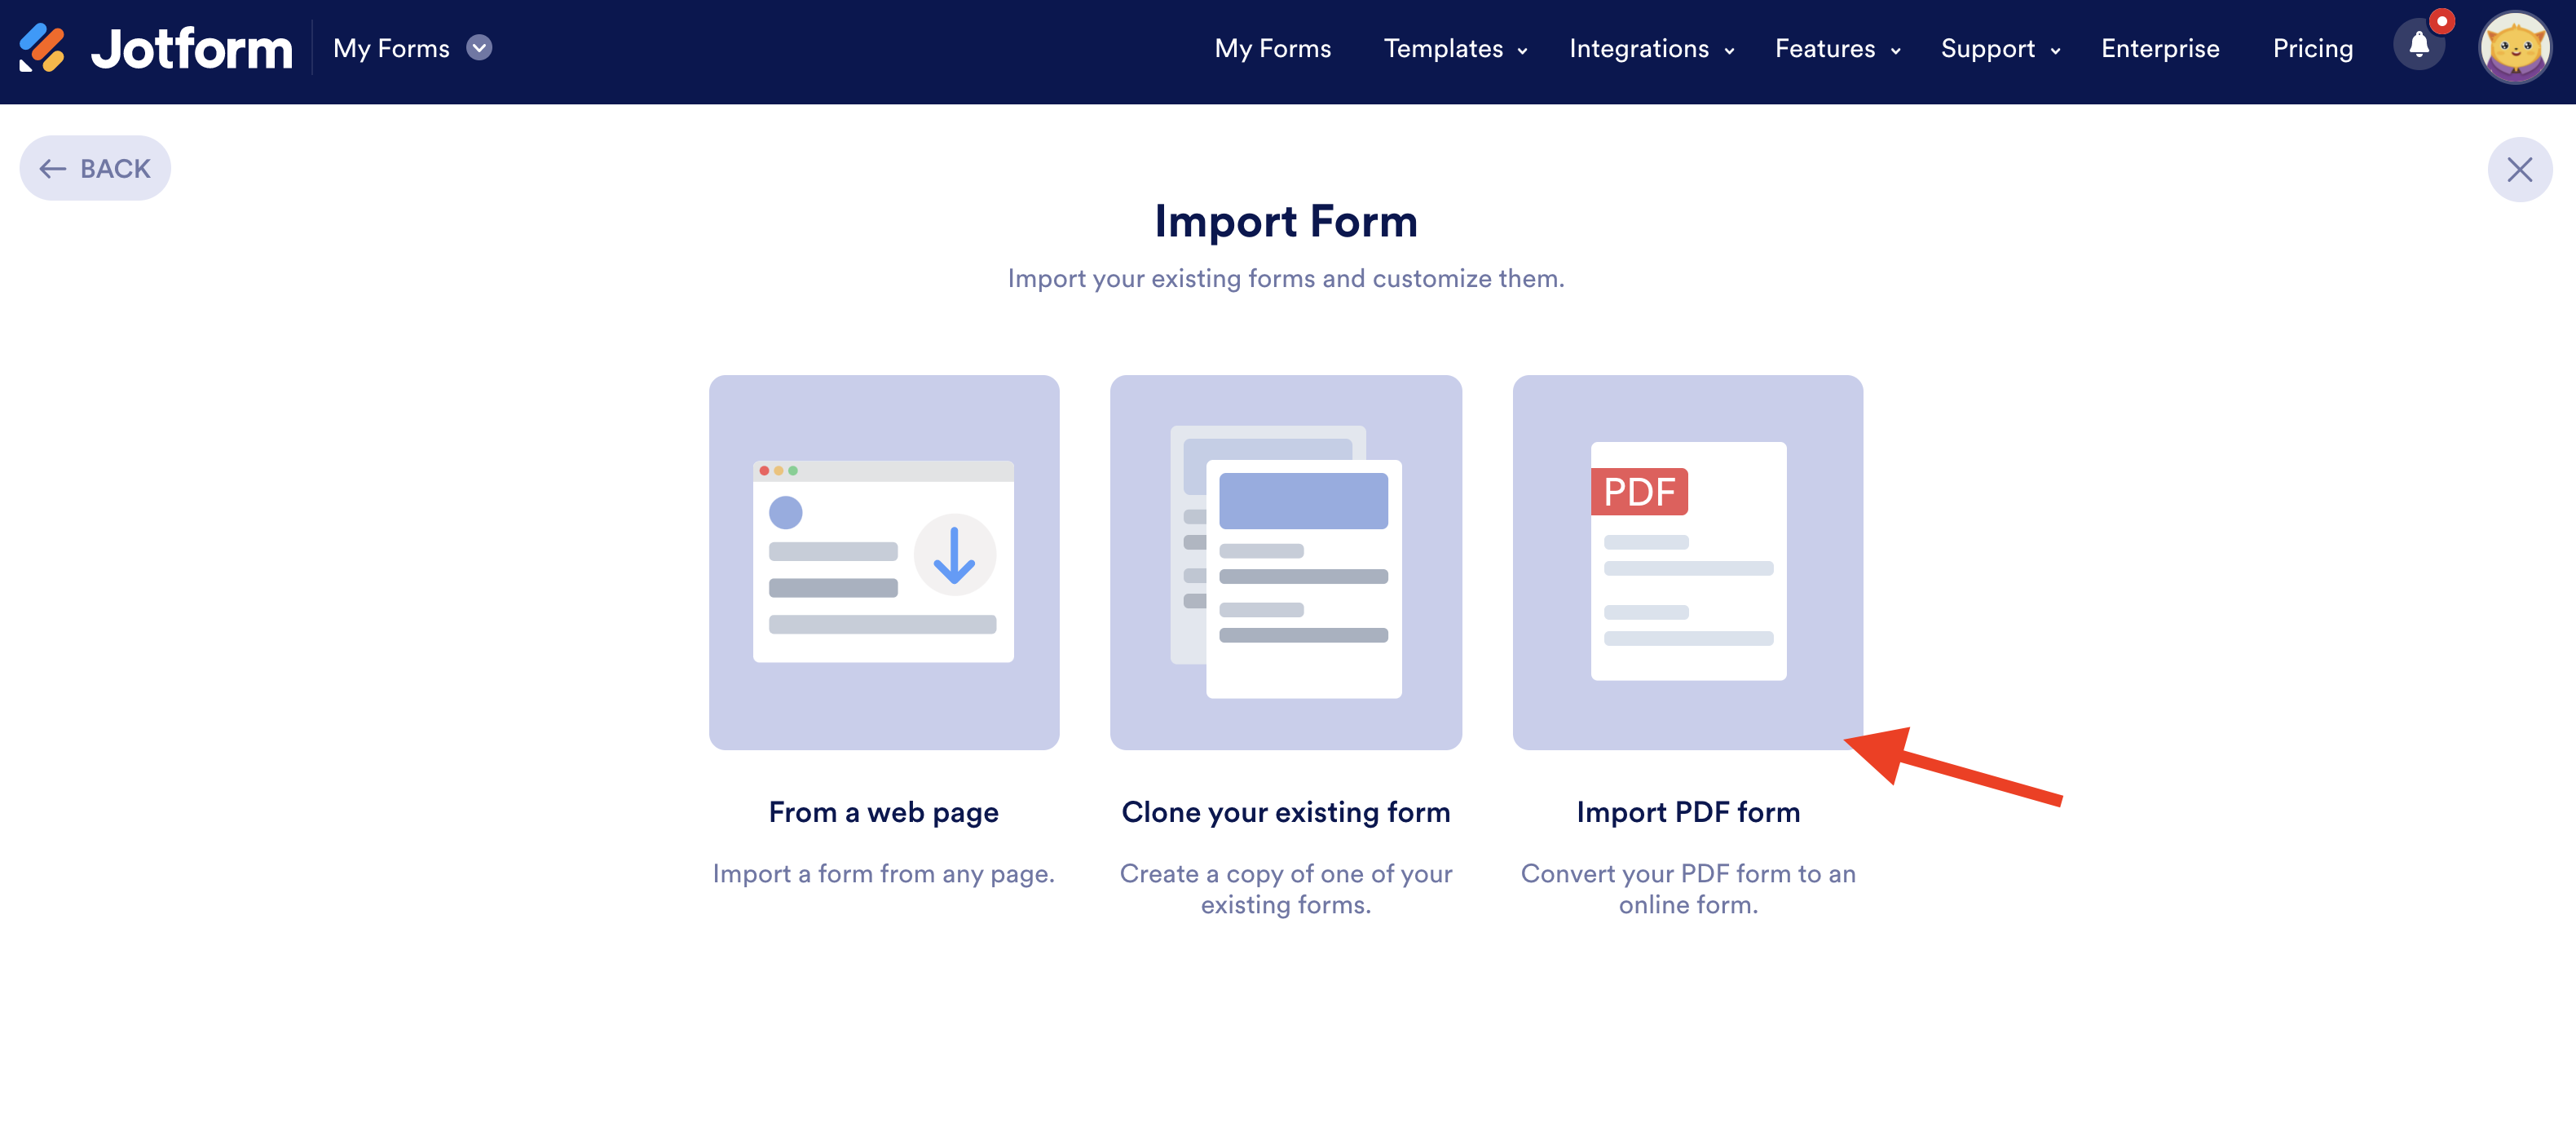
3. Choose Import PDF Form to search for the NDA PDF on your device and upload it to JotForm.
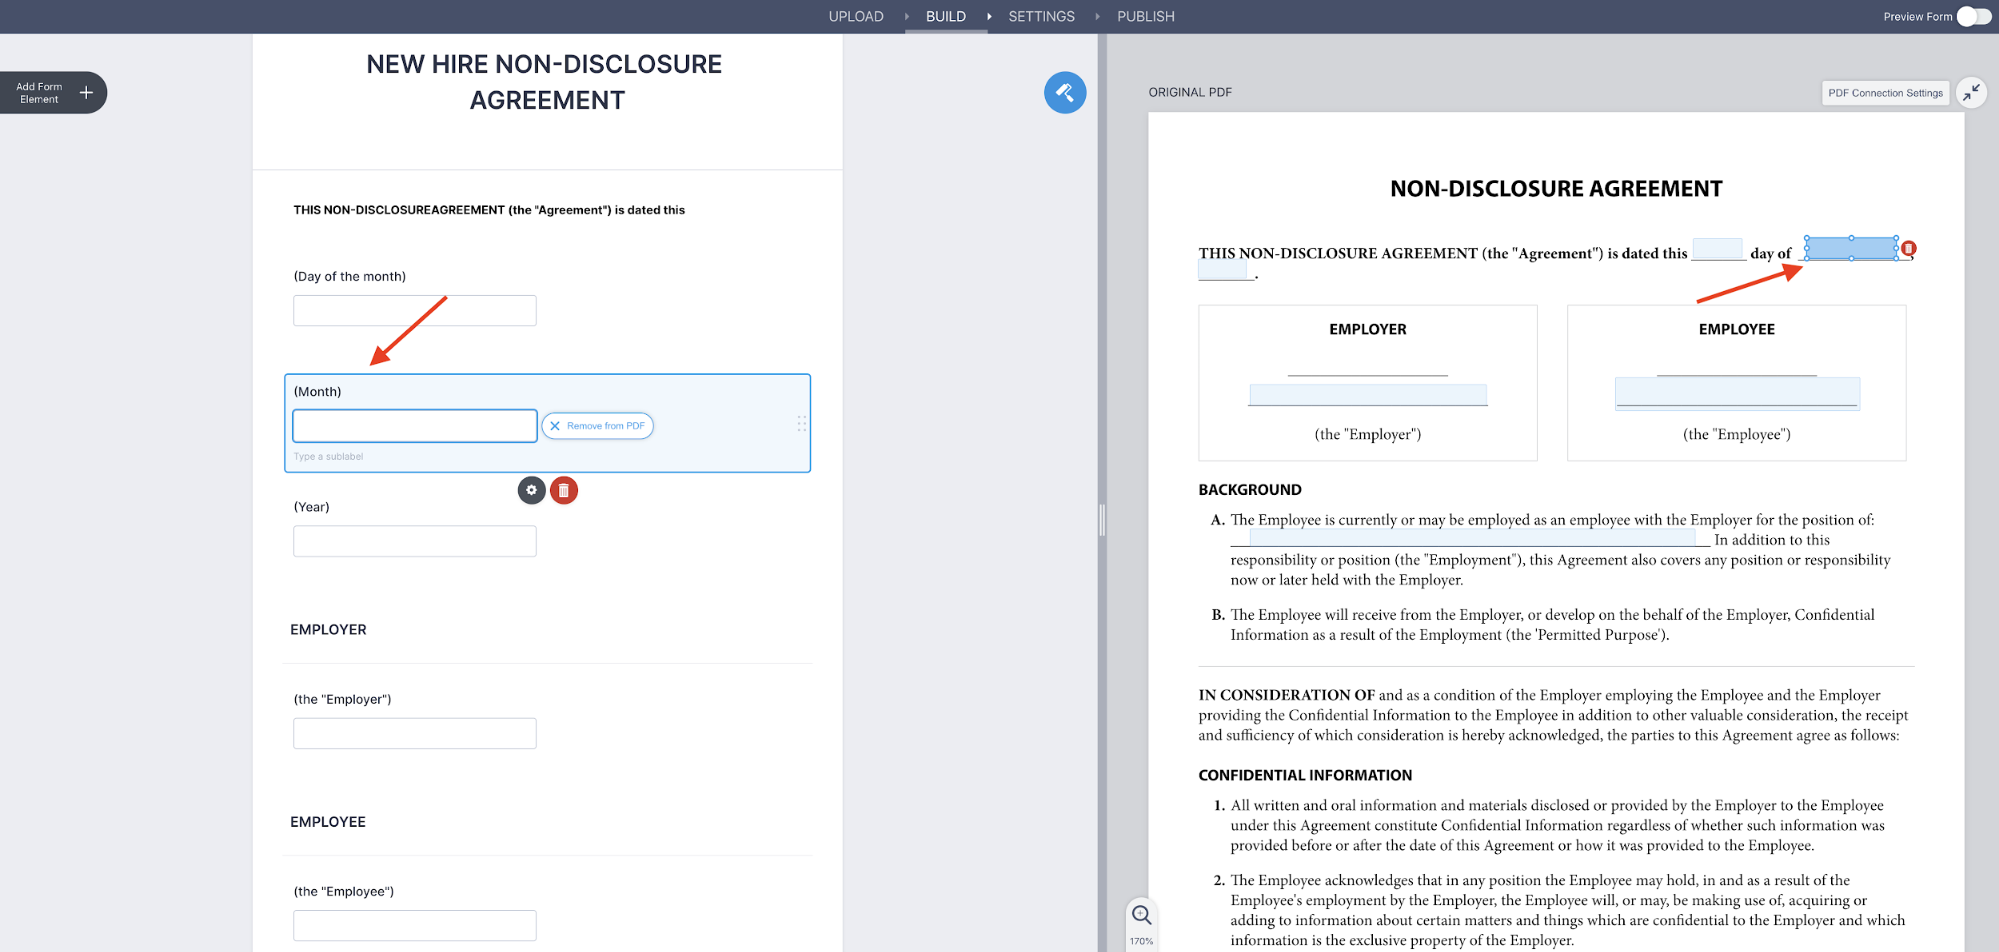
4. The tool will automatically convert the PDF (on the right, below) into an online fillable form (on the left). You can customize the form the same way you would any other in the Form Builder. However, the fields on the form are now tied to the fillable areas on the PDF. You can manually edit or add fields to the form; just be sure they’re assigned to data entry points in the original file.
Let’s take a tricky format as an example. Below, the NDA calls for the date to be filled out in a specific format. This requires three separate fields on the form itself, as shown. I added headers (in the parentheses) to the fields to make it clear what information is being requested — so that day, month, and year are clearly labeled on the form. (Don’t worry; it won’t impact the final PDF when the form is filled out.)
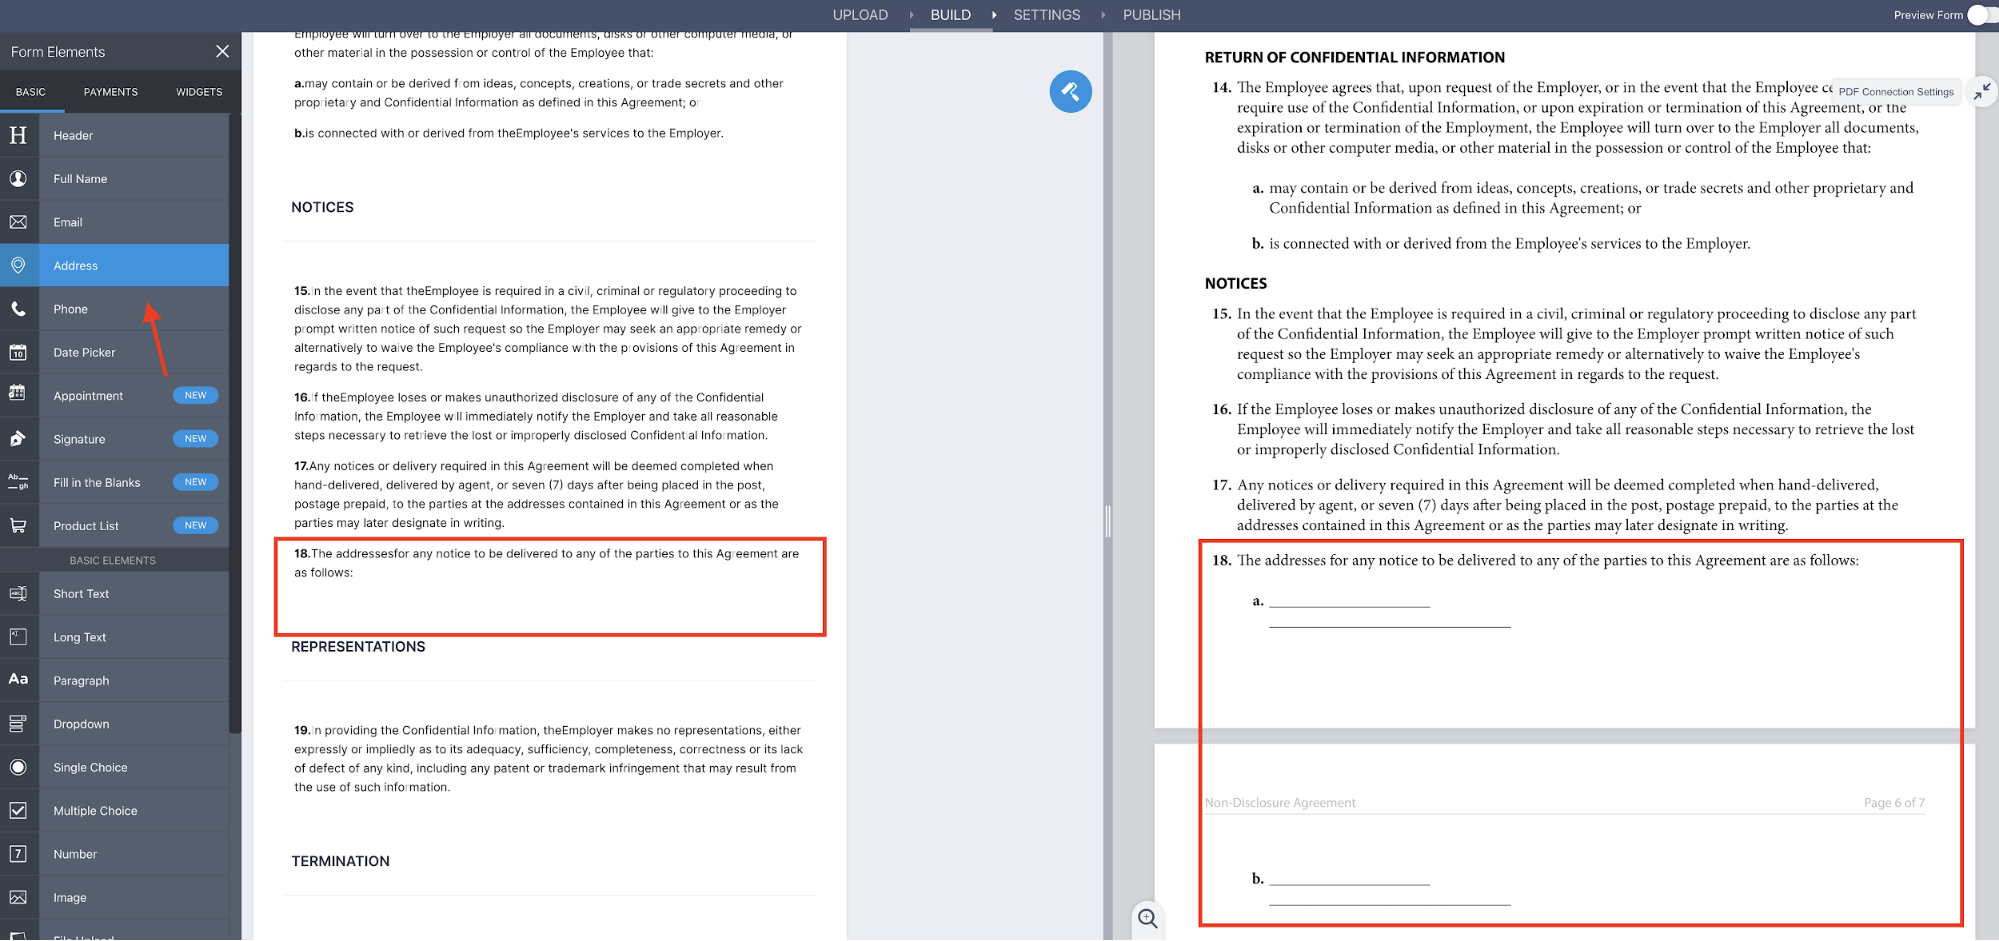
Another example is below. The original PDF (right) asks the respondent to enter an address. It looks like the form conversion didn’t quite pick up the address requirement. No sweat! Simply drag and drop the Address field from the Form Elements menu on the left of your screen, positioning it in the appropriate location on your form.
Now, make sure the data entry boxes on the original PDF file are positioned correctly in the blanks where the address is supposed to populate, as shown.
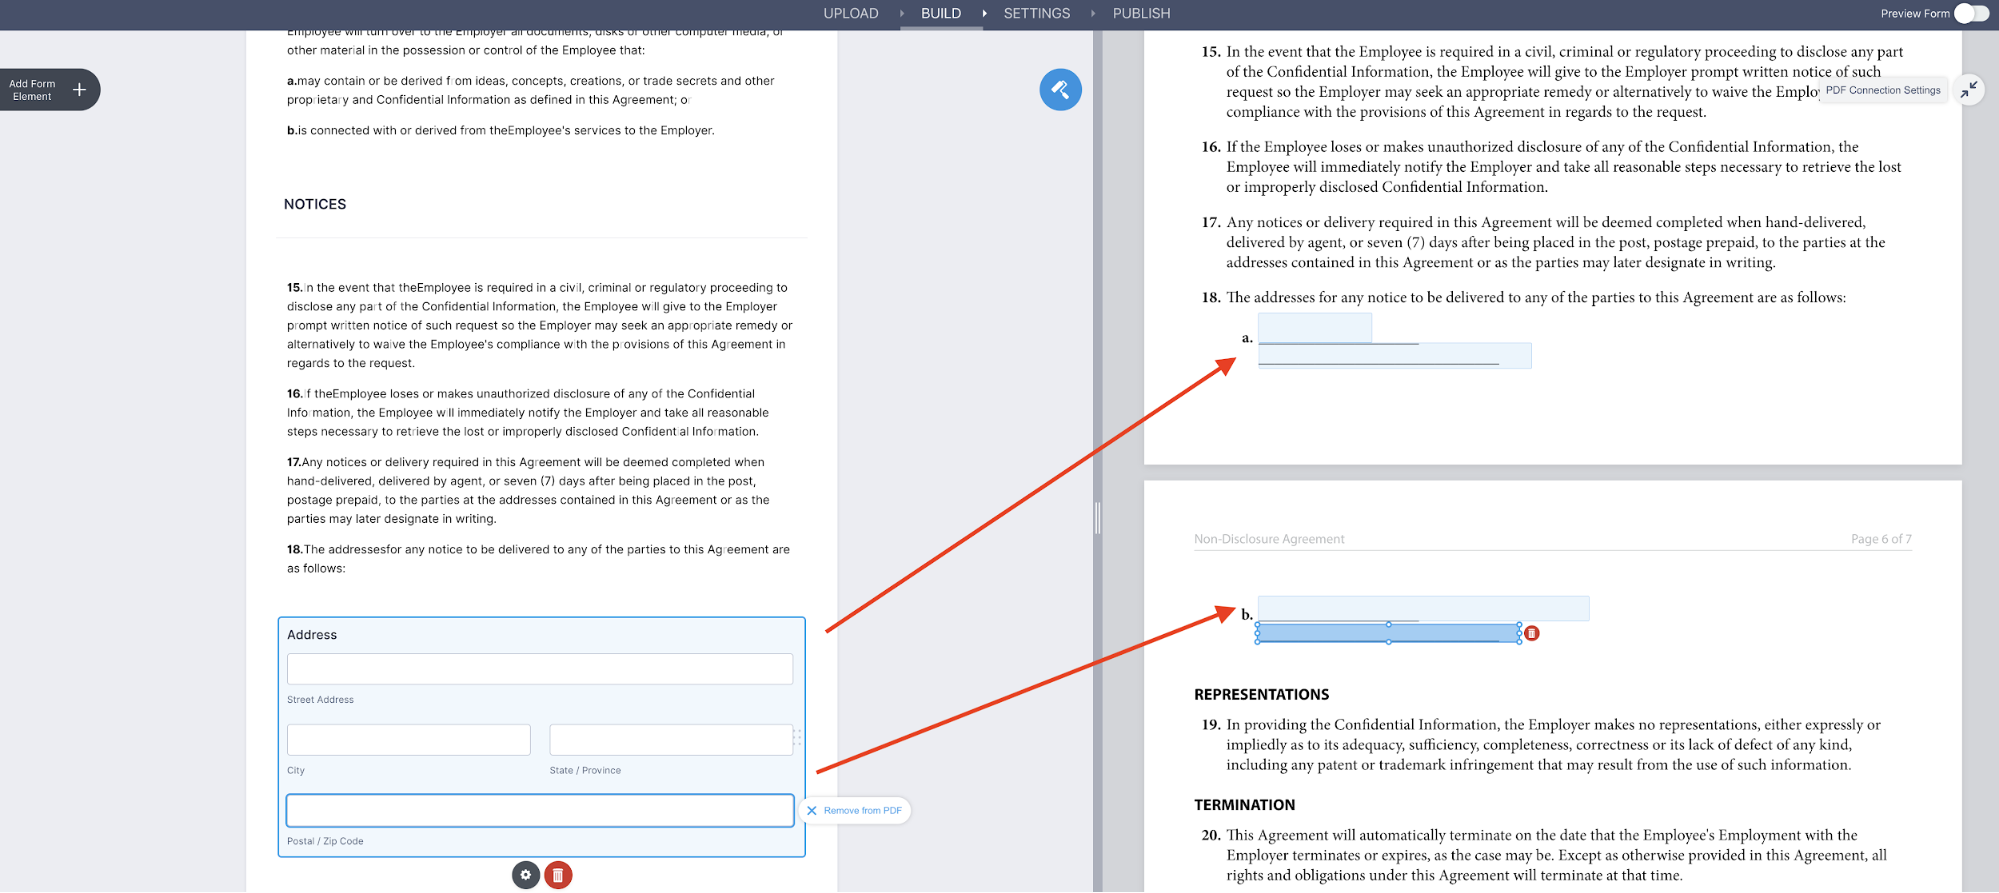
Review your document thoroughly to ensure all fillable fields are accurately represented in the online form and correctly attributed to their corresponding location in the original PDF. Once all looks in order, you’re ready to share your form!
5. Click Publish on the top right of your screen, and you’ll see a link that you can share with anyone who needs to fill out the form. You can also assign the form directly to someone.
When the recipient gets the link, they’ll be taken to the online form version of the NDA. They’ll fill it out like any regular form, and when they submit it, they’ll be directed to a screen that enables them either to send the PDF as an email response or download it directly.
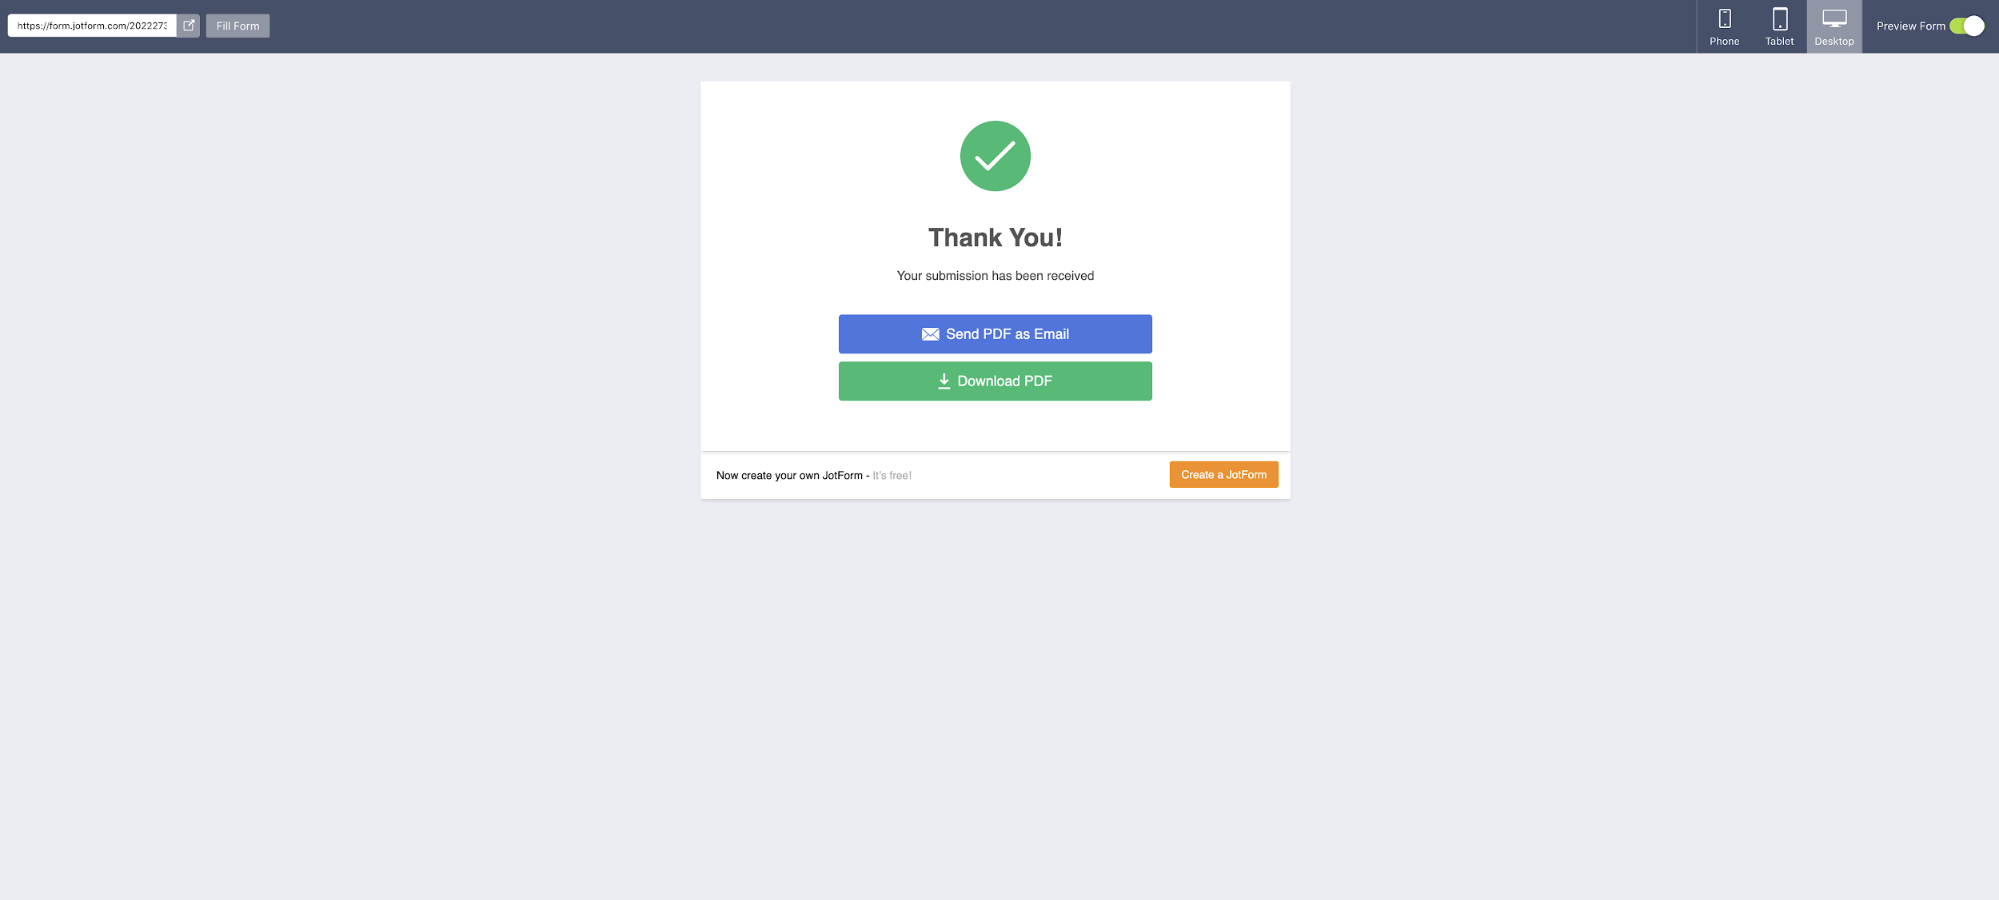
Their submissions to the online form will automatically populate the appropriate fields on the initial PDF, so you’ll get a final, completed document in the exact same format as the original NDA.
Presto! That’s how you can get any NDA, whatever the format, filled out faster and easier than ever before.
Remember, legal documents don’t always have to be a chore. Hopefully this can make your life — and potentially the lives of anyone you’ll be working with down the road — a little simpler.
Does your company require an NDA for outside vendors or new hires? Let us know in the comments!


Send Comment: