
5 best plug-ins to add and manage products in WooCommerce
- Jotform AI Chatbot for WordPress — Best for AI-powered product management
- WooCommerce Manager Pro — Best for bulk editing
- ATUM Inventory Management for WooCommerce — Best for stock control
- WP All Import — Best for large catalog imports and updates
- Smart Manager for WooCommerce — Best for catalog oversight
Your products are the whole purpose of your online store, whether you sell handmade items or digital downloads. But how you add and manage those products in WooCommerce directly affects your store’s success.
WooCommerce gives you a flexible foundation on which to build. It’s scalable, supports both physical and digital products, and includes built-in inventory control. But your catalog will eventually grow, and the challenges will grow with it: managing variations, keeping listings accurate, and optimizing for performance and SEO.
When learning how to sell online effectively, you’ll find that a well-managed catalog is a key step. It provides
- A better user experience: Customers find what they need quickly.
- Improved SEO: Clean, consistent product data helps your store rank higher.
- Smoother operations: Easier updates and fewer errors across your inventory.
WooCommerce simplifies organization with categories, tags, bulk editing, and more. In this guide, you’ll learn how to add and manage products in WooCommerce and how plug-ins like Jotform AI Chatbot for WordPress can bring AI-powered efficiency to your workflow.
A step-by-step guide: How to add and manage products in WooCommerce
Even though WooCommerce makes it easy to add products, knowing which settings matter most can save time and prevent mistakes later. By following these steps, you can publish your first product and learn to manage your online store.
Step 1: Add a new product
From your WordPress dashboard, hover over Products and select Add new product. This opens the main product editor, where you’ll later manage existing listings.
At the top, enter your product name and a detailed product description. This long description appears on the main product page and should include details like features, materials, and use cases.
Below the main editor, you’ll find a short description field near the Add to cart button. This field is ideal for a quick summary or sales-focused statement. In one or two sentences, highlight why the product stands out.
Step 2: Choose your product type
Scroll down to the Product data panel. Here you’ll choose your product type, which determines how customers interact with your listing.
WooCommerce supports several options:
- Simple product: The default option for a single item with no variations — for example, one mug or an e-book.
- Variable product: Ideal when a single product comes in multiple versions, such as sizes, colors, or materials. You can create individual variations with their own prices, SKUs, and stock levels.
- Grouped product: Combines multiple simple products into a single listing (for example, a set of notebooks sold individually or as a bundle).
- External/affiliate product: Used when you’re promoting or selling items from another website. The Buy button redirects shoppers to the external link.
If you’re getting started, add a simple product first to learn the process. You can experiment with more complex product types as your store grows.
Step 3: Set pricing and inventory
Once you’ve chosen your product type, the next step is to define how it’s sold and tracked.
In the General tab of the Product data panel, enter your Regular price and, if applicable, a Sale price. You can even schedule sales by setting start and end dates. This will automatically adjust pricing when your promotion begins or ends.
If your products are subject to tax, check the Tax status box and select the appropriate class (standard, reduced rate, or none). WooCommerce automatically calculates taxes at checkout if your store settings include tax rates.
Next, switch to the Inventory tab. Here’s where you’ll keep things organized behind the scenes:
- SKU (Stock Keeping Unit): Create a unique identifier for each product or variation so you can track and reference items in reports.
- Stock management: Toggle Manage stock? to automatically track quantity. You can set stock levels, enable backorders, or mark items as out of stock.
- Stock status: Choose whether a product is in stock, out of stock, or on backorder.
- Sold individually: Limit the product to one per order if it’s a rare or exclusive item.
Proper inventory management keeps your catalog accurate, prevents overselling, and saves time during fulfillment, especially when combined with bulk editing and reporting tools.
Step 4: Add product images and categories
Strong visuals and clear organization significantly enhance a customer’s shopping experience. WooCommerce gives you flexible options for both.
To add your main product image, scroll to the Product image panel on the right side of the editor. Click Set product image, then either upload a new photo or select one from your Media Library. This image will appear in your catalog, search results, and on the product page itself.
Below that, you’ll find the Product gallery section. Click Add product gallery images to include extra photos showing different angles, colors, or product variations. Drag and drop to reorder them — the first image in the gallery usually appears right under the main image.
Once your visuals are in place, organize your product so it’s easy to find:
- Categories: Assign your product to one or more categories, like Clothing, Accessories, or Digital Downloads. Categories appear in menus and filters, helping shoppers browse efficiently.
- Tags: Add descriptive keywords that highlight features or styles (e.g., “handmade,” “eco-friendly,” or “limited edition”). Tags also improve site search and SEO.
- Attributes: Use attributes to define characteristics such as size, color, and material. They’re handy for variable products.
If you’re using an SEO plug-in like Yoast or Rank Math, take a moment to add a custom URL slug and meta description to boost your product’s search results.
Step 5: Preview and publish
Review your information (name, descriptions, pricing, and images) to ensure everything looks right. When you’re ready, click Preview to see how the product will appear to customers. If you’re satisfied, click Publish to make it live.
As your catalog evolves, you can edit, duplicate, or unpublish products at any time.
Step 6: Manage existing products
Adding products is only half the job. Ongoing management keeps your catalog accurate and your operations smooth.
To view or update products, go to Products → All Products. This page lists every item in your store and lets you search, sort, or filter by category, stock status, and product type. From here, you can do the following:
- Quick edit: Make changes like updating prices, stock, and visibility without opening the full editor.
- Bulk edit: Select multiple products at once to adjust categories, stock levels, prices, or sale dates — ideal for seasonal updates or promotions.
- Product status: If you’re preparing updates or temporarily pausing sales, change a product’s visibility by marking it as Draft, Pending Review, or Private.
- Catalog visibility: Control whether products appear in your shop, search results, or both. This feature is helpful for promotional items or limited-time listings.
- Duplicate products: Save time when adding similar items. For example, duplicating a product copies its settings, images, and pricing, so you can make quick tweaks without starting from scratch.
You can also use the Filter menu to find out-of-stock items, discontinued products, or items missing images. Checking this list regularly helps prevent errors and keeps your store consistent.
Best practices for managing WooCommerce products
Once your products are live, your store needs consistent upkeep. This keeps your store organized and performing well. Good product management doesn’t just make your life easier — it improves user experience, boosts search rankings, and drives conversions.
1. Organize categories and tags thoughtfully
Think of your categories and tags as your store’s navigation system. Keep them intuitive and consistent. For example, use broad categories like “Home Decor” or “Digital Courses.” Then add specific tags such as “handmade” or “beginner level” to help customers fine-tune their search.
A word of caution: Avoid over-tagging or creating too many nested categories, as it can confuse shoppers and search engines alike.
2. Use bulk editing to save time
When you need to update multiple listings, such as adjusting seasonal pricing or marking items out of stock, use WooCommerce’s Bulk Edit tool. It lets you revise prices, stock quantities, and categories across multiple products at once.
For example, if you’re running a holiday sale, select all relevant items and set their sale prices in just a few clicks.
3. Analyze performance regularly
Check your store’s analytics or reports (look under WooCommerce → Reports, or use tools like Google Analytics) to see which products drive the most traffic and revenue.
Use this data to
- Identify top performers worth promoting.
- Spot underperforming listings that need better descriptions, images, or SEO updates.
Even small changes like renaming a product for clarity or swapping in a better photo can improve conversions.
4. Keep your catalog clean and current
An up-to-date catalog builds trust. Schedule regular check-ins to
- Review stock levels and restock popular items.
- Remove or archive discontinued products.
- Update product details, pricing, and imagery.
A clean catalog also loads faster, which benefits both SEO and customers.
5. Use plug-ins to simplify and scale
As your product line expands, manual updates can become overwhelming. Plug-ins can automate repetitive tasks, streamline inventory management, and add advanced features.
For example, the Jotform AI Chatbot for WordPress plug-in brings AI-powered assistance to WooCommerce. It can help answer product questions and guide customers through your catalog — all from within WordPress.
Mastering these best practices will keep your WooCommerce store running smoothly and your product catalog in top shape. Once your foundation is strong, the next step is finding the right tools to help you scale.
Top 5 plug-ins to add and manage products in WooCommerce
While WooCommerce includes robust built-in tools, plug-ins can elevate your store’s product management. From automating updates to simplifying bulk edits, these add-ons save time and help you scale your catalog without the stress.
Here are five of the best WordPress plug-ins to add and manage products in WooCommerce.
1. Jotform AI Chatbot for WordPress — Best for AI-powered product management

Jotform AI Chatbot for WordPress brings AI directly into your WooCommerce store. Unlike rule-based chatbots, it’s an intelligent, no-code assistant that learns from your site’s content and automates everyday tasks. It answers product questions, guides visitors through your catalog, tracks orders, and even recovers abandoned carts.
Best for: Automating product Q&A, customer guidance, and WooCommerce workflows
Key features:
- AI-driven chat assistant trained on your site’s content and FAQs
- WooCommerce workflow support (orders, carts, product questions)
- Custom branding, multilingual support, and human handoff options
- Fully managed from your WordPress dashboard
Pricing: Free plan available; paid plans start at $34 per month and greatly increase your chatbot limits.
Why it stands out: Jotform AI Chatbot for WordPress goes beyond management. It turns your WooCommerce site into a self-service experience that simultaneously improves efficiency and conversions.
👉 Learn more: How to use an AI Chatbot on WordPress
2. WooCommerce Manager Pro — Best for bulk editing
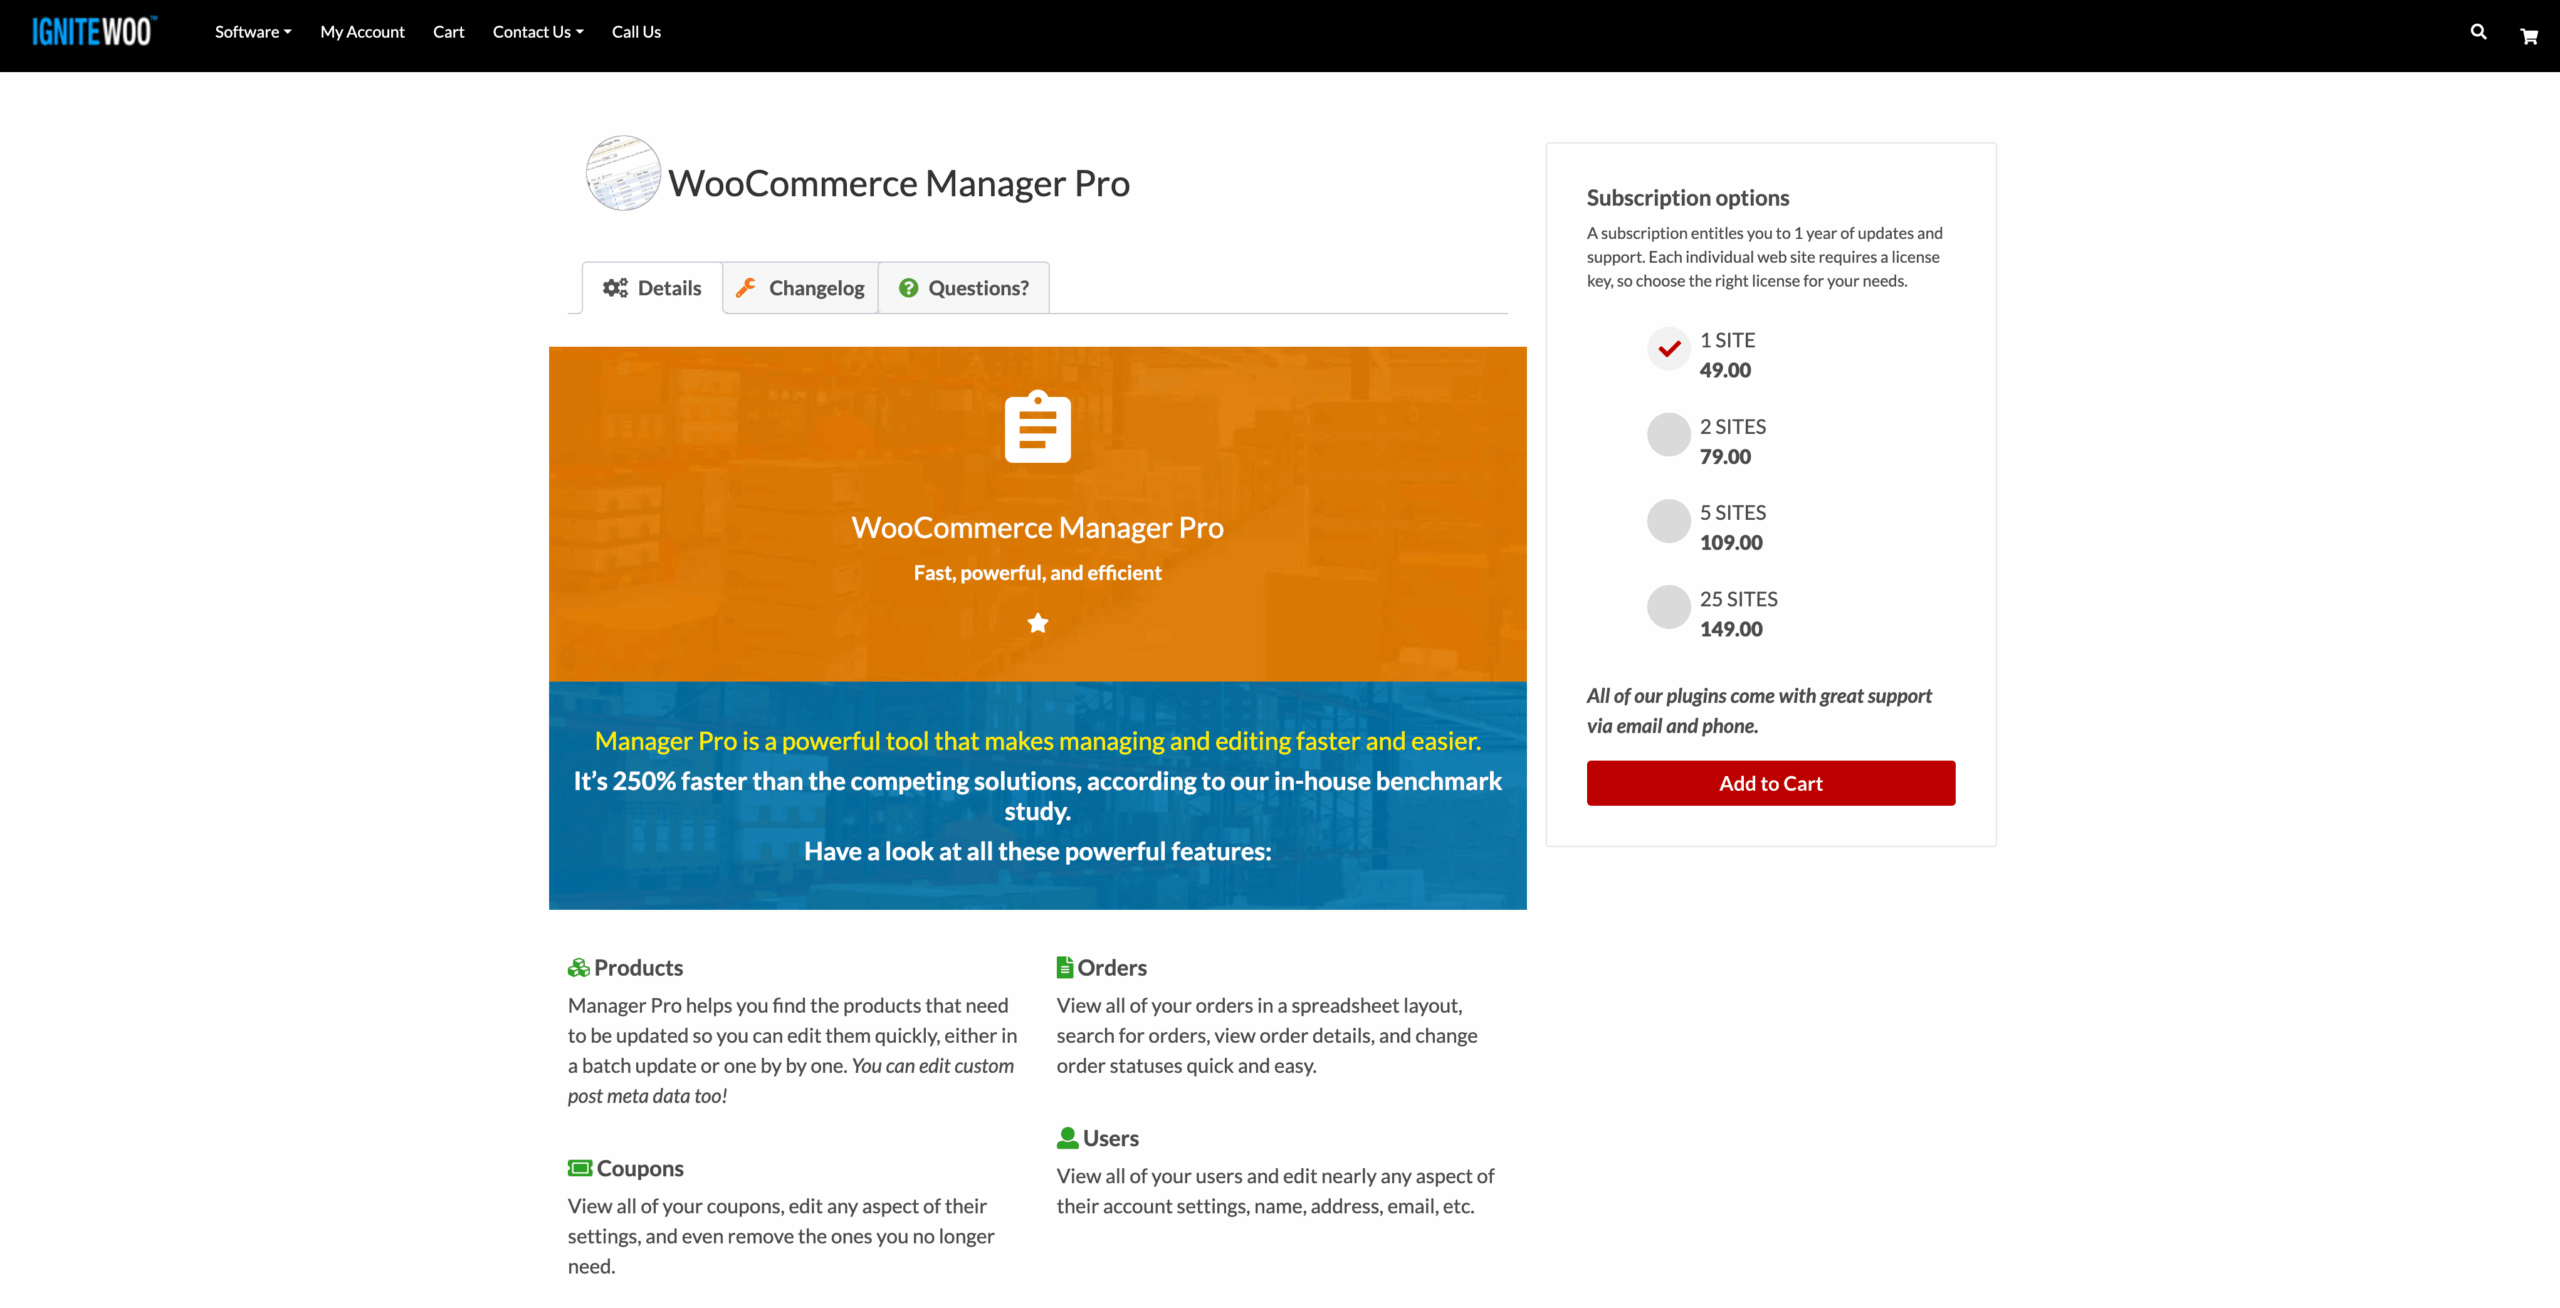
WooCommerce Manager Pro streamlines editing by letting you update hundreds of products at once from a spreadsheet-style interface. You can modify prices, categories, descriptions, and stock levels without opening each product individually.
Best for: Updating prices, SKUs, and inventory across extensive catalogs
Key features:
- Inline bulk editing for all product fields
- Advanced search and filter options
- CSV import/export for catalog management
- Role-based permissions for store teams
Pricing: Starts at $49 per year for a single-site license.
Why it stands out: It reduces the time spent editing lengthy catalogs from hours to minutes.
3. ATUM Inventory Management for WooCommerce — Best for stock control

ATUM Inventory Management gives you a detailed, centralized view of your stock. It combines product data, supplier information, and purchase orders into a single dashboard, helping you manage inventory more strategically.
Best for: Real-time inventory tracking and advanced stock analytics
Key features:
- Real-time stock management dashboard
- Supplier and purchase order tracking
- Advanced stock reports and export options
- Compatible with variable and bundled products
Pricing: Free core plug-in; premium add-ons available for advanced analytics.
Why it stands out: It simplifies the management of physical products, particularly when juggling multiple suppliers or fulfillment centers.
4. WP All Import — Best for large catalog imports and updates

WP All Import simplifies uploading extensive product catalogs via CSV or XML. It supports all WooCommerce product types — simple, variable, grouped, and affiliate — and can even schedule automatic imports when your supplier data changes.
Best for: Importing and syncing product data in bulk
Key features:
- Drag-and-drop import mapping
- Automatic scheduled updates from feeds
- Supports product images, variations, and metadata
- Works seamlessly with other WooCommerce extensions
Pricing: Starts at $99 for the Pro version with the WooCommerce add-on.
Why it stands out: It eliminates manual data entry and keeps your listings synced. This makes it ideal for e-commerce owners working with wholesalers or suppliers.
5. Smart Manager for WooCommerce — Best for catalog oversight

Smart Manager provides a clean, Excel-like interface for managing products, orders, and customers on a single screen. It’s particularly useful for reviewing large catalogs, checking stock levels, and quickly toggling product visibility.
Best for: Spreadsheet-style catalog management and performance monitoring
Key features:
- Spreadsheet view for products and orders
- Inline edits and advanced filters
- Batch updates for status, price, and categories
- Revision tracking allows you to return to previous versions of your catalog
Pricing: Free basic version; Pro plan starts at $199 per year.
Why it stands out: It provides complete visibility and control without having to jump between product pages.
When you combine WooCommerce’s built-in tools with the right plug-ins, you can better handle every aspect of product management — from adding new listings and updating inventory, to automating customer interactions.
From setup to success: Managing WooCommerce products efficiently
WooCommerce gives you everything you need to build and scale a flexible online store. Whether you’re selling physical products, digital downloads, or subscription services, learning how to add and manage products in WooCommerce is the first step to running an efficient, profitable shop.
Set yourself apart with consistency and smart organization. Organizing products by categories and tags, as well as keeping product data fresh, all contribute to smoother operations and better customer experiences. A clean, accurate catalog builds trust and helps your products stand out in search results.
When you combine WooCommerce with plug-ins, you save time, automate repetitive work, and simplify complex inventory management. Master the basics first, then enhance your store with automation tools like Jotform’s AI Chatbot for WordPress to keep your WooCommerce operation running seamlessly.
FAQ
Yes. WooCommerce is beginner-friendly, especially if you’re already familiar with WordPress. Its step-by-step setup wizard, intuitive dashboard, and flexible customization options make it accessible even if you’re not a developer. As your store grows, you can extend its features with plug-ins and integrations without rebuilding your site.
Not necessarily, but plug-ins make management much easier. WooCommerce’s built-in tools cover the basics, such as adding products, editing prices, and tracking stock. But plug-ins help automate tasks, facilitate bulk edits, and improve efficiency. For example, Jotform AI Chatbot for WordPress adds AI-powered automation to answer customer questions, manage WooCommerce workflows, and streamline day-to-day operations.
Want to simplify your WooCommerce workflow even further? Explore tools like Jotform AI Chatbot for WordPress to automate routine tasks and keep your store running smoothly, so you can focus on what matters most: growing your business.
This article is for eCommerce store owners, WooCommerce users, website managers, and anyone who wants to efficiently add, organize, and manage products in WooCommerce using best practices and powerful plugins like Jotform AI Chatbot for WordPress.


")


Send Comment: