This guide walks you through how to change the allowed file types on your form when using the File Upload element. Whether you’re collecting resumes, images, videos, or documents, setting the right file types helps make sure you get exactly what you need—and nothing you don’t.
By customizing which file formats are accepted, you can make the upload process smoother for your users and keep your submissions clean and organized. It’s a quick adjustment that can save you time and prevent upload errors down the road.
The default allowed files extensions are as follows:
- DOC
- DOCX
- XLS
- XLSX
- CSV
- TXT
- RTF
- HTML
- ZIP
- MP3
- WMA
- MPG
- FLV
- AVI
- JPG
- JPEG
- PNG
- GIF
You can add or remove file extensions to keep your form focused on just the file types you need—no extra uploads to sort through. Here’s the quick way to do it:
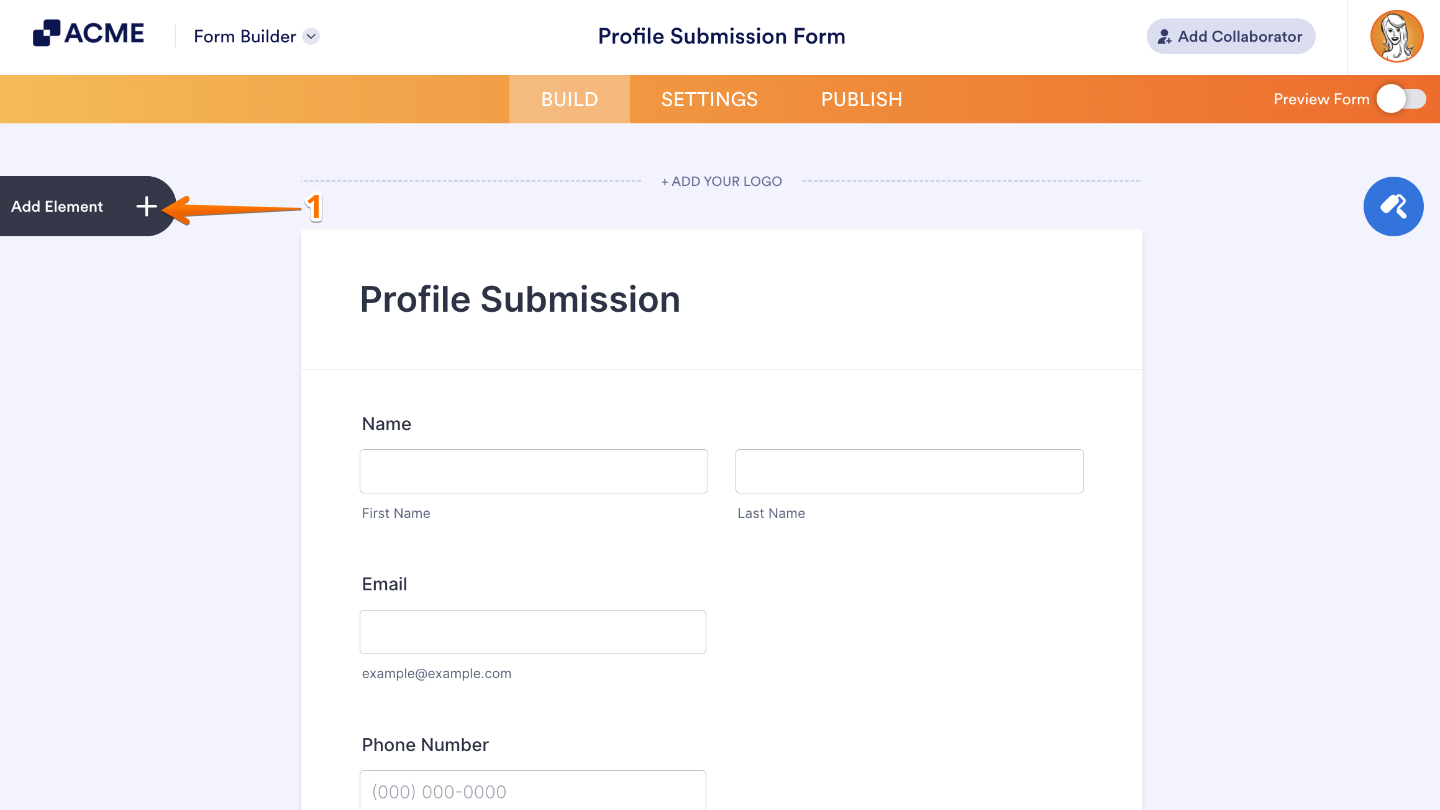
- In Form Builder, click on Add Element on the left side of the page.
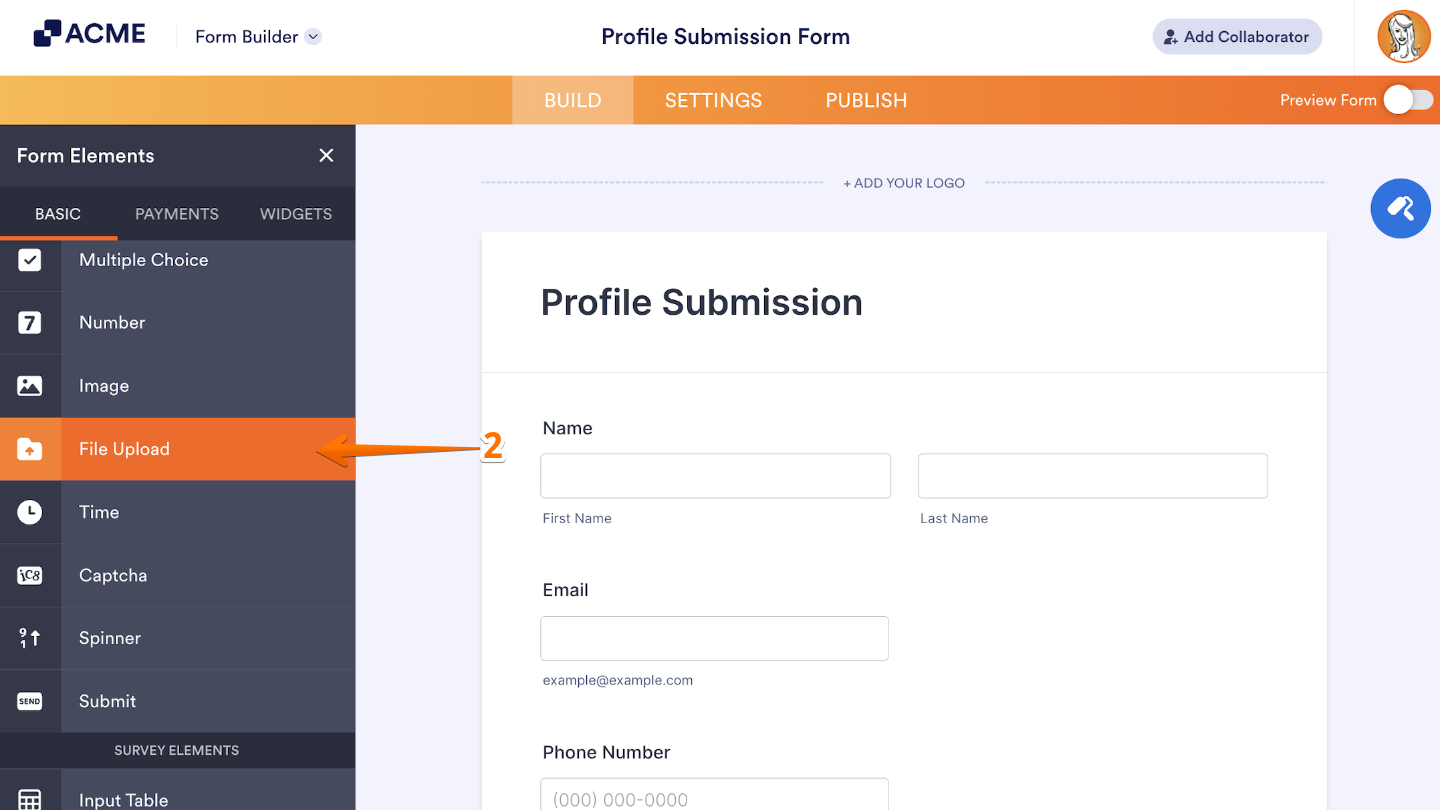
- Now, in the Form Elements menu, under the Basic tab, look for File Upload and then click on it. Or, just drag and drop it to where you want it to be on your form.
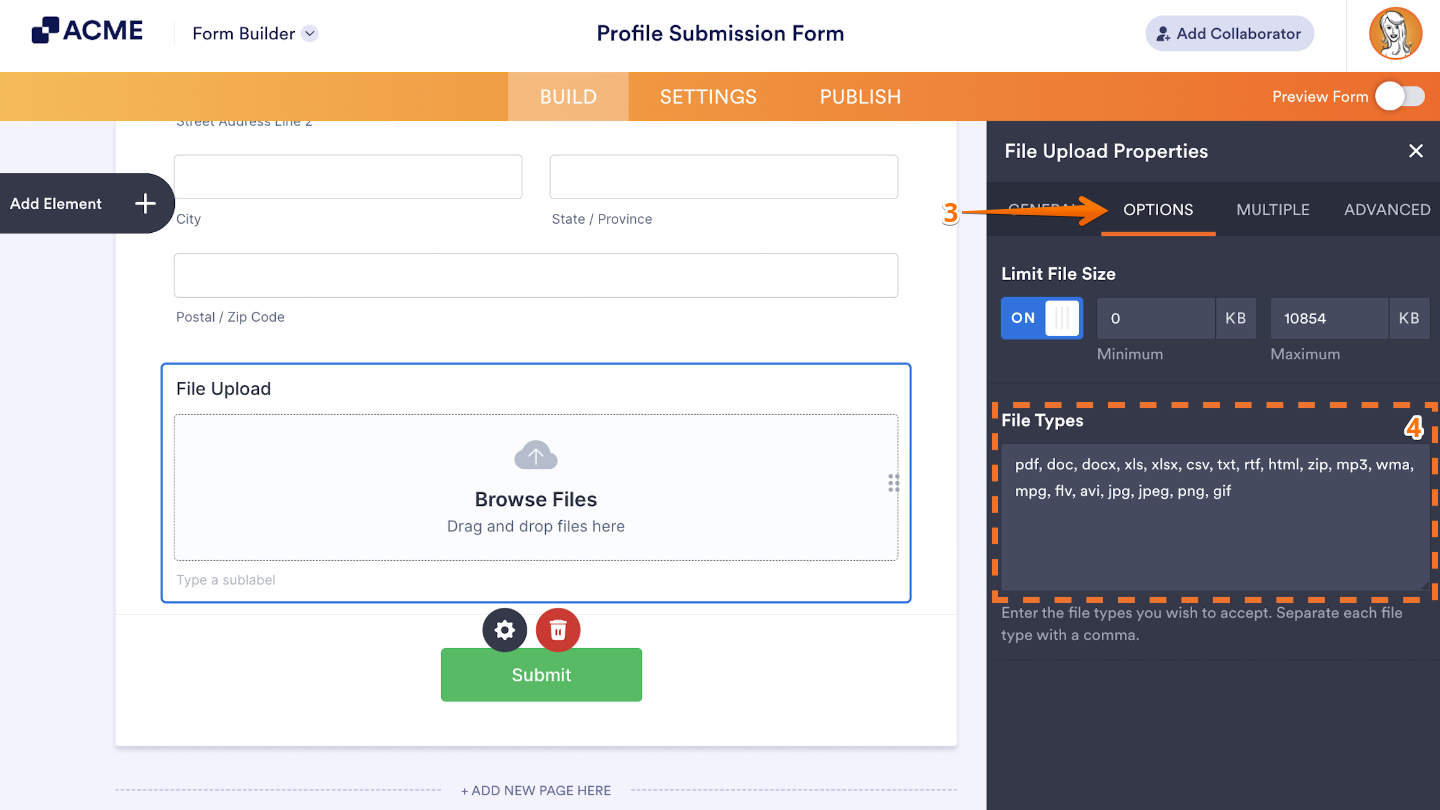
- Then, in the Heading Properties window that opens on the right side of the page, click on Options tab.
- Next, list your allowed file extensions comma-separated in the File Types field.
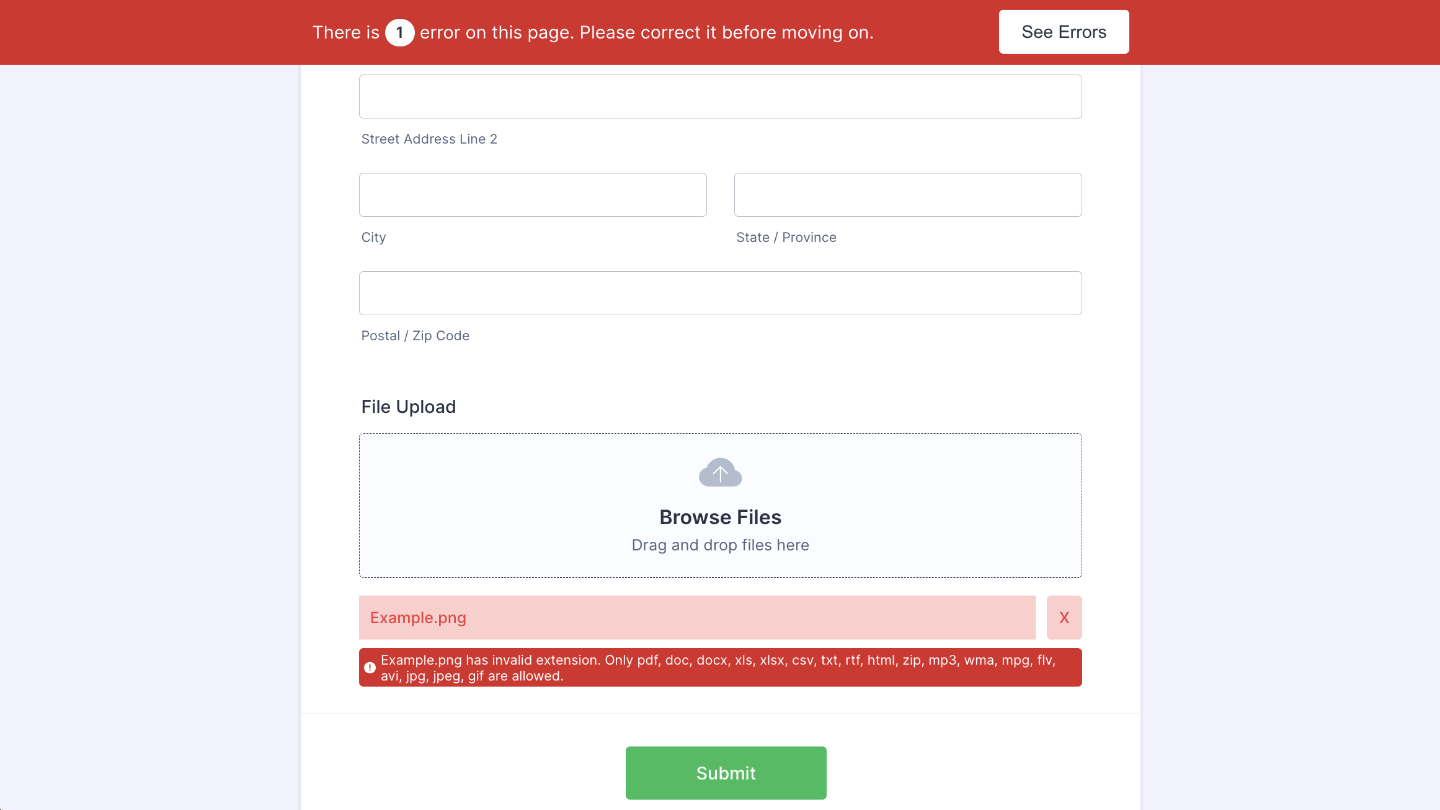
That’s it. If someone tries to upload a file type that isn’t on your allowed list, they’ll see an error message like the one below.
Notes:
- The allowed extensions list is case-insensitive.
- List the extensions without the leading dot (e.g., type “pdf” instead of “.pdf”).
- Enter asterisk (“*”) in File Types to allow all file types.
- Your form will show an invalid extension message when a user tries to upload a file that is not in the allowed list.

Send Comment: