There are multiple custom Facebook tab providers, but Static HTML from Thunderpenny stand best for this method. You can use the app to add a form to your Facebook page without needing technical skills and digging into Facebook’s developer page.

Note
You can only add a custom tab if your Facebook page has 2 000 or more likes. Visit Facebook – Page Tabs for more details. If you meet this criterion, please proceed below.
Adding the Iframe App to Your Facebook Page
First, you must add the Custom Iframe App to your Facebook page to create the custom tab for your form. Here are the steps:
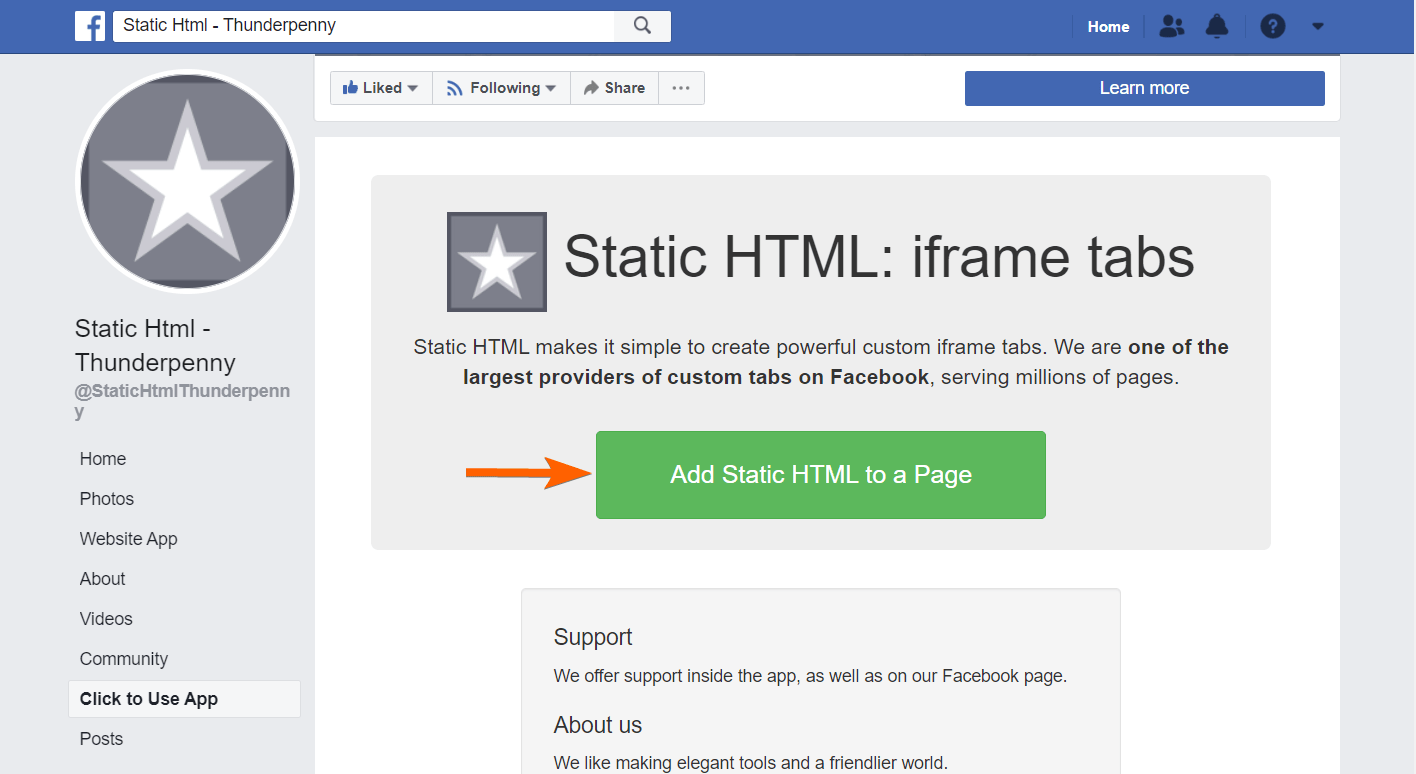
- Go to Static HTML: iframe tabs.
- Click the Add Static HTML to a Page button. The button will open a dialog tab.
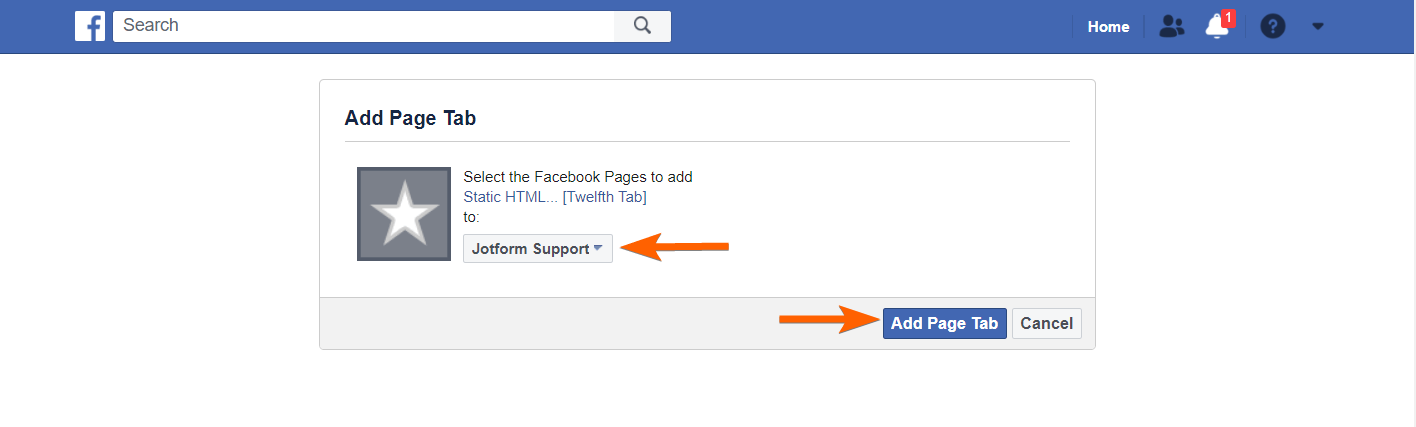
- Select the page where you want to add the custom tab from the dialog.
- Click the Add Page Tab button at the bottom to finish. The page will redirect you to the chosen page.
Adding Form to Your Facebook Page
Since you now have the app installed, let’s proceed with adding the form to your Facebook page through the custom tab added by Static HTML app. Here’s how:
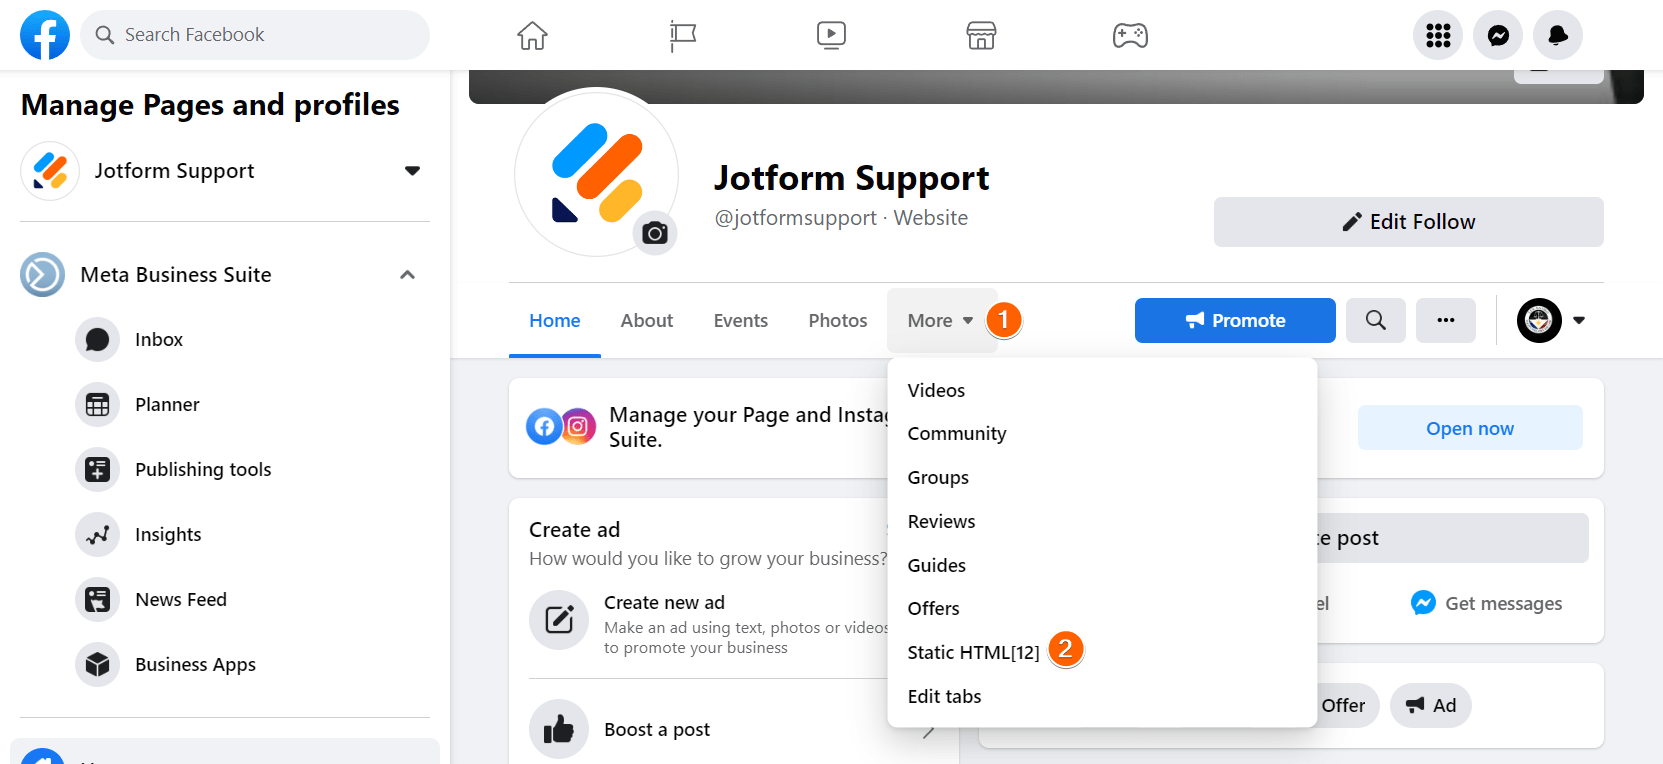
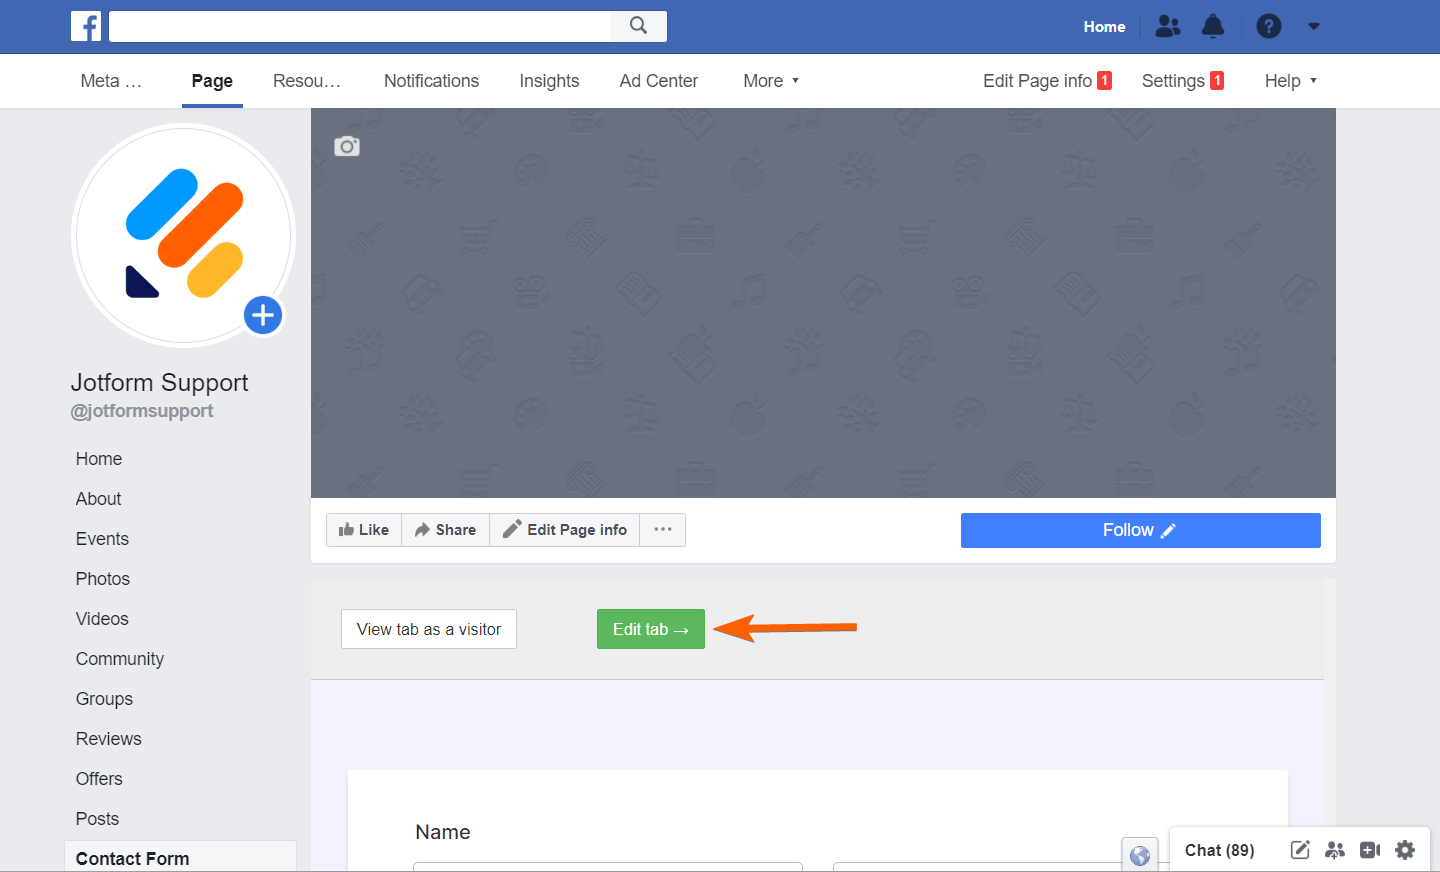
- While viewing your Facebook page, click the More dropdown from the list of shown tabs.
- Click Static HTML [12] from the list. You can change this label later.
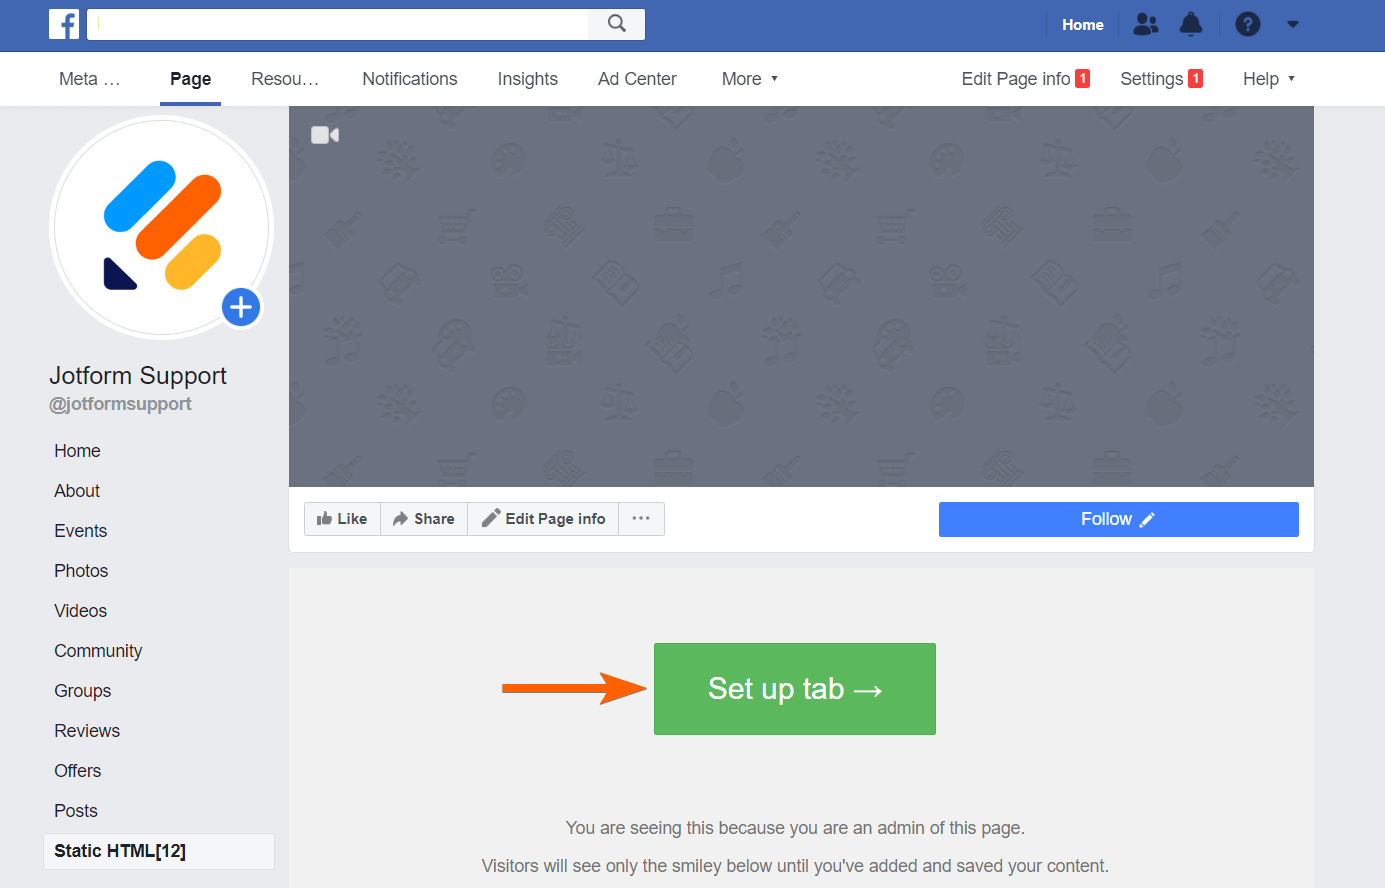
- Click the Setup tab button. The button will open the Static HTML website to set up the tab.
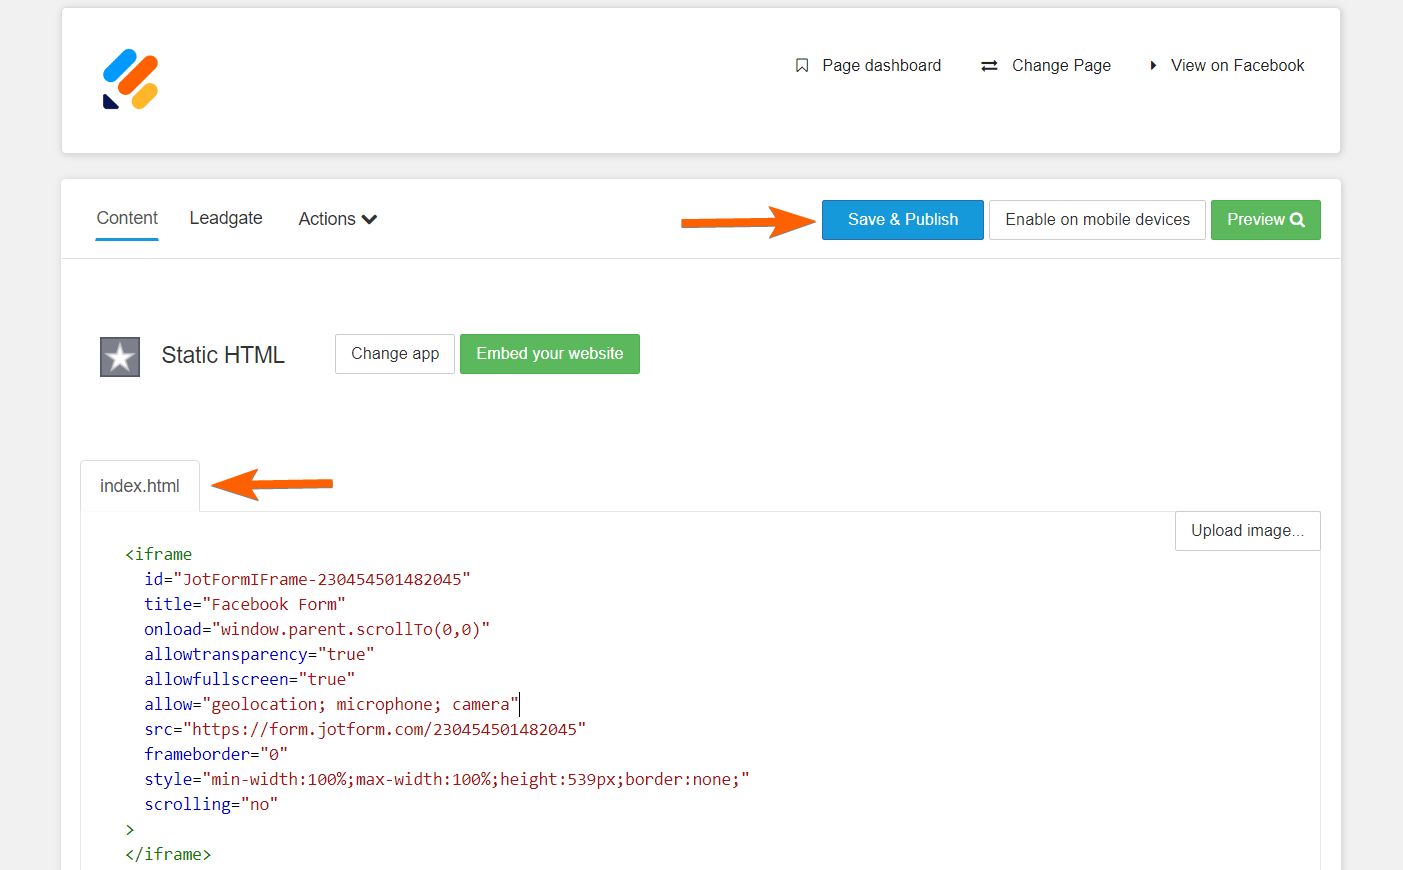
- Grab your form’s iframe embed codes.
- Paste the iframe codes to the index.html box.
- Click the Save and Publish button at the top part of the page. You should have the form added this time. Go back to the custom tab of your Facebook page to confirm.
Editing the Custom Tab Name
Facebook hides the option to edit the tab name from your page’s view and settings, but you can still do it with a single parameter added to the vanity URL of your Facebook page. This one’s a bit tricky, but as long as you follow the steps, you should be able to change the tab name or label. Let’s do it!
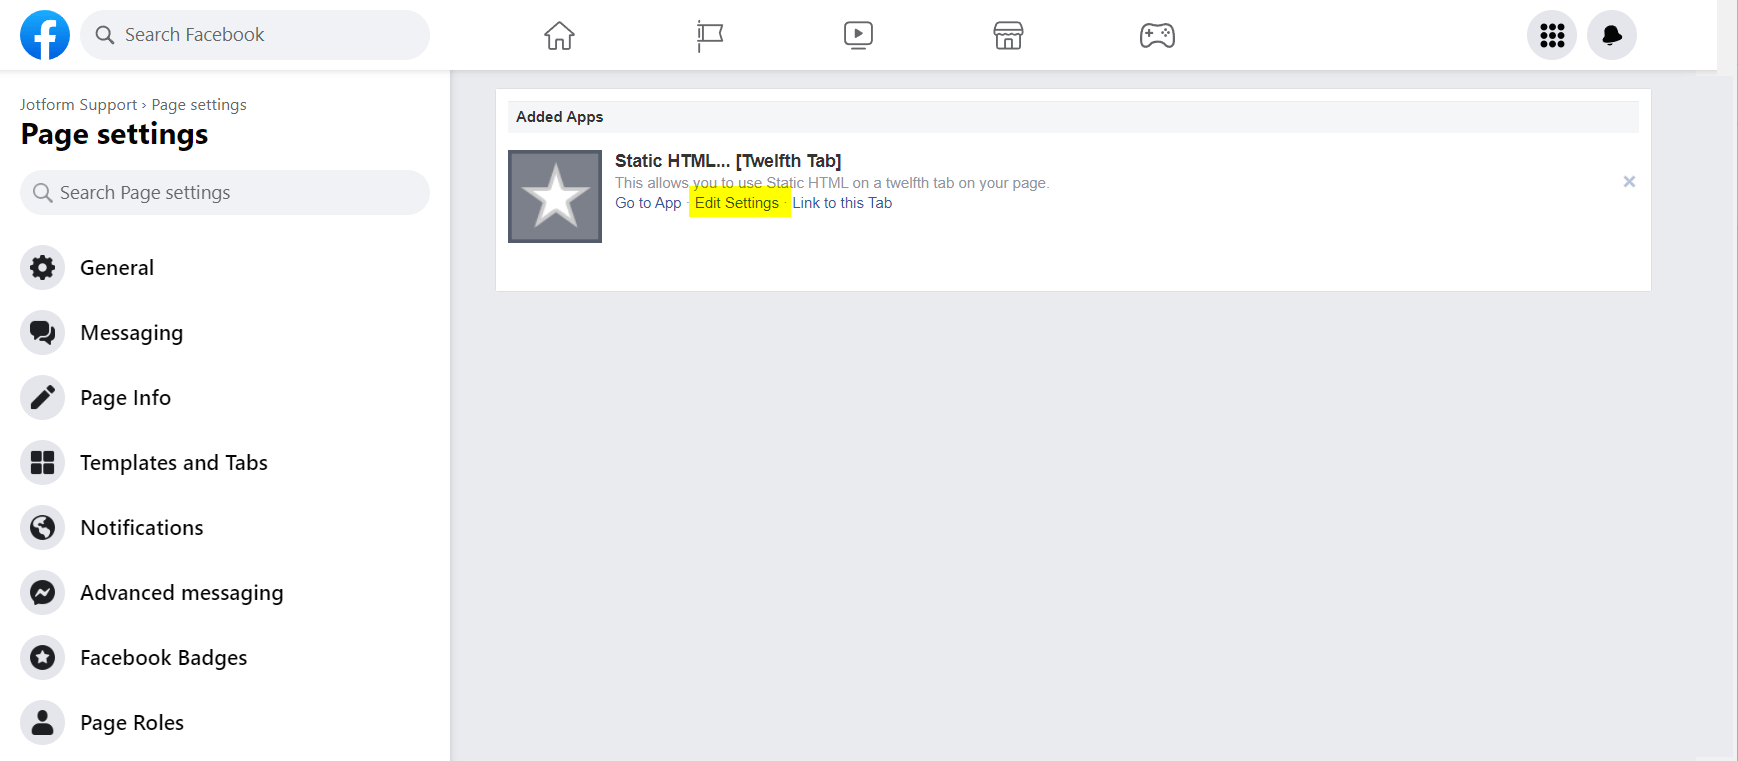
- Append the parameter
settings/?tab=appsto your Facebook page URL. The URL should look like the following:
https://www.facebook.com/{your_page}/settings/?tab=apps- Click Edit Settings from the Static HTML app. The link will open a small popup.
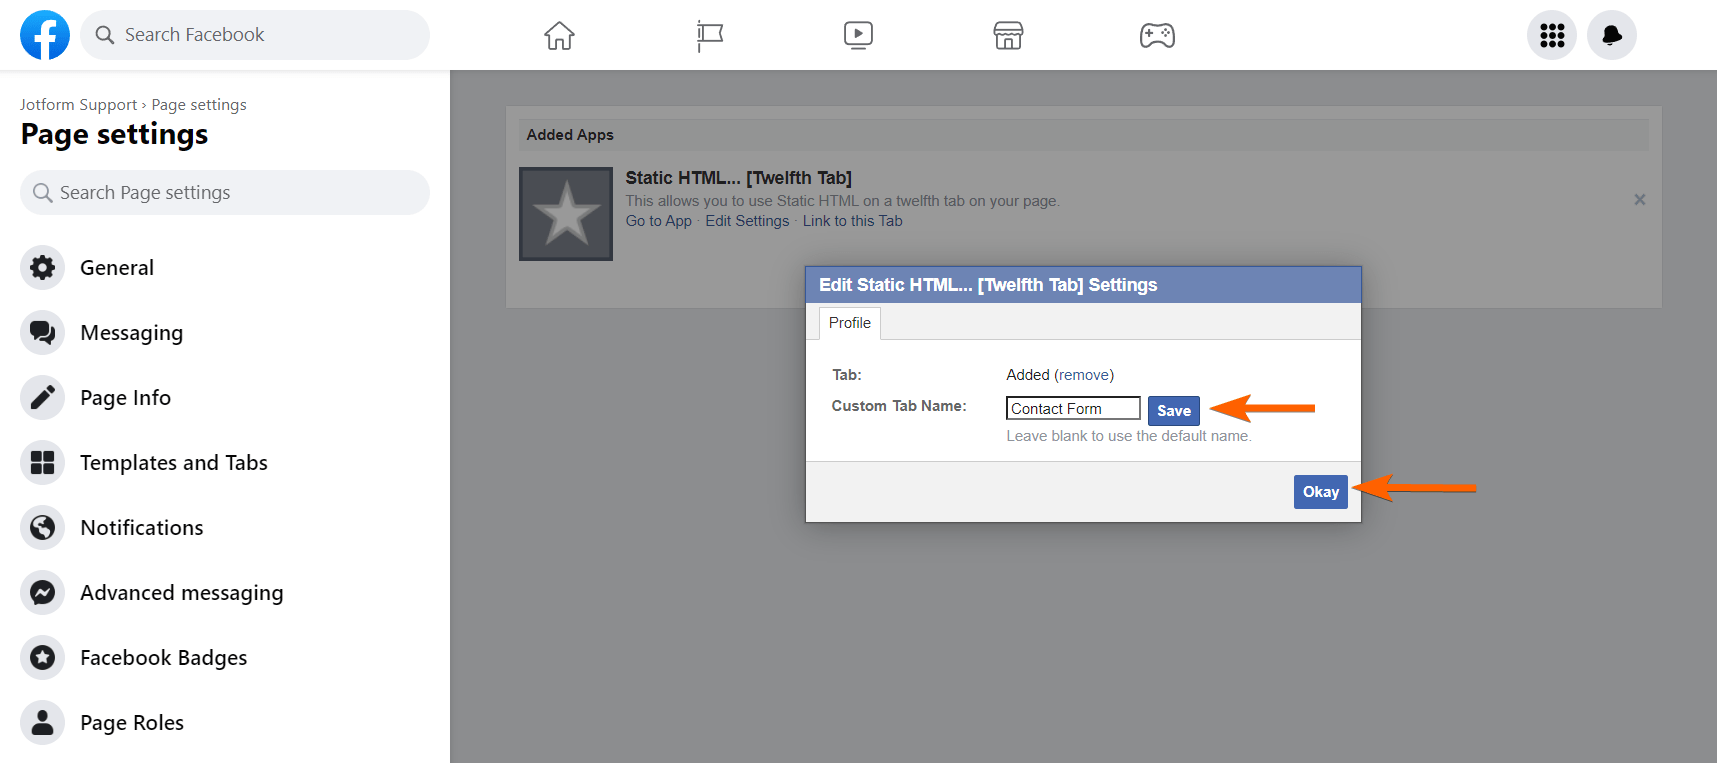
- Enter your Custom Tab Name.
- Click the Save button. There is a small loading icon as an indicator. If it stops loading, that means Facebook saved the changes.
- Finally, click the Okay button to close the popup. Visit your page to confirm the changes.
Removing the Custom Tab
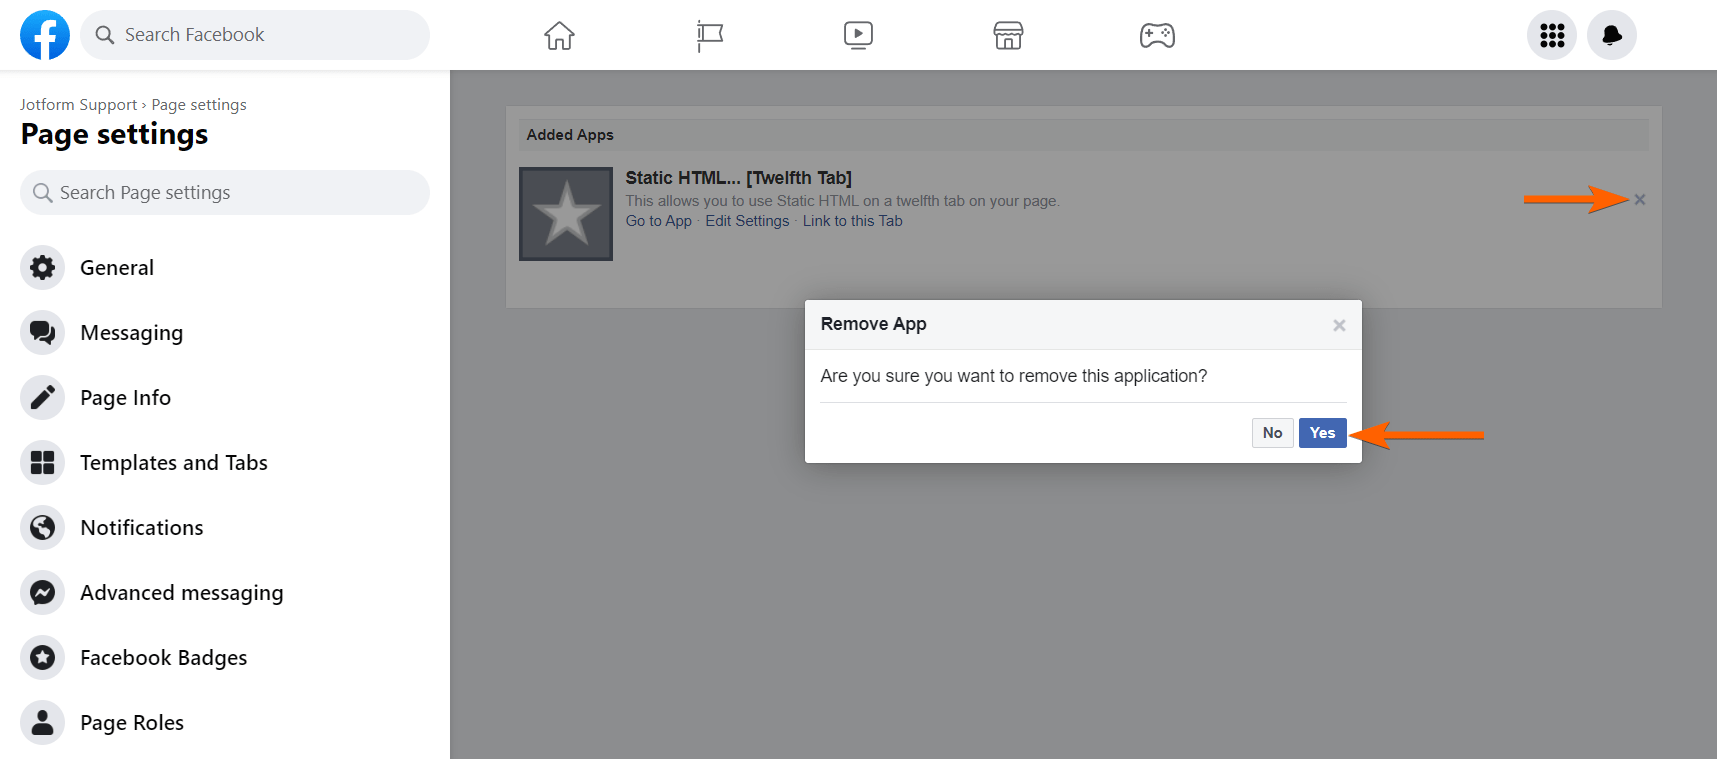
You can easily remove the custom tab by appending same URL parameter settings/?tab=apps to your Facebook page URL but this time, do the following:
- Click the X icon on the far right side of the custom tab.
- Click the Yes button to confirm. That’s it!
Adding a New Custom Tab
Facebook does not allow you to add the same iframe app twice on the same page, but Static HTML has reserved apps for doing this. Go to Thunderpenny – Add Tab to learn more.
Editing the Custom Tab
If you want to change the form, you must edit the custom tab. To edit:
- Access the custom tab added by the Static HTML app.
- As an admin of the page, you should see the Edit App button at the top of the form. Click it. The button will redirect you to Static HTML website, where you can update the tab settings and change the embed codes.
Below are also a great alternative of the Static HTML app:
If you are stuck with any of the steps above or have further questions about this guide, feel free to post them in the comment box below.

Send Comment:
44 Comments:
More than a year ago
I get sent to a "this content isn't available right now" page, and cannot get the Static HTML: iframe tabs.
More than a year ago
brings me to a FB 404 error. I don't have 2K likes anyways. Can you please tell the rest of us how we can do this?
More than a year ago
Seems like the app page no longer works.
More than a year ago
Is this possible with card layout?
Thanks.
More than a year ago
Hi there, I can see the gallery has been embed under More > Welcome
However, would there be any chance that I could share this in post / show on mobile?
Please advise.
Thanks,
Alan
More than a year ago
thanks you bros
More than a year ago
Trying to do facebook tab, I selected embed, copied code from the publish section but instructions say to enter my code where it says var iframe =. This piece of code does not exist from the code i copied..
Any help?
More than a year ago
Please get back my facebook account from secure account
More than a year ago
Thank you
More than a year ago
I want to make an iframe Facebook page plugin. But i am unable to make it. Can you please help me?
More than a year ago
static html not cannat to my fb page
More than a year ago
Hi, I have a Facebook Book page with just 450 followers, and i can't configure static HTML om it, it seems FB changed his policy, they need min 2k followers on page.
is there any other way on fb dofollow link.
More than a year ago
I am unable to add my form to facebook, its showing the page donent have permission , kindly guide me
More than a year ago
I have embedded the code, now I have two similar tabs with different names doing same functionality also not working for mobile.
More than a year ago
This page does not have permission to install the custom tab.
My page is not yet published, so not sure if that is the issue, or if there is any configuration I need to change to allow the tab to be created.
More than a year ago
The short URL provided the app is not opening on mobile devices but works fine on Desktop devices:
Please help..
More than a year ago
It is working, but i want my viewers on mobile to click on the button on my facebook page. (the sign up button) and fill it on mobile. can you help me on this?
More than a year ago
Which method of adding a Jotform to Facebook page is easier to update the form? Static HTML iFrame or the other way?
I need to add one field to our form and can't figure out how to update it. I don't seem to have the gear to update and when I look at my Facebook page (MaineLostCatRecovery) I don't see the Star iFrame Static HTML under Apps. Ginger
More than a year ago
I could nt add the app to my fb page. Please help.
More than a year ago
My Mission America nonprofit page is not displaying the Paypal Donate Now Button. I added the HTML code? Also, the page is difficult to find. Thanks
More than a year ago
can anyone help me how to remove the button from the mobile devices.
More than a year ago
hello
More than a year ago
Muy bueno, excelente idea ... xD
More than a year ago
Is there a way for this to pop up after a certain number of seconds, or when a person scrolls down, or goes to close the page?
If so it could be a real Qualaroo or Popfeedback killer!
More than a year ago
Awesome!