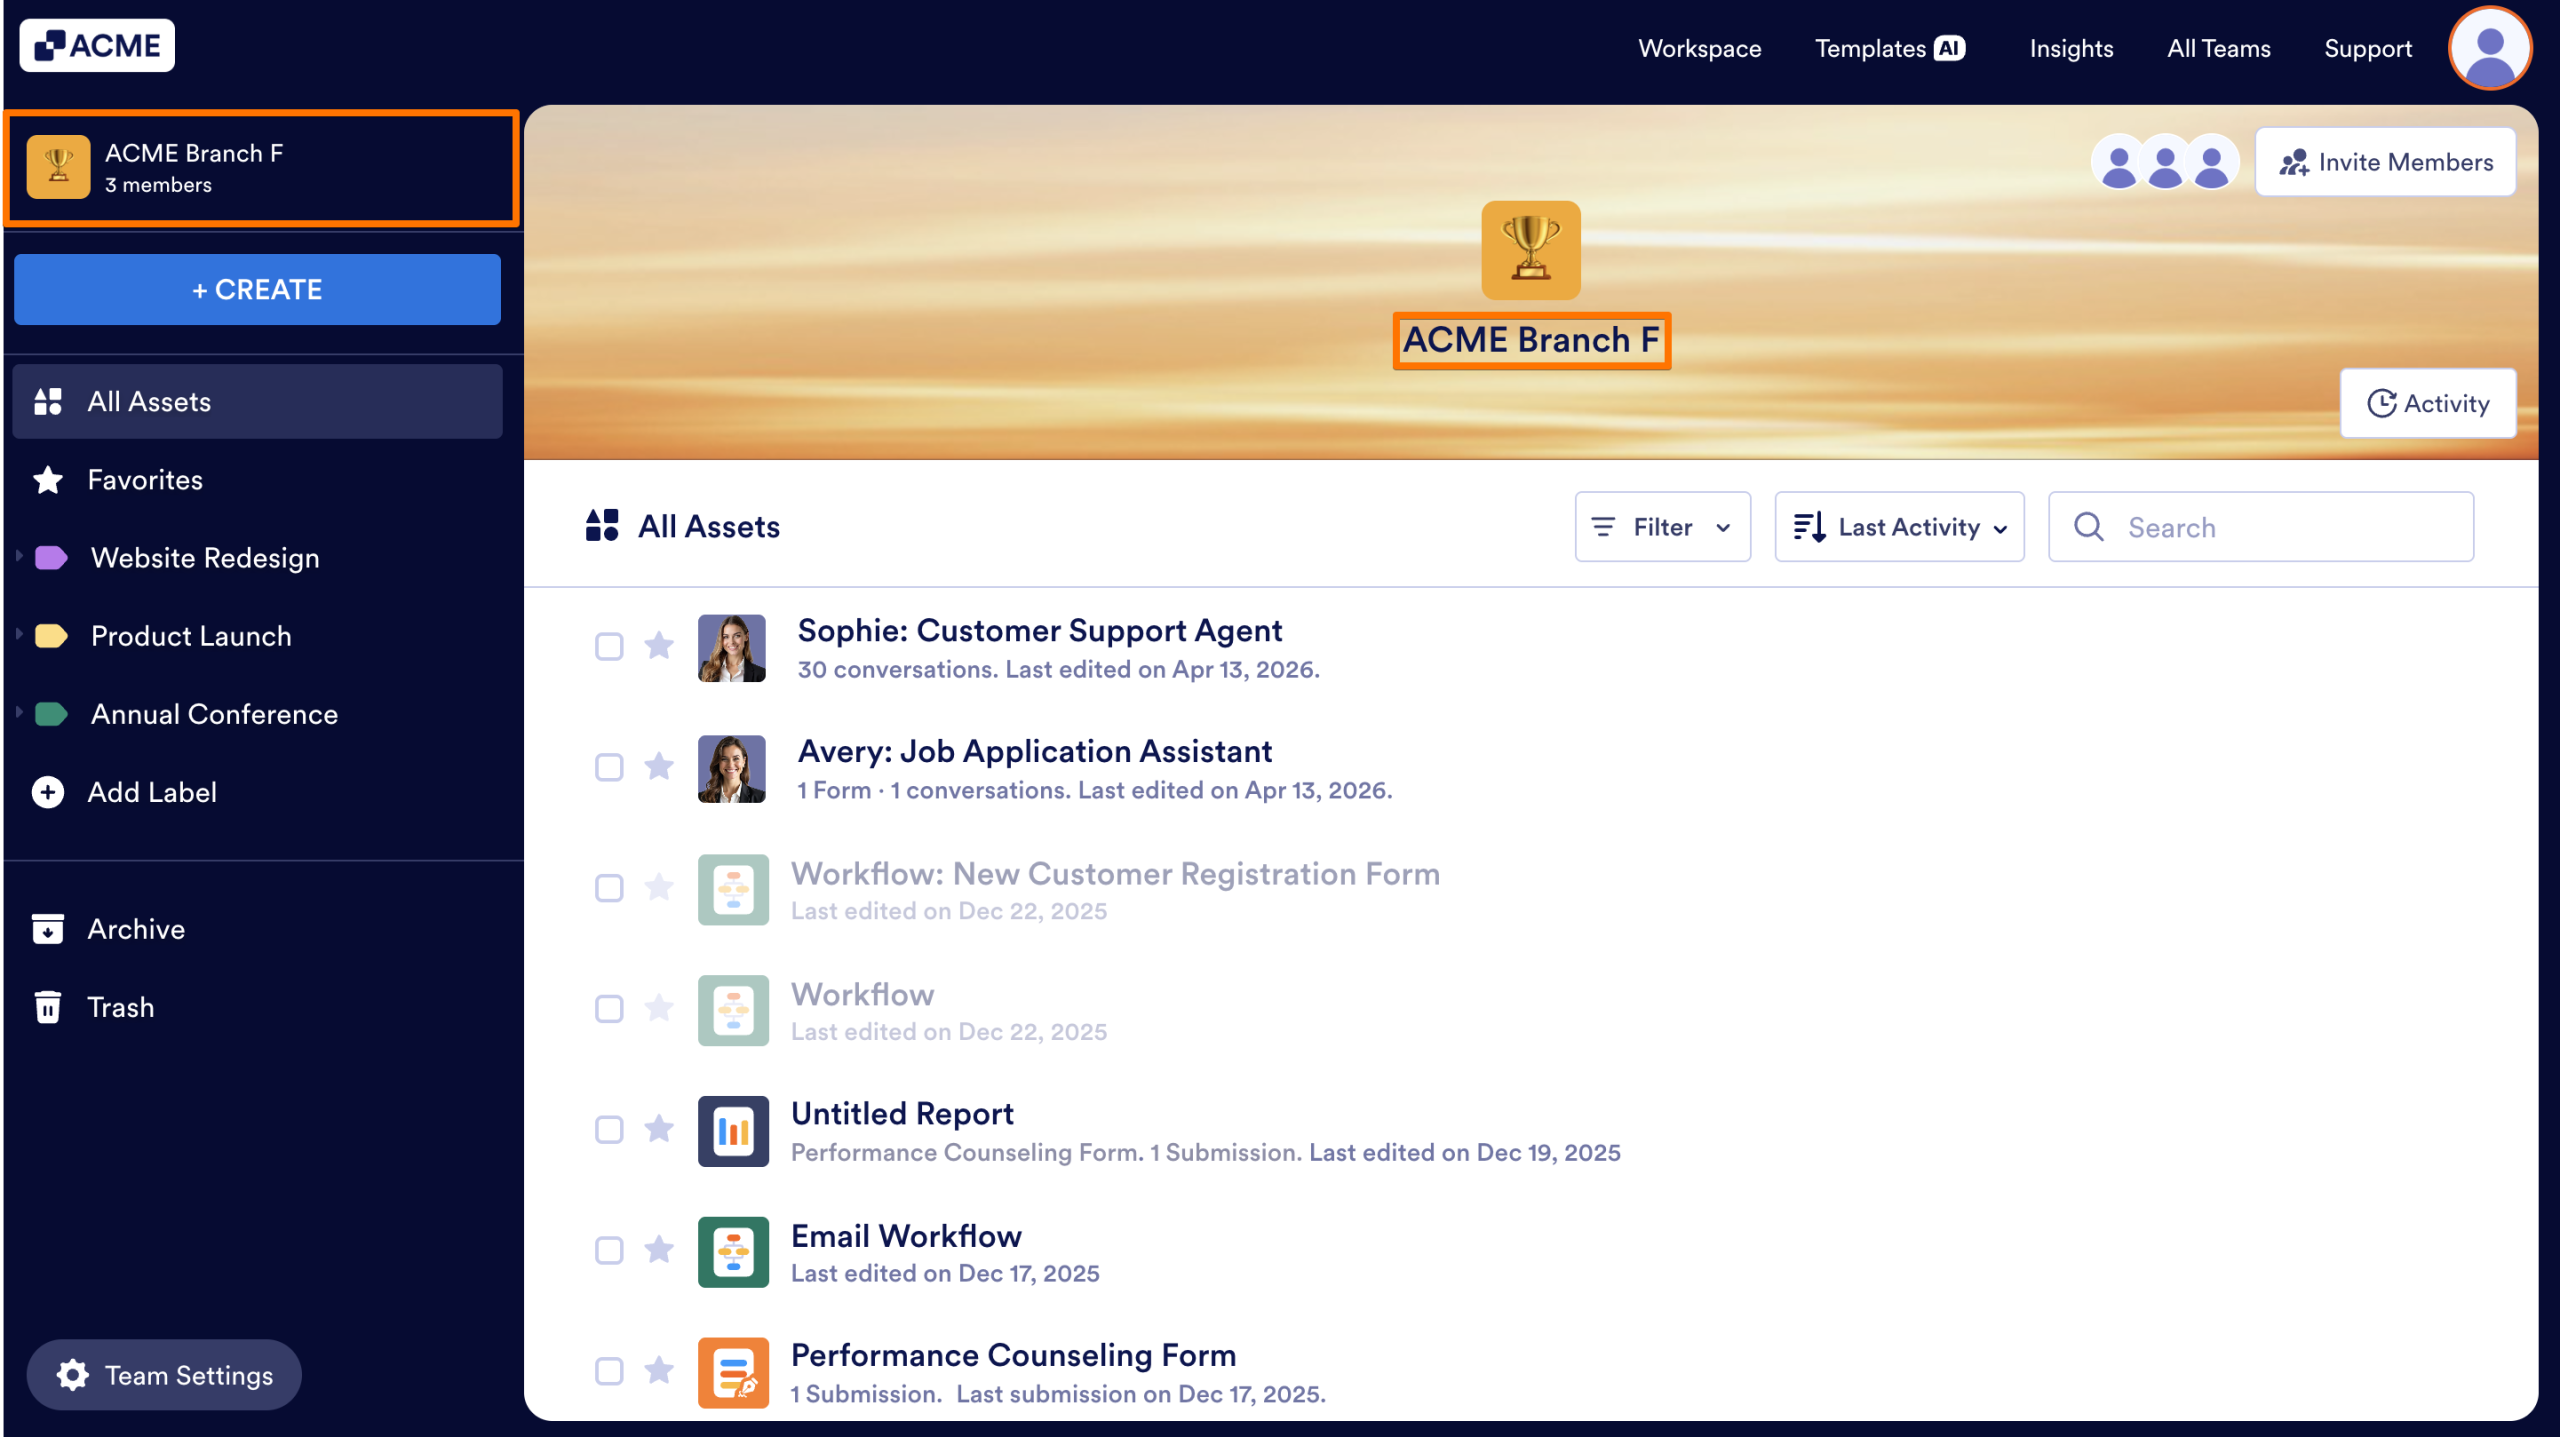
Team Workspaces can be personalized to match your organization’s branding or to better represent each team’s individual aesthetic. You can update the workspace name, upload a logo, and change the background image, so each workspace is visually aligned with your organization’s style and easier to recognize. Let’s walk through those updates together, below:
Changing the Team Name
- In the Team Workspace, click on Team Settings in the bottom left.

- Select General Settings.

- Enter a new name in the Team Name field.

- Click on Save Changes in the bottom right.

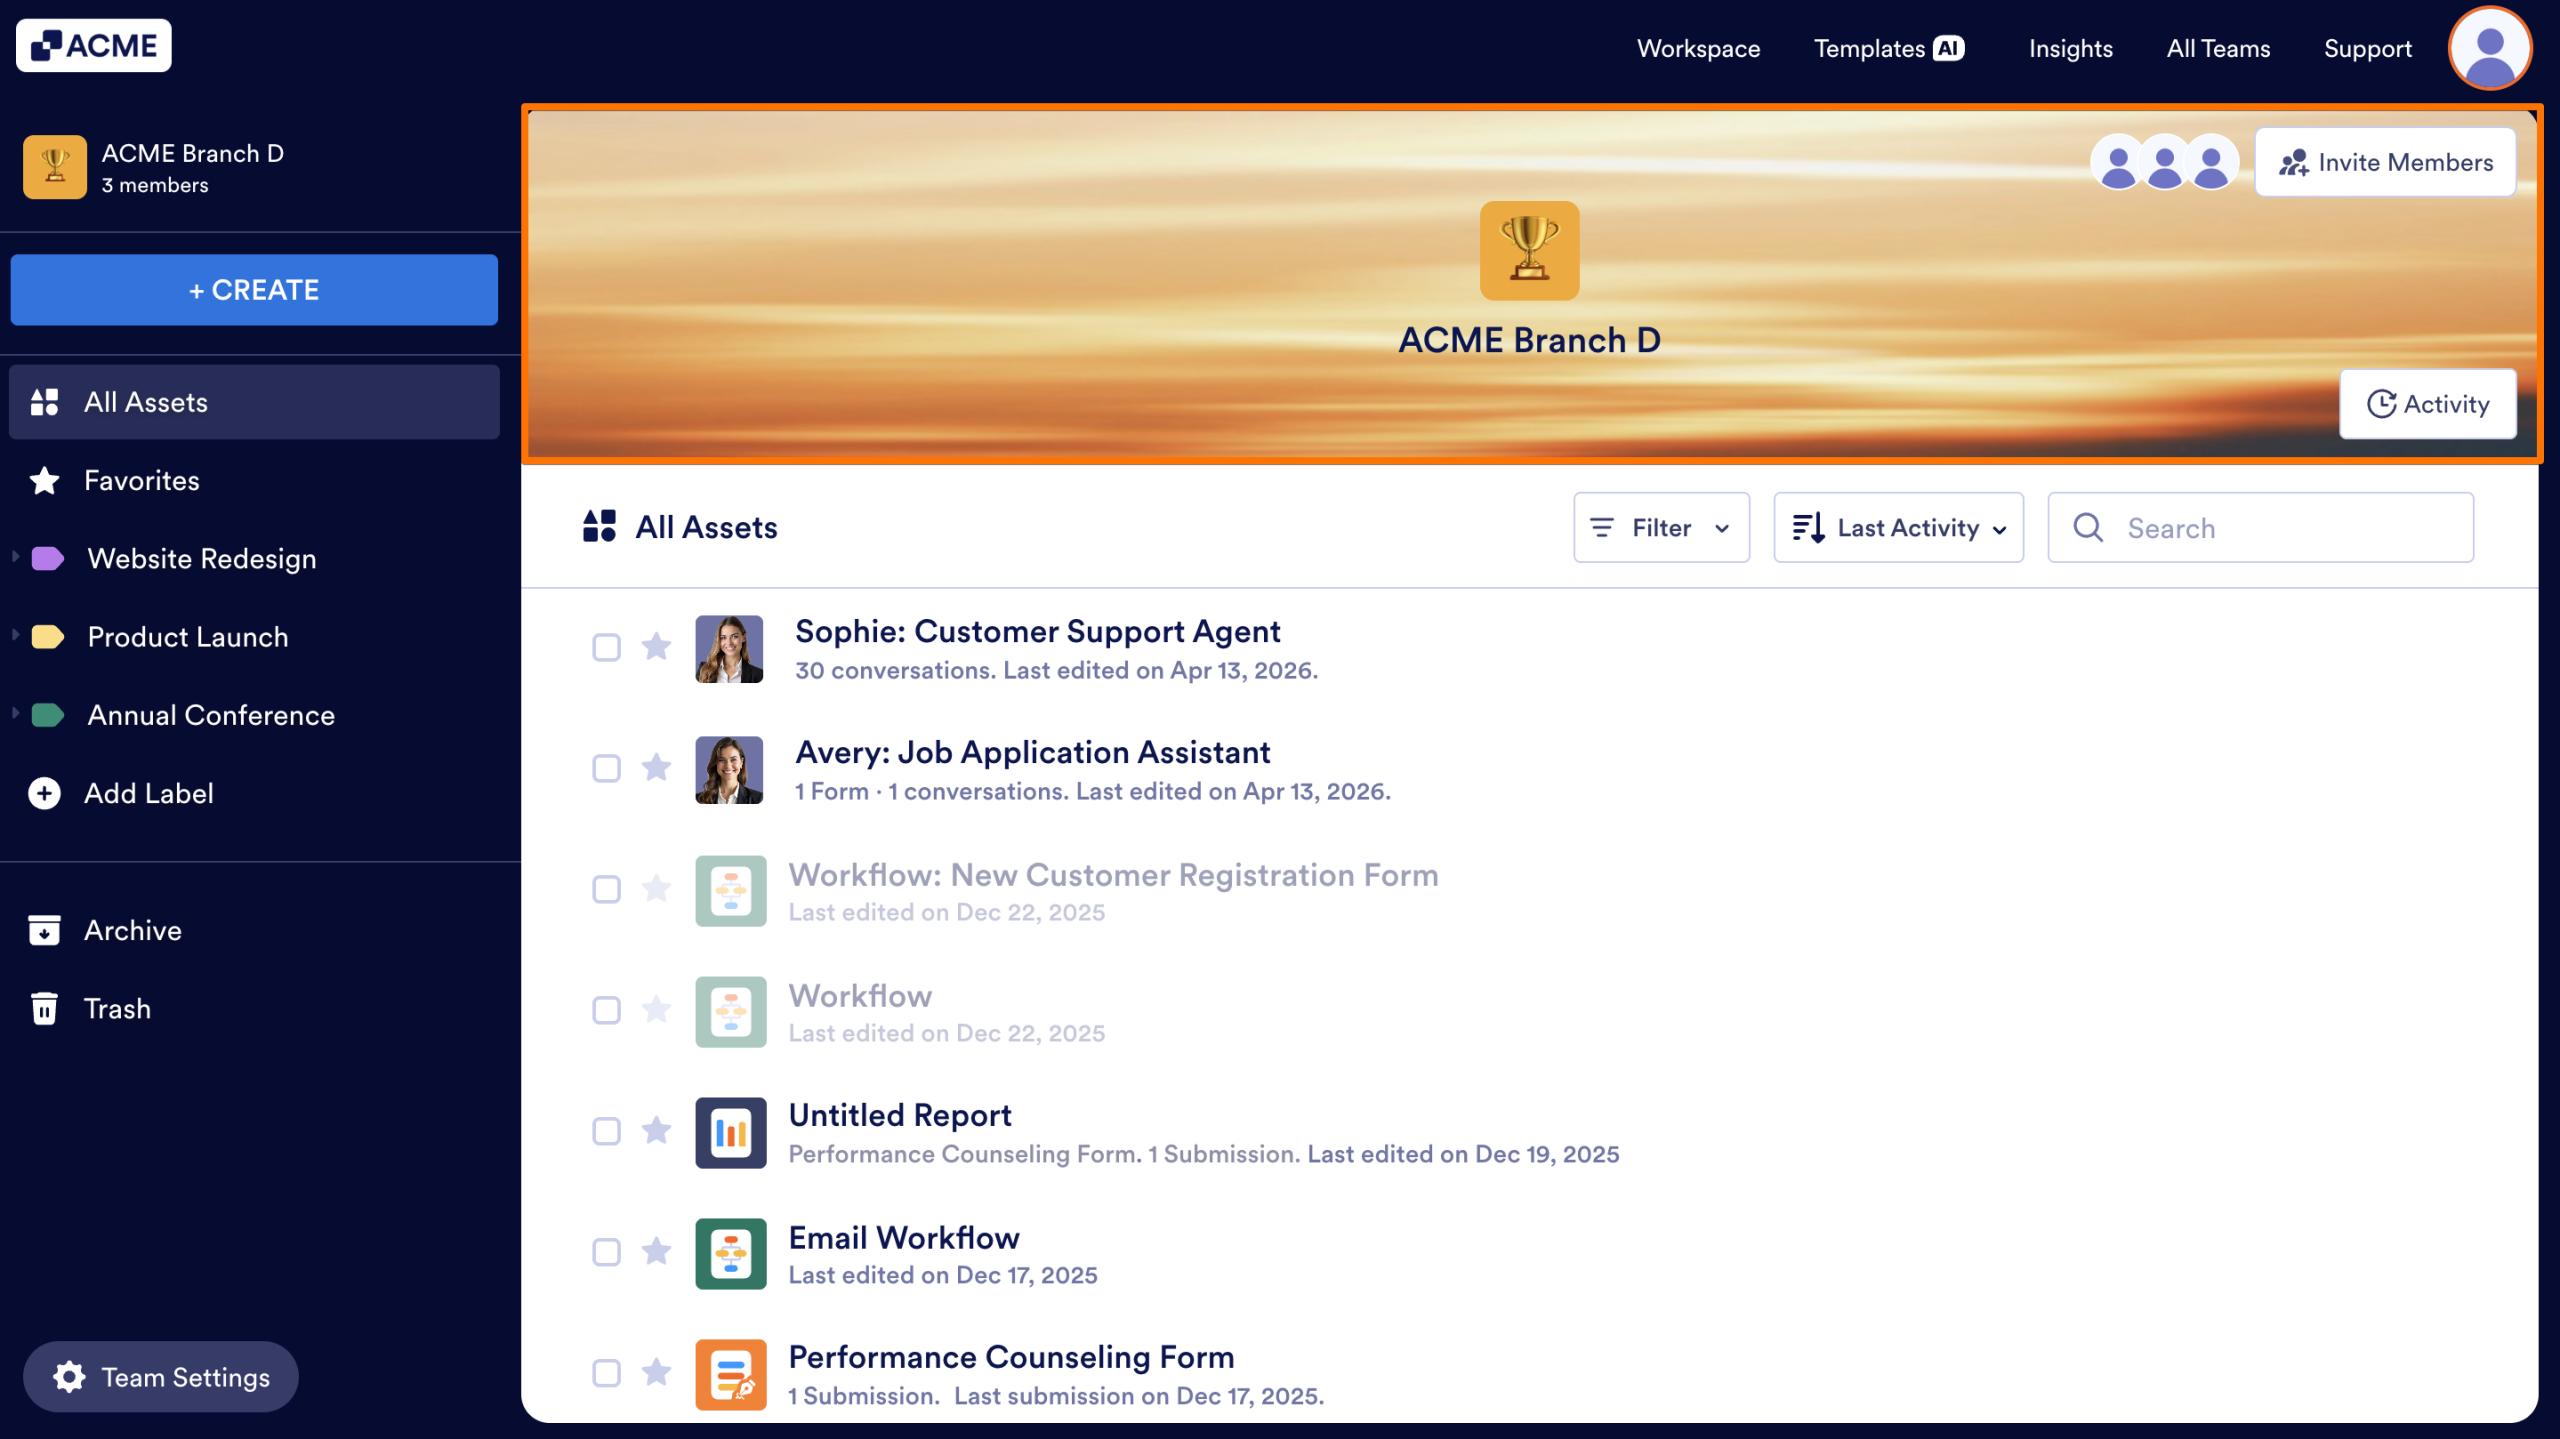
The updated name will appear in workspace menus and at the top of the workspace.
Updating the Team Logo
- In the Team Workspace, click on Team Settings in the bottom left.

- Select General Settings.

- Click on the Image icon positioned in the logo’s bottom-right corner.

- Select a new logo or upload your own.
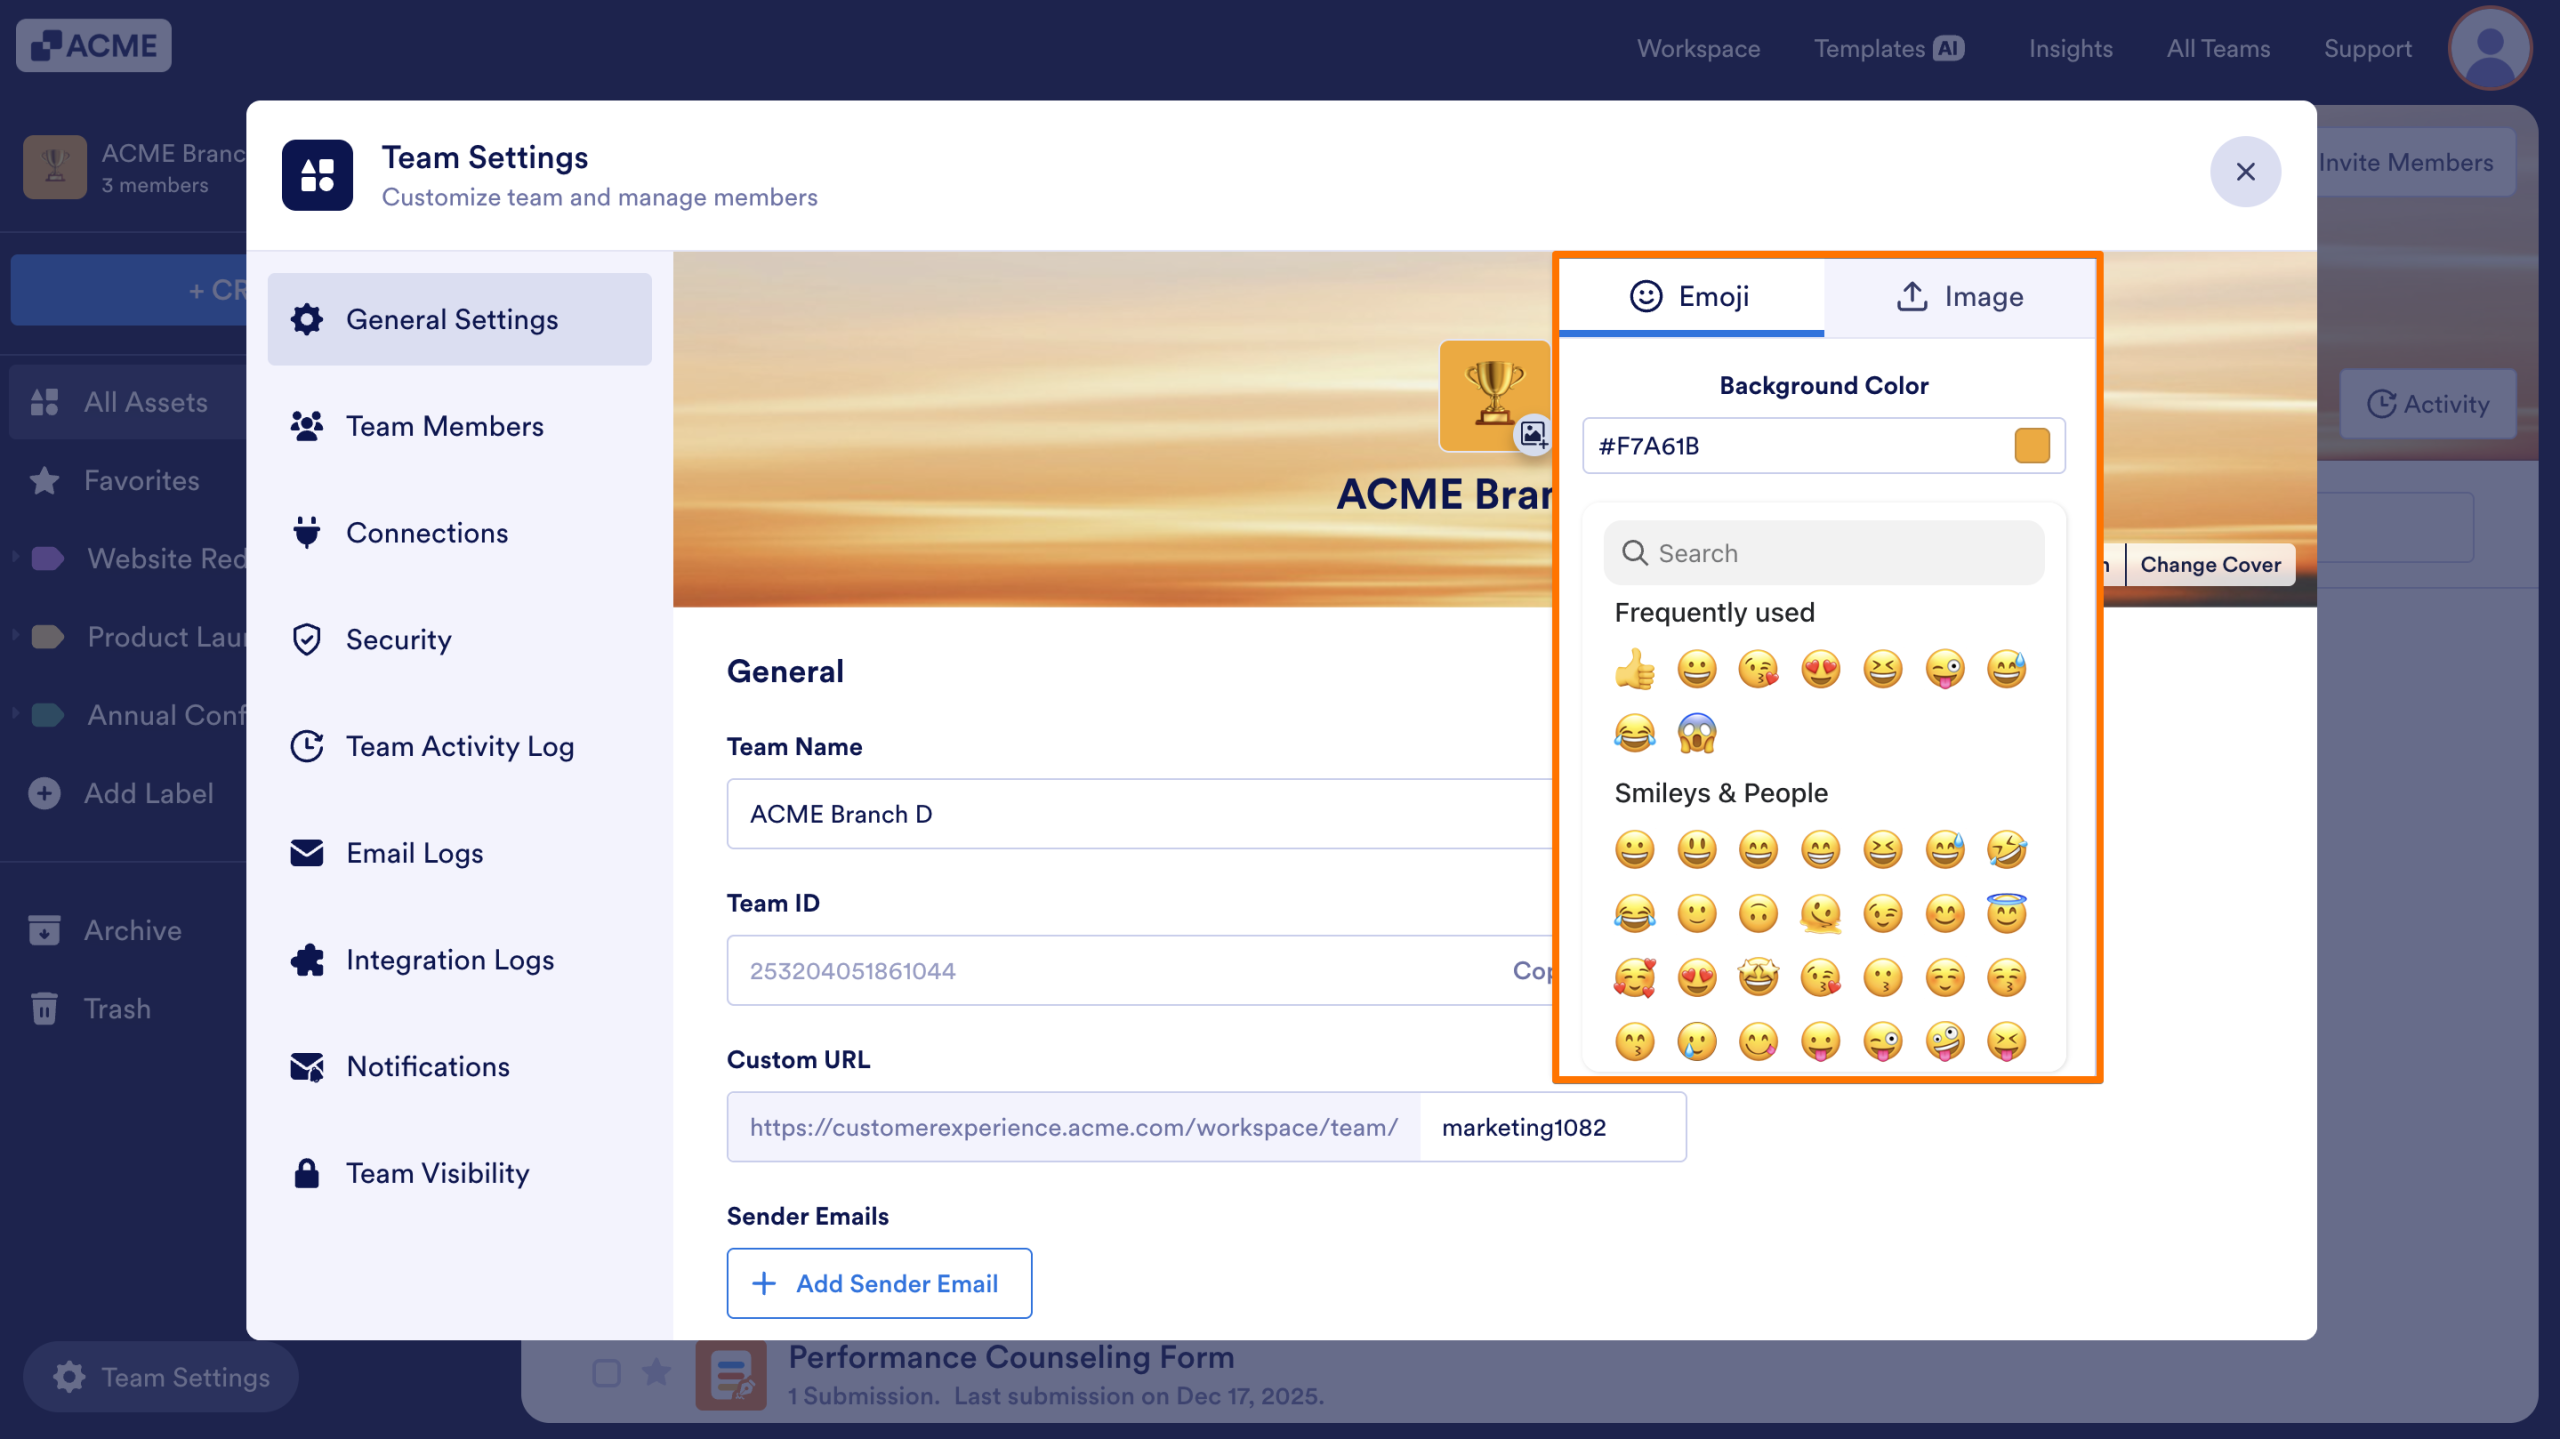
The updated logo will now appear in the workspace header and help team members quickly identify the current workspace they’re in.

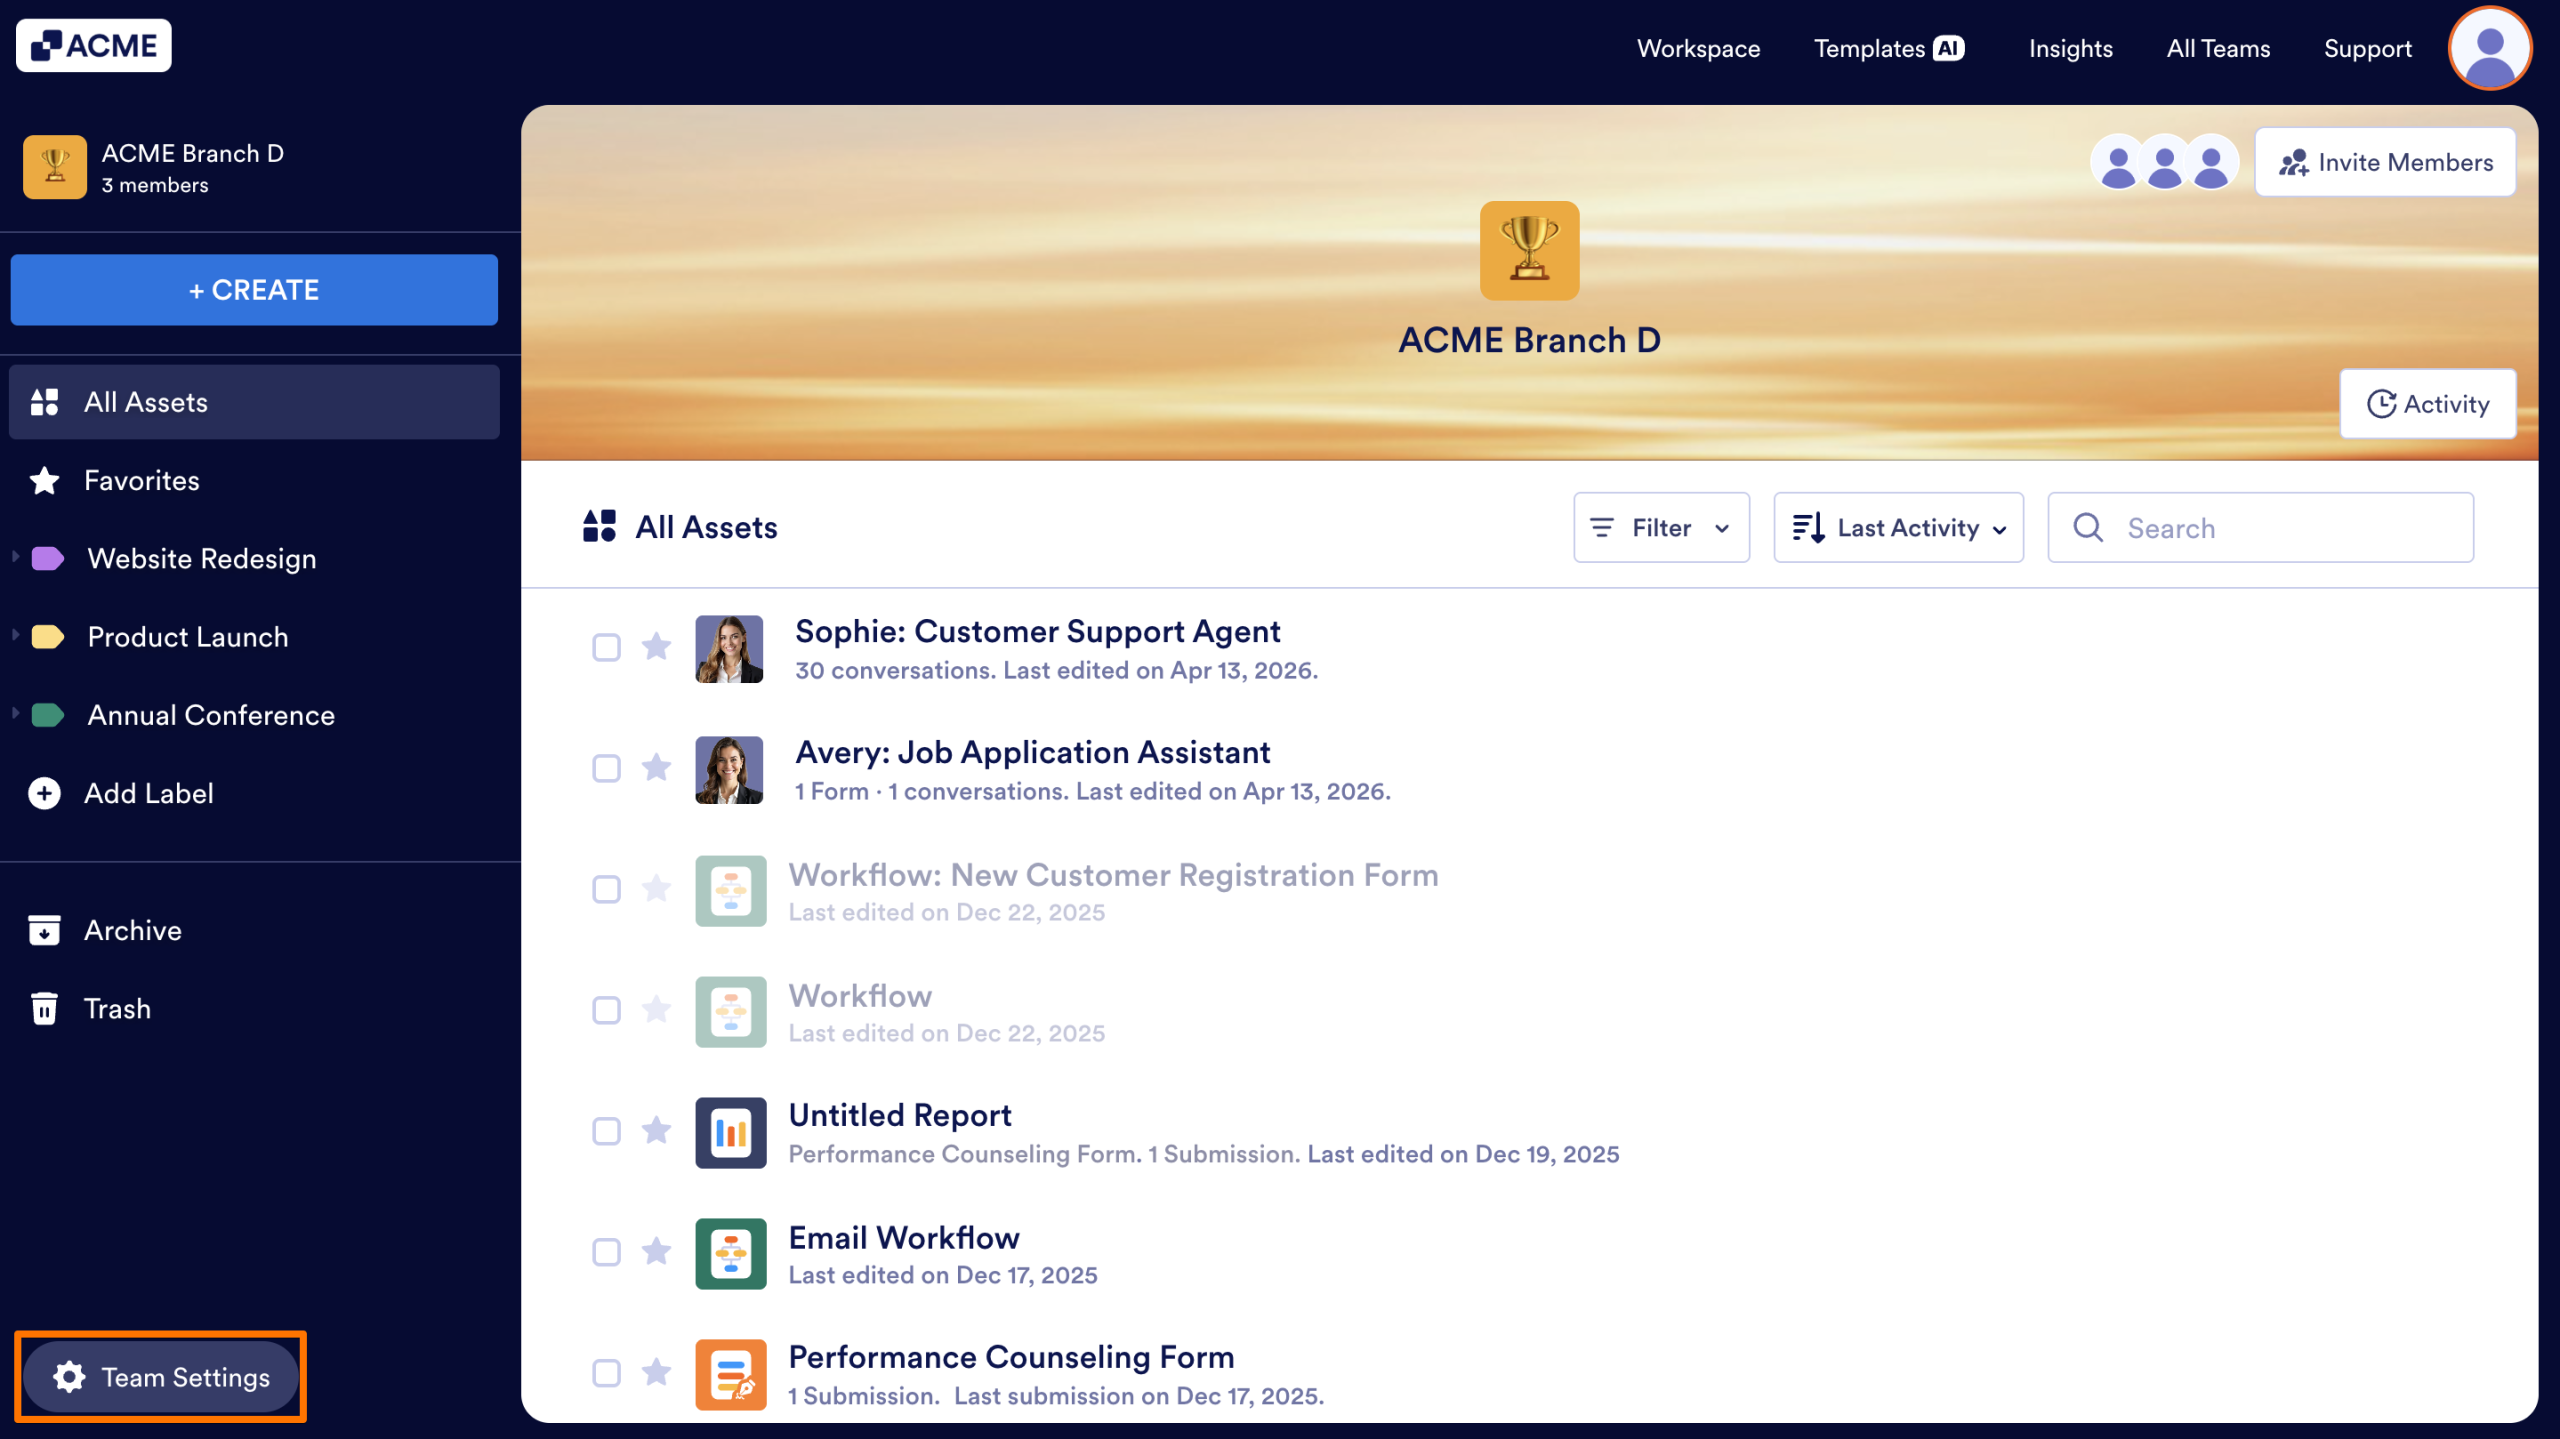
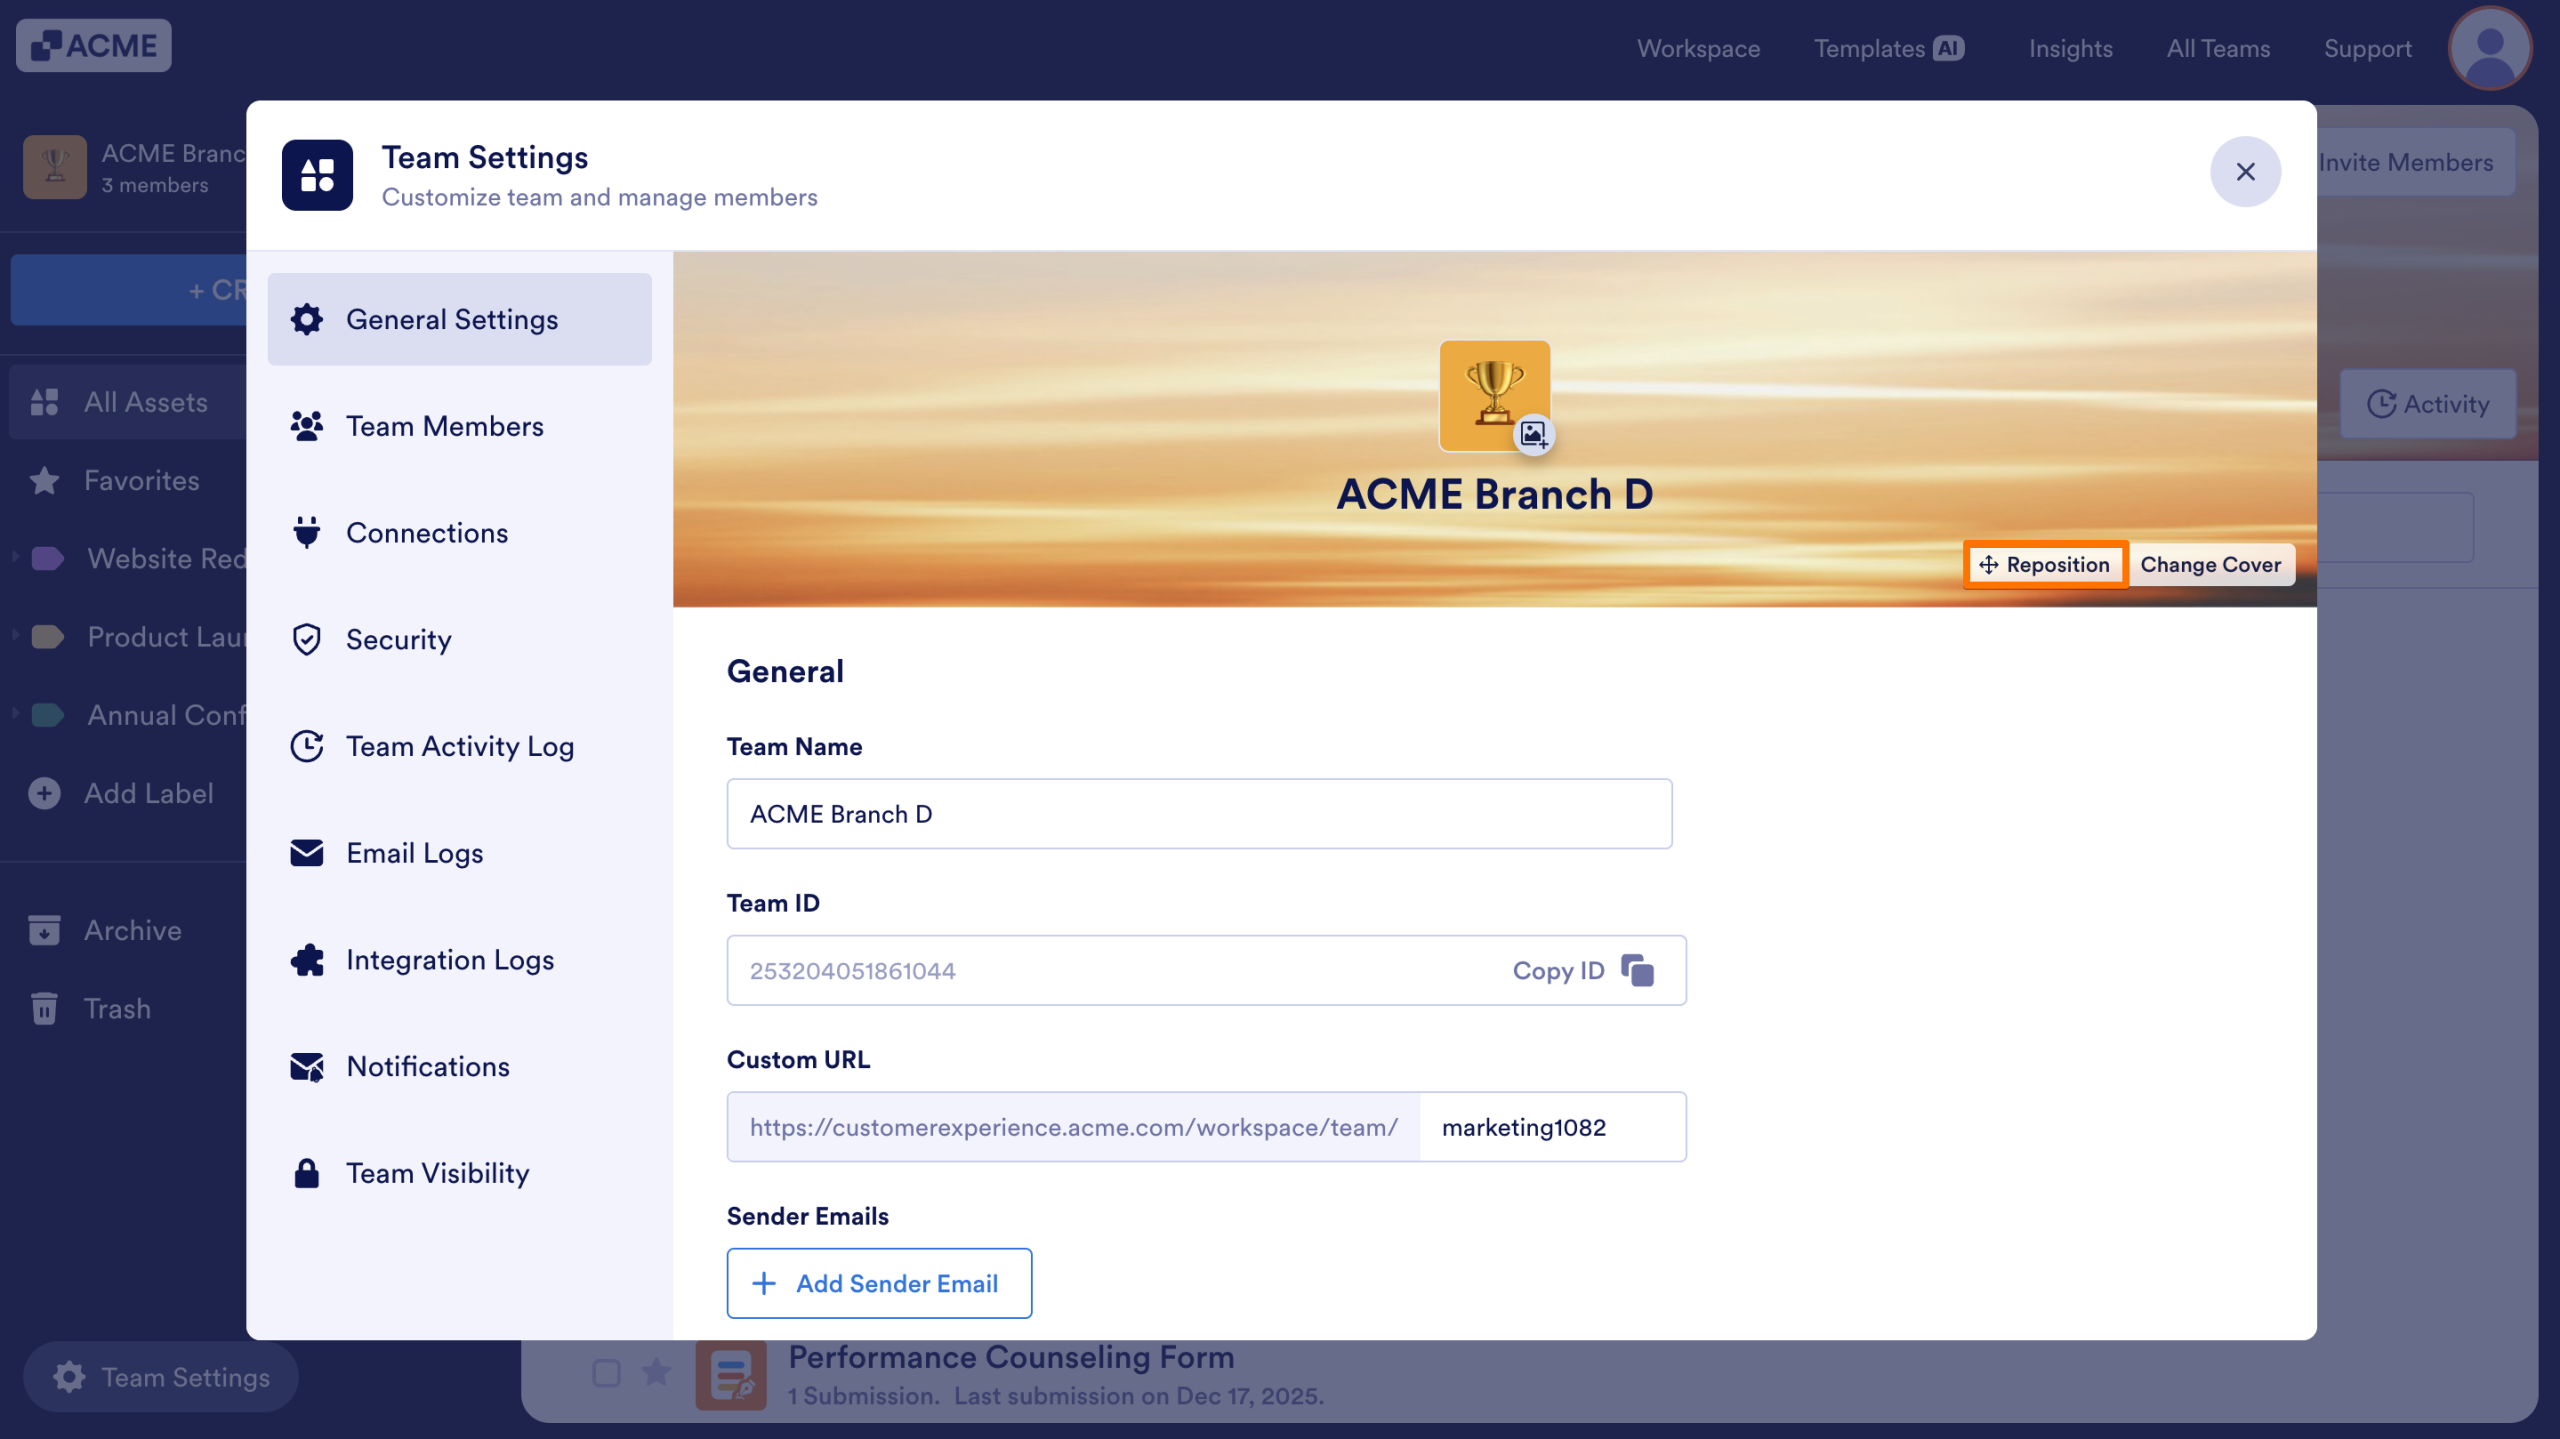
Changing the Team’s Background Image
- In the Team Workspace, click on Team Settings in the bottom left.
- Select General Settings.

- Click on the Change Cover button.

- Select the new background you want to use.
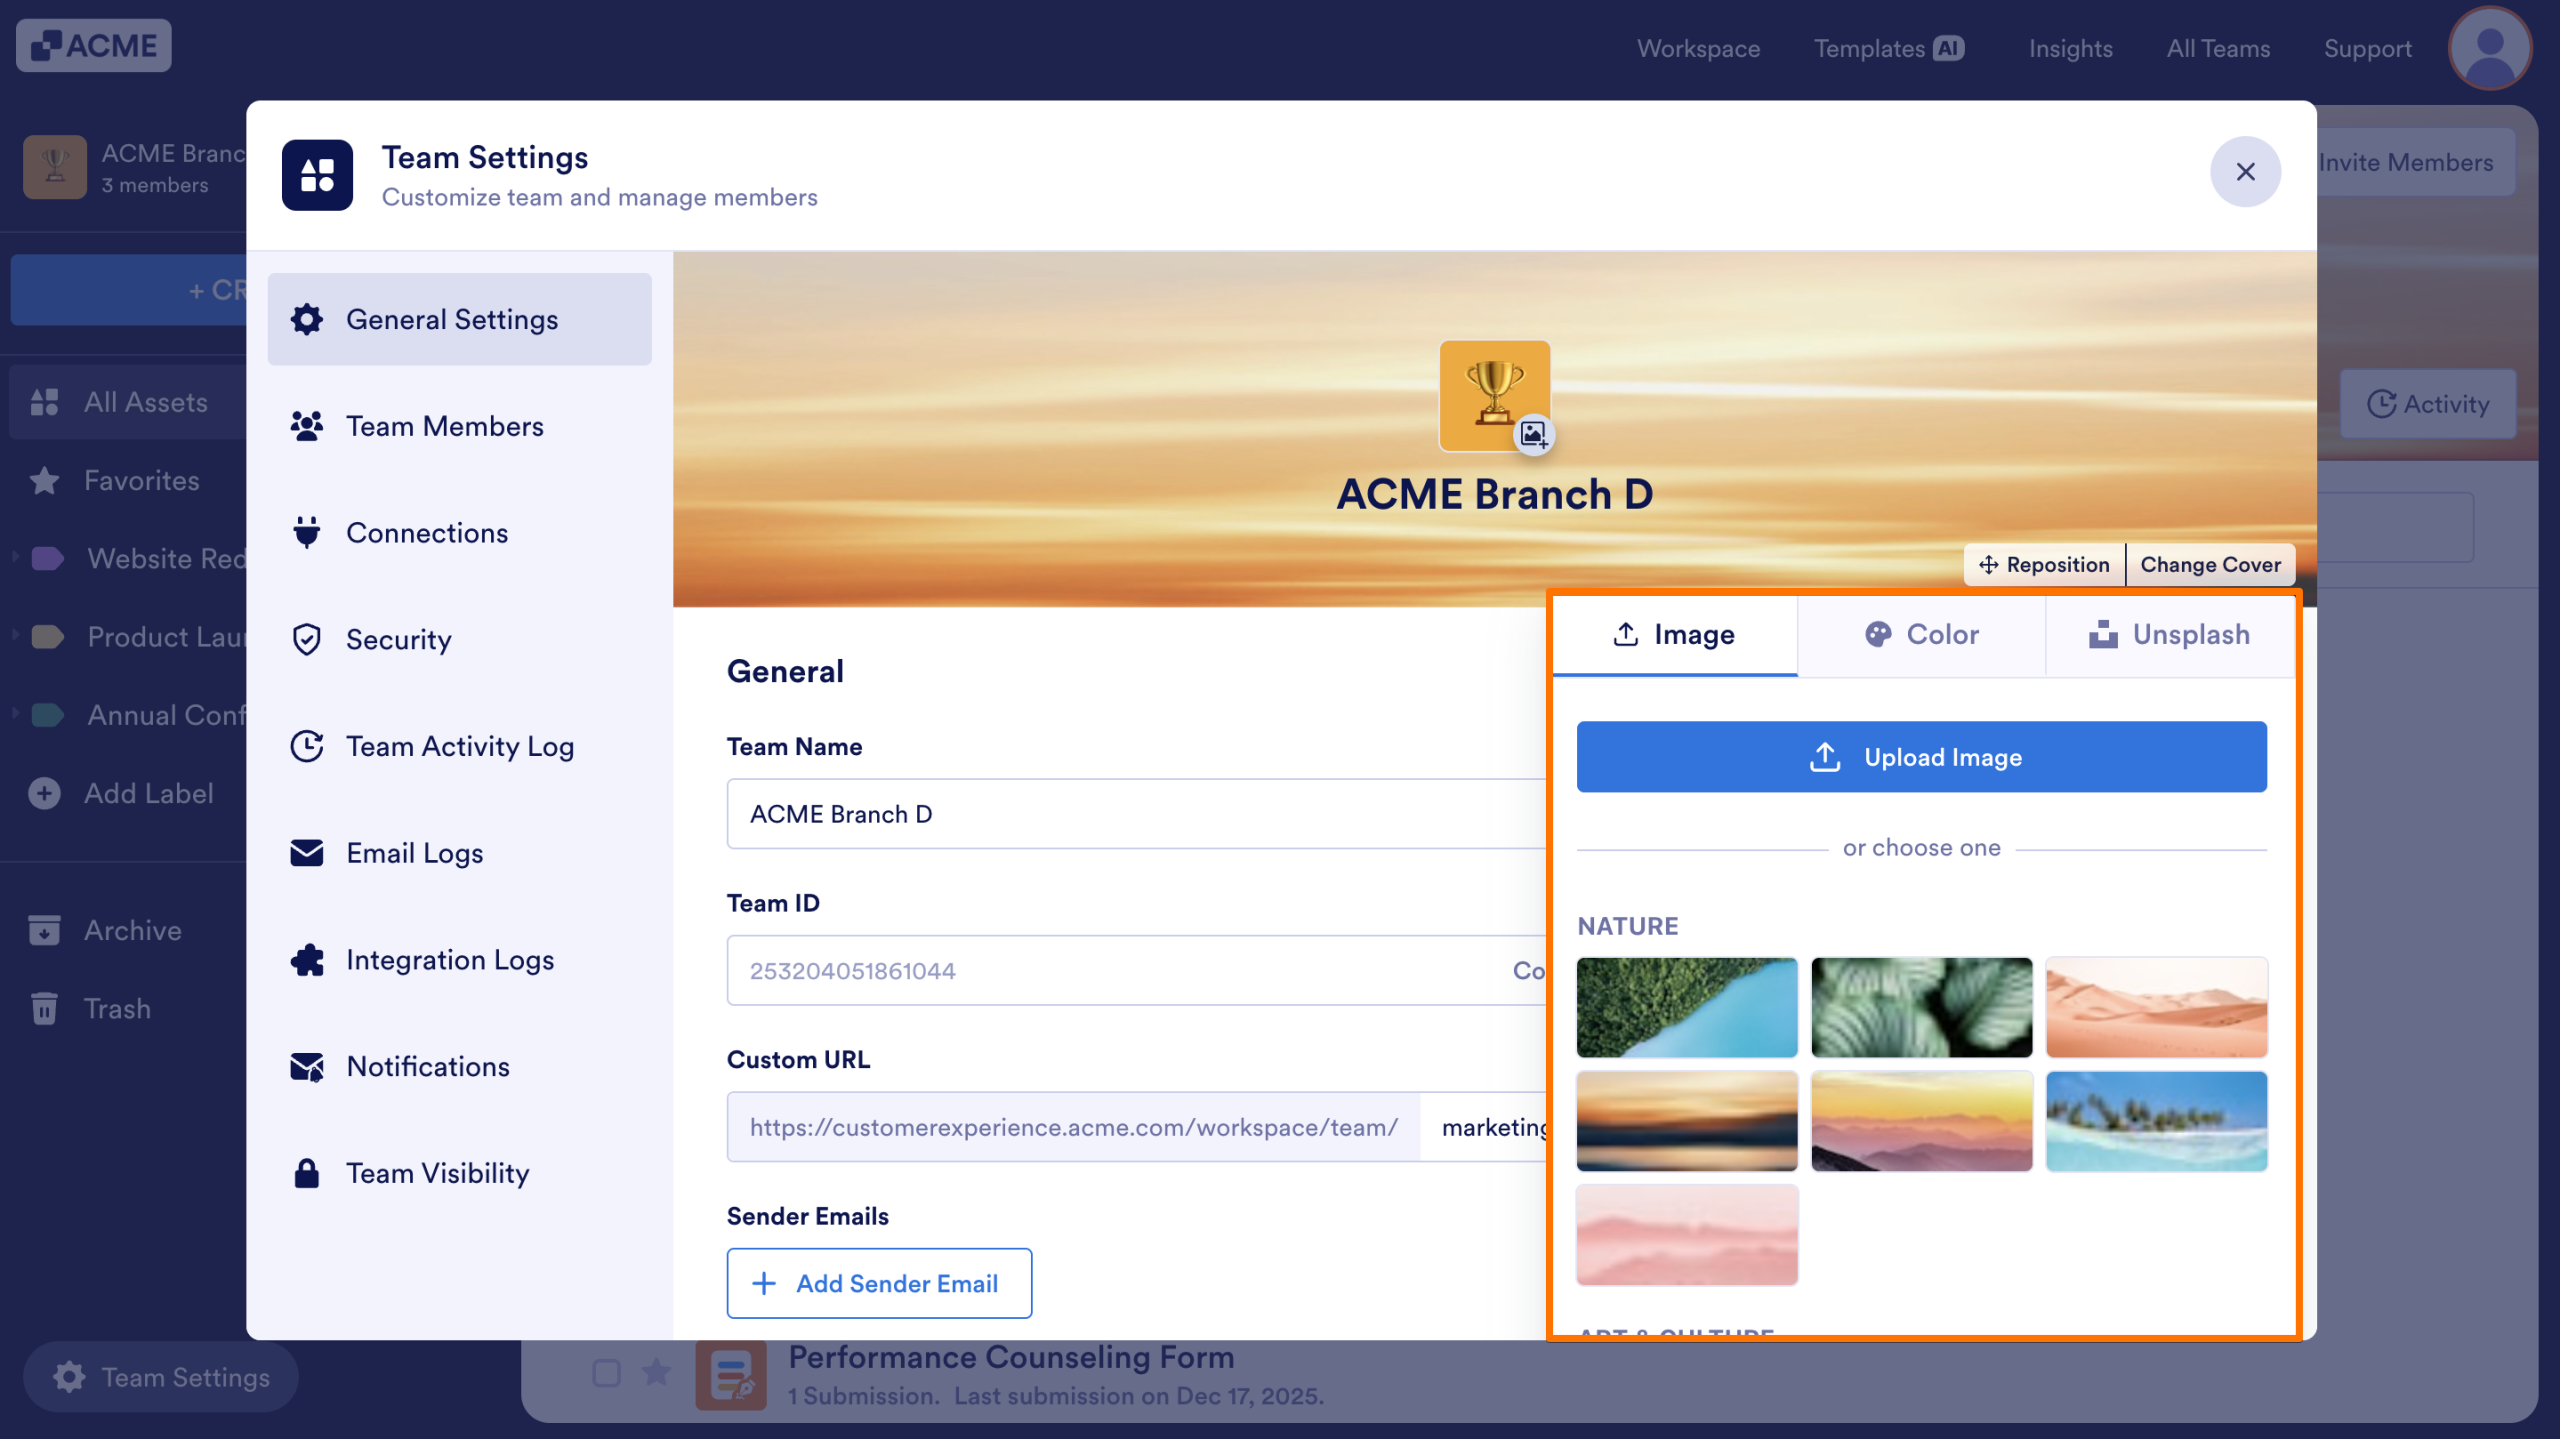
- After selecting the background, click on the Reposition button to better fit the image inside the banner.
- Once you’ve adjusted the background to your liking, click on the Save button.
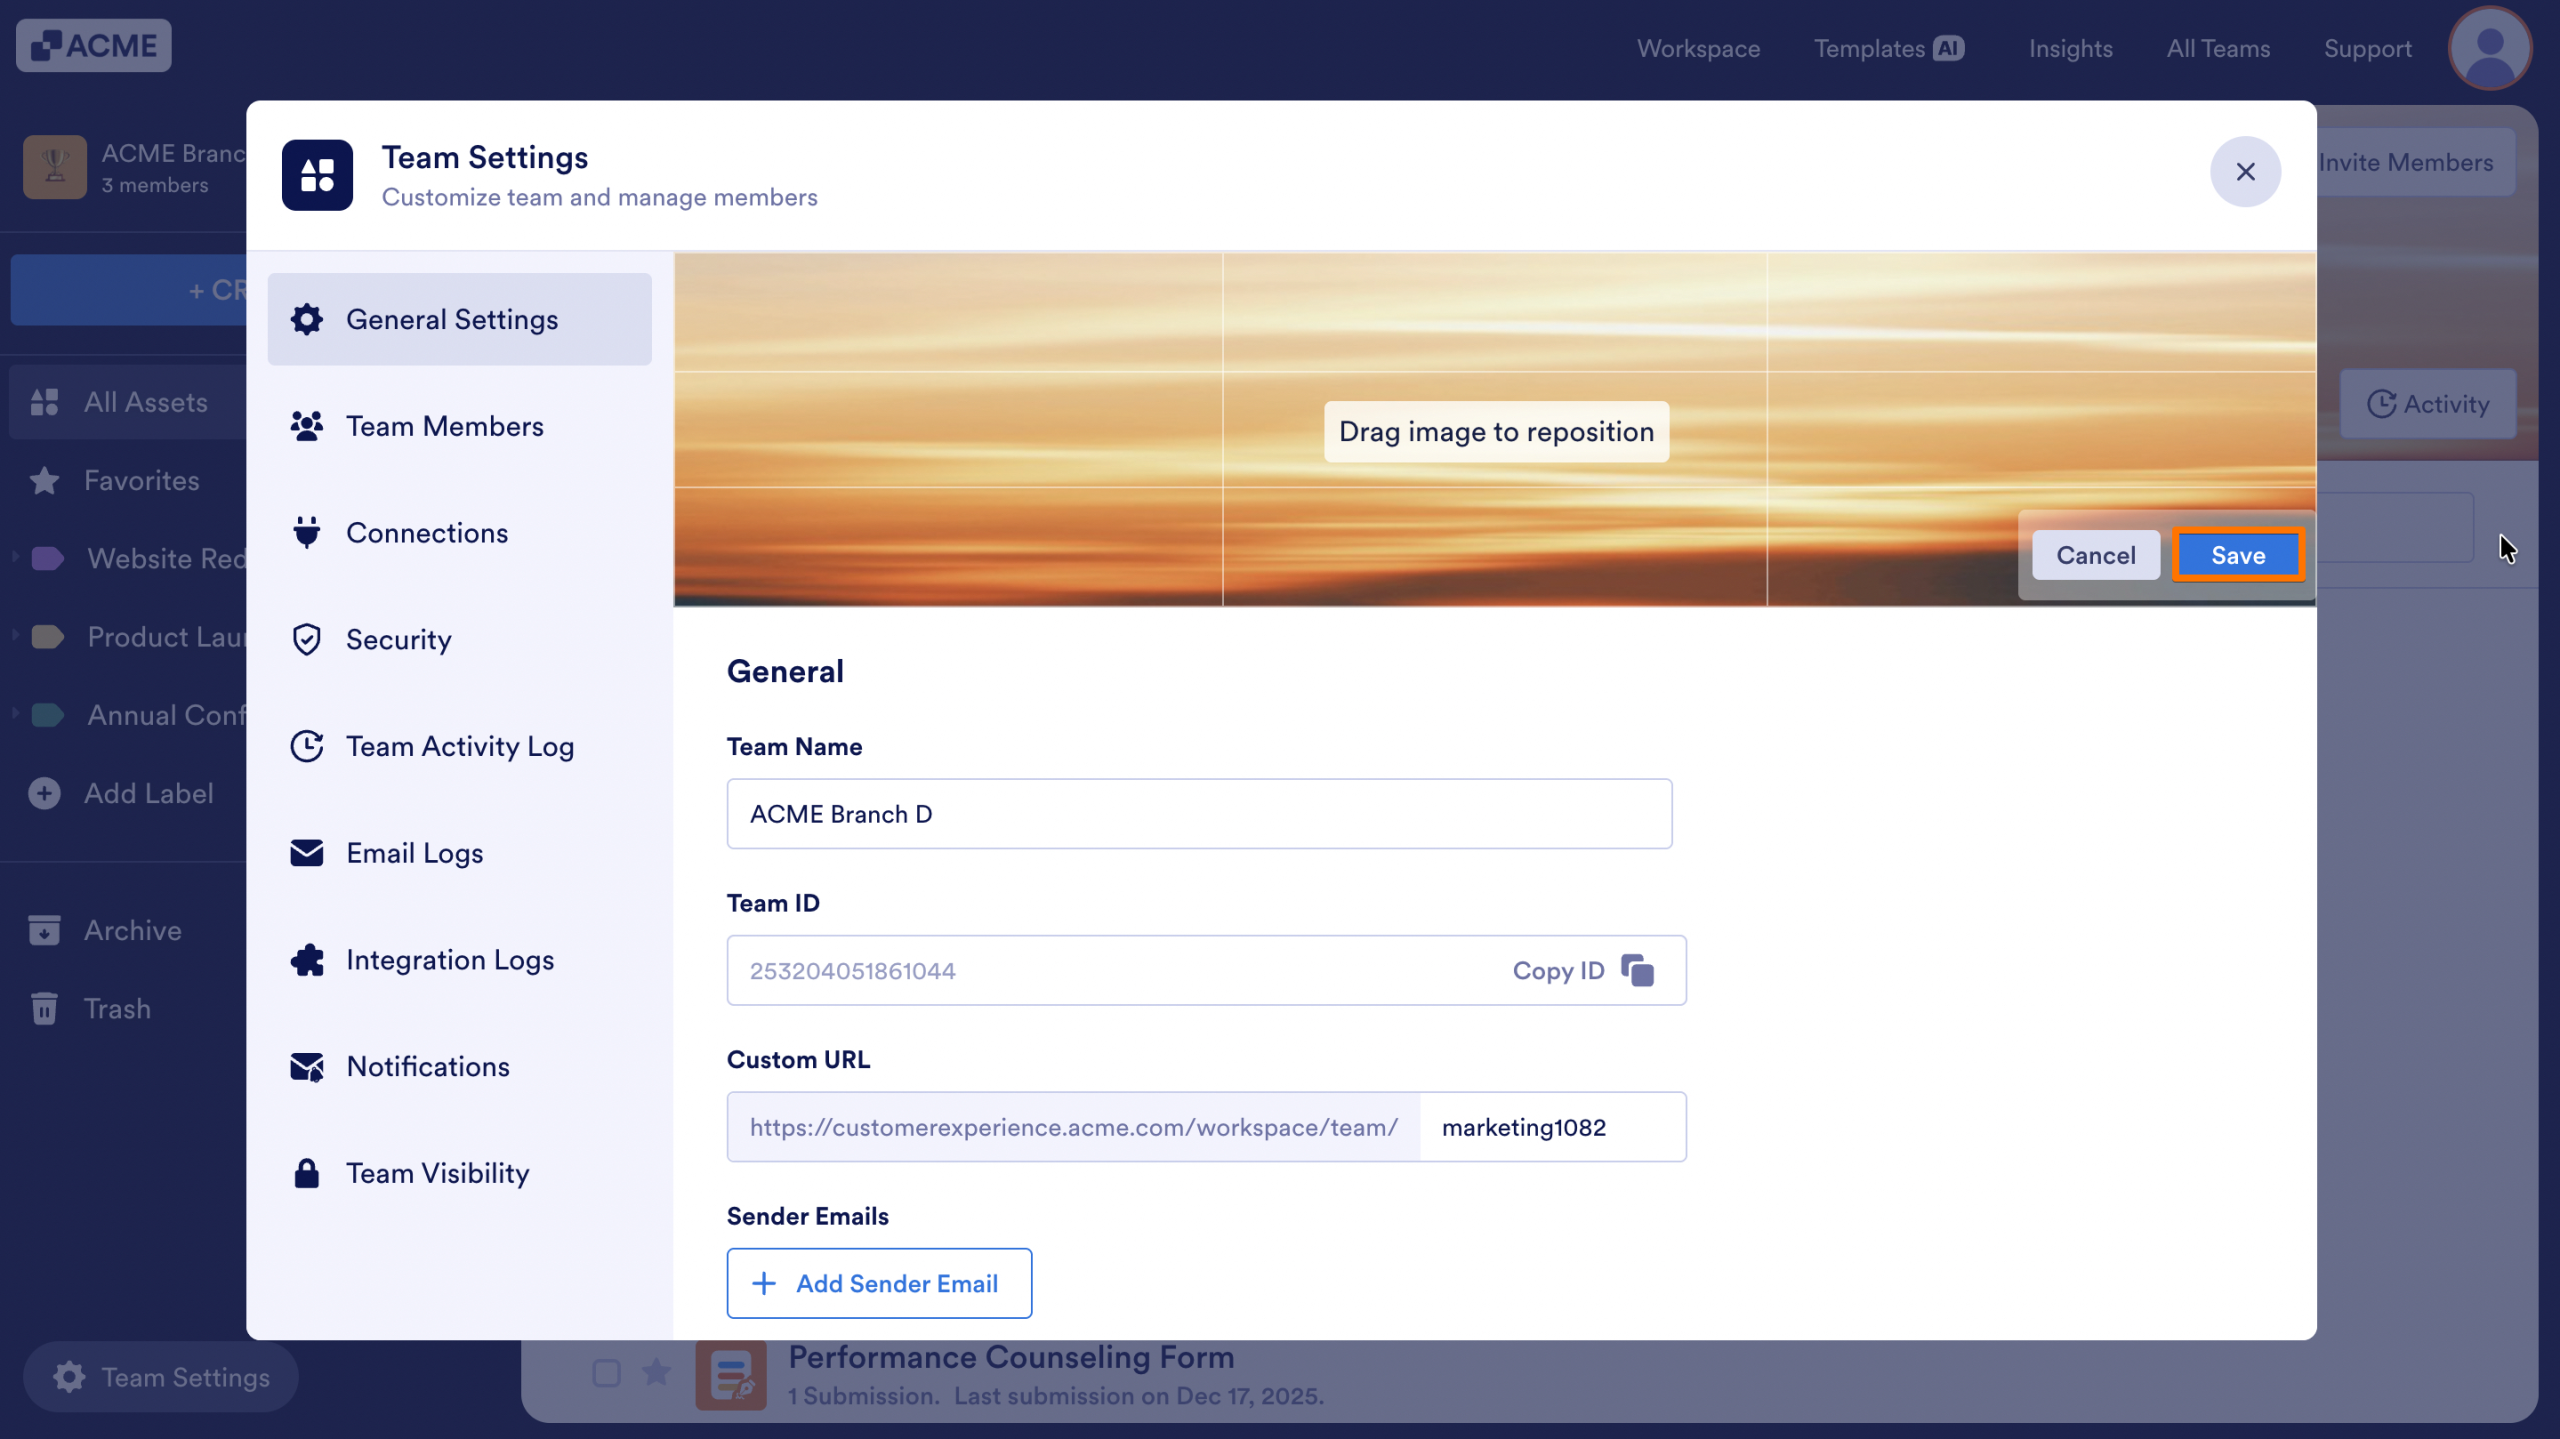
The updated background will now appear in the workspace banner along the top of the Team Workspace page.

Send Comment: