Labels help you categorize and organize items in your workspace so you can quickly filter and find what you need. You can apply labels to any asset stored in the team workspace.
Adding a New Label
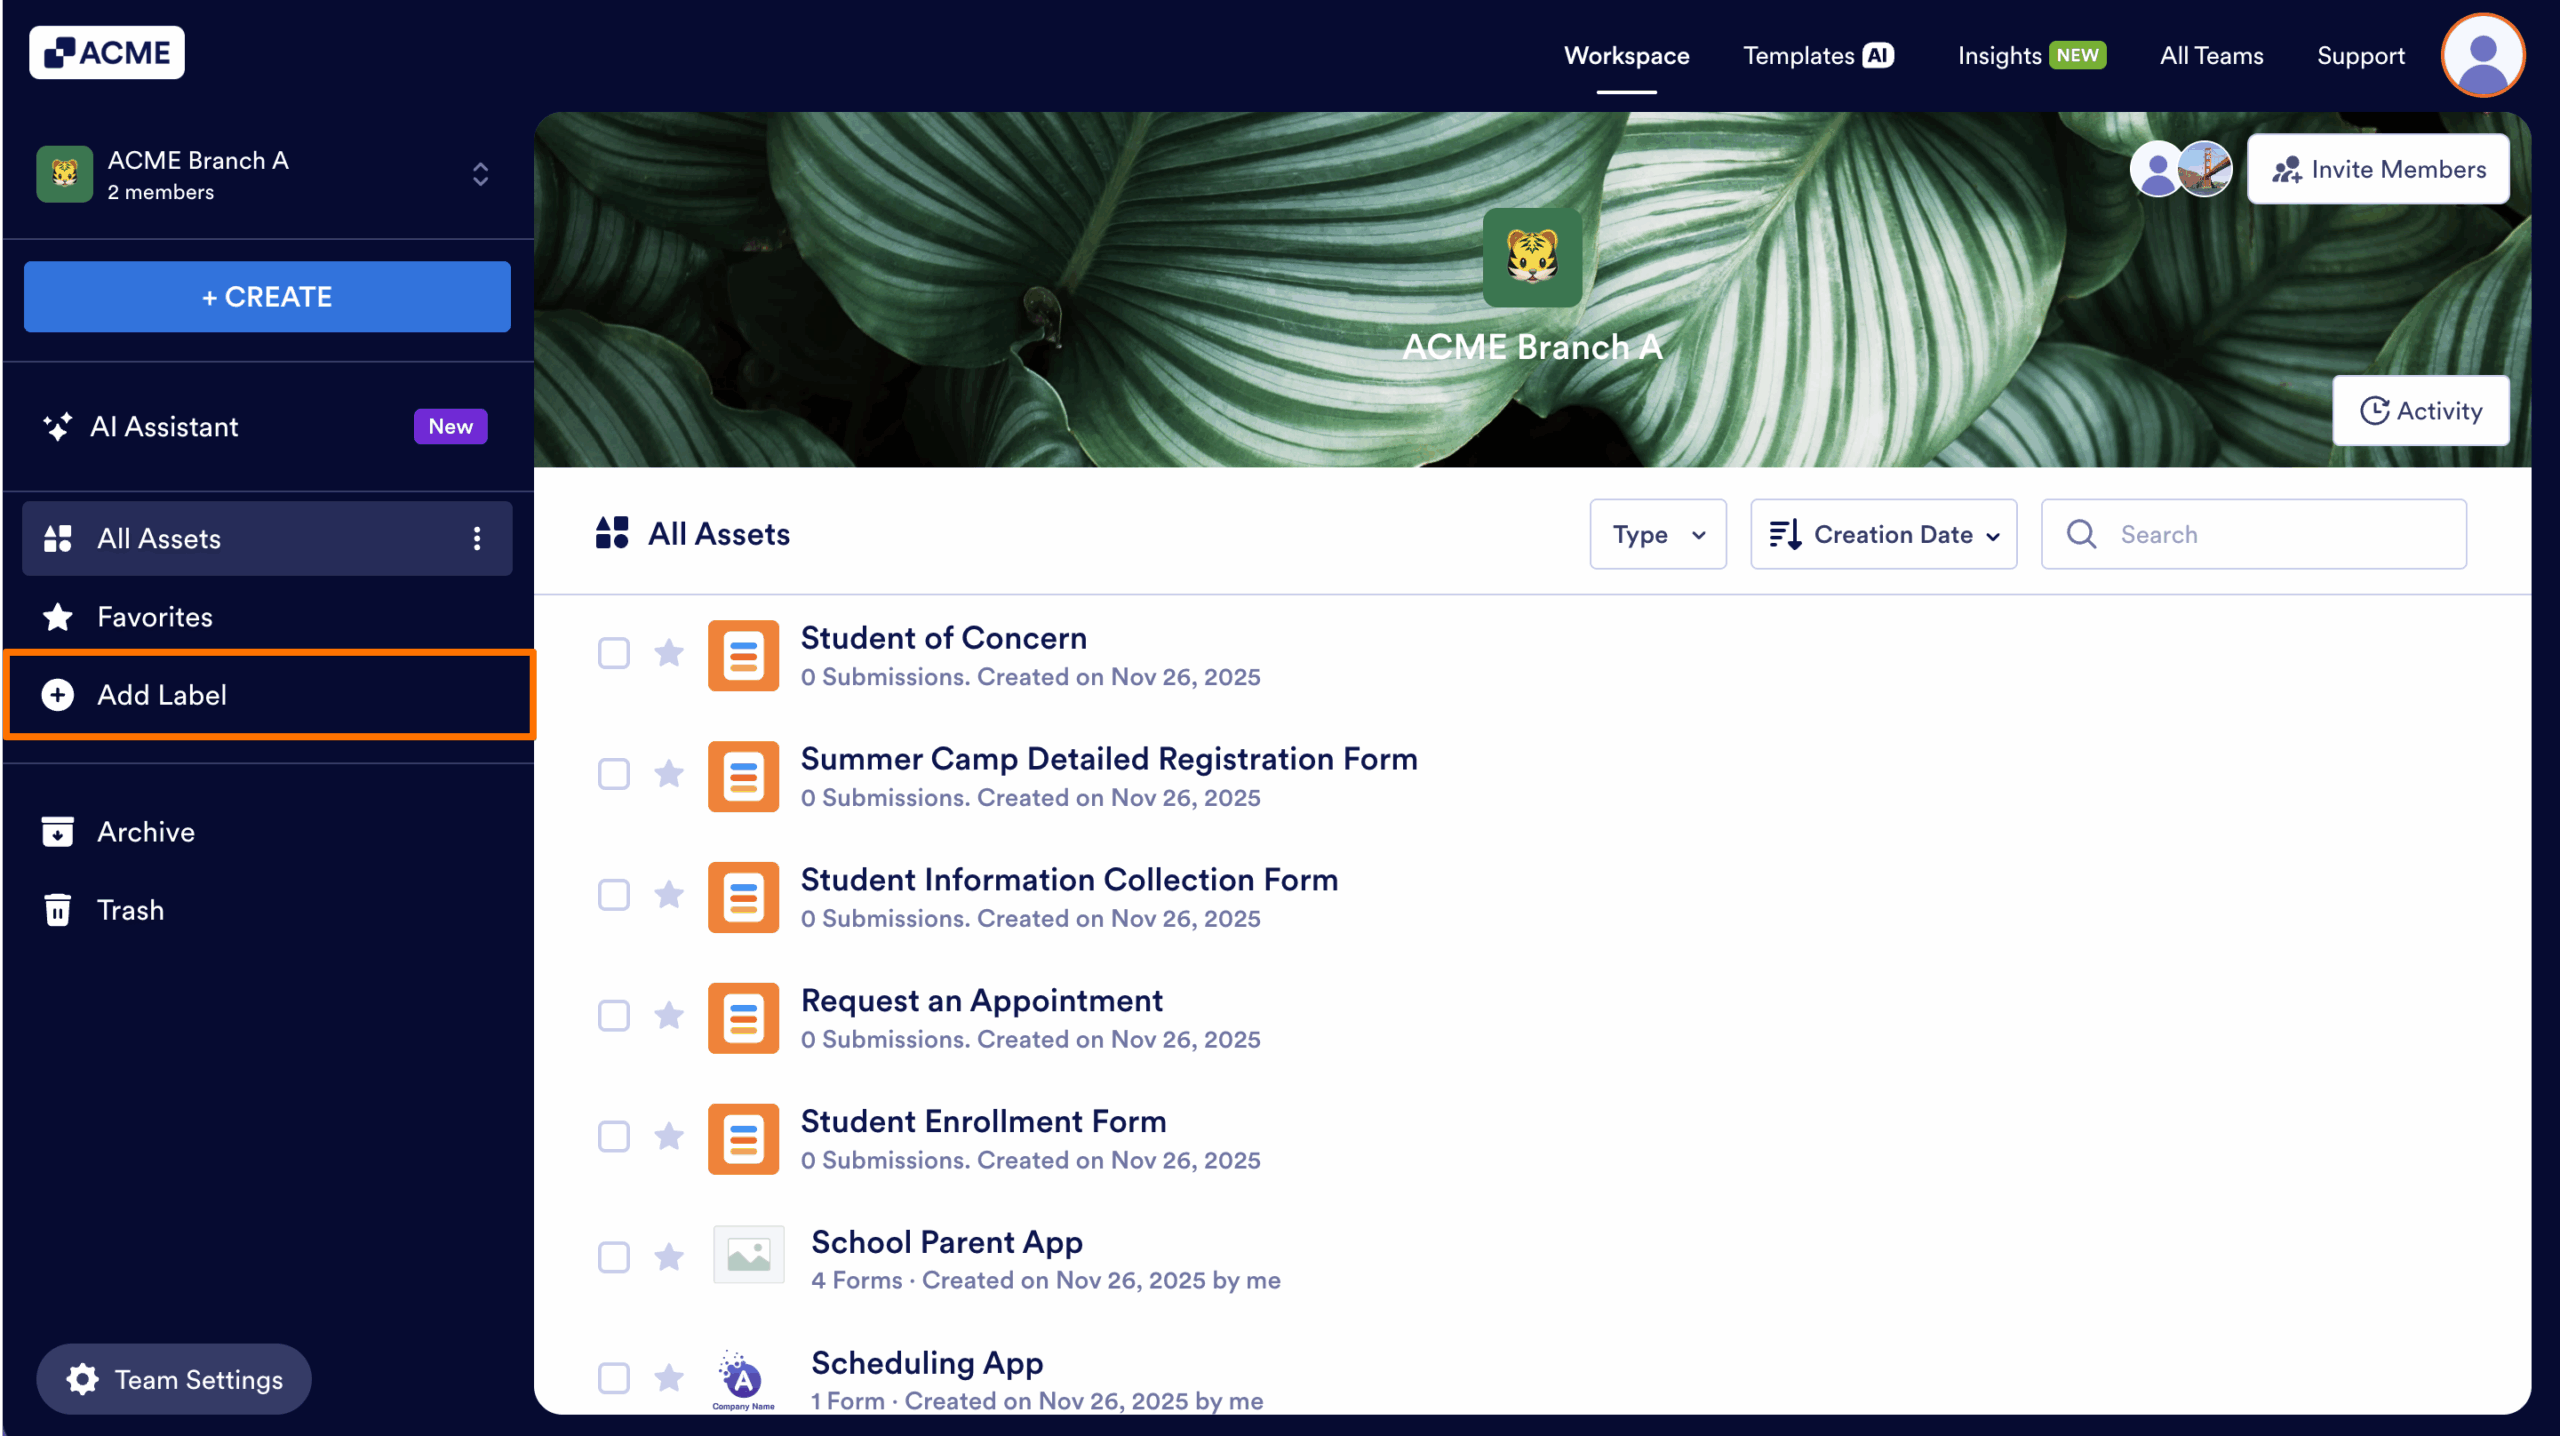
- First, in the Team Workspace, in the sidebar on the left side of the screen, select Add Label.
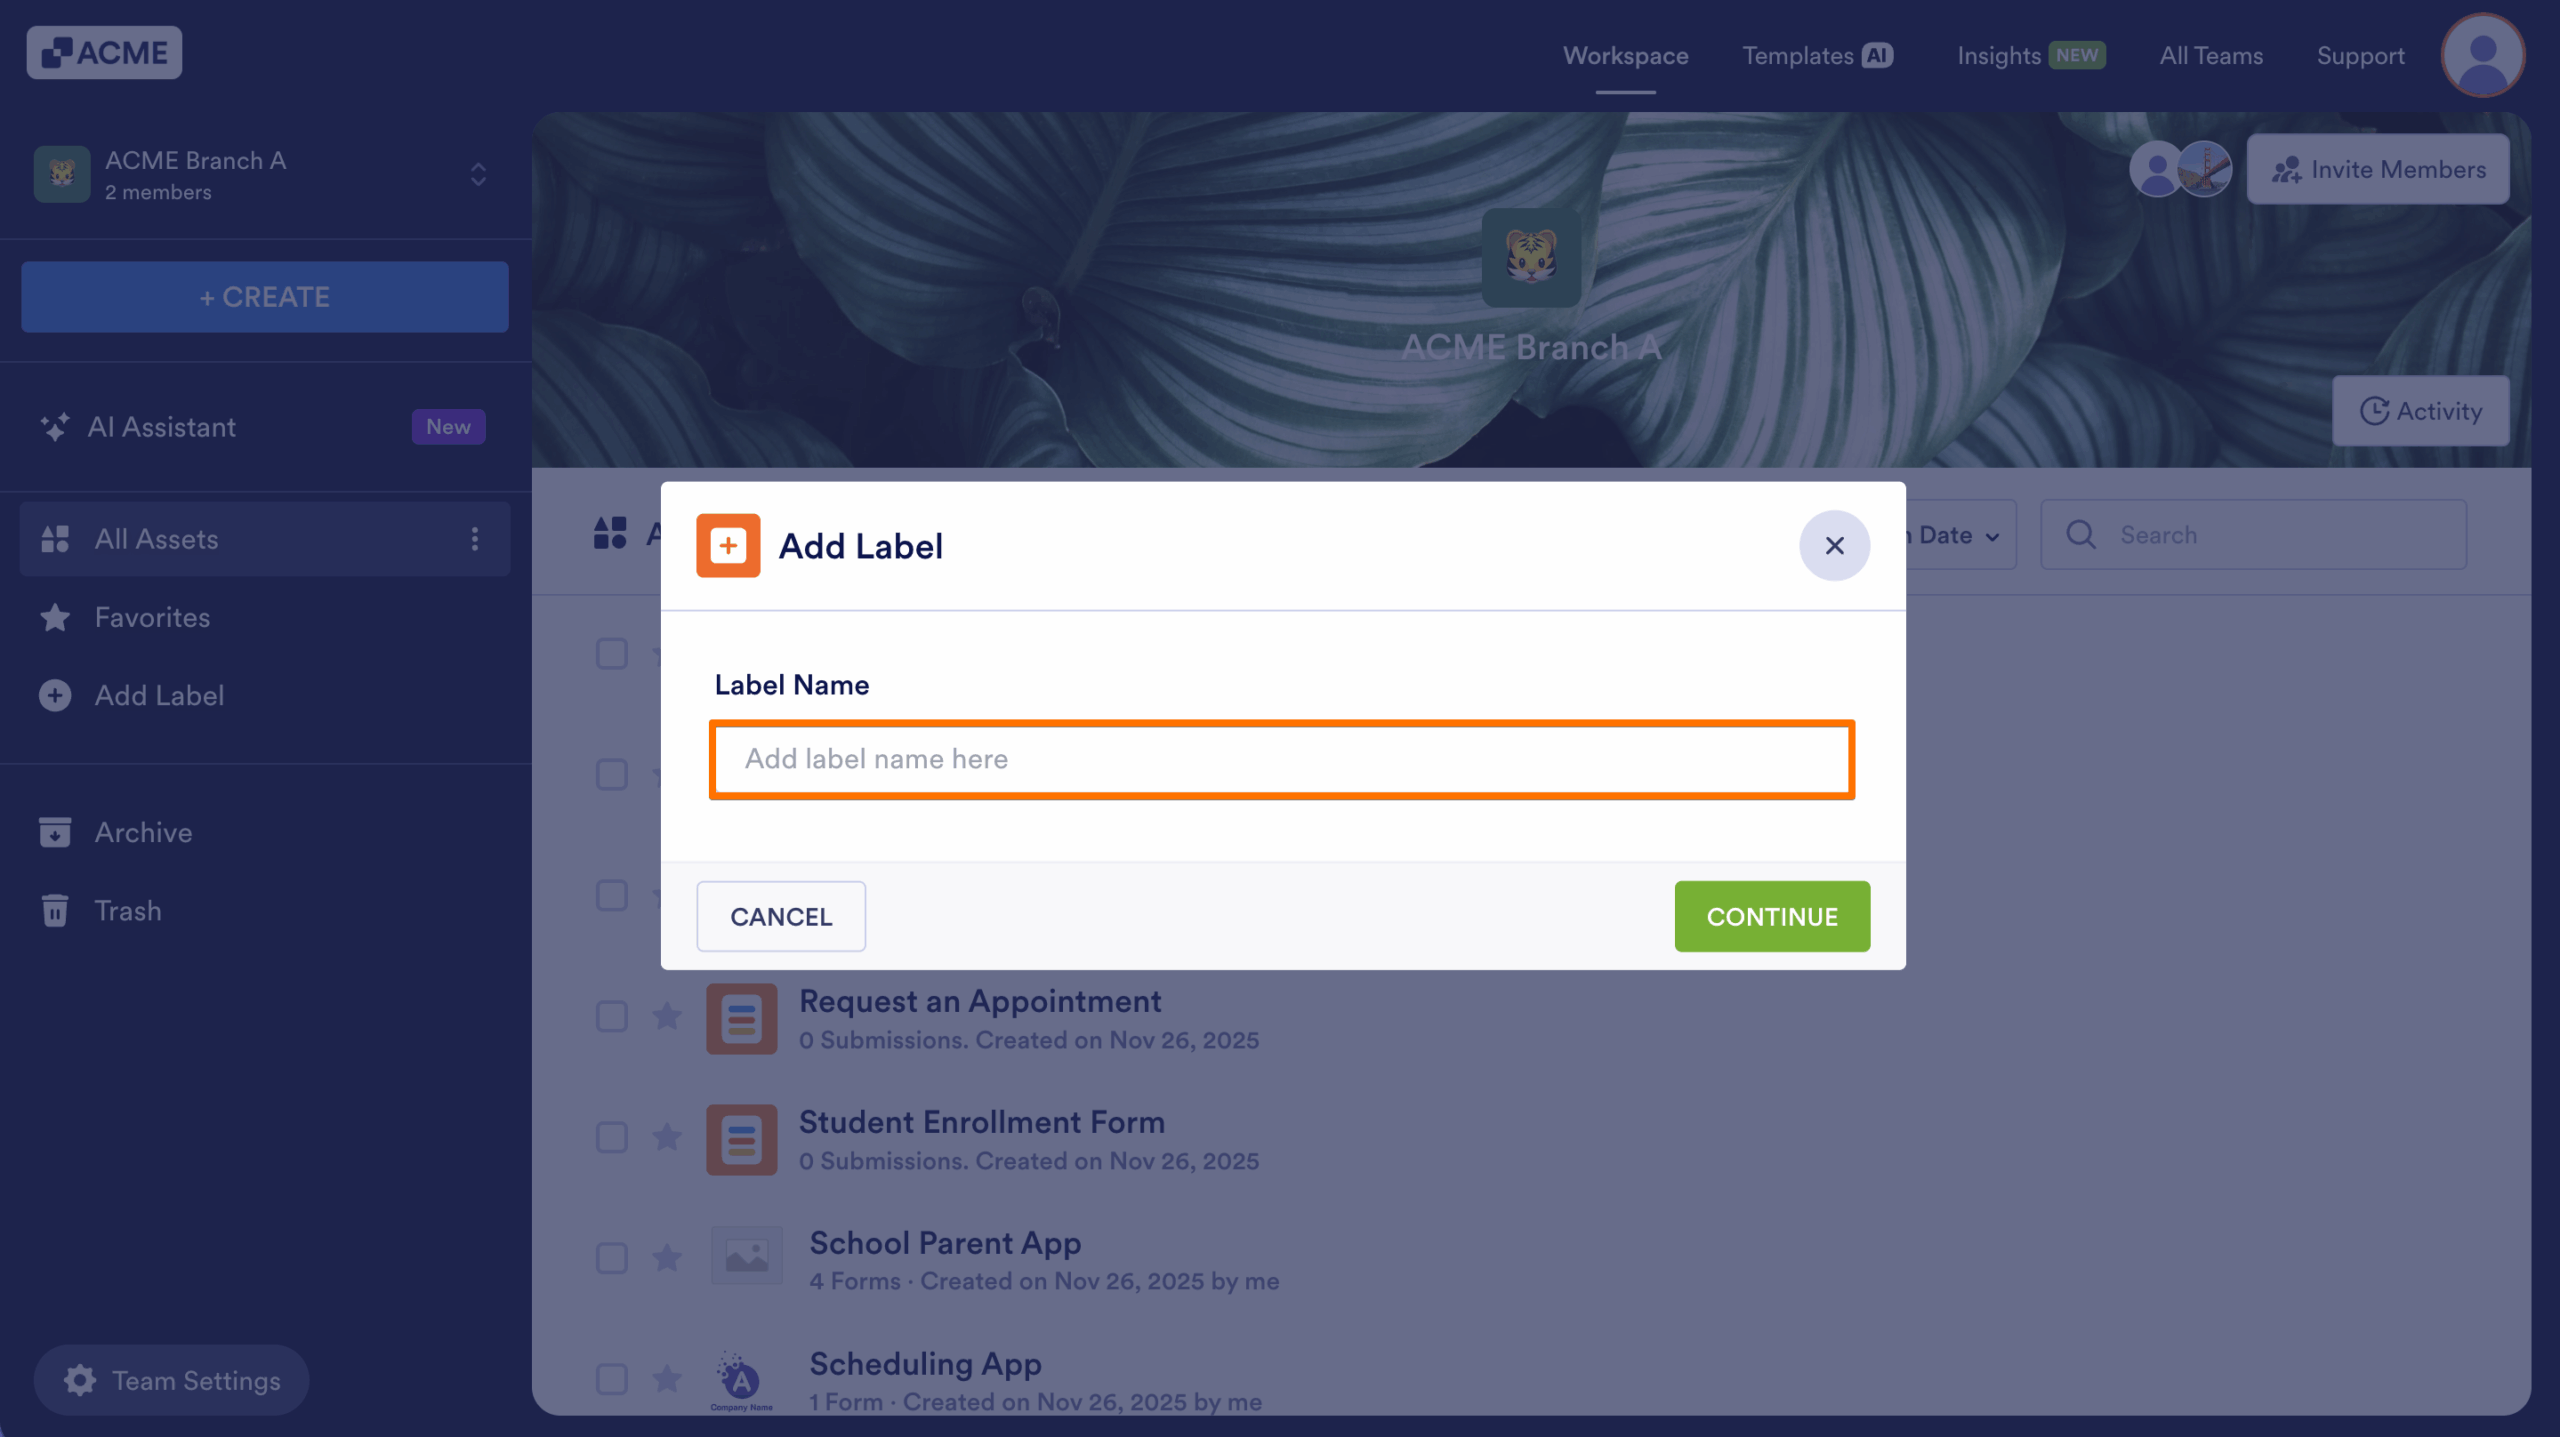
- Next, add your Label Name.
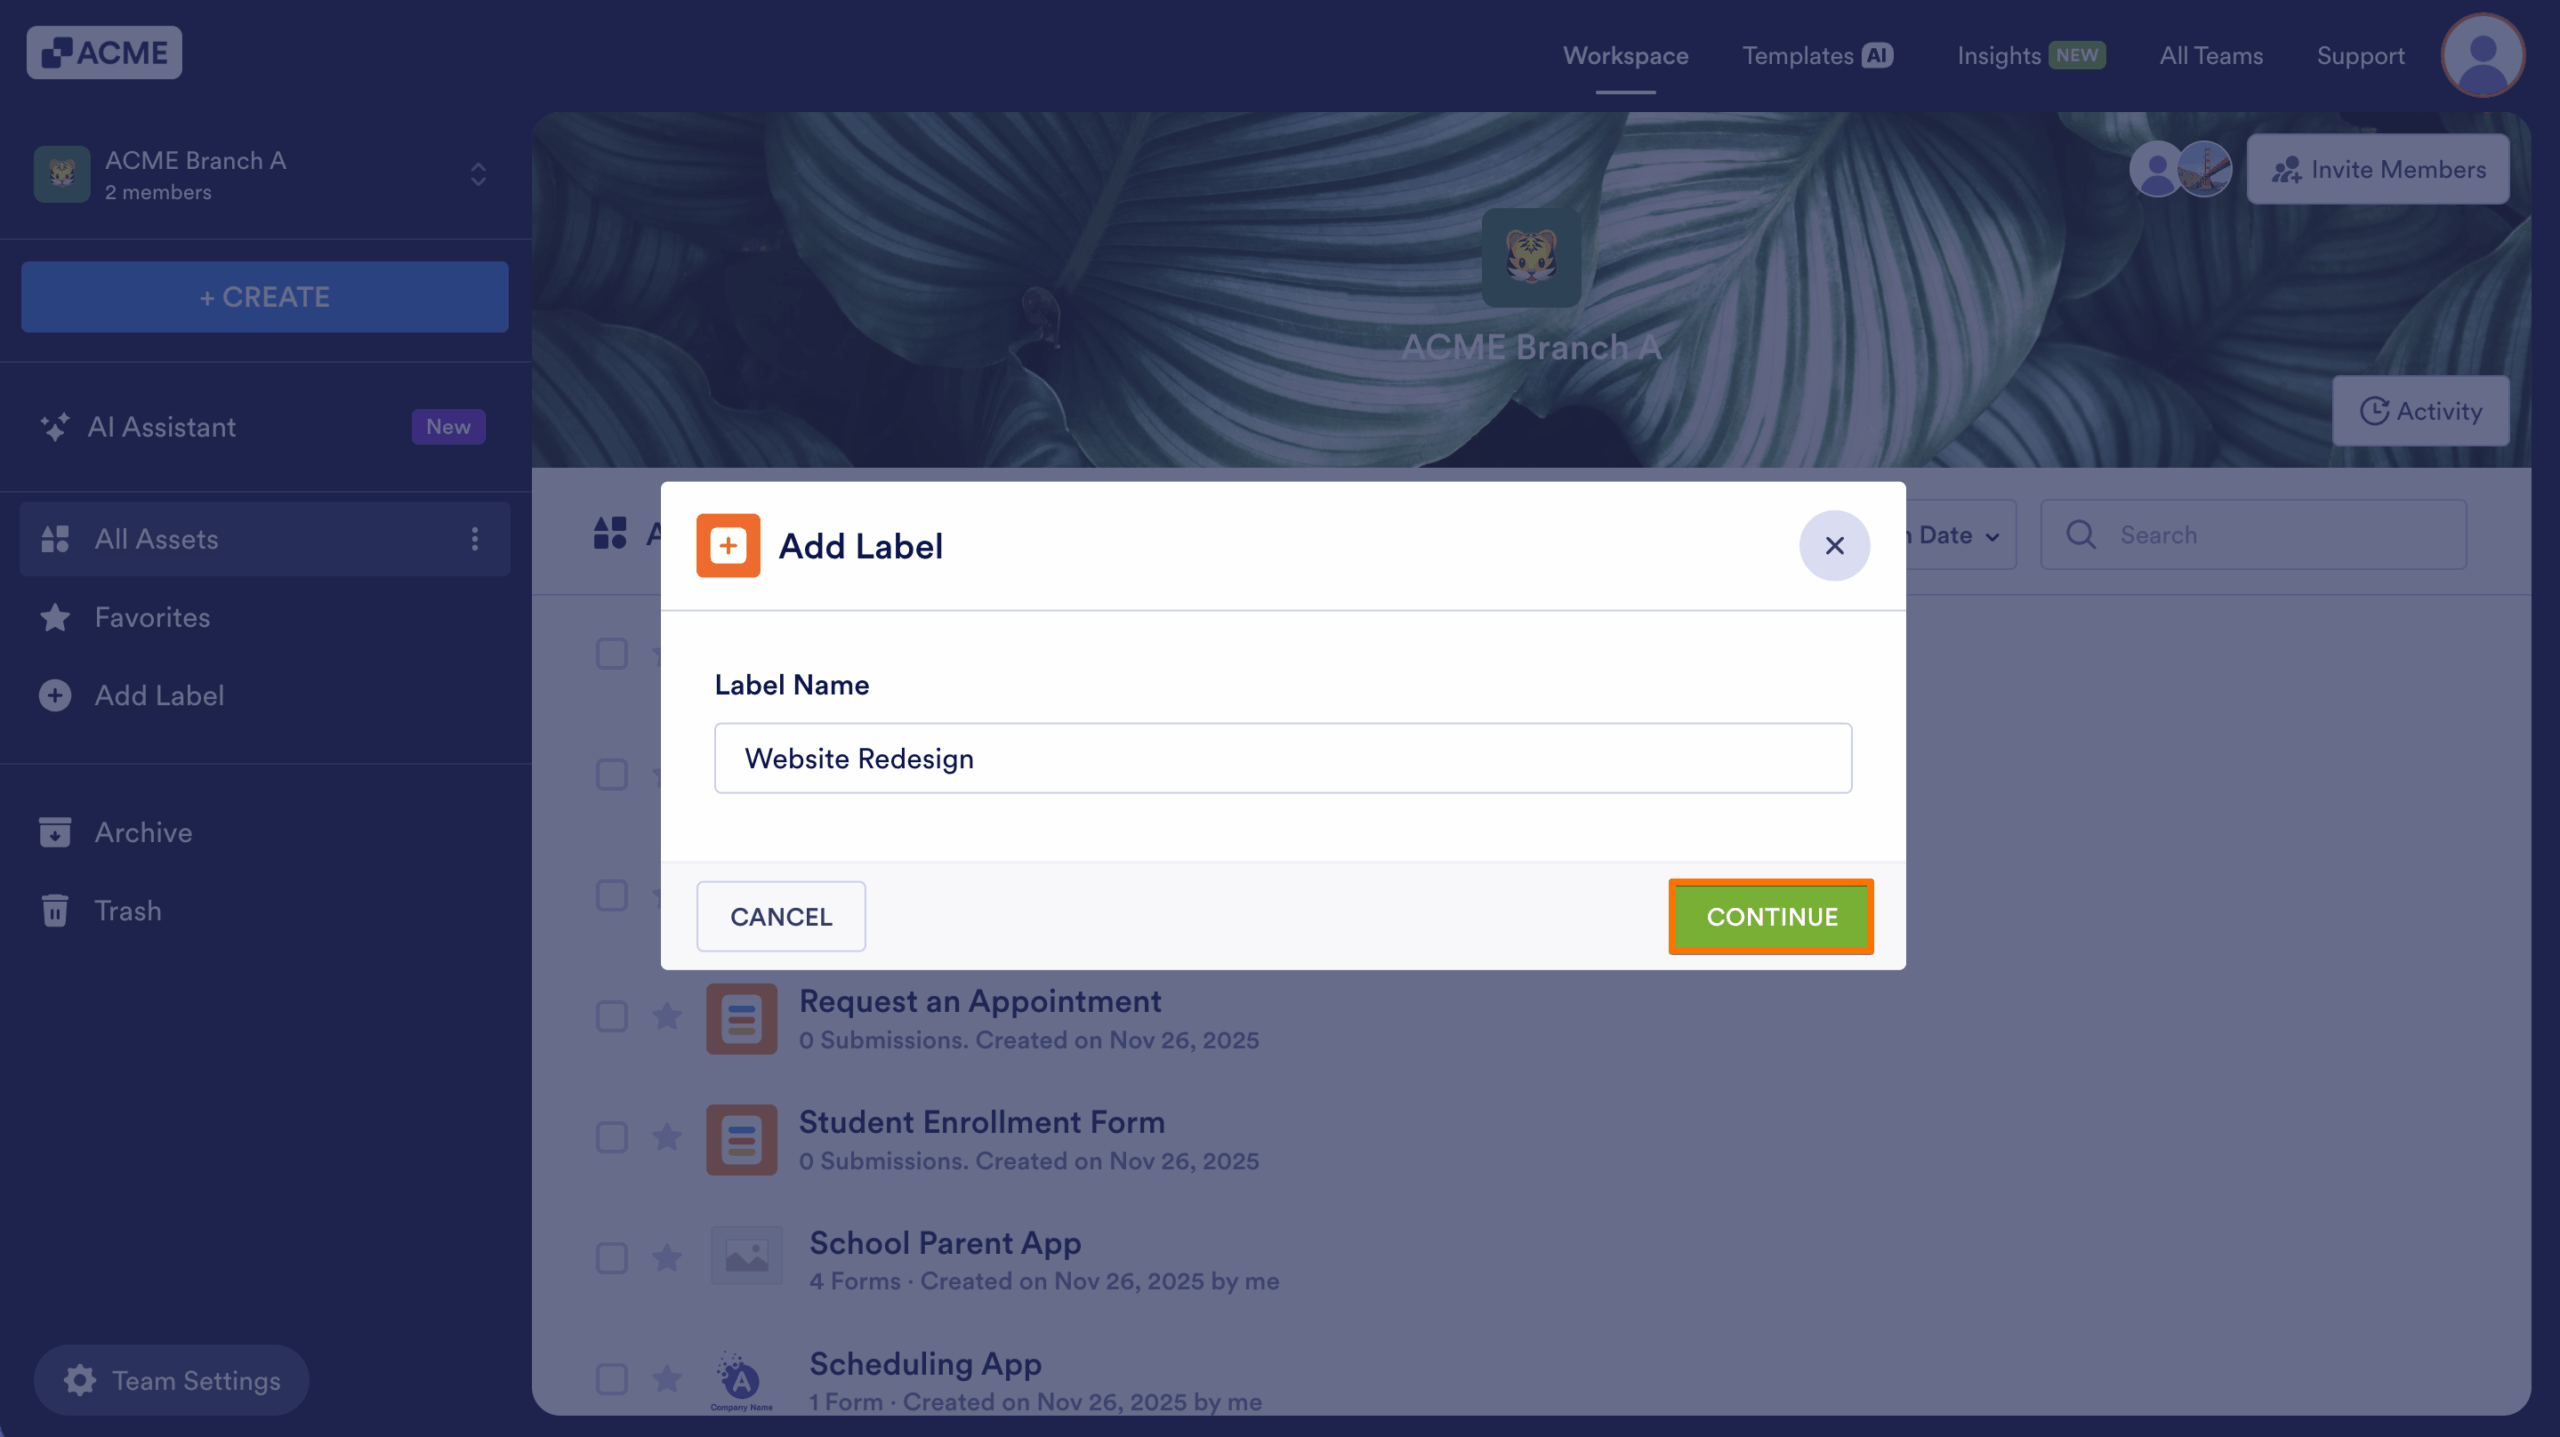
- Finally, click on Continue.
Labeling an Asset
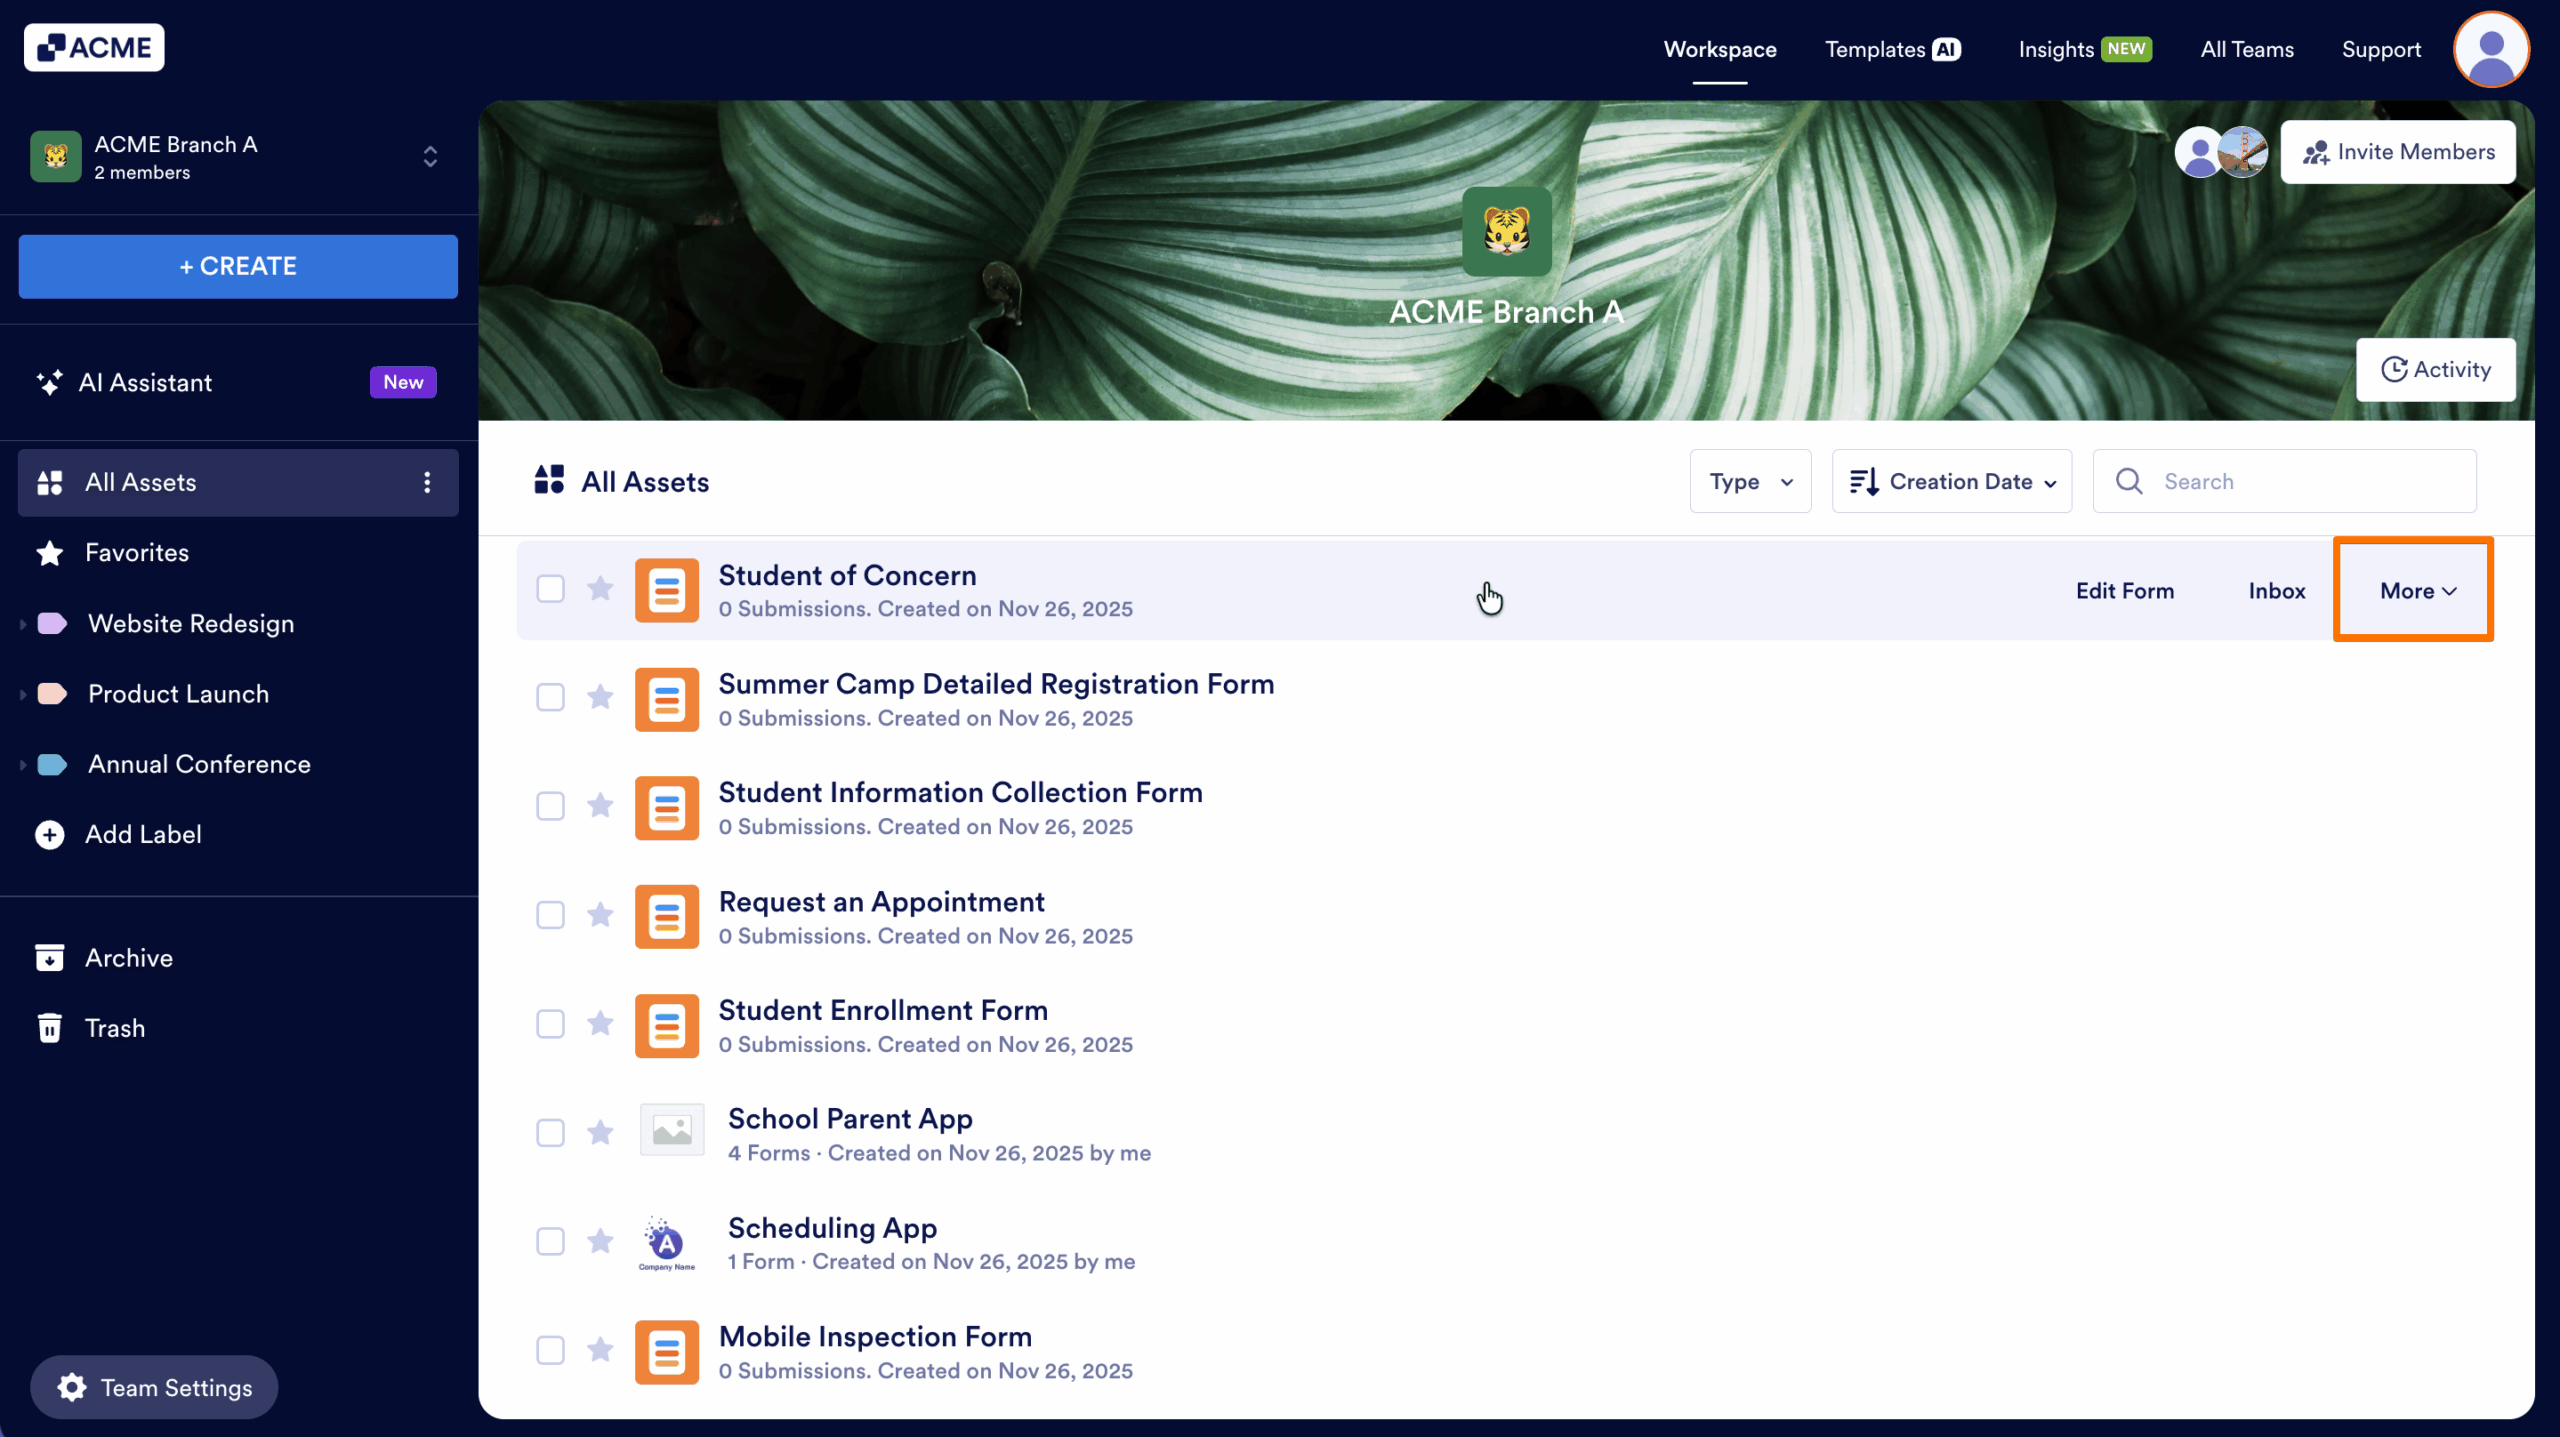
- First, in the Team Workspace, hover your cursor over the asset you want to label.
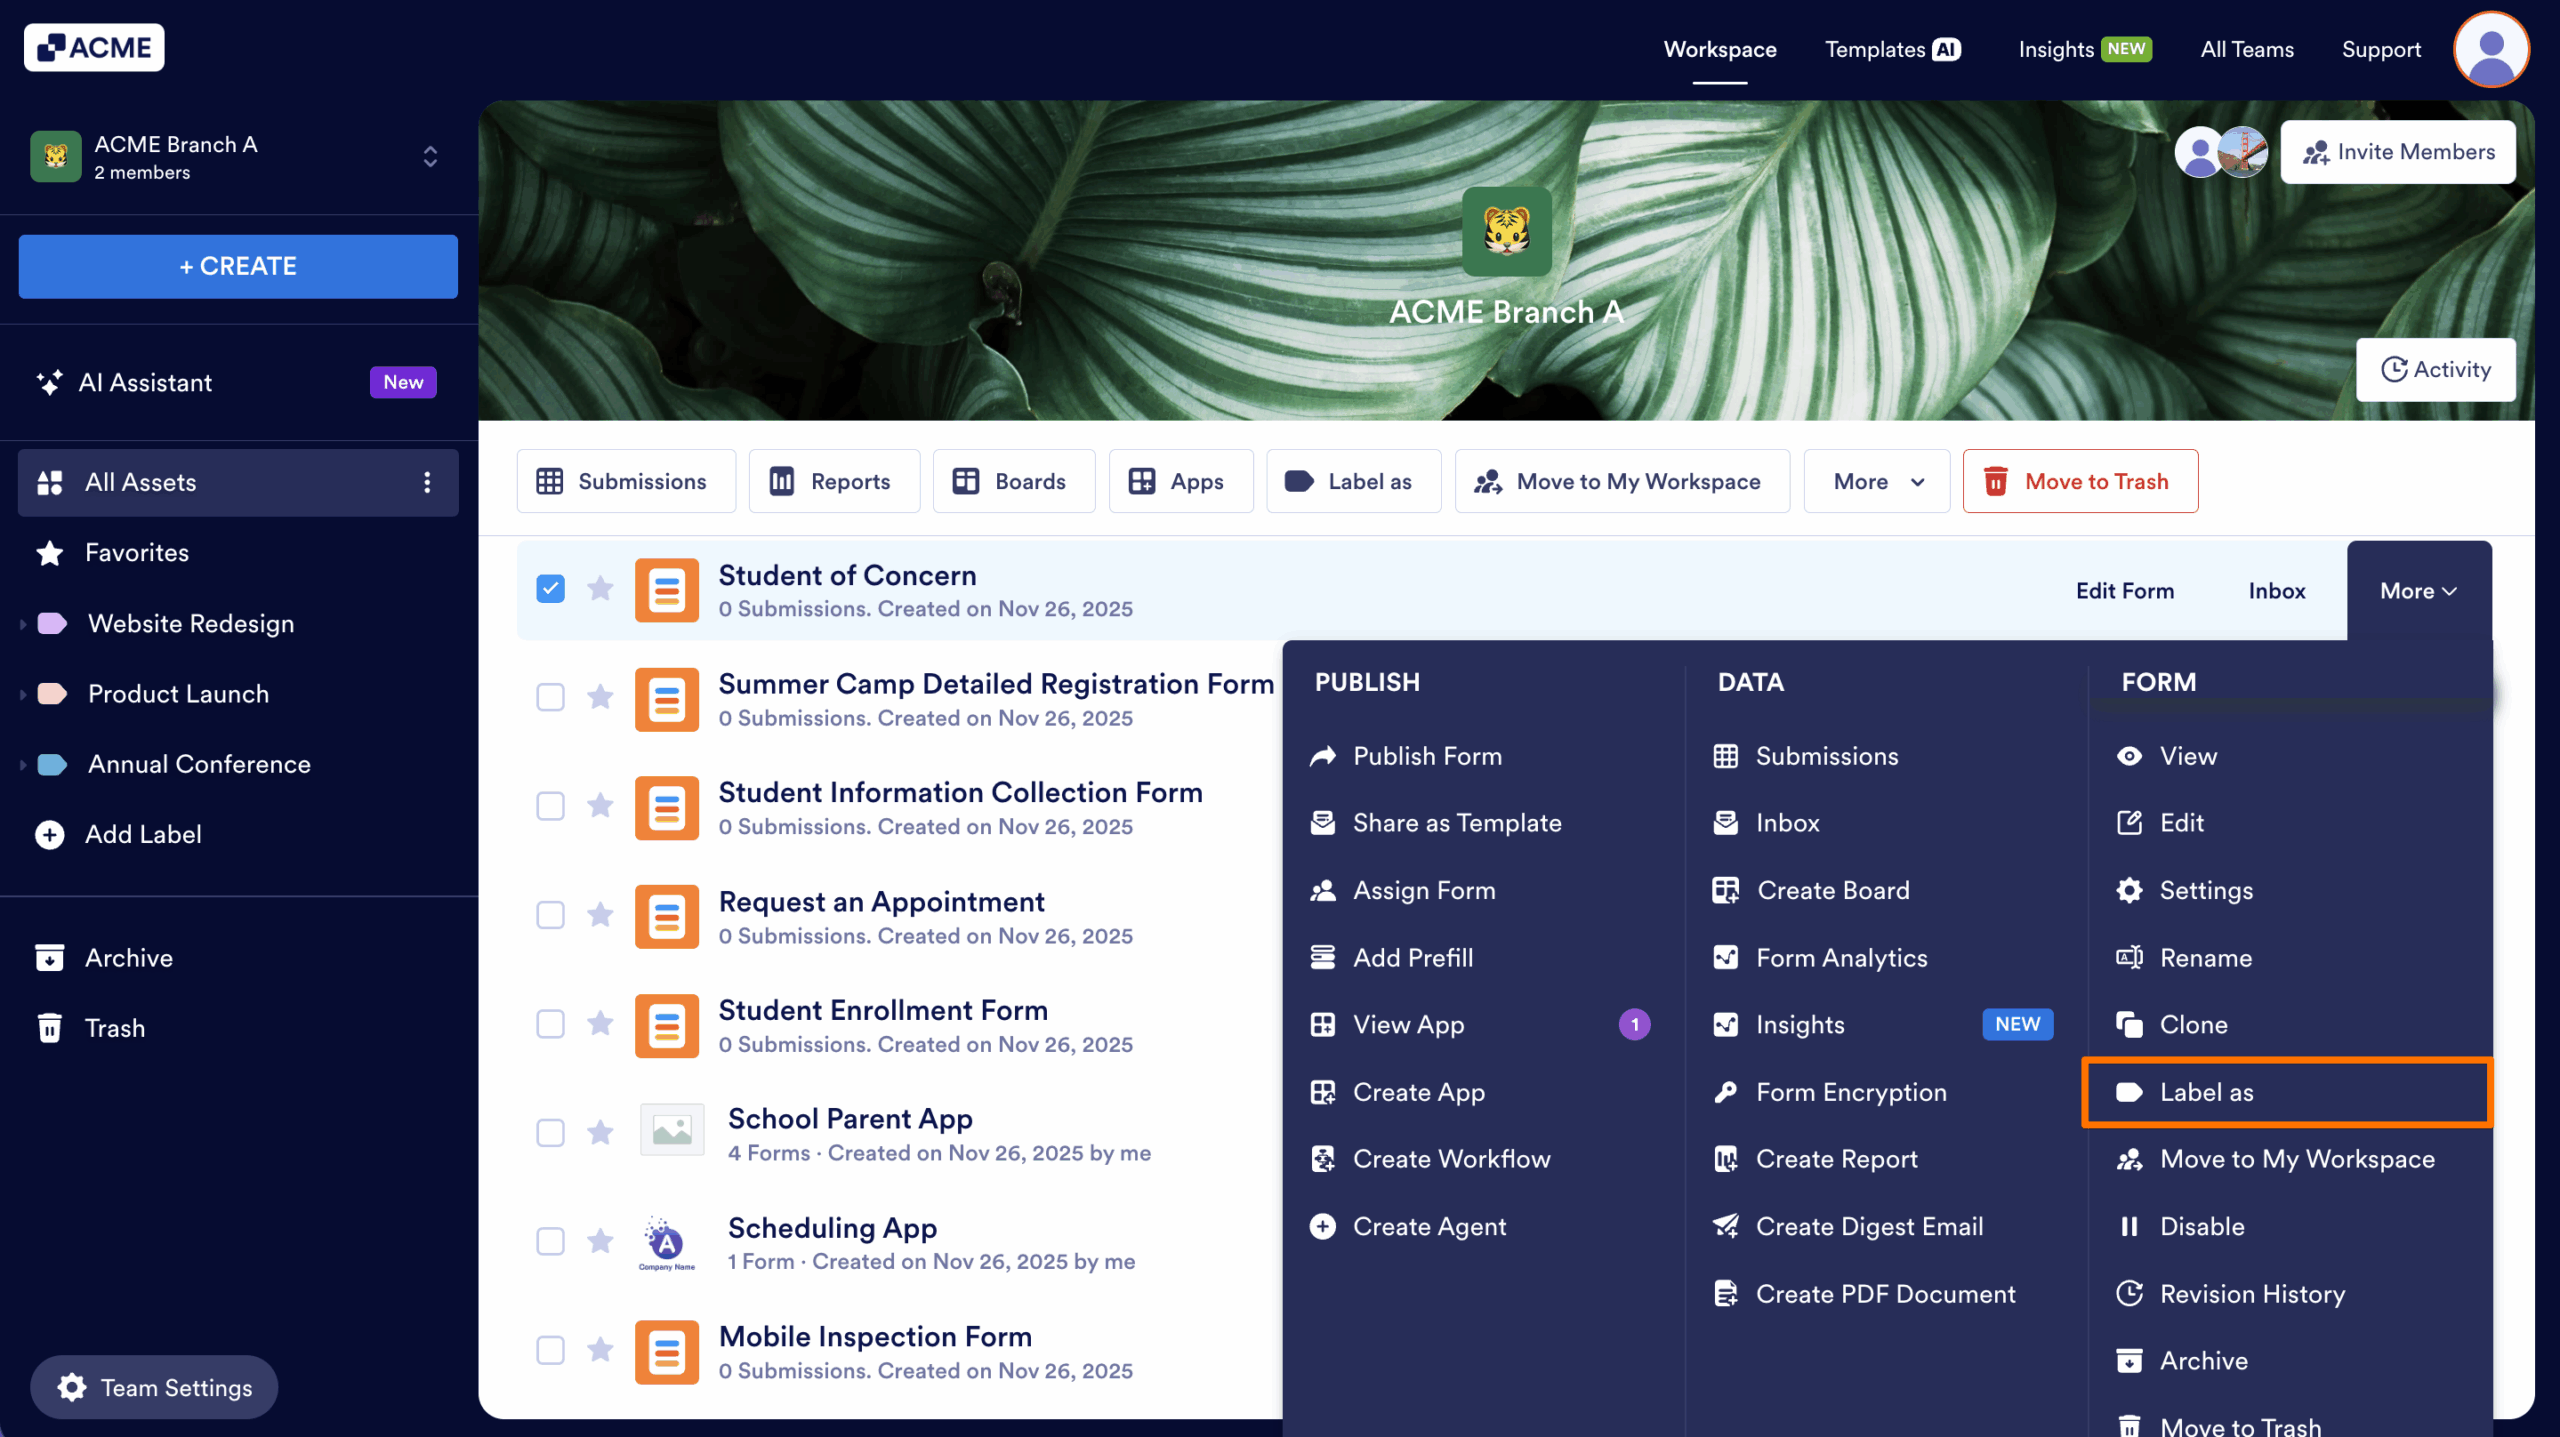
- Next, click on More to the right of the Asset you want to Label.
- Then, select Label as in the menu that appears.
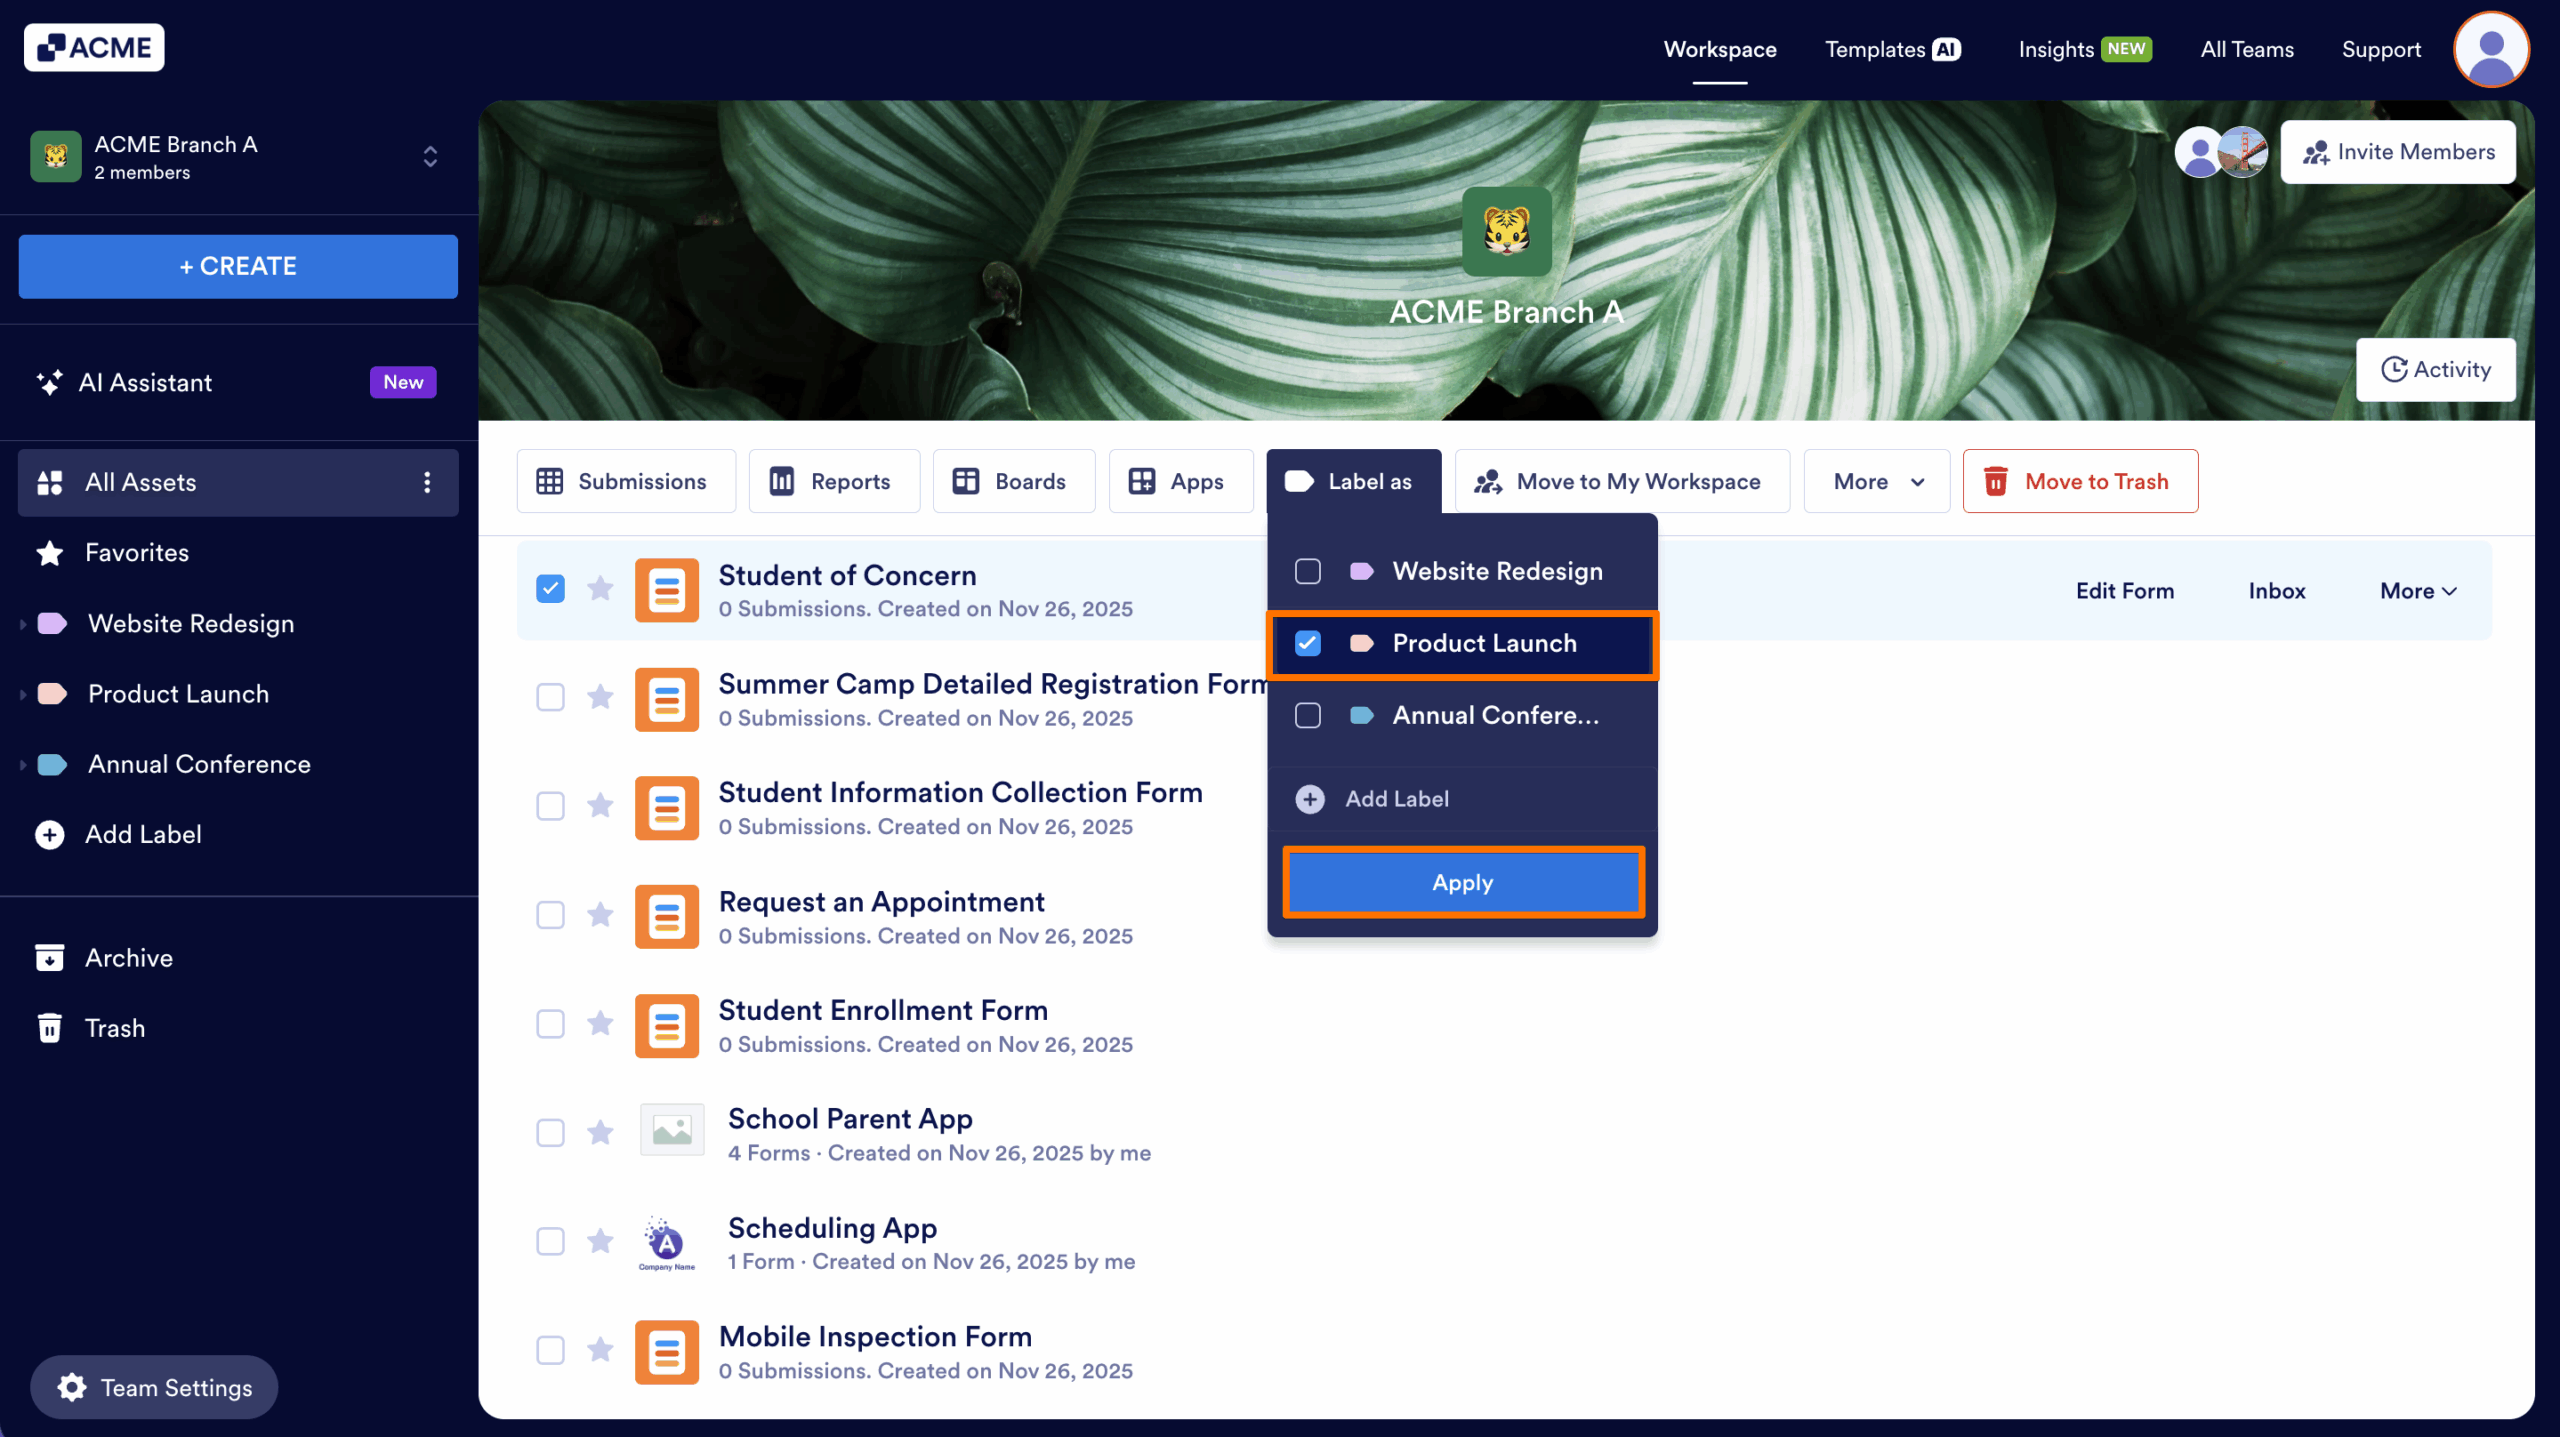
- Now, click on the checkbox next to any of the existing labels you want to apply, or click on Create Label to create a new label.
- Finally, click on Apply.
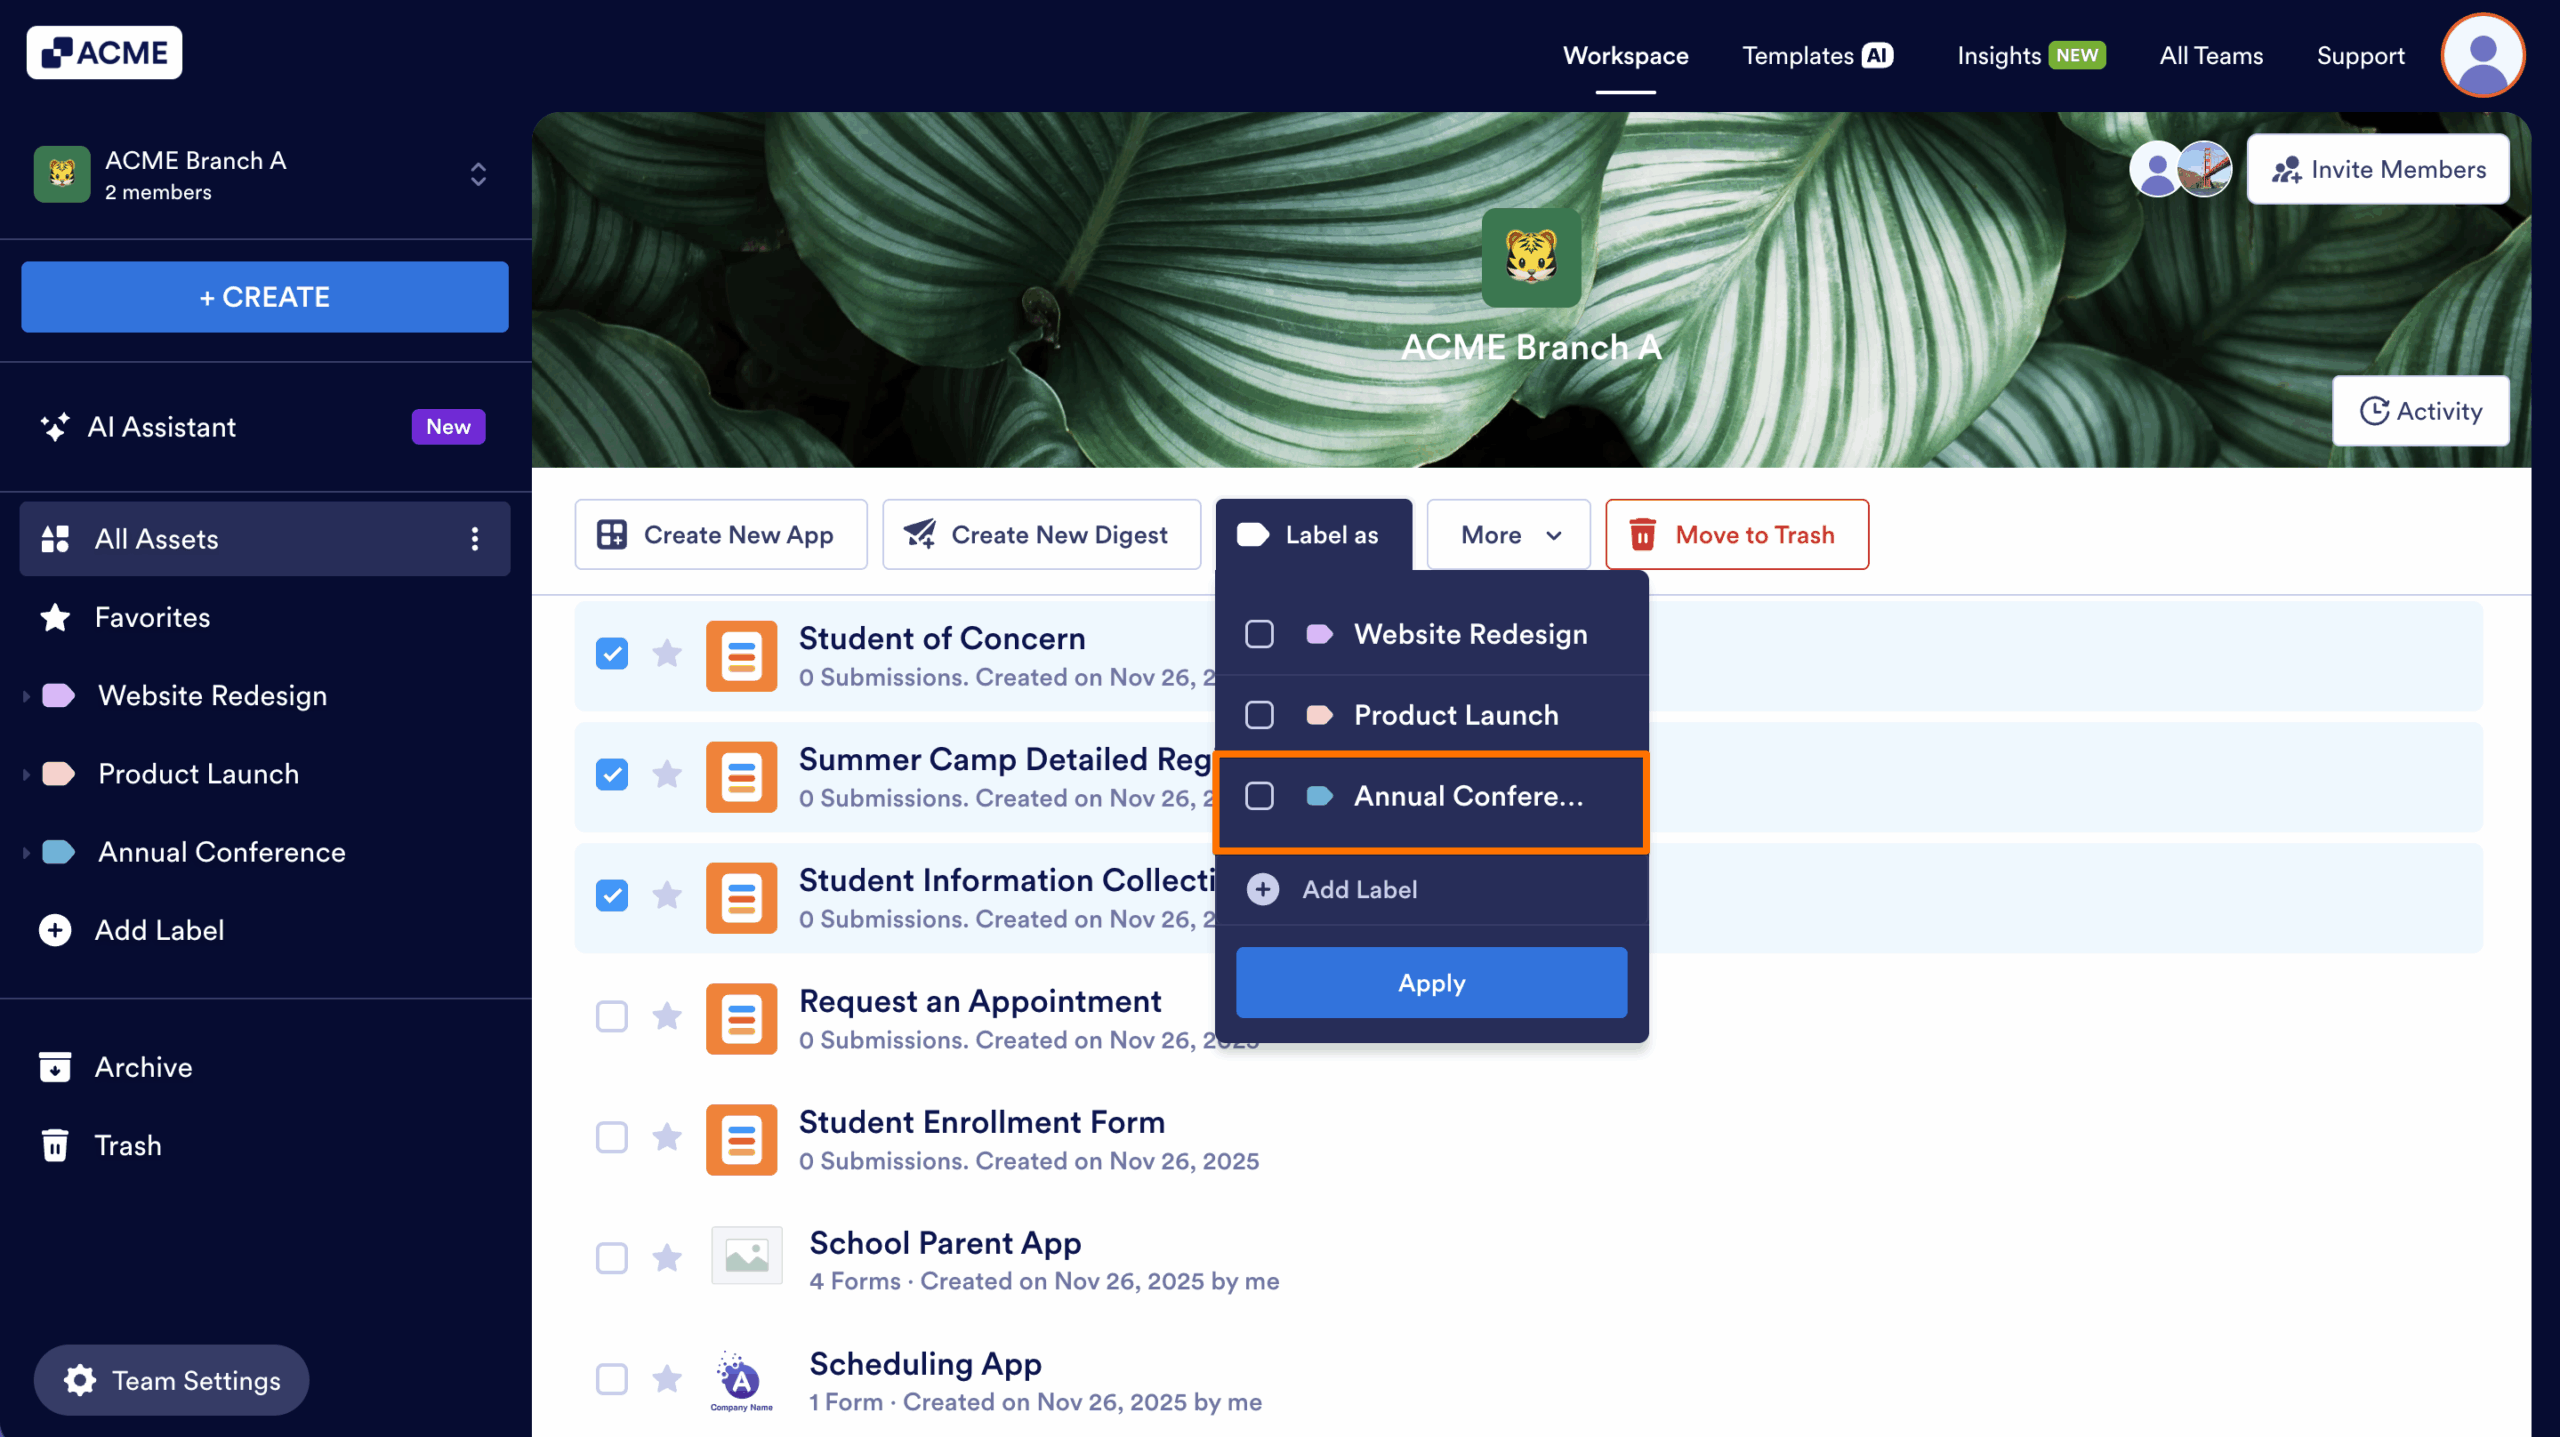
Labeling Assets in Bulk
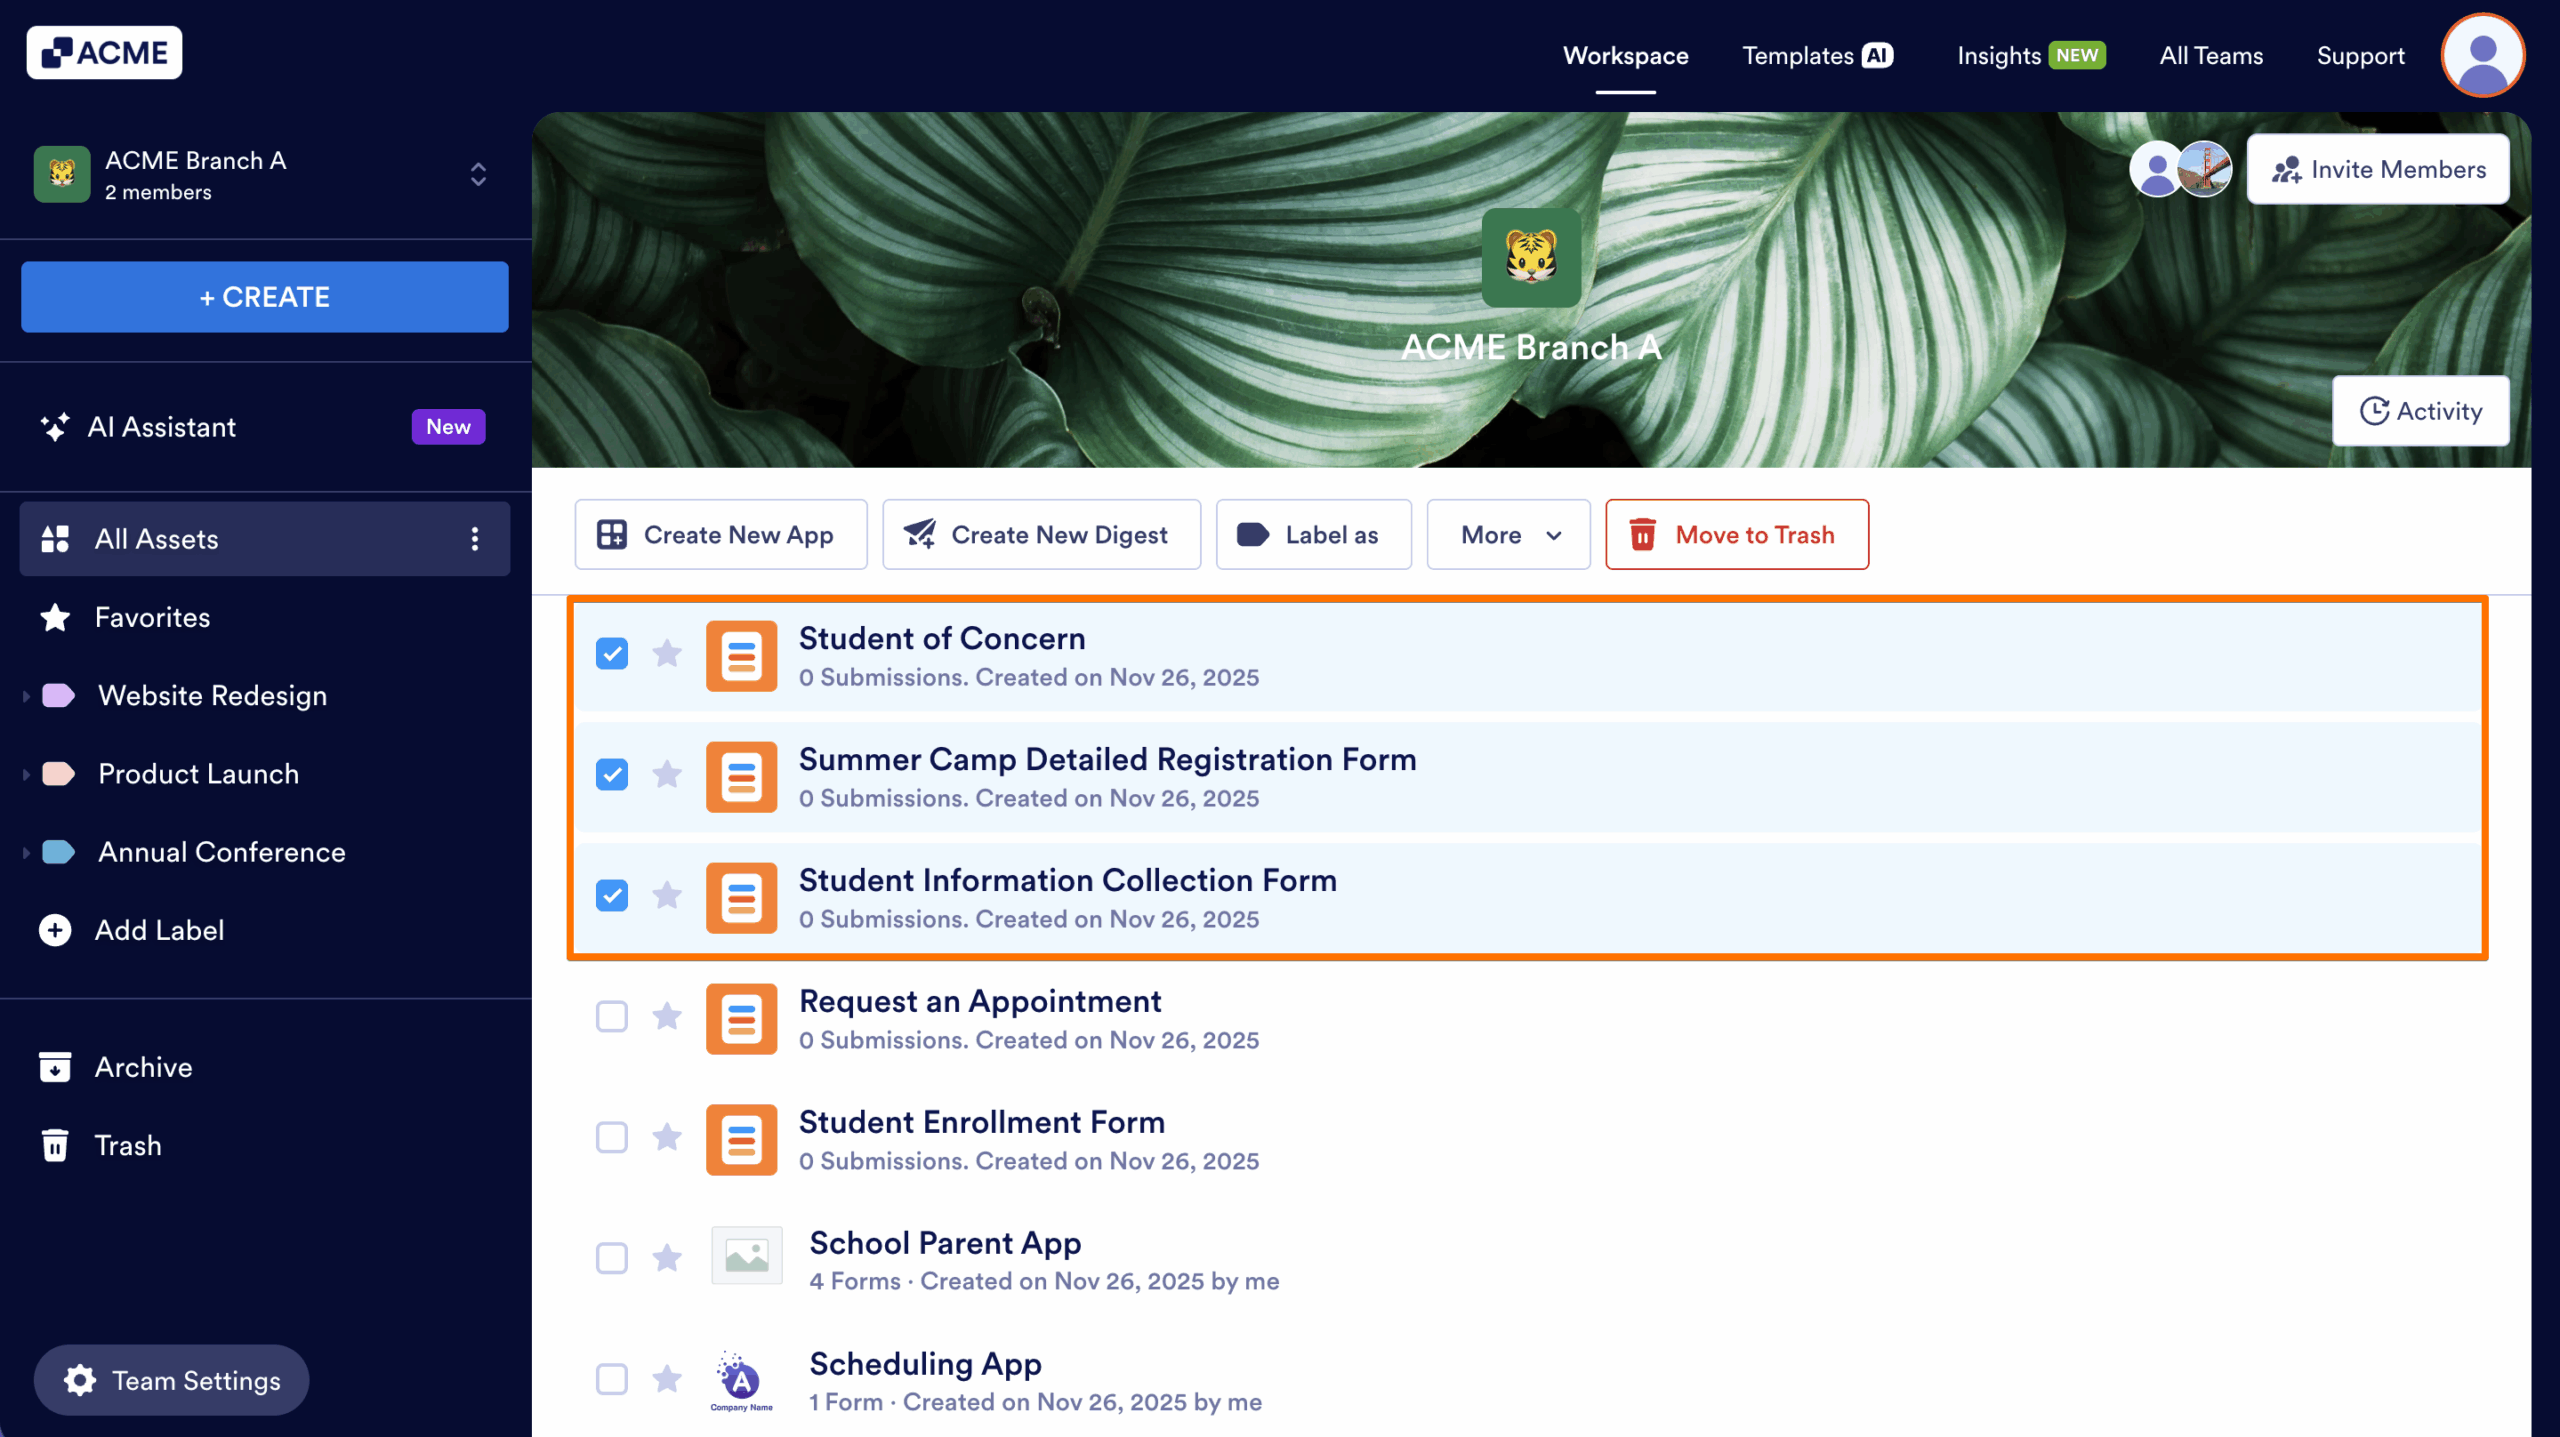
- First, in the Team Workspace, click on the Assets you would like to label.
- Next, click on Label as in bar below your Team Name.
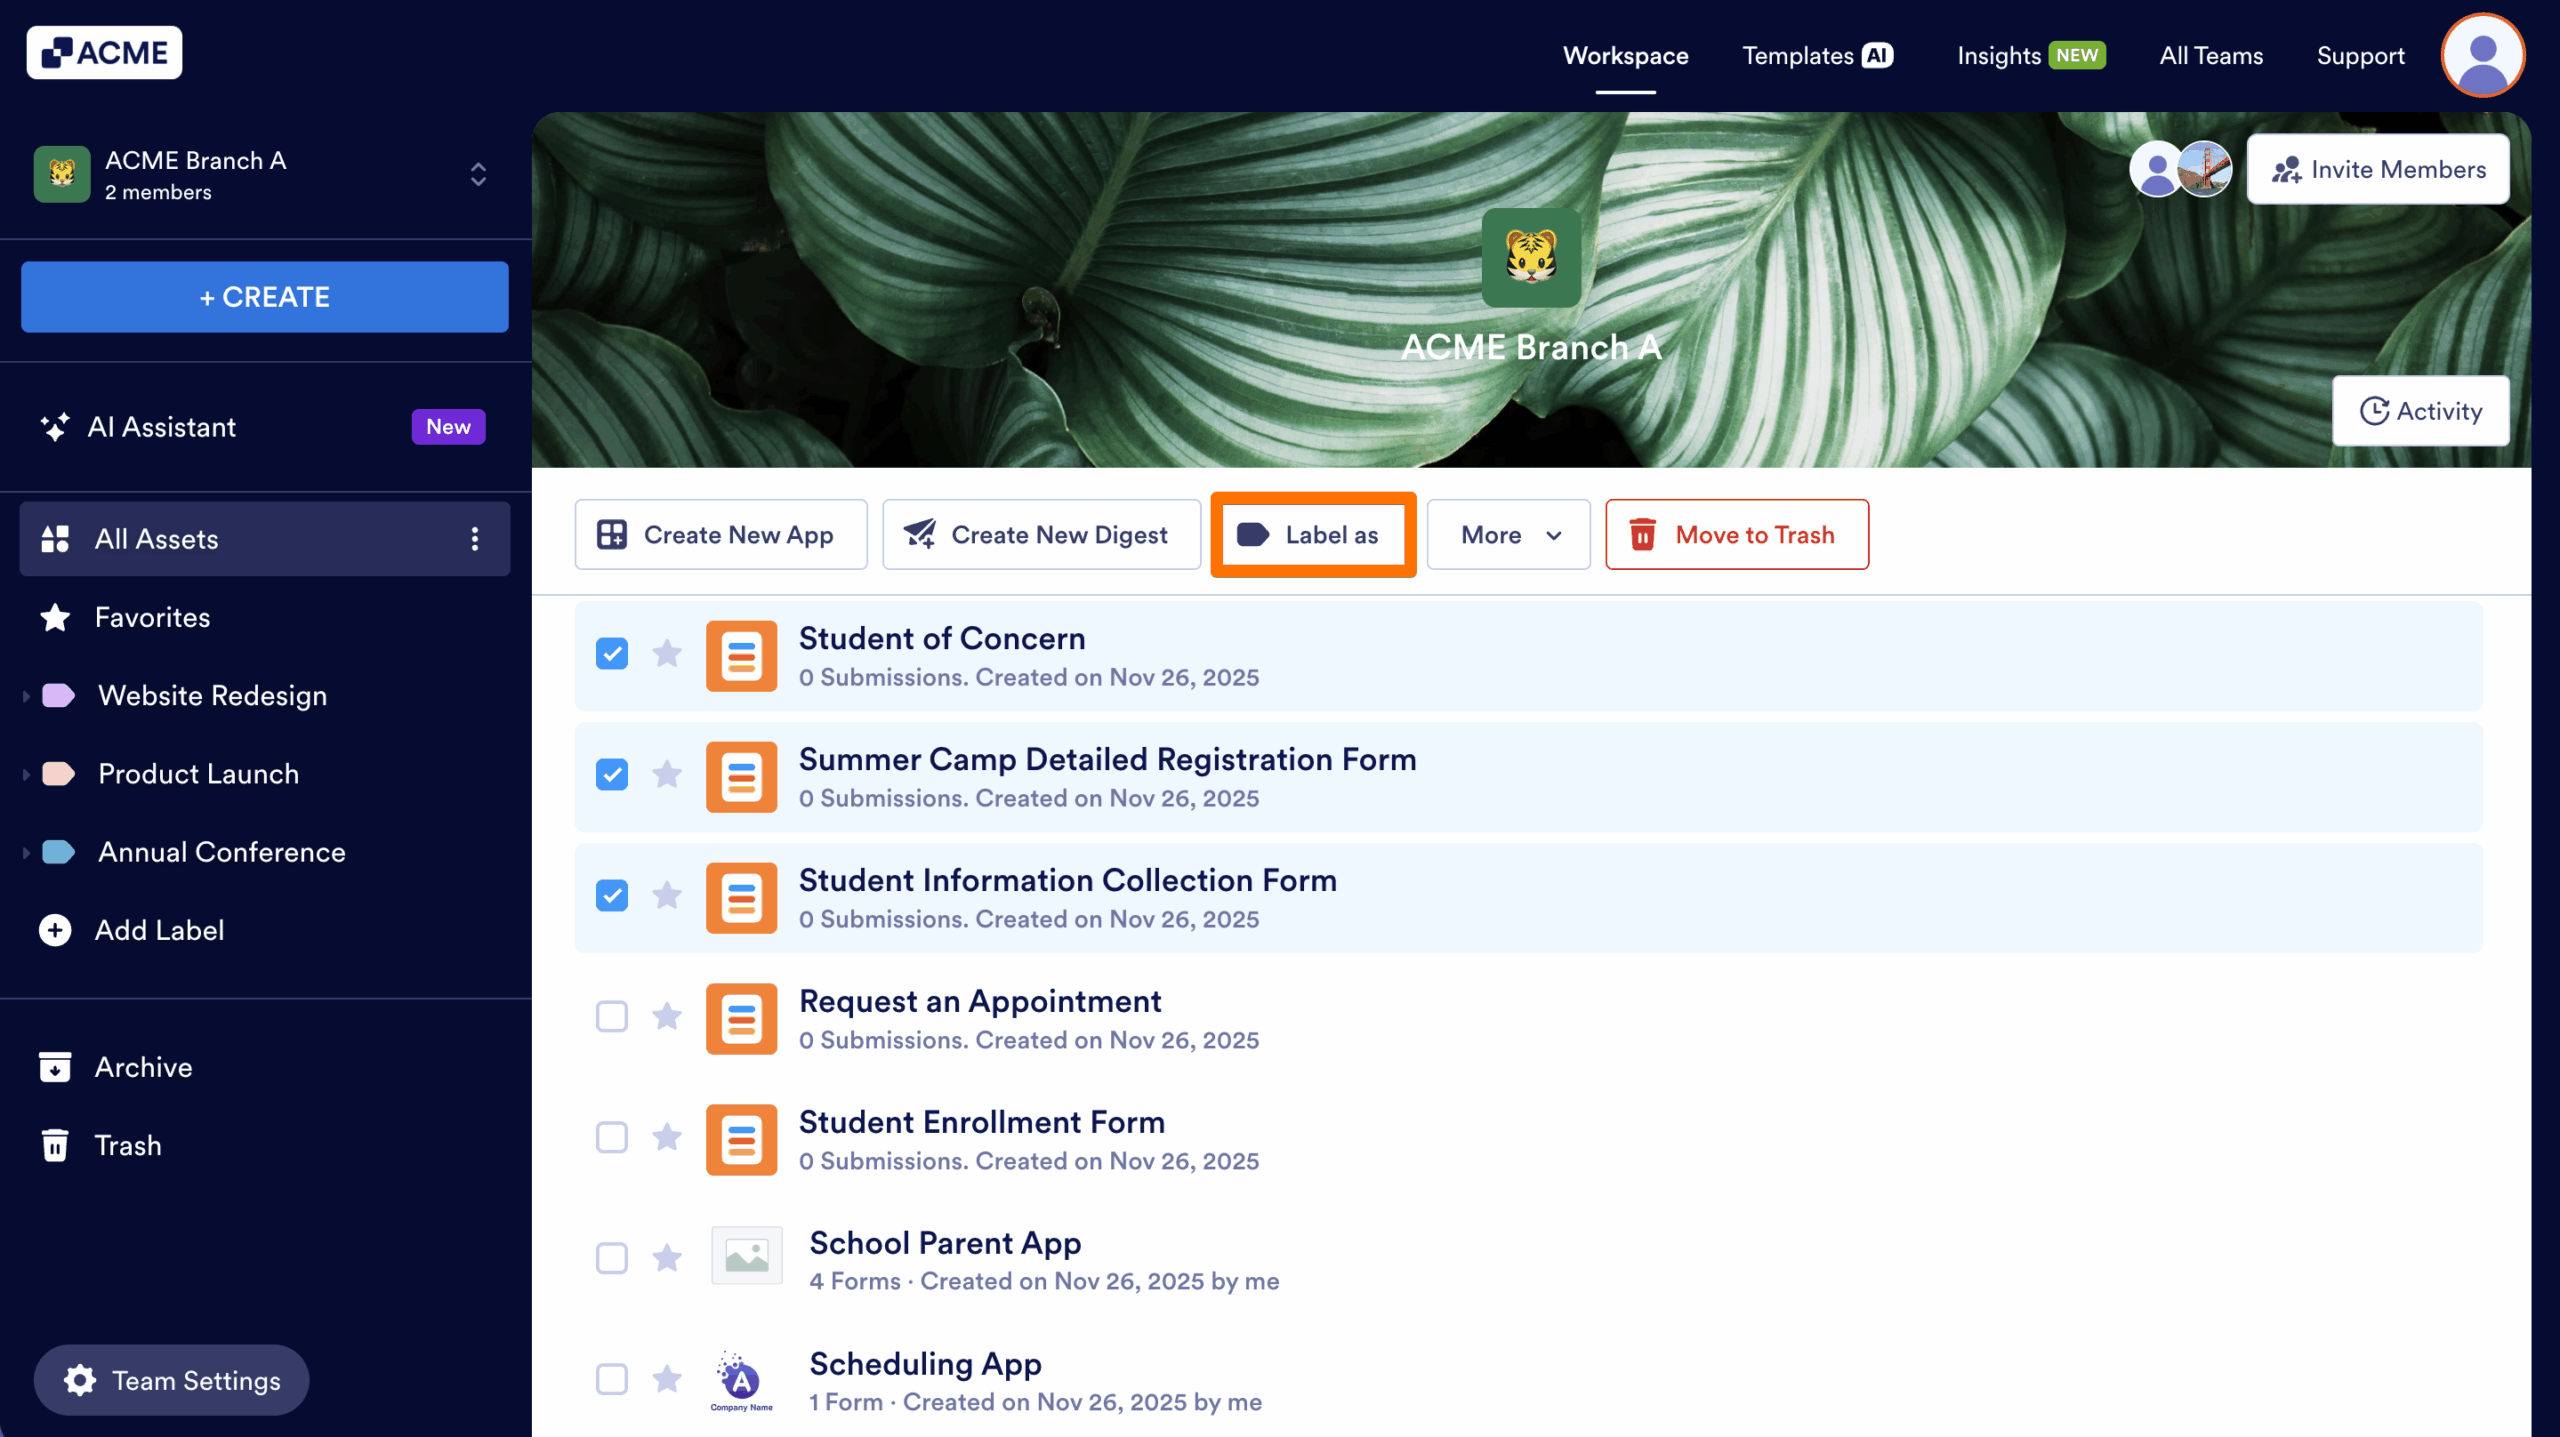
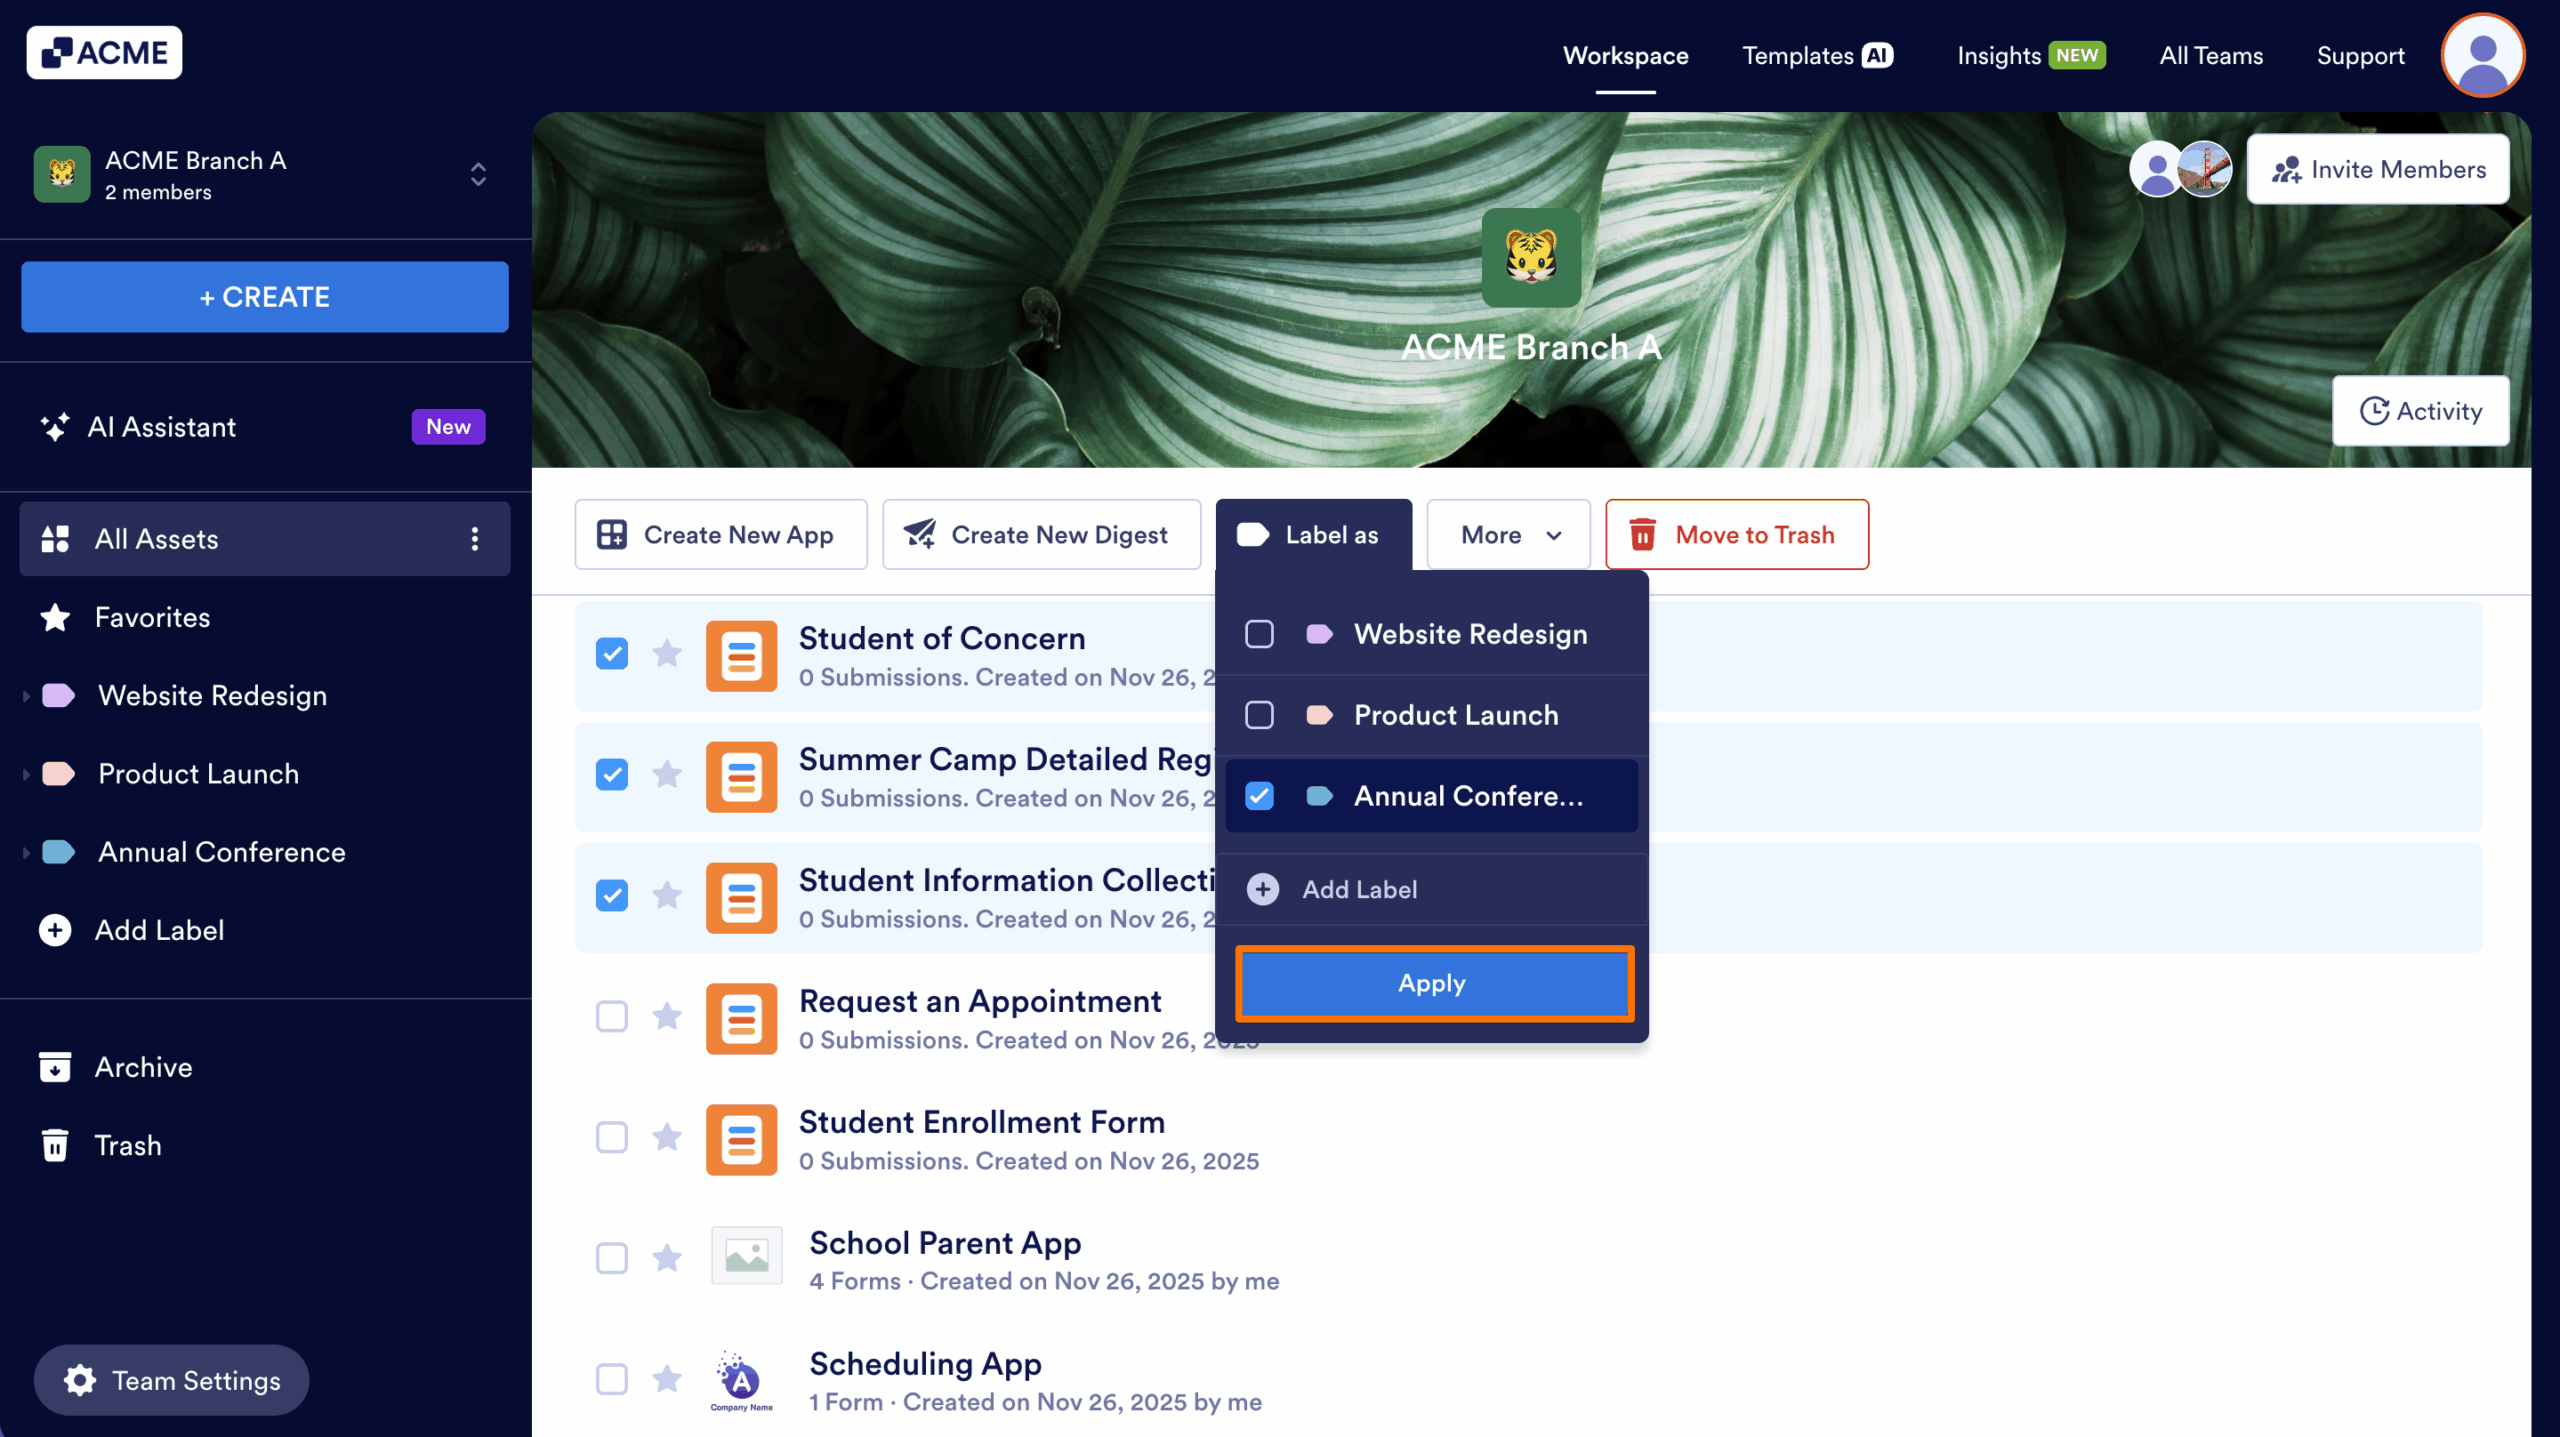
- Then, choose the labels you want to apply to the selected Assets.
- Finally, click on Apply.
Note
Only Team and server Admins can create labels and attach them to Assets.
Once your labels are applied, you can select any label from the left menu to view all assets associated with it.

Send Comment: