As an admin, you can edit existing user profiles in the Admin Console to update their names, email addresses, and other personal information. You can also change their User Type from here, as needed.
Updating Users
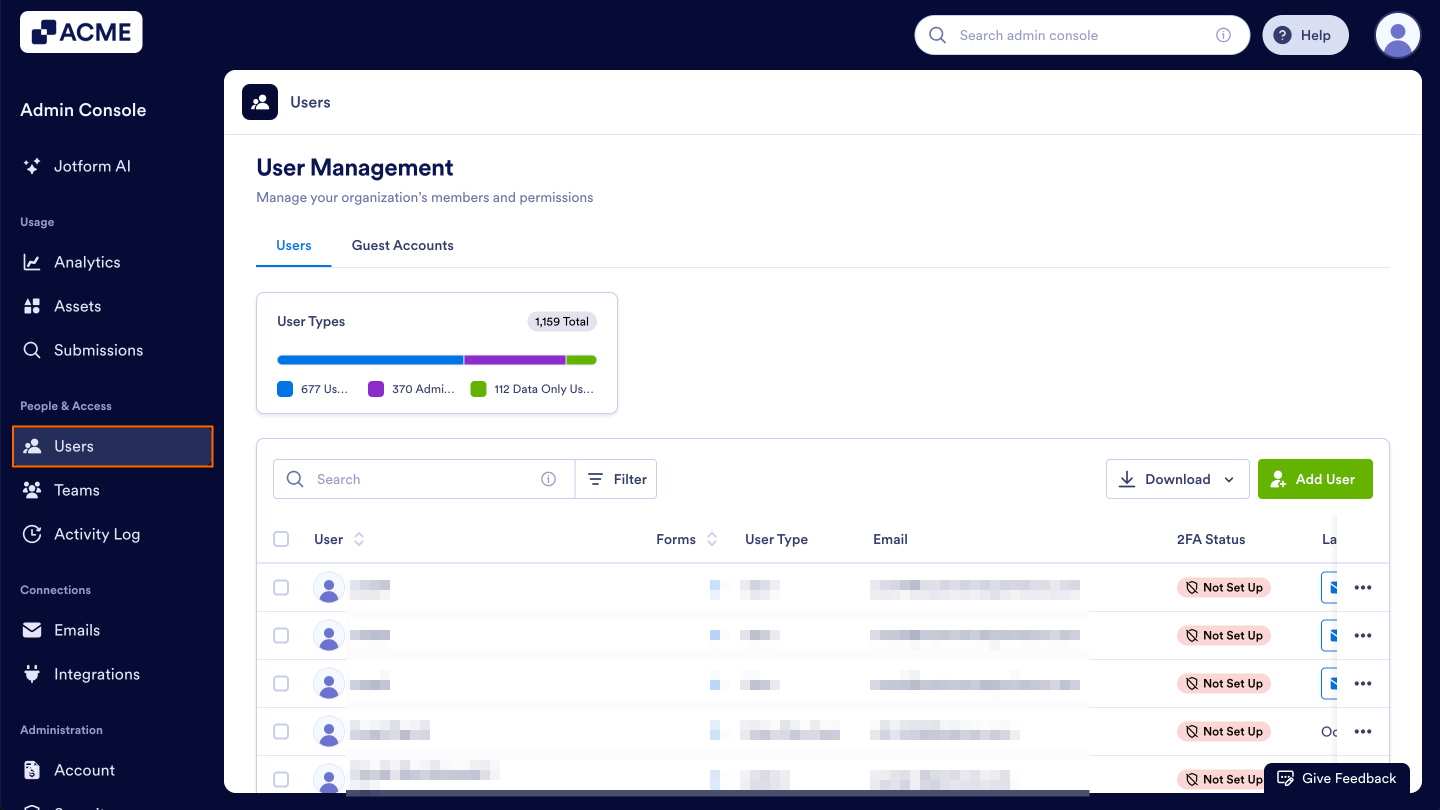
- In the Admin Console, click on Users in the menu located on the left-hand side of the page.
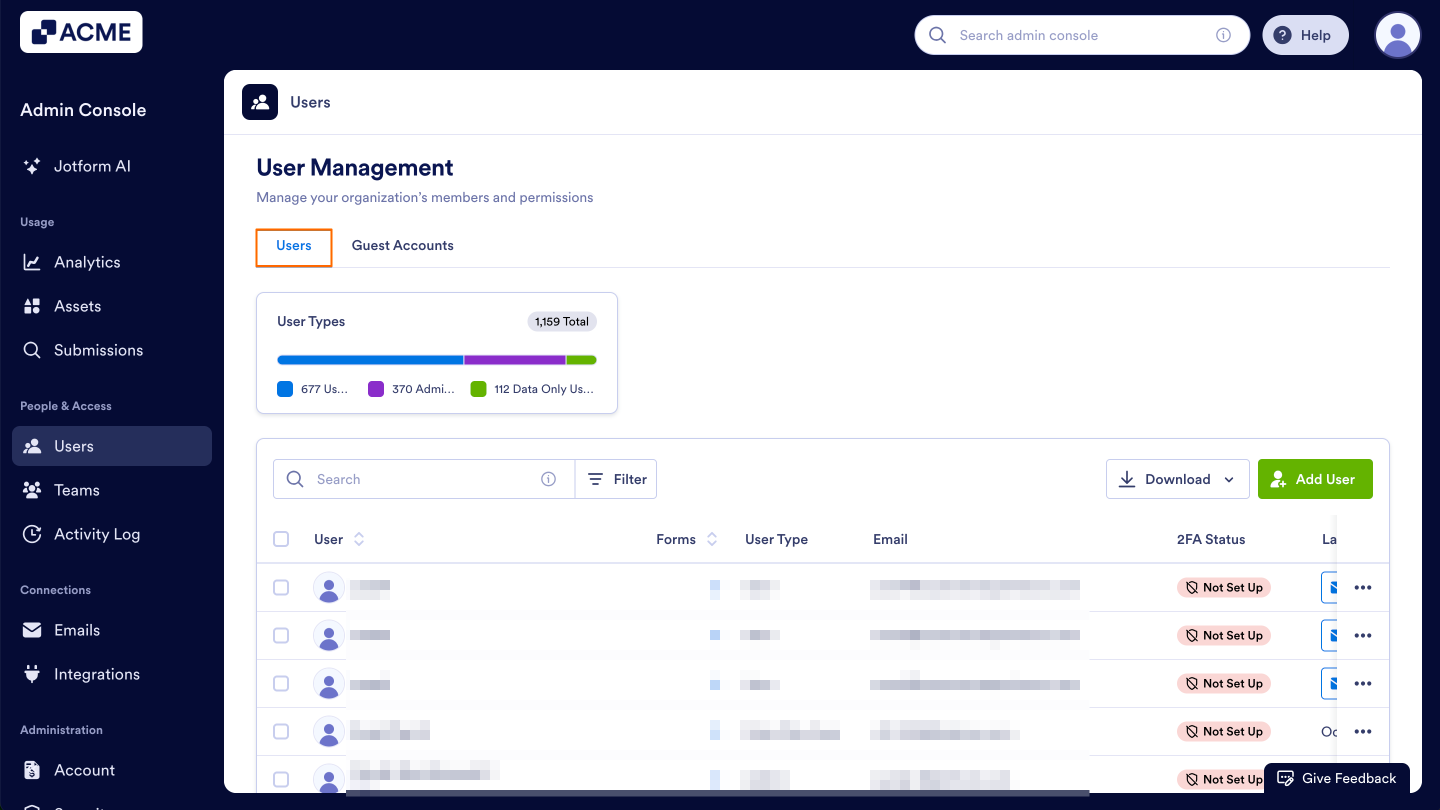
- Click on the Users tab.
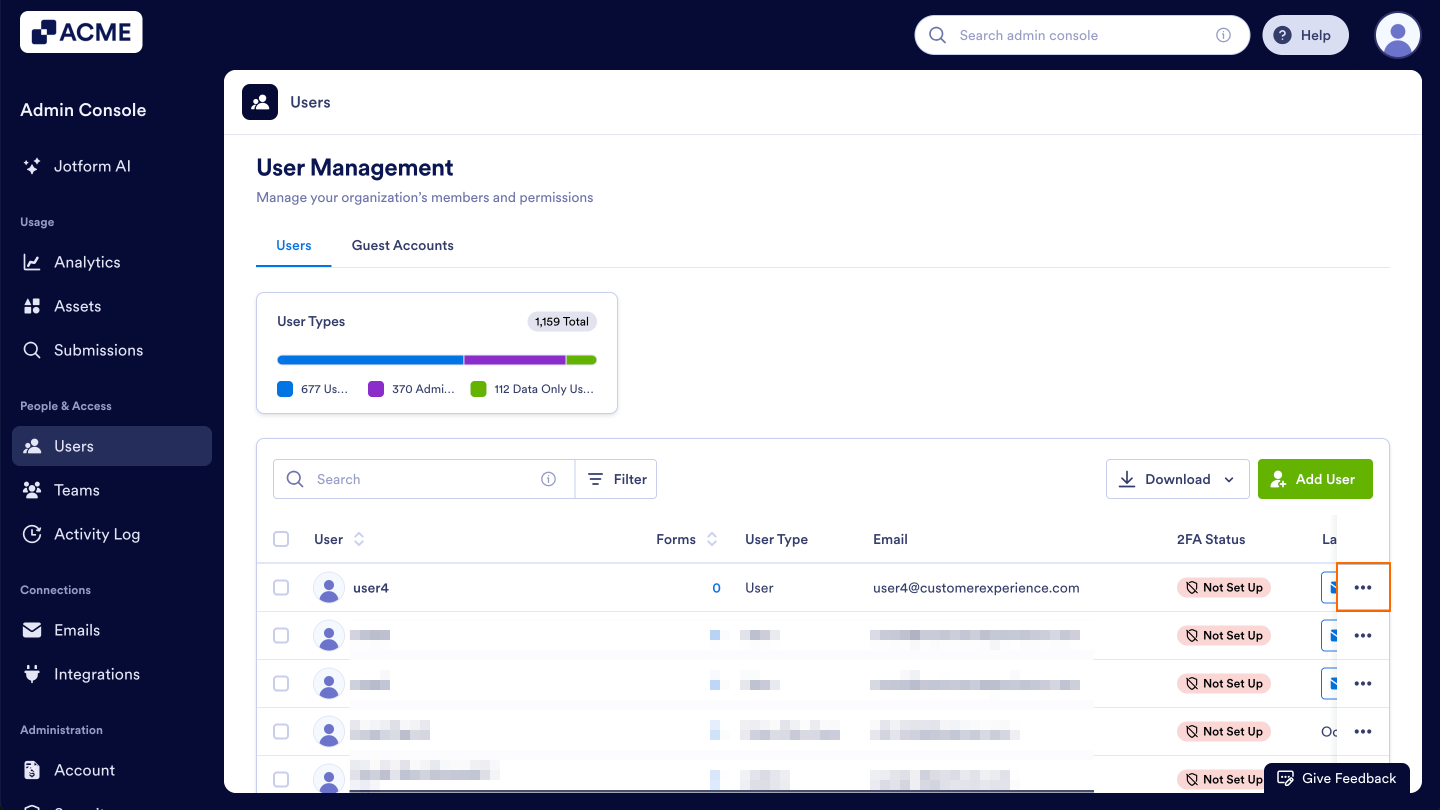
- Next, click on the Three Dot Menu for the user you want to update.
- Select Details.
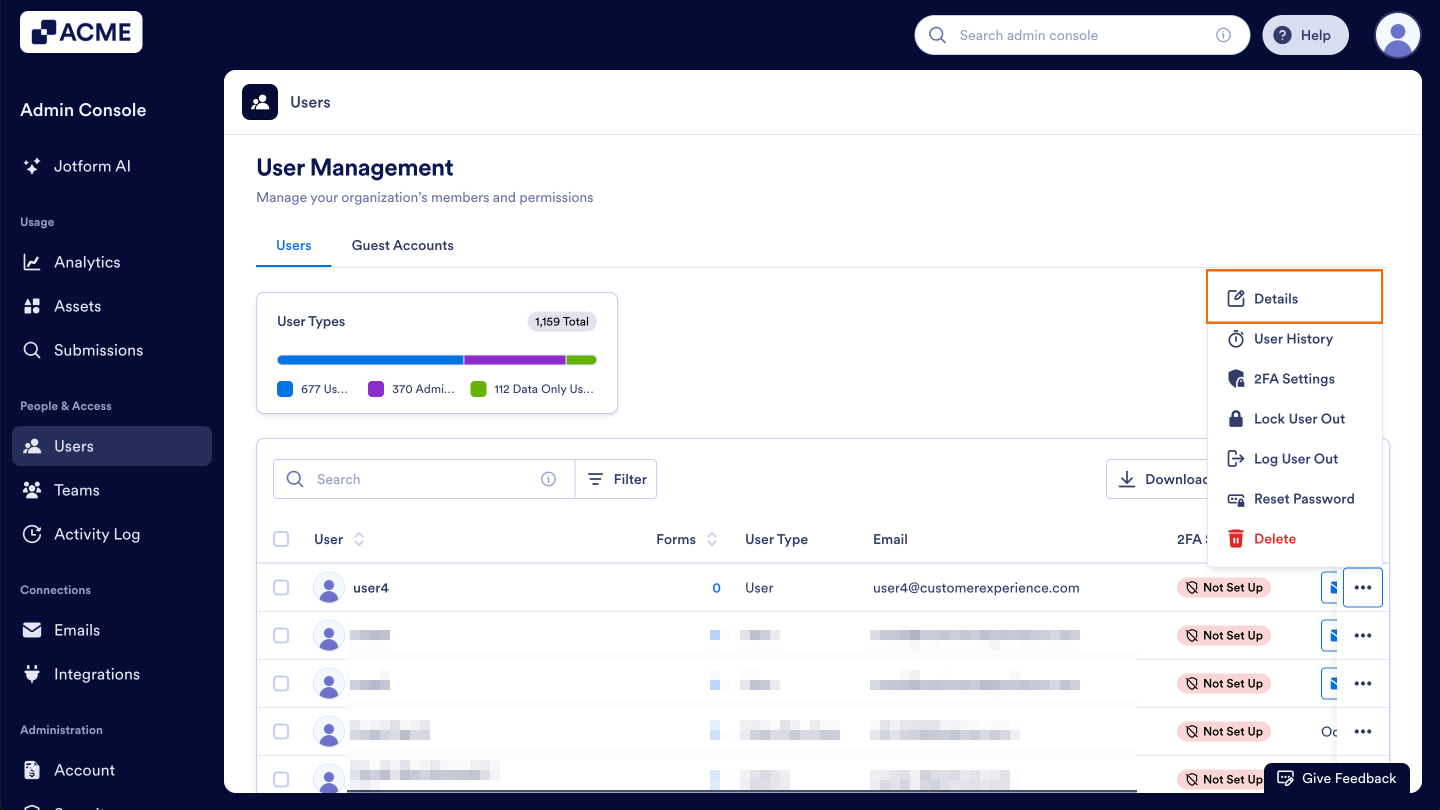
We’ll go over all the additional options in this menu individually, below.
Editing Users
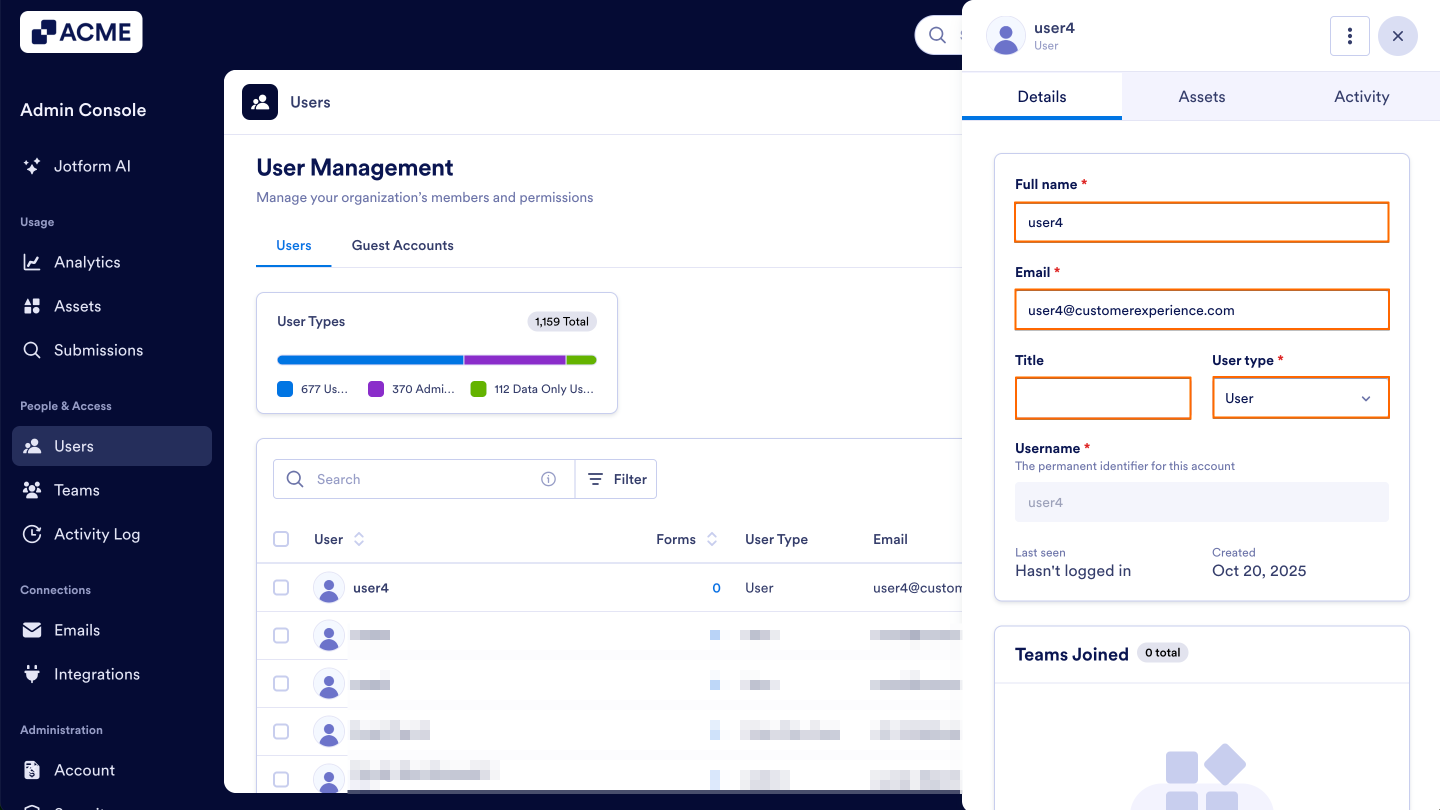
After clicking on this option, you’ll see tabs for Details, Assets, and Activity.
Details
In this section, you can edit the following information:
- Full Name: Full name of the user.
- Job Title (optional): User’s job title.
- User Type: Admin or User
- Email: Email Address associated with the user’s account.
Let’s walk through updating these fields together:
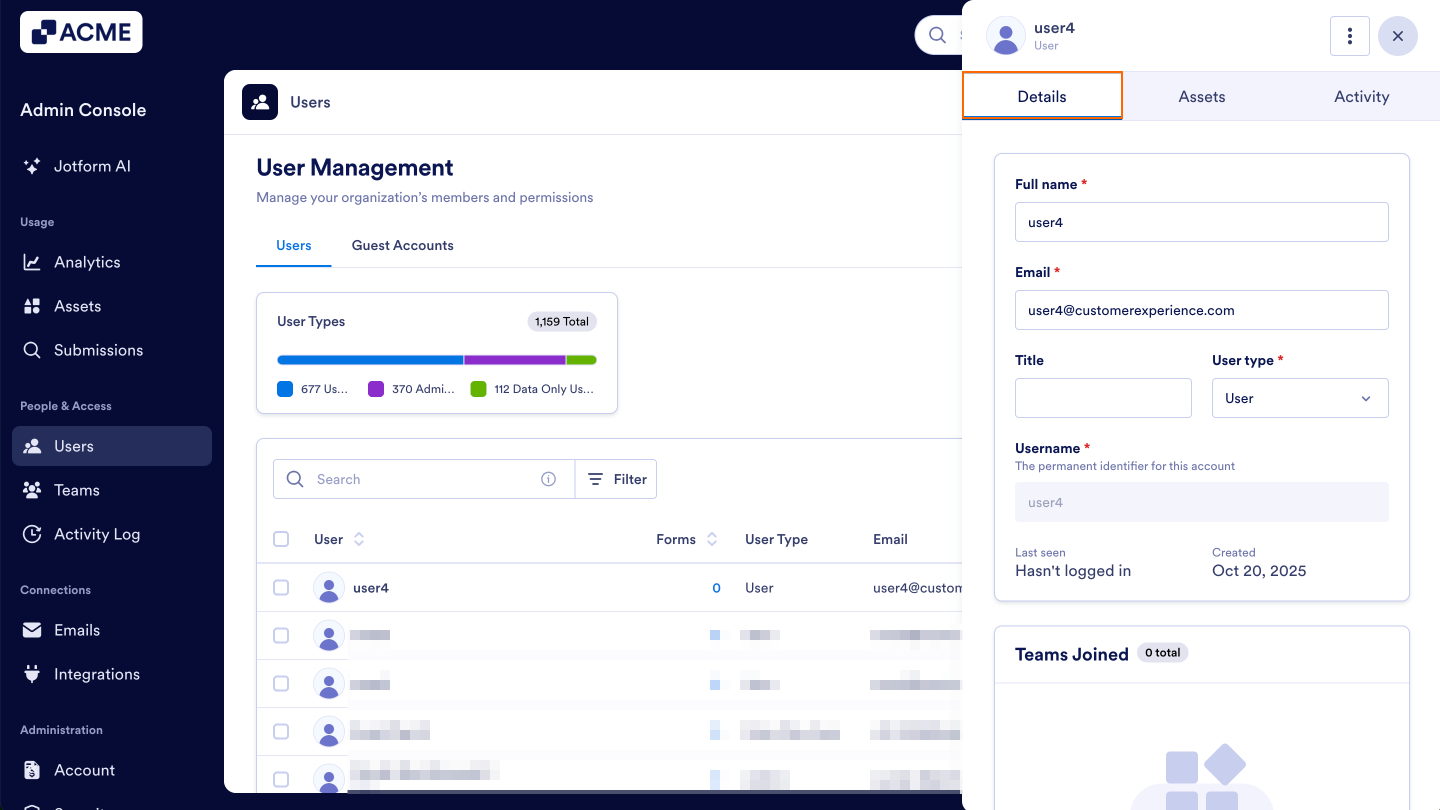
- In the pop-up window, click on the Details tab.
- Click on the field that needs to be updated and enter the new information.
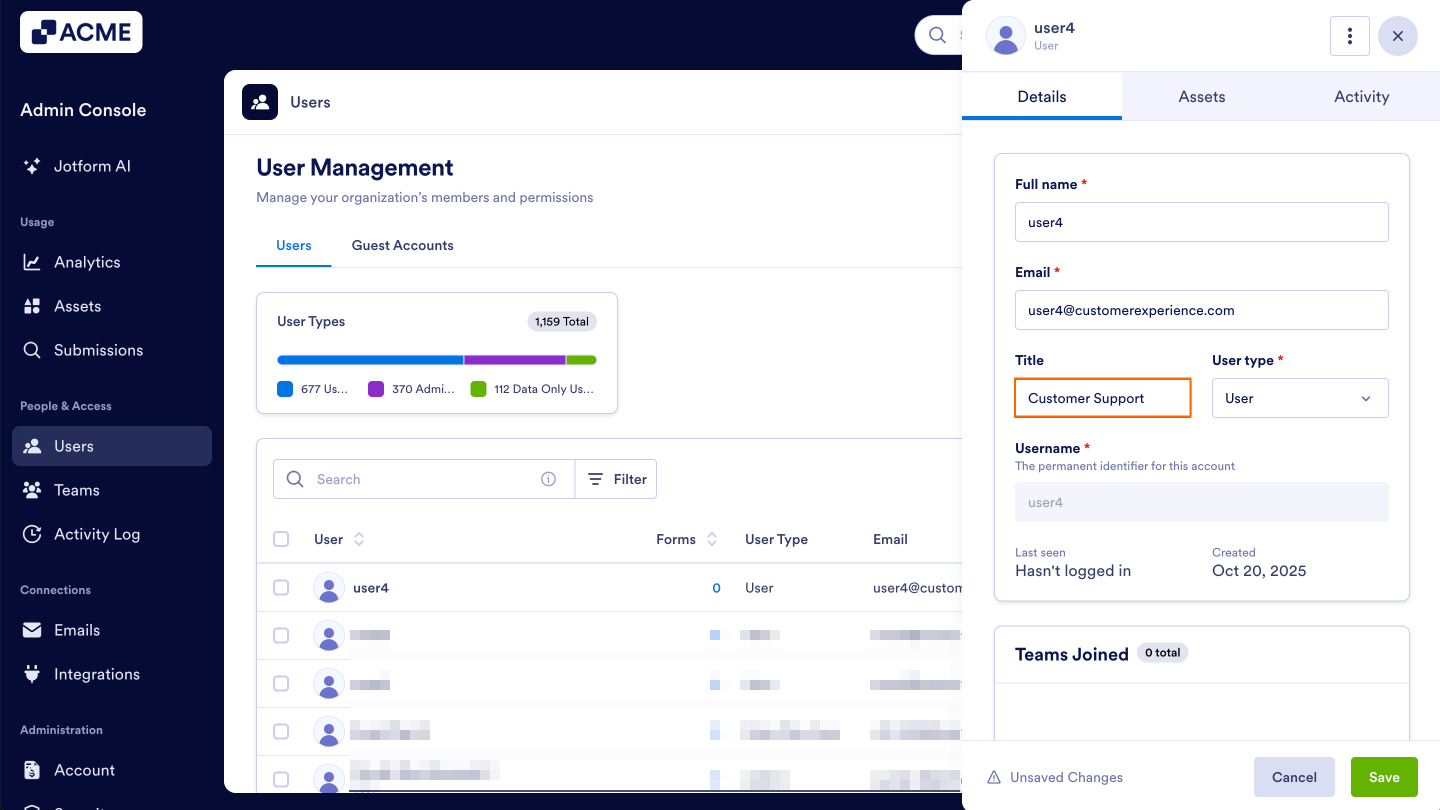
- Finally, click Save at the bottom of the page.

See also:
- How to Create Users in Your Organization from the Admin Console
- How to Delete Users in Your Organization from the Admin Console
- How to Reset User Passwords in Your Organization from the Admin Console
- How to Lock Users in Your Organization from the Admin Console
- How to Manage User-Based Two-Factor Authentication (2FA) Settings in Your Organization from the Admin Console

Send Comment: