View all workflows in a space using filters—then, organize them using the Sort menu or use the Search Bar to find a specific one. In this guide, we’ll go over how to locate and view specific workflows from the Workspace, as well as accessing the Workflow Builder from there.
Using the Filter Menu
The Filter menu can be used to show only workflows in your current workspace. Let’s walk through the process together:
- In the Workspace, click on the Filter dropdown on the right-hand side of the Toolbar at the top of the page.
- Then, click on the checkbox next to Clear All to remove any current filters.
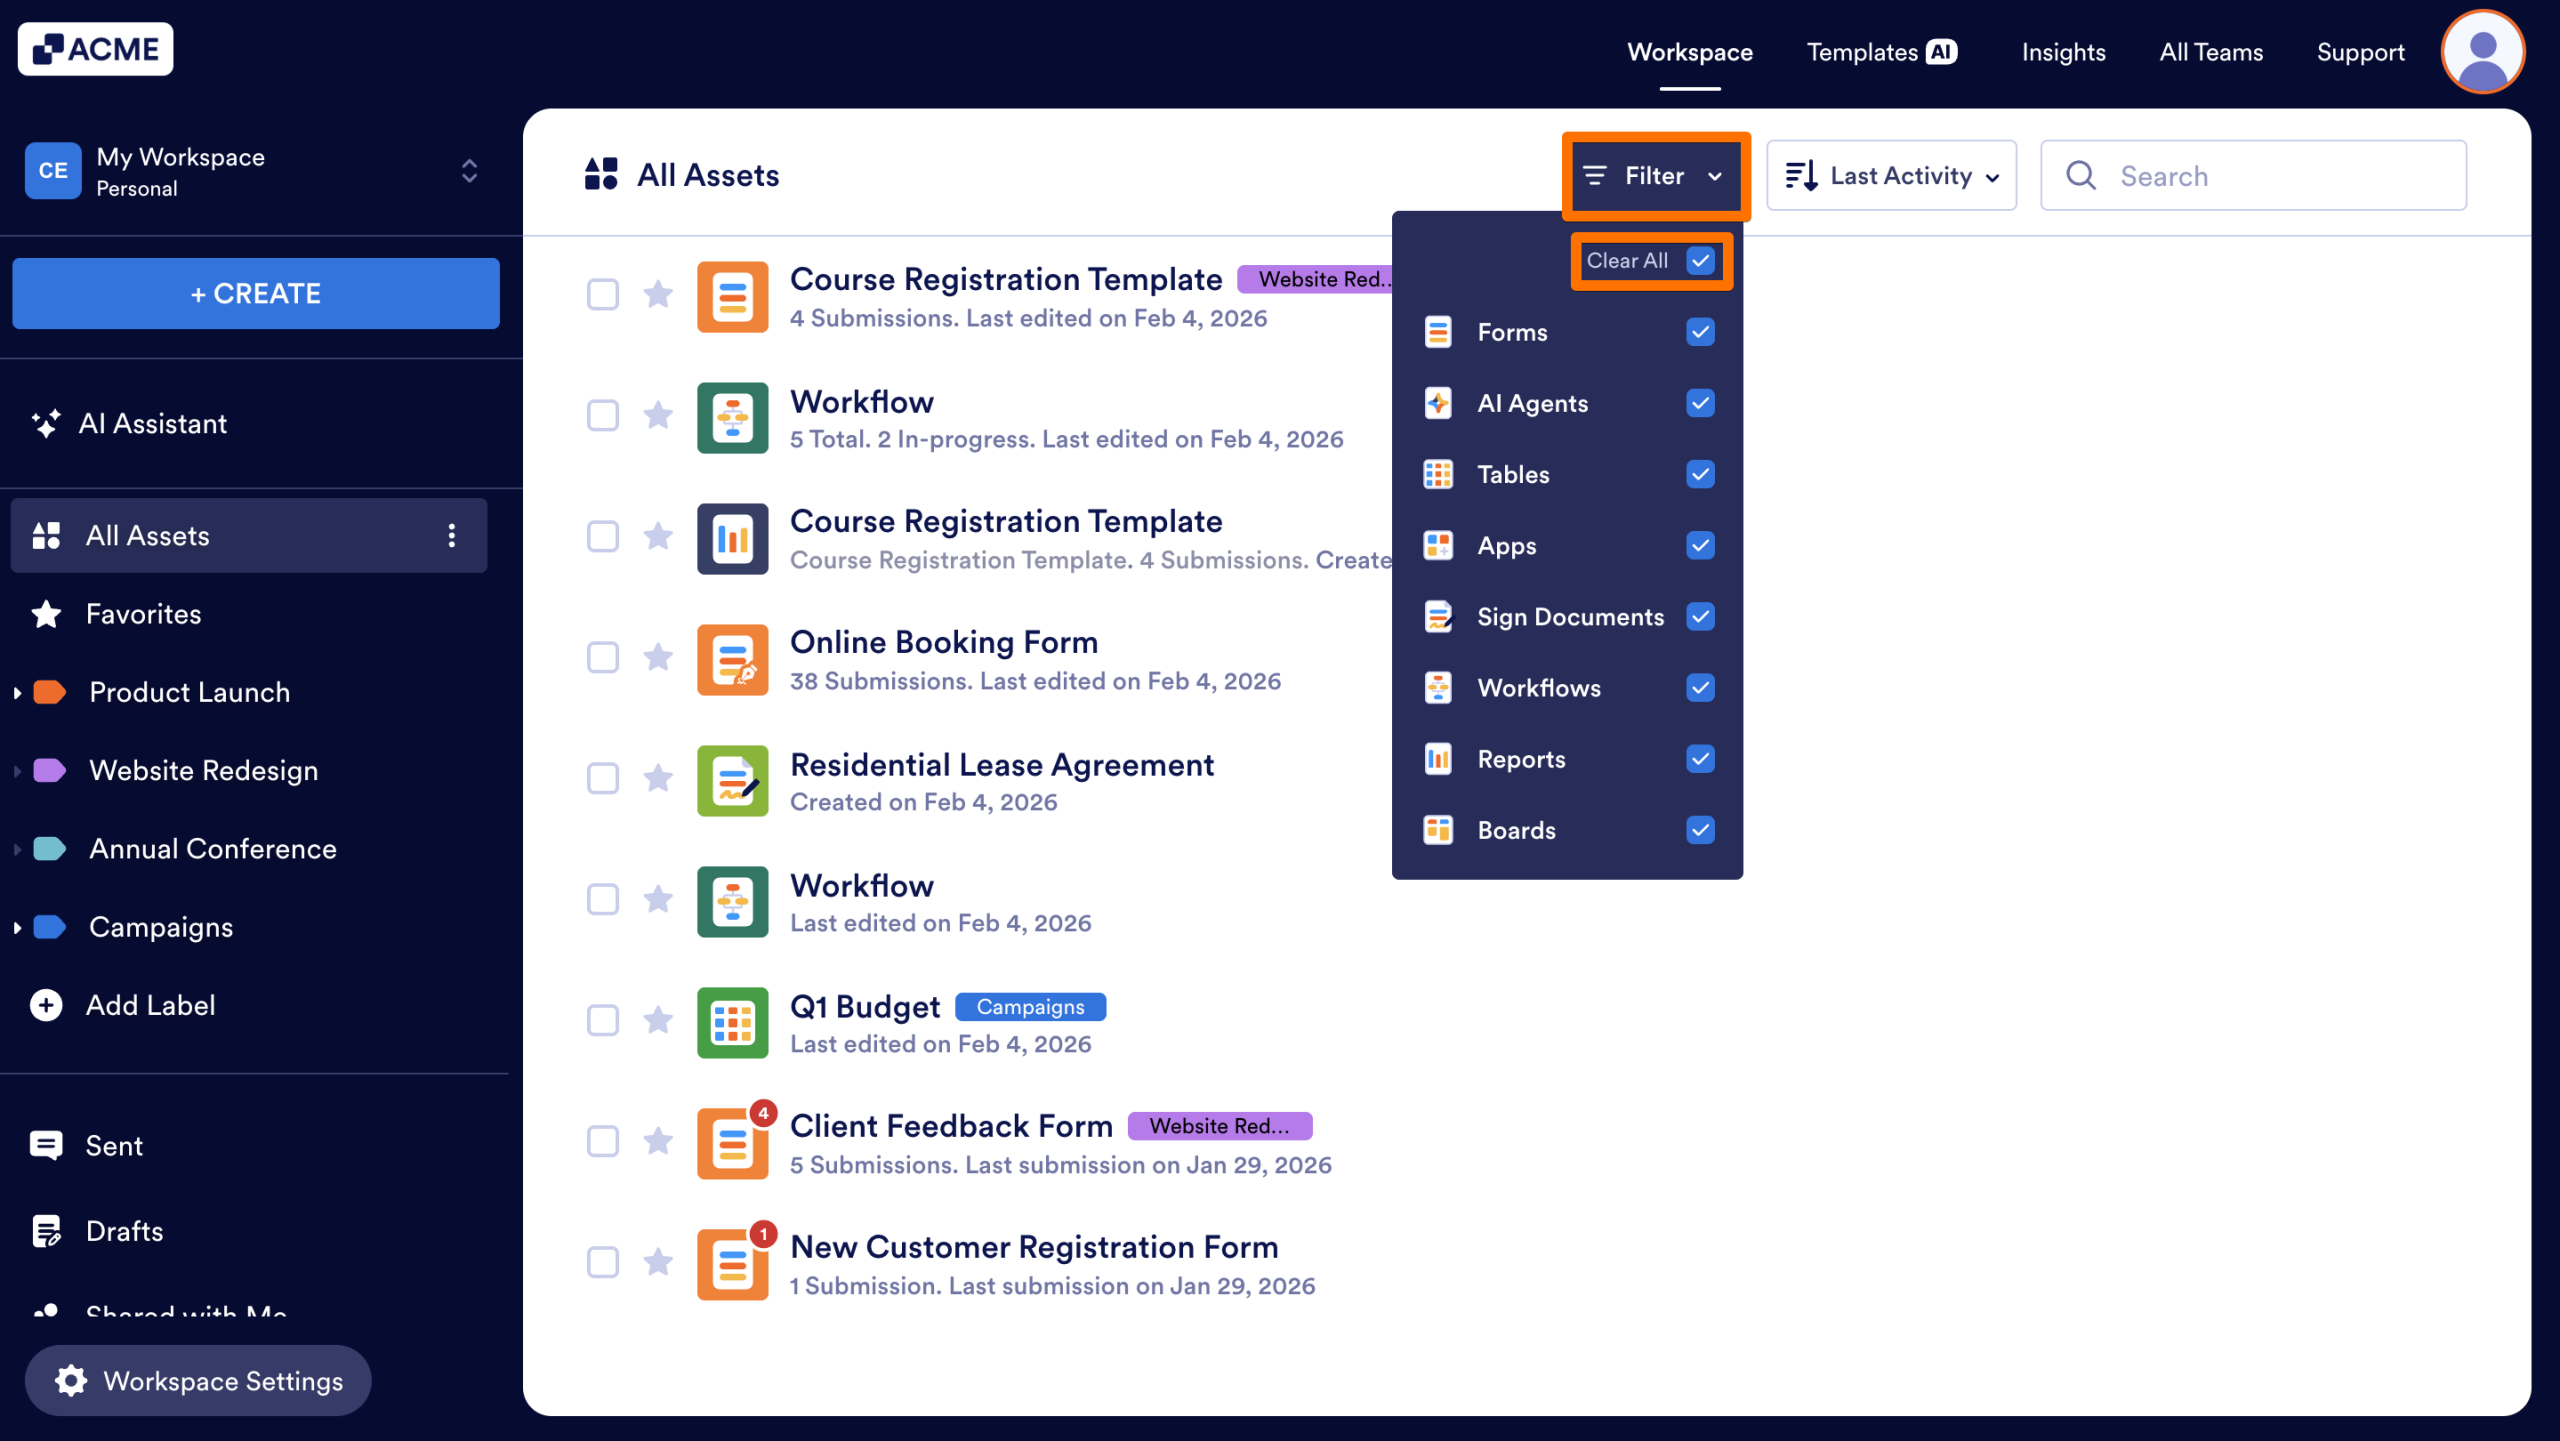
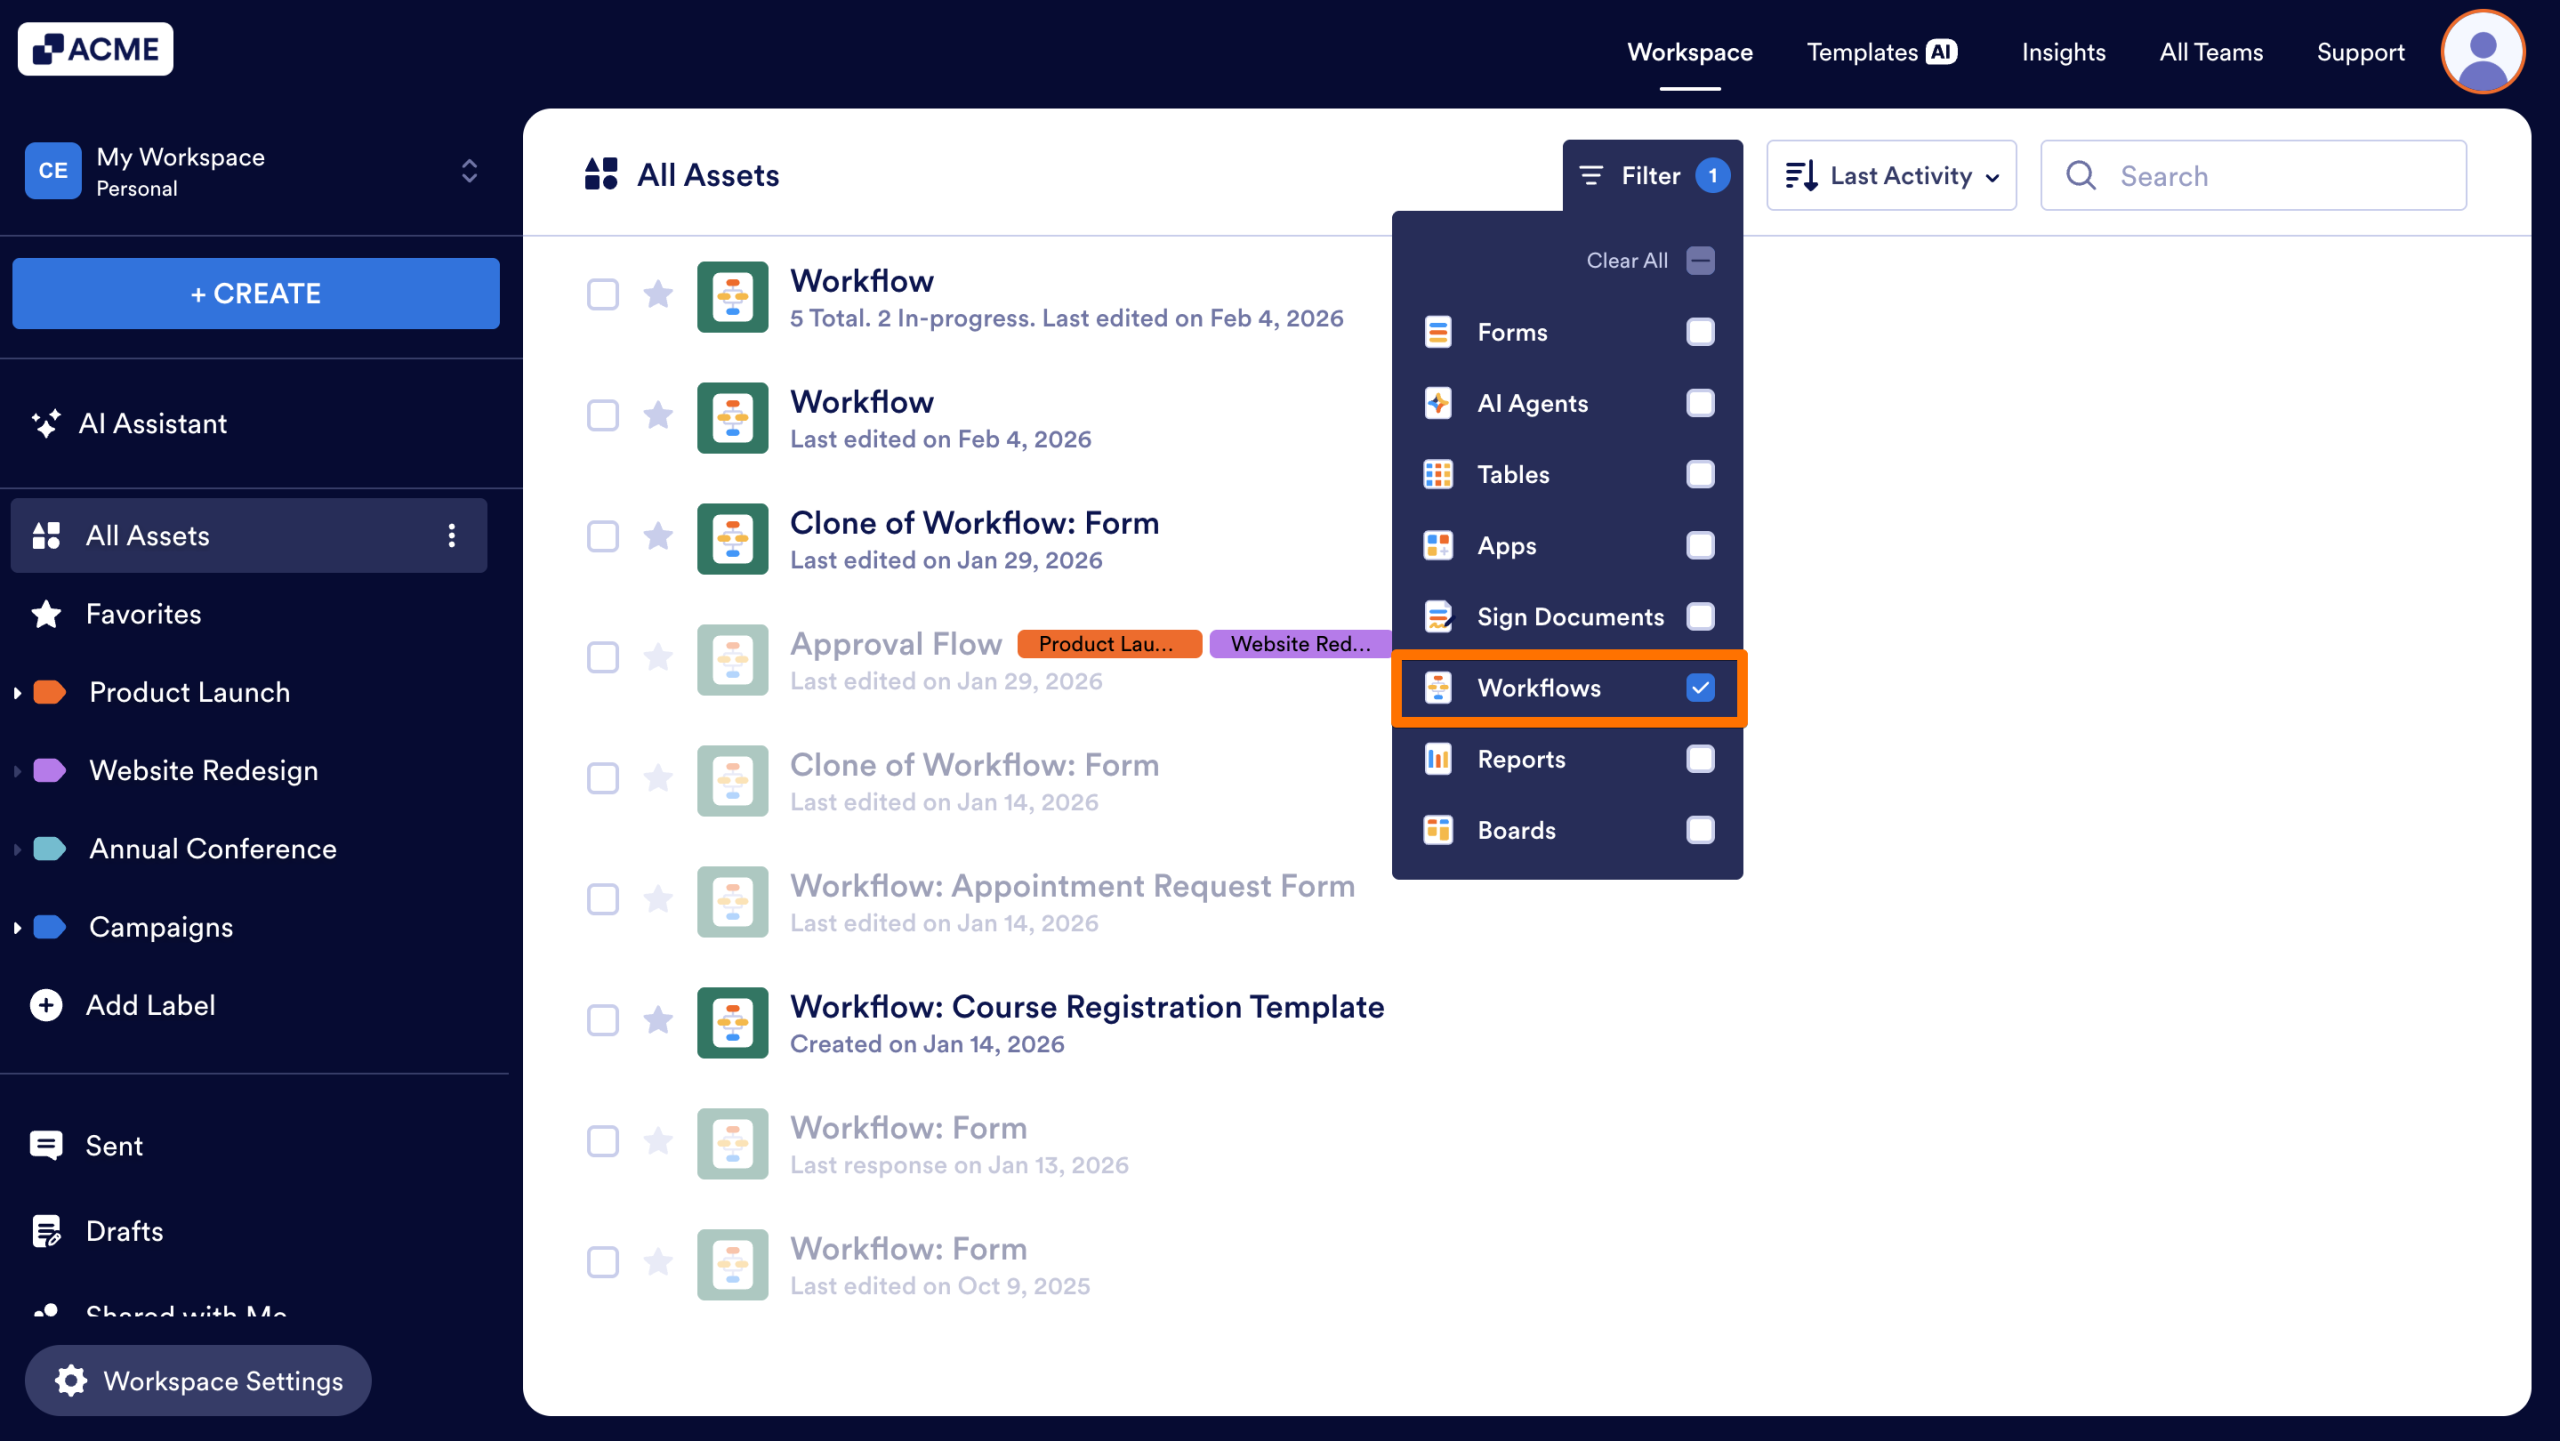
- Finally, click on the checkbox next to Workflows, and click outside the dropdown.
Tip
The Filter Menu is designed to remember your settings. This means that your selection will appear the next time you login or access the workspace, so you can jump back into your work without adjusting the filter every time.
Using the Sort Menu
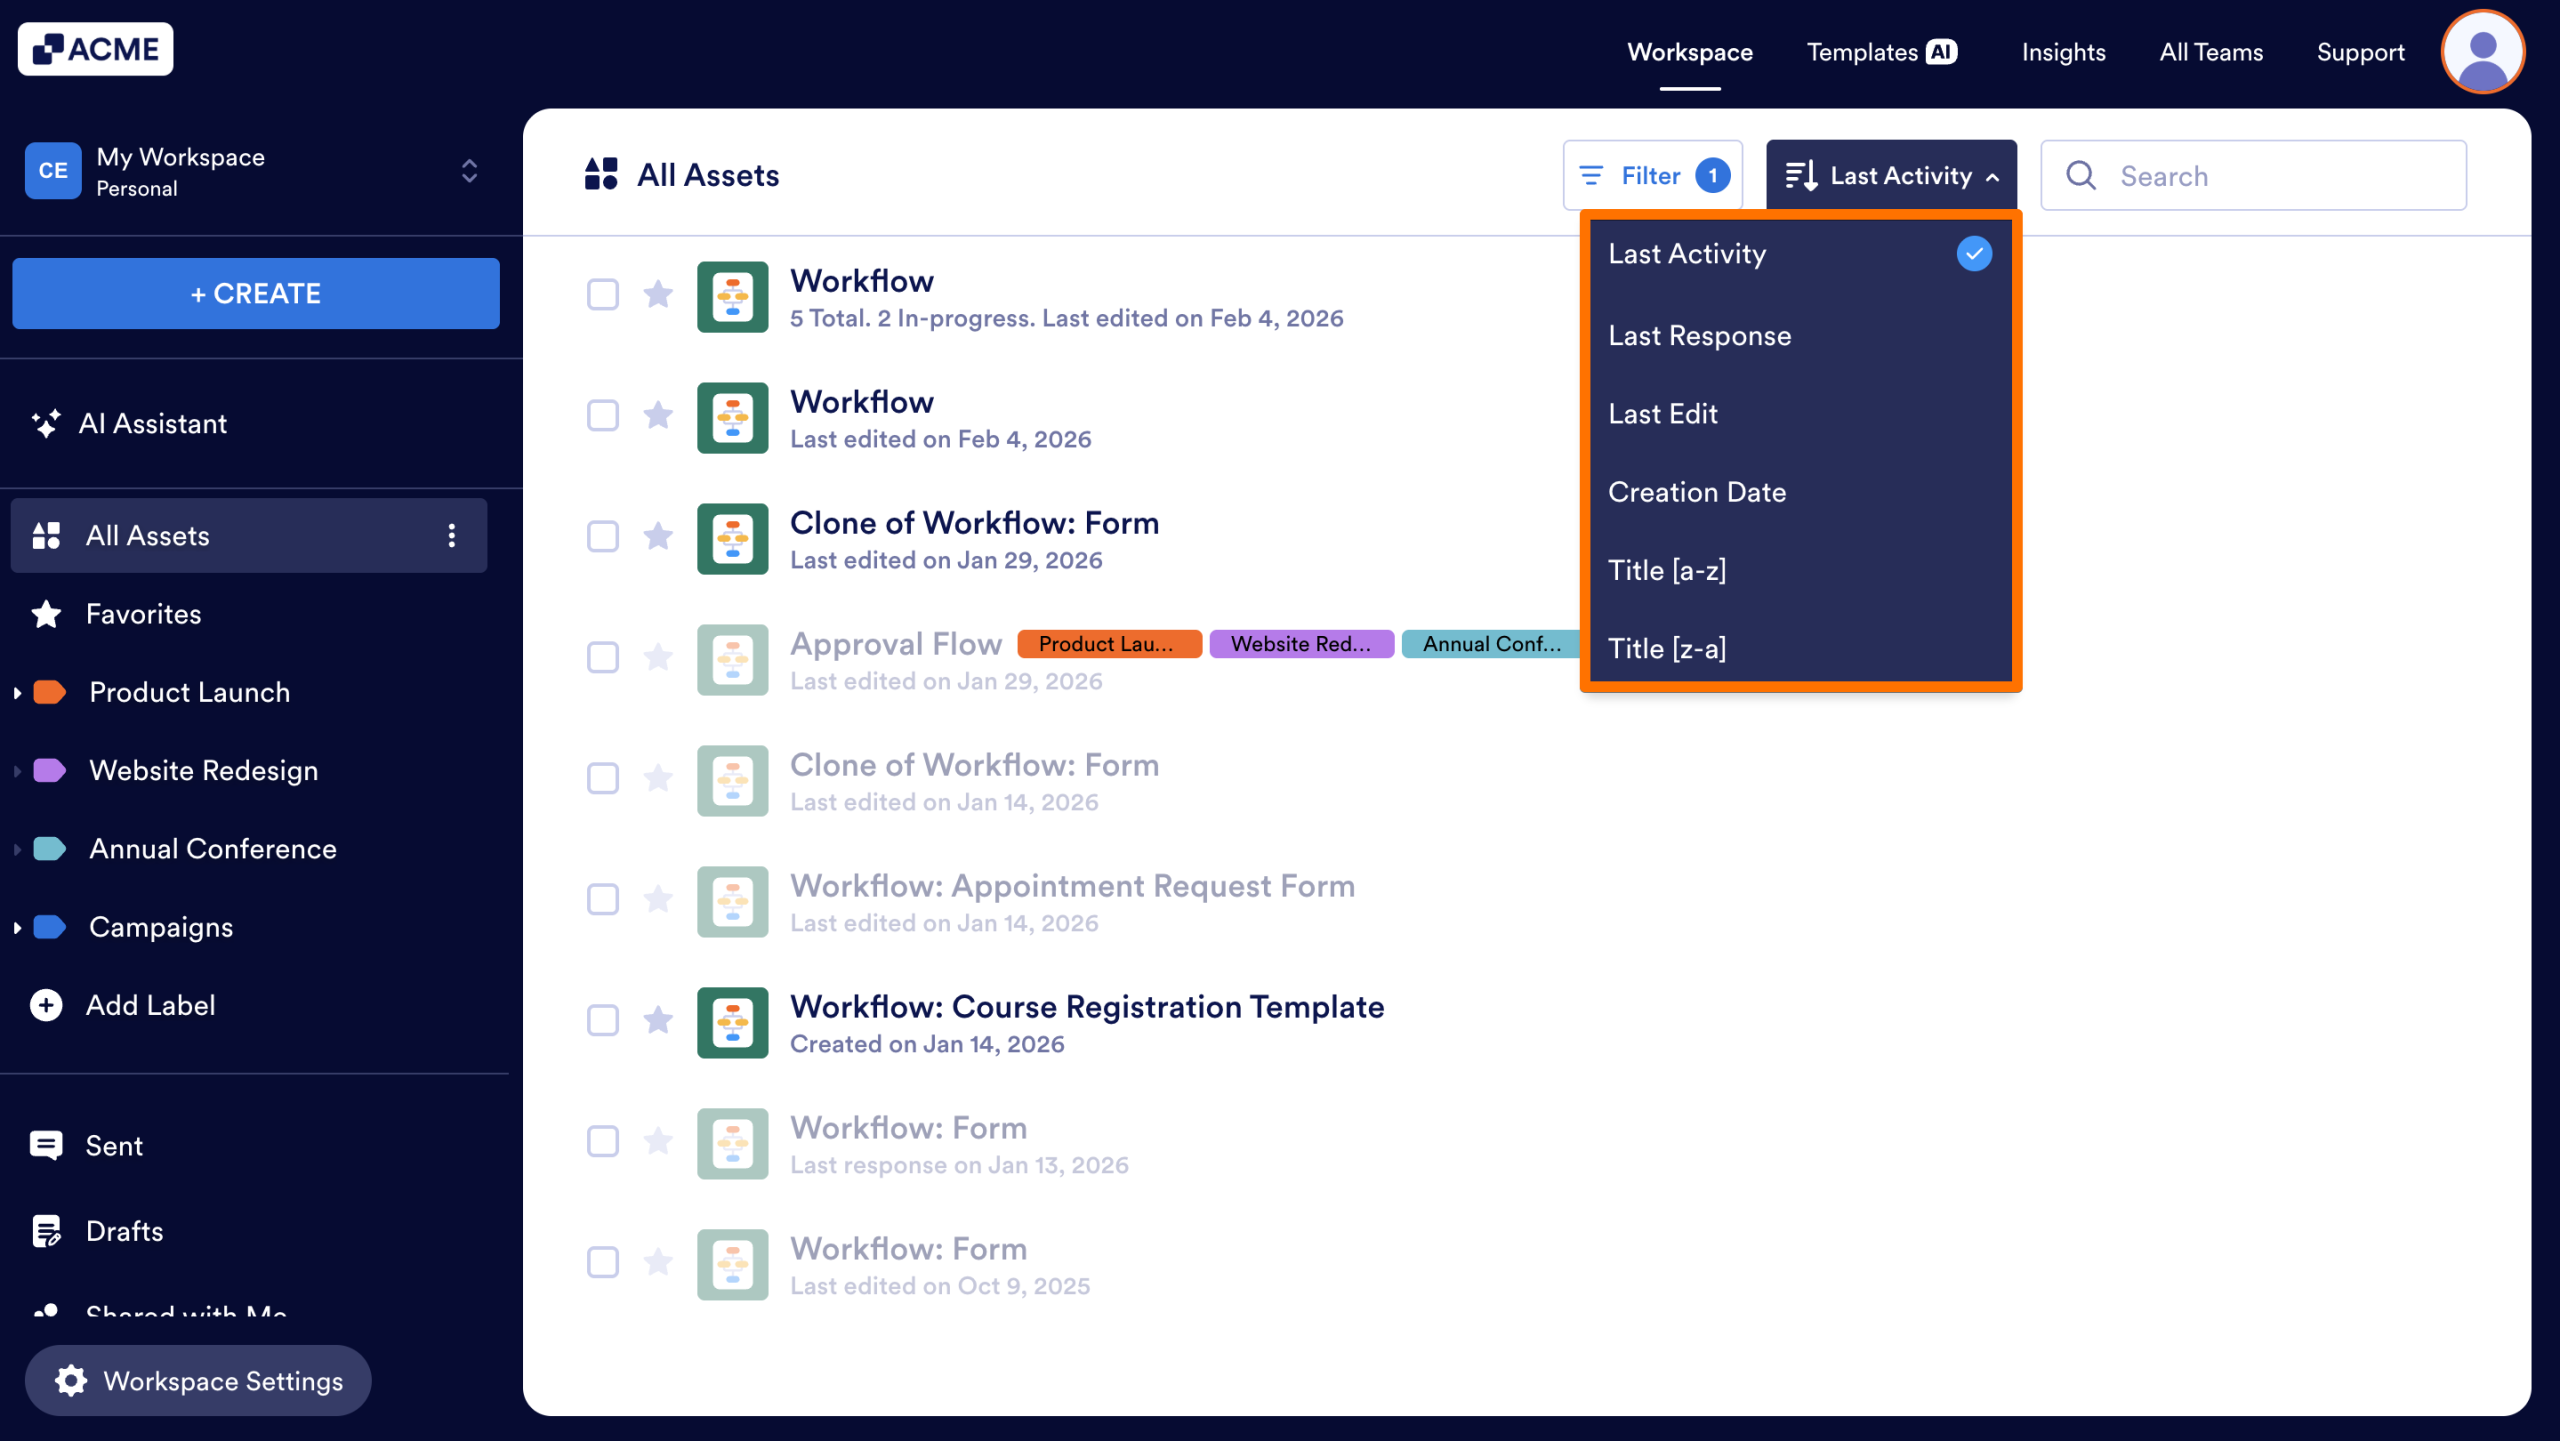
With the Sort menu, you can organize how the workflows appear in the current Workspace. Available sort options depend on the filters selected. The following options are available when only Workflows are selected in the filter:
- Last Activity: Sort Workflows based on the most recent activity.
- Last Response: Sort Workflows based on the time of the most recent response.
- Last Edit: Sort Workflows based on the time of the last edit.
- Creation Date: Sort Workflows by the date they were created, from newest to oldest.
- Title [a-z] / [z-a]: Sort Workflows alphabetically or in reverse alphabetical order by name.
Let’s walk through the process of applying a Sort option together:
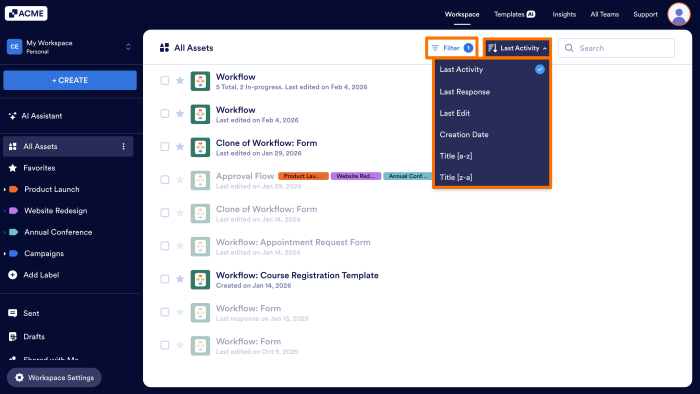
- In the Workspace, make sure the Filter tool is set to only Workflows, then, click on the Sort dropdown next to the Filter.
- Finally, select the Sort option you’d like to apply and click out of the dropdown.
Your list will automatically refresh, based on the filter and sort options you’ve applied. For more information about the Sort menu, check out our guide How to Sort Your Assets.
Tip
Like the Filter menu, your Sort selection is persistent. This means that once a sorting option is selected, the workspace will remember it the next time you log in or access the workspace.
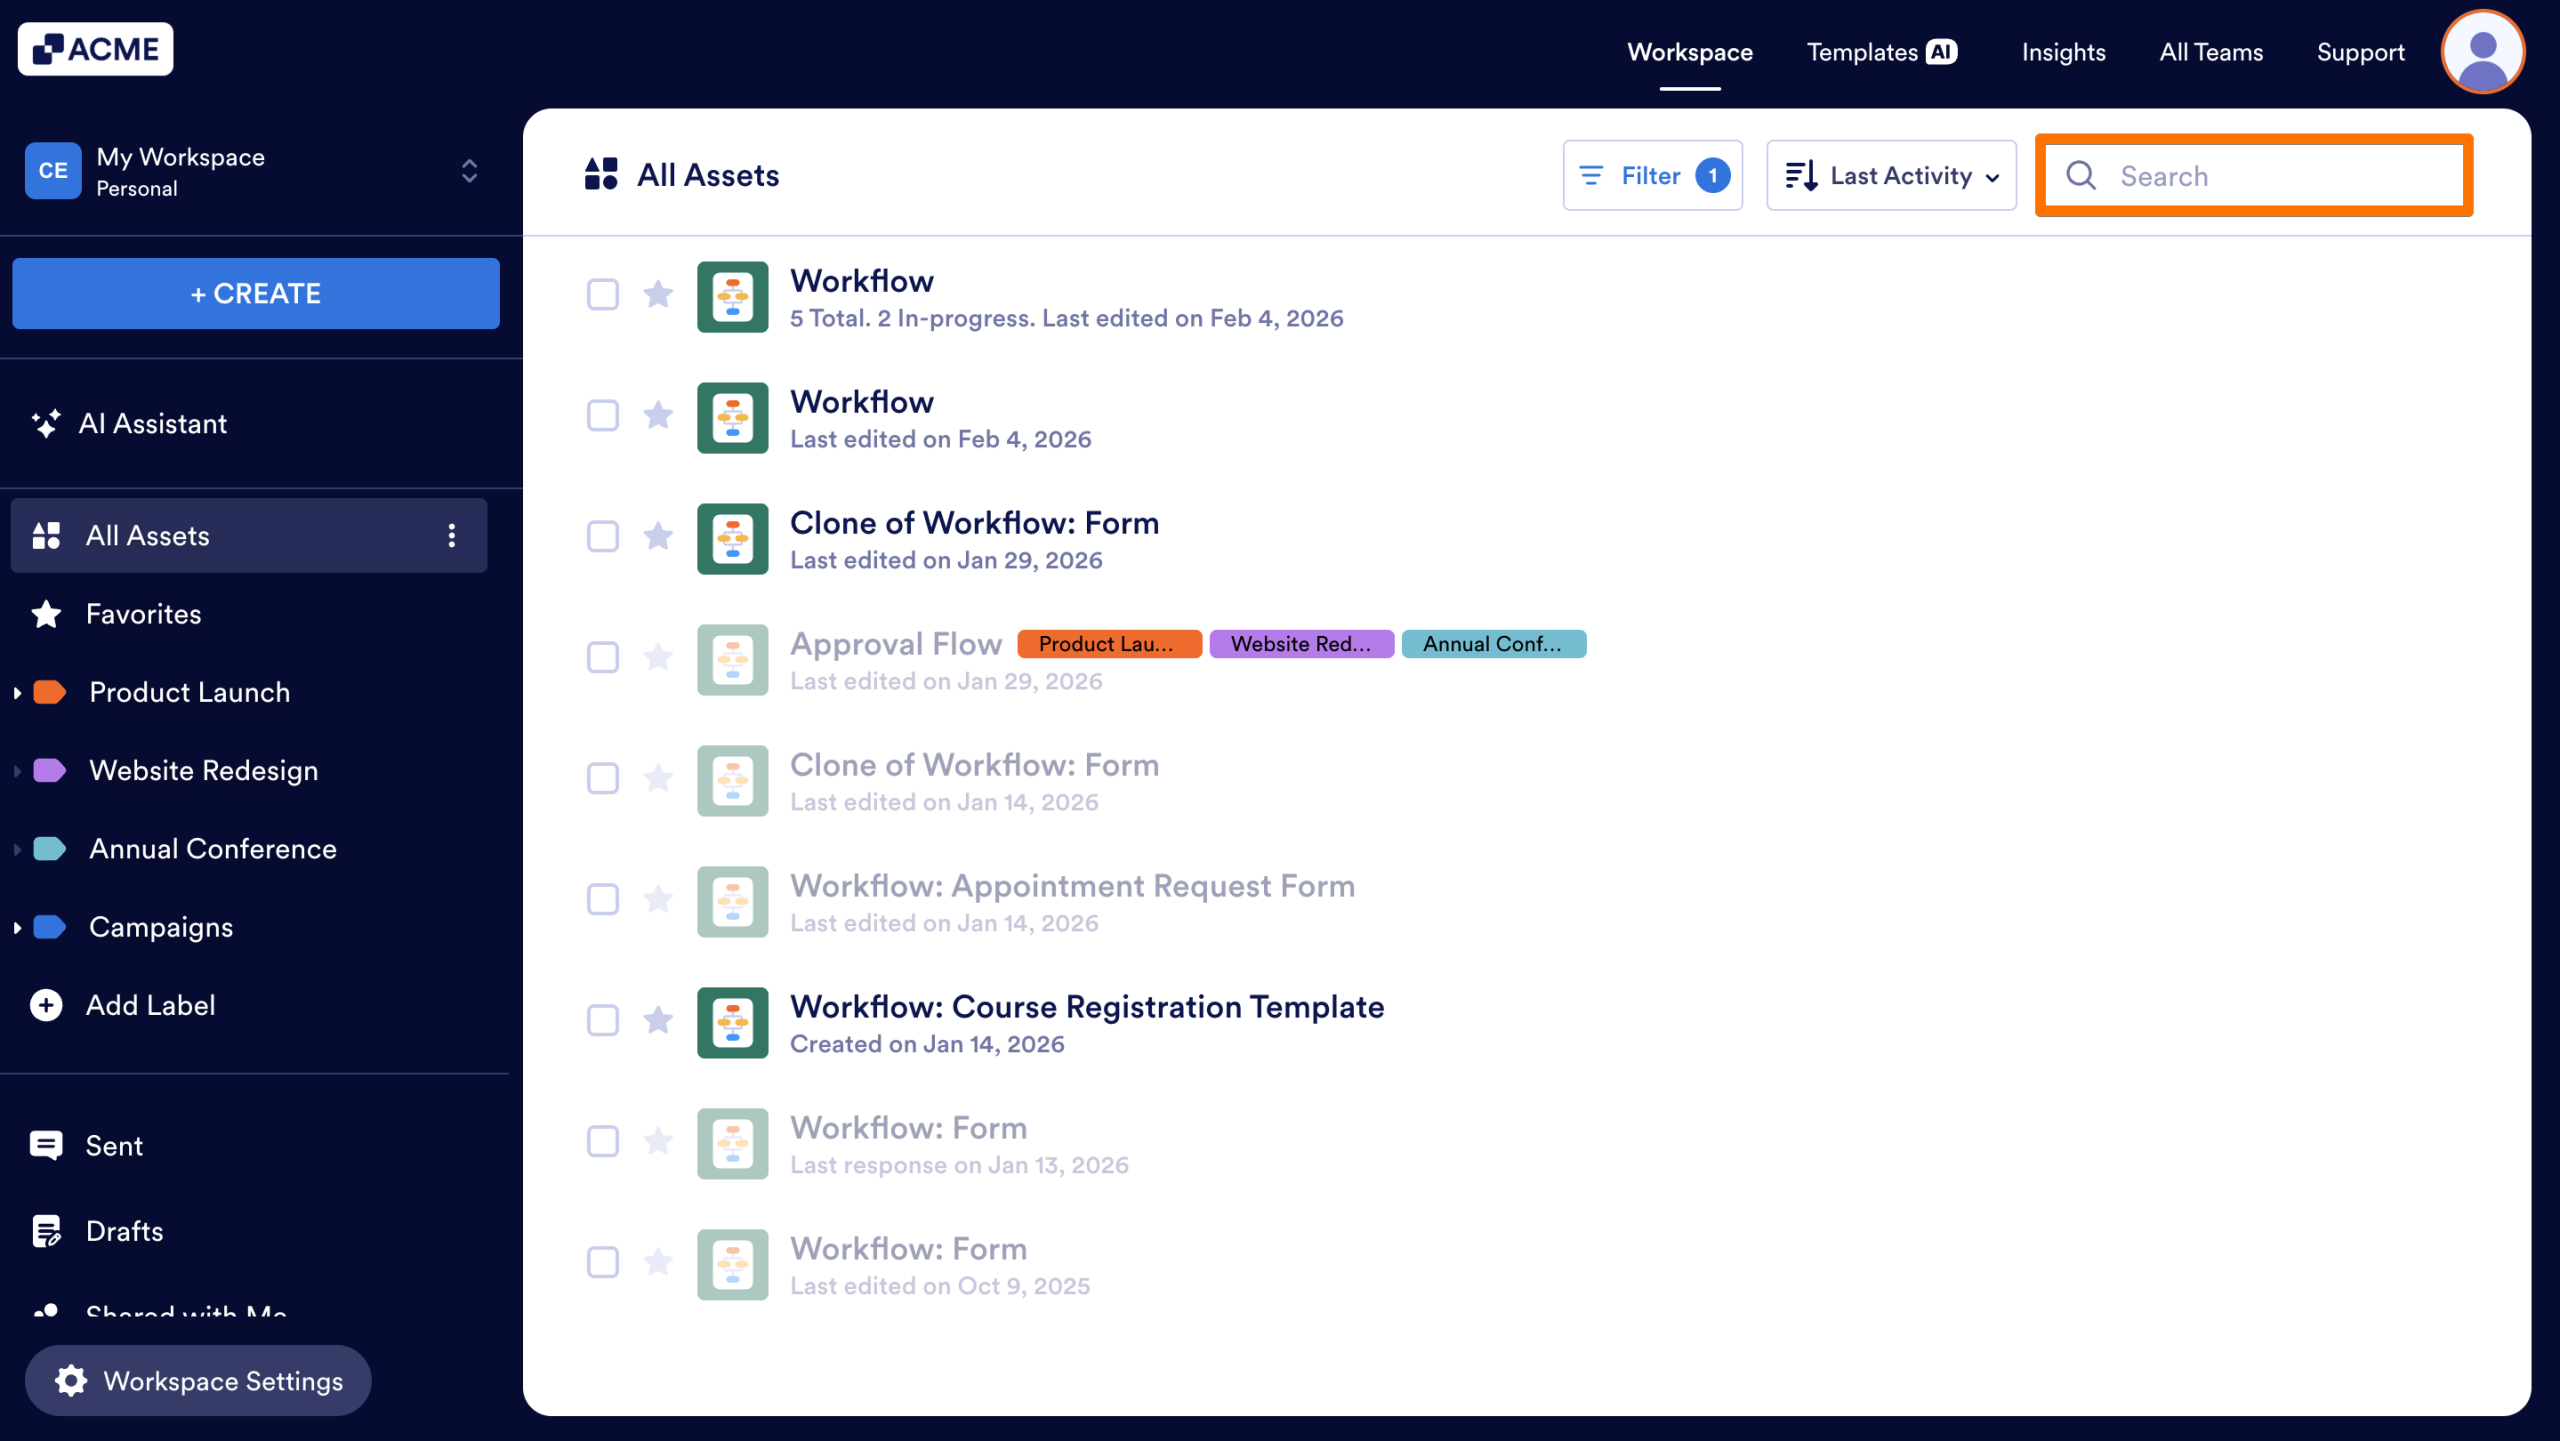
Using the Search Bar
The Search Bar can be used to find specific workflows, based on their name, title, or asset ID. Enter one of the following in the Search Bar to find what you’re looking for, based on the filters applied to the current workspace:
- Name: Enter the Workflow Name or Workflow Title in the search bar.
- Asset ID: Enter the Workflow ID in the search bar.
For more information about the Search bar, you can check out our guide How to Use Search on Your Workspace.
Limitations
When using the Filter, Sort, and Search Bar, keep the following limitations in mind:
- Asset Ownership: Only Workflows owned by the current workspace will appear when using these tools. If a Workflow is in a Team, you’ll need to follow these steps inside the Team Workspace.
- Page Limits: Only Workflows on the page you’re viewing will appear when using these tools. For example, if you’re in a specific label, only Workflows tied to the label will appear when using the Filter menu or Search Bar.
- Filter/Search Dependency: Information in the filter or in the search bar will determine what Workflows appear. For example, if the search bar contains “Approval” and the filter is set to Workflows, only Workflows that have “Approval” in their name will appear in the list.
Viewing a Workflow from a Workspace
Now that you’ve located the workflow, you can use Quick Actions to open the Workflow Builder. Let’s walk through this process together:
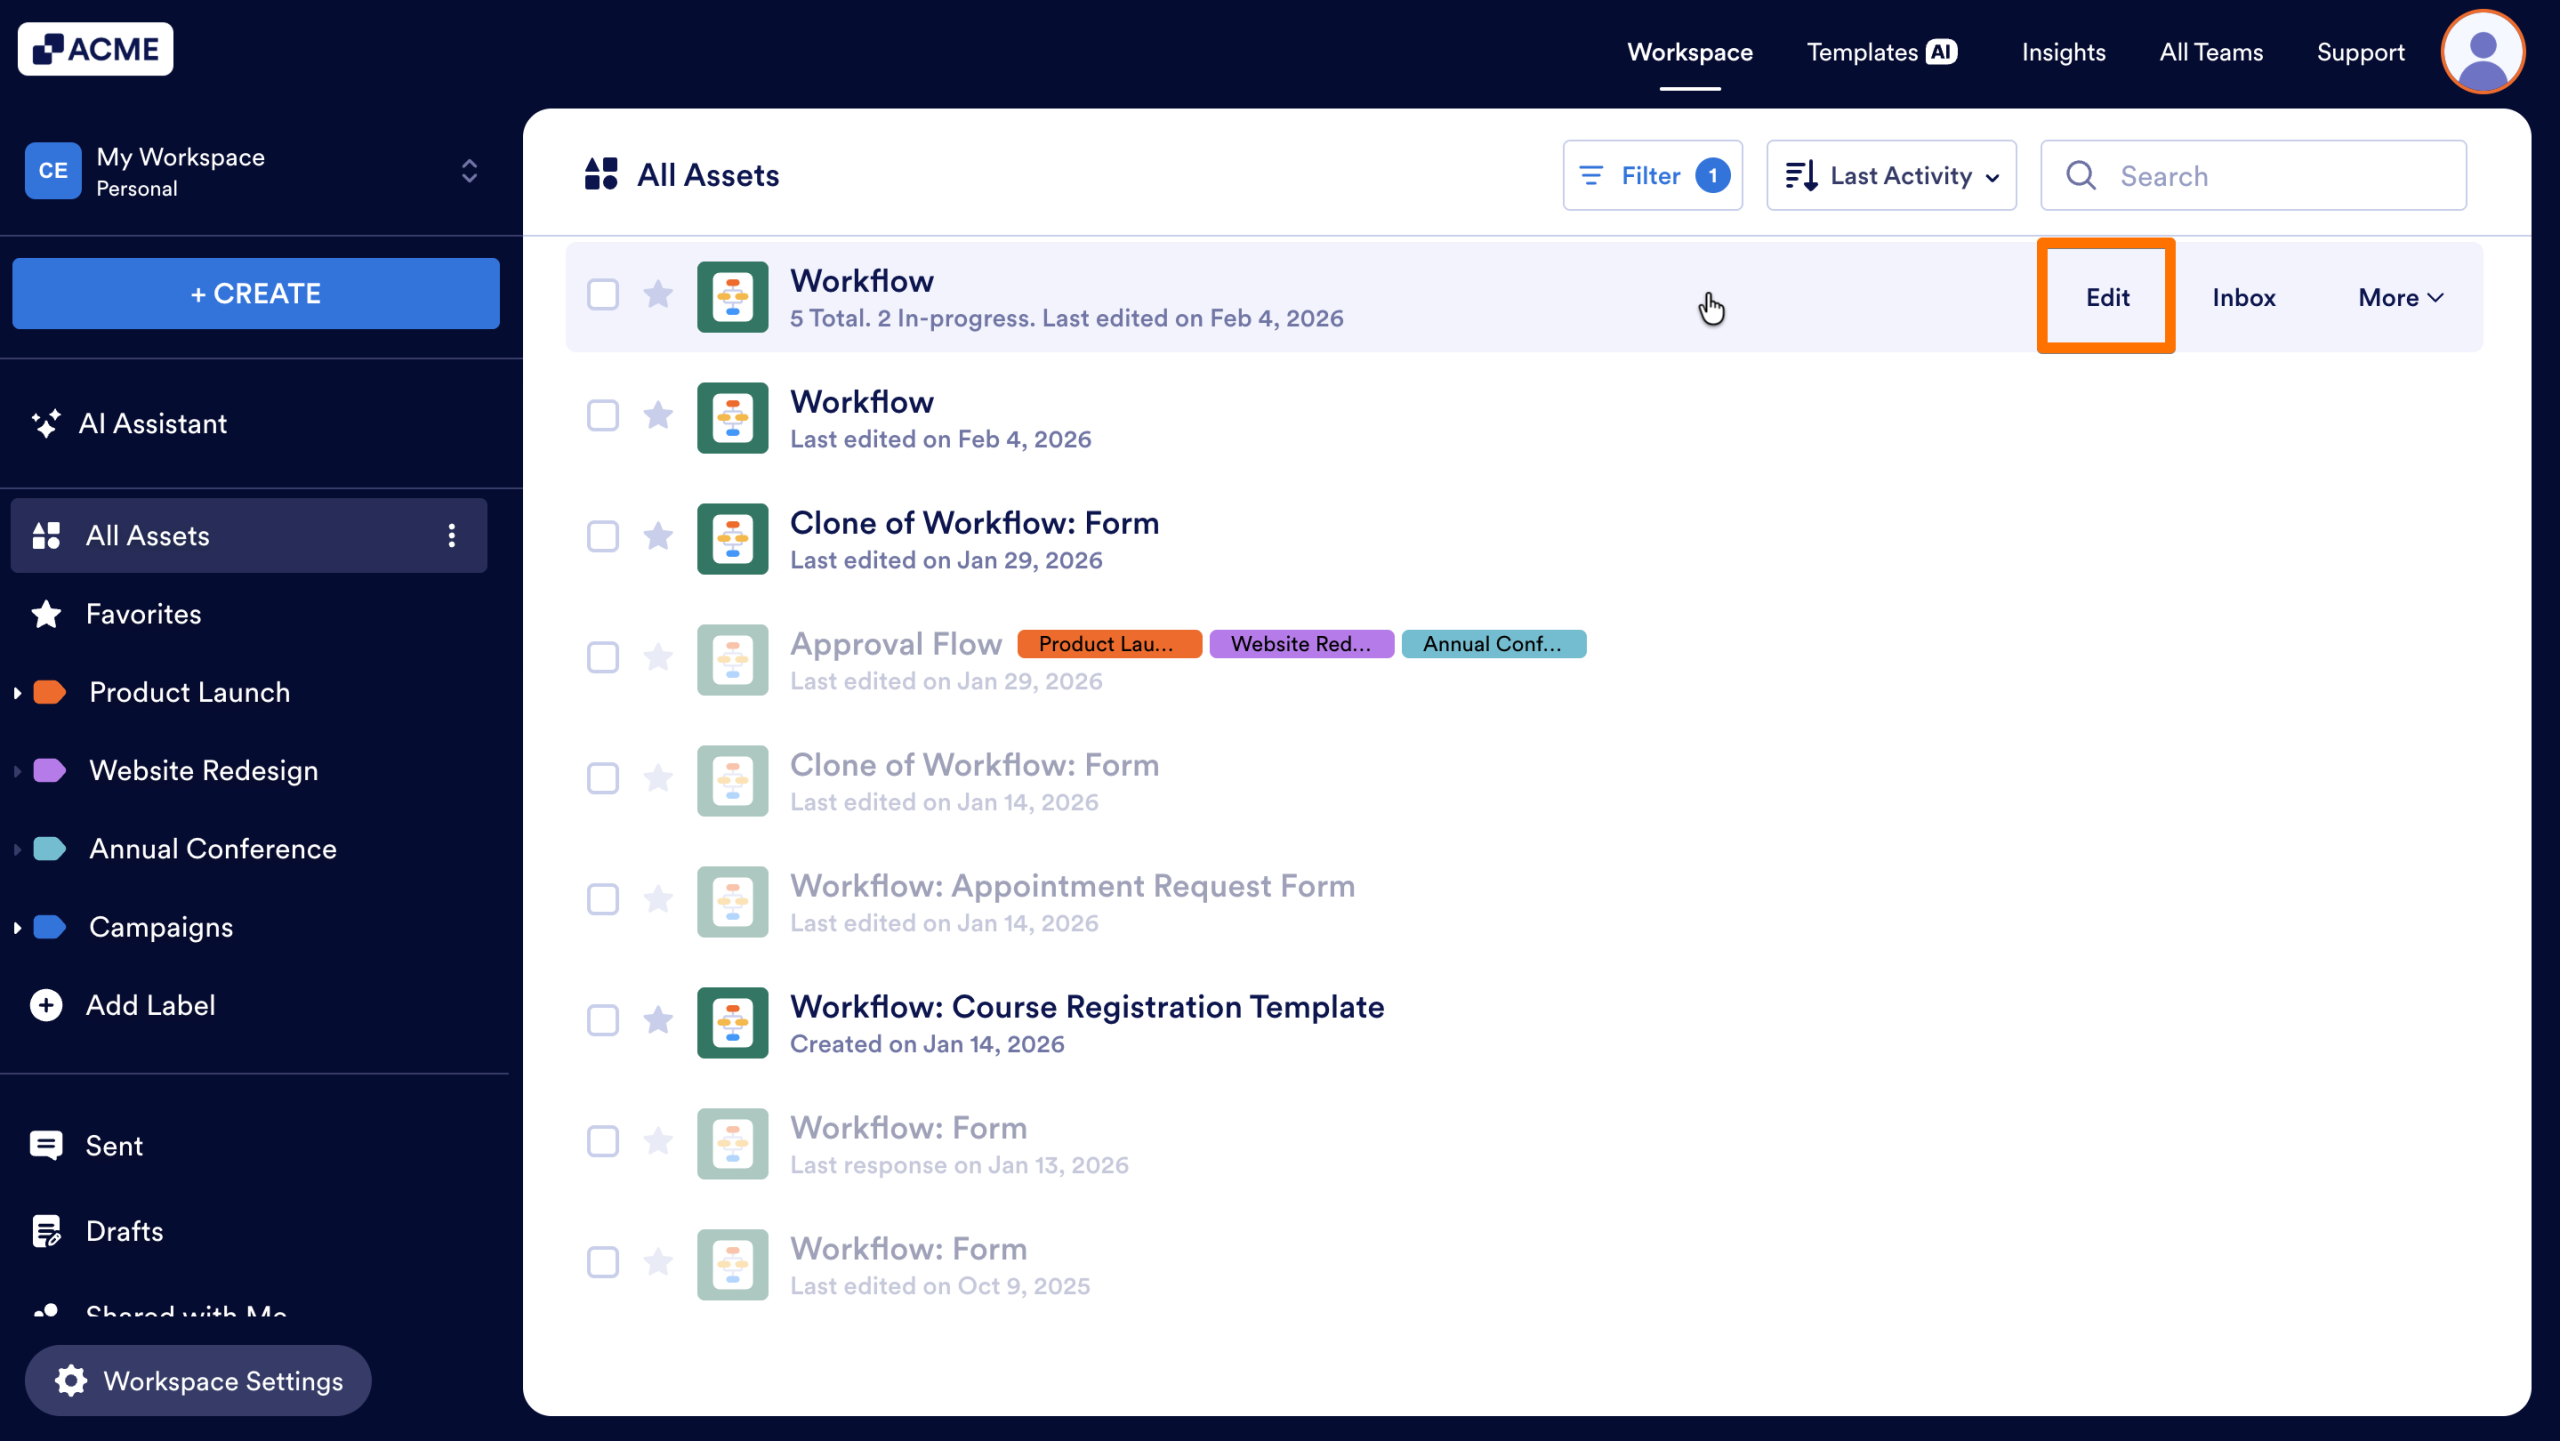
- In the Workspace, hover over the Workflow you’d like to open.
- Then, click on Edit on the right-hand side of the page.
- Alternatively, click on More and select Edit from the dropdown menu.
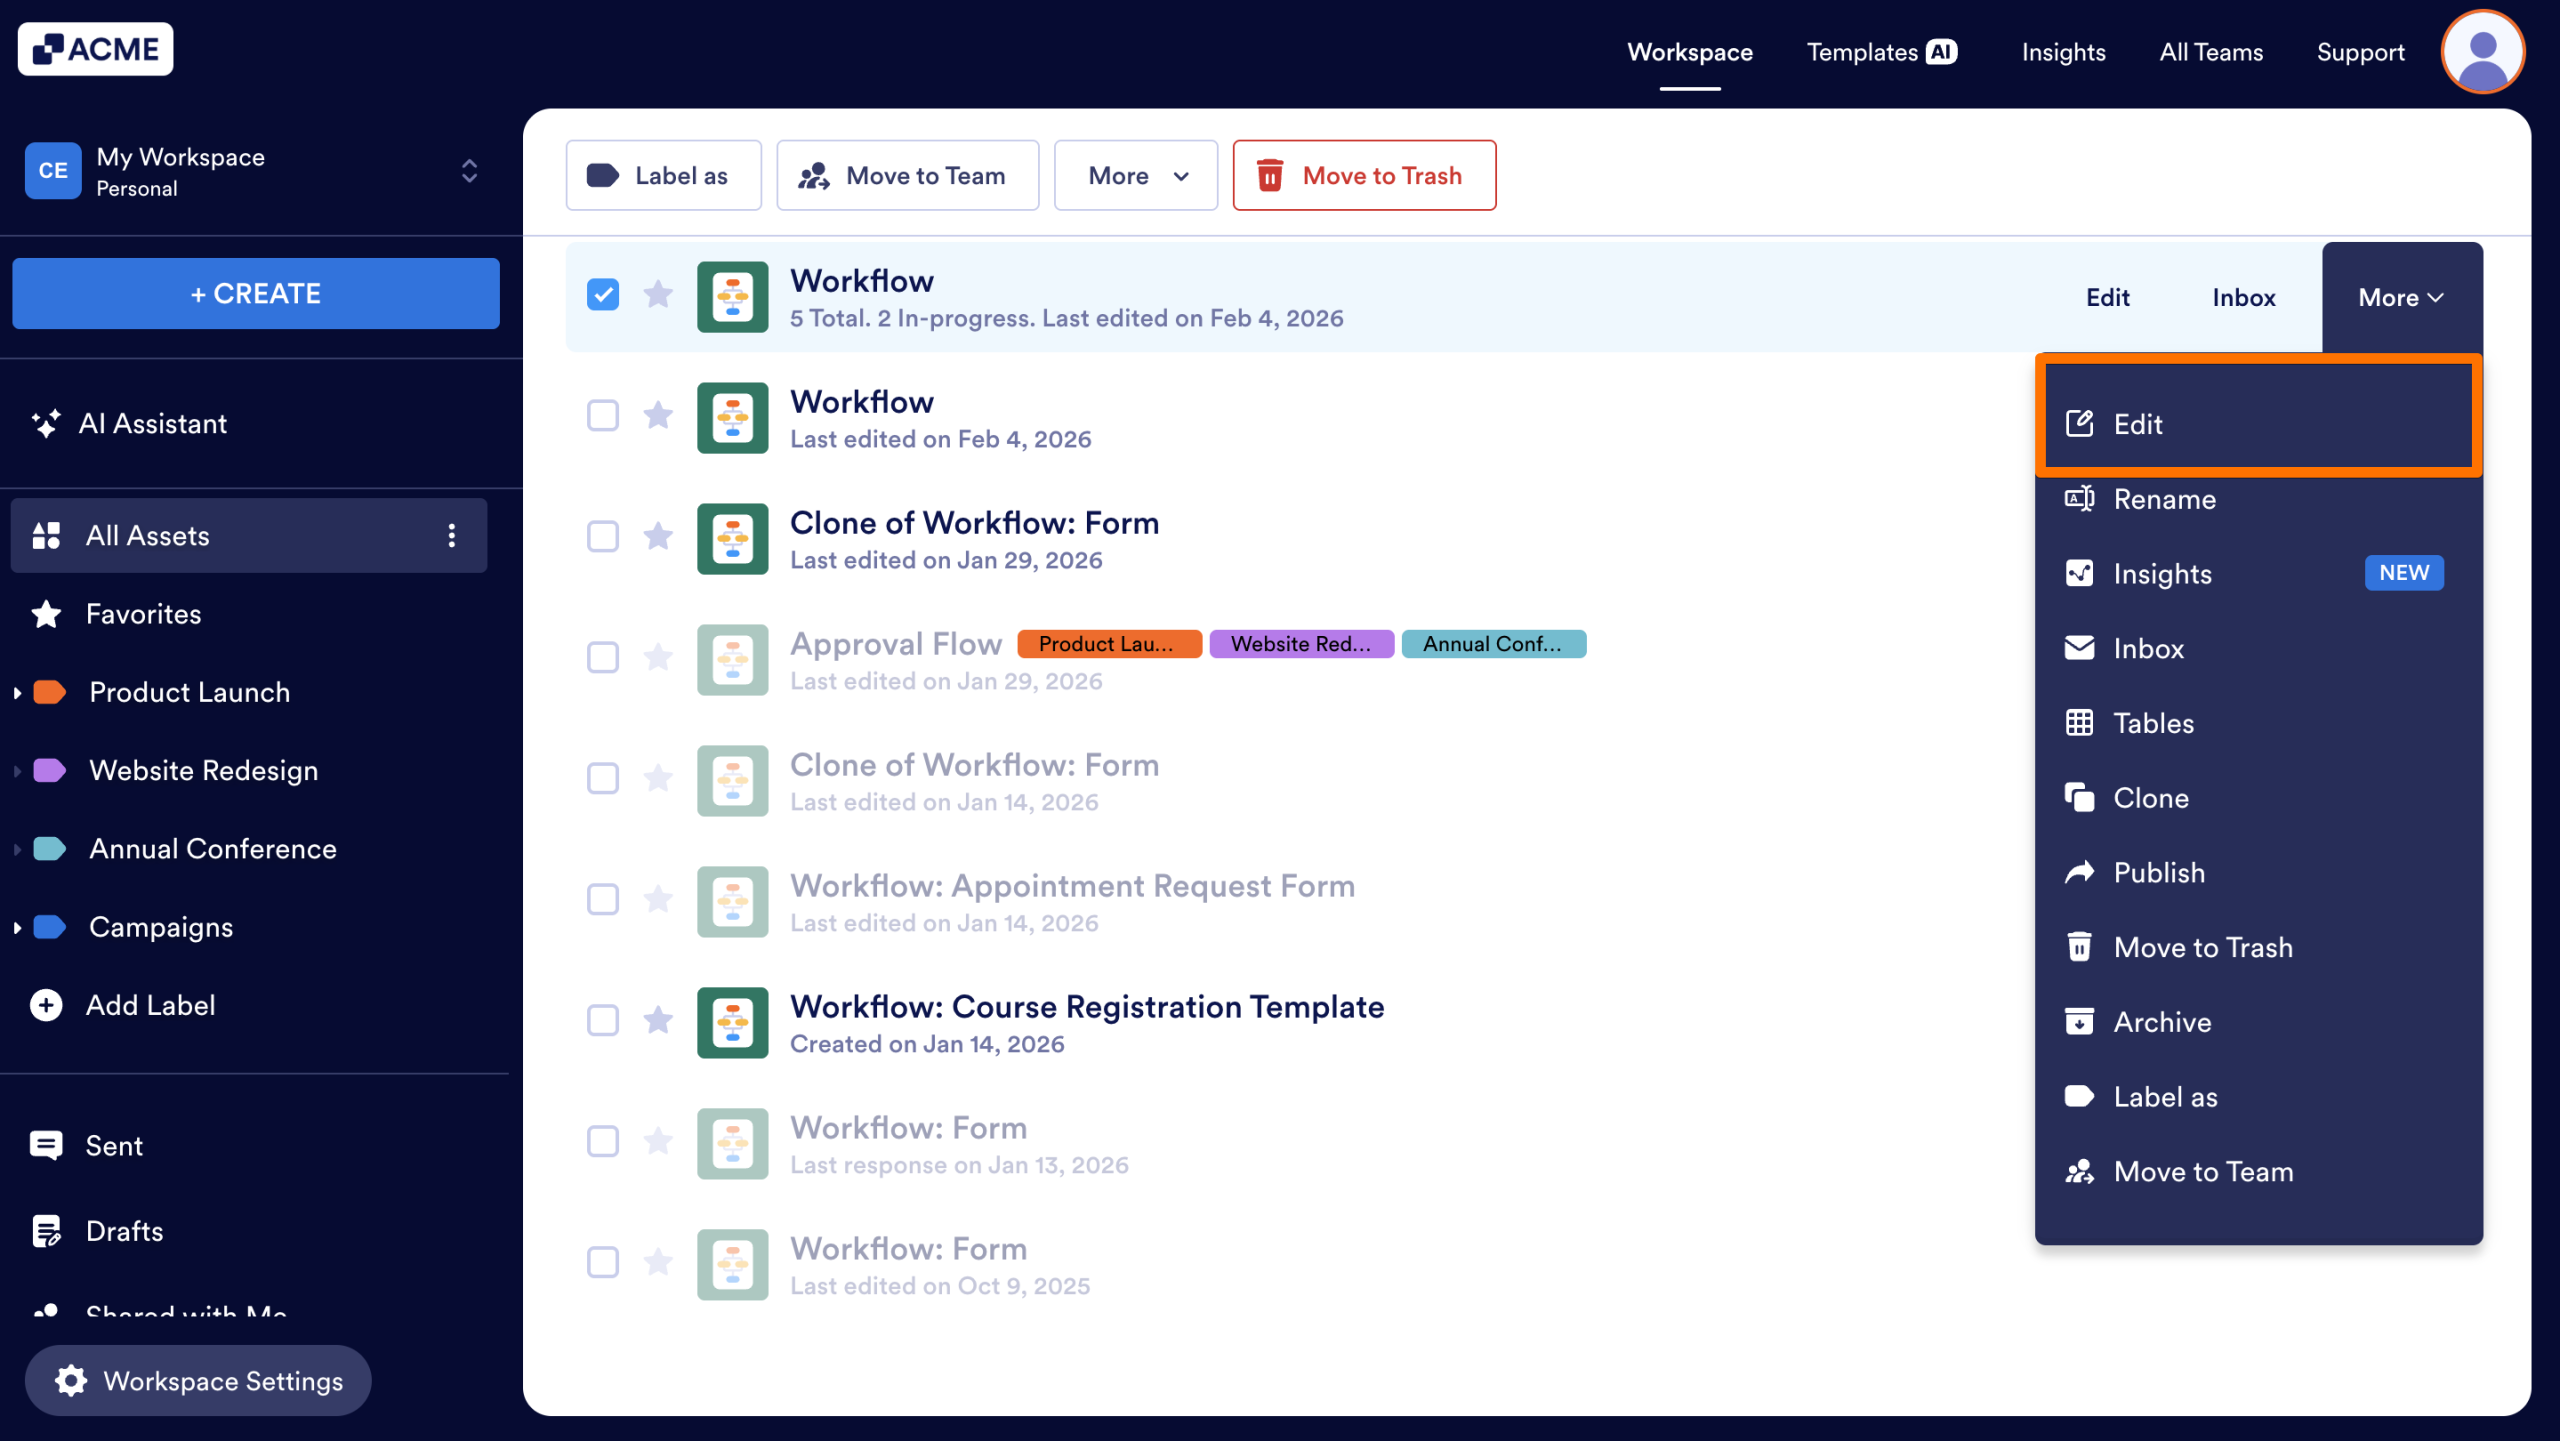
The Workflow Builder will open in a new tab, where you can edit and test it as needed.

Send Comment: