In this guide, we’ll walk through the process of creating workflows directly in a team. This way, automations, approval processes, and collaborative logic stays organized and accessible to the right team members. Before creating anything, make sure you’re in the right team.
Depending on your preference, you can either use the Create button or create the workflow directly in the form. We’ll walk through both, starting with the Create button.
Using the Create Button
- In the Team Workspace, click on the Create button in the navigation menu on the left.
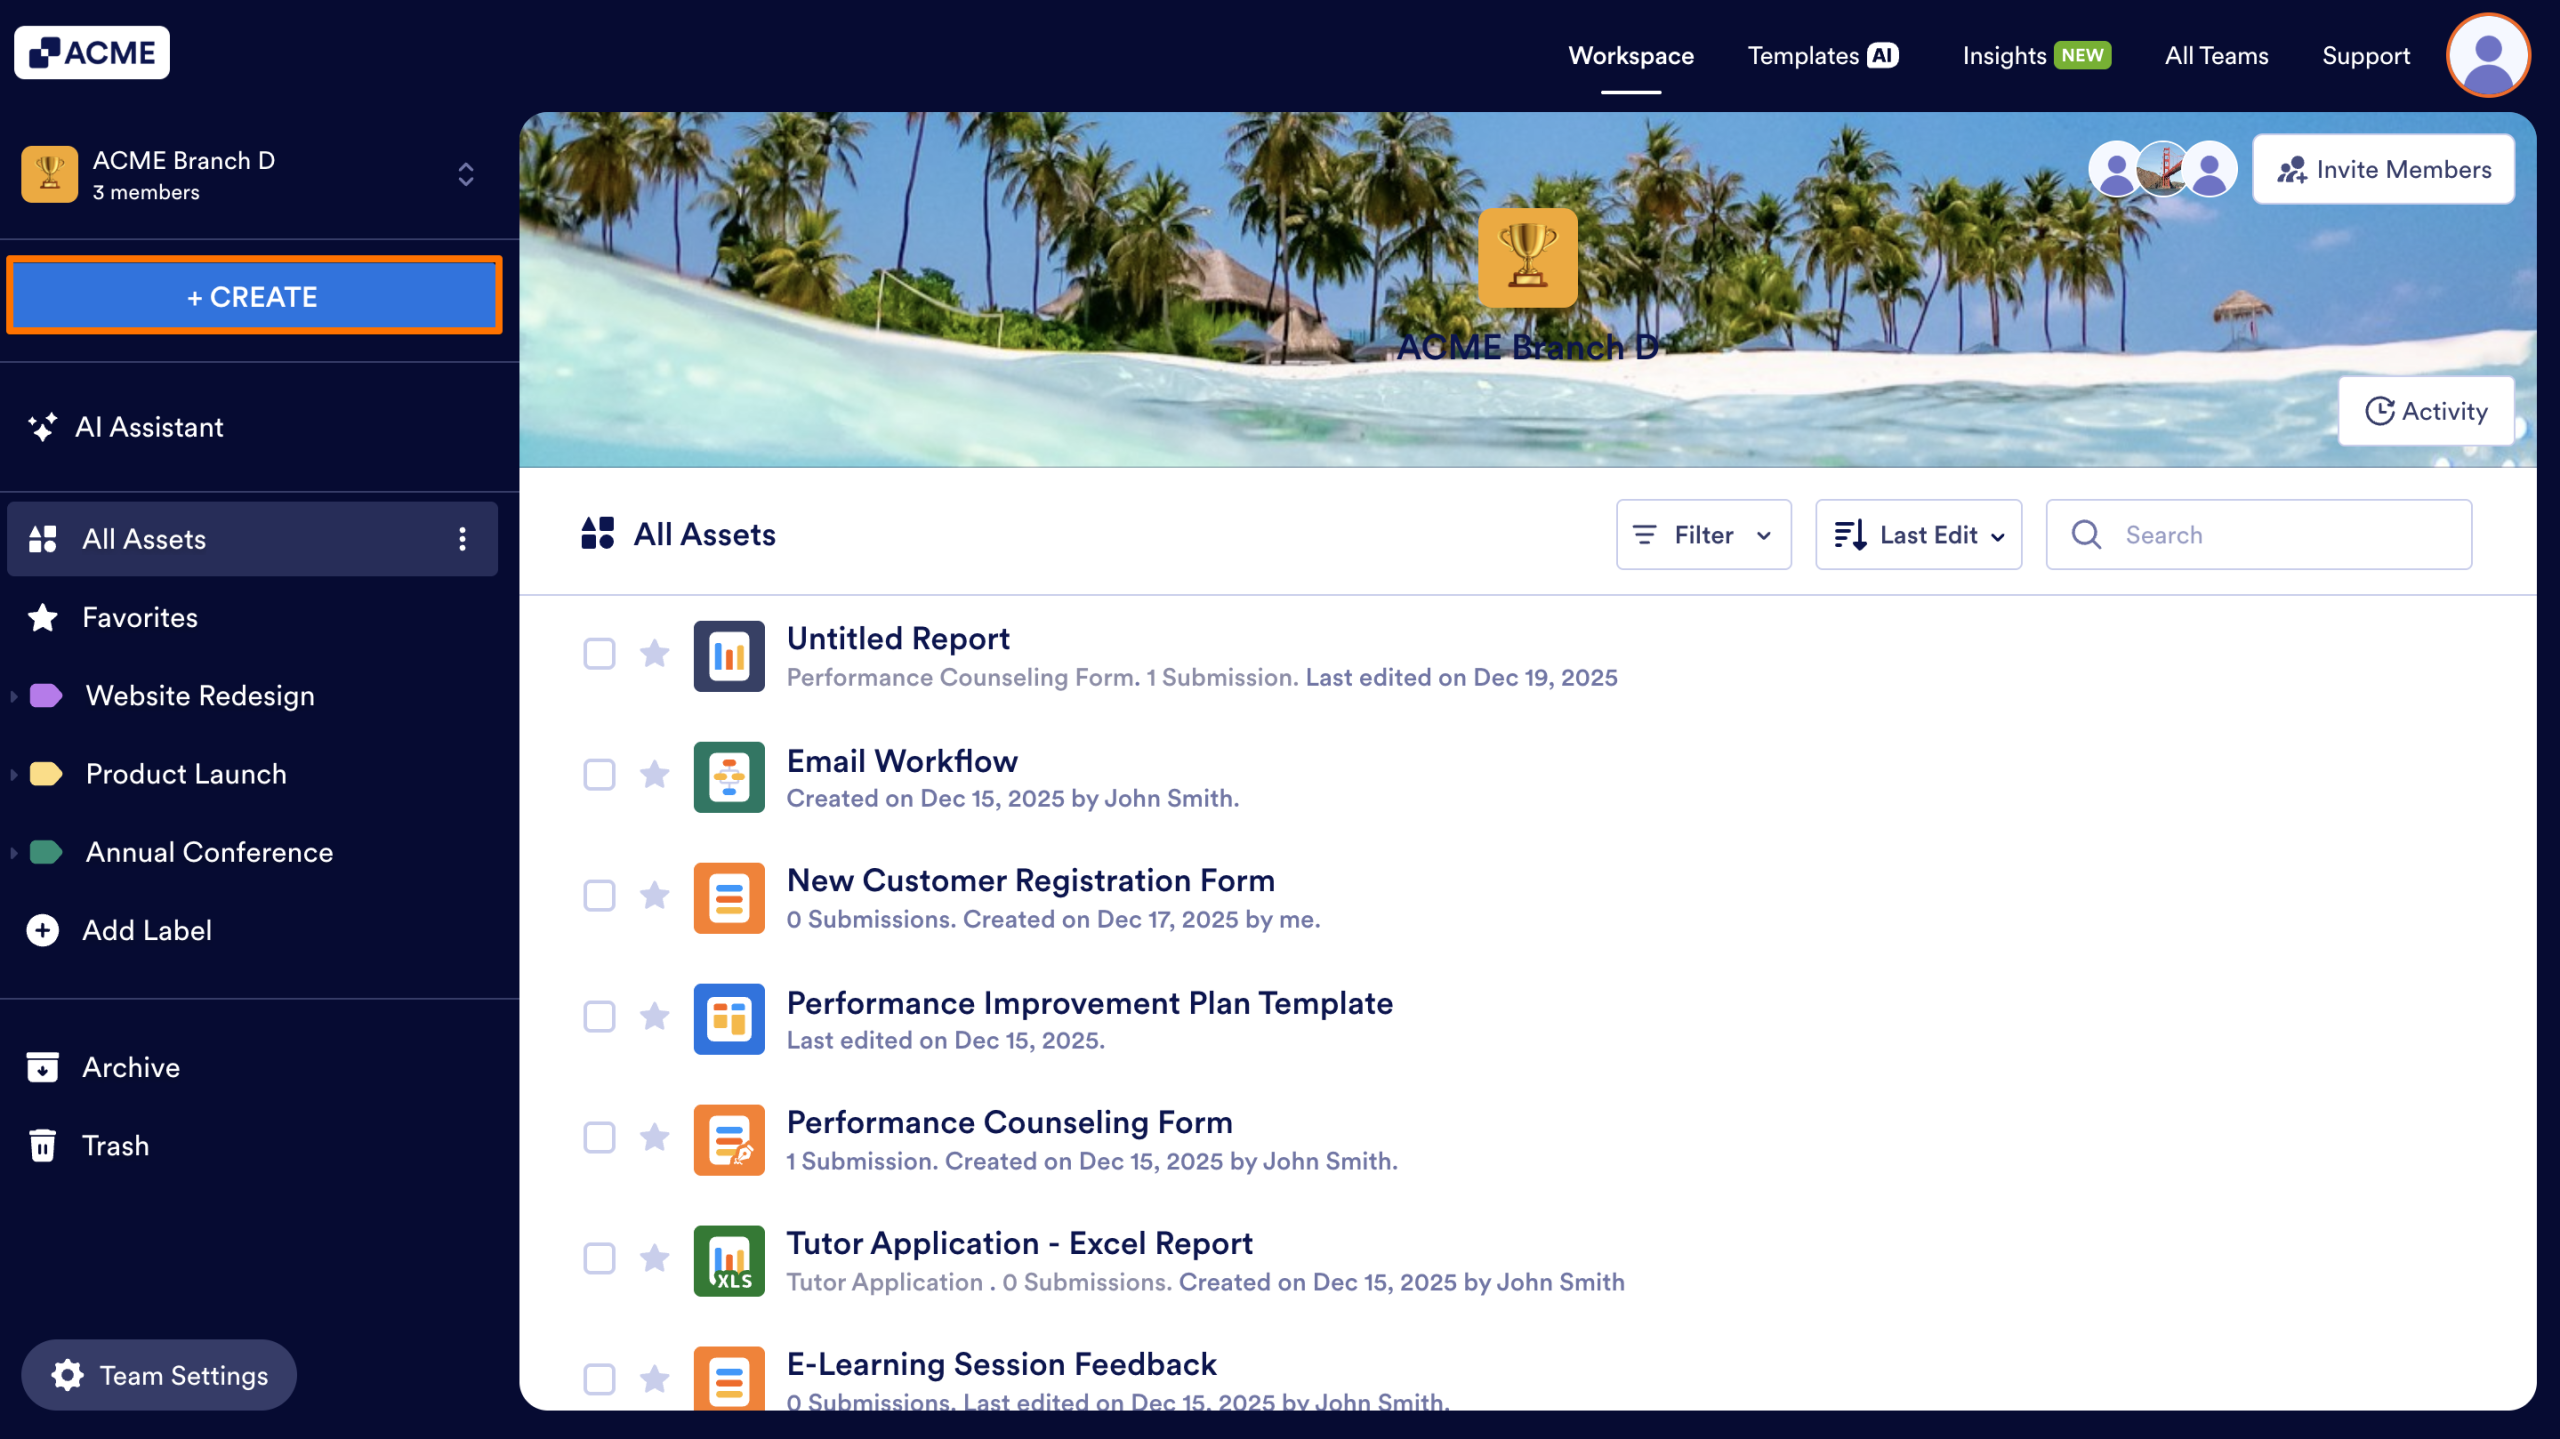
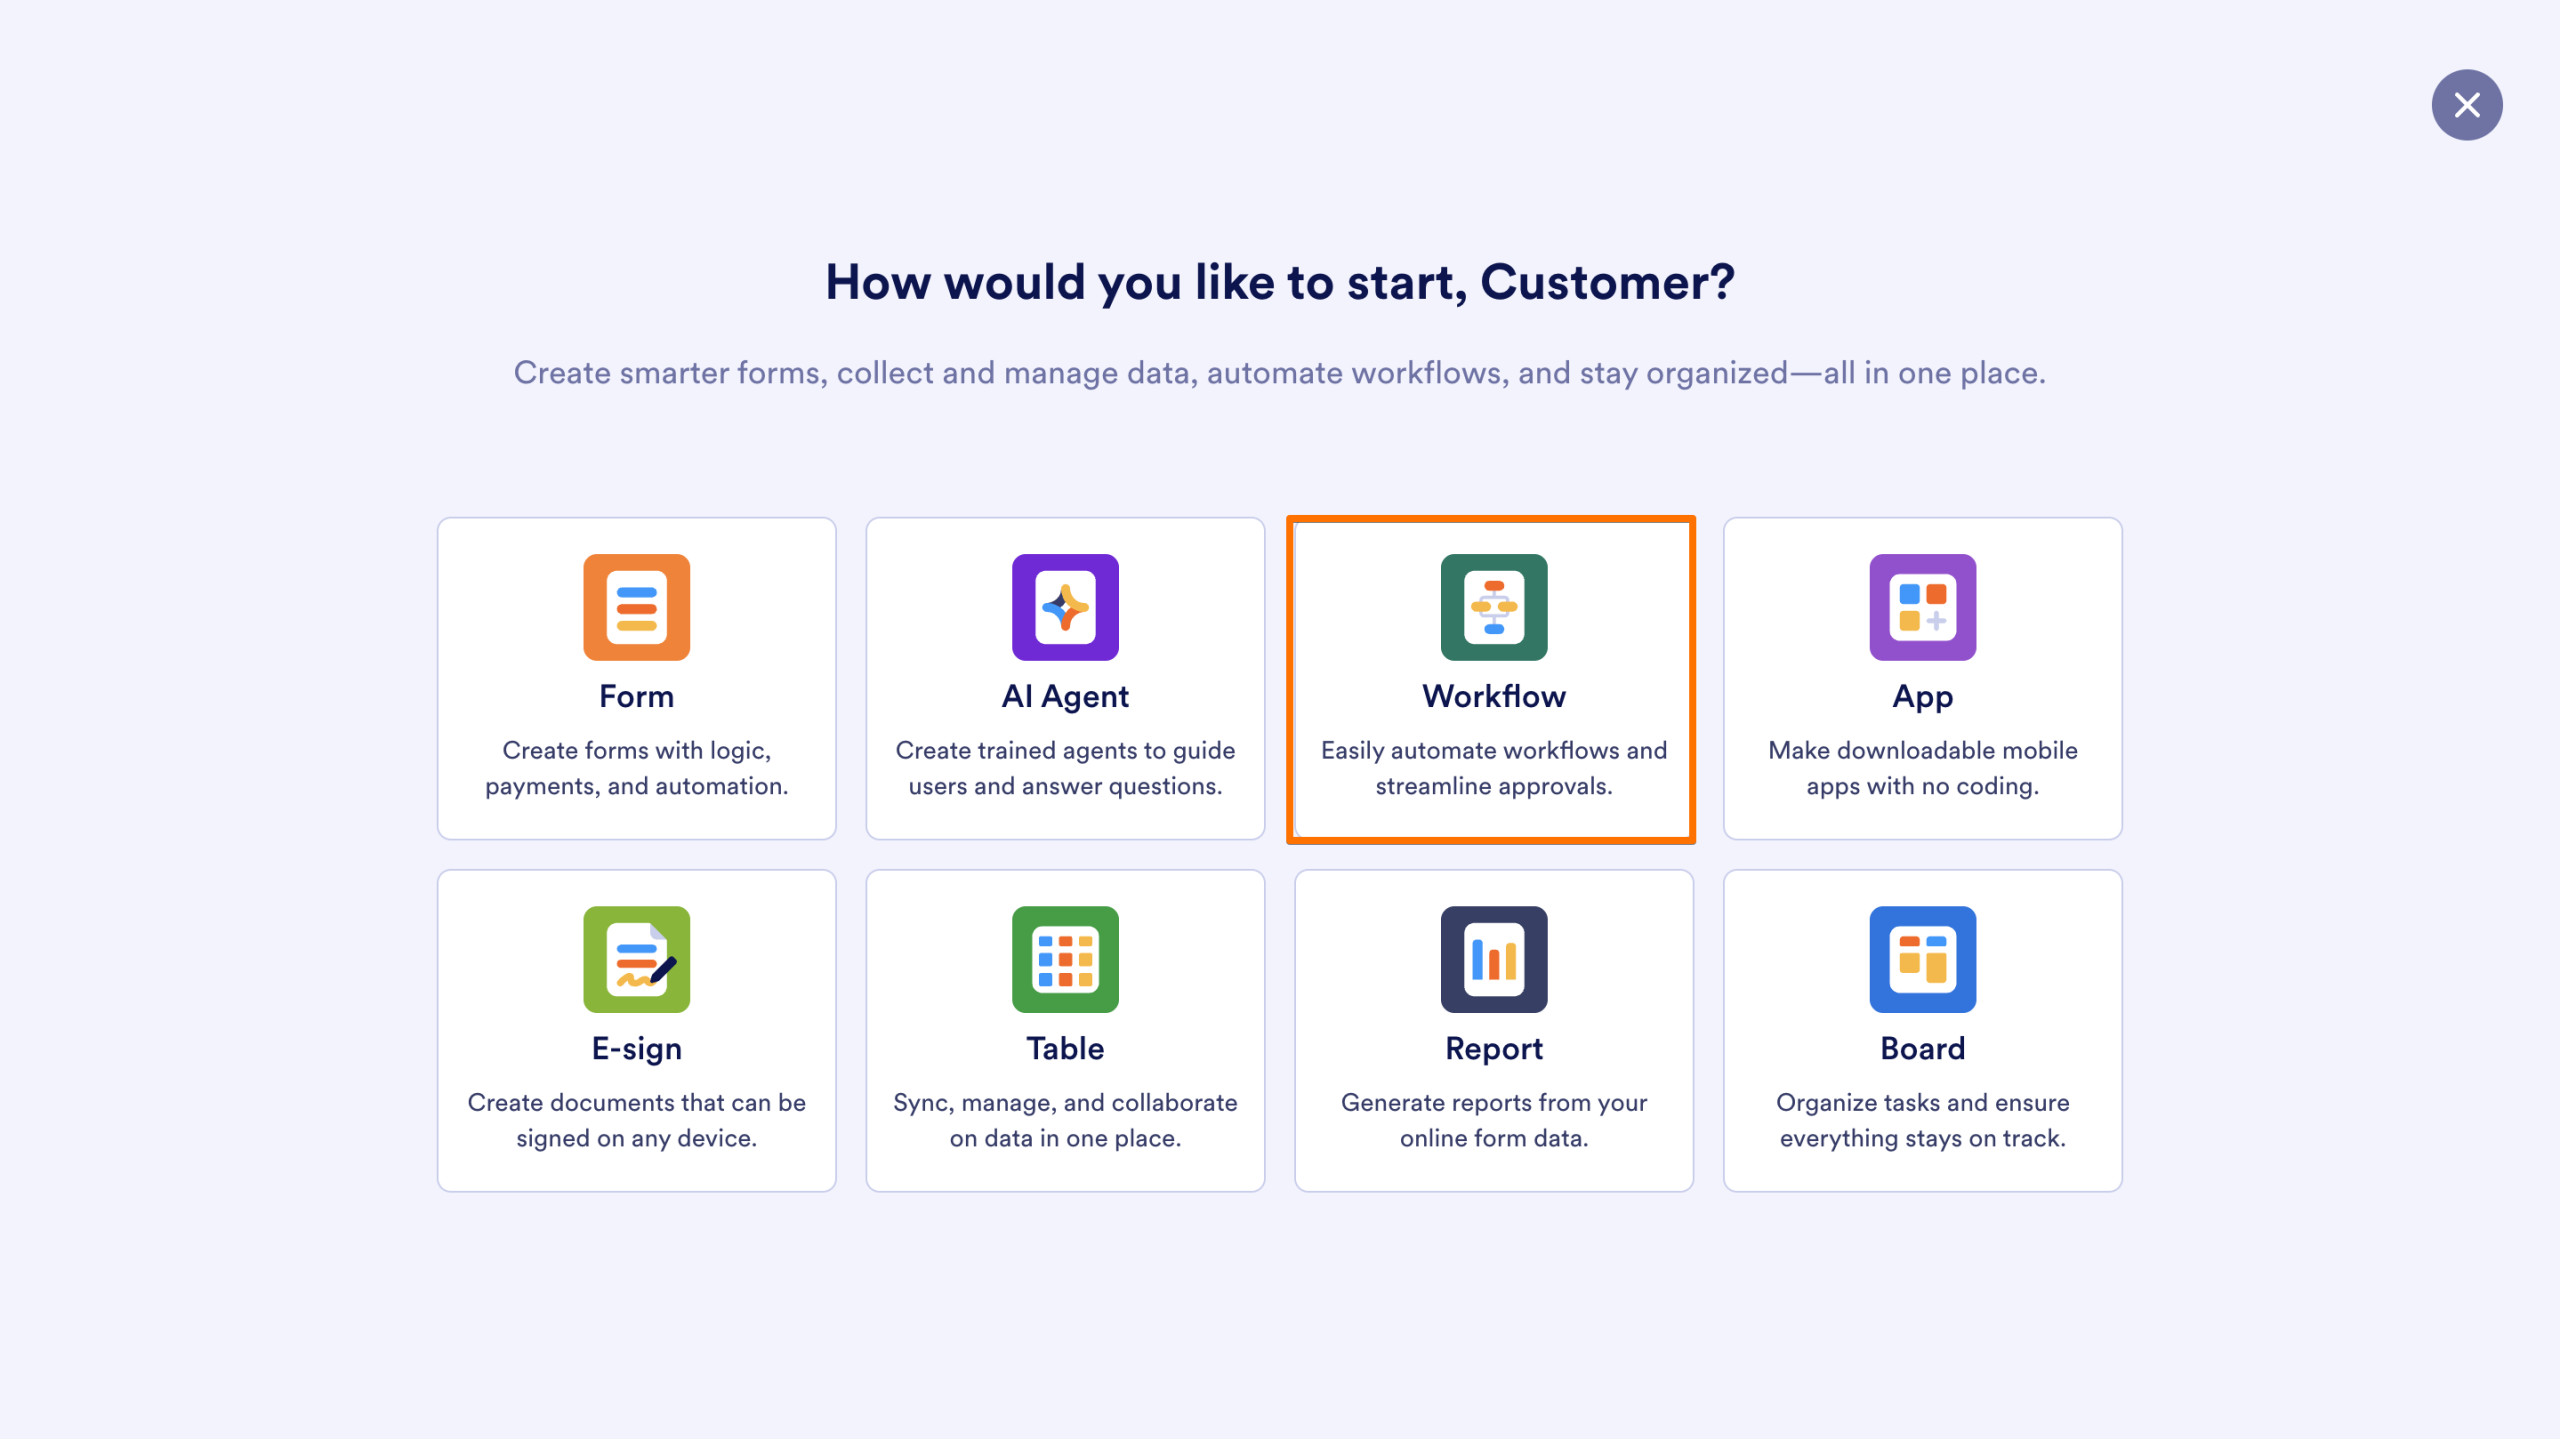
- Then, click on Workflow in the asset options. options.
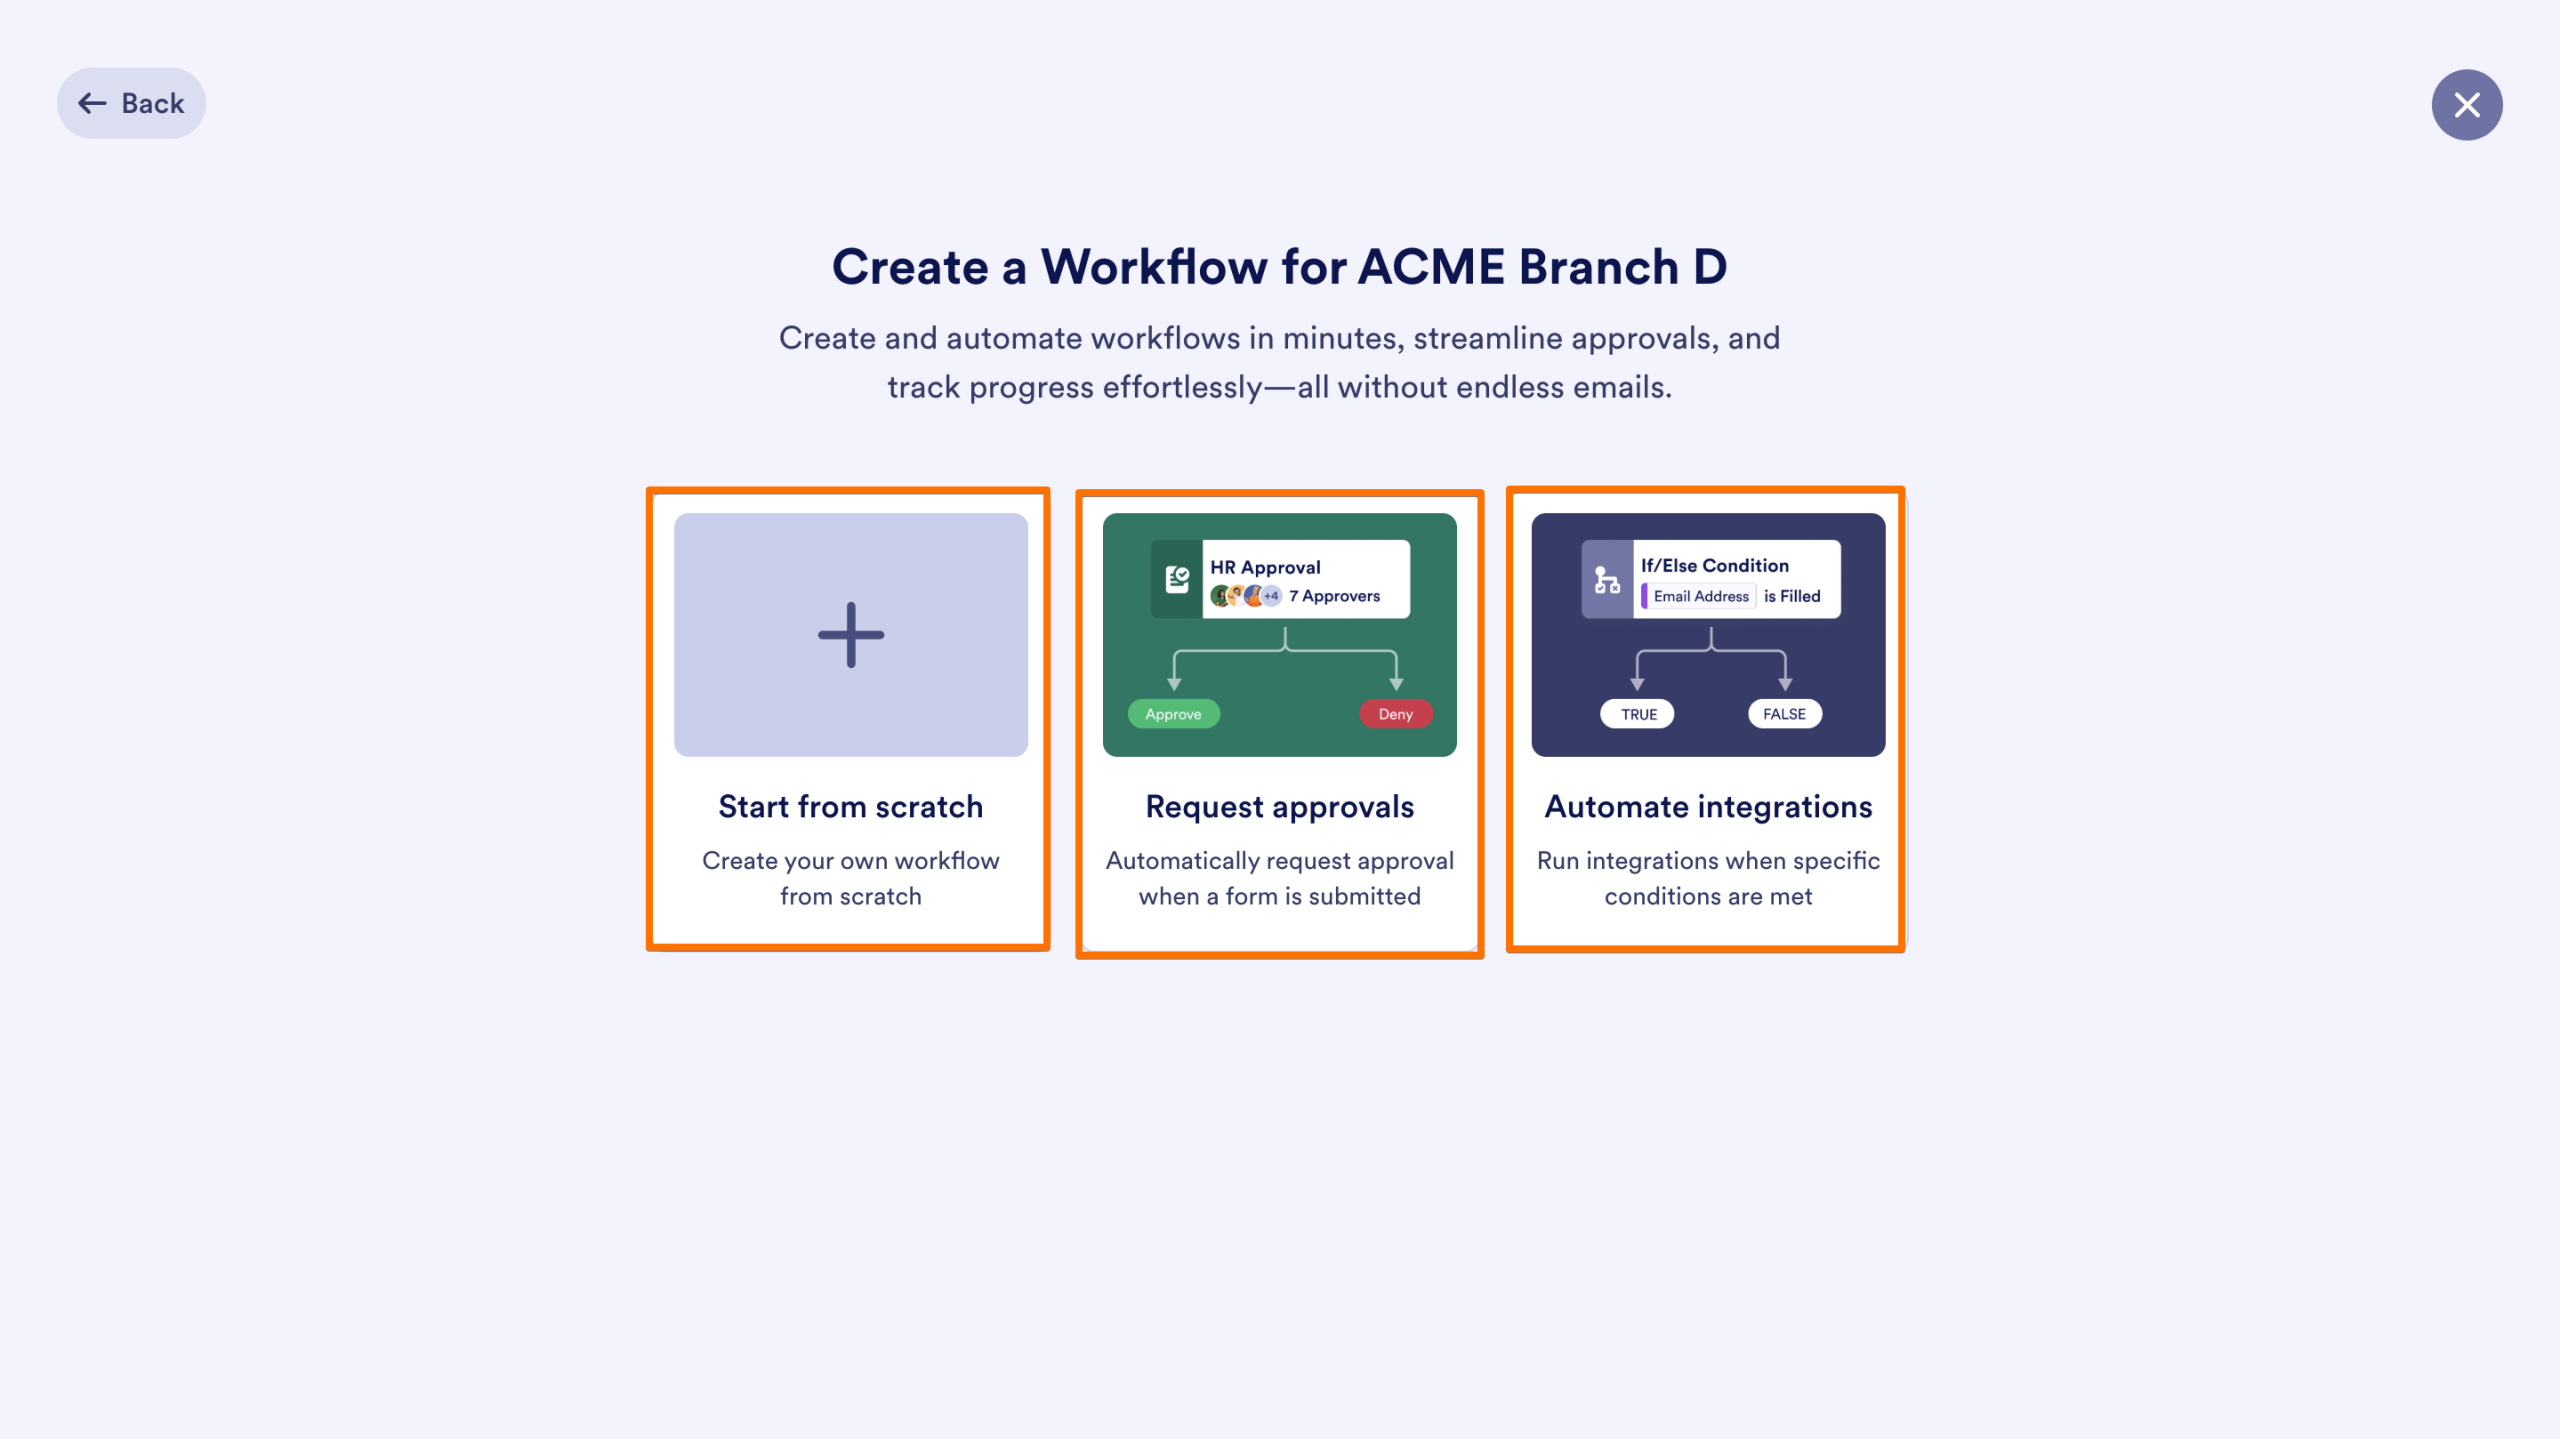
- On the next page, choose how you’d like to build your workflow:
- Start from scratch:Create a workflow entirely from the ground up.
- Request approvals: Build an approval process that triggers when a form is submitted.
- Automate integrations: Set up conditional logic that connects to other tools and runs tasks automatically when criteria are met.
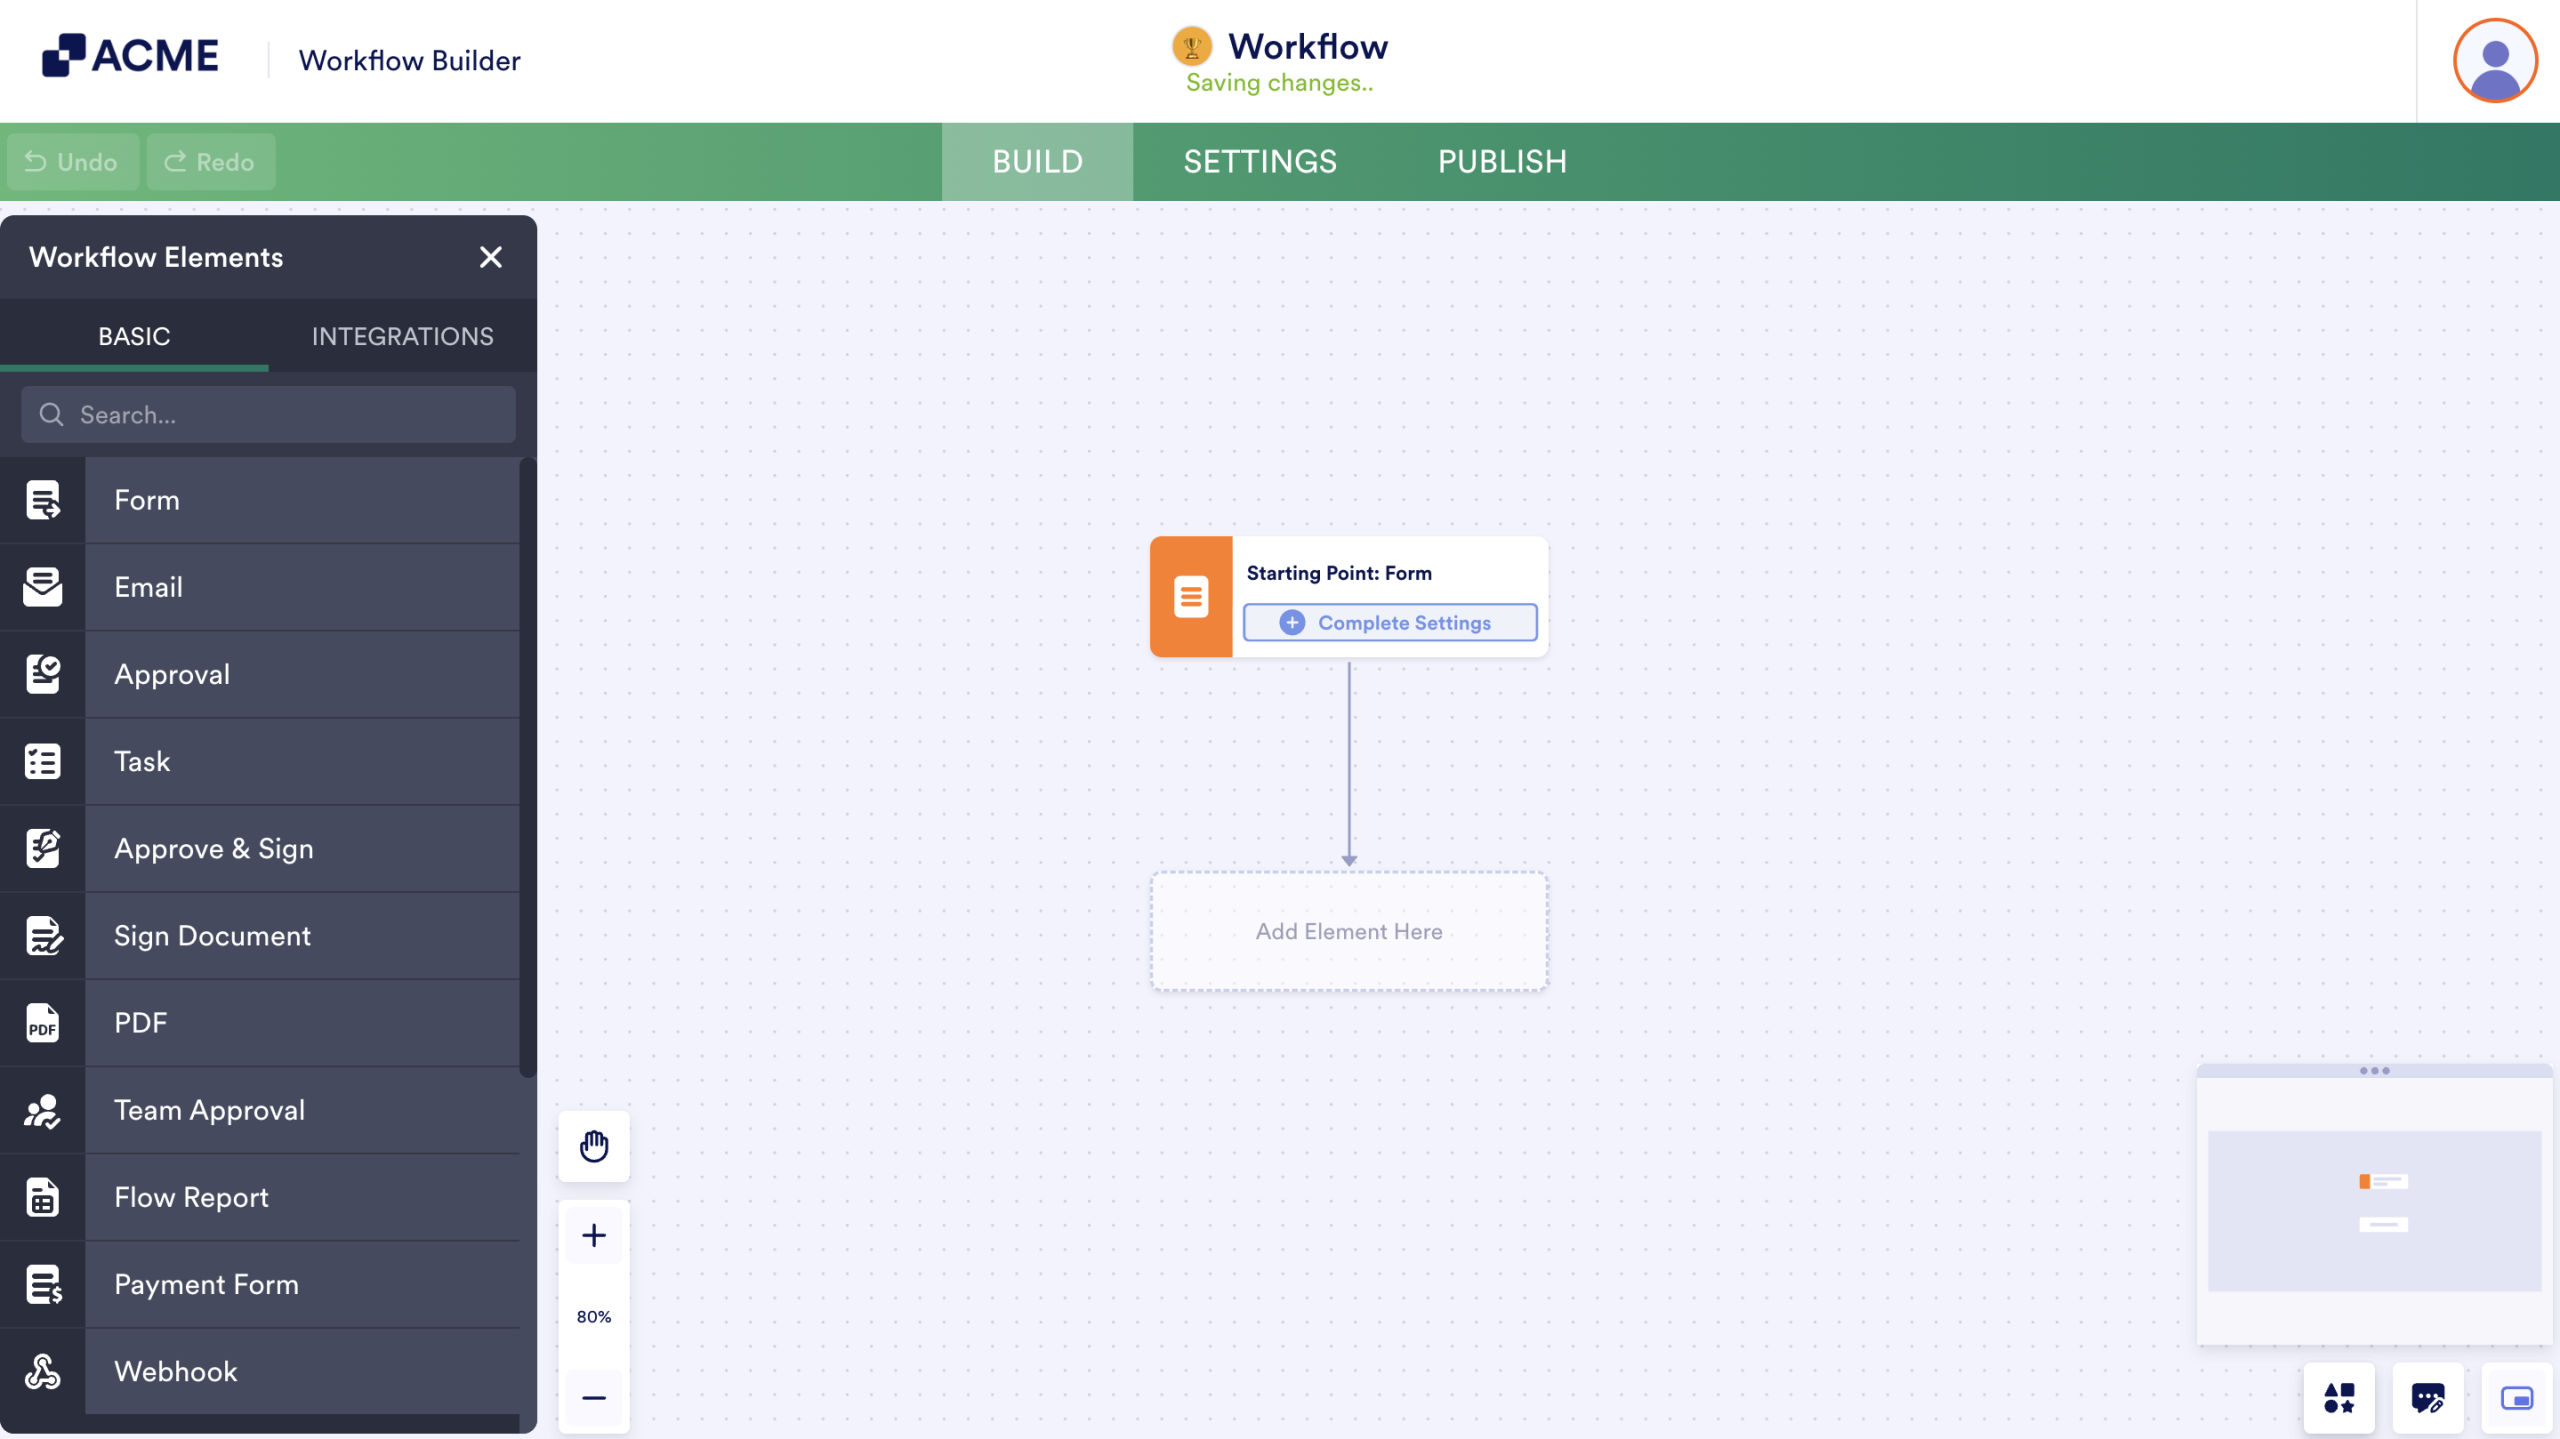
The workflow builder will open, and the workflow is saved inside the selected team workspace.
Creating a Workflow Directly Inside a Form
Workflows can also be created from within a form.
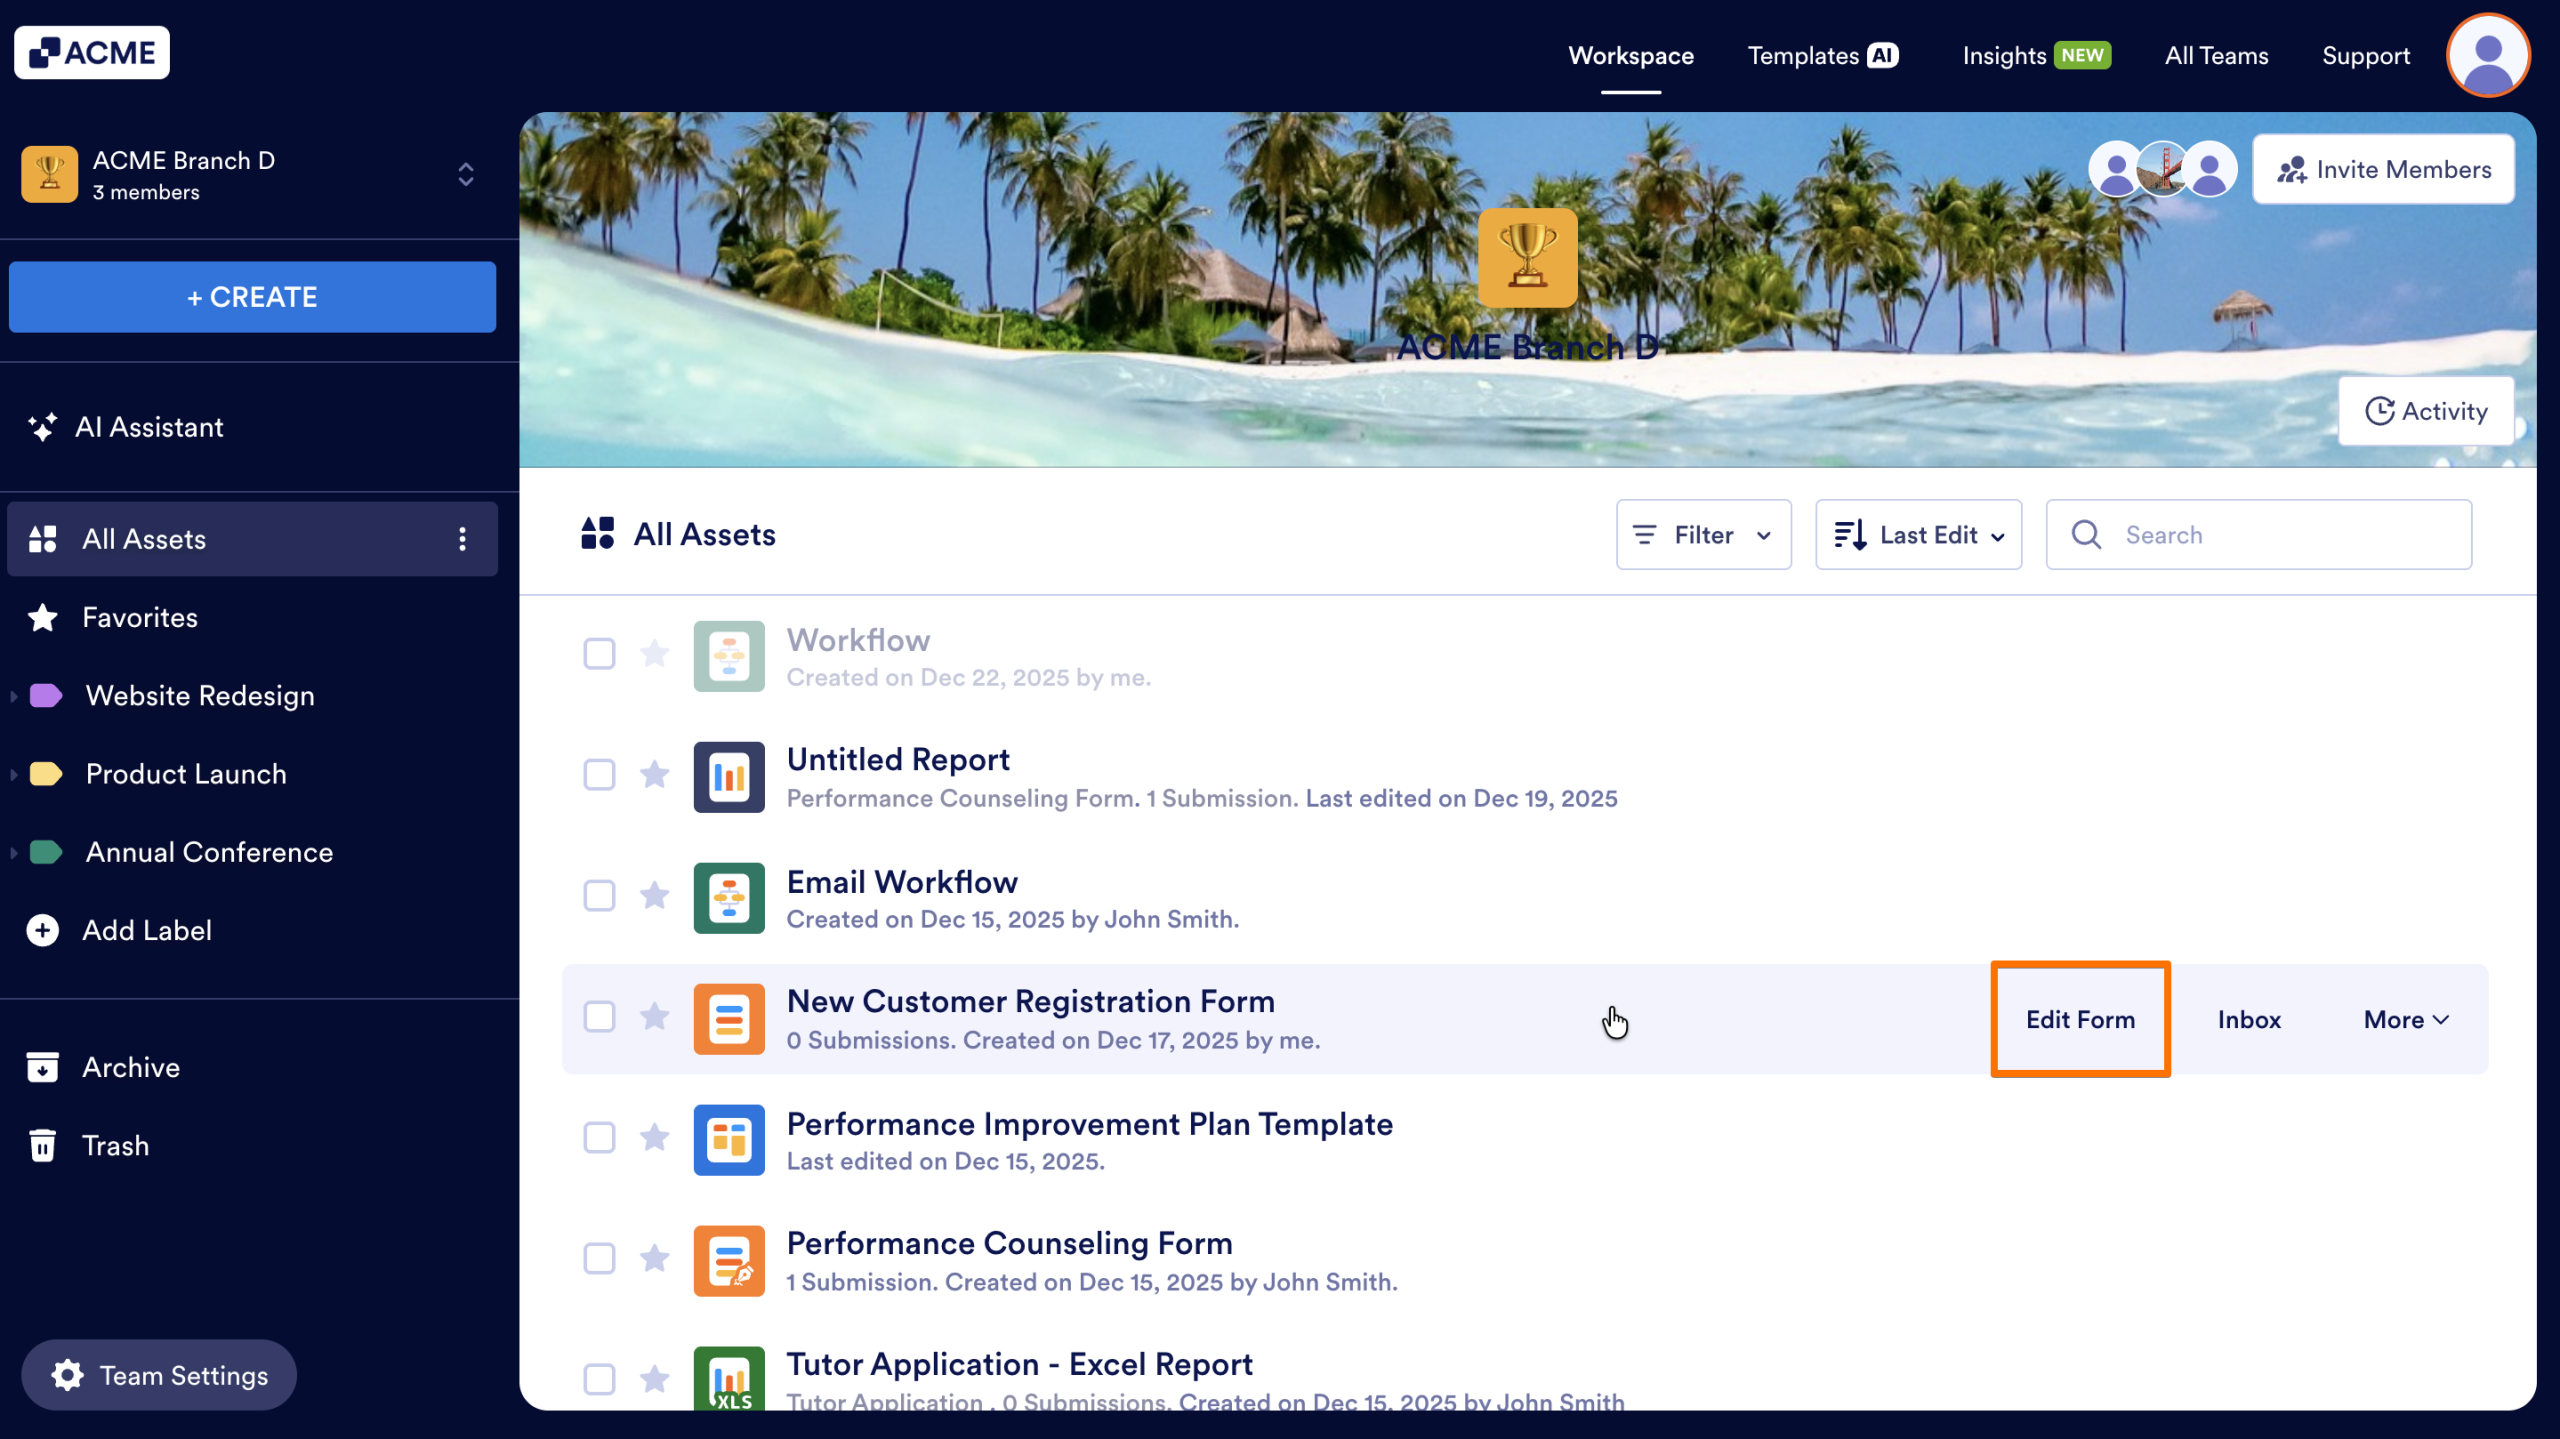
- In the Team Workspace, hover over the form you want to use
- Then, click on Edit Form to open the form builder.
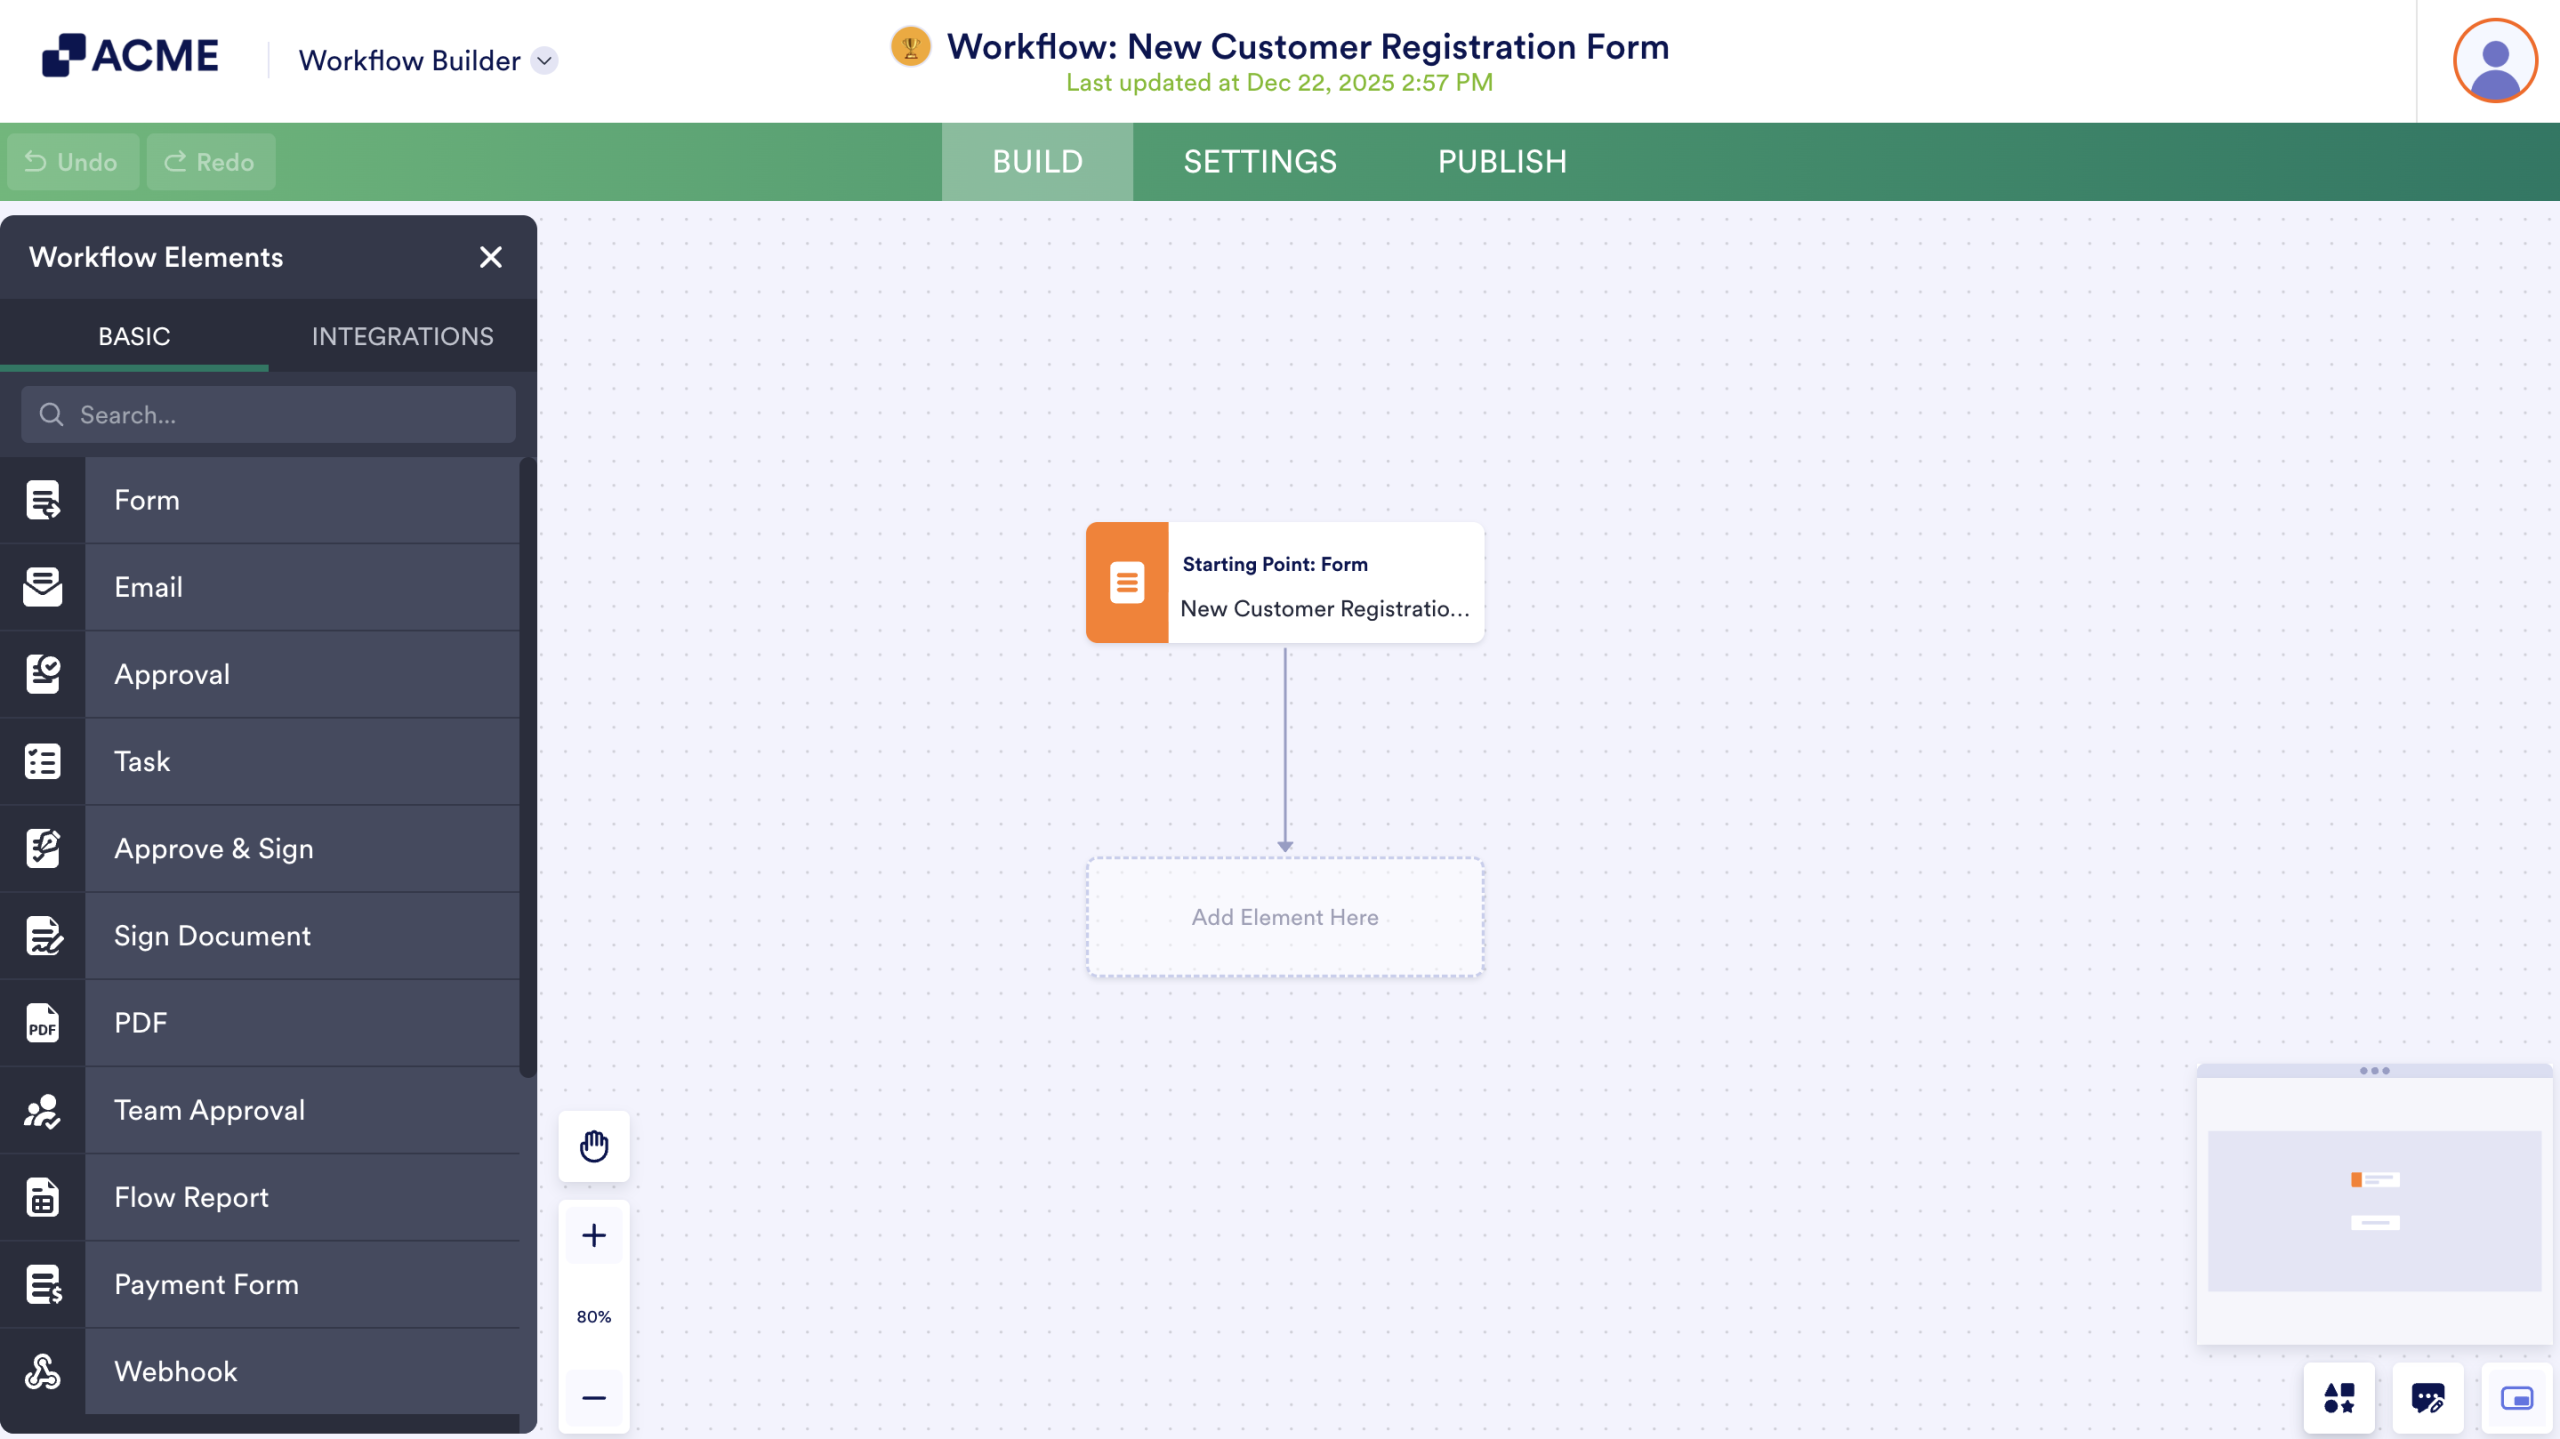
- In the Form Builder, click on the dropdown menu next to your server’s logo.
- Finally, select Workflow Builder.

The workflow builder will open, and the workflow is saved inside the selected team workspace.

Send Comment: