Keeping your data safe and accurate is always important—especially when you’re working with others. In Form Tables, locking data is a simple way to make sure your important information stays just the way it should. You can lock specific columns, filters, or even entire tabs to prevent accidental edits or unwanted changes.
This is especially handy when you’re collaborating with a team or sharing your table with others. By locking key parts of your data, you can work together confidently, knowing that your most important information stays protected and reliable.
Locking Column Data
When you lock a column, it simply turns off the option to edit data directly from the table—so no accidental clicks or quick changes can happen. But don’t worry, you can still update the information if needed by opening the full entry and making your edits there. It’s a great way to keep your data safe while still giving you flexibility when you really need to make a change. To get going, here’s what you’ll do:
- In Tables, click on the Three Dots icon next to the name of the specific column.
- Then, in the Tab menu, click on Lock Data in Column.
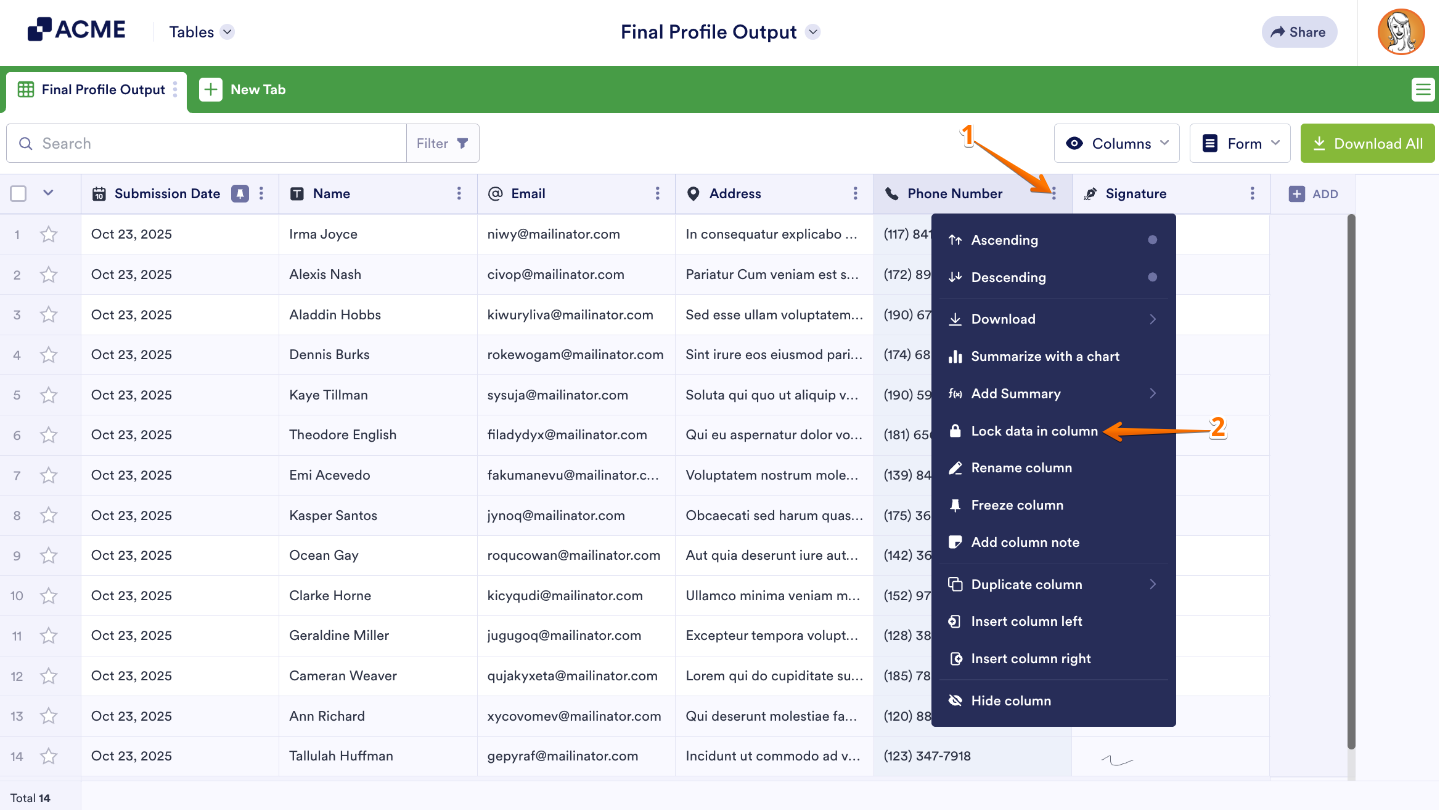
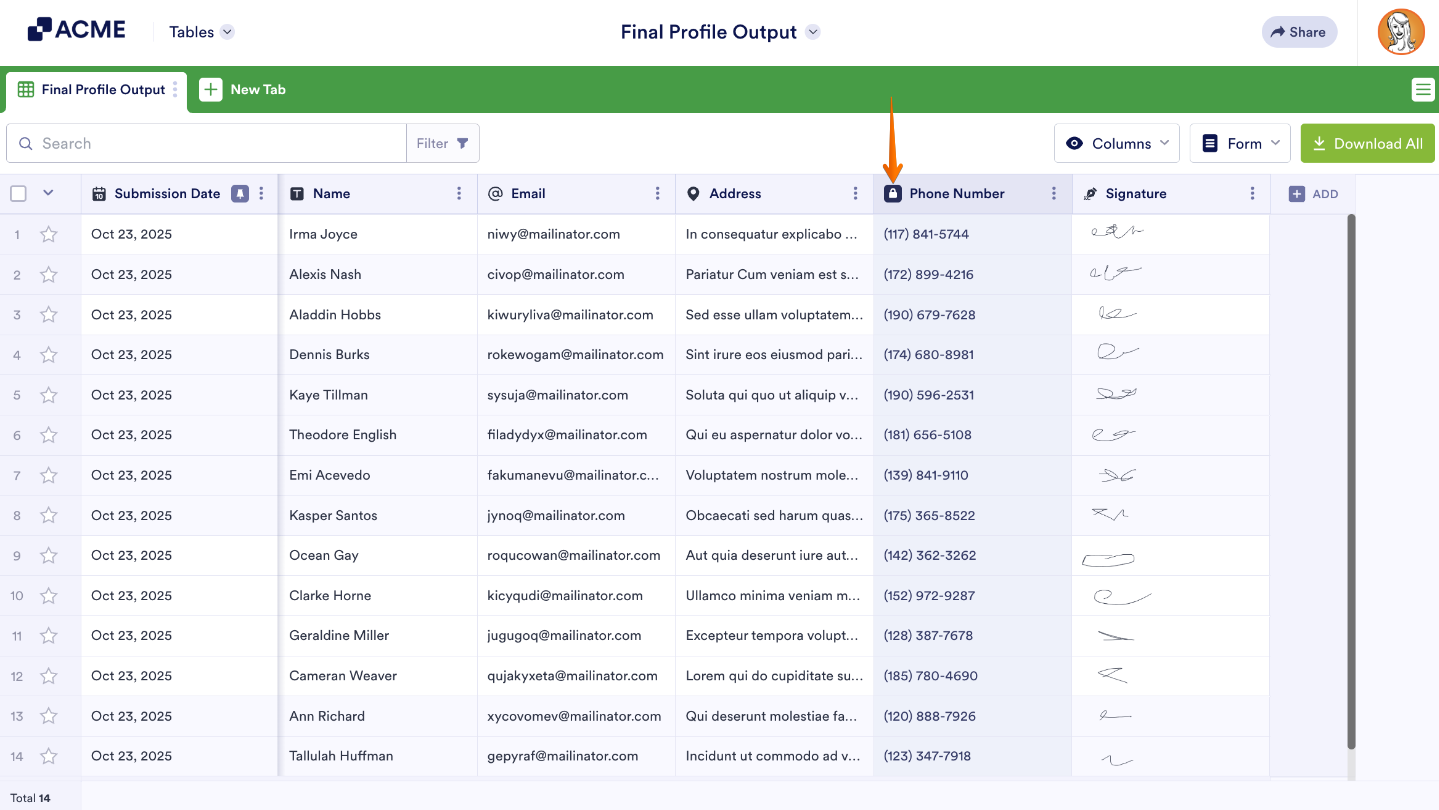
You can easily unlock the data anytime from the same menu. Once you’ve set it up, you’ll see a small lock icon appear in the column header—a quick visual reminder that the data in that column is protected.
Locking Filter
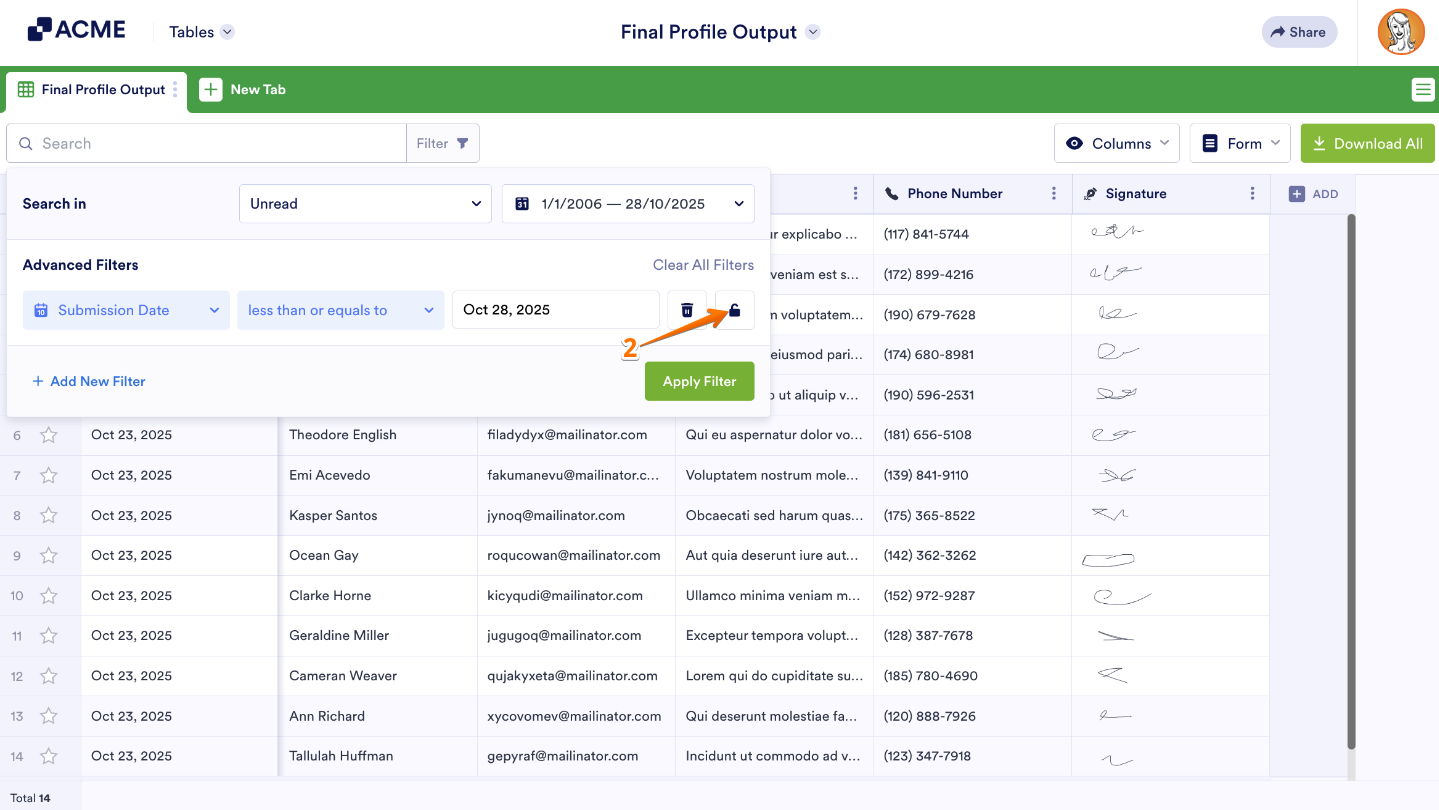
You can lock filters to keep them visible only to you. This way, your collaborators won’t be able to see or remove the filters you’ve applied, helping you focus on the specific data you need without affecting how others view the table. Here’s a quick how-to:
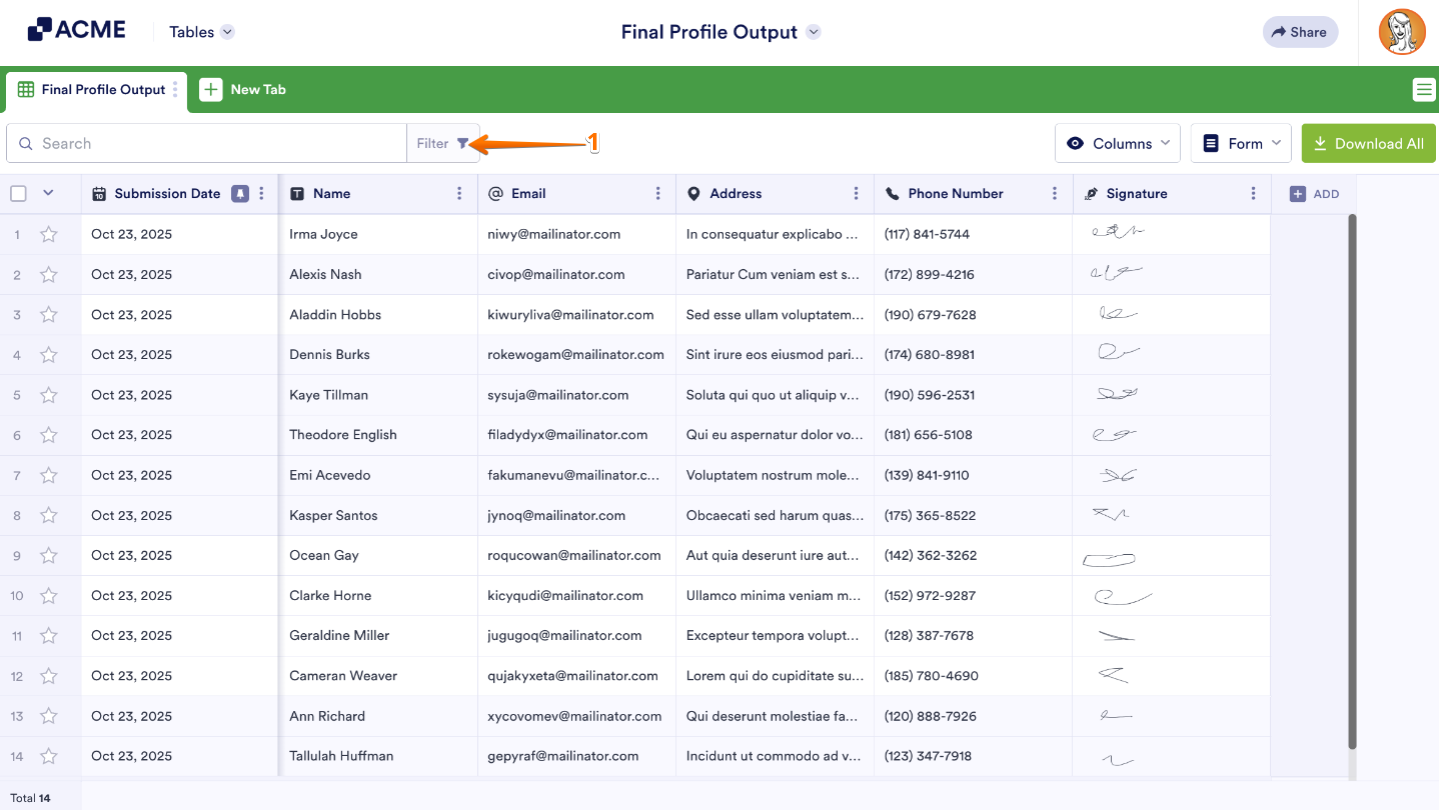
- In Tables, on the upper left side of the page, click on Filter.
- In the Filter box that opens, apply your filter, and then click on Lock icon.
Note
When a filter is locked, the results it shows are visible only to you. Your collaborators won’t see those filtered results, giving you a private view of the data that matters most to you while keeping their view unchanged.
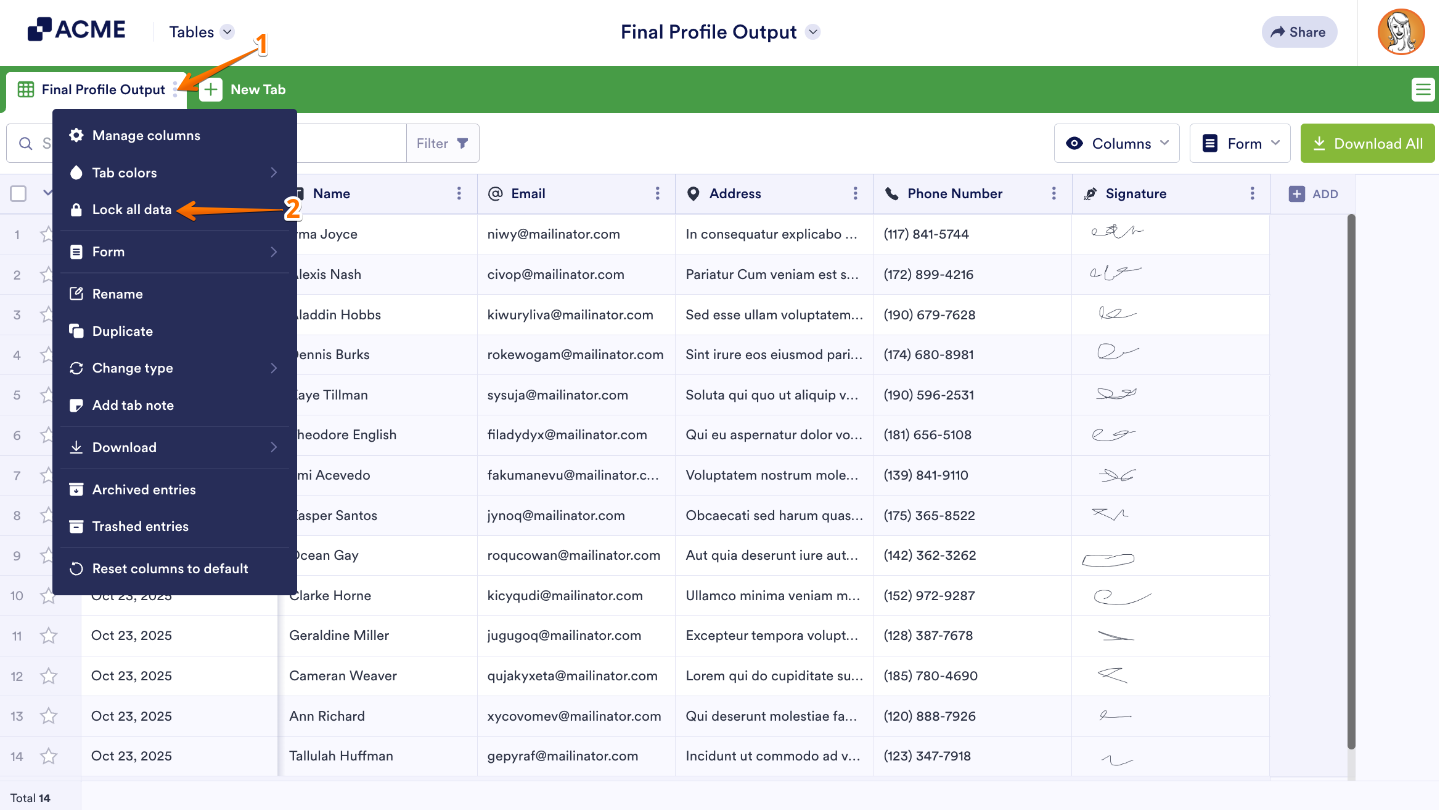
Locking Tab Data
Locking tab data works just like locking a single column—the only difference is that it secures all the columns within that tab at once. It’s a quick way to protect every piece of data in that section without having to lock each column individually. Only takes a second—here’s what to do:
- In Tables, click on the Three Dots icon next to the name of the main tab.
- Then, in the Tab menu, click on Lock All Data.
You can easily unlock the tab data anytime from the same menu—just a quick click, and your tab will be editable again.

Send Comment: