Inbox lets you share your form’s inbox with colleagues, making it easier to view, collaborate on, and manage form data together. You can also assign specific permissions, allowing others to either view or edit the inbox content.
Sharing Your Form Inbox With a Link
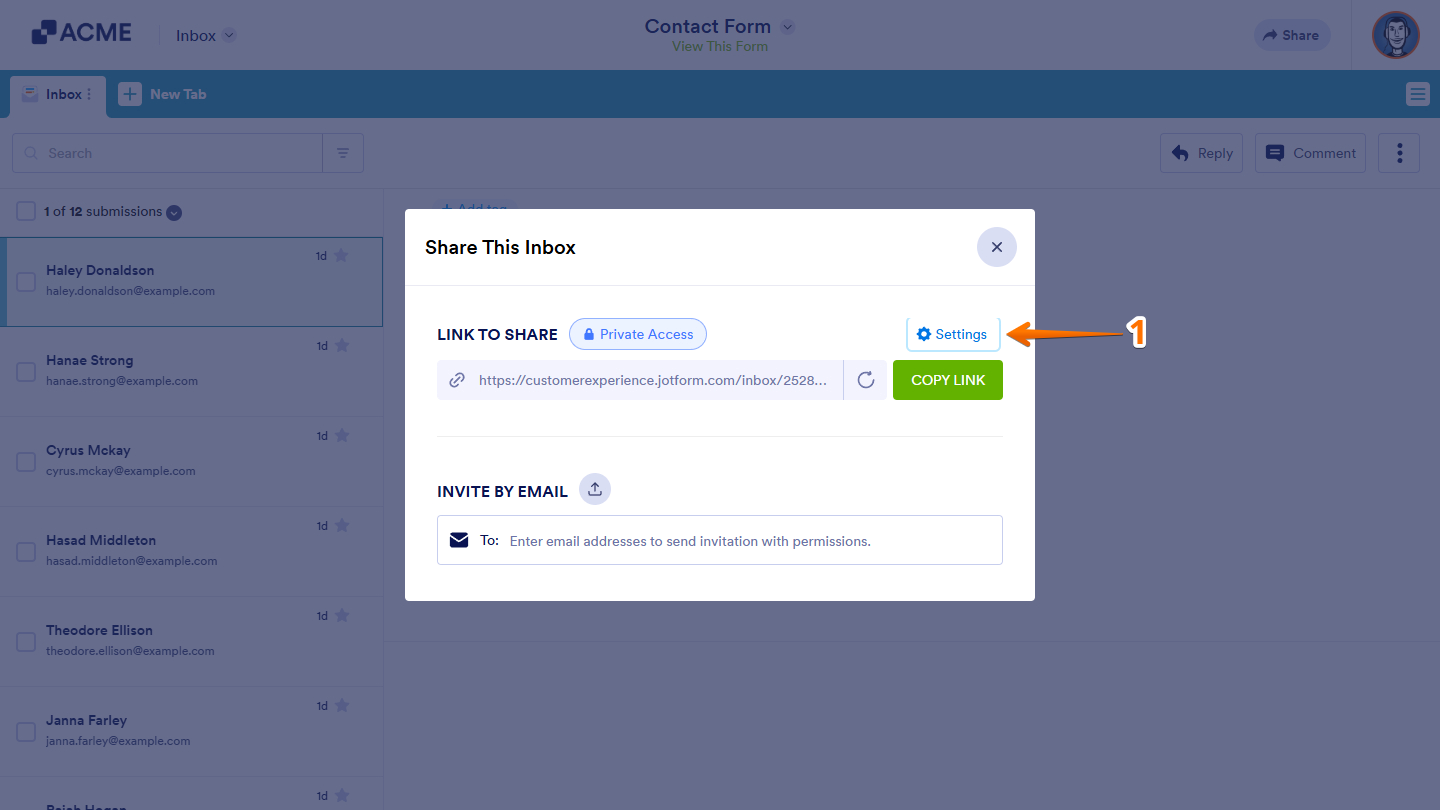
Sharing your Form Inbox with a link allows you to easily provide access to others without adding them individually. You can share a public or private link, depending on the level of access you want to grant. Here’s how to set it up:
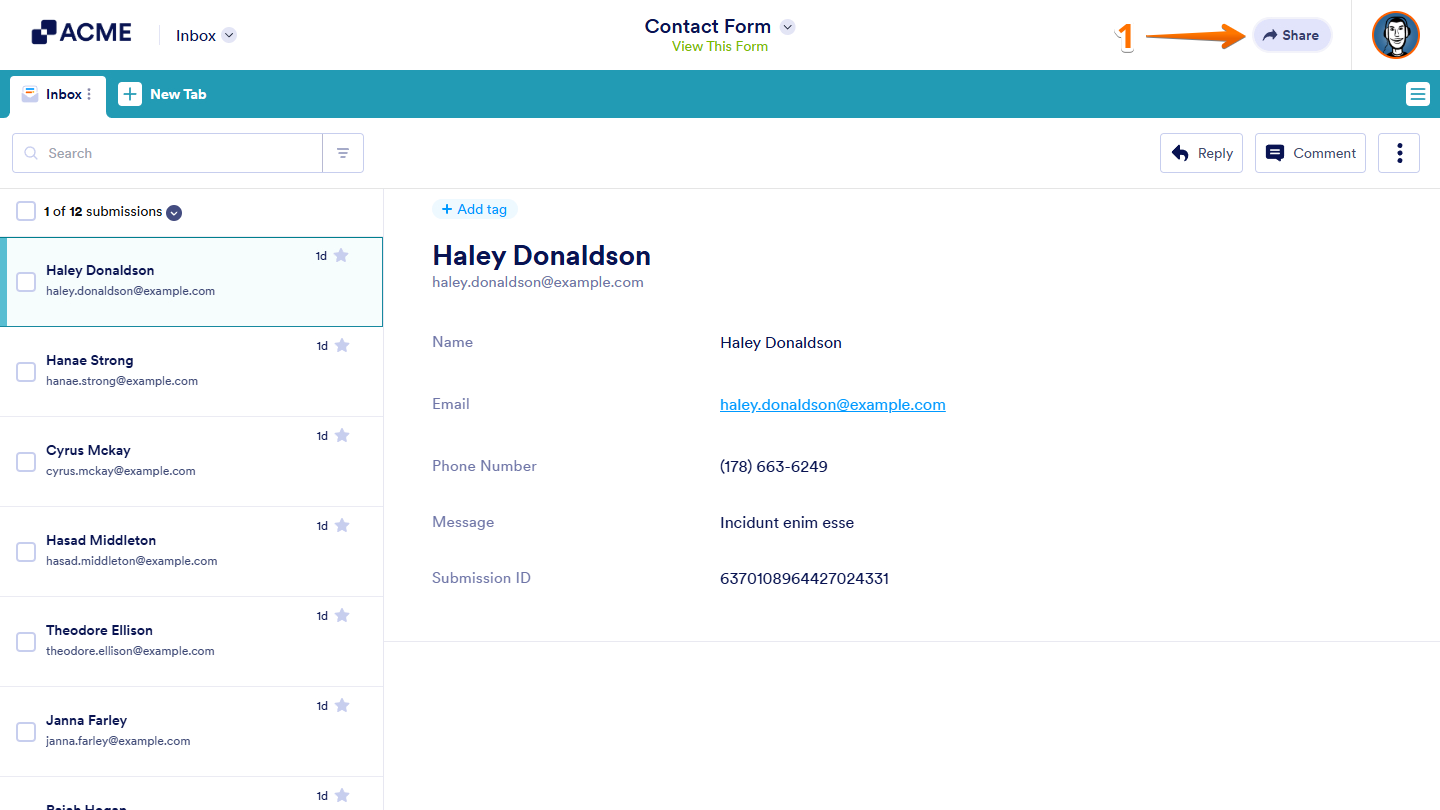
- On your Inbox page, at the top-right side of the screen, click on Share.
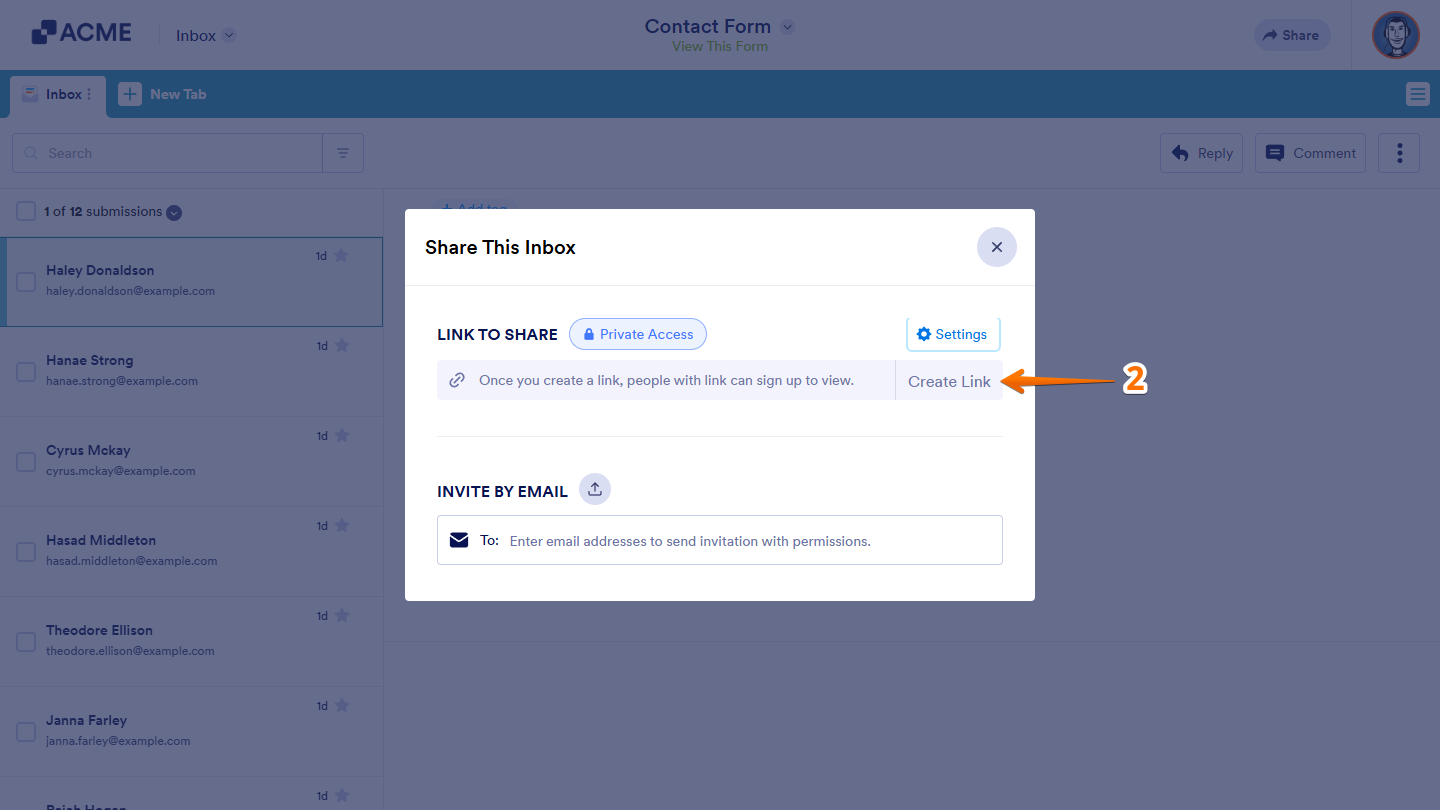
- Next, in the Share This Inbox window that comes up, under the Link To Share section, click on Create Link.
- Now, click on Copy Link to start sharing the Form Inbox.
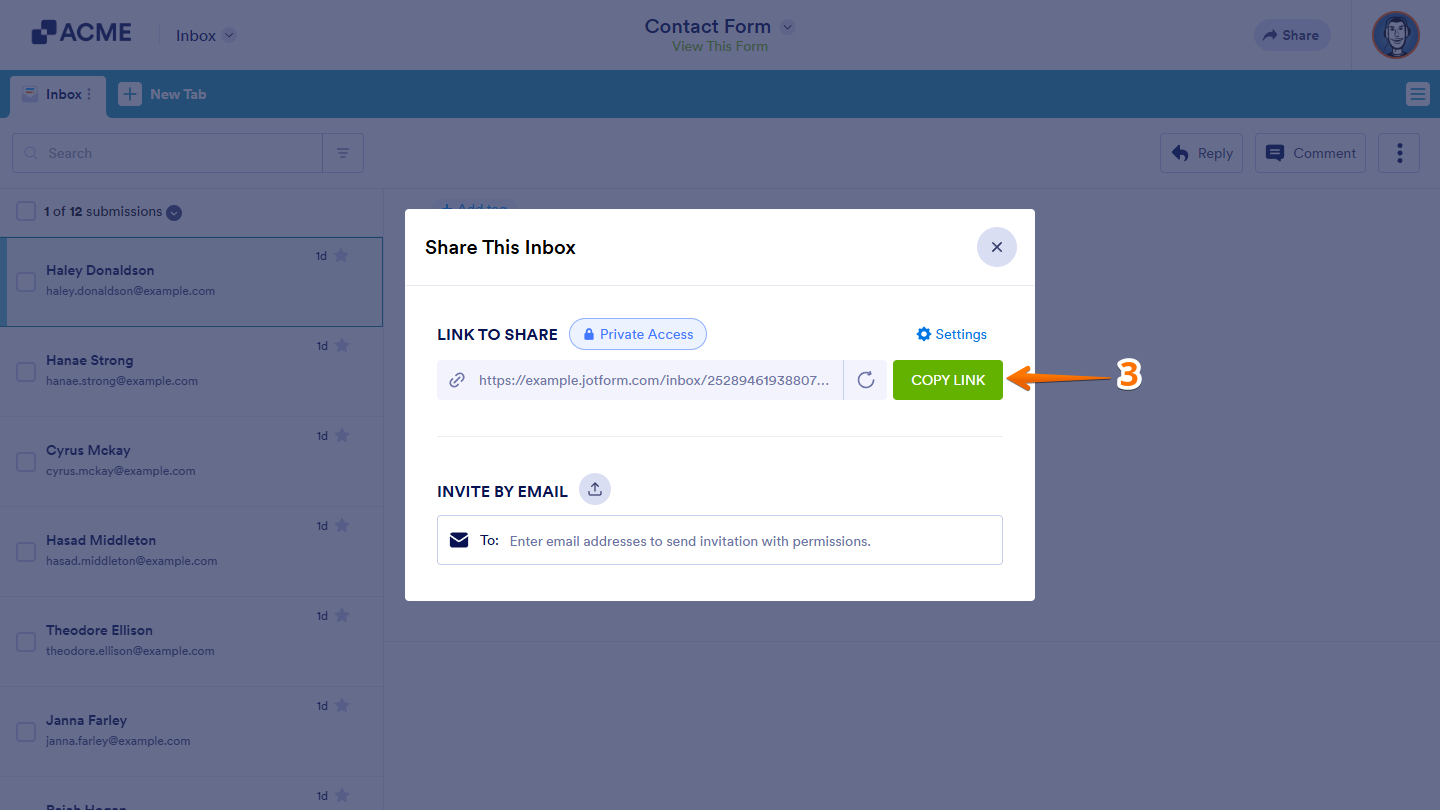
Note: For Public Access, a shareable link is automatically generated and can be copied directly from the window.
Inviting Users by Email
Inviting users by email allows you to share your Form Inbox directly with specific individuals. You can send invitations to colleagues and assign permissions to control whether they can view or edit the inbox content. This is how it’s done:
- In the Share This Inbox window, click and enter the user’s email address in the To box.
- Then, click on the Read Only Dropdown menu, and select an option:
- Read Only — Allows invited users to view the data in your Inbox without making any changes.
Collaborator — Grants invited users permission to edit submissions and add comments, in addition to viewing them.
- Read Only — Allows invited users to view the data in your Inbox without making any changes.
- Now, click on Send Invitation.

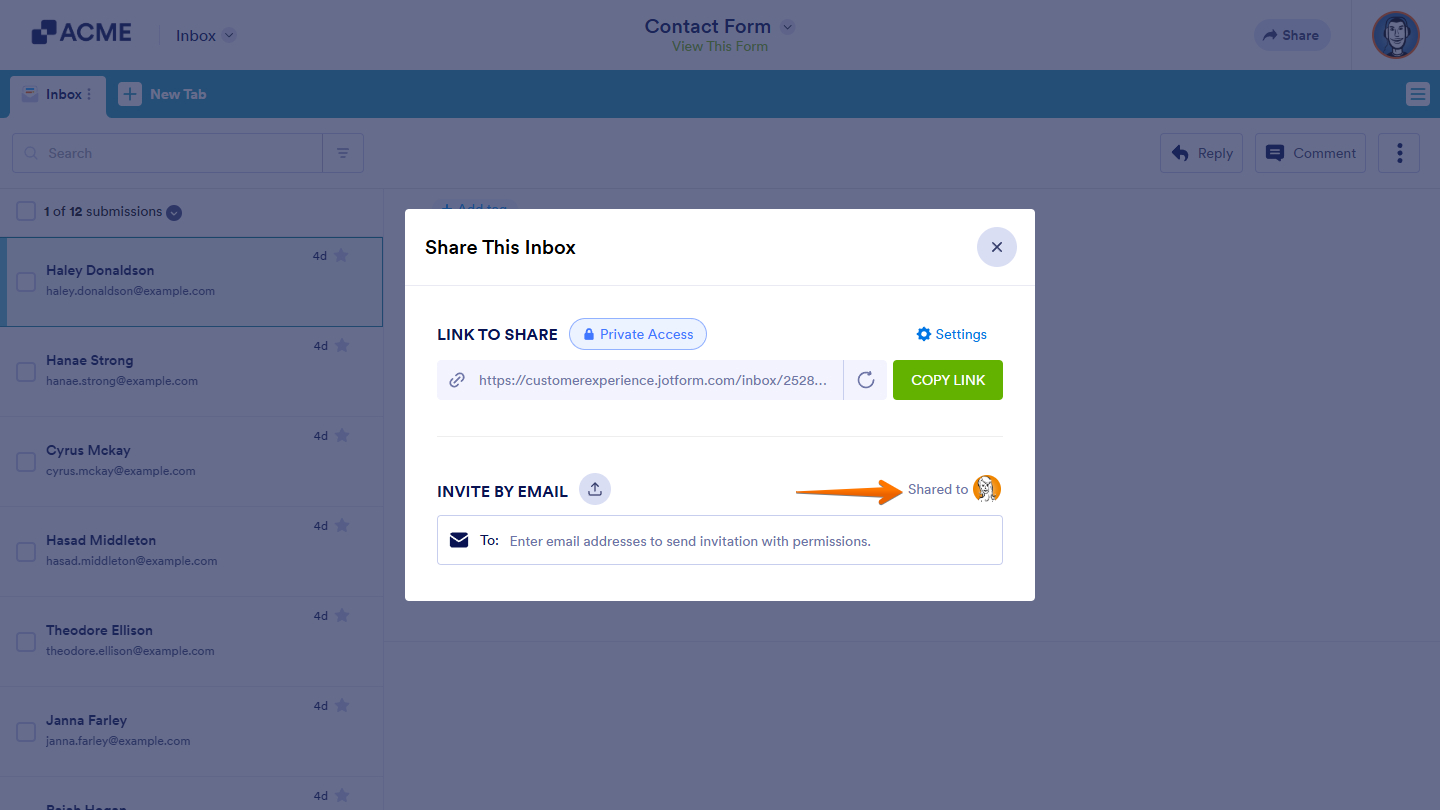
Invited users will appear under the Shared To on the right of the Invite By Email section.
Updating the Access Settings
Updating the access settings lets you change how others interact with your shared Form Inbox. You can modify permissions or adjust visibility at any time to maintain the right level of access and control. To get going, here’s what you’ll do:
- In the Share This Inbox window, click on Settings.
- Then, under the Access Settings section, select an option:
- Private Access — Limits access to specific users you’ve invited.
- Public Access — Allows anyone with the link to view the inbox.
- Company Access — Restricts access to members of your organization only.
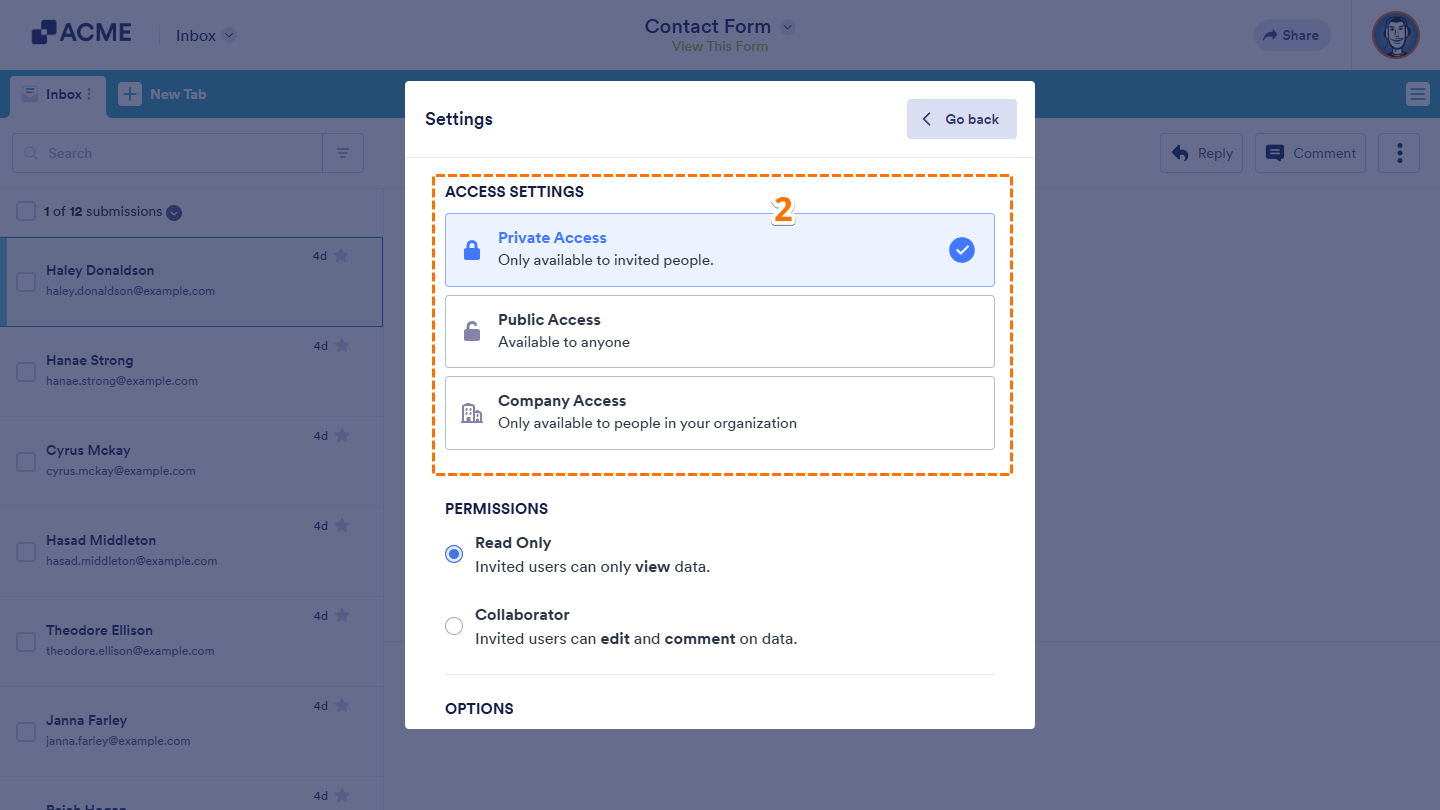
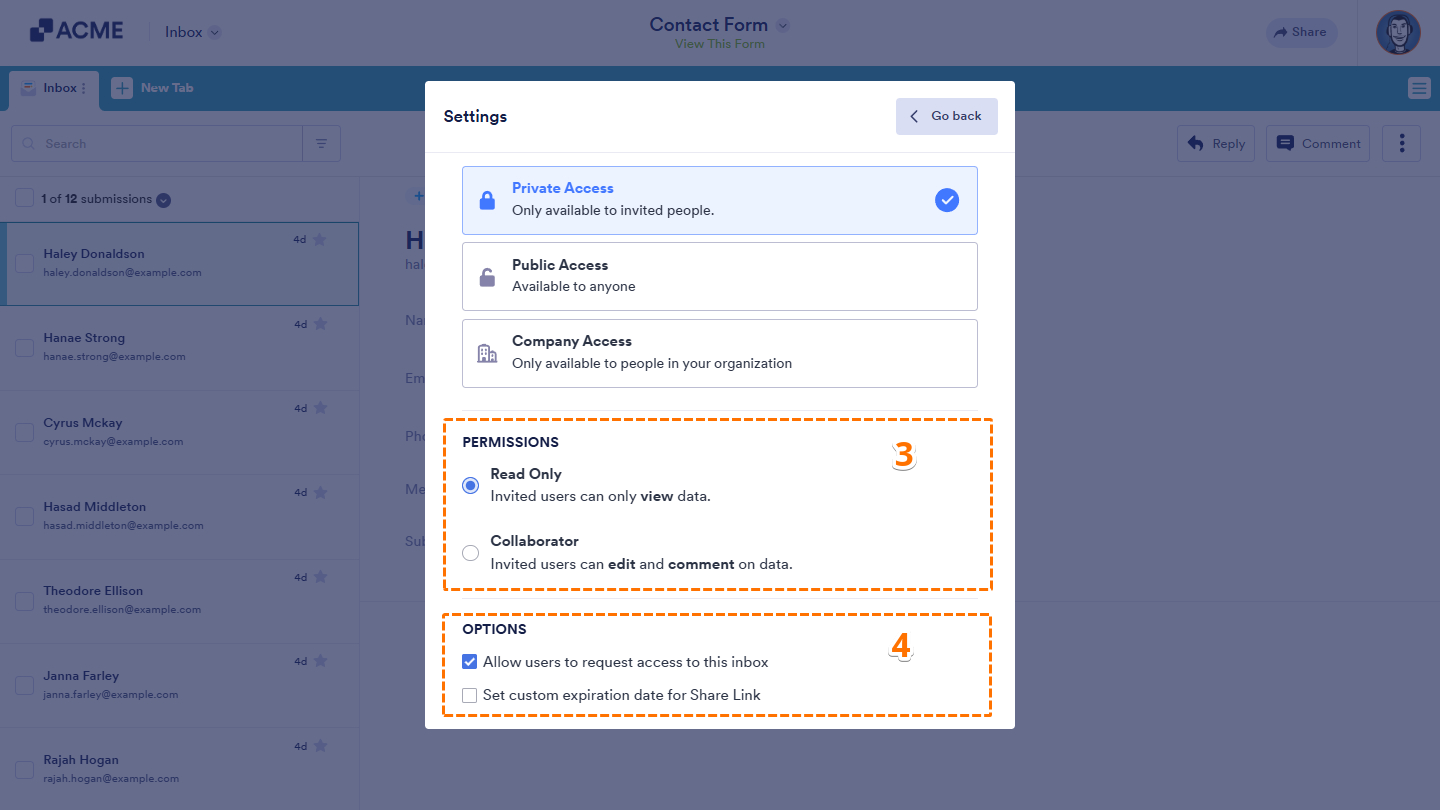
- Next, scroll down to the Permission section, and select an option:
- Read Only — Let invited users view the data in your Inbox.
- Collaborator — Allows invited users to edit submissions and add comments, in addition to viewing them.
- Finally, under the Options section, select an option:
- Allow Users to Request Access to This Inbox — Enabled by default, this option lets logged-in users request access to your Inbox through its direct URL. The generated Inbox Share Link is token-based, meaning users with the link can access the Inbox directly without going through the request process.
- Set Custom Expiration Date for Share Link — This option allows you to define a specific expiration date and time for your Inbox Share Link, ensuring temporary or time-limited access.
Notes:
- Depending on the selected Access Settings option, the Permissions and Options sections may show limited settings or may not appear at all.
- If Company Access is selected, the Company Access Permission section will appear, allowing you to choose whether to require an organization email domain or SSO for access.

Send Comment: