Tags, according to Keap (formerly known as Infusionsoft), are pieces of information that you know in advance. They are preferences or behaviors about your customers that you can predict. Jotform now offers two methods of Keap tag application—static tagging and dynamic tagging.


Static tagging lets you as the form owner select the tags to apply to all responses submitted to your form. This is the default and the only previously existing method.
Dynamic tagging, on the surface, would simply add a hidden check box containing all the tags available under your Keap application.
However, this is where the fun begins. Exposing the tags as a checkbox field opens up a new world of possibilities.
There are a number of ways on how to populate the tag checkbox, but in this guide we’ll explore only three, namely:
- Default values
- URL Prepopulation
- Conditions
Default values
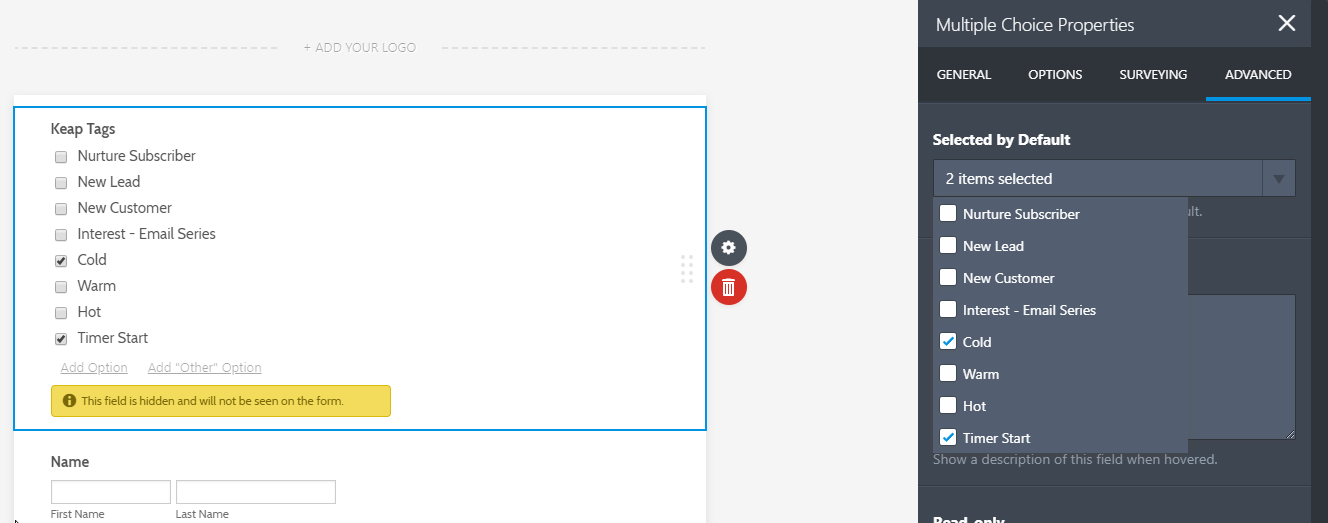
With the tag checkbox exposed (yet hidden from your users), you can select the tags to be added to the Keap contact made with each form submission.
This way, you can preselect the tags without having to run the integrations wizard.
- Double-click (or tap if you’re on mobile) the Keap tags checkbox
- Select ‘Advanced’
- Click the ‘Selected by Default’ dropdown
- Tick the boxes corresponding to the tags you want to be selected
URL Prepopulation
Tags can be populated using URL parameters, too. This can be useful when you want to distribute a registration or lead form across different platforms, and track which platform a specific lead came from.
Here’s a Jotform help guide on how to prepopulate fields on your form:
https://www.jotform.com/help/71-prepopulating-fields-to-your-jotform-via-url-parameters/
You can use URL prepopulation in conjunction with Default values and Conditions for a more advanced dynamic tagging.
Conditions
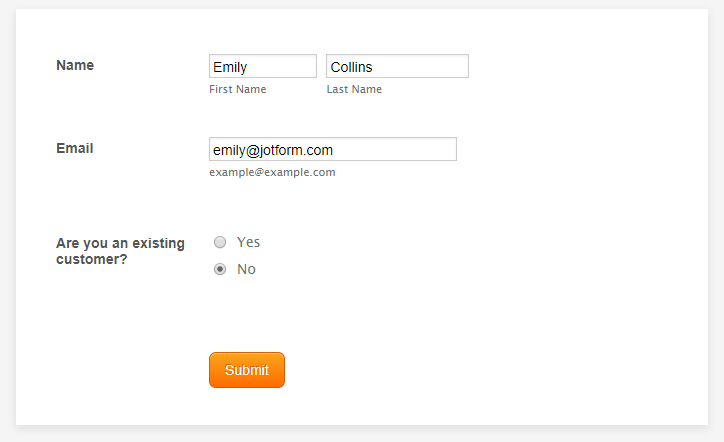
Let’s say you have an order form or a registration form. You would like to know if the respondent is a new customer, would like to subsequently add a ‘New Customer’ tag to the Keap contact created.
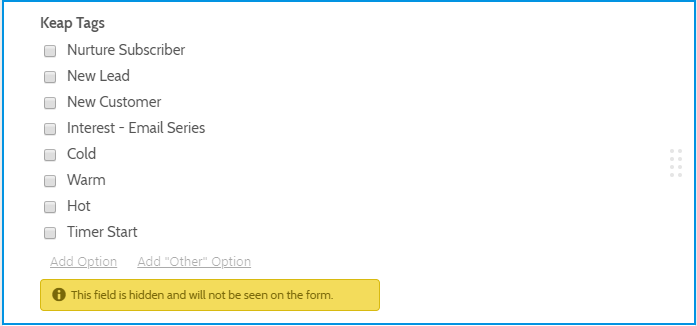
When you select the ‘Dynamic Tagging’ option, a check box (hidden by default) containing all your tags are added to the form. The field’s label can be changed, but the options should not be changed as they are directly tied to your Keap tags.
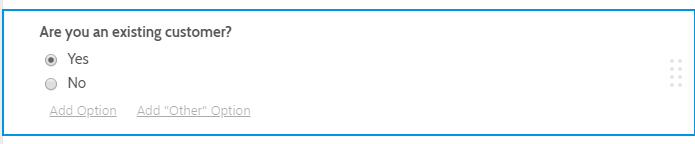
Add the ‘Are you an existing customer’ question, whether it be a check box, drop down or a radio button. We’ll use a radio button field for this example.
Add a condition that populates the tag checkbox if the user answers that they are a new customer. (Tip: separate multiple tags by a comma)
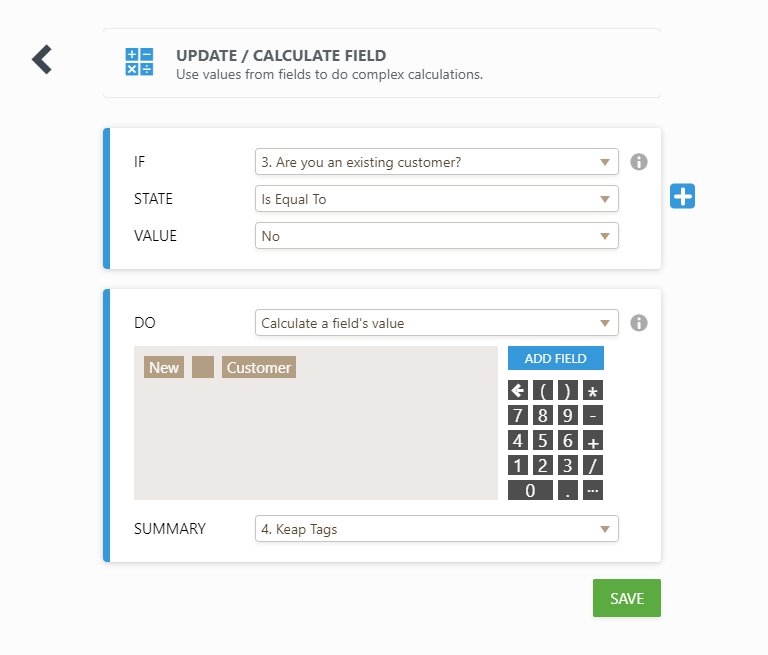
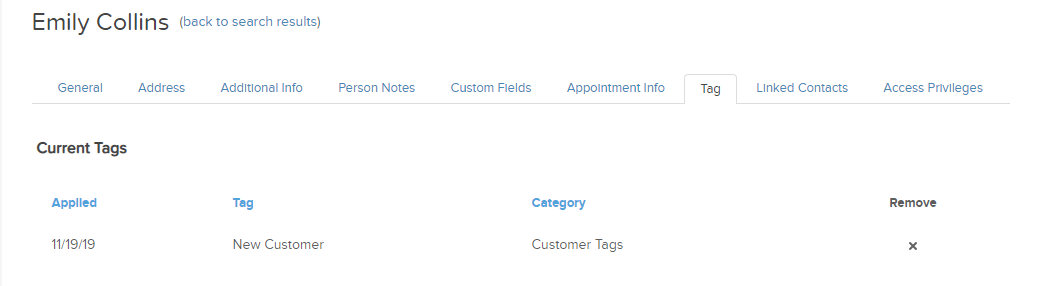
Voila! Your form now automatically applies the tag to the Keap contact.
Keap Campaigns
Because of dynamic tagging, you can now control most of your Keap campaign flow. Want to add a user to a campaign based on a customer input? Simply add a tag to a campaign. Once this tag is added to a contact (via conditions and dynamic tagging), the user will also be added to this campaign automatically and seamlessly.
More Use Cases
There are plenty of other use cases for conditional tagging. For example, you can add multiple rules to your conditions, or provide users with links pointing to the same form but containing different parameters that will fill in the corresponding Keap tag.

Send Comment: