Microsoft Power Automate makes it easy to automate tasks by connecting the apps and services you use every day. With the Jotform connector, you can take your forms further — from setting up approval flows and managing job applications to creating surveys and integrating them with dozens of other apps. It’s a simple way to save time and keep your work moving.
Notes
- The steps below assume you haven’t connected any apps yet, including Jotform. If you’ve already linked your account to any of the selected apps, you can skip those parts. You can check out Microsoft Power Automate’s guide on Manage Connections in Power Automate to learn more.
- You’ll need a work or school account to use Microsoft Power Automate. Personal accounts, even those registered with a custom email address, aren’t supported.
Adding and Setting up Jotform as a Trigger
The first step to connecting Jotform with your other third-party apps in Microsoft Power Automate is to set Jotform as the trigger. This is how it’s done:
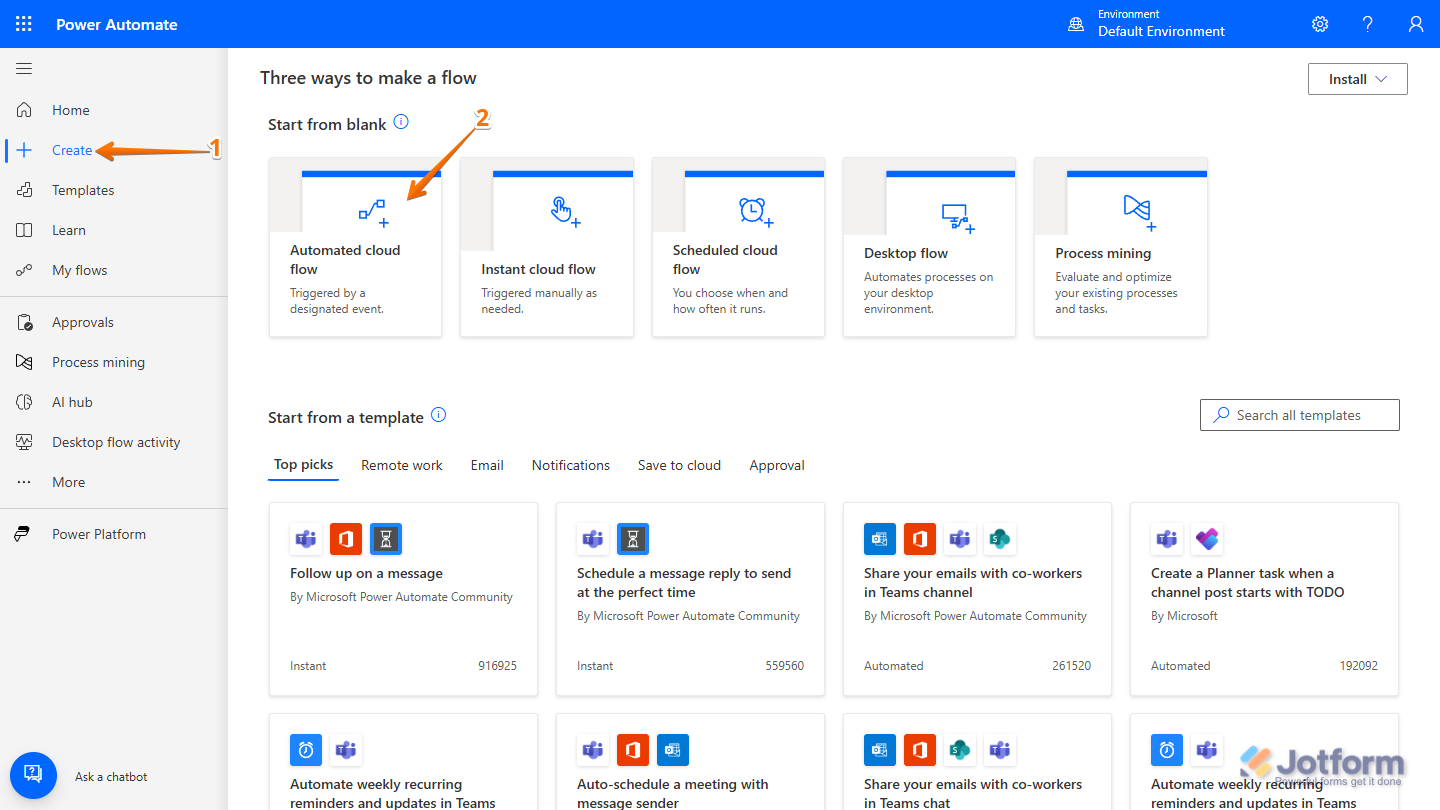
- Log in to your Microsoft Power Automate Dashboard, and in the menu on the left side of the page, click on Create.
- Then, in the Three Ways to Make a Flow page, under the Start From Blank section, click on Automated Cloud Flow.
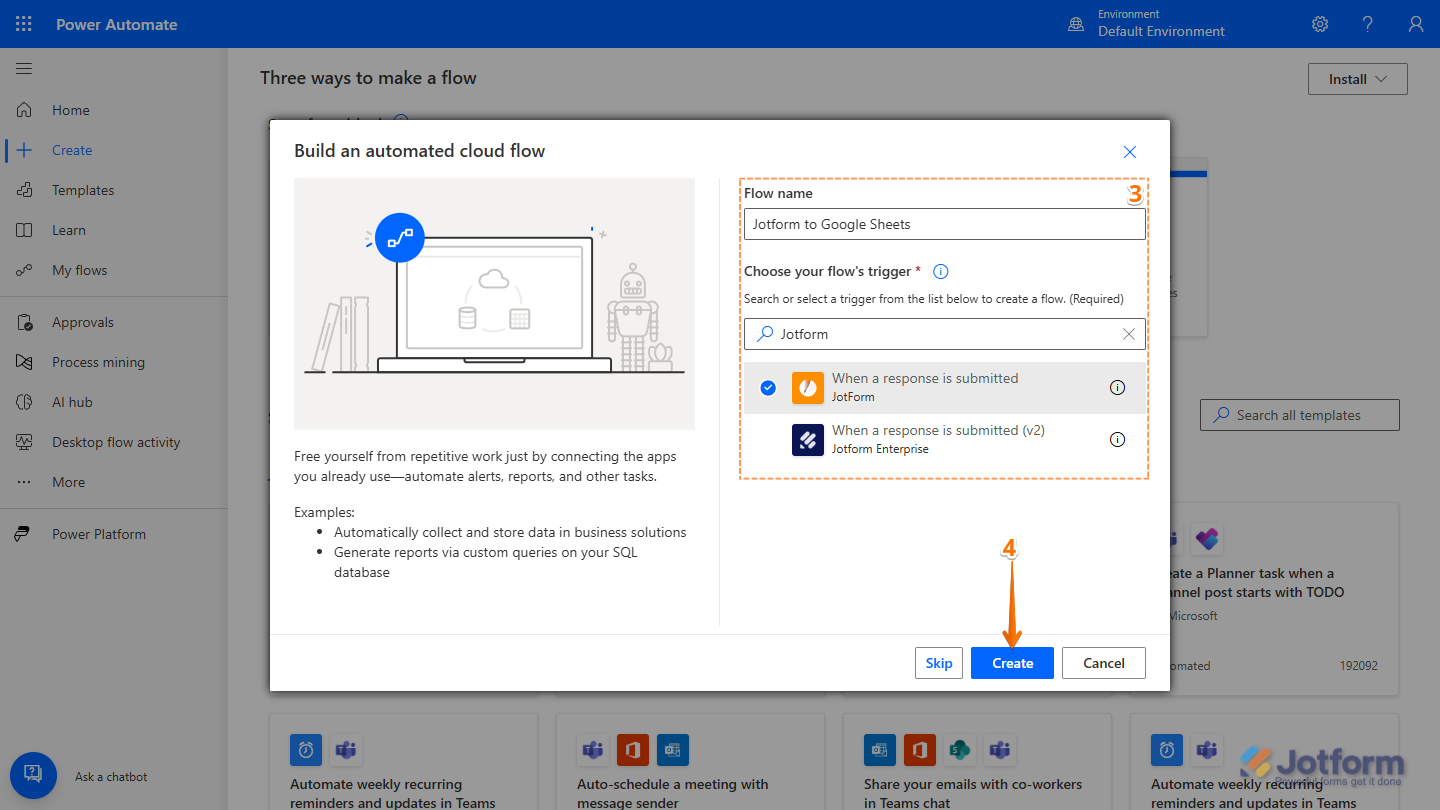
- Next, in the Build an Automated Cloud Flow window that opens, complete these fields:
- Flow Name – Enter a name for your new flow.
- Choose Your Flow’s Trigger – Search for Jotform and select When a Response Is Submitted (Jotform).
- Now, click on Create.
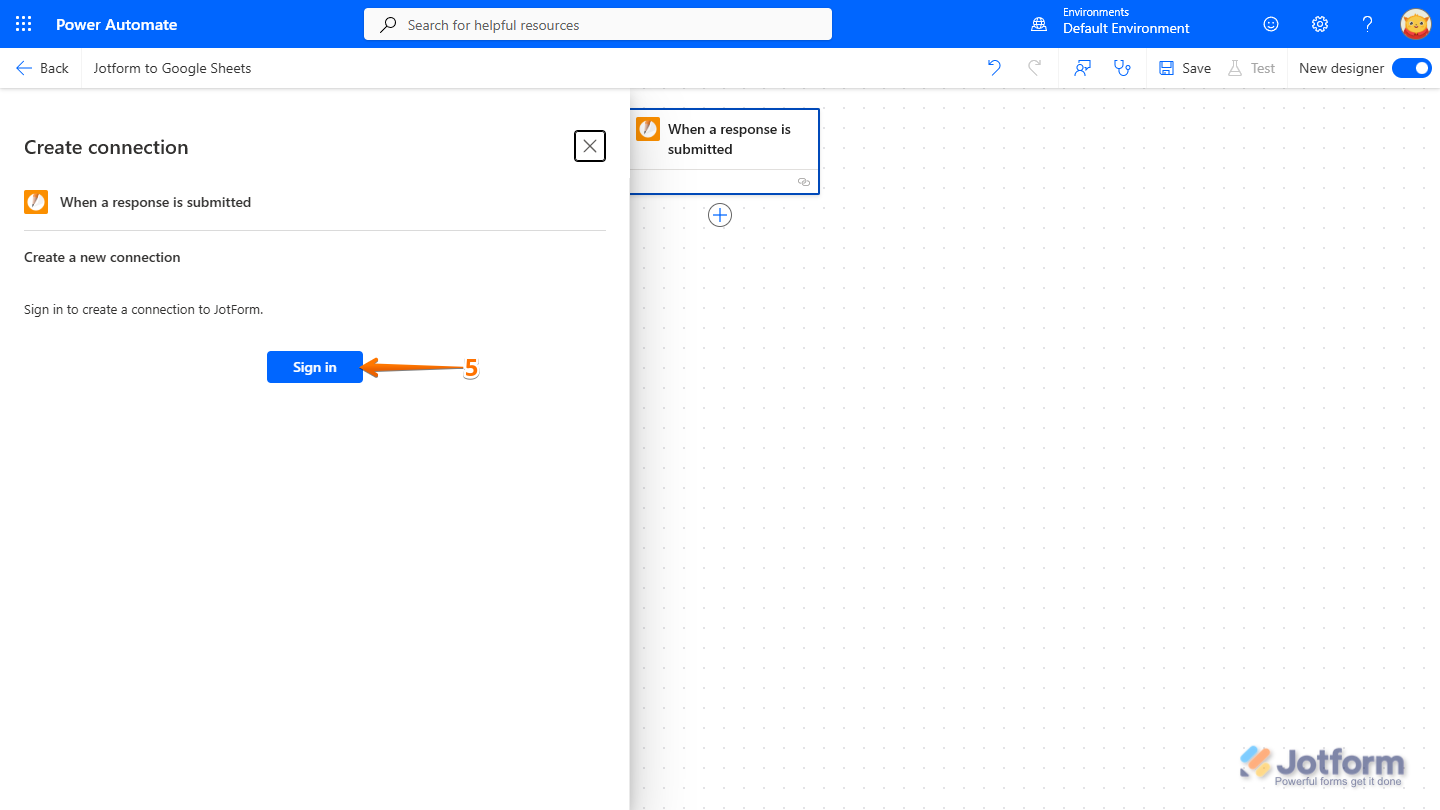
- In the Create Connection window that opens on the left, click on Sign In, log in with your Jotform account, and authorize Microsoft Power Automate to connect your account.
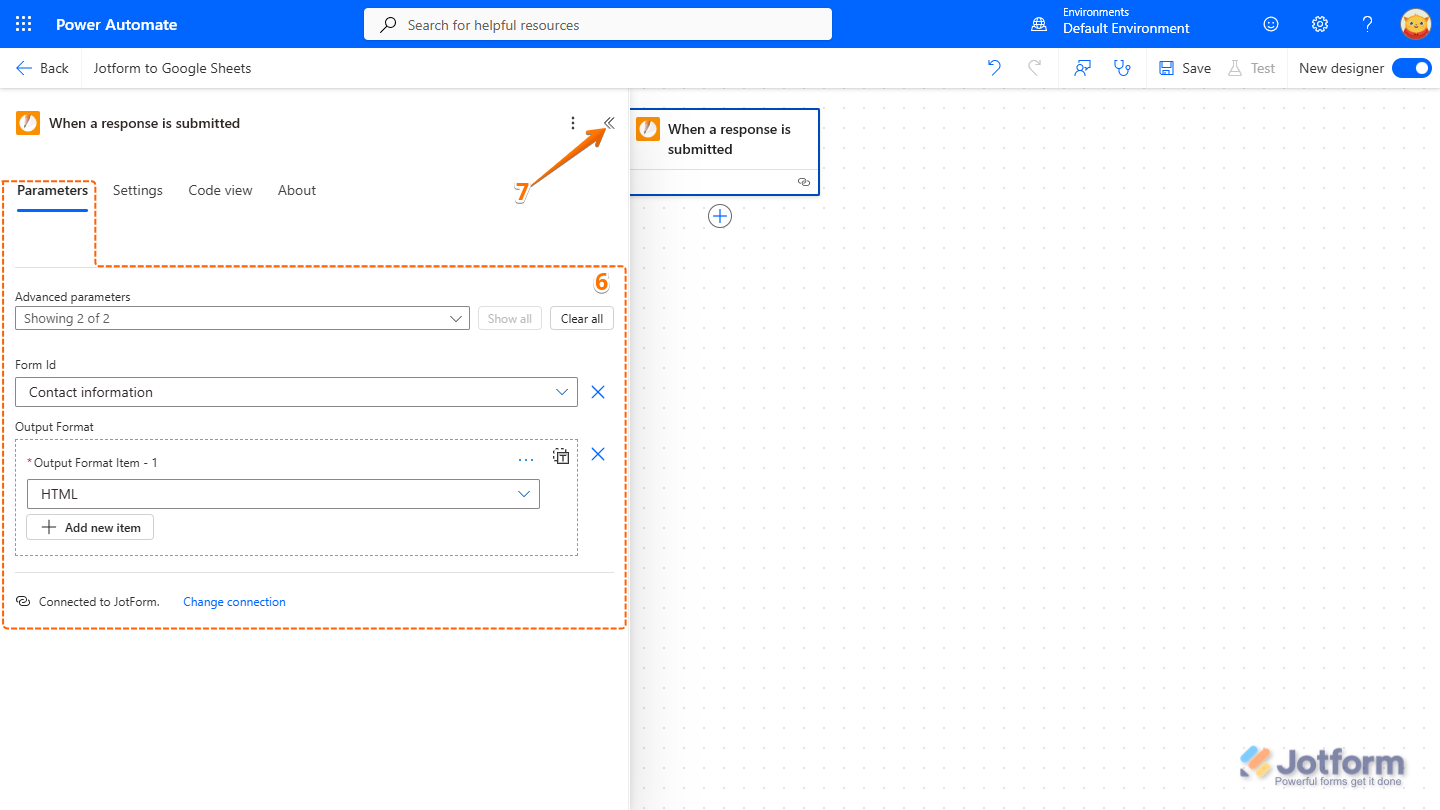
- Then, in the When a Response Is Submitted window, under the Parameters tab, set things up like this:
- Advanced Parameters — Show both Form ID and Output Format.
- Form ID — Pick your form from the list.
- Output Format — Choose whether to format the output as HTML or plain text. Plain text is generally the best format for most data extraction purposes.
- Now, at the top right side of the window, click on the Backward Arrow icon to close and save the Jotform trigger. Or, you can also click outside the window to do the same.
Adding and Setting up an Action
After setting Jotform as the trigger, the next step is to add and configure an action. Here’s what to do next:
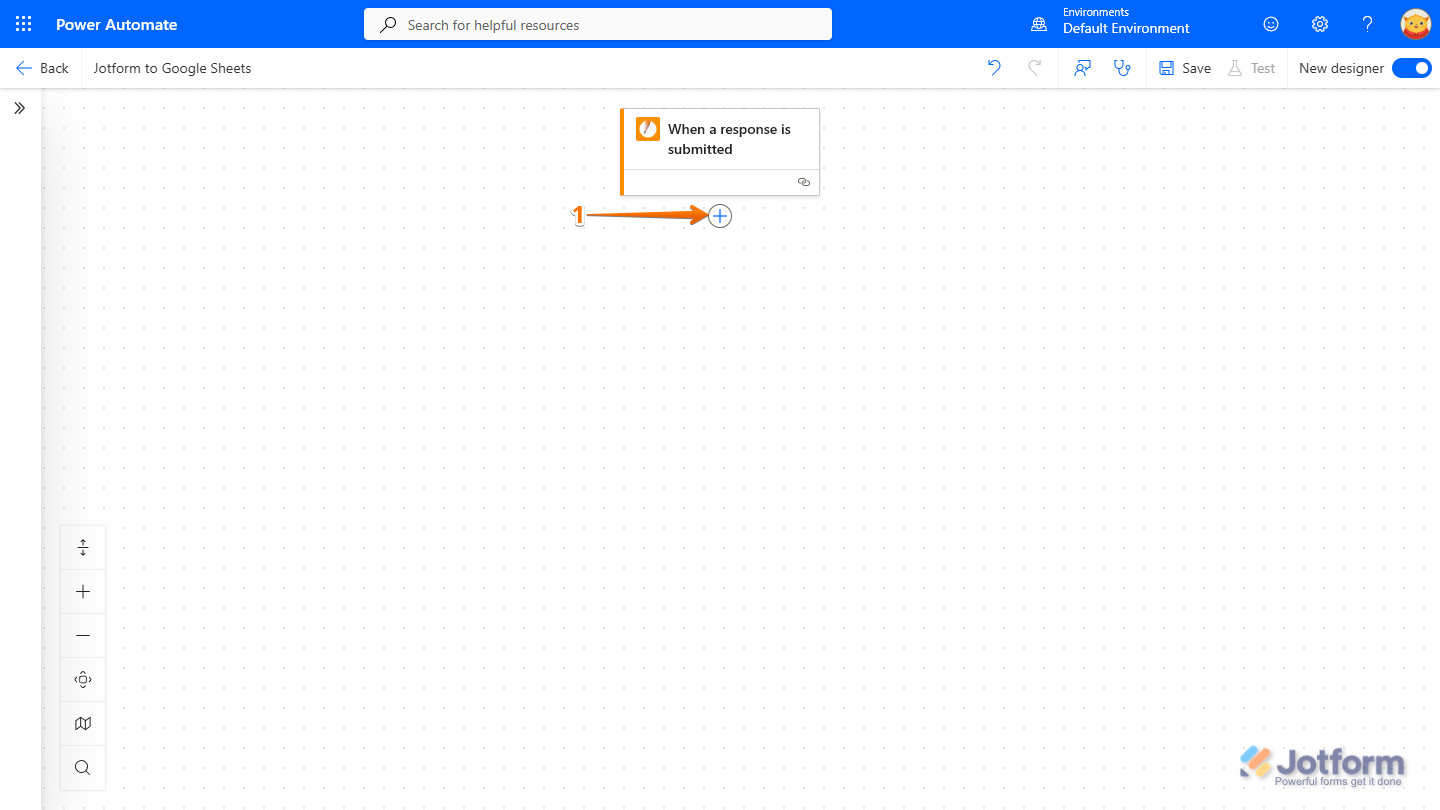
- On the Flow Designer page, below the When a Response Is Submitted Jotform trigger, click the Plus icon.
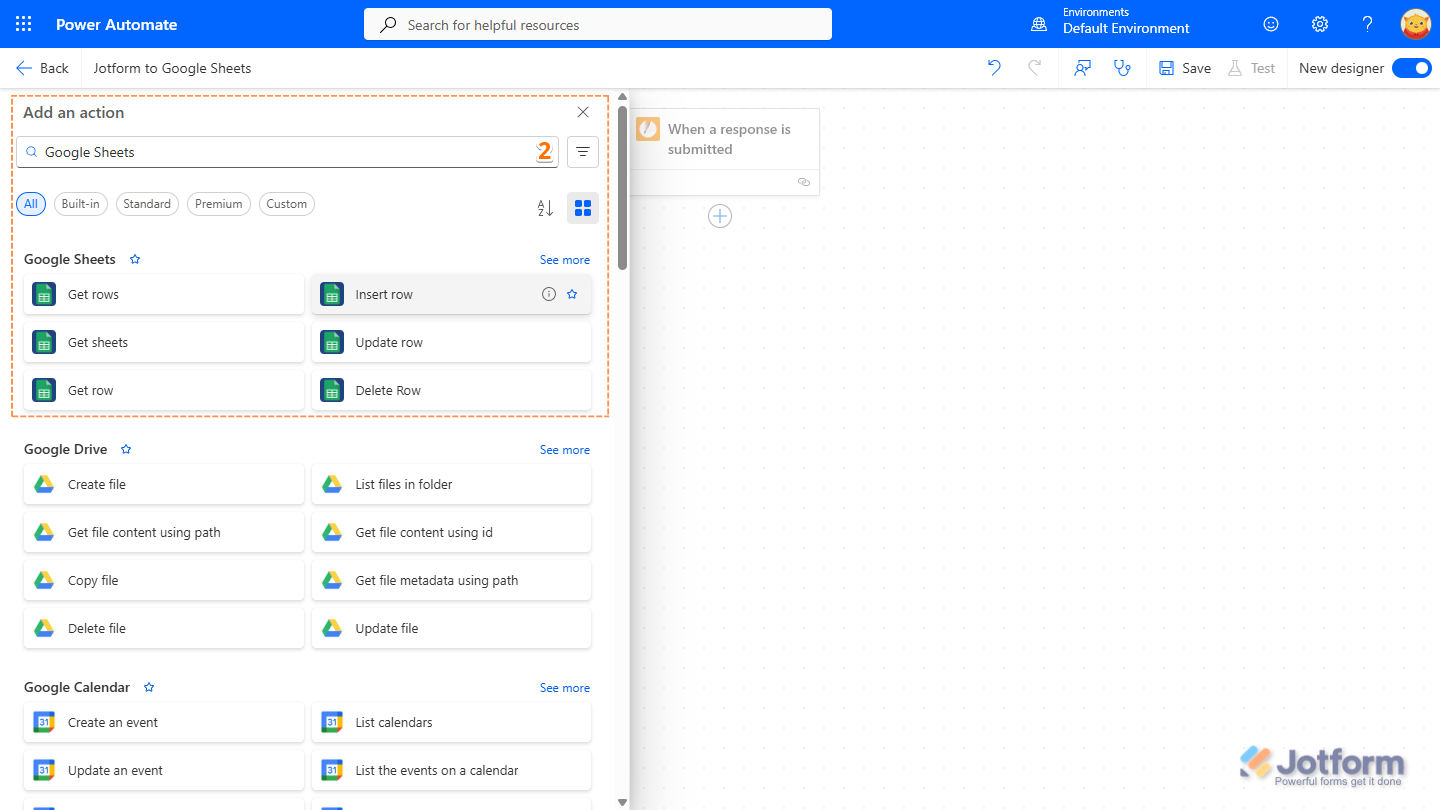
- In the Add an Action window that opens on the left, search for the app and click on the actions from the list. For example, Google Sheets app then Insert Row action.
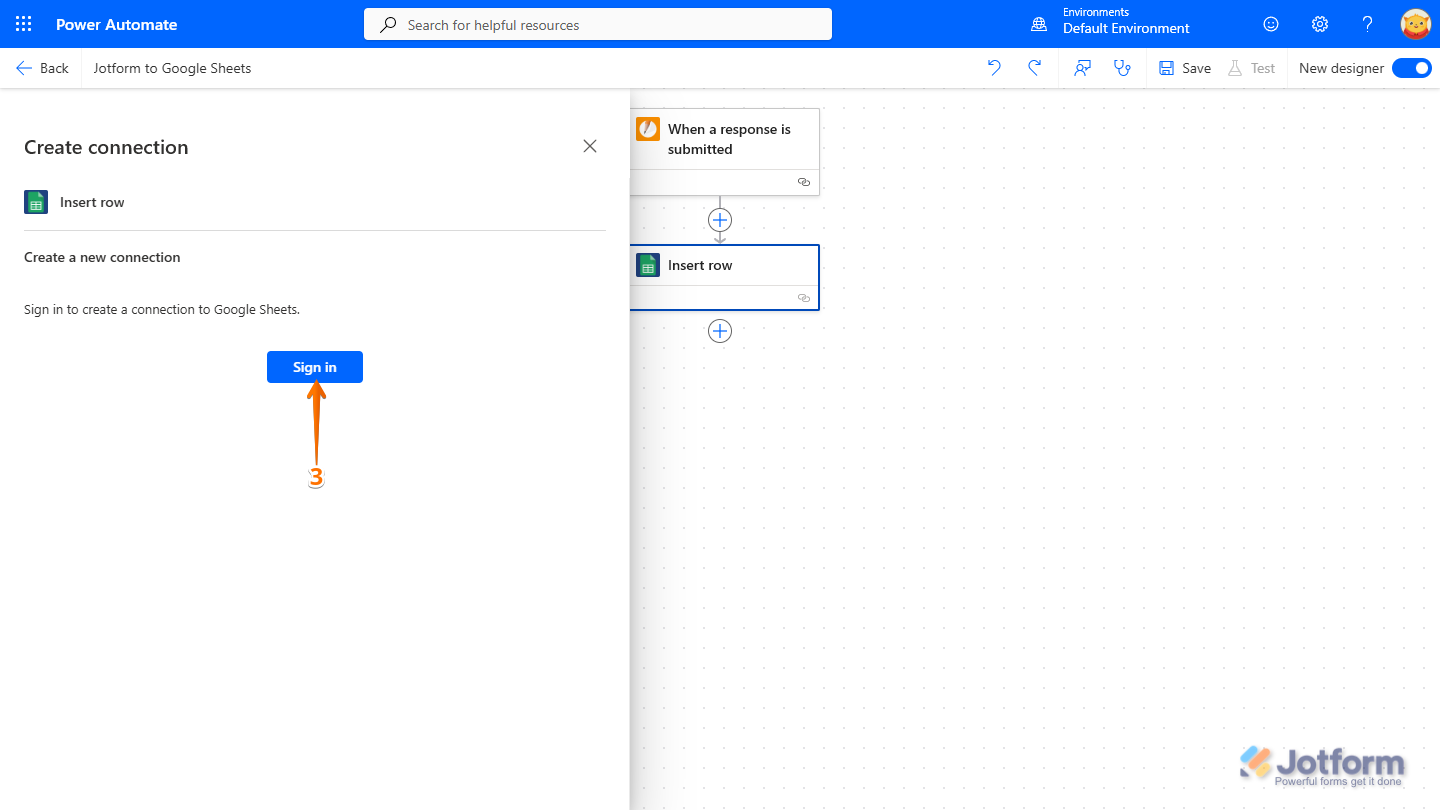
- Then, in the Create Connection window, click on Sign In, log in with your Google account, and authorize Microsoft Power Automate to connect your account.
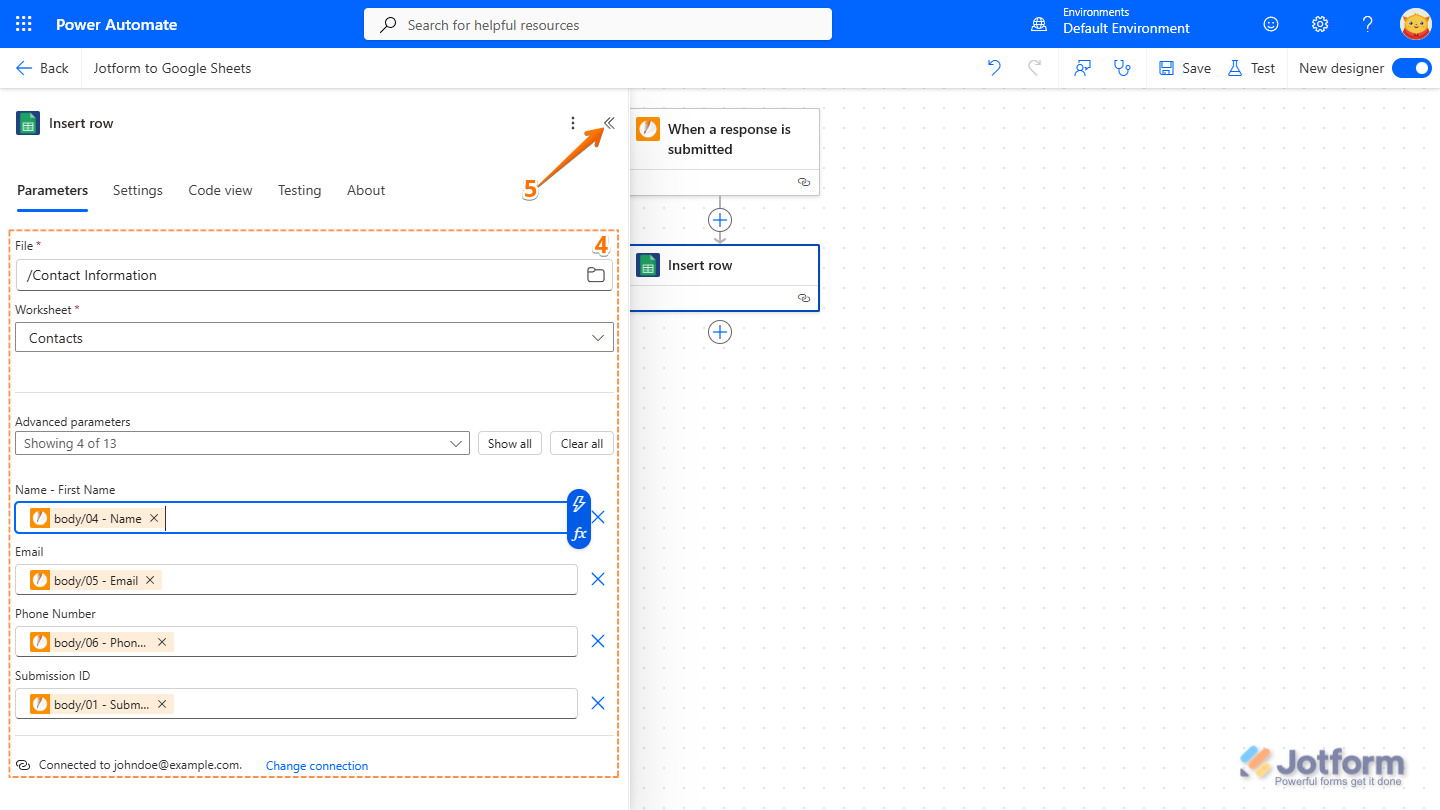
- Next, in the Insert Row window, under the Parameter tab, configure these things:
- File — Choose your spreadsheet file from the Dropdown menu.
- Worksheet — Select the worksheet within the selected spreadsheet file.
- Advanced Parameters — Select and map the worksheet columns to your form fields.
Notes
- The Advanced Parameters may show different options depending on the app and action you select.
- You can click on Show All in the Advanced Parameters to display all the columns of the selected worksheet.
- To map a field to the displayed parameter, you need to click the field and click on the Bolt icon on the right side.
- Now, at the top right side of the window, click on the Backward Arrow icon to close and save the Google Sheets action. Or, you can also click outside the window to do the same.
- Finally, at the top right side of the window, click on Save.
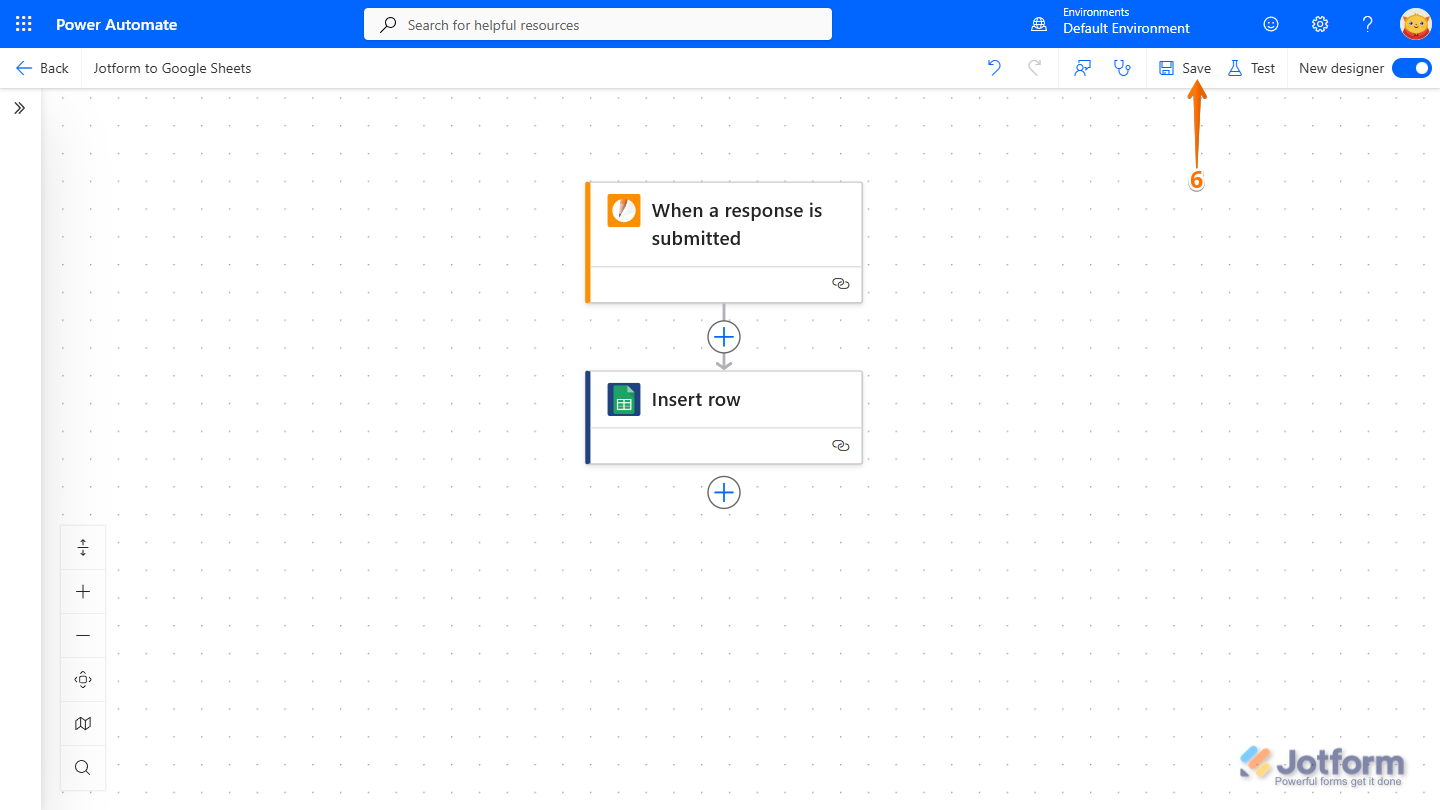
Notes
- The Flow Designer won’t let you save if it spots any issues in your flow setup.
- It’s best to test your flow before going live. Click on Test on the page, then submit your form to verify that everything works as expected. This helps you confirm that your trigger and actions are set up correctly before you start using the flow for real submissions.

Send Comment: