Jotform’s Progress Bar widget adds a clean, visual cue that lets users see how far along they are as they fill out your form, especially handy for longer or multi-page forms. It’s a great way to keep people motivated, cut down on drop-offs, and give them a little boost of confidence as they move from one step to the next.
Here are a few ways to use it:
- Break Up Long Forms — A progress bar is like a little cheerleader that lets people know they’re making headway; it’s good to use for a form with a ton of fields. It keeps them motivated and more likely to reach the finish line.
- Multi-Page or Multi-Section Forms — When your form is split into sections or pages, a progress bar takes away the guesswork. Users can instantly see how many steps are left, which makes the whole experience feel lighter and less overwhelming.
- Track Survey Completion — Long surveys can feel like a marathon, but a progress bar gives users that extra boost to keep going. It shows them they’re almost done, and that little nudge can prevent them from dropping out early.
- Show Progress Toward a Goal — A progress bar can visually show how close everyone is to hitting the goal, useful for running a fundraiser, event sign-up, or team challenge. It’s a fun, motivating way to encourage participation.
Notes
- The Progress Bar widget is only available for Classic forms. But no worries, if you’re using a Card form, you can still create a similar experience by checking out our guide on How to Hide the Form Title and Progress Bar in Jotform Cards.
- This widget is just for show; it gives users a visual cue on their progress but doesn’t impact how your form works or gets submitted.
Adding and Setting Up the Progress Bar Widget
Adding the Progress Bar widget to your form is a great way to keep users in the loop; it shows them how far they’ve come and how much is left, making the whole experience feel more guided and encouraging. Getting started is simple—here’s what to do:
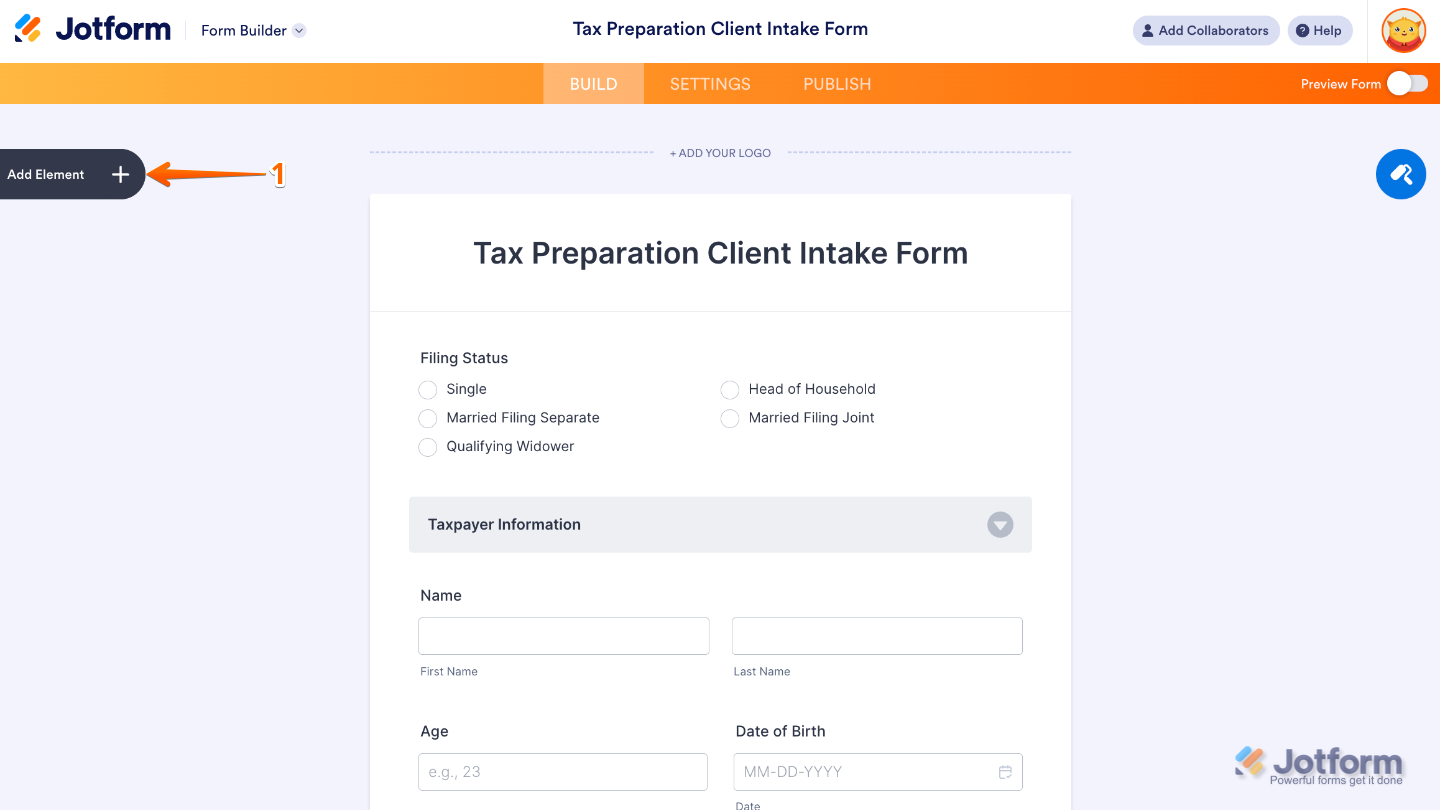
- In Form Builder, click on Add Element on the left side of the page.
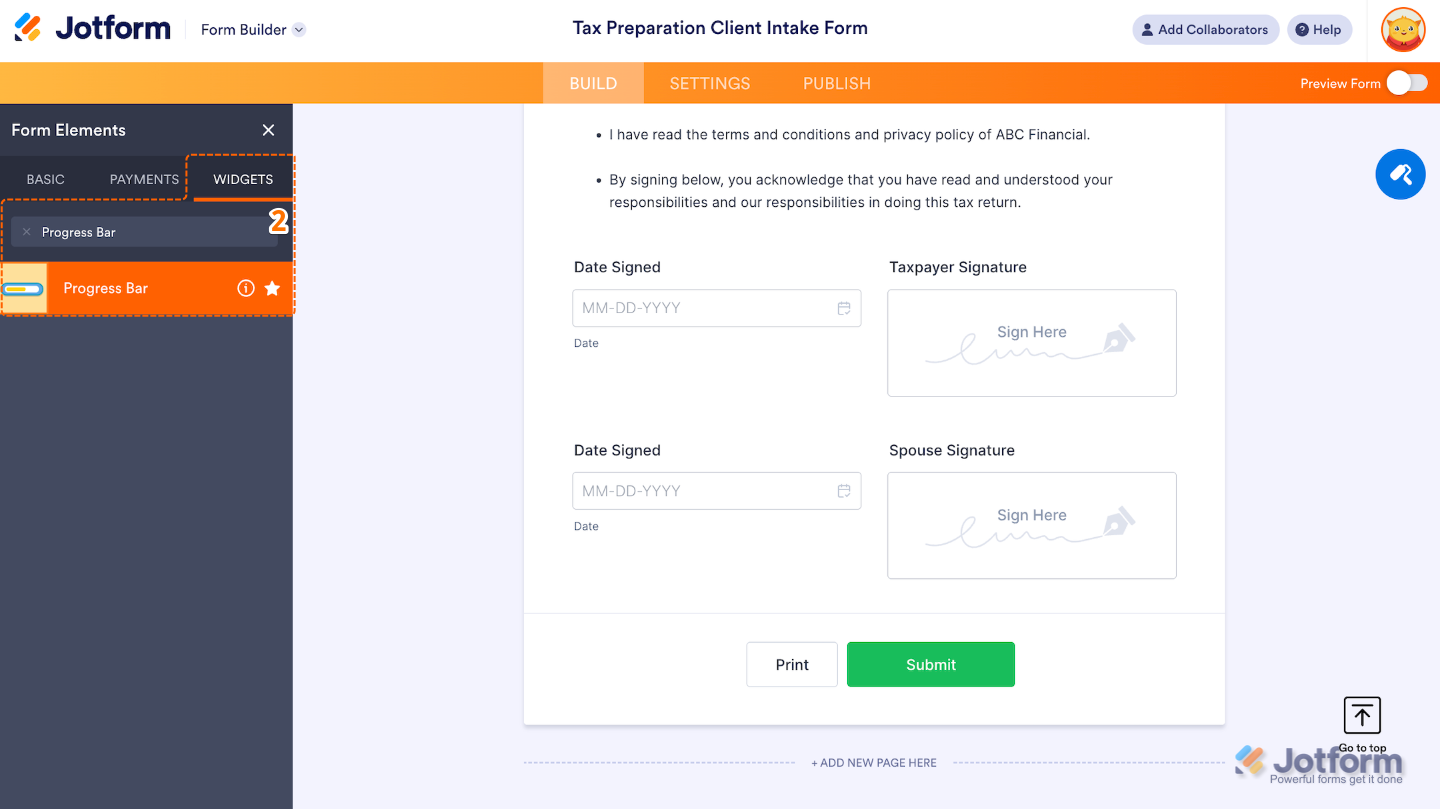
- Now, in the Form Elements menu, under the Widgets tab, search for Progress Bar and then click on it. Or, just drag and drop it to where you want it to be on your form.
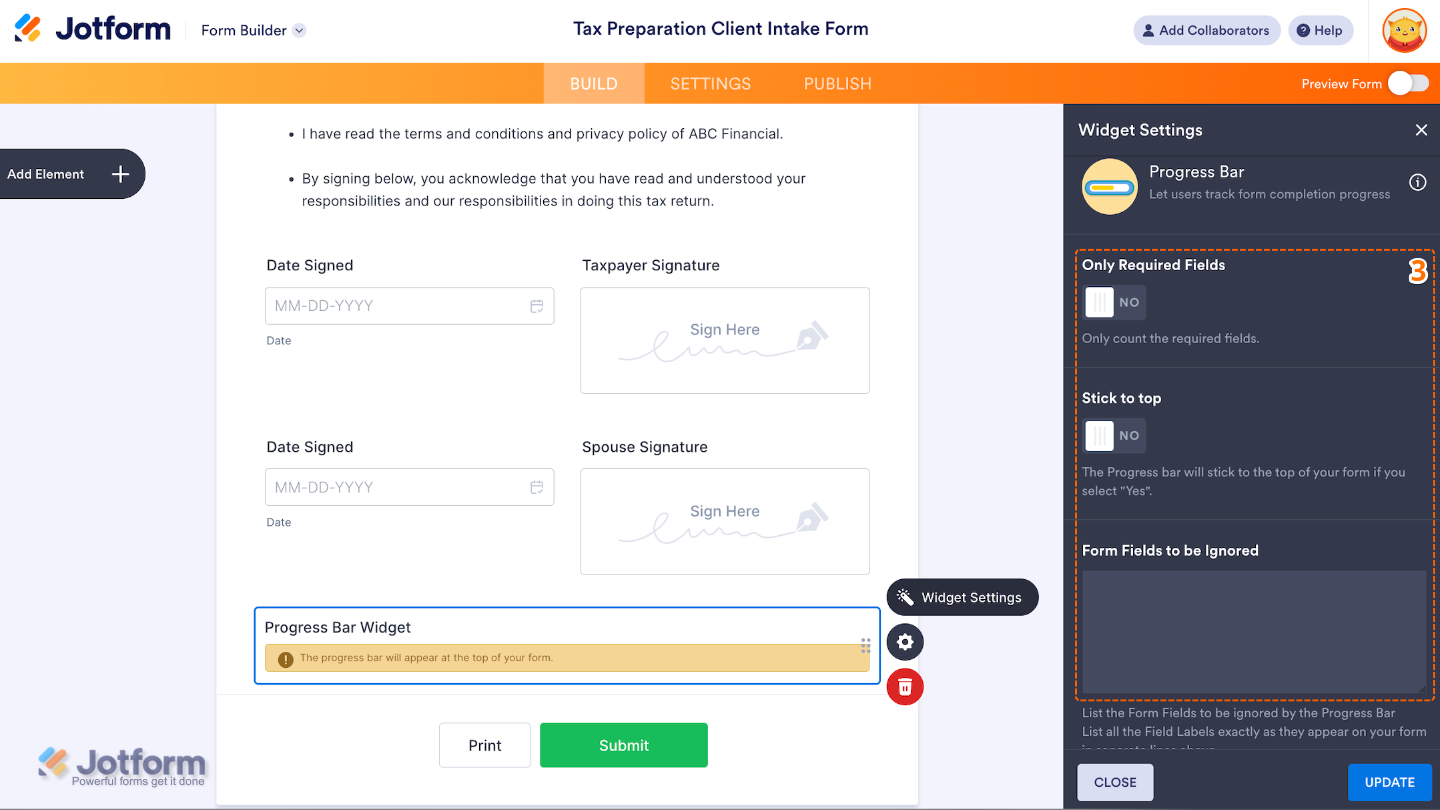
- Next, in the Widget Settings window that opens on the right side of the page, set up the following options:
- Only Required Fields — Turn this on if you’d like the progress bar to reflect only the required fields; it’s a handy way to show users how far they are from completing the essentials.
- Stick to Top — When enabled, the progress bar stays fixed at the top of the form while users scroll.
- Form Fields to be Ignored — Here’s where you can list any fields you don’t want counted in the progress. Just enter the field’s label, and it’ll be skipped in the calculation.
- Then, scroll down to the bottom and continue to set up these options:
- Required Fields Message — Edit this to customize the message shown under the progress bar when Only Required Fields is enabled.
- All Fields Message — Set this up to tailor the message displayed when progress is based on all fields (not just required ones).
- Submit Message — Revise this to adjust the message shown when the progress bar reaches 100%, meaning the form is complete.
- Bar Color — Click on this option to change the color of the progress bar to match your form’s design or branding.
- Once you’re done, click on Update.

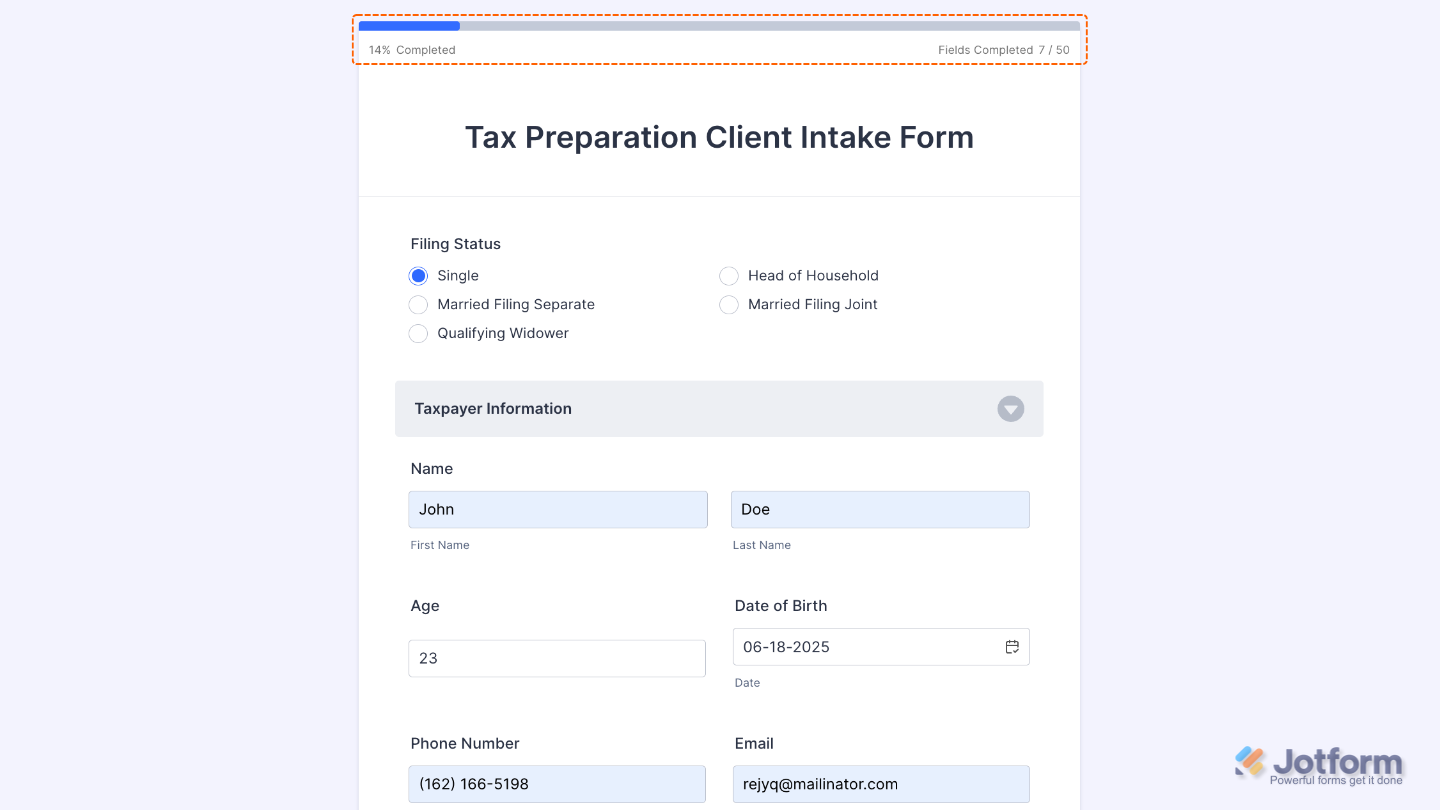
That’s it. You’ve successfully added and set up the Progress Bar widget to your form. Now, your users can see how much of the form they’ve completed, either as a percentage or with visual progress. Try it out and see what it looks like on this Demo Form.
To personalize how your Progress Bar field looks, simply click the Gear icon to open its settings.
Pro Tips
- Add the Progress Bar widget to longer forms to help users see how far they’ve come. It’s a great way to keep them motivated and less likely to leave midway.
- Try to keep your pages evenly spaced so the progress feels smooth and steady; big jumps can be a little disorienting.
- Feel free to match the Progress Bar color to your form’s branding or style; a little visual harmony goes a long way.
- Pair the Progress Bar with clear section titles or page headers to give users a better idea of what each step is all about.

Send Comment: