Jotform helps you quickly add a list of weekly appointment slots to your form with the Weekly Appointment Planner widget. You can set the maximum number of bookings allowed per time slot per day. This prevents overbooking while keeping all your appointments organized in one place.
Here are a few ways to use it:
- Arrange weekly medical or clinic appointments.
- Schedule phone or video calls with clients or customers.
- Receive and manage meeting requests through your form.
- Let users pick a time for a follow-up interview.
Whether you’re creating a new form or updating an existing one, you can add and set up your Weekly Appointment Planner widget in a few easy steps. Here’s how to do it:
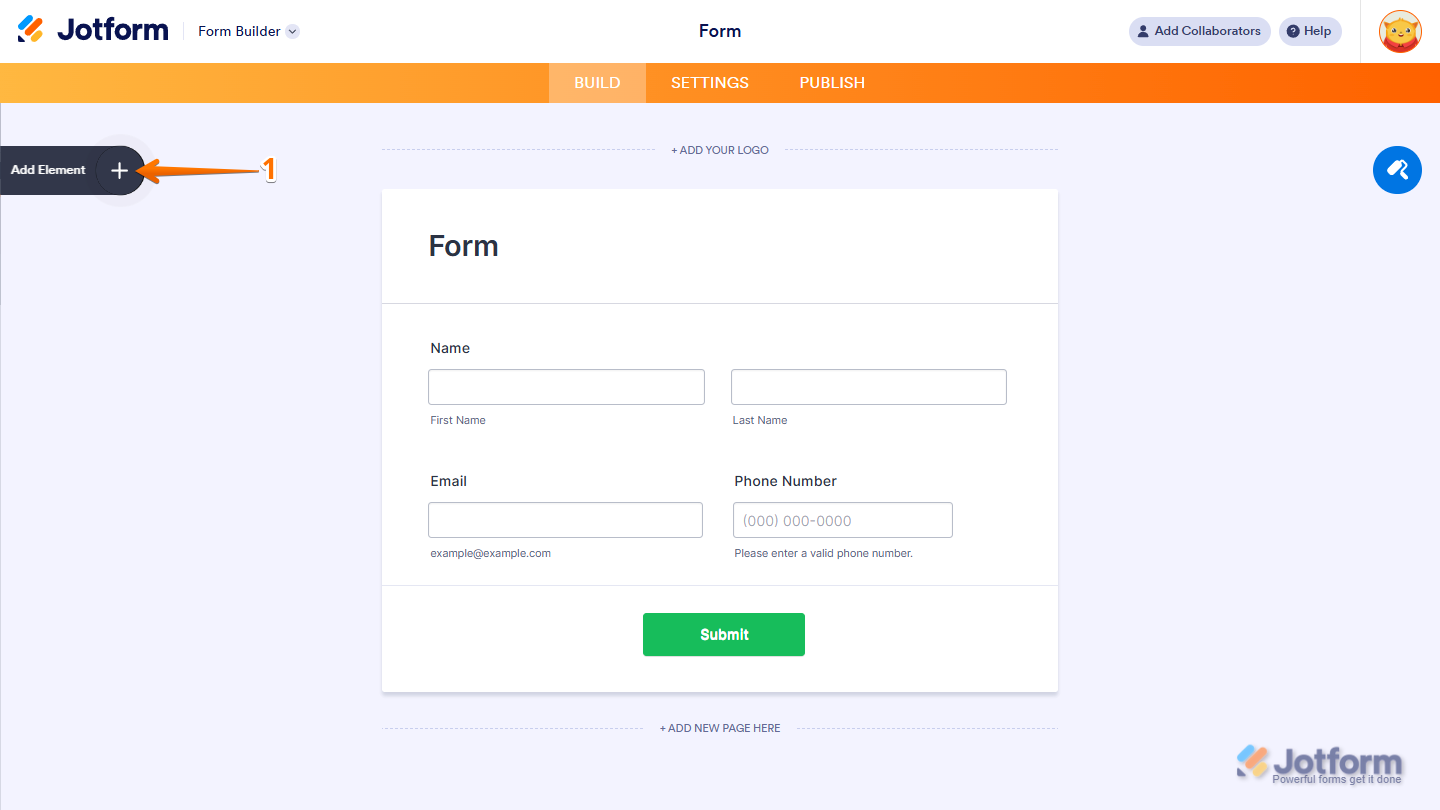
- In Form Builder, click on Add Element on the left side of the page.
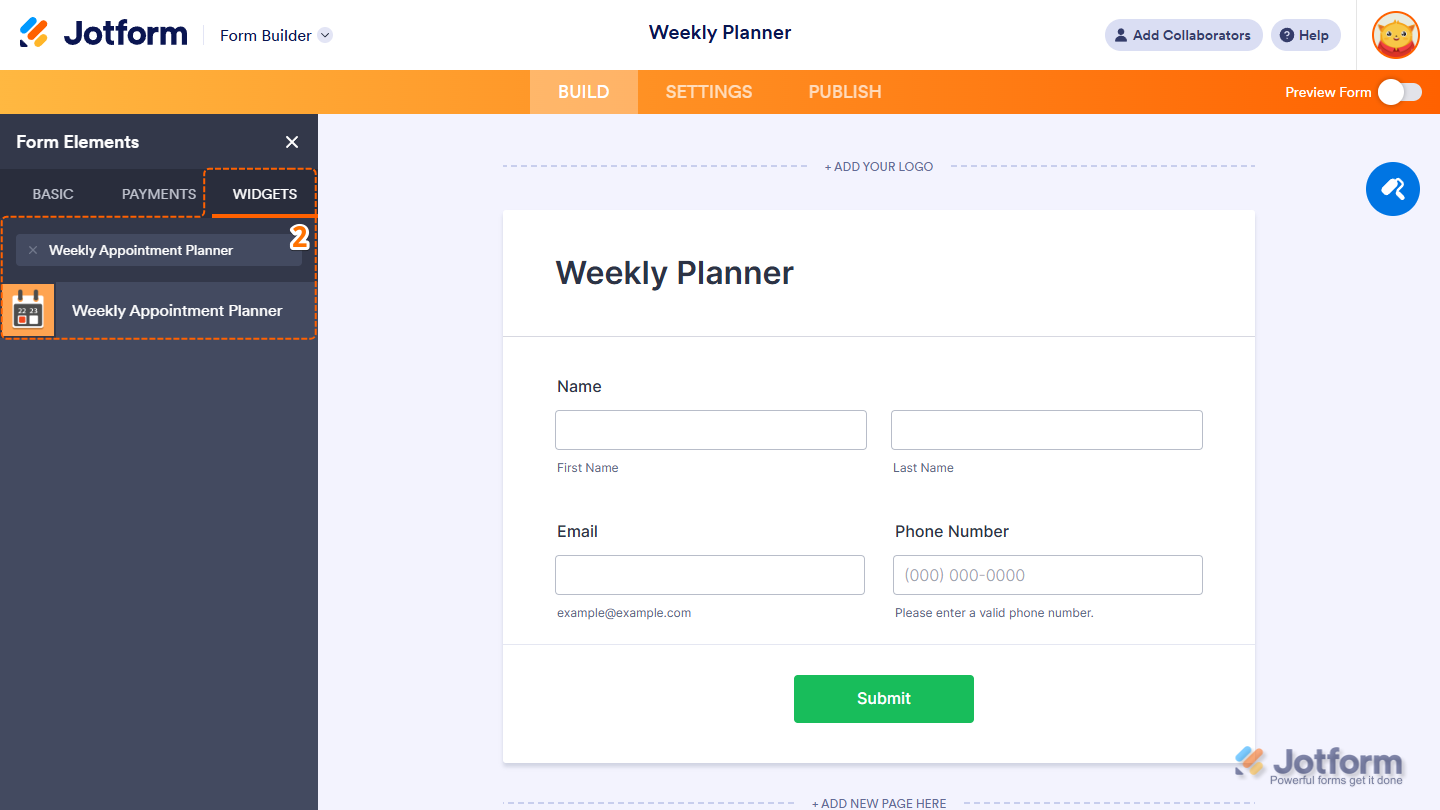
- Now, in the Form Elements menu, under the Widgets tab, search for Weekly Appointment Planner and click on it. Or, just drag and drop it to where you want it to be on your form.
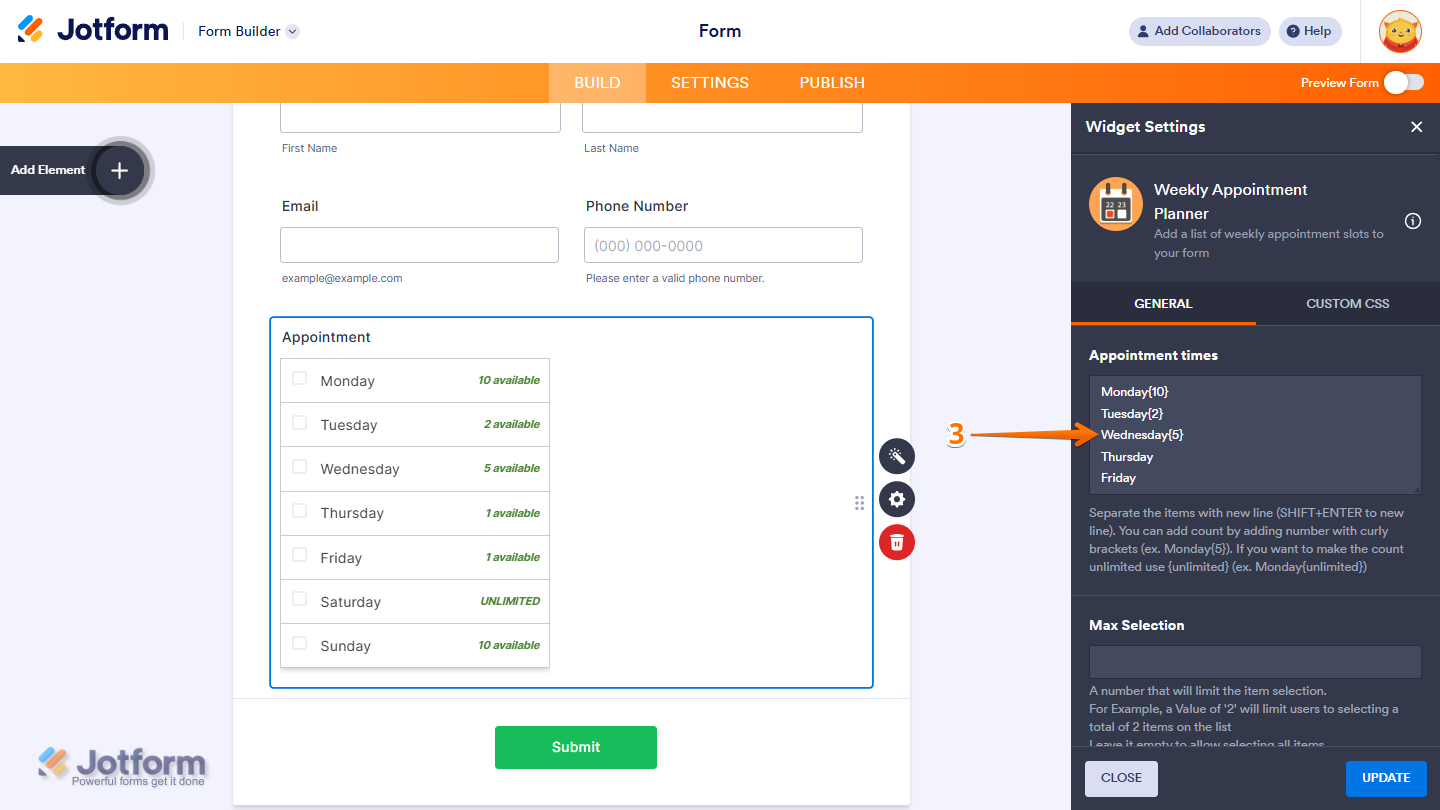
- Next, in the Widget Settings window that opens on the right side of the page, under the General tab, delete the default values in the Appointment Times Input box and enter your preferred Appointment Times, each on a new line.
Note
- Separate each item with a new line (Shift + Enter).
- Add limits using numbers in curly brackets (e.g., Monday{5}).
- Use {unlimited} for unlimited slots (e.g., Saturday{unlimited}).
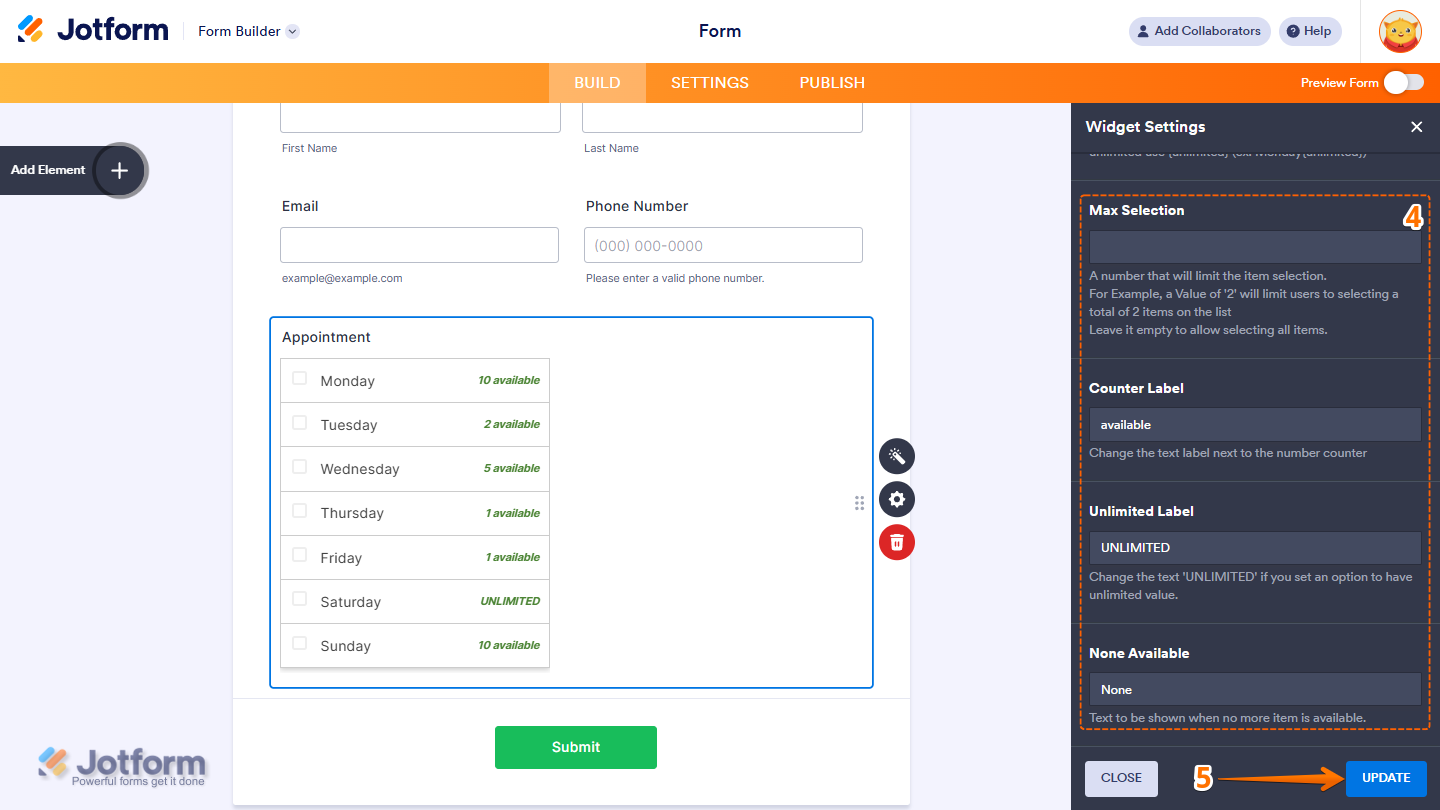
- Then, scroll down to the bottom and continue to set up these settings:
- Max Selection — A number that will limit the item selection. For example, a value of 2 will limit users to selecting a total of 2 items on the list. You can leave it empty to allow selecting all items.
- Counter Label — Change the text label next to the number counter.
- Unlimited Label — Change the text ‘UNLIMITED’ if you set an option to have unlimited value.
- None Available — Text to be shown when no more item is available.
- Once you’re done, click on Update.
That’s it. You’ve successfully added and set up the Weekly Planner widget on your form. Wondering how it looks in action? Check out this demo form.
Note
- Changing the appointment times inside the widget only applies to new submissions moving forward.
- For advanced styling of the Weekly Planner widget, you can add your own custom CSS code under the Custom CSS tab in the Widget Settings. Our guide on How to Inject CSS Codes to Widgets walks you through everything.
- You can also configure the widget properties, like alignment, labels, size, visibility, and more, to control how it looks and behaves in your form. Check out our guide on How to Access and Configure the Question Properties of a Widget to learn more.

Send Comment: