Adding a chatbot to your WordPress site can instantly improve how visitors interact with your brand. Whether it’s answering support questions, collecting leads, or guiding shoppers through checkout, a chatbot helps you engage users around the clock.
These AI-powered tools are a must-have for improving user experience and streamlining communication. In this guide, you’ll learn how to add a chatbot to your WordPress website step by step and how to get started quickly with tools like the Jotform AI Chatbot for WordPress.
Why should you add a chatbot to your WordPress site?
A chatbot is a digital assistant for your website that greets visitors, answers questions, and helps them find what they need. Instead of waiting on email replies or navigating through multiple pages, users get instant, conversational support.
For WordPress site managers, that means less time spent on repetitive inquiries and more opportunities to convert visitors into customers. A chatbot can qualify leads, collect contact information, and even guide users through form submissions or purchases, all while maintaining a friendly, consistent tone that reflects your brand.
Consider a use case: A marketing agency chatbot captures new client inquiries after business hours, automatically routing them to the right contact form or service page. This keeps engagement going even when the team is offline, ensuring no lead or question slips through the cracks.
Chatbots also help you better understand your audience. Many include built-in analytics that show what users are seeking, helping you identify gaps in your content or customer journey. Combined with automation and AI, they turn your WordPress site into a more interactive, insight-driven experience.
Main types of chatbots
Not all chatbots work the same way. Different types offer different strengths, depending on your site’s goals, whether that’s answering FAQs, driving sales, or providing personalized support.
1. Menu and button-based chatbots
These are the simplest chatbots, guiding users through predefined options like a menu. They’re ideal for handling common requests such as business hours, pricing, or contact details.
Example: A restaurant website might use a menu-based bot to help customers browse menus or make reservations without contacting staff.
2. Keyword recognition-based chatbots
These bots act like conversational search engines. They identify specific keywords from user messages (“pricing,” “support,” “hours”) and respond with matching information. While efficient, they can struggle when users phrase similar questions in unexpected ways.
Example: An online store could use a keyword-based bot to quickly respond to questions that include terms such as “return policy” or “shipping times.”
3. Contextual chatbots
These are the most advanced type of bot. They use machine learning and AI to understand context, intent, and tone. They can reference past interactions, learn from user behavior, and adapt over time to deliver increasingly personalized responses.
Example: A healthcare provider’s chatbot might remember that a returning user previously asked about appointment availability and automatically offer to schedule one.
To explore these differences in more depth, see our guide on types of chatbots.
3 main ways to add a chatbot to WordPress
You can add a chatbot to your WordPress website in a few ways, each offering a unique balance of control, customization, and ease of setup. Here are the three most common methods and how to choose the right one for your needs.
Option 1: Use a WordPress chatbot plug-in
The easiest way to get started is by installing a WordPress chatbot plug-in. Plug-ins integrate directly into your dashboard, allowing you to create and manage your chatbot without touching any code.
How to install a chatbot plug-in
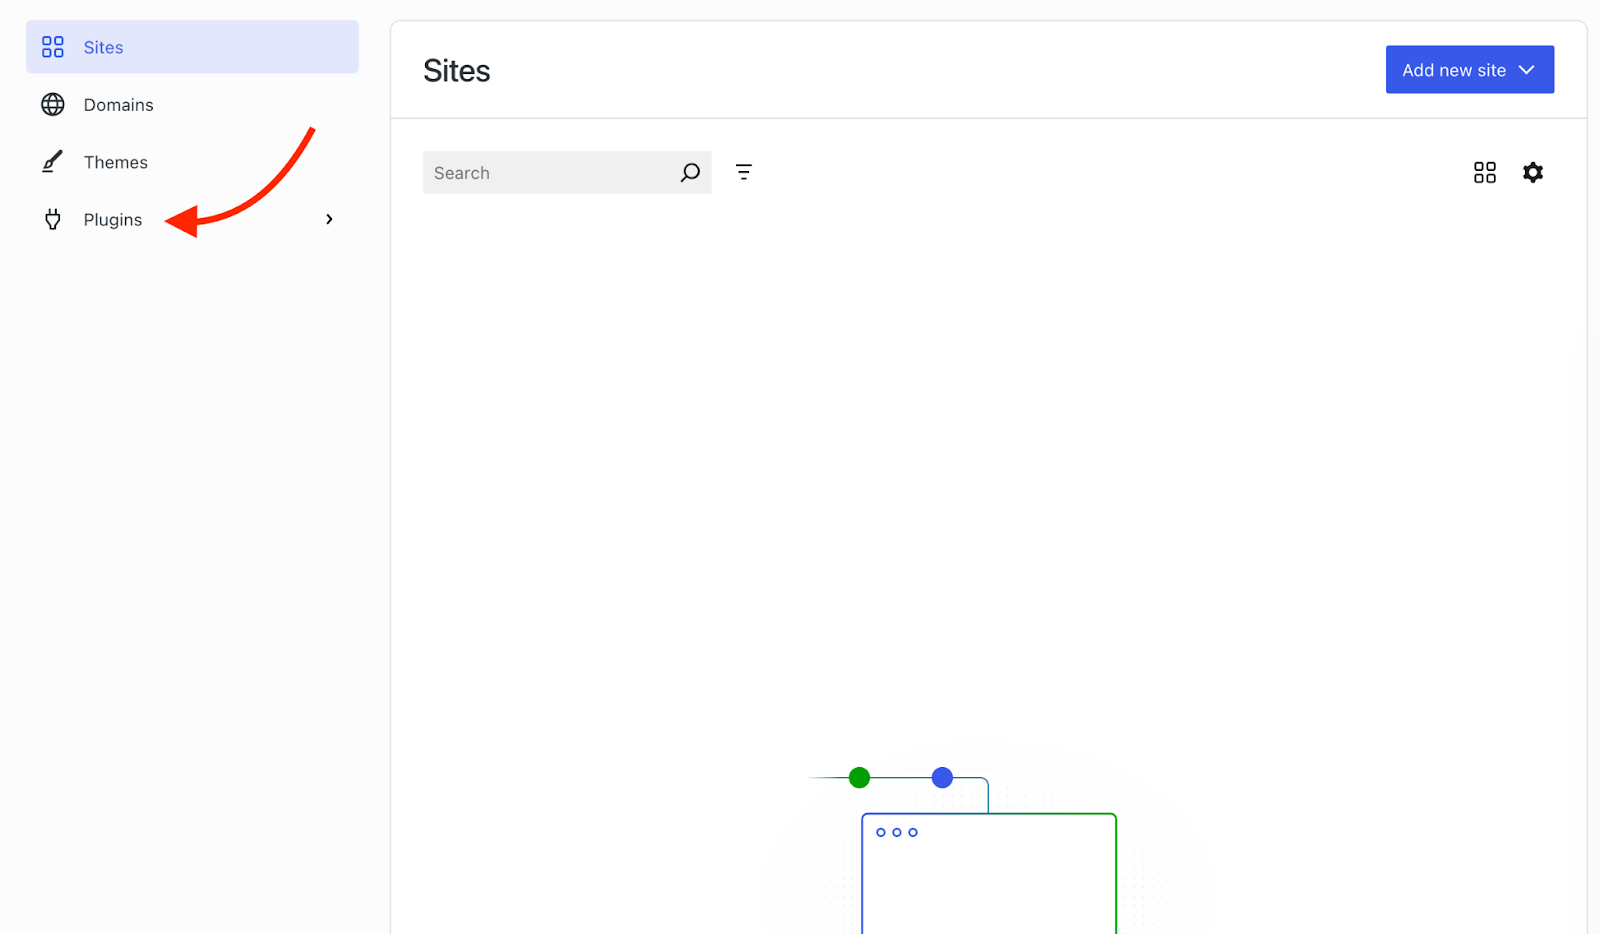
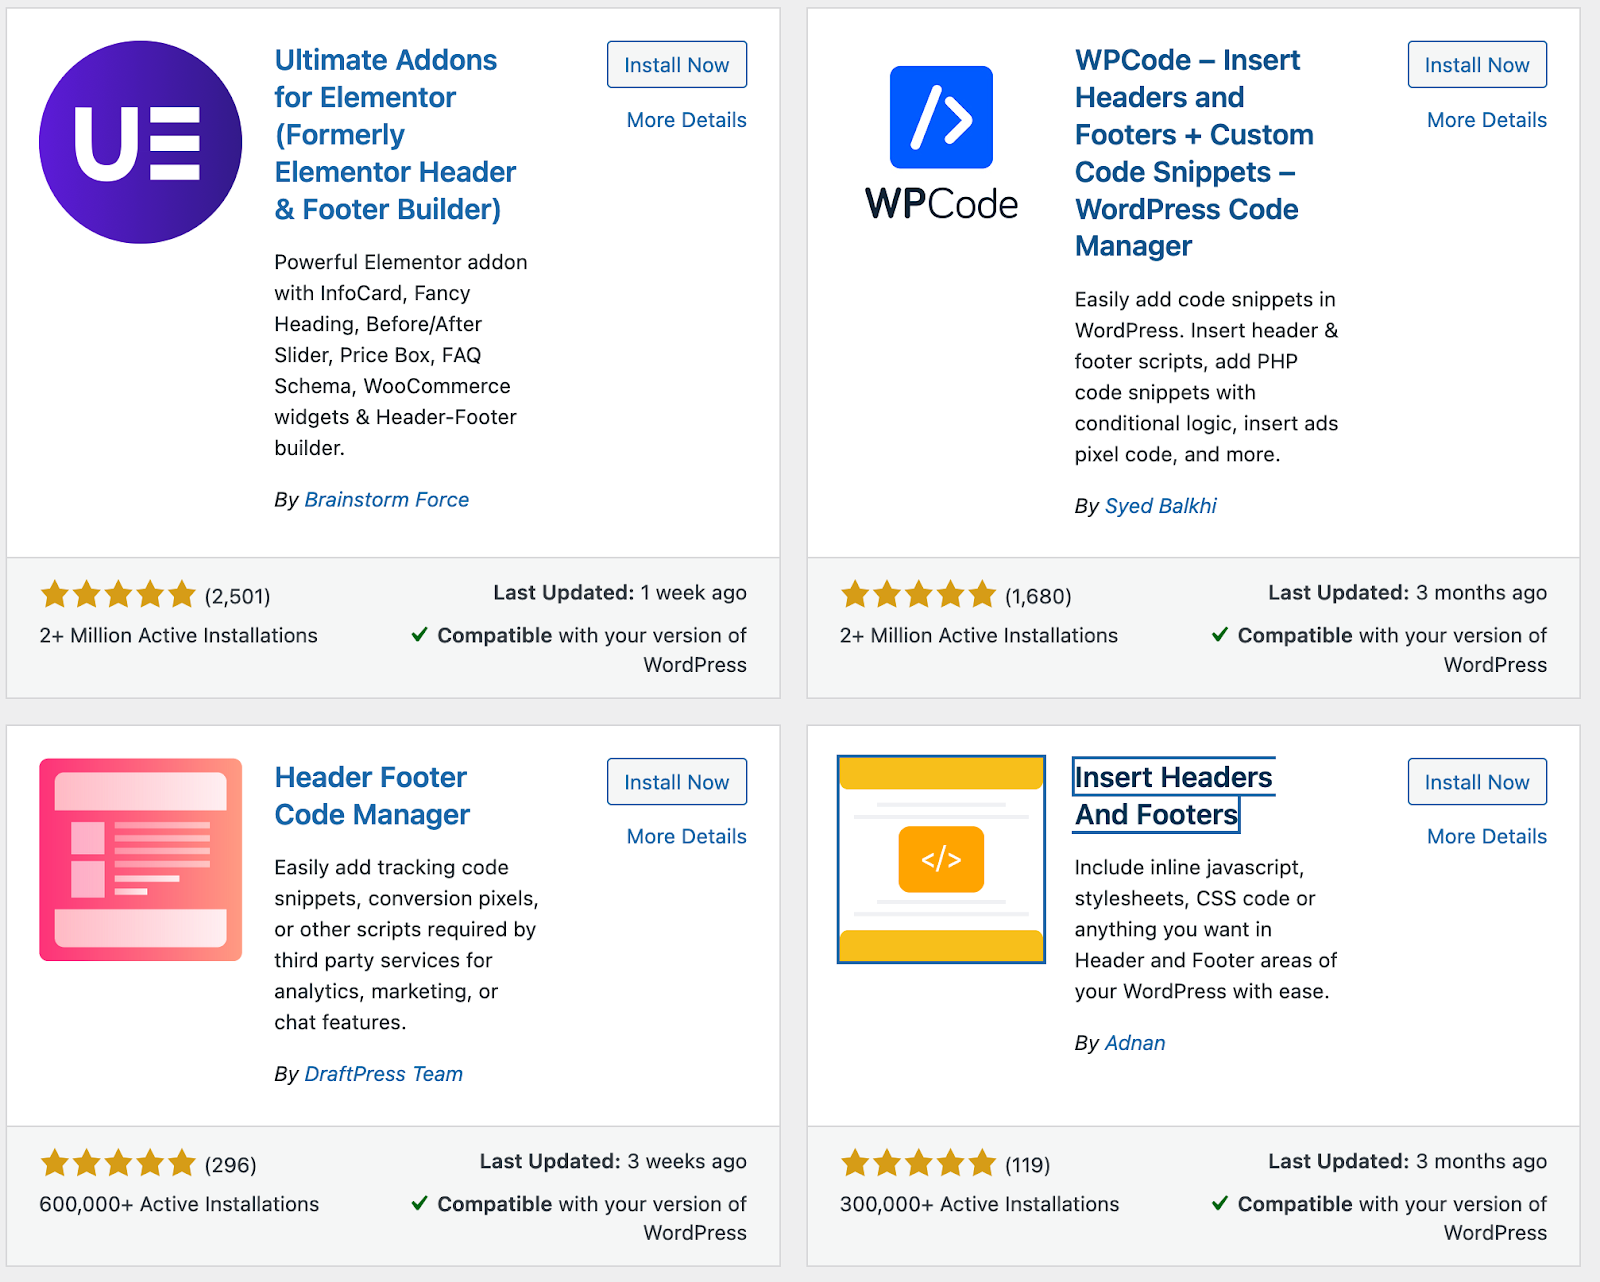
1. Go to your WordPress dashboard and navigate to Plug-ins → Marketplace.
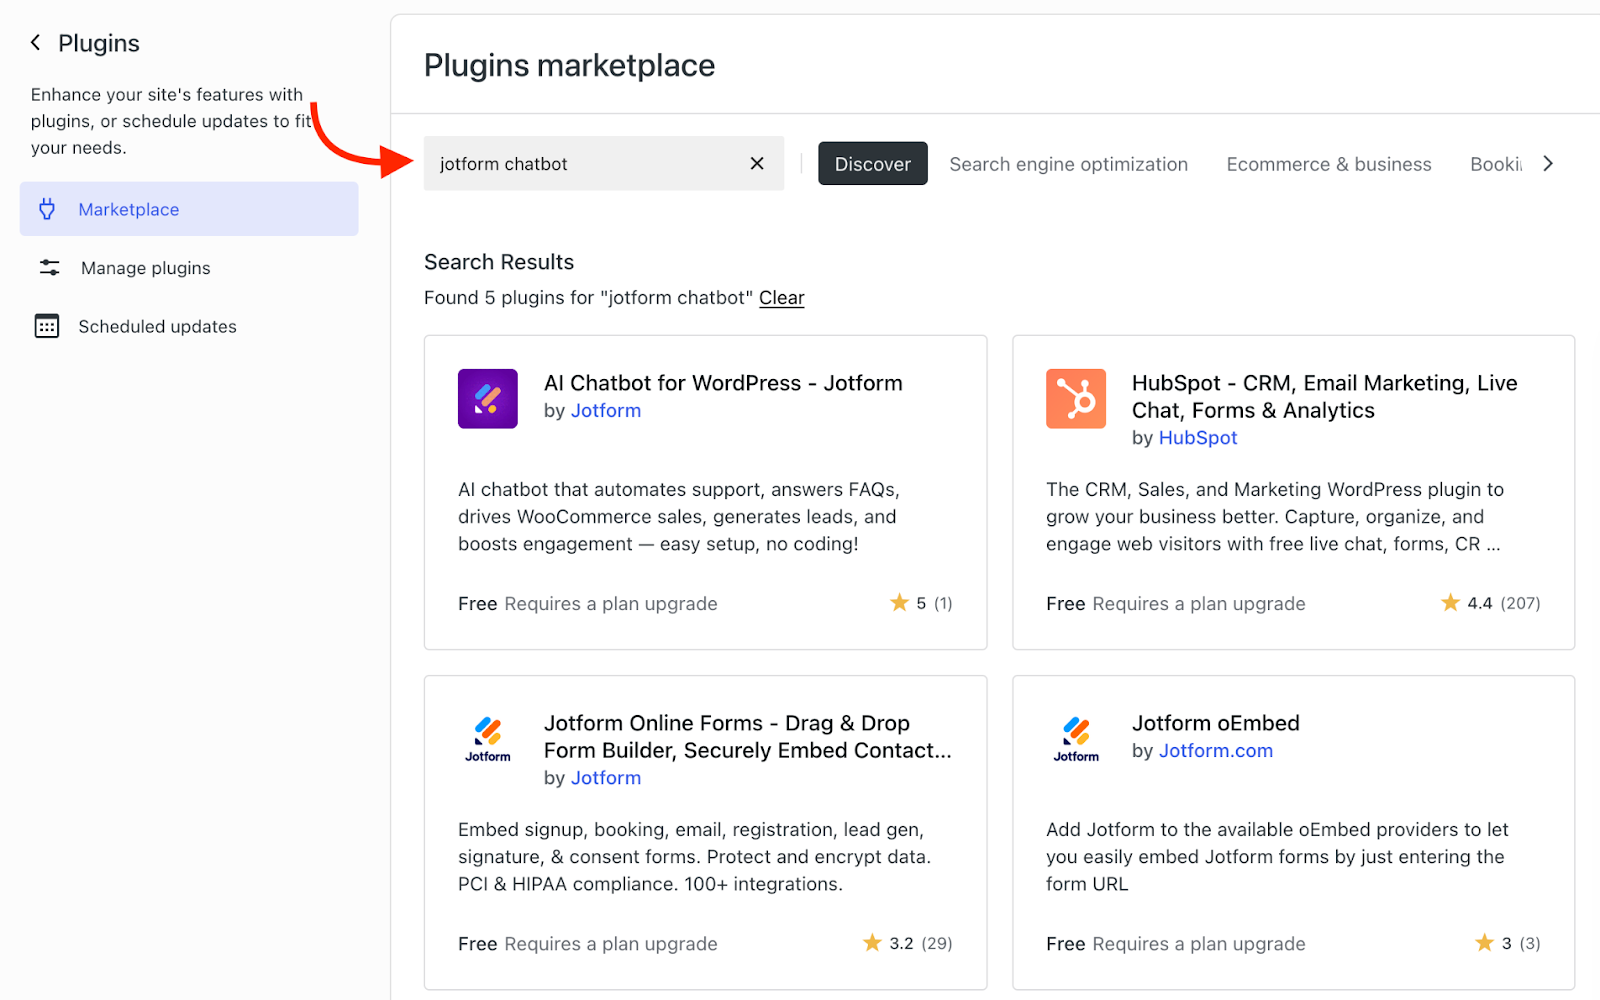
2. Search for “chatbot” or a specific tool such as Jotform AI Chatbot for WordPress, WP-Chatbot, or Tidio.
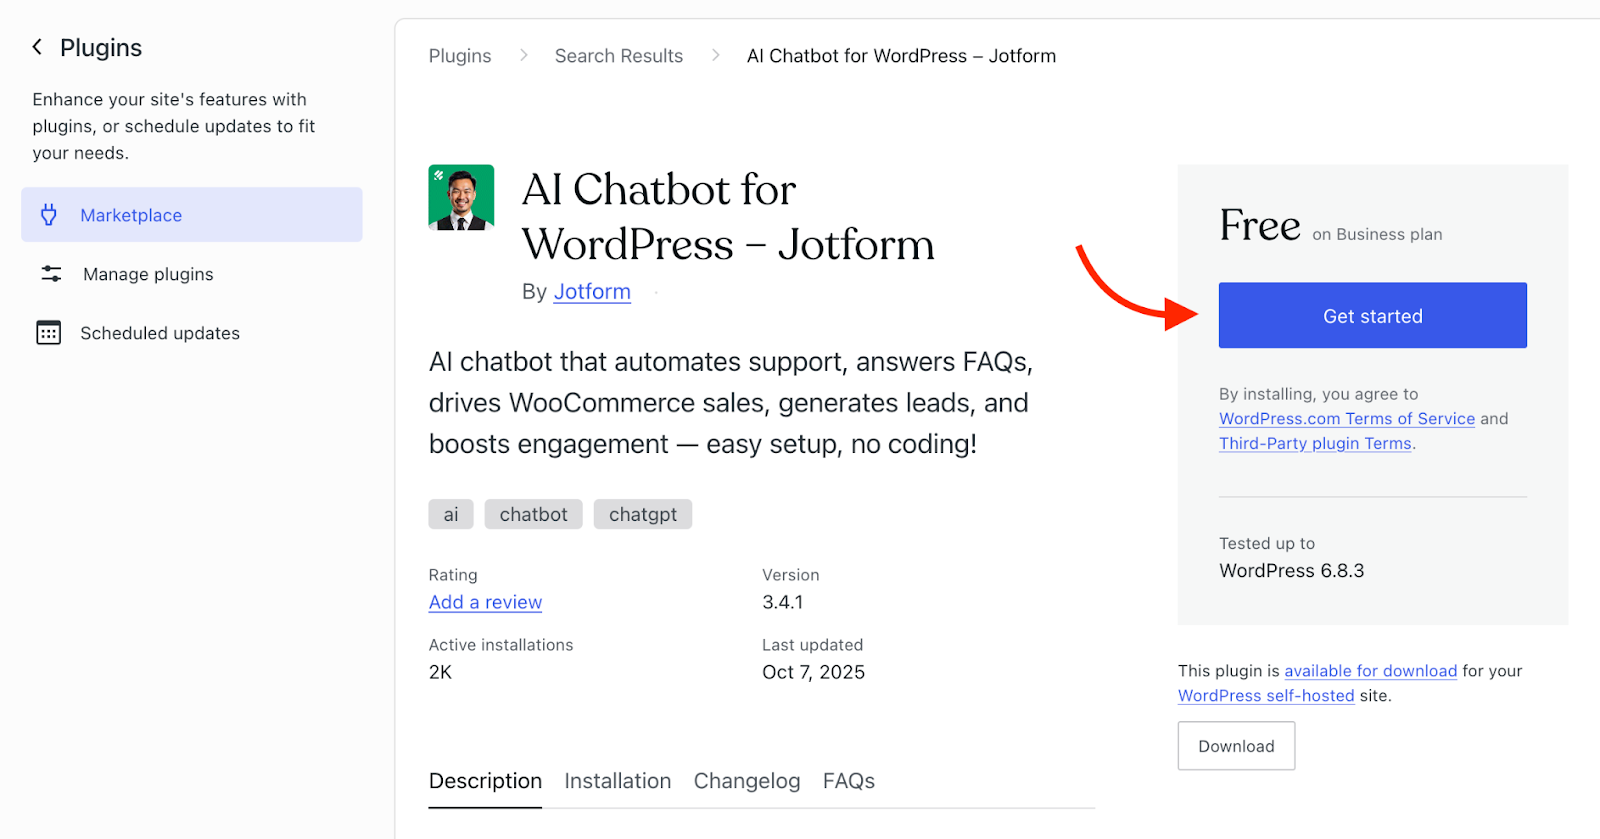
3. Click Get Started to use the plug-in. (Note: Installing the plug-in may differ depending on your hosting provider. We used WordPress.com for this example.)
4. Follow the setup wizard to connect your chatbot, customize your greeting message, and adjust appearance settings.
The Jotform AI Chatbot for WordPress makes this process seamless. Once installed, it automatically syncs with your Jotform account and begins training itself using your site’s content.
Pros
- No-code setup: Install it directly from the WordPress Plugin Directory and connect in minutes.
- WooCommerce support: Answer product questions, track orders, and reduce cart abandonment.
- Auto-training: Allow the chatbot to continuously learn from your website updates, ensuring accurate, up-to-date answers.
- Multilingual responses: Engage users in their preferred language.
Cons
- There is limited customization beyond the plug-in’s built-in options.
- It can add a slight performance load if there are too many active plug-ins.
To see step-by-step instructions, visit our guide on using the Jotform AI Chatbot for WordPress.
Option 2: Embed a chatbot from a third-party platform
If you already use a platform such as Intercom, Drift, or Jotform, you can embed it into your WordPress site using a simple script or iframe. This option is ideal if you manage multiple websites or want to use one chatbot across several platforms.
How to embed with Jotform AI Chatbot Builder
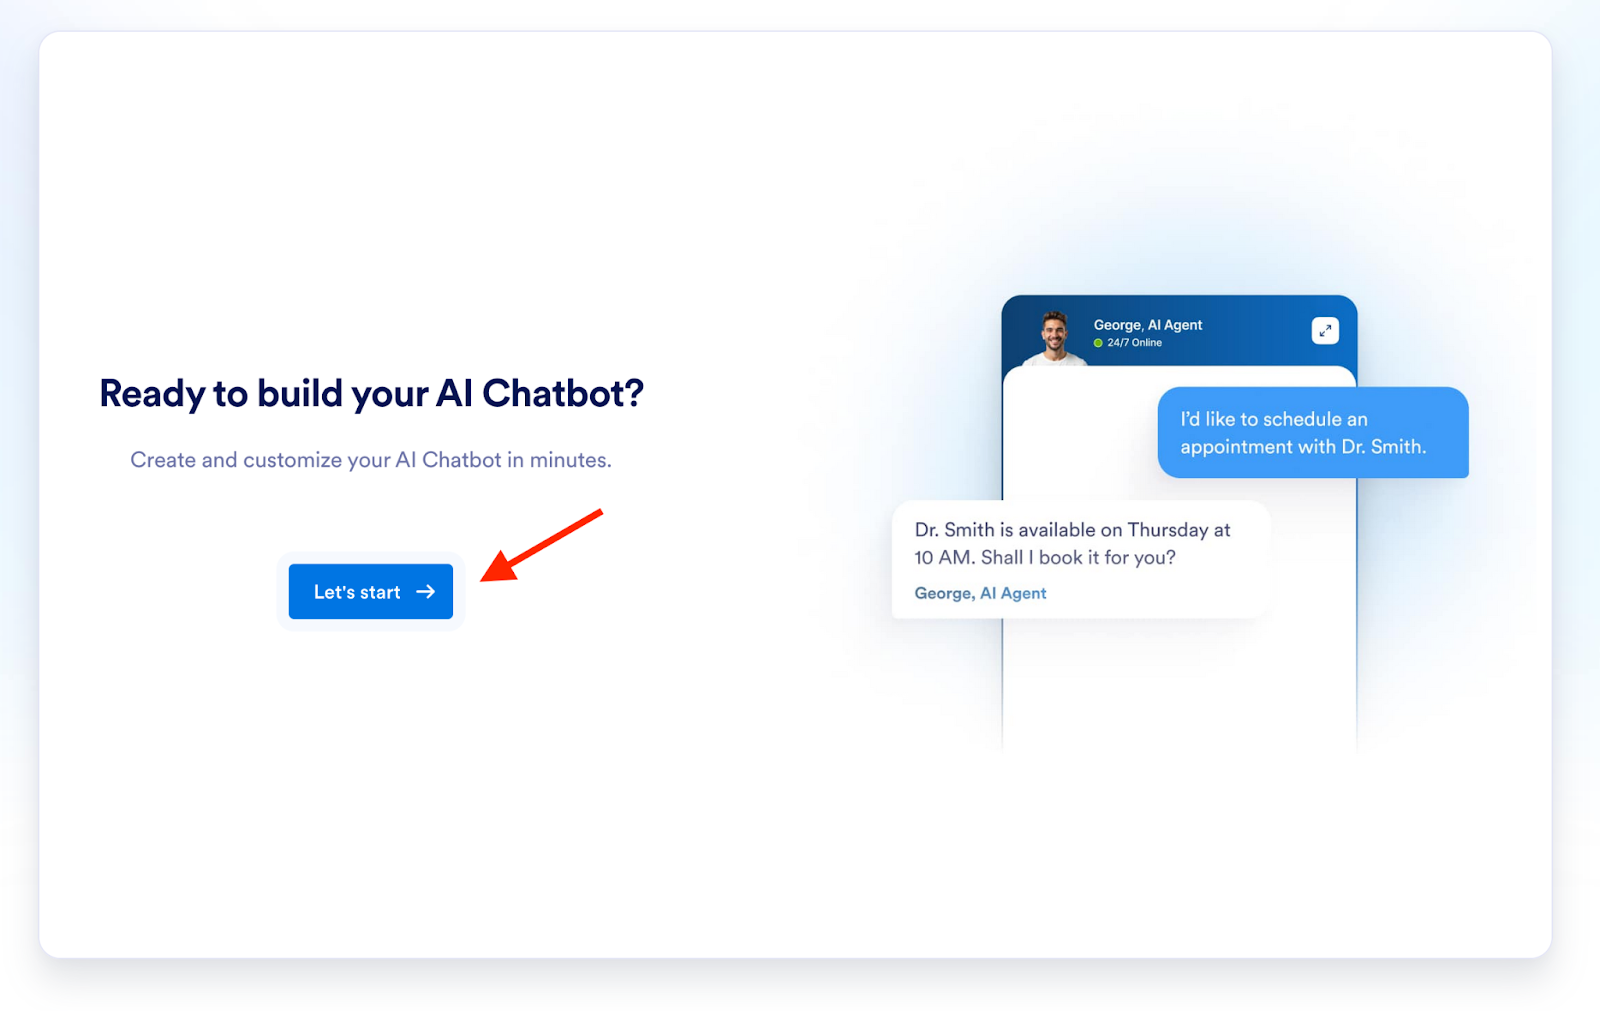
1. Navigate to Jotform’s AI Chatbot Builder webpage. Click Let’s Start on the builder.
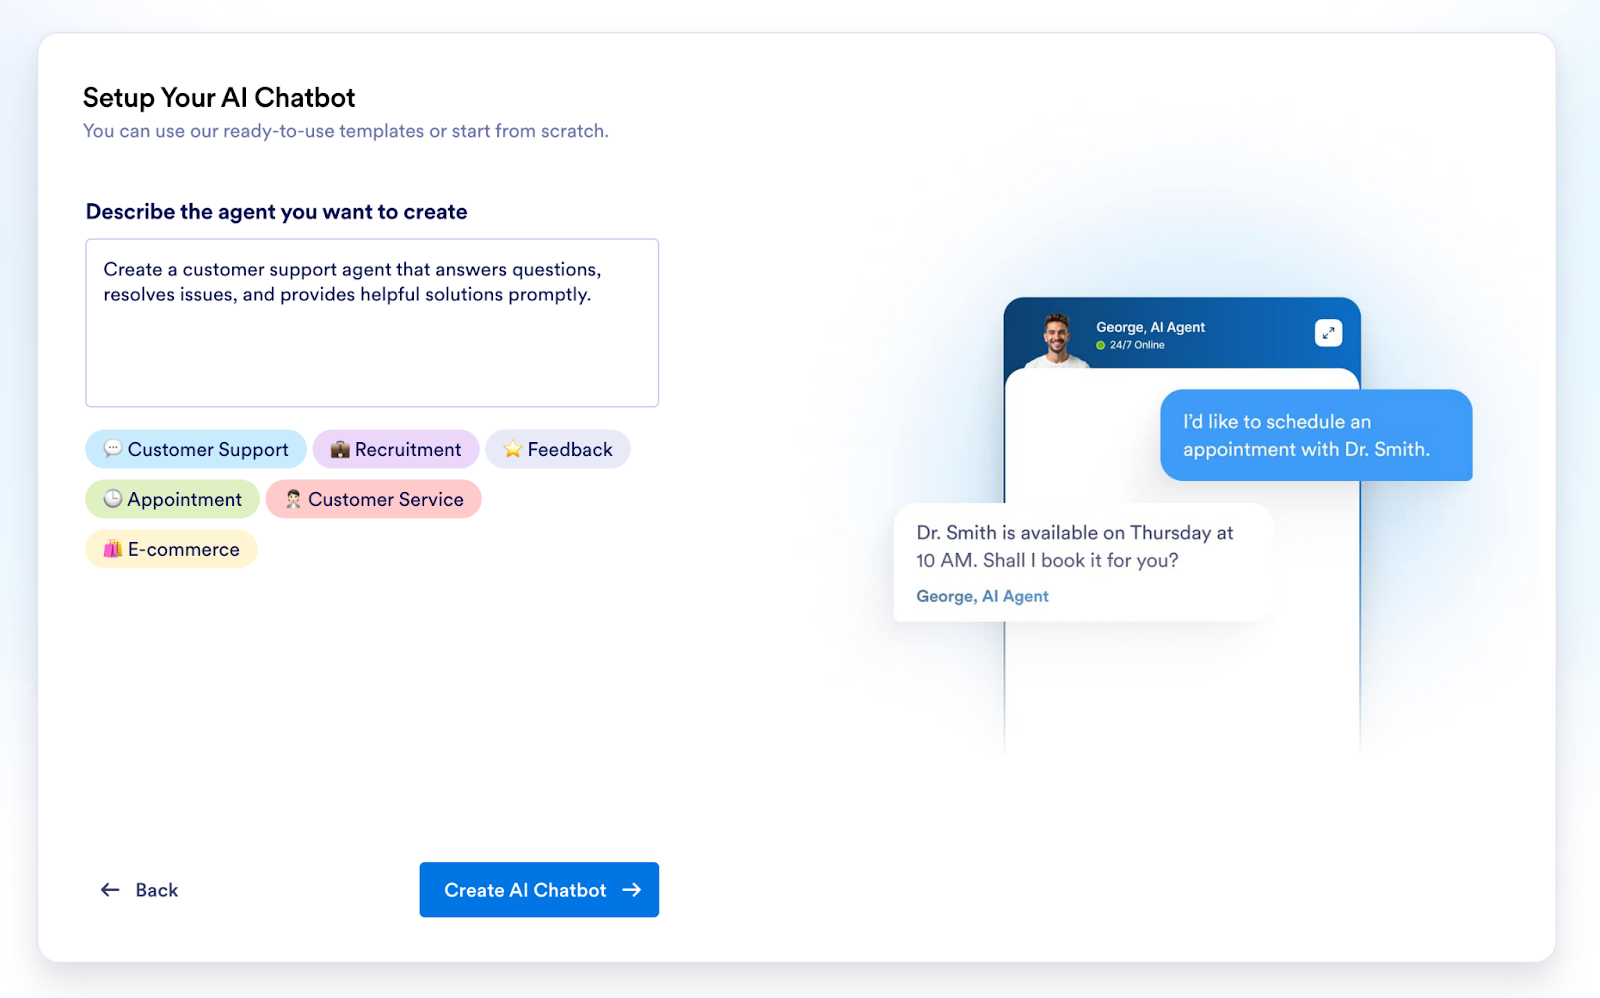
2. Go through the steps to choose what kind of agent you want to create, how it will look and greet visitors, and your AI avatar.
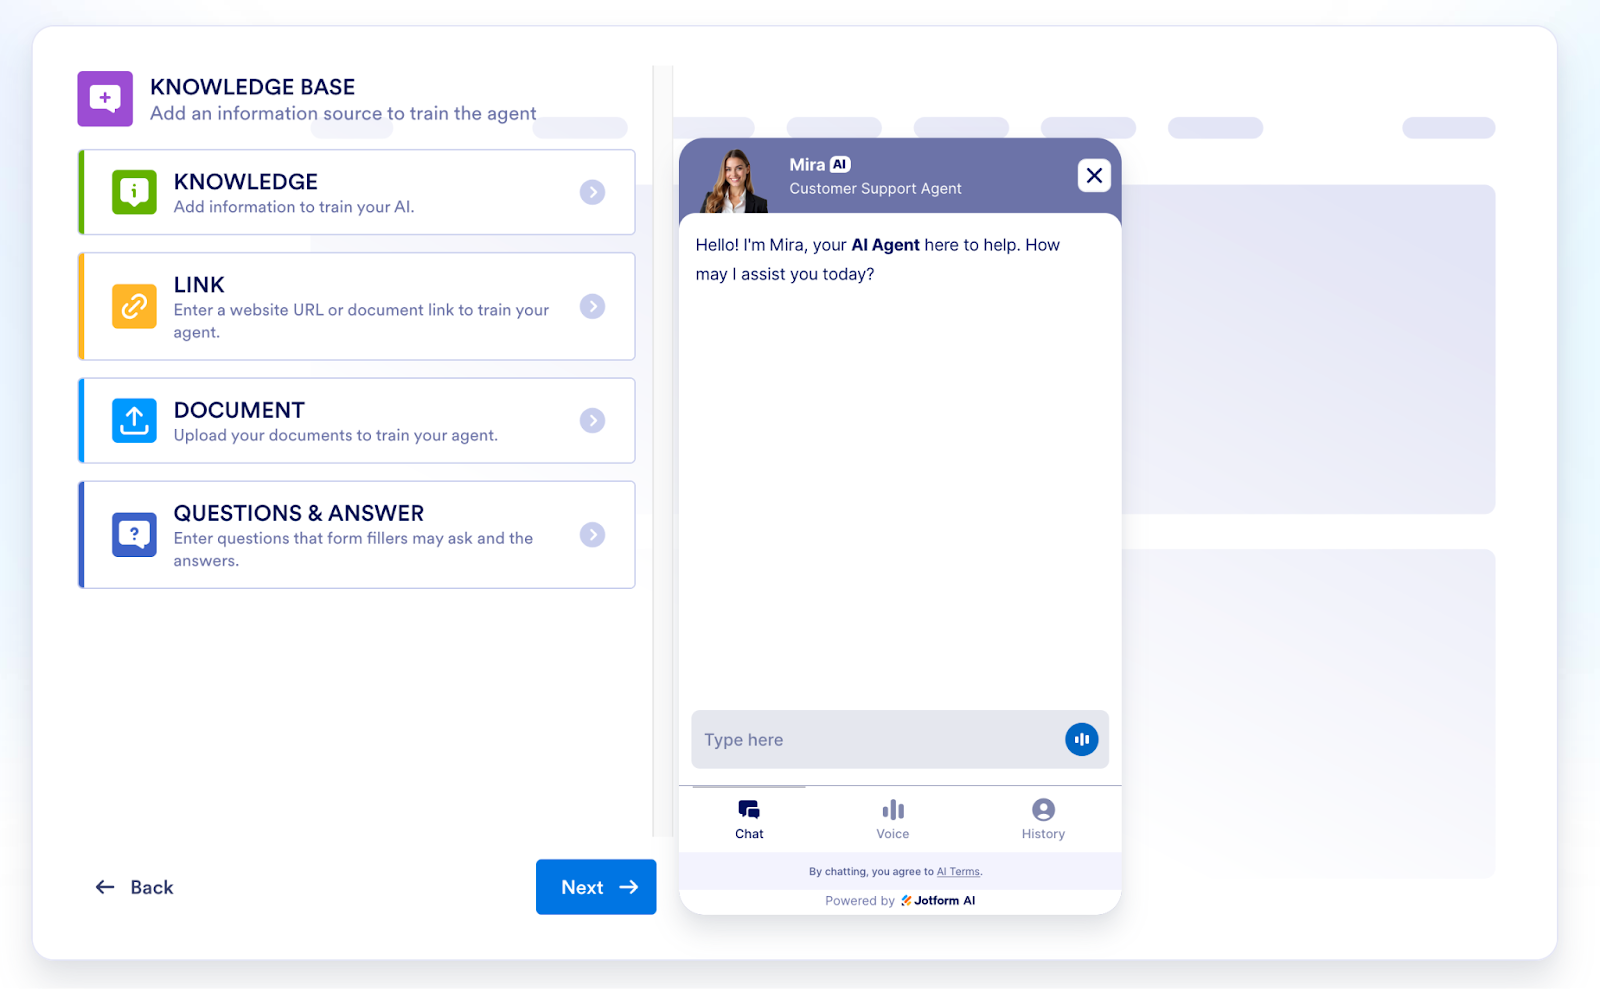
3. You’ll then have the opportunity to train your AI agent by adding information directly, providing documents, or linking to a website. Once you’re done adding your training data, click Next.
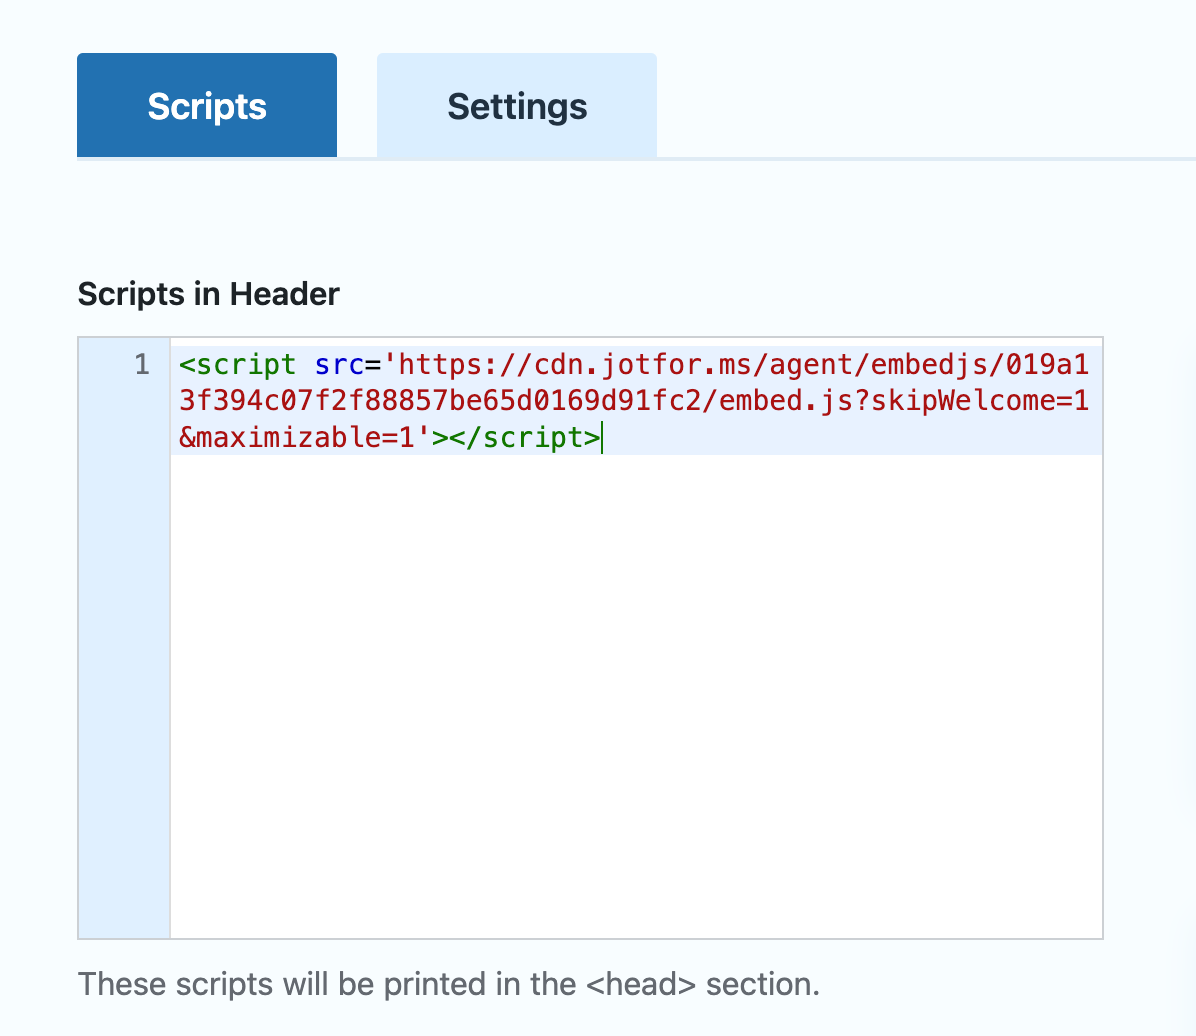
4. You should be on a screen that says “Share Your AI Chatbot.” Click Copy Code.
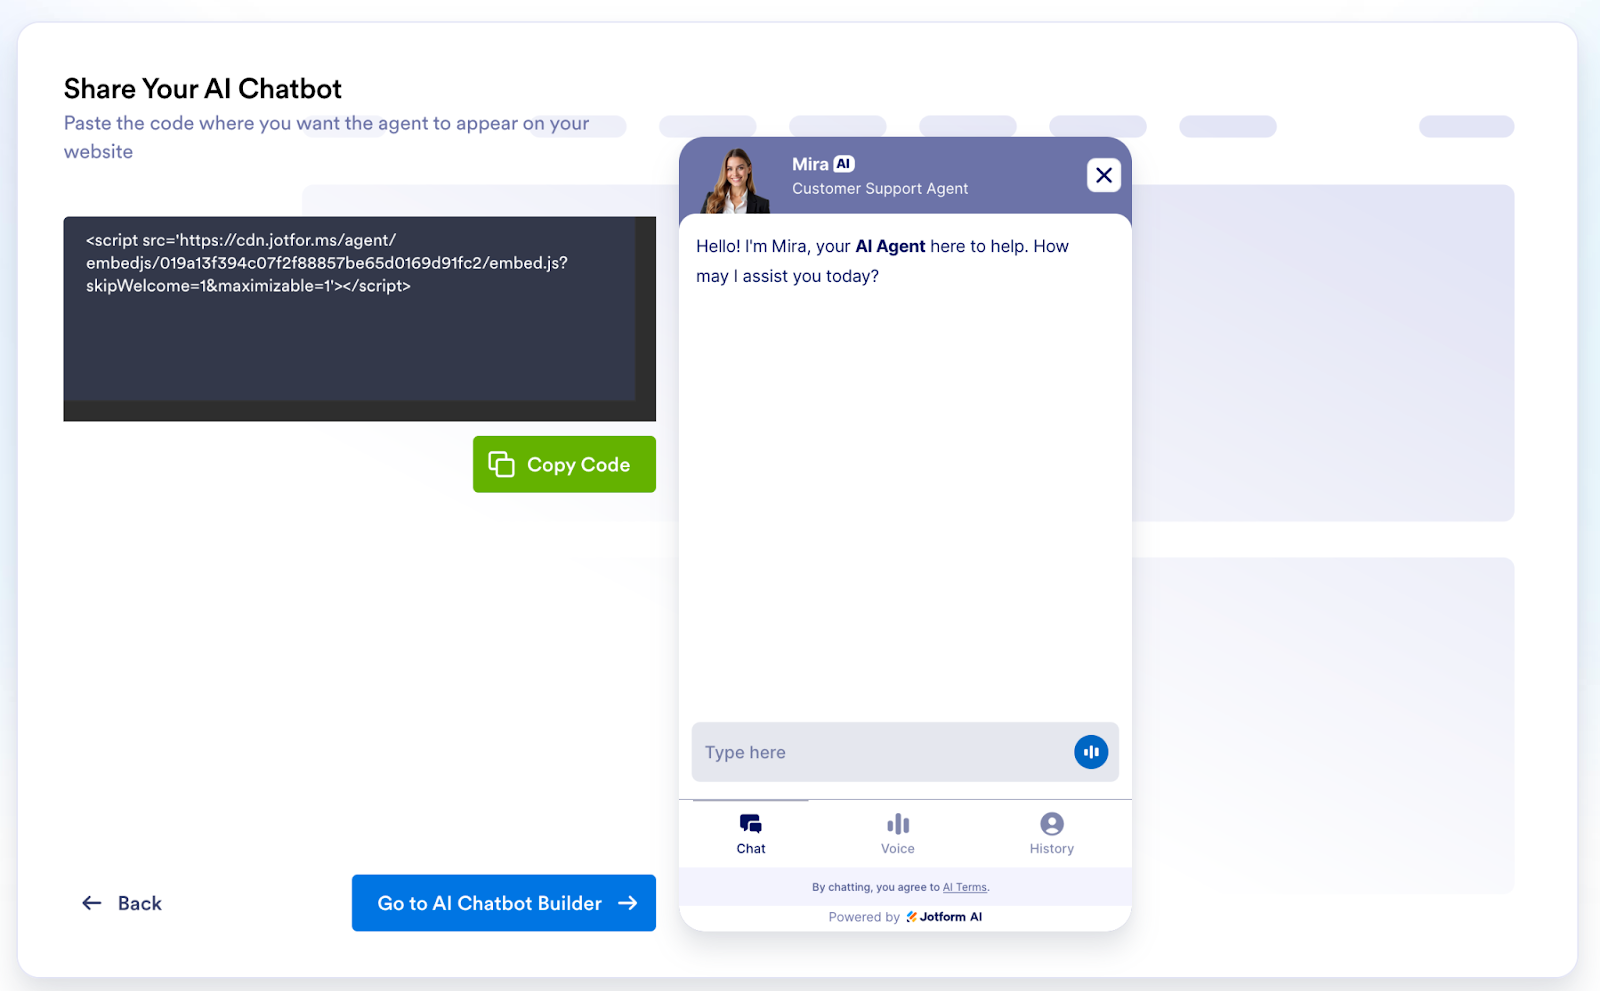
5. Use a header/footer plug-in to paste the code because some WordPress managers limit your access to theme features. Alternatively, in WordPress, go to Appearance → Editor → Theme Header (header.php) and paste the code. However, depending on your WordPress installation, you may have mixed results.
6. Save changes and preview your site to confirm the chatbot appears correctly.
Pros
- Flexible: Use this method with most chatbot platforms.
- Scalable: Deploy a bot across multiple sites or channels.
- Tidy admin: Avoid installing additional plug-ins.
Cons
- This process requires manual setup and updates when scripts change.
- There is limited visibility and control from the WordPress dashboard.
Embedding gives you flexibility, and you can integrate more advanced chatbot platforms without relying on plug-ins.
Option 3: Build a custom AI chatbot for WordPress
For more control, you can build your own chatbot using tools such as the Jotform AI Chatbot Builder, Dialogflow, Microsoft Bot Framework, or OpenAI APIs. This option requires some technical experience but offers deep customization and advanced logic.
How it works
You can use tools like the Jotform AI Chatbot Builder to train a chatbot on your data, customize tone and branding, and embed it into your WordPress pages with a single line of code.
Pros
- AI-driven customization: Train your chatbot using FAQs, policy pages, or form data.
- Form assistance: Guide users through multistep forms to increase completion rates.
- Seamless branding: Match your website’s design with full control over colors, fonts, and tone.
- Embed anywhere: Add the chatbot to landing pages, contact forms, or FAQs using a simple embed snippet.
Cons
- This method requires developer skills or technical setup time.
- You’ll need to perform ongoing maintenance for updates and retraining.
If you want to explore making your own chatbot from scratch, check out how to create a chatbot.
Key features to look for in a WordPress chatbot
Before installing a chatbot, it’s important to know which features truly make a difference for your workflow and your audience:
- AI and automation: Choose a chatbot that understands natural language, learns from user interactions, and updates automatically.
- Integrations: Ensure it connects with tools you already use, such as CRMs, email platforms, and WooCommerce.
- Multilingual support: Reach global audiences by allowing users to chat in their preferred language.
- Live chat handoff: Combine automation with human support when complex questions arise.
- Analytics: Track engagement, common questions, and conversion trends to refine your site.
- Customization: Match the chatbot’s look, tone, and personality to your brand.
A well-equipped chatbot doesn’t just answer questions; it also strengthens your brand, captures insights, and keeps users engaged. Prioritize tools that blend automation with personalization, giving visitors quick answers while helping you streamline support and drive conversions.
Choosing the right chatbot path for your WordPress site
Adding a chatbot to your WordPress site doesn’t have to be complicated. Whether you choose a simple plug-in or a fully customized AI solution, even a basic setup can make your site more responsive, engaging, and efficient.
If you’re new to chatbots, start small. Install a free or low-code plug-in and explore what it can automate for you. As your needs grow, you can expand into advanced AI tools that handle more complex interactions and integrations.
The Jotform AI Chatbot for WordPress offers a flexible, no-code option that scales with you. Why not try enhancing your website visitors’ experience?
FAQs
You can add a chatbot by installing a plug-in, embedding a script from a third-party platform, or connecting a custom AI chatbot via API. The easiest route for most users is to install a plug-in like the Jotform WordPress AI Chatbot, which automatically integrates with your content.
You can connect ChatGPT-powered bots through plug-ins or custom integrations. Some developers use APIs from OpenAI to build conversational experiences within WordPress. If you prefer a no-code approach, tools like the Jotform AI Chatbot Builder offer similar AI functionality with easier setup and full customization options.
To add a basic chatbox, go to Plug-ins → Add New, search for a chatbot plug-in, and install one that fits your needs. Once activated, most plug-ins include an onboarding wizard that helps you customize your chatbox appearance, greeting messages, and behavior on specific pages.
This article is for website operators, content managers, marketing agencies, and anyone who wants to enhance user engagement, streamline customer support, or boost conversions by learning how to add a chatbot to their WordPress website using plugins, third-party tools, or custom AI solutions.


")


Send Comment: