Jotform AI makes it easy to set up conditions on your form without having to configure them manually. Just tell Jotform AI what you need and it will apply the condition logic for you right away.
This saves you from having to go through complicated settings and rules. Whether you want to show or hide a field, require specific inputs, or skip pages based on a user’s answer, Jotform AI handles it all with just a prompt.
The quickest way to set a condition is by simply telling Jotform AI what you need. Here’s what to do:
- On your Workspace page, click Create on the top-left side of the screen.

- Then, at the bottom of the window that opens up, click on Jotform AI.

- Next, in the prompt box at the center of the page, enter your prompt and include the form URL or the name of the form in your account where you want it applied. Here are a few prompts you can try:
- Set a condition on my [Form Name] to show the [Field Name] only if the [Field Name] is filled.
- Hide the [Field Name] on my [Form Name] if the [Field Name] is set to [Value].
- Make the [Field Name] field on my [Form Name] required if the [Field Name] is [Value].

Pro Tip
- For more accurate results, you can also add your form as an asset before typing your prompt. Check out our guide on How to Use Your Existing Jotform Assets in Jotform AI to learn more.
- You can also check out the Prompt Examples When Setting Conditions below for more prompts you can try.
- Now, press Enter on your keyboard or click on the Upward Arrow icon to submit your prompt, and you’re done.

Jotform AI will apply the condition directly to your form and show a preview in the chat. It will also provide a short explanation of what was updated. From there, you can click Share Form to share it right away, Open in Form Builder to make further edits, or type more changes in the Describe what you need field.

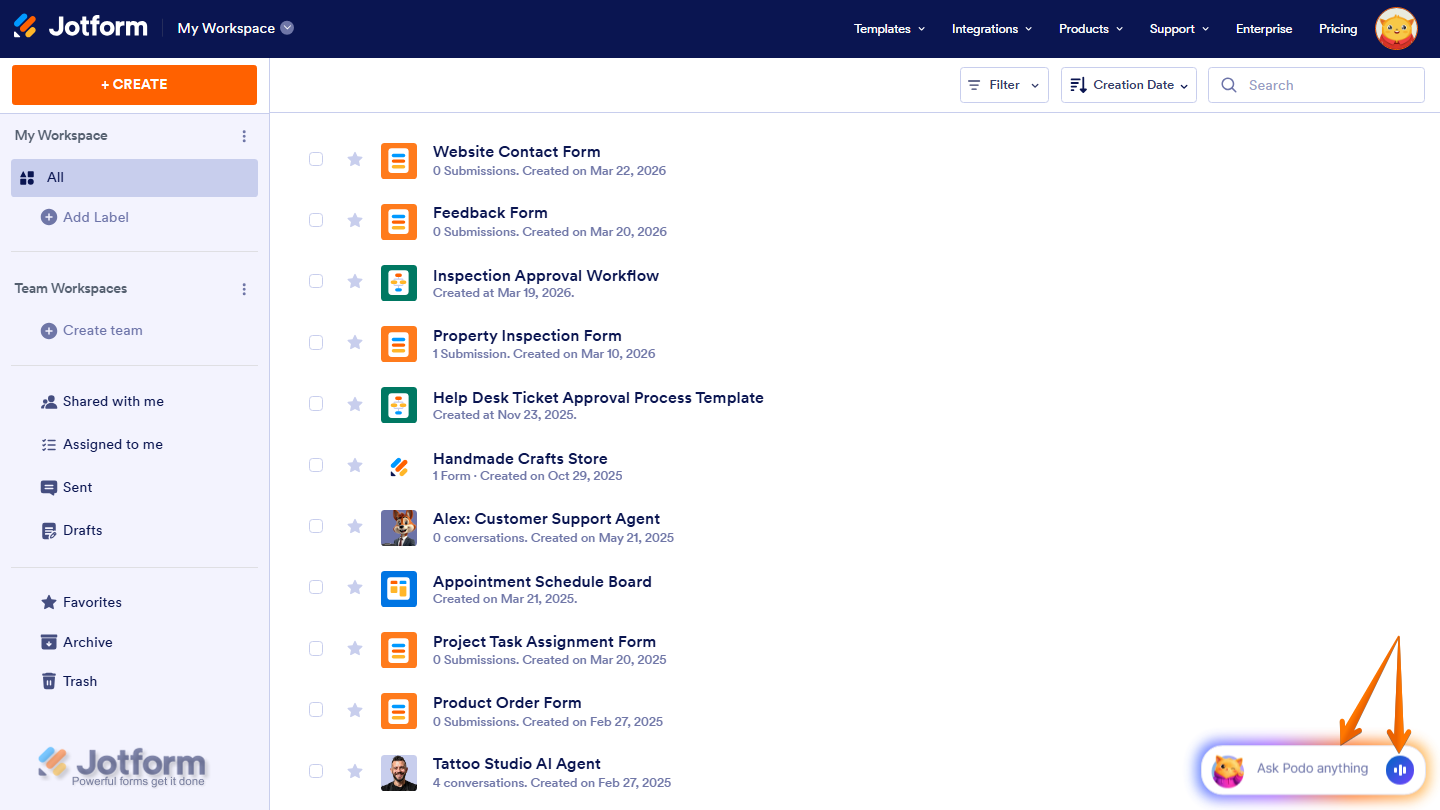
You can also start a conversation with Jotform AI by clicking the Jotform Chatbot in the bottom-right corner of your Workspace page. If you prefer using voice for your prompts, you can click on the Voice button on the right side of the chatbox, then allow your browser to access your device’s microphone.
Prompt Examples When Setting Conditions
Here are more prompts you can try. Feel free to replace the placeholders with your own form name and field names.
Showing or Hiding Fields
- Set a condition on my [Form Name] to show the [Field Name] field only if the [Field Name] is filled.
- Hide the [Field Name] on my [Form Name] if the [Field Name] is set to [Value].
- Show the [Field Name] field on my [Form Name] only if the [Field Name] is marked as [Value].
Requiring or Disabling Fields
- Make the [Field Name] field on my [Form Name] required if the [Field Name] is [Value].
- Disable the [Field Name] field on my [Form Name] if the [Field Name] is set to [Value].
- Make the [Field Name] field on my [Form Name] optional if [condition].
Updating or Calculating Fields
- Automatically fill in the [Field Name] field on my [Form Name] based on the [Field Name] selected.”
- Copy the value of the [Field Name] field to the [Field Name] field on my [Form Name].
- Calculate the [Field Name] on my [Form Name] based on the [Field Name] entered.
Skipping or Hiding Pages
- Skip to the [Page Name] page on my [Form Name] if the [Field Name] is [Value].
- Hide the [Page Name] page on my [Form Name] if the [Field Name] is [Value].
- Show the [Page Name] page on my [Form Name] only if the [Field Name] is [Value].
Updating the Thank You Page
- Show a custom Thank You message on my [Form Name] if the [Field Name] is [Value].
- Redirect the user to a different Thank You page on my [Form Name] if the [Field Name] is [Value].
- Show a follow-up message on the Thank You page of my [Form Name] if the [Field Name] is above [Value].


Send Comment: