Real estate agents are continuing to adapt to evolving market trends, with many embracing virtual tours as a powerful tool to connect with buyers and streamline the home-buying process.
Virtual tours have proven to be more than just a temporary solution; they are now an integral part of the real estate experience. Even before remote-friendly approaches gained traction, a Zillow survey revealed that 79 percent of buyers shop for homes online, and one-third reported that virtual tours were extremely or very important to their home-buying journey.


As online sales take center stage for a new generation of home buyers, so will the need for virtual tours. In this article, learn how to create virtual tours for real estate that are just as effective as in-person showings.
How to create a virtual tour for real estate
- Choose your equipment
- Plan your shoot
- Set the scene
- Take photos
- Create and share your virtual tour
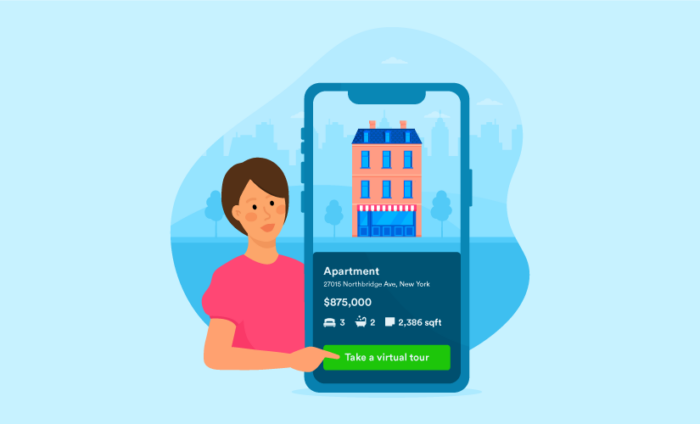
A virtual tour allows buyers to view a home for sale digitally with an interactive 3D virtual walkthrough.
Virtual tours vary in the level of detail, interactivity, and complexity they offer, but they typically involve taking still photos and/or video, and using proprietary software to transform those images into a 360-degree interactive experience. (For the online buyer, it’s like using Street View in Google Maps but inside a home.)
Here’s how to create your own virtual tour of a property for sale.
1. Choose your equipment
To create a virtual tour, you need a camera and software. The most realistic images will come from a 360-degree camera such as the Ricoh Theta V, Ricoh Theta Z1, or the Insta360 ONEX. However, you can also use a DSLR camera or even your smartphone.
You also need software that can combine your photos into the final product: a 3D immersive digital experience.
Matterport is the leading software for creating 3D virtual tours, offering a cloud-based platform with plans ranging from $9.99 to $309 per month. If you’re using a 360-degree camera, you can upload your images directly to Matterport; for DSLR camera and smartphone images, you’ll need to use the Matterport app on iPhone.
There are a number of other virtual tour software options, such as EyeSpy360, VPiX, Kuula, My360, Roundme, and more. For a free and easy option, the Zillow 3D Home app allows agents to create virtual tours from their smartphones (or a Ricoh Theta camera) for free.
2. Plan your shoot
Before your shoot, make a list of everything you want to include in your virtual tour. This includes a list of rooms and areas inside the home, as well as any outdoor features such as the front yard or building entrance, backyard, natural features like a trail or pond, and any community amenities. Your list should include the most visually attractive aspects of the property.
Next, determine the path that a person walking through the home would naturally take, and try to mimic that with the tour. Consider any details they’d want to take a closer look at, and incorporate those as appropriate.
Finally, walk through the property and identify the best locations to set up various camera shots. Test different angles and heights to see how they affect lighting, and which vantage points best show off the home. Make note of these locations either with a simple list or by marking them on a floor plan or on the floor with tape.
Keep in mind how the time of day impacts the lighting to make sure you shoot during optimal hours.
3. Set the scene
Prepare the home. Prepare for your shoot as you would for an actual showing. Make sure you’ve already completed all pre-listing updates such as cleaning, repairs, landscaping, and painting. Finish staging with new decor and furnishings to make the space look livable and welcoming so buyers can easily imagine themselves there.
Be sure the home is neat and decluttered, with all high-value features easily visible, and move any overflow items offsite to ensure as clean a view as possible for the shoot. The clearer the view, the better the final tour will look.
Right before the shoot, do a quick sweep of the property. Hide any unnecessary items such as cleaning supplies, appliance cables, or trash cans; open all interior doors to avoid interruptions in room-to-room navigation; and open the blinds to maximize natural light.
Prepare the camera. For best results, use a tripod. (If you’re using a smartphone camera, make sure the tripod has a rotating head and phone mount.) To ensure images are uniform, check that your tripod is level. If your tripod doesn’t have a built-in level, purchase a pocket level and adjust the legs until the bubble is centered between the level lines.
Wipe the camera lens, and start with some test shots to confirm the camera is functioning properly.
4. Take photos
With the home and the camera ready, it’s time to shoot. Here are some tips for taking photos:
- Follow the plan you set earlier, keeping some distance from any objects and staying in the middle of the room.
- Move the camera slowly and steadily, and minimize camera tilt, as this can distort certain images such as vertical lines.
- Stay aware of and avoid any reflections, mirrors, shadows on the floor, and silhouettes on windows or reflective surfaces, as these will detract from the professionalism of the final product.
- Reshoot any areas where the camera isn’t steady or transitions between rooms appear choppy.
5. Create and share your virtual tour
No matter how careful you are, your photos will likely need some touching up. Use photo-editing software to tone down overly bright areas, balance colors, and cut out any mistakes.
Then, upload the photos to your chosen software to create the virtual tour. Depending on the software you use, you may have the option to add clickable areas, music, or text.
With your finished product ready, your software will provide a link or embed code so you can publish the tour on the internet. Make sure to gather information from interested potential buyers by having them fill out an online form before they view the virtual tour.
Jotform features free templates especially for real estate businesses, including lead forms, buyer qualification forms, and booking forms to schedule an appointment for personalized video tour or an in-person showing.


Send Comment:
1 Comment:
May 26, 2021
Thank you to provide such a good information. It is true, real estate is a constantly evolving and growing industry. Google virtual tour helps visitor to get actual visual of property and turns them into buyers. I really like your blog and accepting more in future.