Auto-Delete Submissions feature helps you manage form data more efficiently by automatically removing submissions after a set period of time. It offers the same functionality as the Auto-Delete Submissions app, but now it’s directly within your account with an enhanced interface and added options. This makes it easier to streamline your workflow, reduce manual cleanup, and maintain control over how long submission data is stored.
Setting Up Auto-Delete Submissions for Individual Forms
You can set up Auto-Delete Submission for individual forms in a few simple steps. Here’s what to do:
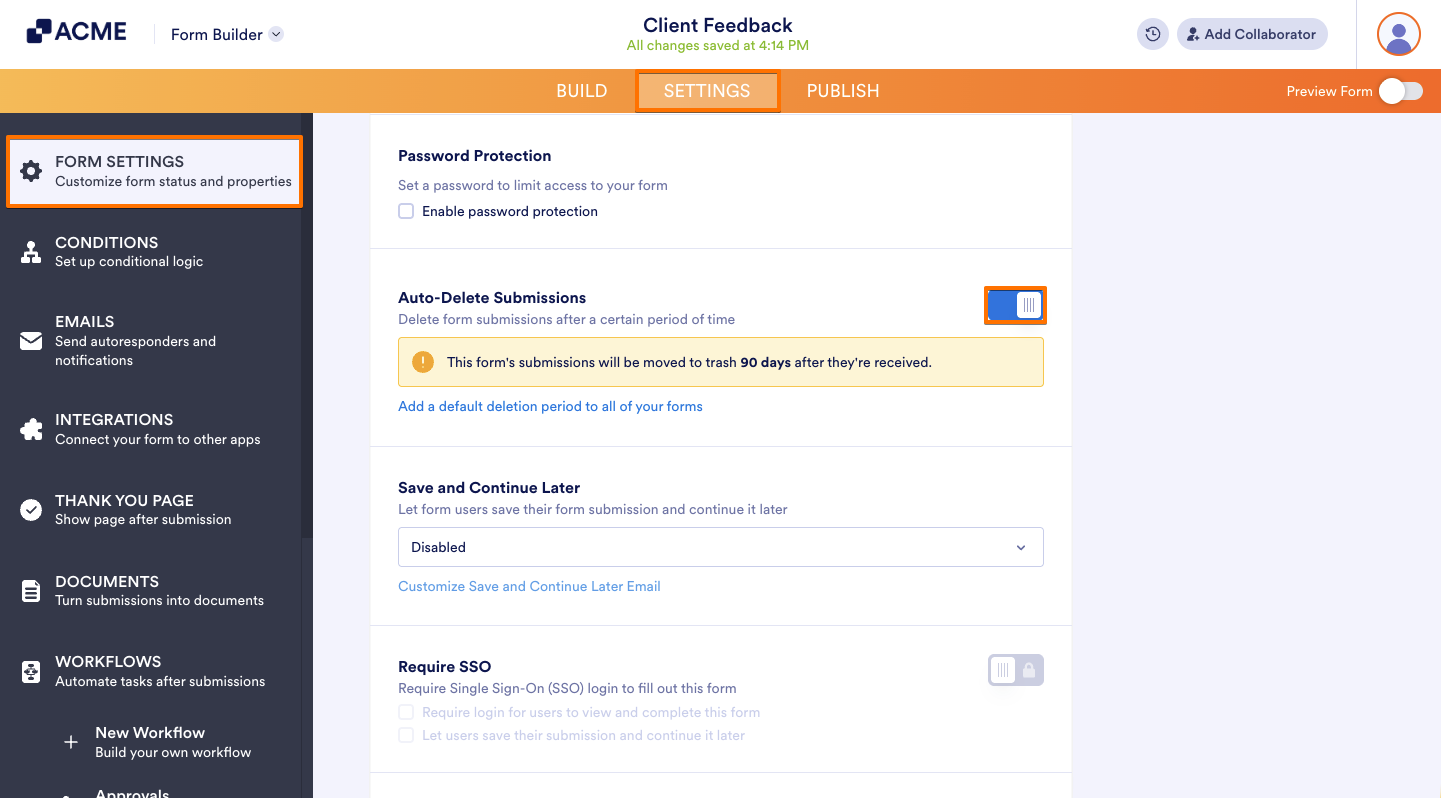
- In Form Builder, in the orange navigation bar at the top of the page, click on Settings.
- Then, click on Show More Options at the bottom.
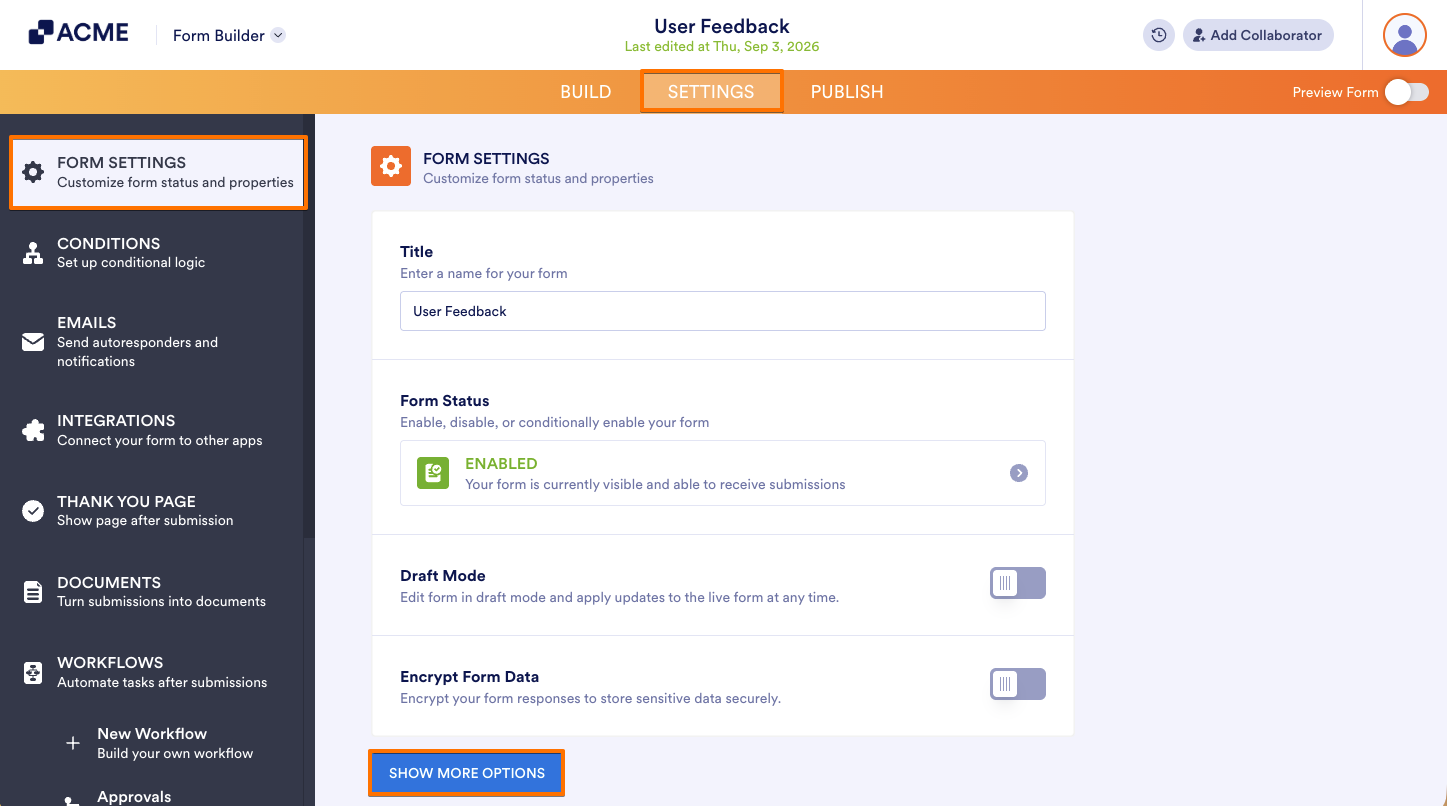
- Next, scroll down to the Auto Delete Submissions section, and toggle on the button next to it.
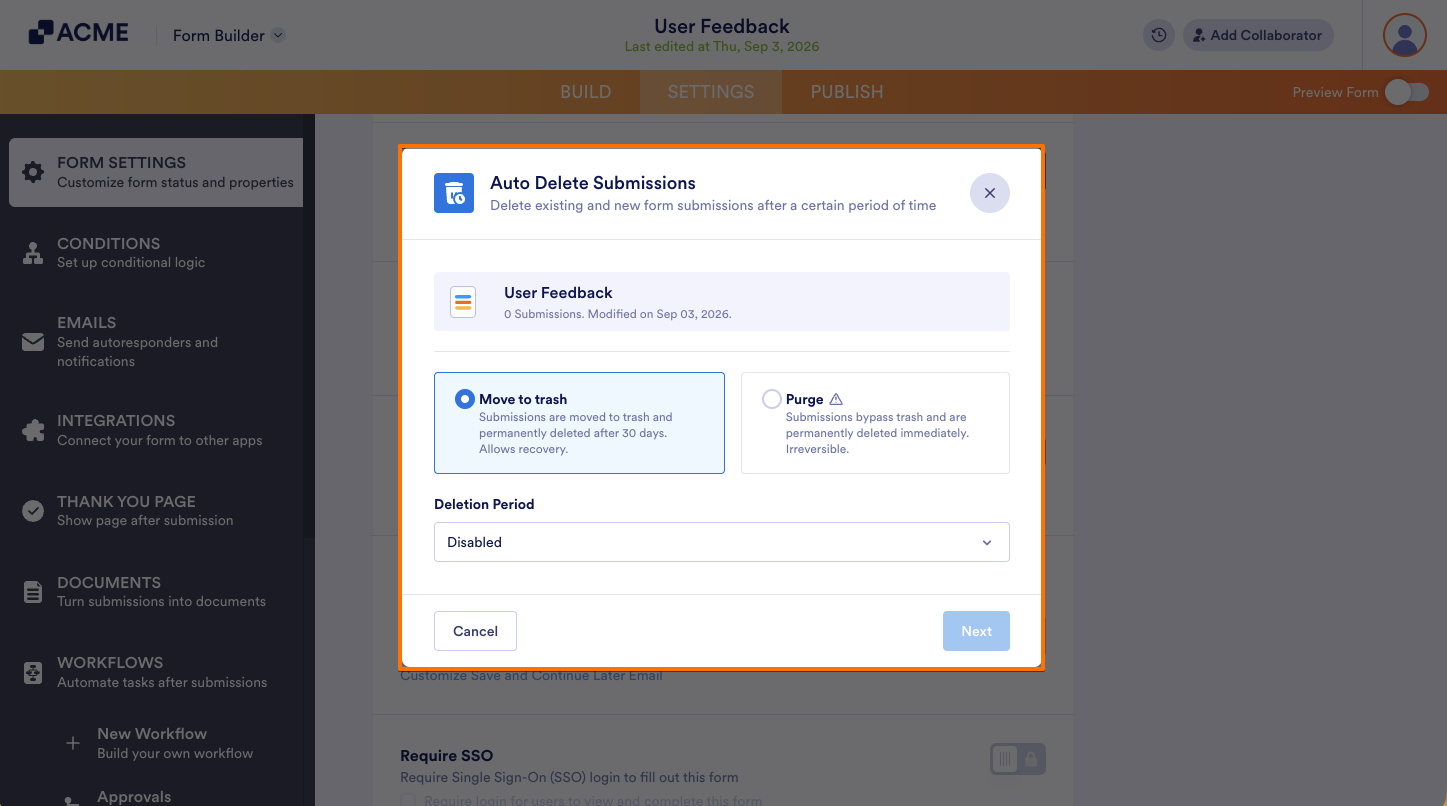
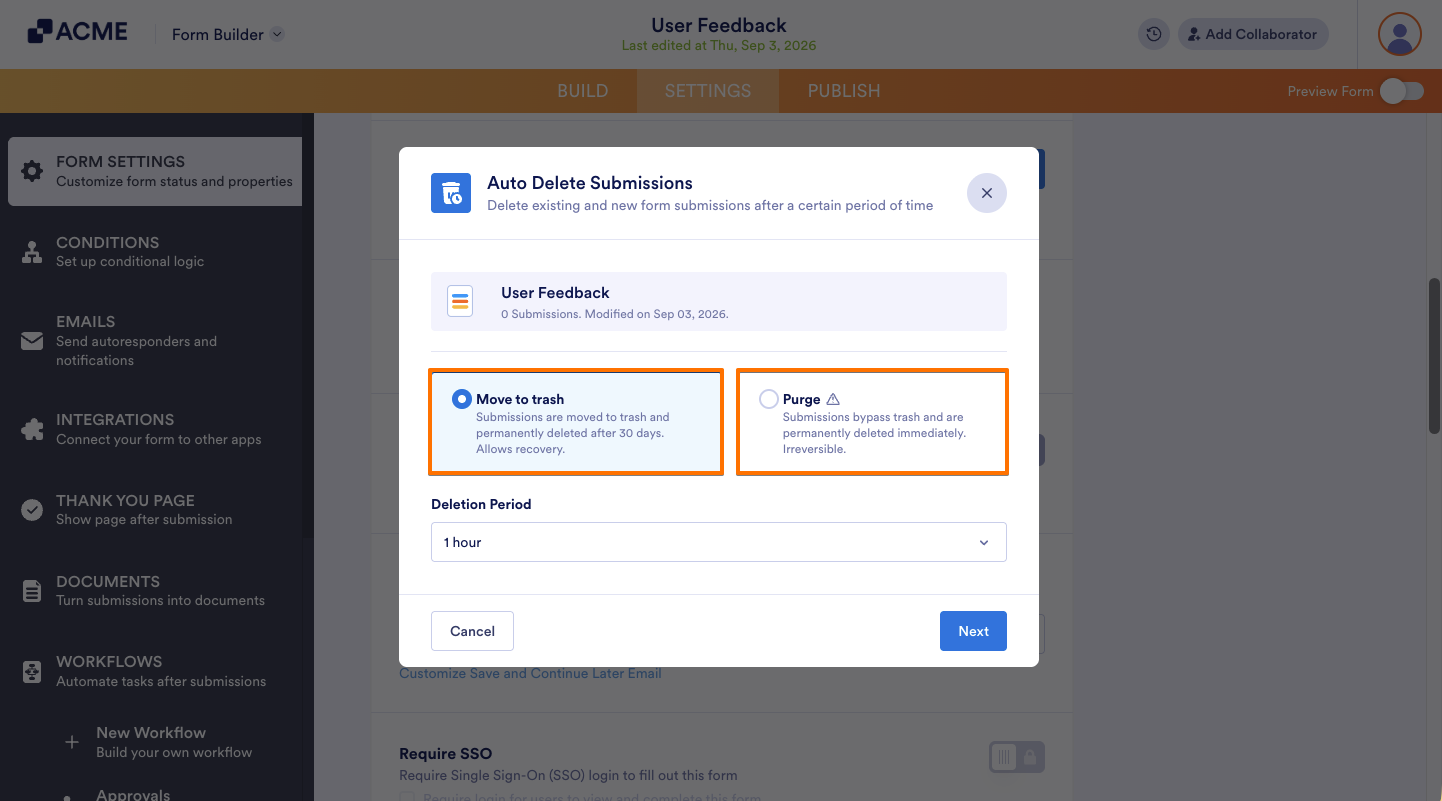
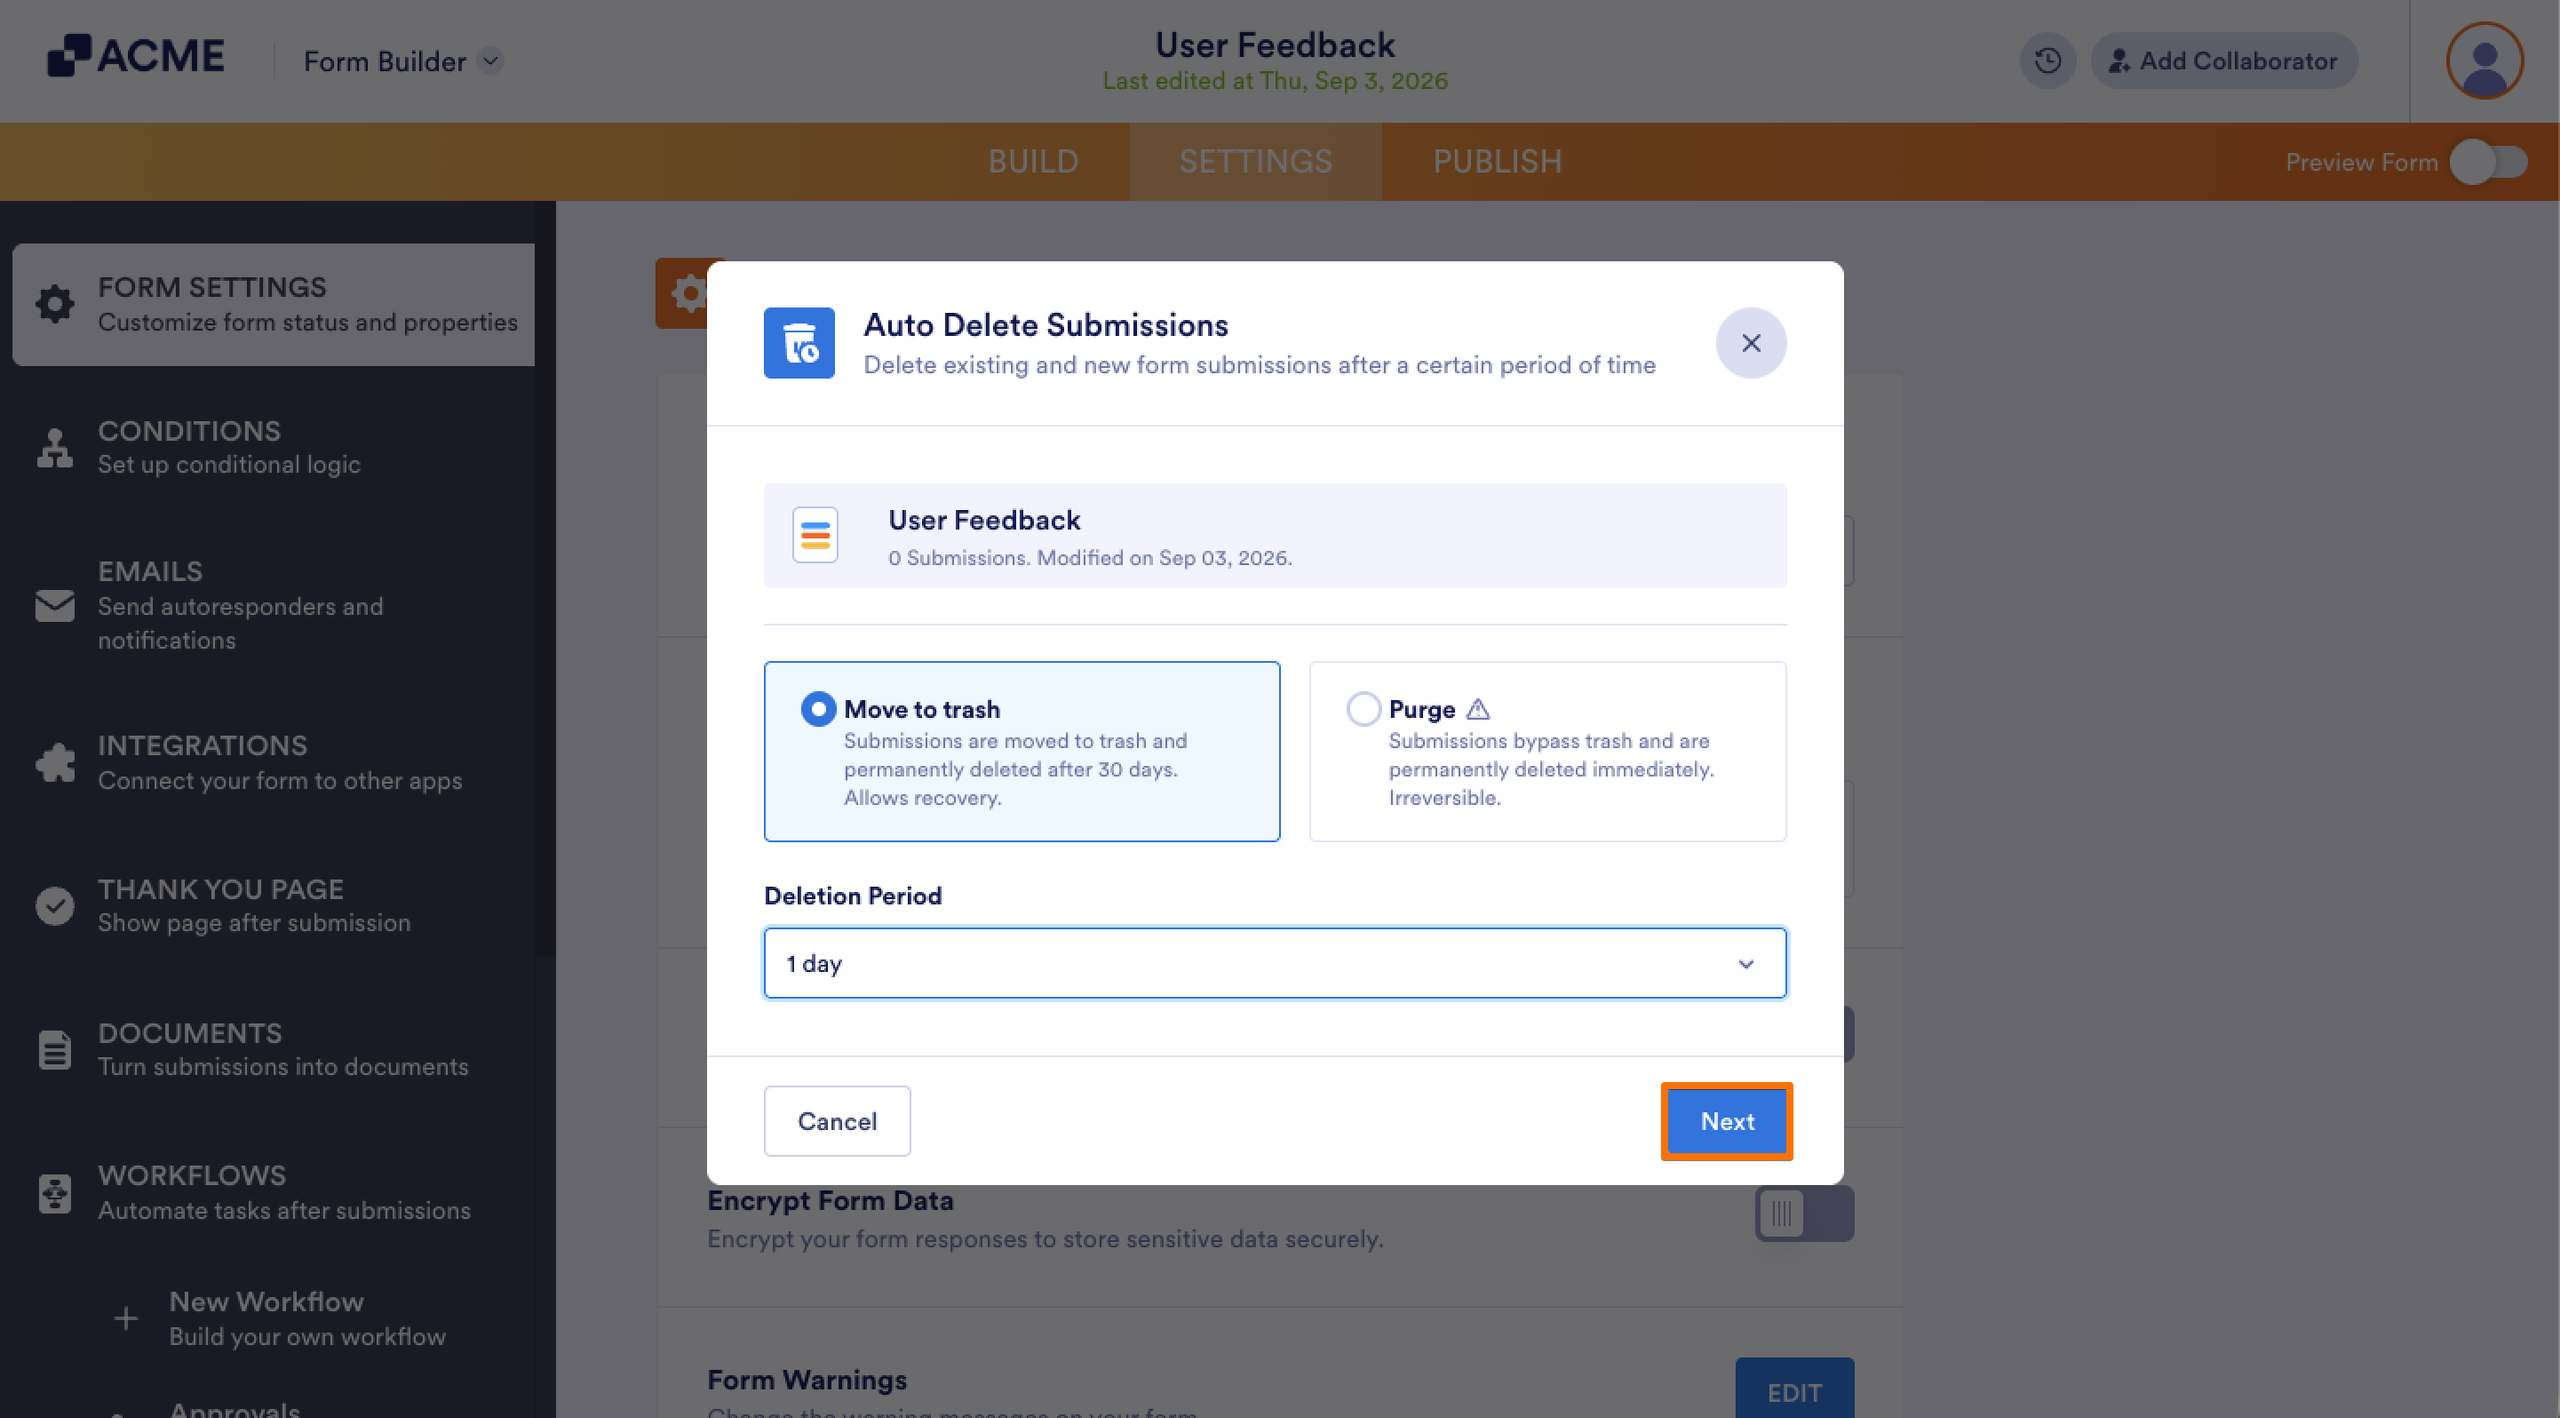
- Now, in the Auto-Delete Submissions window that opens, Select how you want deleted submissions to be handled:
- Move to trash: Submissions are moved to your trash folder when they reach the expiration date and are permanently deleted after 30 days. This option allows recovery if needed.
- Purge: Submissions completely bypass the trash folder and are permanently deleted immediately upon reaching the expiration date. This action is irreversible.
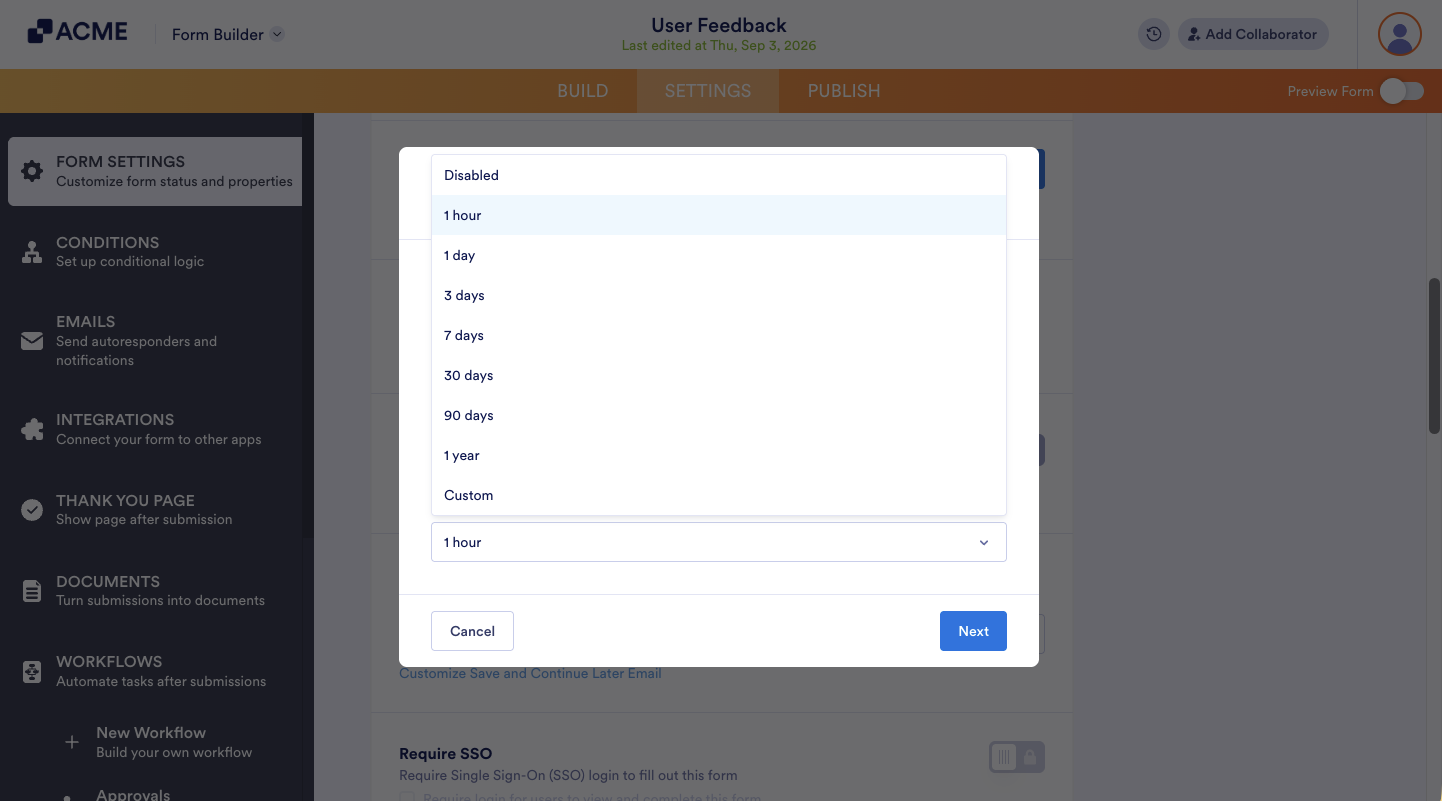
In the Auto-Delete Submissions window that opens up, click on the Deletion Period dropdown menu and select the time frame you want for your submissions to be automatically deleted.
- Then, click on Next at the bottom of the window.
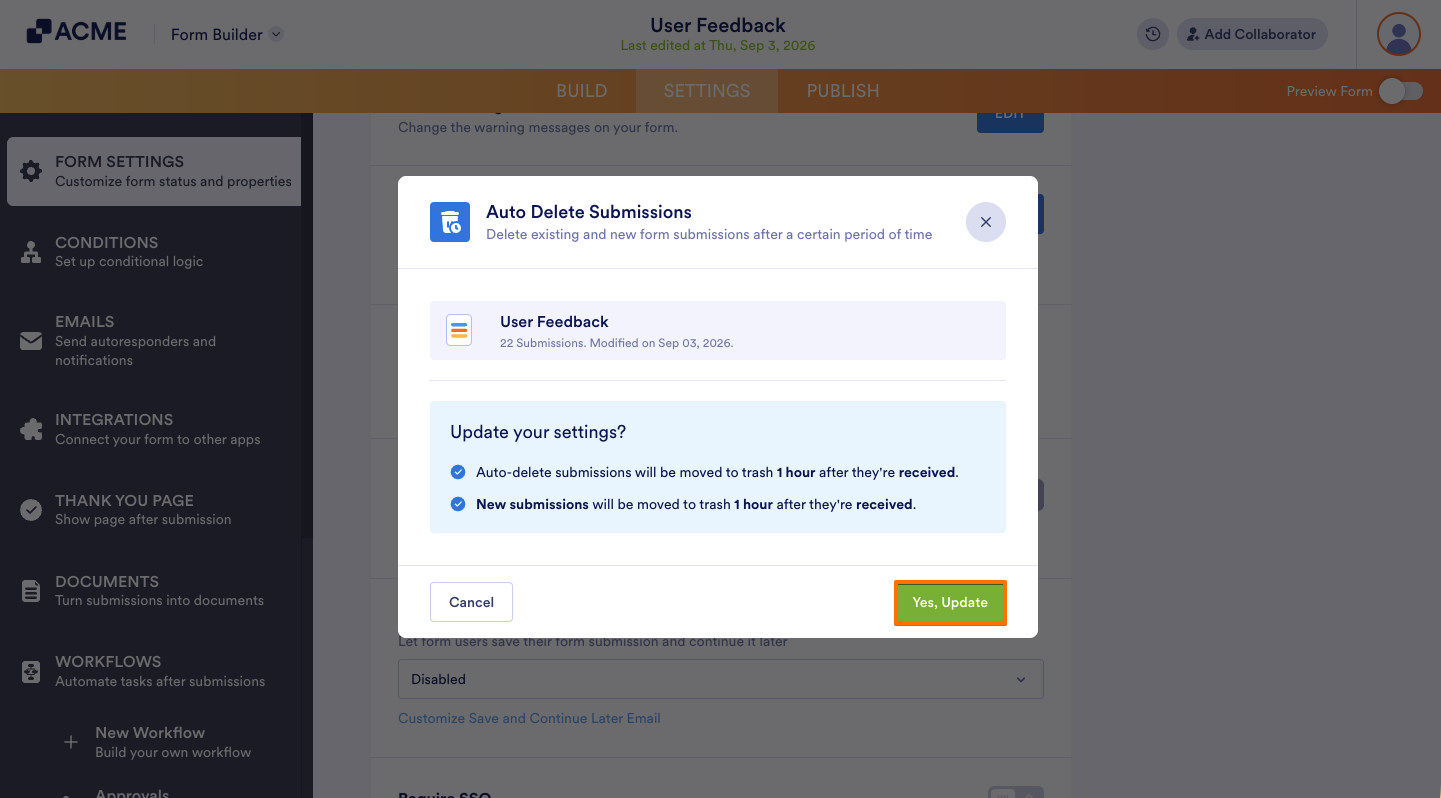
- Now, click on Yes, Update, and you’re all set.
Note
Your form’s post-submission actions, like Email notifications, Email autoresponders, and integrations will still run, even if submissions are deleted this way.
New submissions on forms with Auto-Delete Submissions enabled go straight to Trashed Entries, which you can access in Tables and Inbox.
Deleted submissions (including ones removed when enabling this feature) remain in Trashed Entries and still take up storage space. You can clear them manually or wait for them to be automatically removed after 30 days.
Submissions that haven’t yet reached the set Auto Delete period when you enable this feature will no longer be sent to Trashed Entries.
This feature may affect your form’s Approval Flows.
This feature does not affect submissions you imported, manually added, archived, or restored.
Setting Up Default Auto-Delete Submissions for All Your Forms
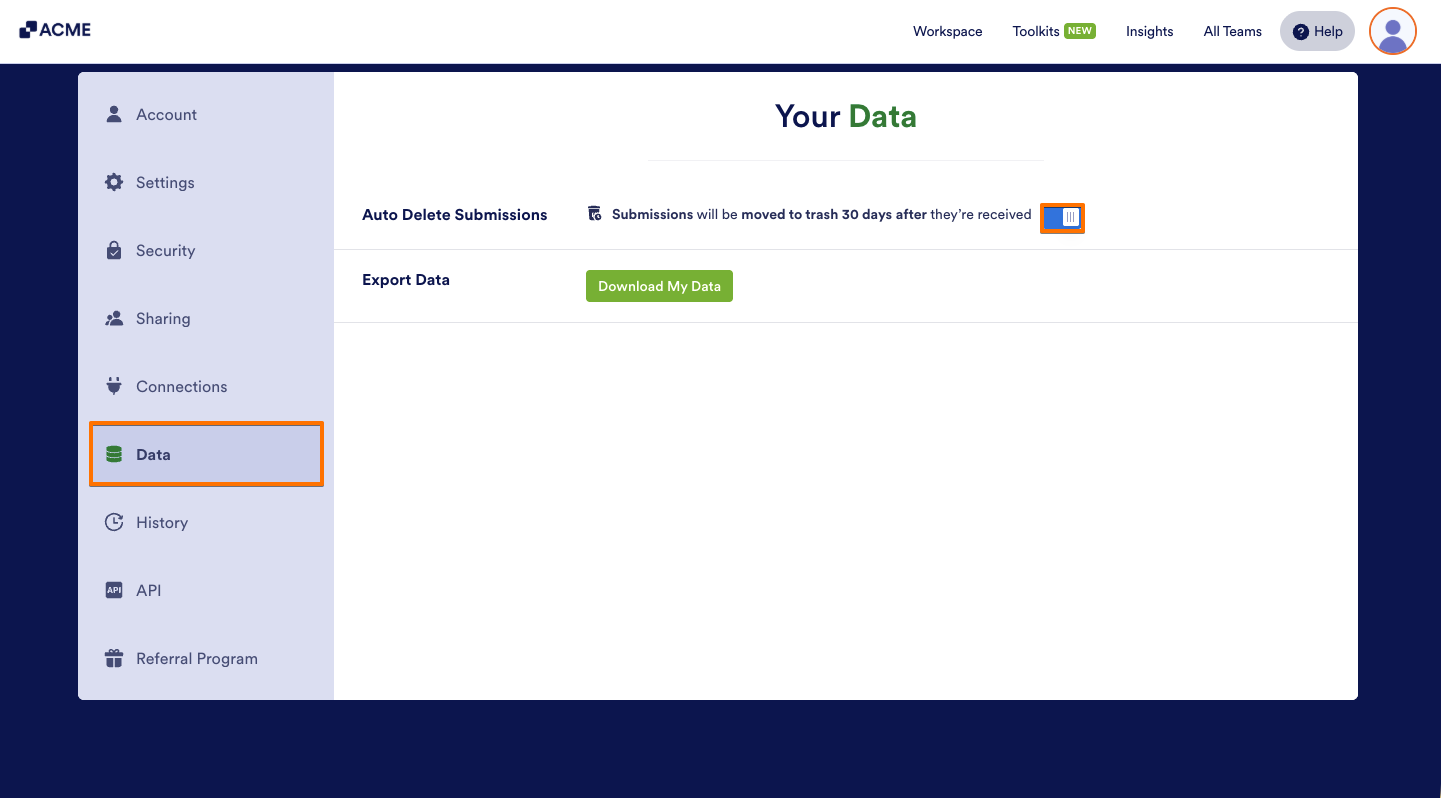
You can set up the Auto-Delete Submissions feature in the Data section of your Account Settings, allowing you to set a default Auto-Delete period for form submissions across all your existing forms at once. This setting will also apply to any forms you create in the future. Here’s how to do it:
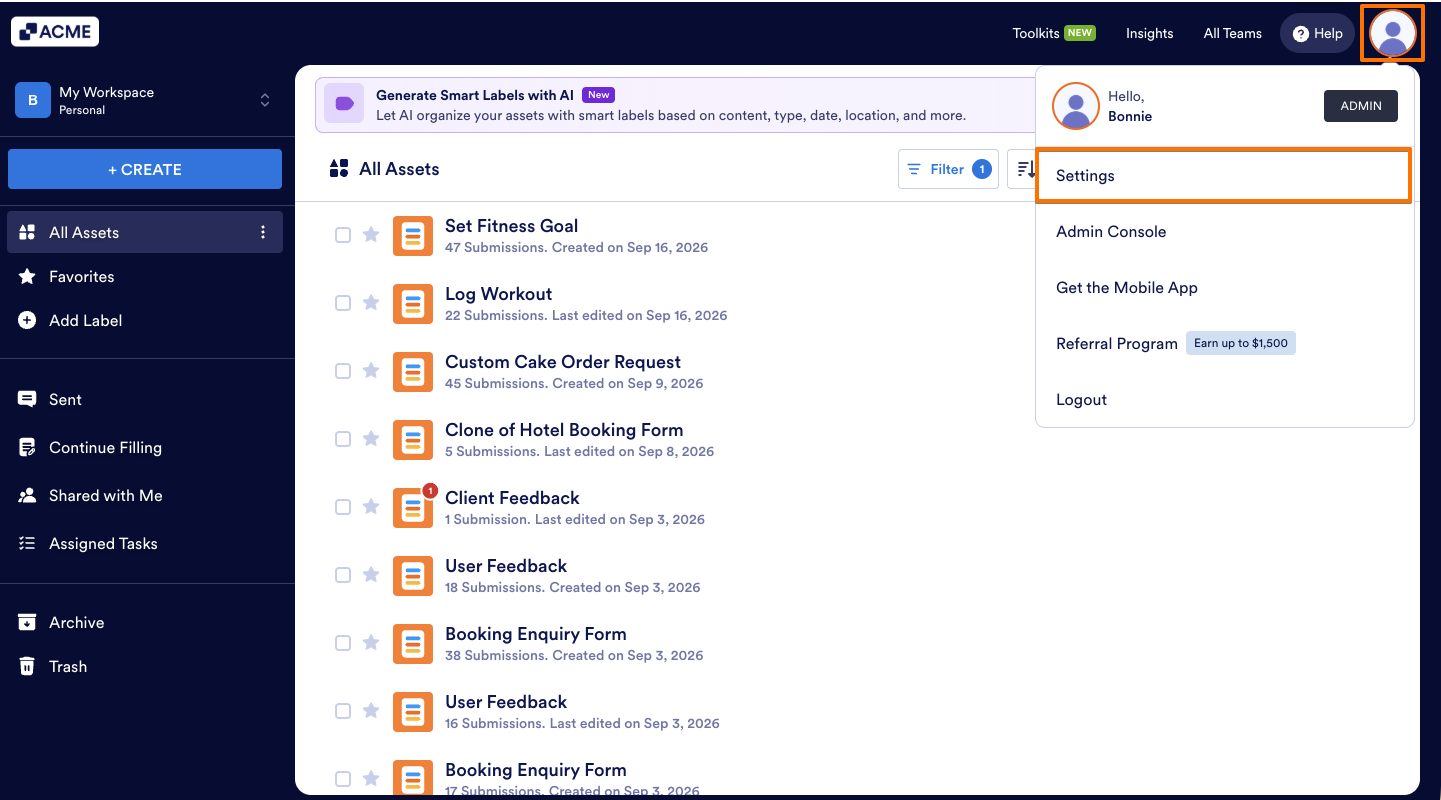
- On your Workspace page, click on your Avatar/Profile picture in the top-right corner of the screen.
- In the Dropdown menu that comes up, click on Settings, to open your Settings page.
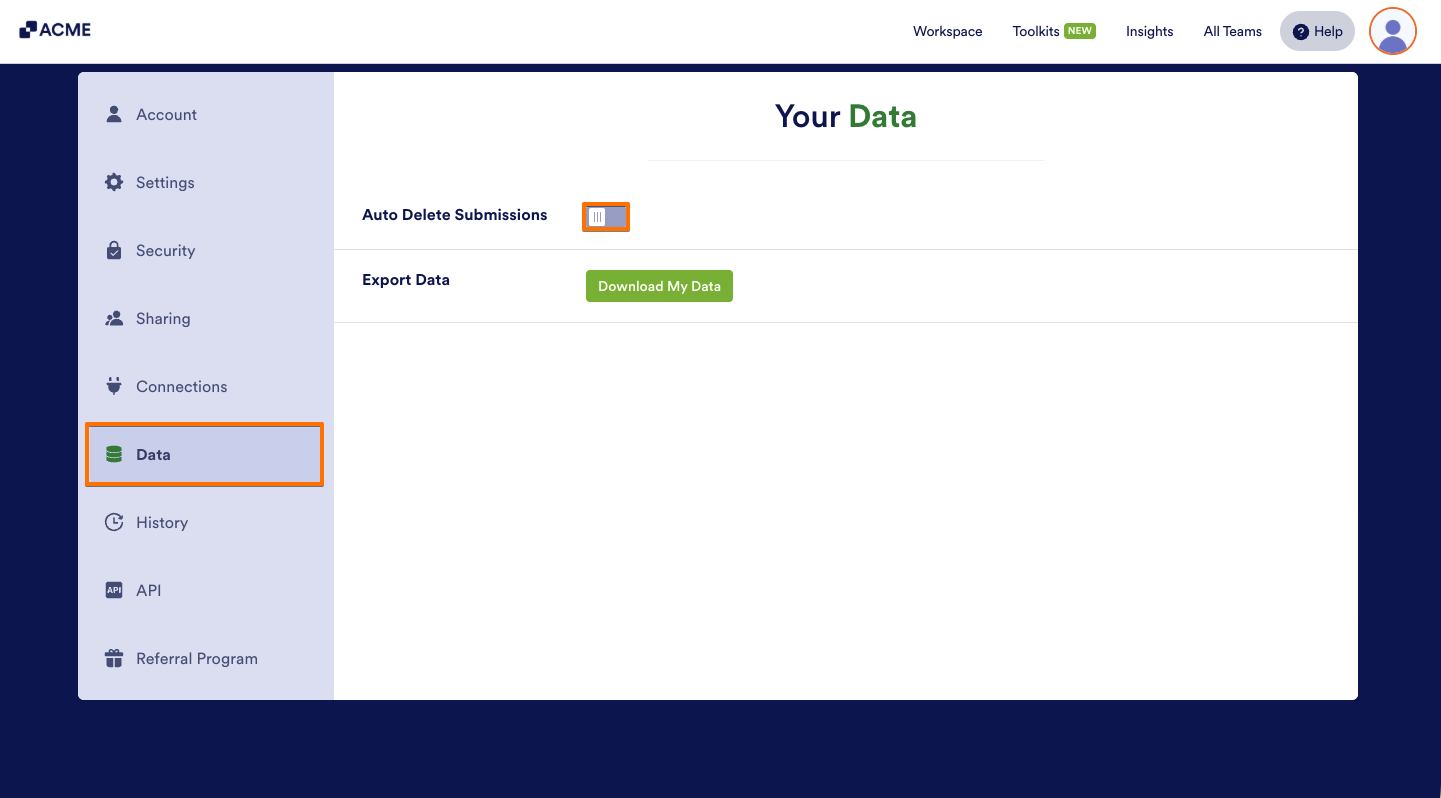
- Now, in the menu on the left, click on the Data tab to open your Data Settings page.
- Then, toggle on the Auto Delete Submissions toggle.
- Now, in the Auto-Delete Submissions window that opens, Select how you want deleted submissions to be handled:
- Move to trash: Submissions are moved to your trash folder when they reach the expiration date and are permanently deleted after 30 days. This option allows recovery if needed.
- Purge: Submissions completely bypass the trash folder and are permanently deleted immediately upon reaching the expiration date. This action is irreversible.
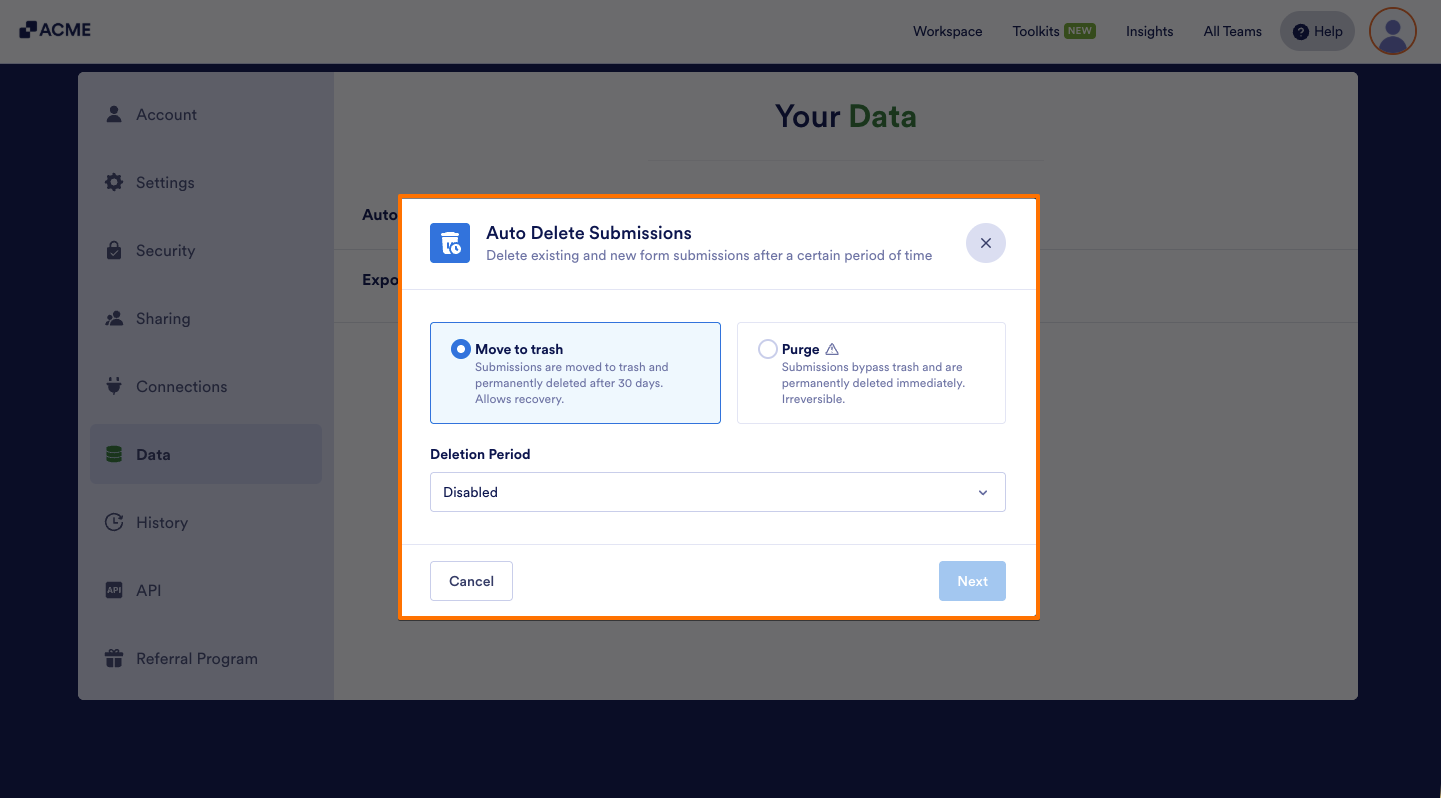
In the Auto-Delete Submissions window that opens up, click on the Deletion Period dropdown menu and select the time frame you want for your submissions to be automatically deleted.
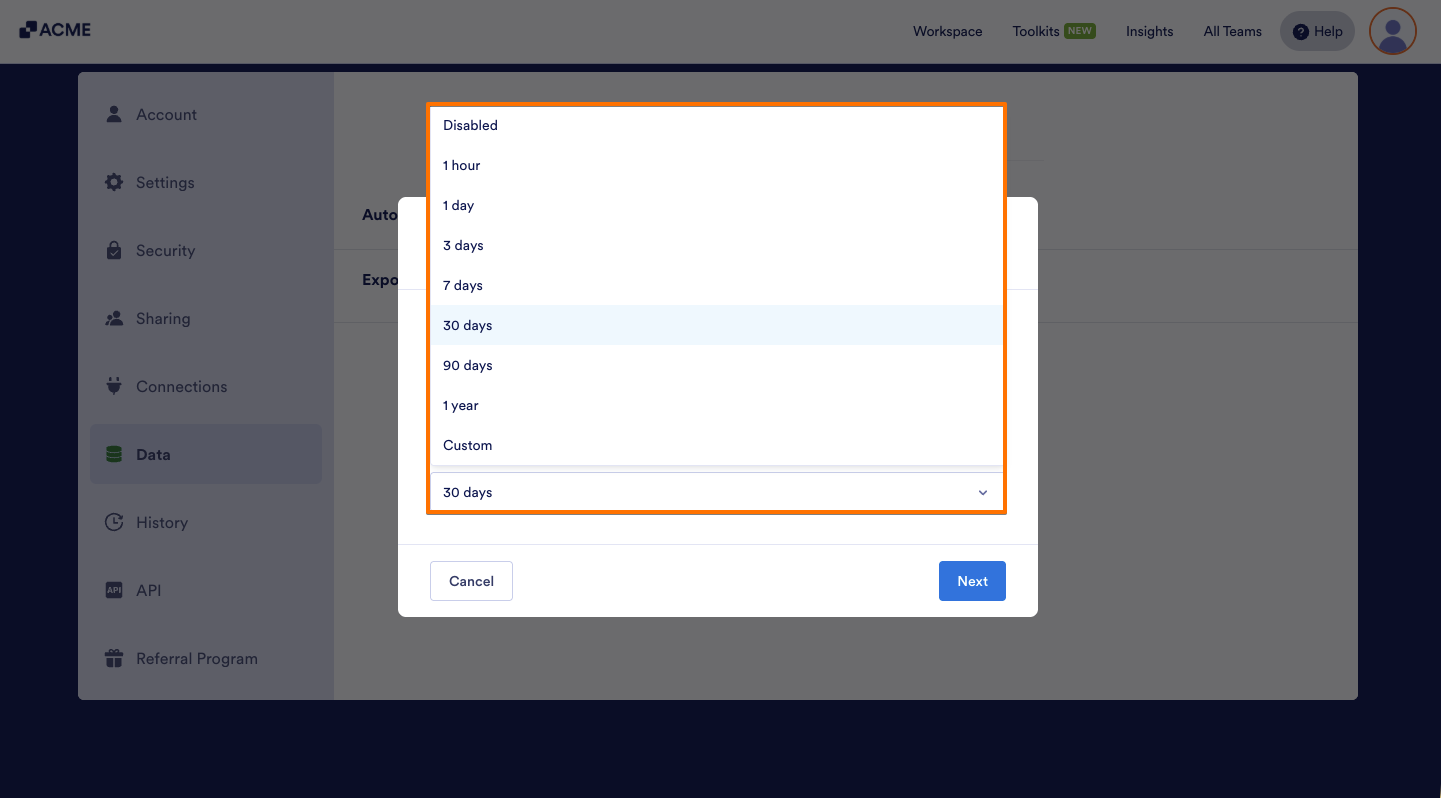
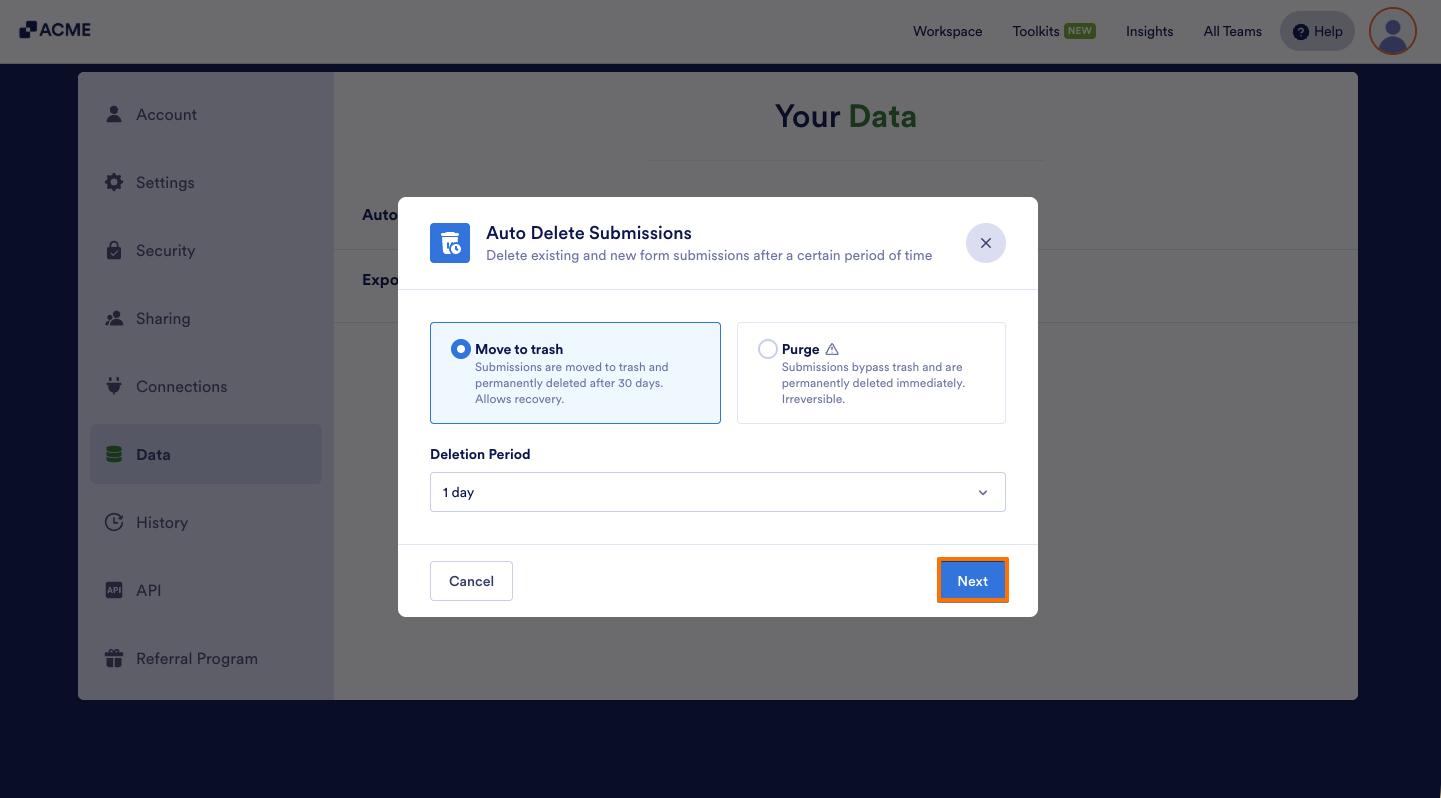
- Then, click on Next at the bottom of the window.
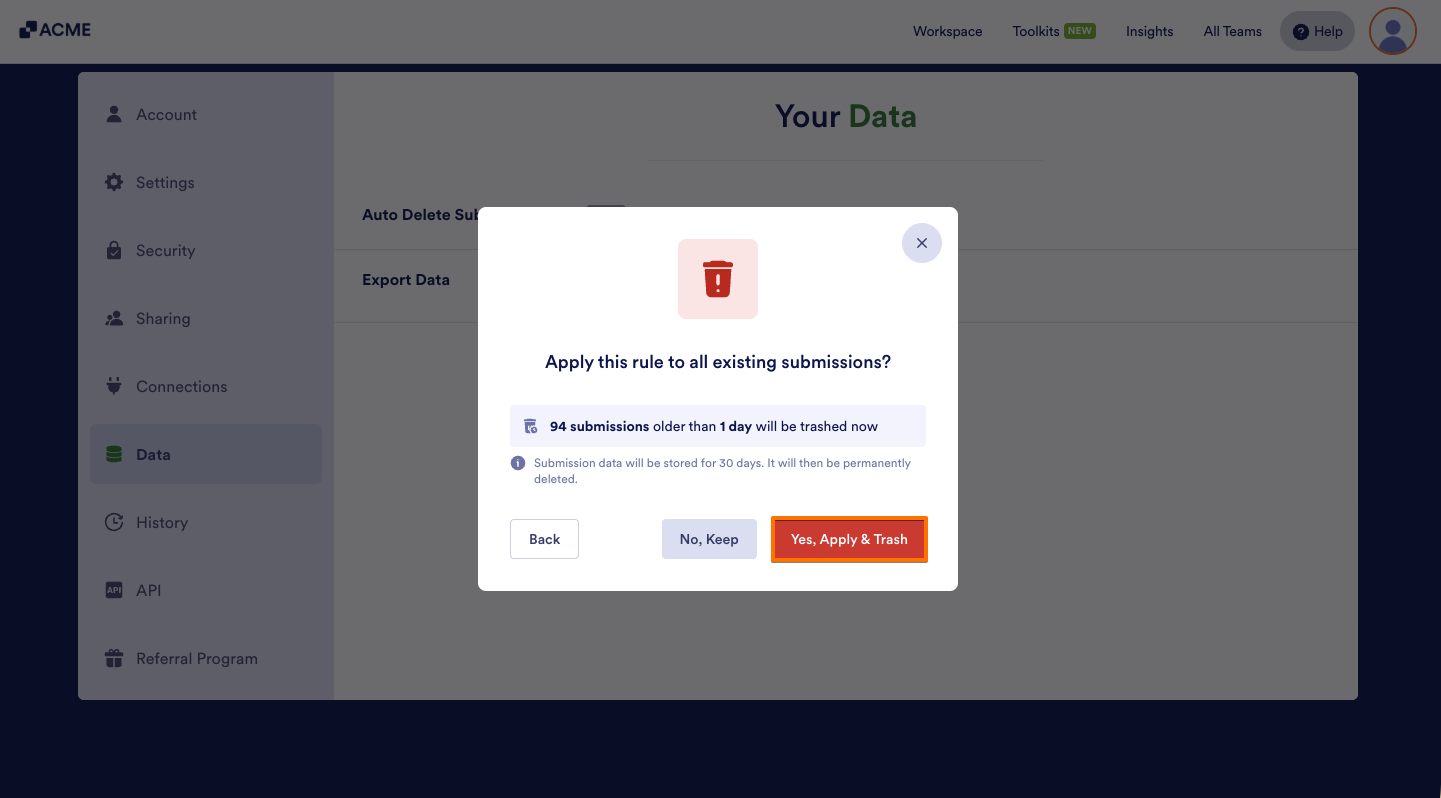
- Now, click on Yes, Apply & Trash, and you’re done.
Note
You can set or change a custom Auto-Delete period for individual forms, even if your account already has a default deletion period.
If you selected the Purge option, follow the same steps, then click on Yes, Apply & Purge button at the end.
Other Auto-Delete Submissions Configuration Settings
To turn on the Auto-Delete submissions feature for your forms, you’ll need to set a few options. This includes choosing the deletion period for new submissions, deciding what to do with existing submissions, and whether to apply the same settings to all forms or keep custom ones for each. Be sure to review these settings so they match your data management needs and work well with your current processes.
Forms Connected to an Approval Flow
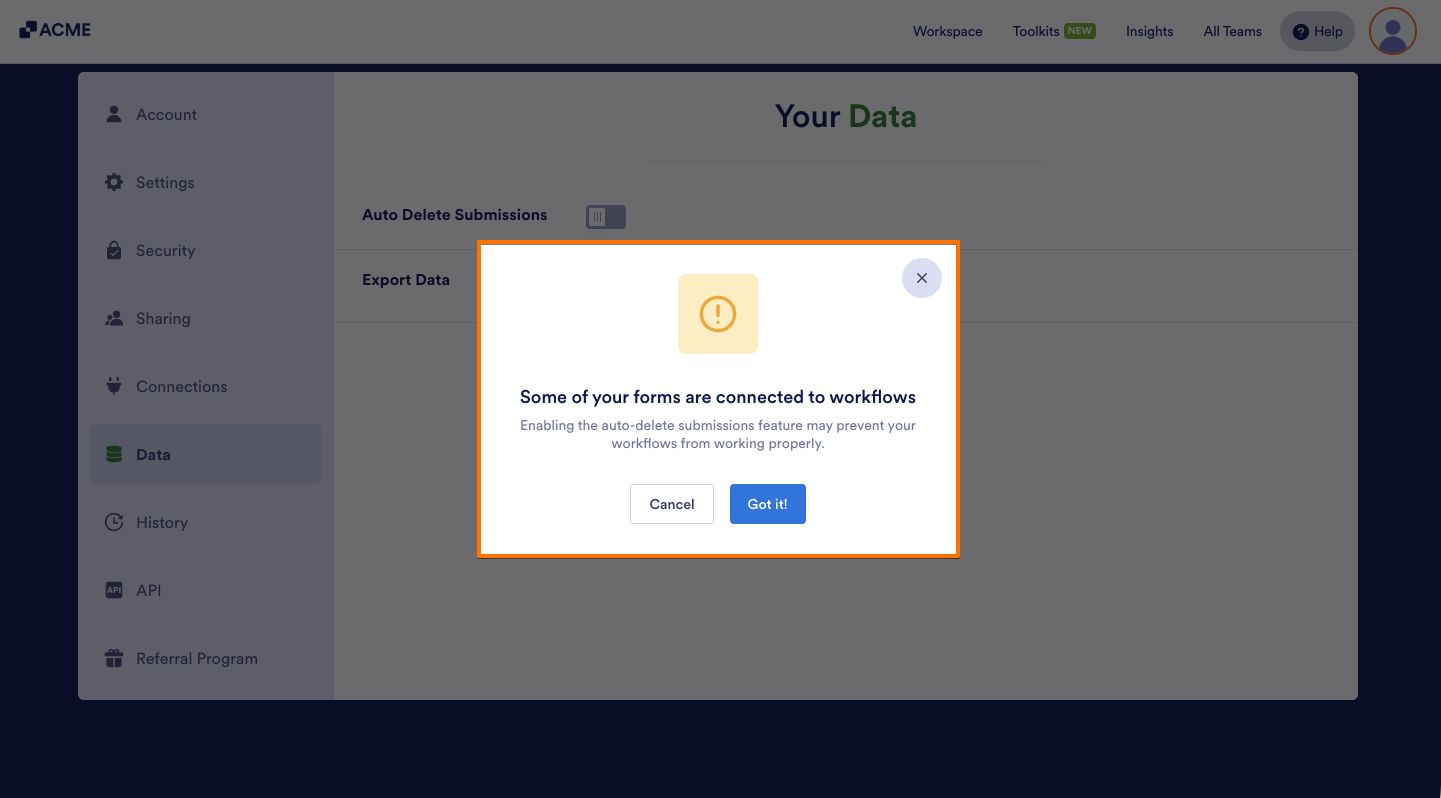
You’ll see a prompt in the Auto-Delete Submissions window when you enable the feature, letting you know it might affect your form’s approval flow. Click on Got It! in the bottom to continue, or click on Cancel in the bottom to exit the setup.
Forms with Custom Auto-Delete Submission Periods
When you enable the default auto-delete setting for all forms in your Account’s Data Settings, you’ll be asked how to handle forms that already have custom Auto-Delete Submission periods.
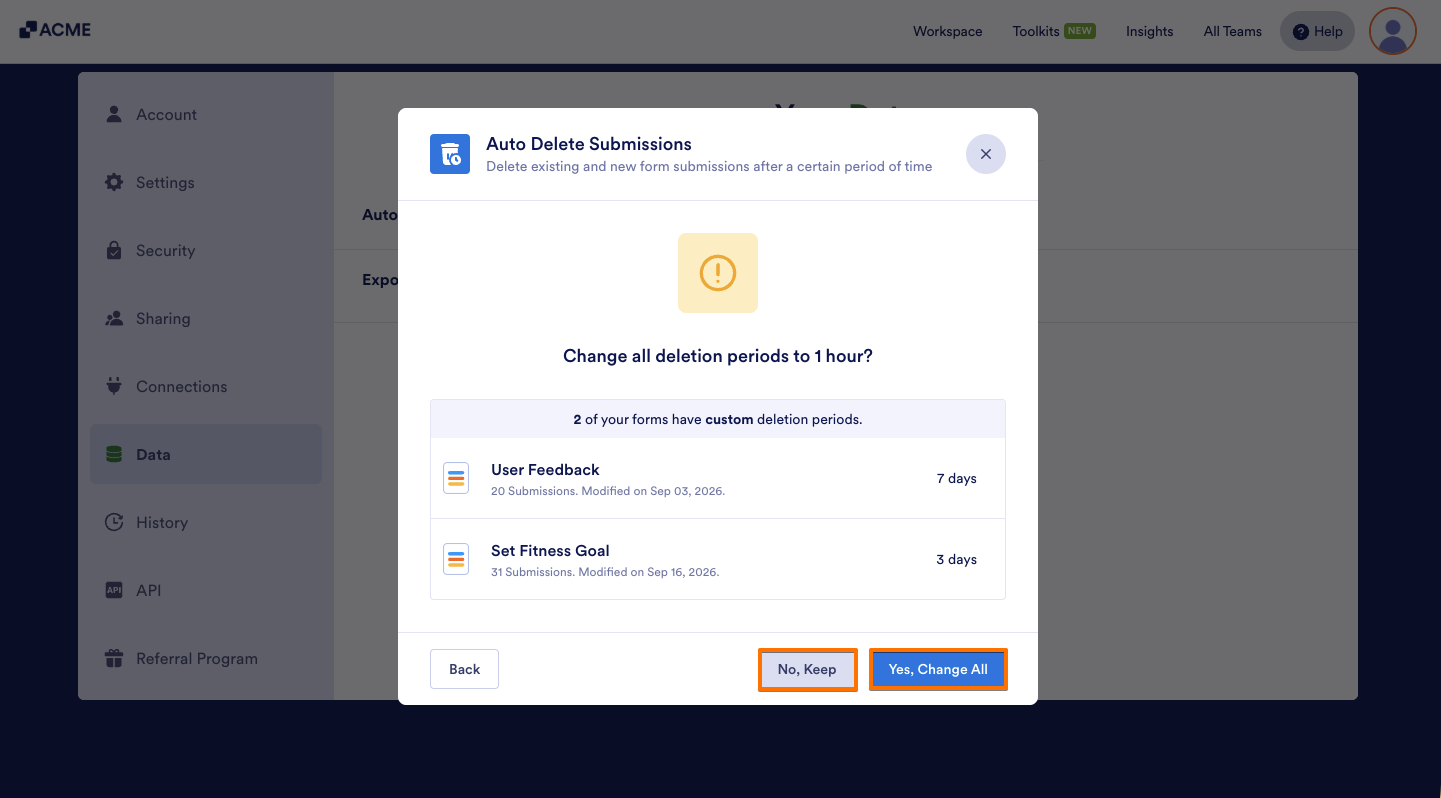
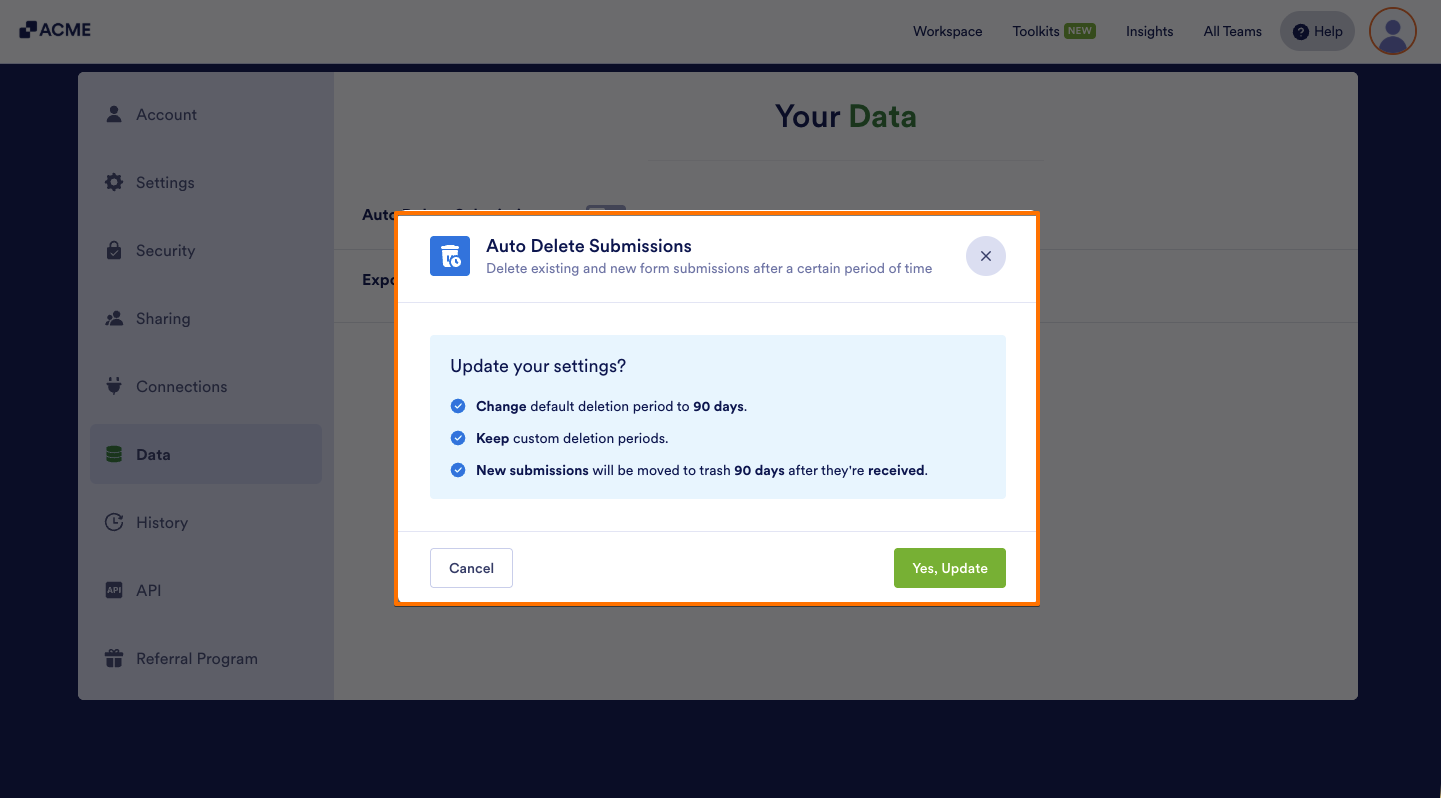
Clicking on No, Keep will leave the custom Auto-Delete Submission periods you’ve already set for individual forms as they are. The default deletion period will only apply to your other forms and any new ones you create after you save and update your Account Settings.
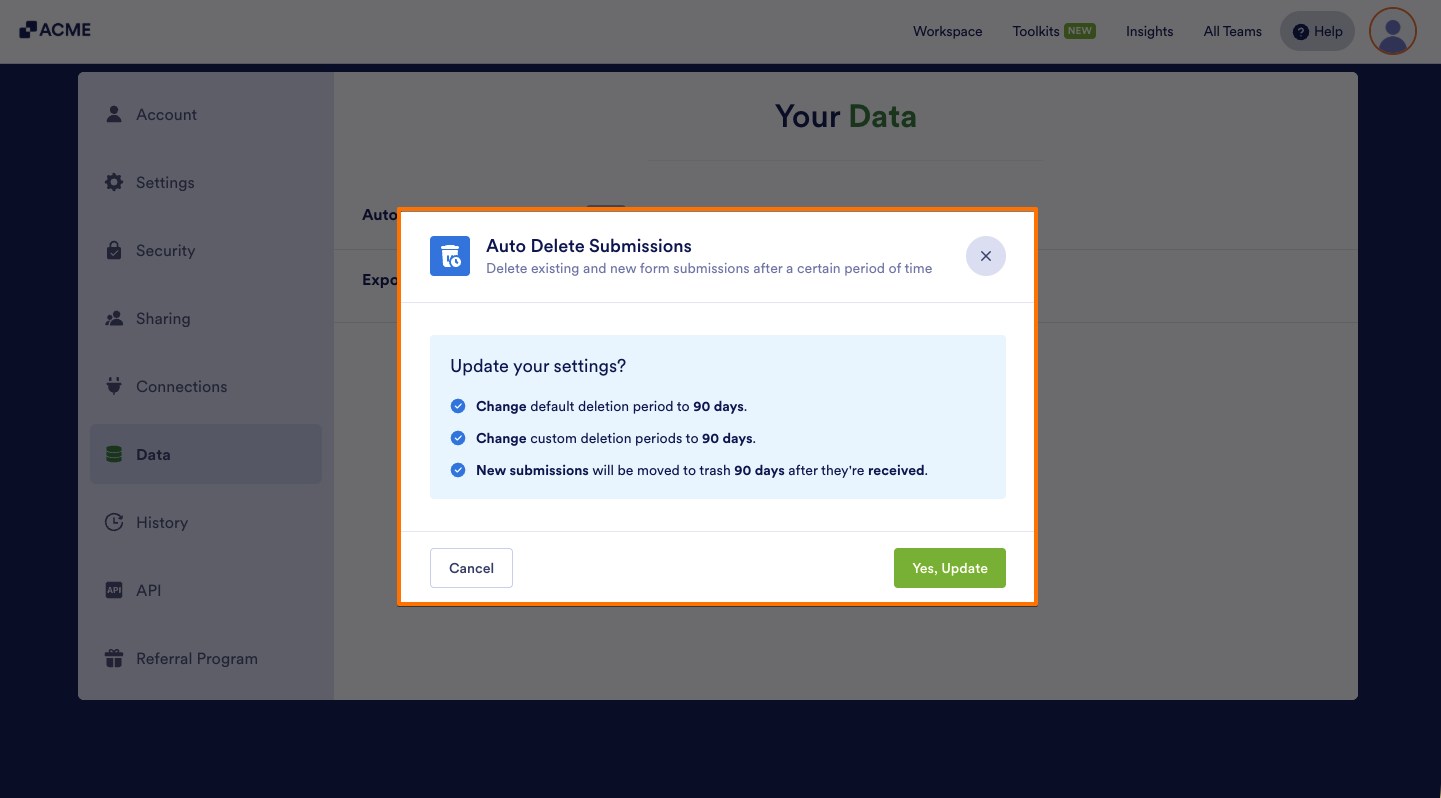
Clicking on Yes, Change All will apply the default Auto-Delete Submission period to all your existing forms—even those with custom settings—as well as any new forms you create.

Send Comment: