Take Photo widget makes it easy for users to snap and upload photos right from your form, no extra steps needed. Whether you’re doing inspections, gathering event photos, or just adding a visual touch to your submissions, this handy tool gets the job done. It works smoothly with a computer’s webcam or a phone’s camera, so capturing the moment is quick and easy.
Note: The widget needs access to the user’s camera. They’ll be prompted to allow permission through their browser or device—if they deny it, they won’t be able to take a photo.
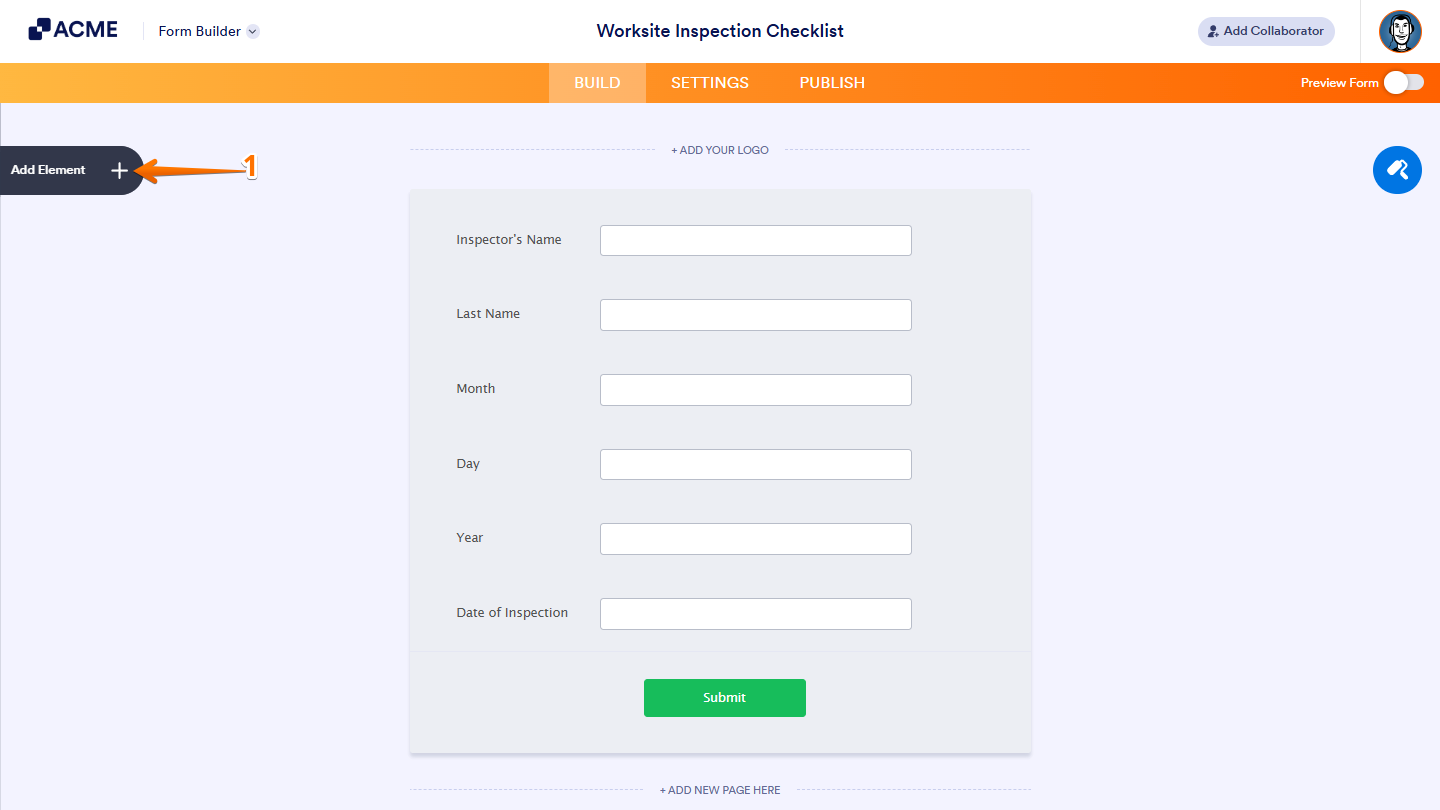
- In Form Builder, click on Add Element on the left side of the page.
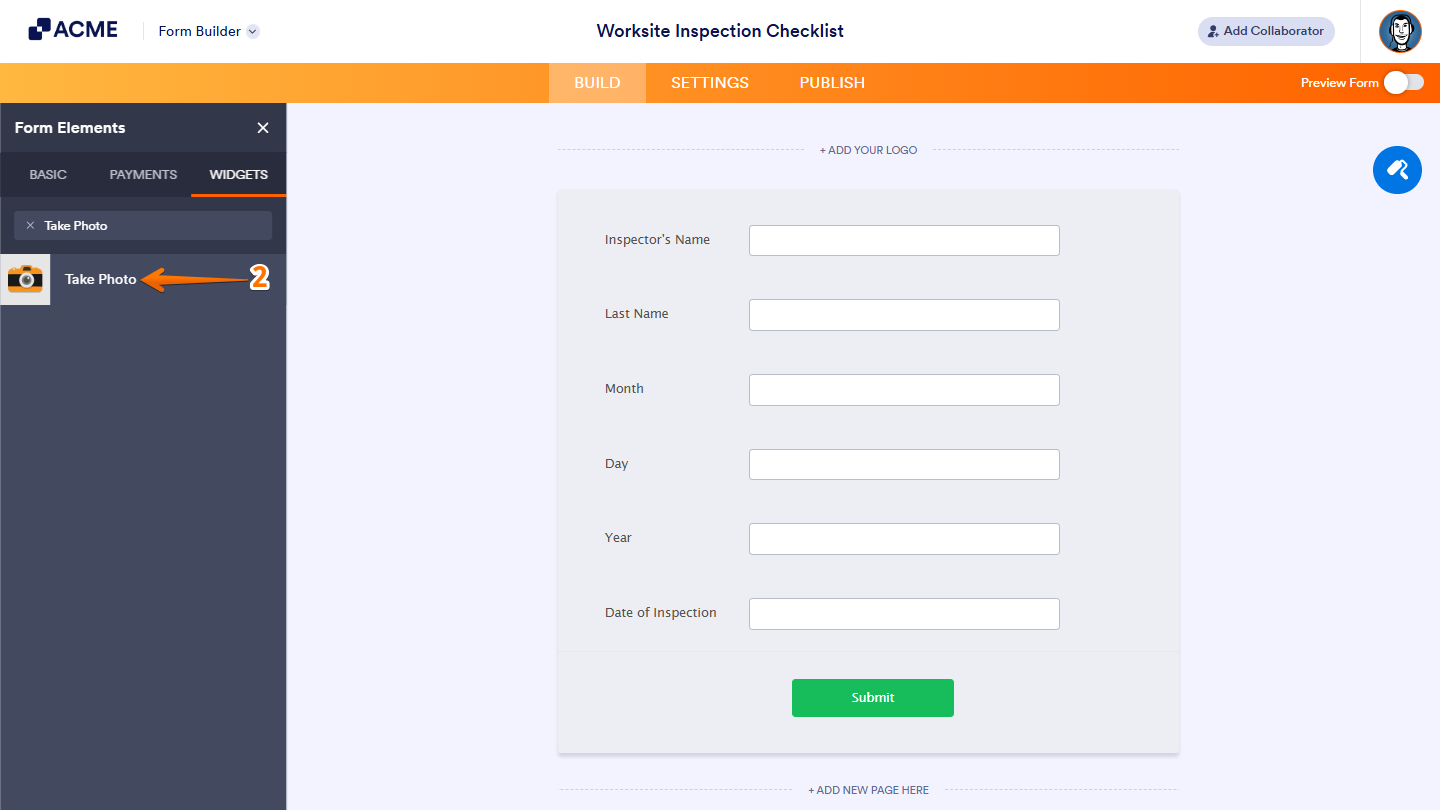
- Now, in the Form Elements menu, under the Widgets tab, search for Take Photo and then click on it. Or, just drag and drop it to where you want it to be on your form.
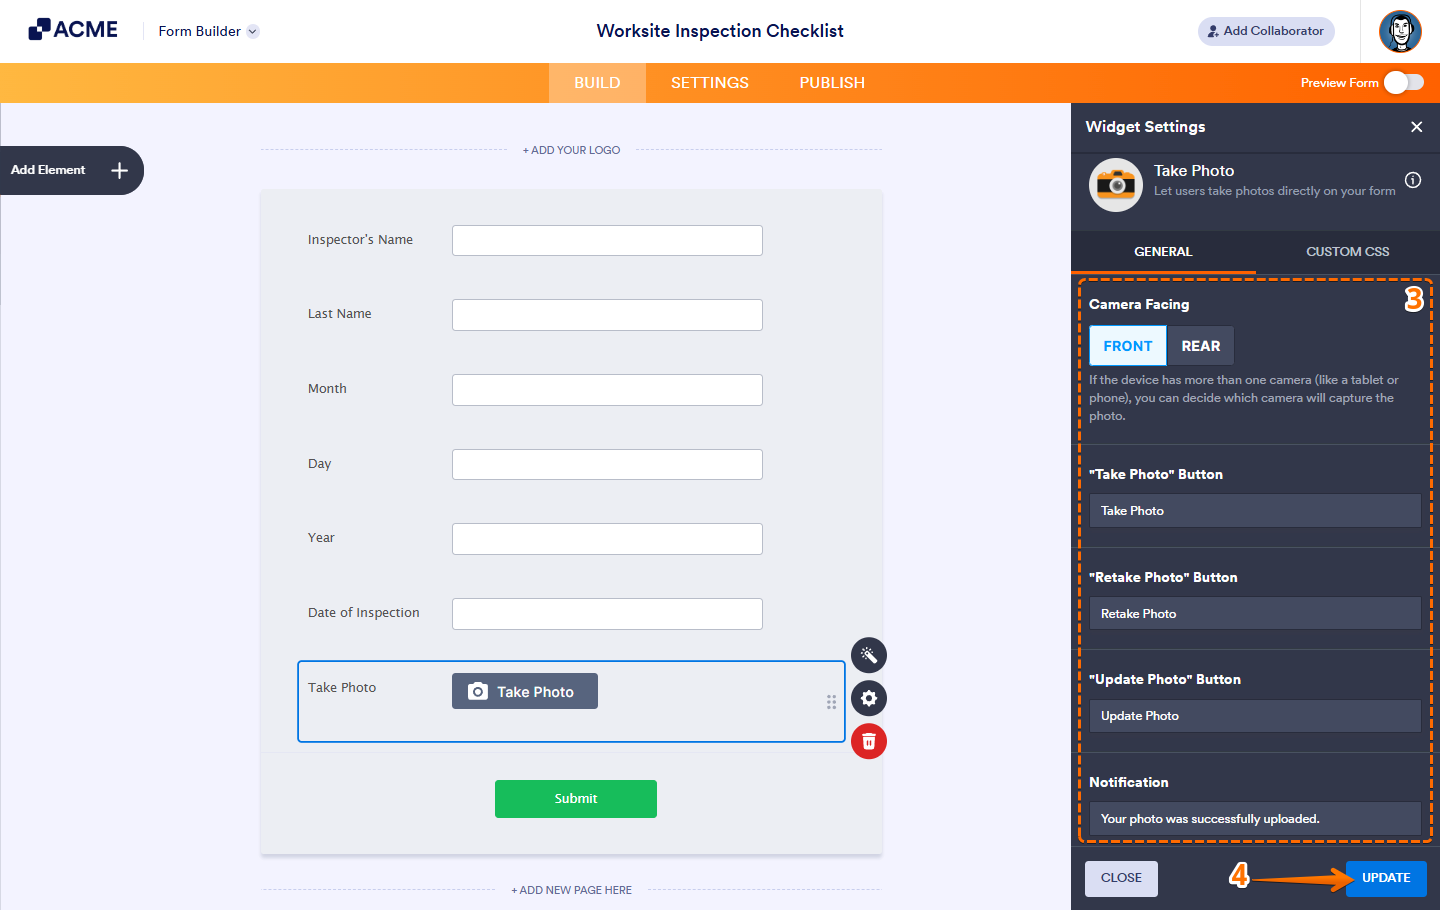
- Next, in the Widget Settings window that opens on the right side of the page, under the General tab, set up the following things:
- Camera Facing — Choose whether to use the front or rear camera.
- Take Photo Button — Customize the text for the Take Photo button.
- Retake Photo Button — Change the text for the Retake Photo button.
- Update Photo Button — Edit the text for the Update Photo button.
- Notification — Set up the text that’ll show up when the user successfully adds the photo.
- Once you’re done, click on Update.
That’s it! You’ve successfully added and set up the Take Photo widget on your form. Now, users can snap a photo right in the form and send it along with their submission.

Send Comment: