NOTE- Yahoo users:
In an attempt to stop fraudulent emails, Yahoo changed its DMARC authentication policy to reject emails that claim to come from yahoo.com but actually originate at non-Yahoo servers. So, do not use a yahoo user as your sender email address if you are to use Mandrill to setup the platform’s email notifiers. Please read more about Yahoo and Mailchimp DMARC POLICY here
It is possible to send form emails using your own SMTP server. Mandrill, a service by Mailchimp, provides a SMTP email sending option up to 12,000 emails per month. We have tested our SMTP service with Mandrill and it worked perfectly!
Create a Mandrill account and set it up as described in this tutorial:
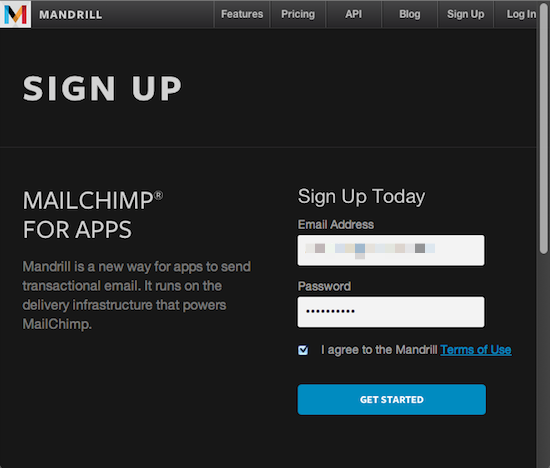
First, create a Mandrill account.
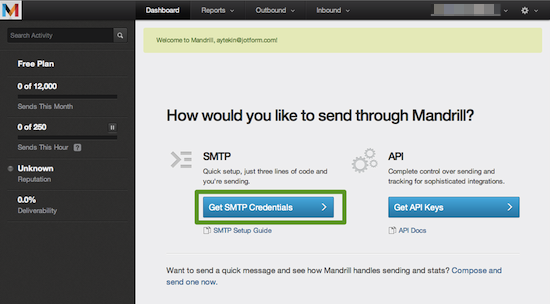
Hit the “Get SMTP Credentials” page.
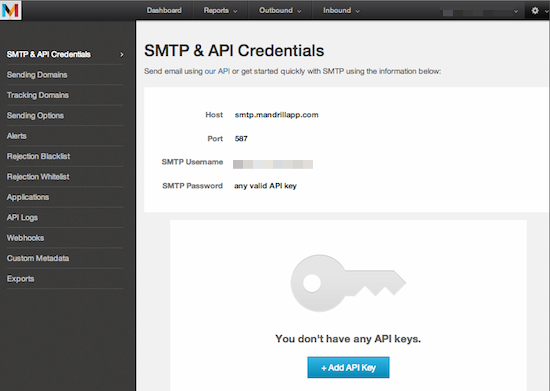
Copy your SMTP credentials and create a new API Key.
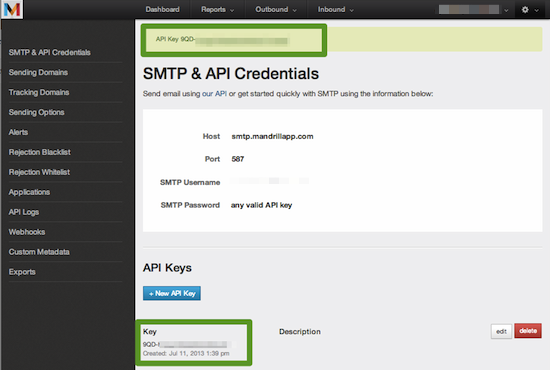
Copy your API Key as well.
Next, add your Mandrill Email Address as SMTP:
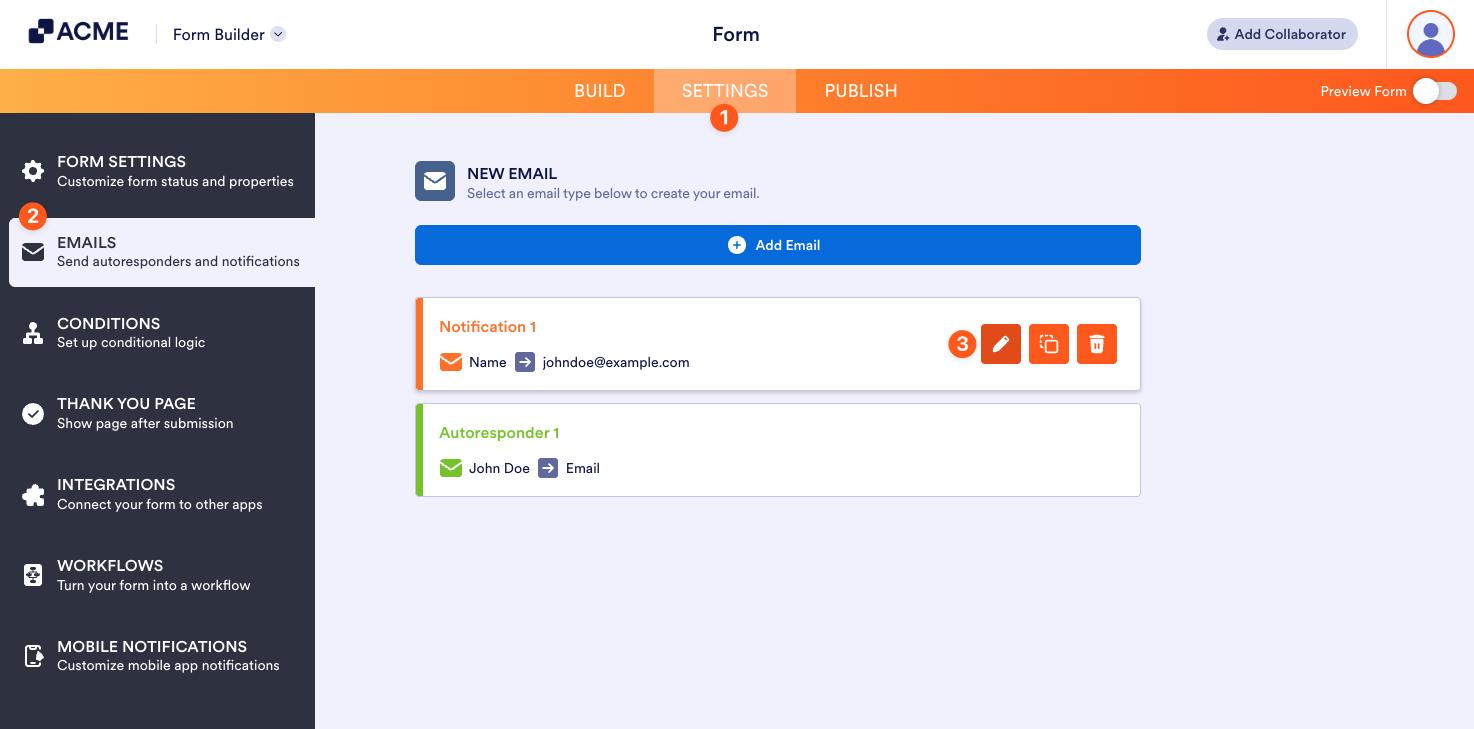
- In the Form Builder, go to the Settings tab.
- Click the Emails on the left panel.
- Hover your mouse over the notification or autoresponder email and click the Pencil icon to edit.
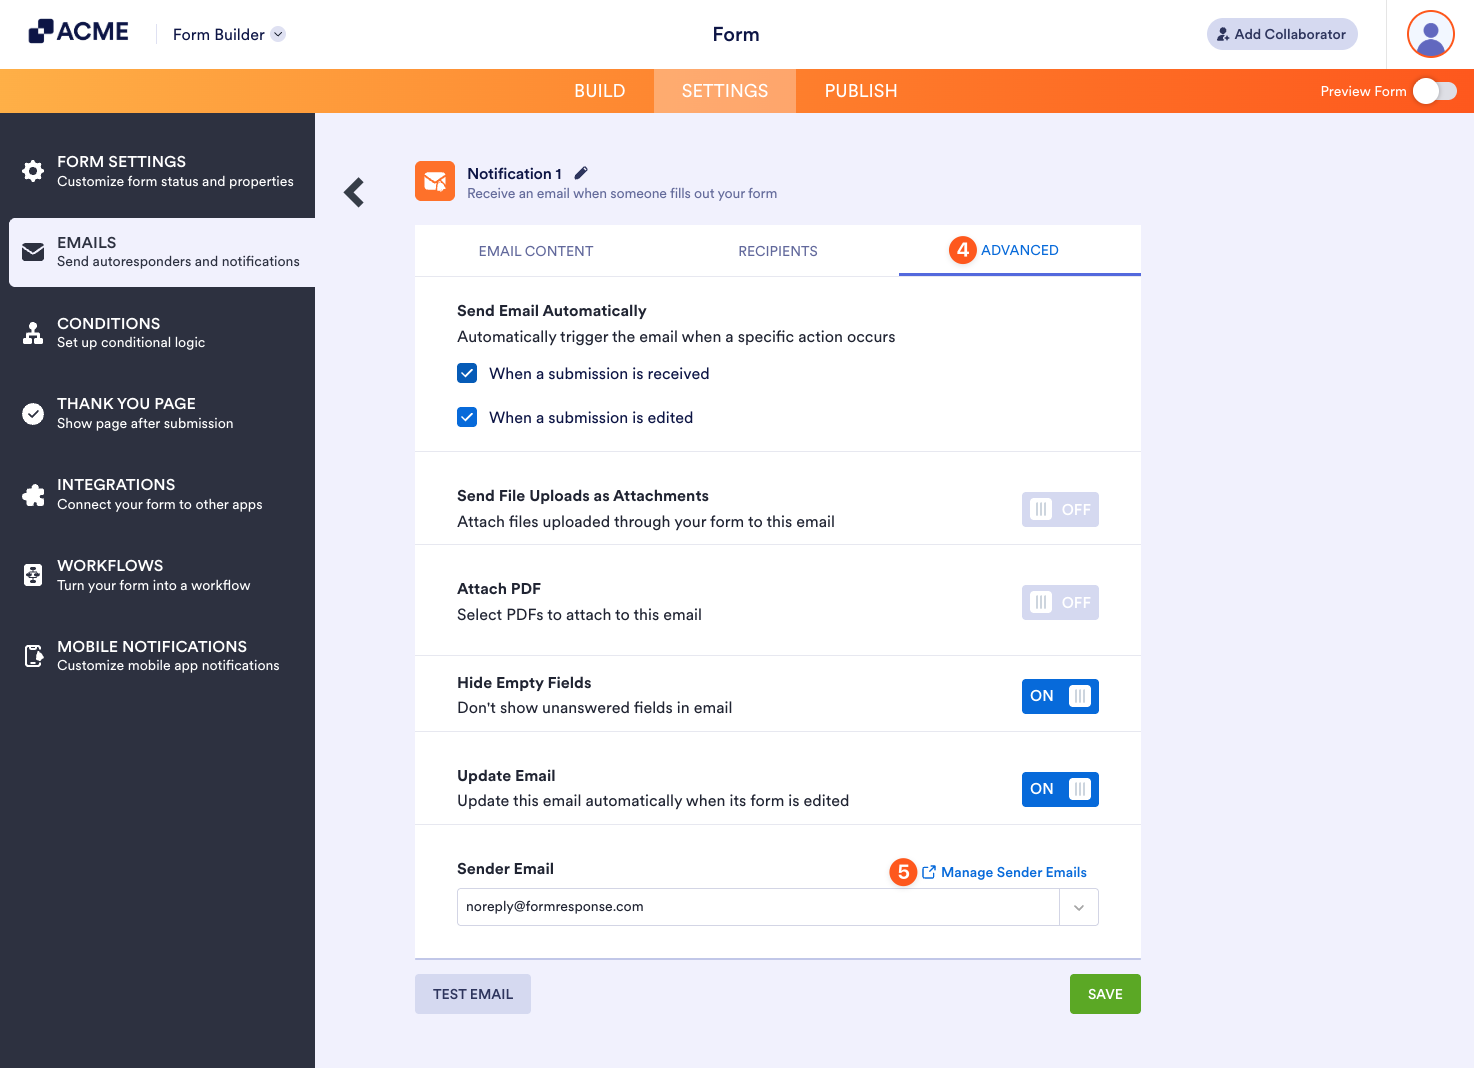
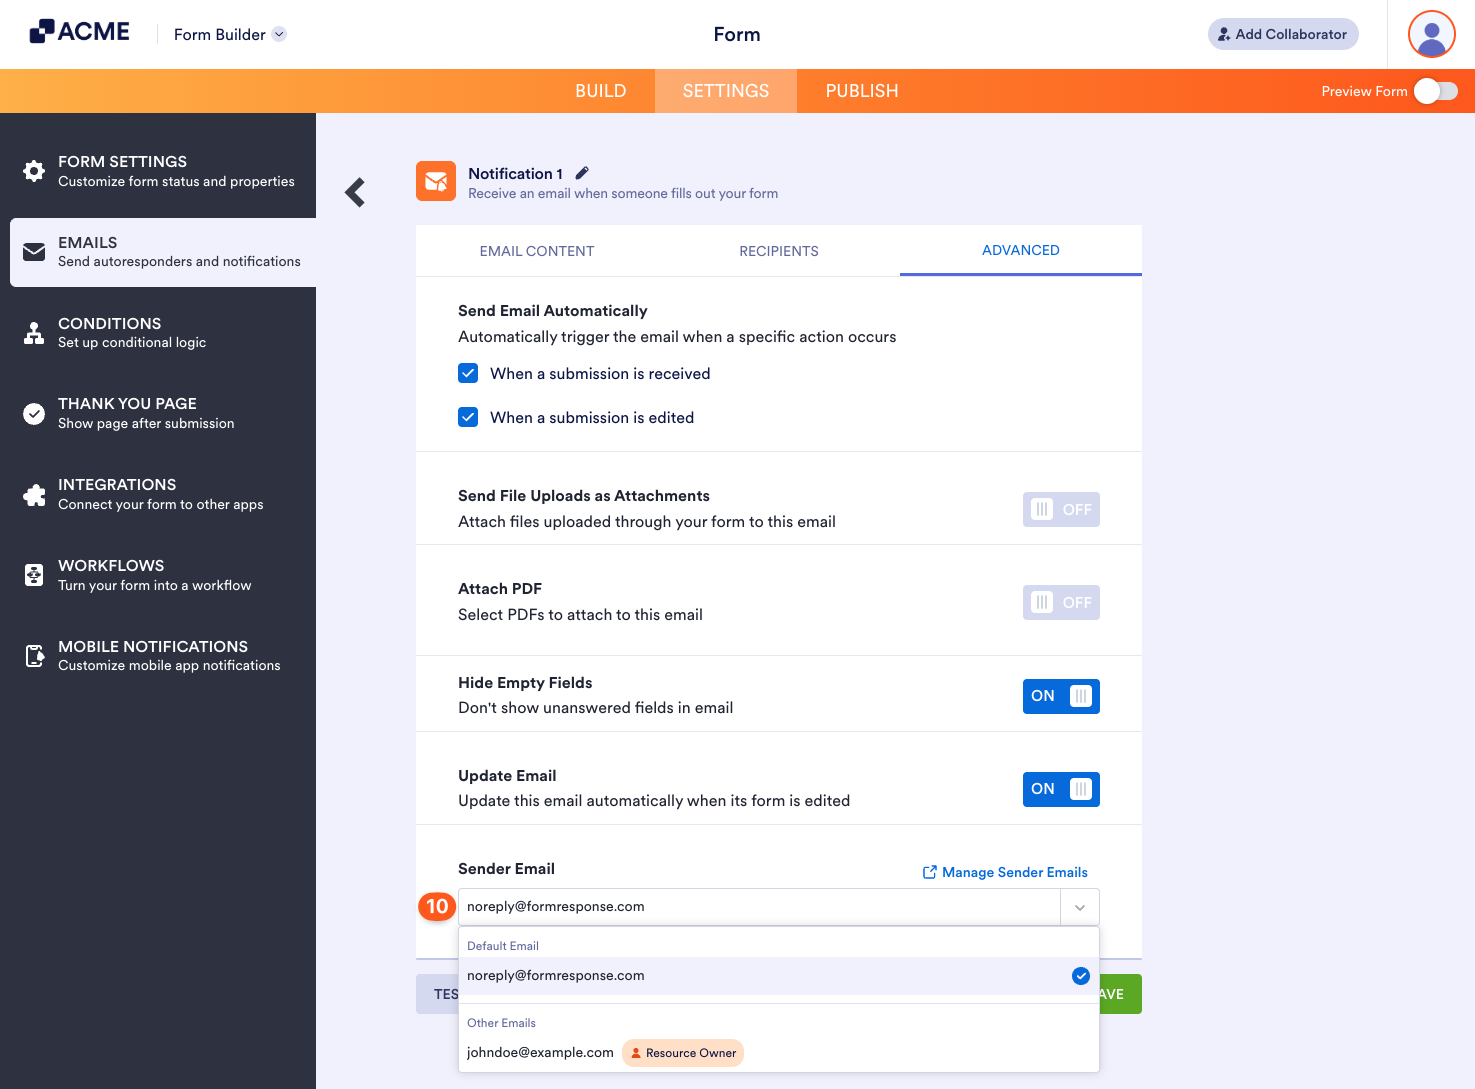
- Navigate to the Advanced tab.
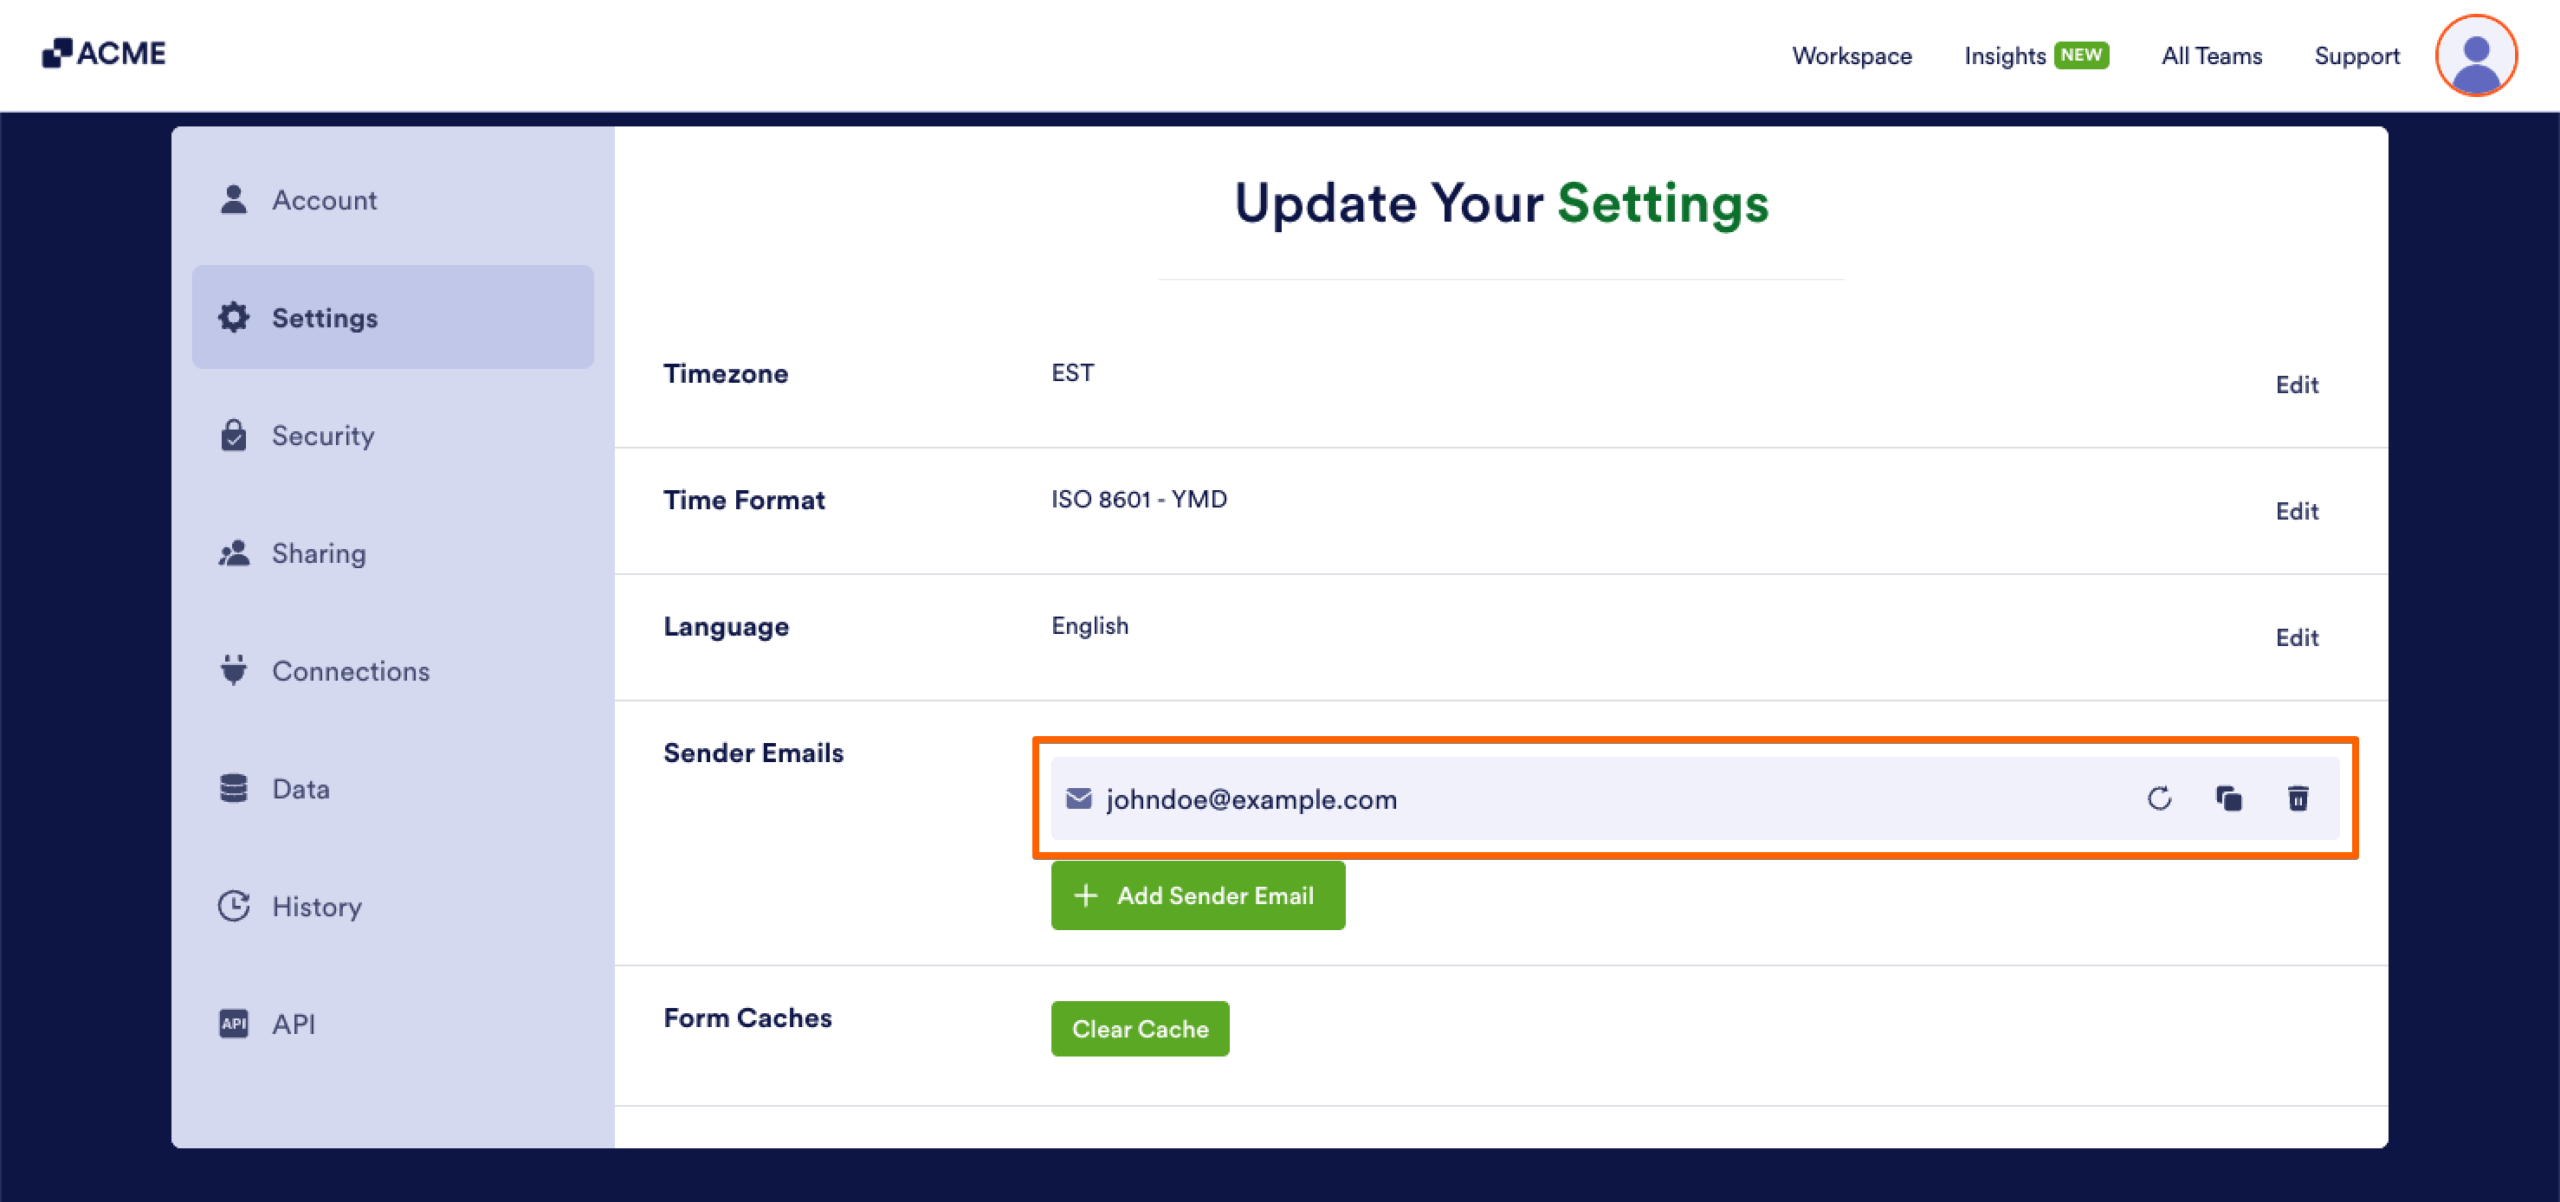
- In the Sender Email section, click the Manage Sender Emails link on the right.
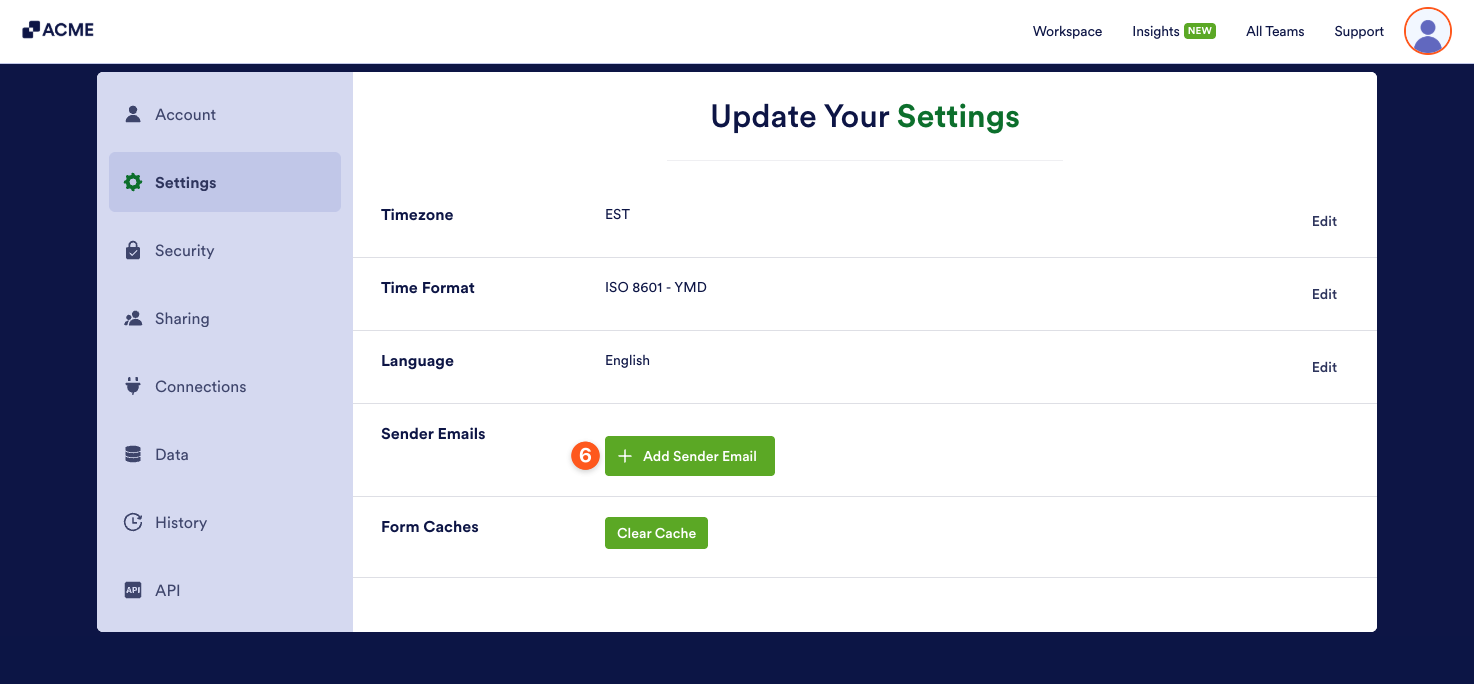
- On the Account Settings page, under the Send Emails section, click the Add Sender Email button.
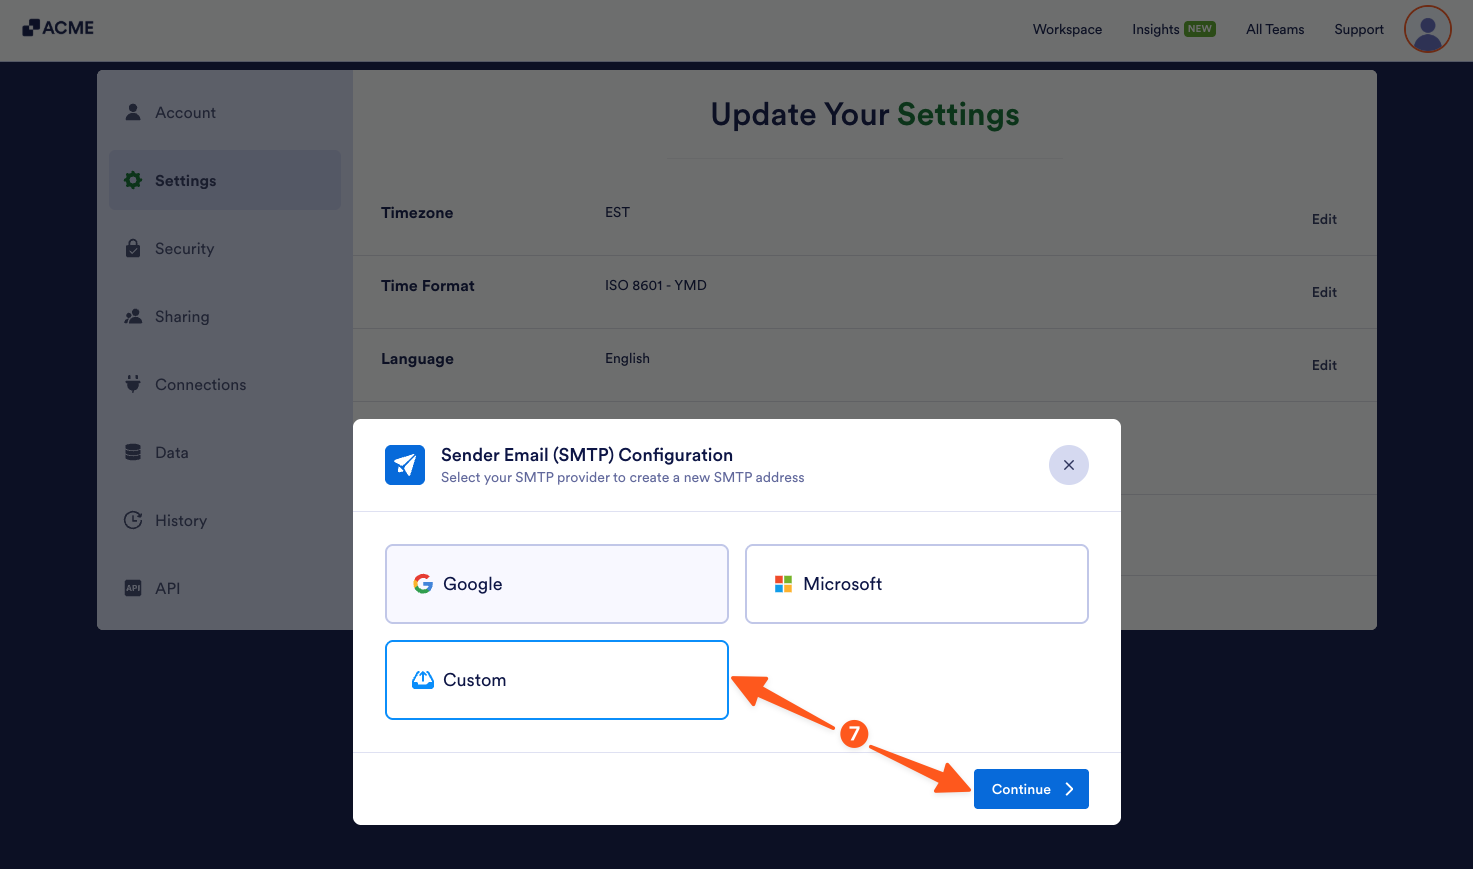
- Then, in the Sender Email (SMTP) Configuration window, select Custom and click on Continue.
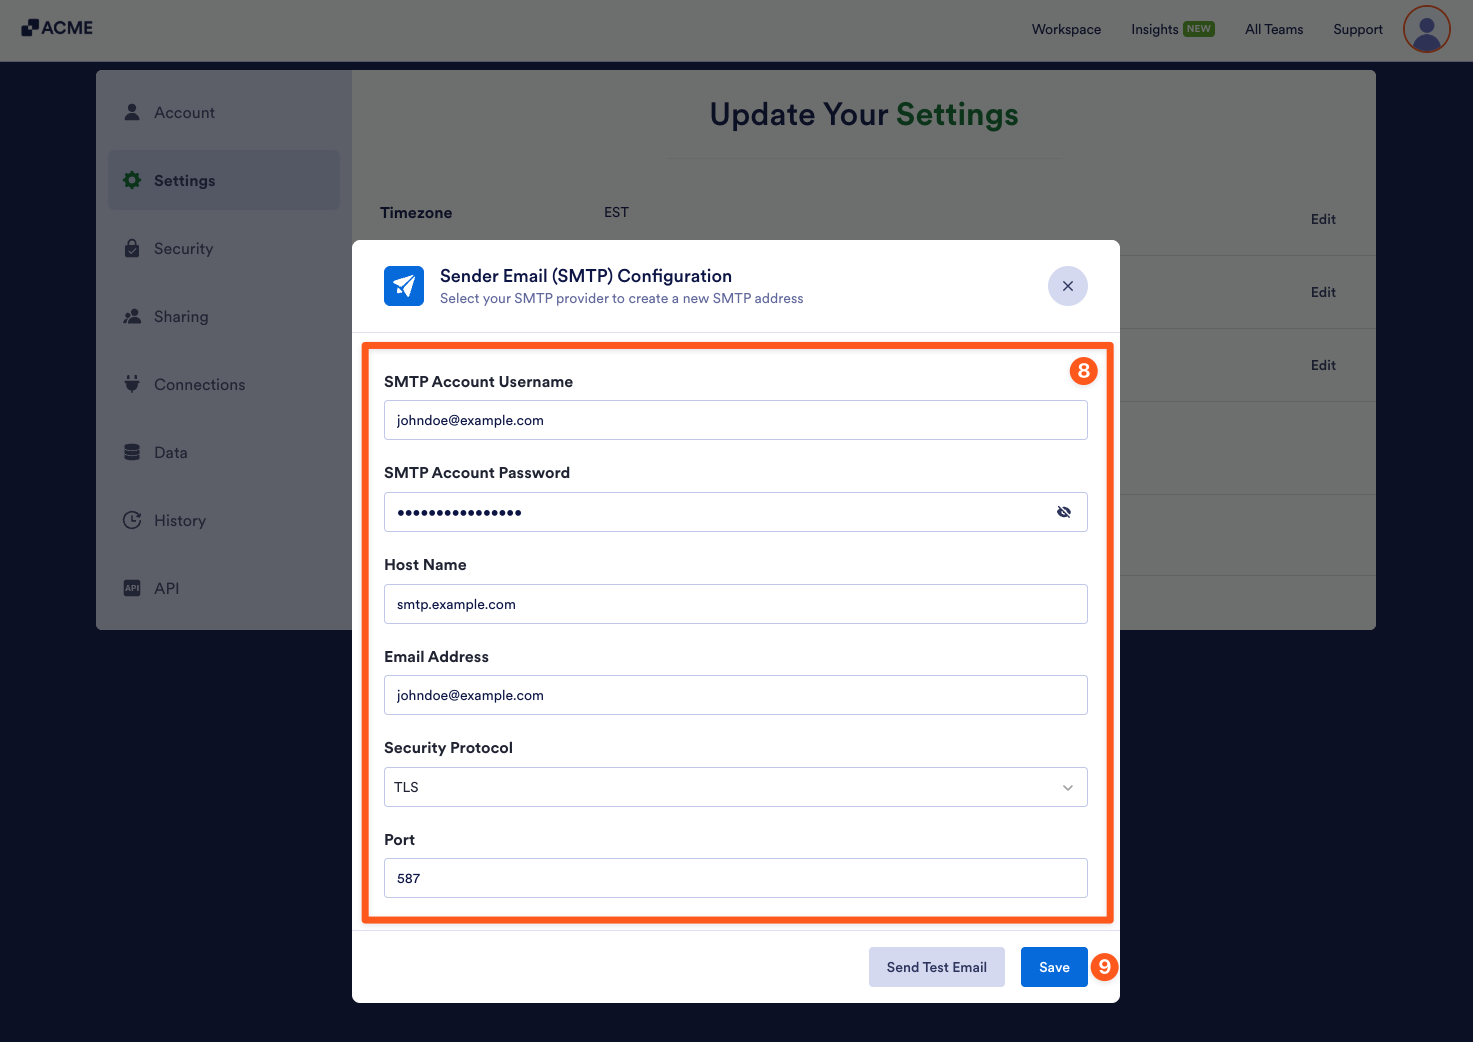
- Next, enter the SMTP configuration details for your email address:
- SMTP Account Username — Usually your full email address, unless your email provider specifies a unique username.
- SMTP Account Password — The password associated with your email account. Some email providers may require an app-specific password instead of your regular login password.
- Host Name — The SMTP (outgoing mail) server address provided by your email provider.
- Email Address — The email address you want to use as the sender. This usually matches your SMTP account username.
- Security Protocol — Choose TLS or SSL based on your email provider’s recommendation.
- Port — Enter 587 for TLS or 465 for SSL.
We recommend using the Send Test Email button to check if all the information you provided is correct. You should see a message at the bottom of the Sender Email (SMTP) Configuration window confirming that a test email has been sent to the address you’re setting up as a sender email for your account. If you get an error message during the test, you won’t be able to complete the setup.
- Once you’ve confirmed that everything is correct, click on Save to create the custom sender email with your email address.
That’s it! You’ve successfully set up a custom SMTP sender email for your account.
- After adding the sender email, return to the Advanced tab on the Emails page. Then, click the Sender Email Dropdown menu and select your custom sender email.
To update/delete custom Sender Emails, check this guide: How to Edit/Delete Sender Emails on SMTP Settings.
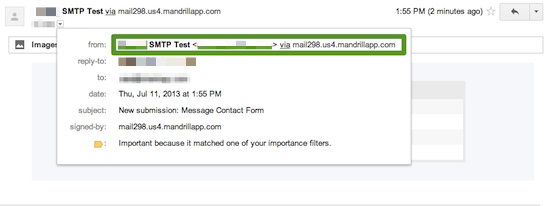
After adding the sender email, test your form to see it functioning.
Note that your form is still not really coming from your own domain name.
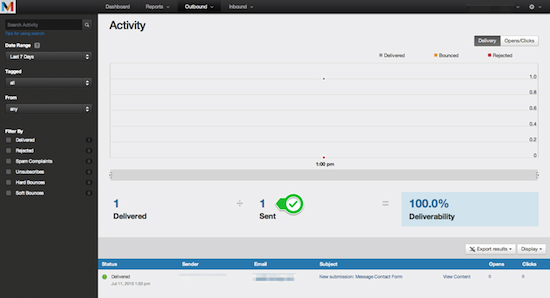
You can see your email stats on Mandrill site.
If you have questions, feel free to post it below.

Send Comment: