Webhooks are a convenient way to instantly send form submissions or collected data to other applications or your own server. They help keep information in sync and support seamless automation, allowing your workflows to run smoothly with minimal effort.
Setting up the Webhook integration is quick—here’s how:
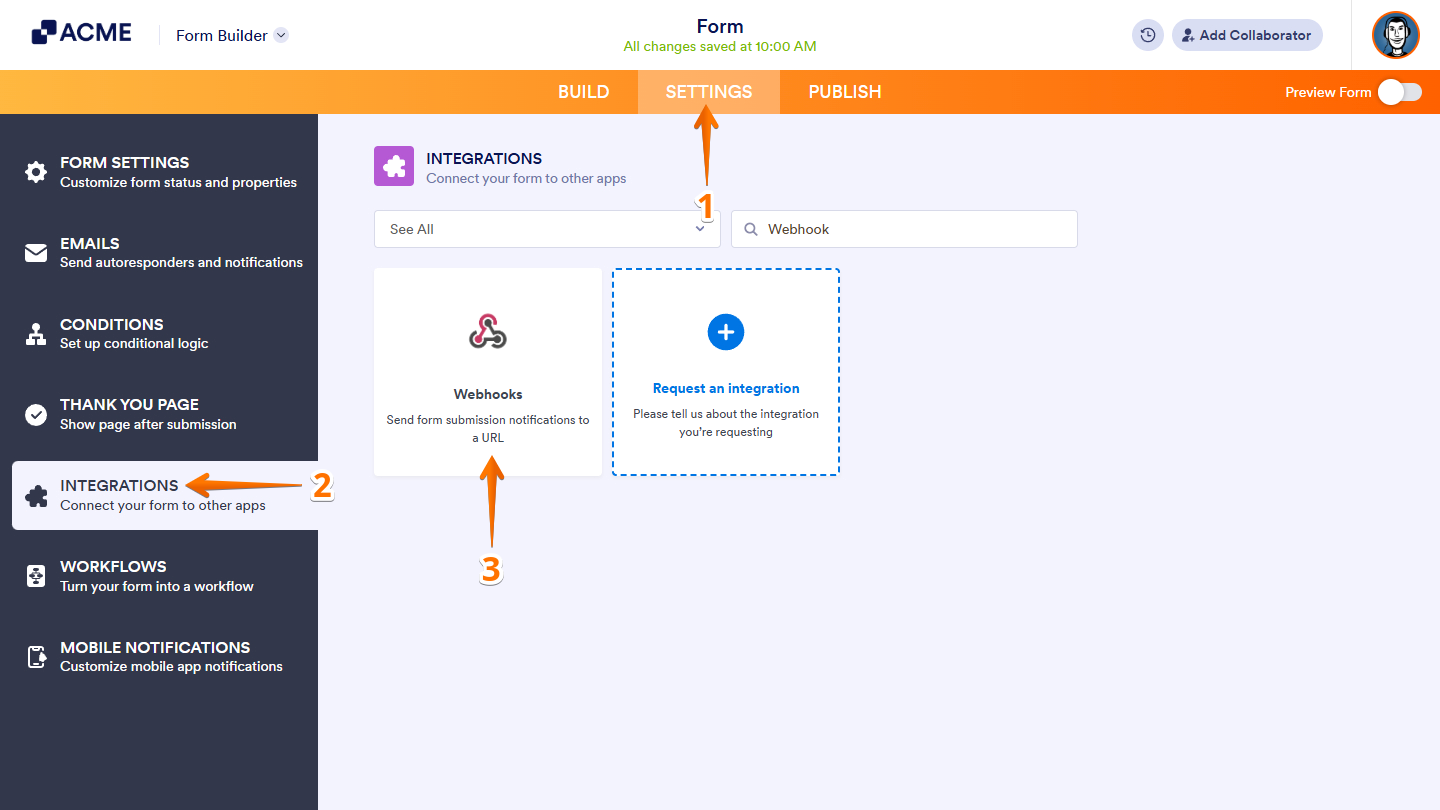
- In Form Builder, in the orange navigation bar at the top of the page, click on Settings.
- In the menu on the left, click on Integrations.
- Then, search for Webhooks and click on it.
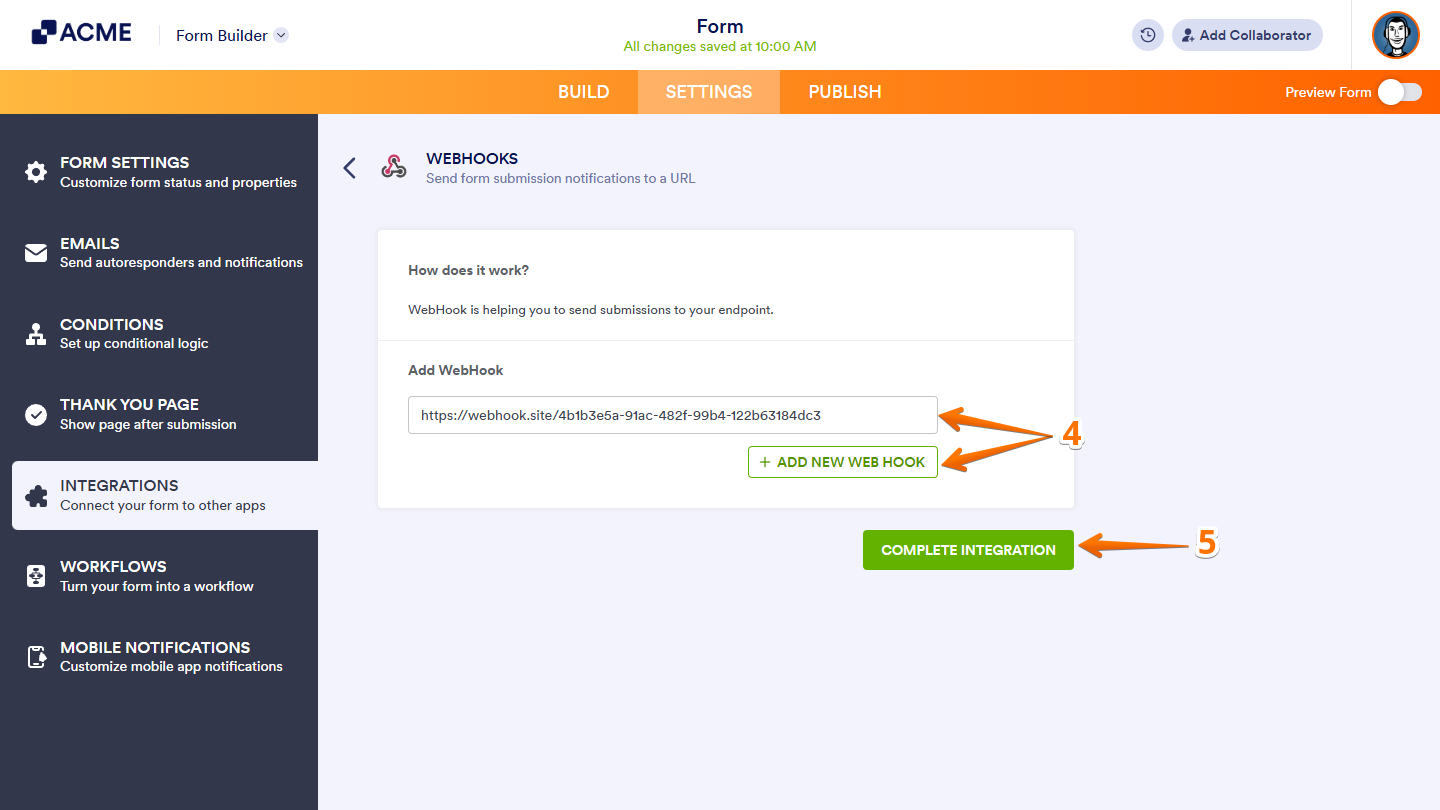
- Now, enter your endpoint or webhook URL in the Add WebHook field. To add more endpoints, click on Add New Webhook.
- Once done, click on Complete Integration.
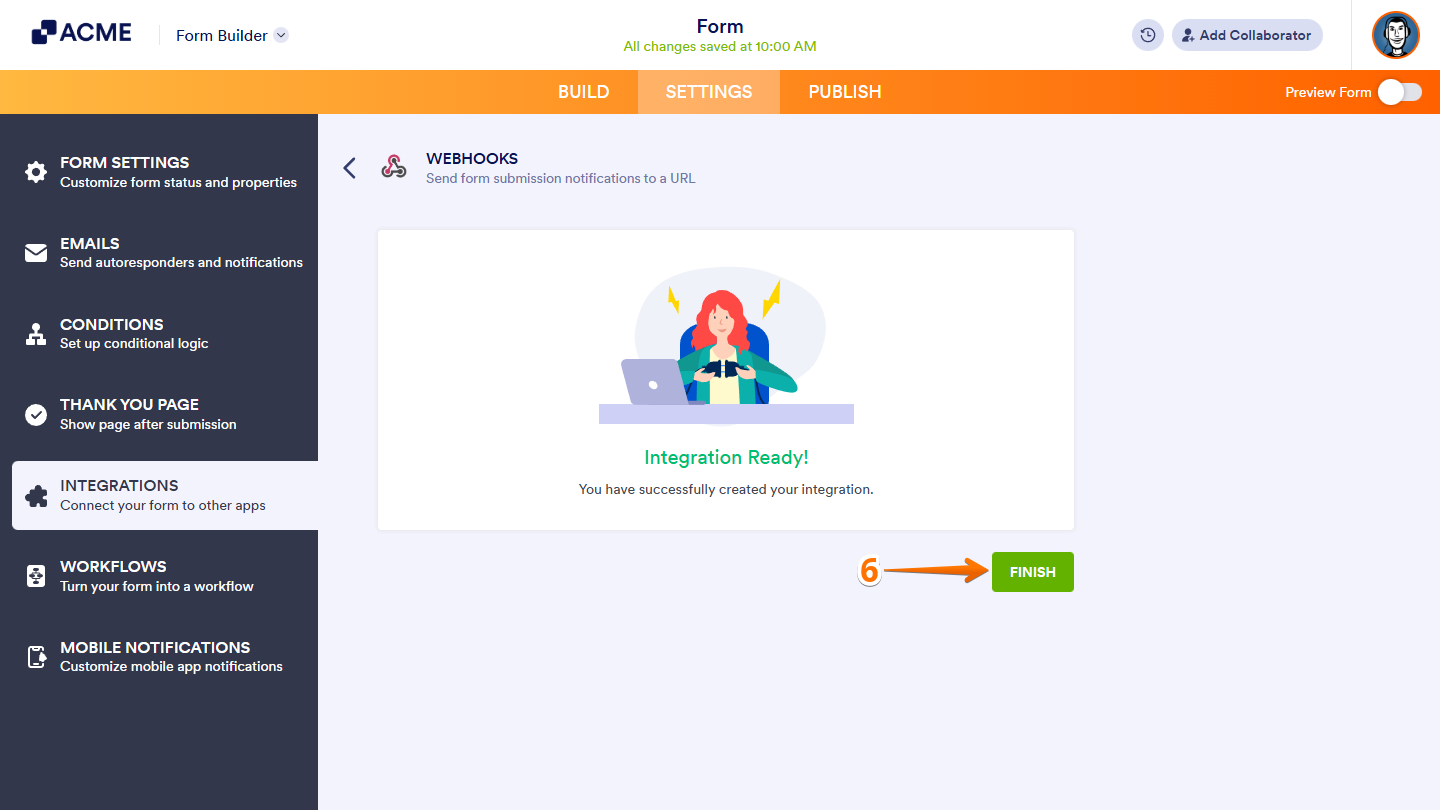
- Finally, click on Finish.
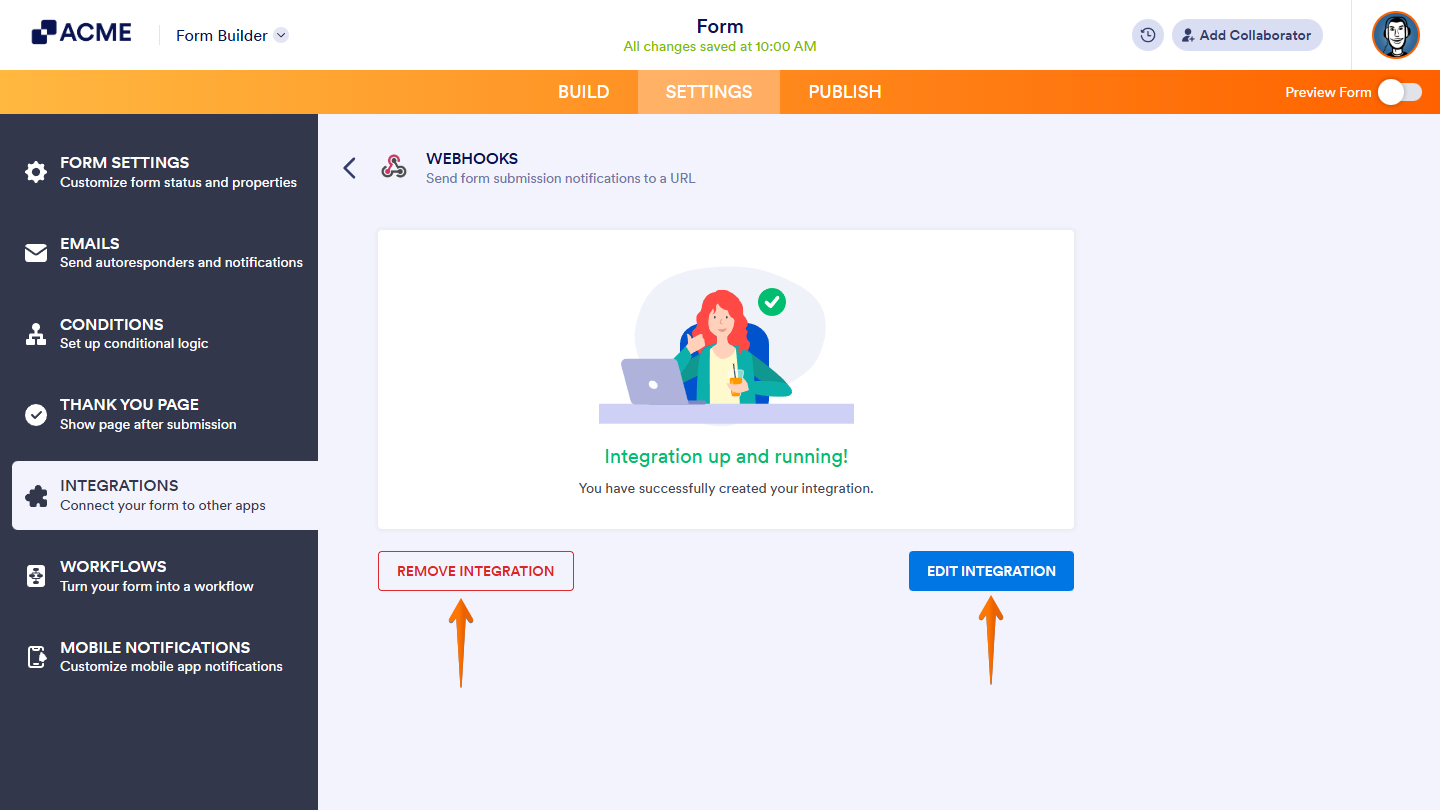
That’s it. Your form is now ready to send submission data to your chosen endpoint. You can remove or update the integration anytime by clicking the Webhooks icon in the Integrations tab.
Notes:
- The WebHooks integration has a 30-second request timeout.
- Encrypted forms can only send encrypted data.
- The endpoint may have limitations that could prevent the request from being processed. These include, but are not limited to
- Timeout to close the connection to the endpoint.
- The maximum size of data accepted may be lower than the submission data.
- Firewall rules on the endpoint.
Here’s an example PHP script you can save and use as an endpoint to test your webhook. It saves form entries to a text file, which is helpful for debugging:
<?php
// convert JSON to PHP
$data = json_decode($_REQUEST['rawRequest'], true);
// write data to a file
file_put_contents('webhook_test.txt', print_r($data, true), FILE_APPEND);
?>
Send Comment: