Notifications automatically email you or your specified recipients when a user submits an entry to your web form. By default, when you reply to a notification email, the message goes to the form filler’s email address.
The Form Builder automatically creates an email notification for your account’s email address once you add the first element to your form.
To create or edit your email notification
- In the Form Builder, go to Settings at the top.
- Select Emails on the left.
- Choose whether to create or edit a Notification.
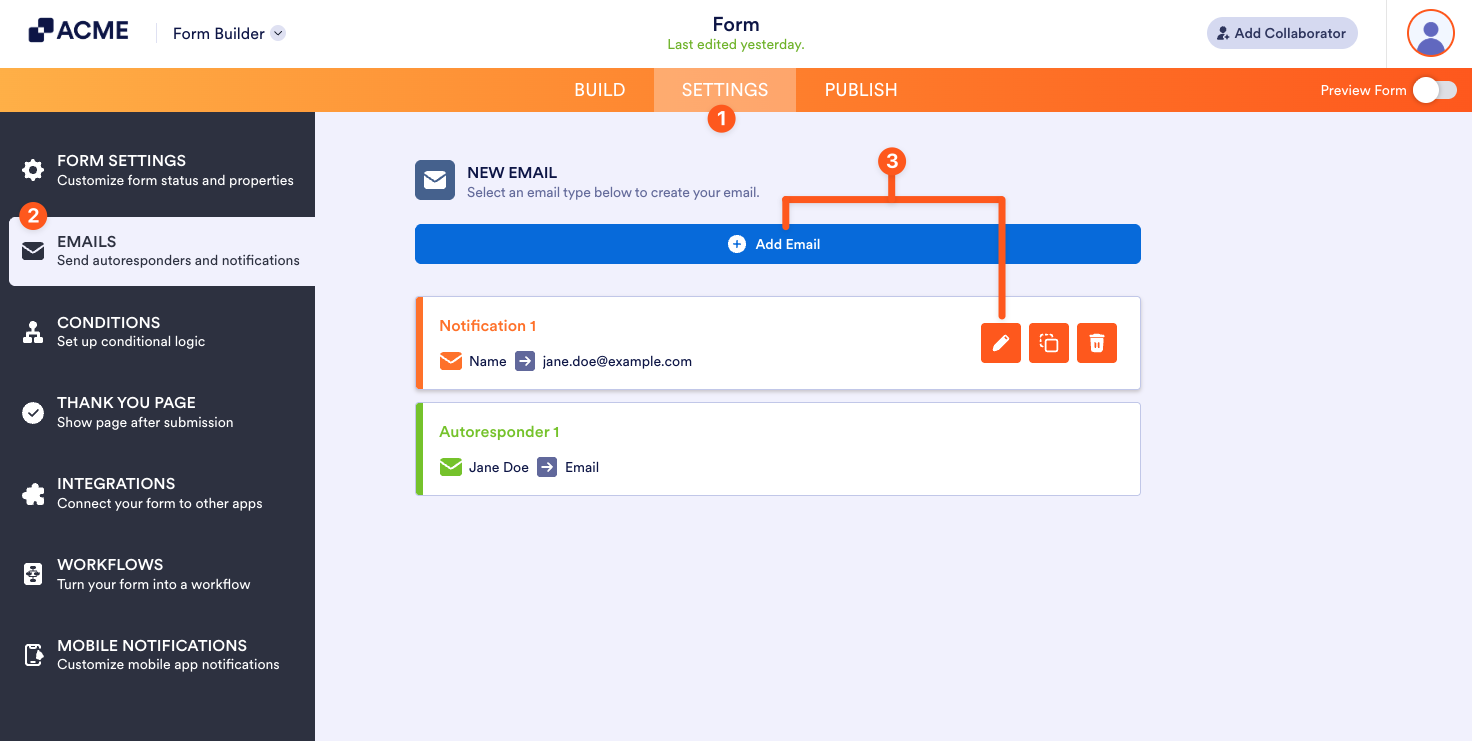
- To create a Notification, click Add an email, then select Notification Email.
- To edit a Notification, select its pencil icon.
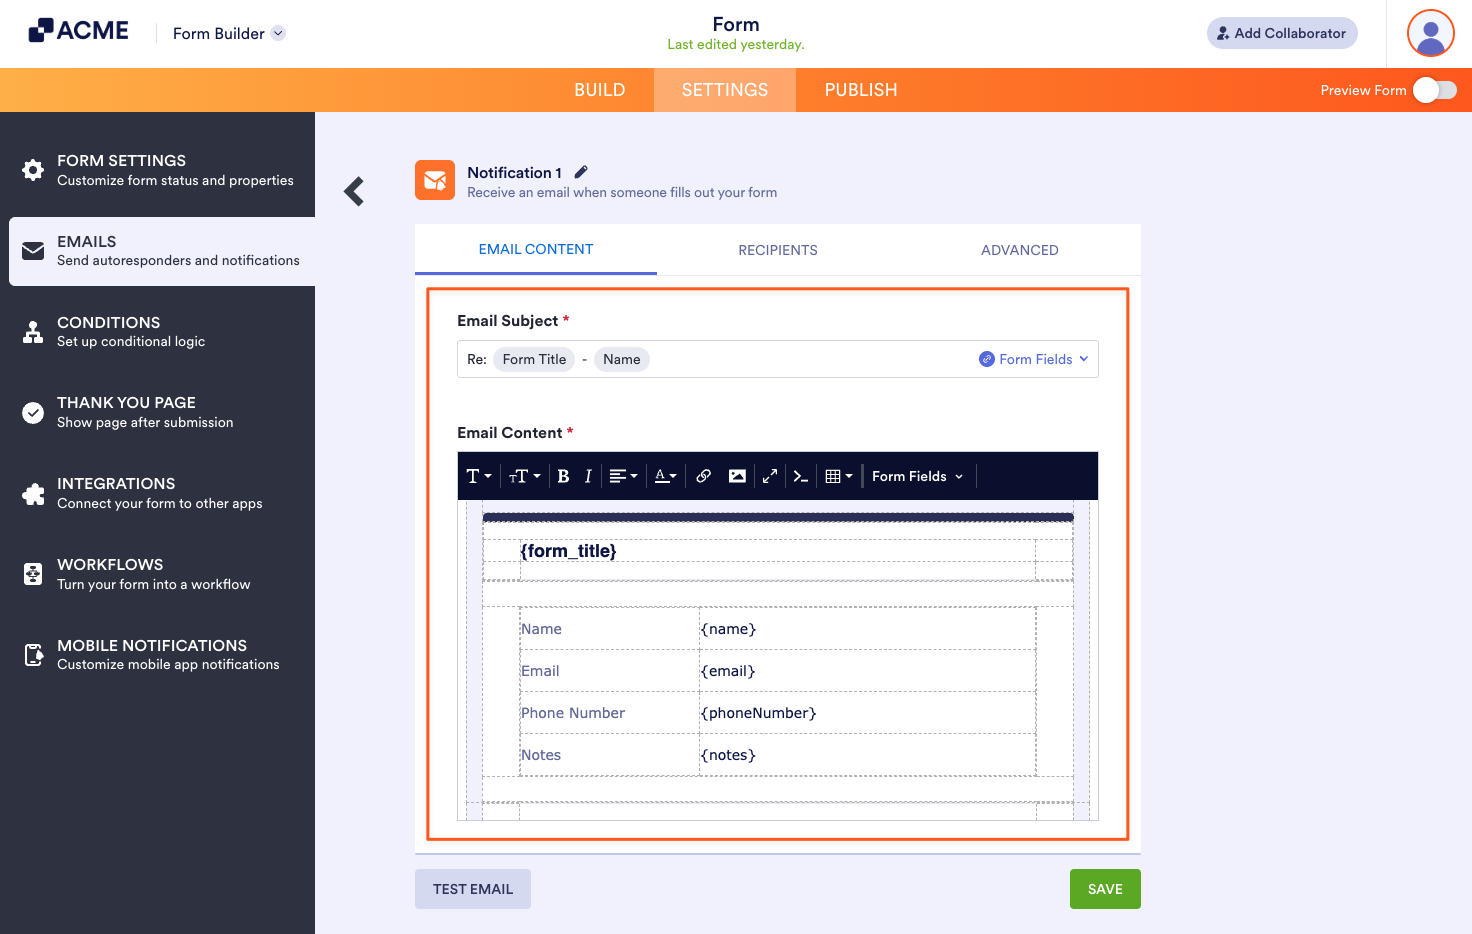
- Customize your notification email in the editor. To learn more, see Editing Email Templates.
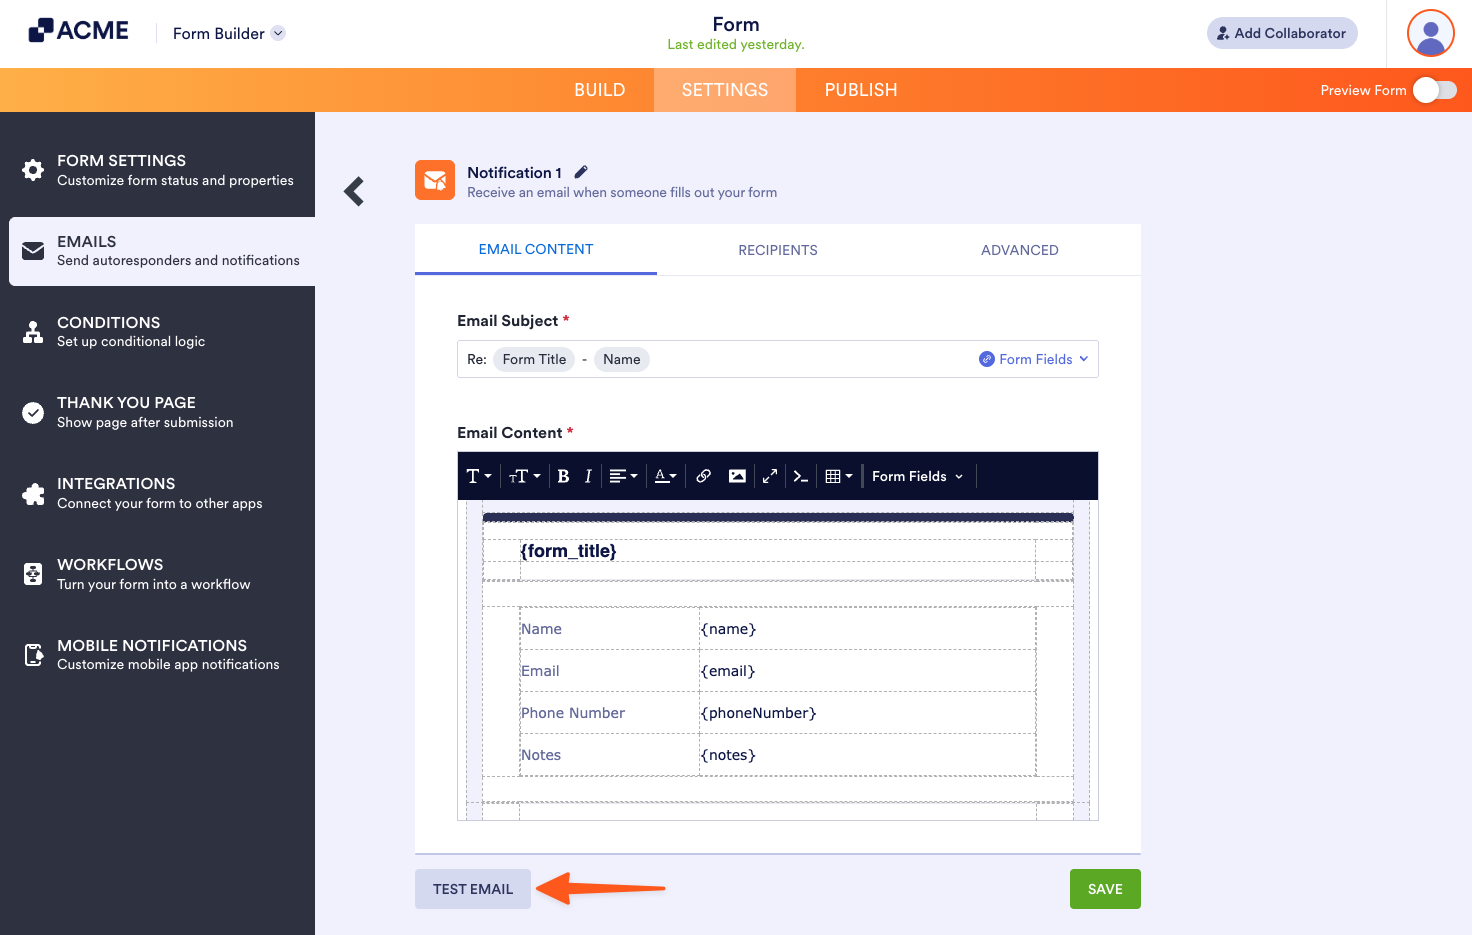
The Test Email button always sends the test email to your account’s email address. To check other recipients, send a test entry to your form.
Changing Email Recipients
To change recipients and other email information, edit your notification, then go to Recipients at the top.
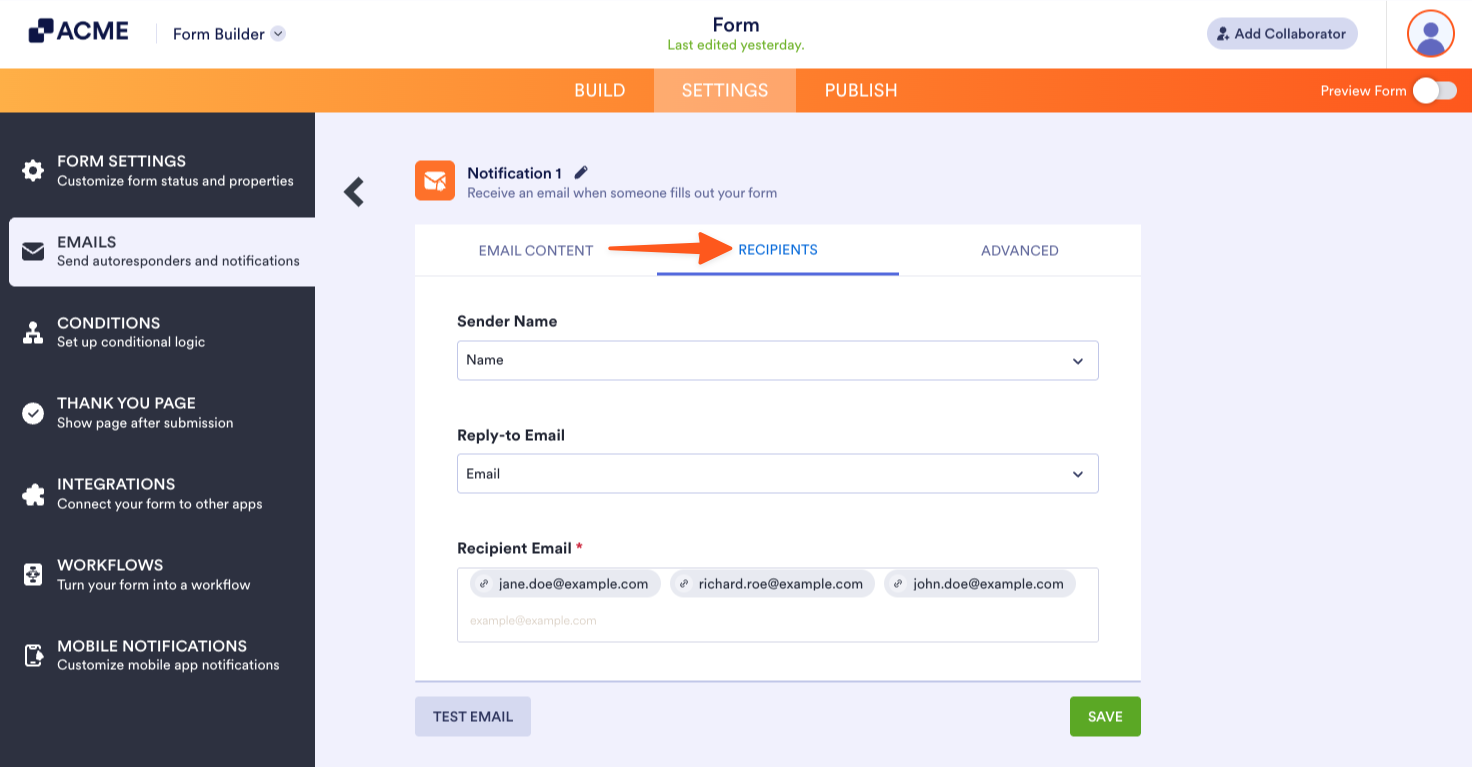
Here are the available options in the Recipients tab:
- Sender Name — The “from” name that appears in the email. You can map it to one of your form’s supported fields.
- Reply-to Email — Mapped to one of your form’s Email elements by default. You can set it to one of your form’s supported fields.
- Recipient Email — It’s set to your account’s email address by default. You can change it or add more recipients.
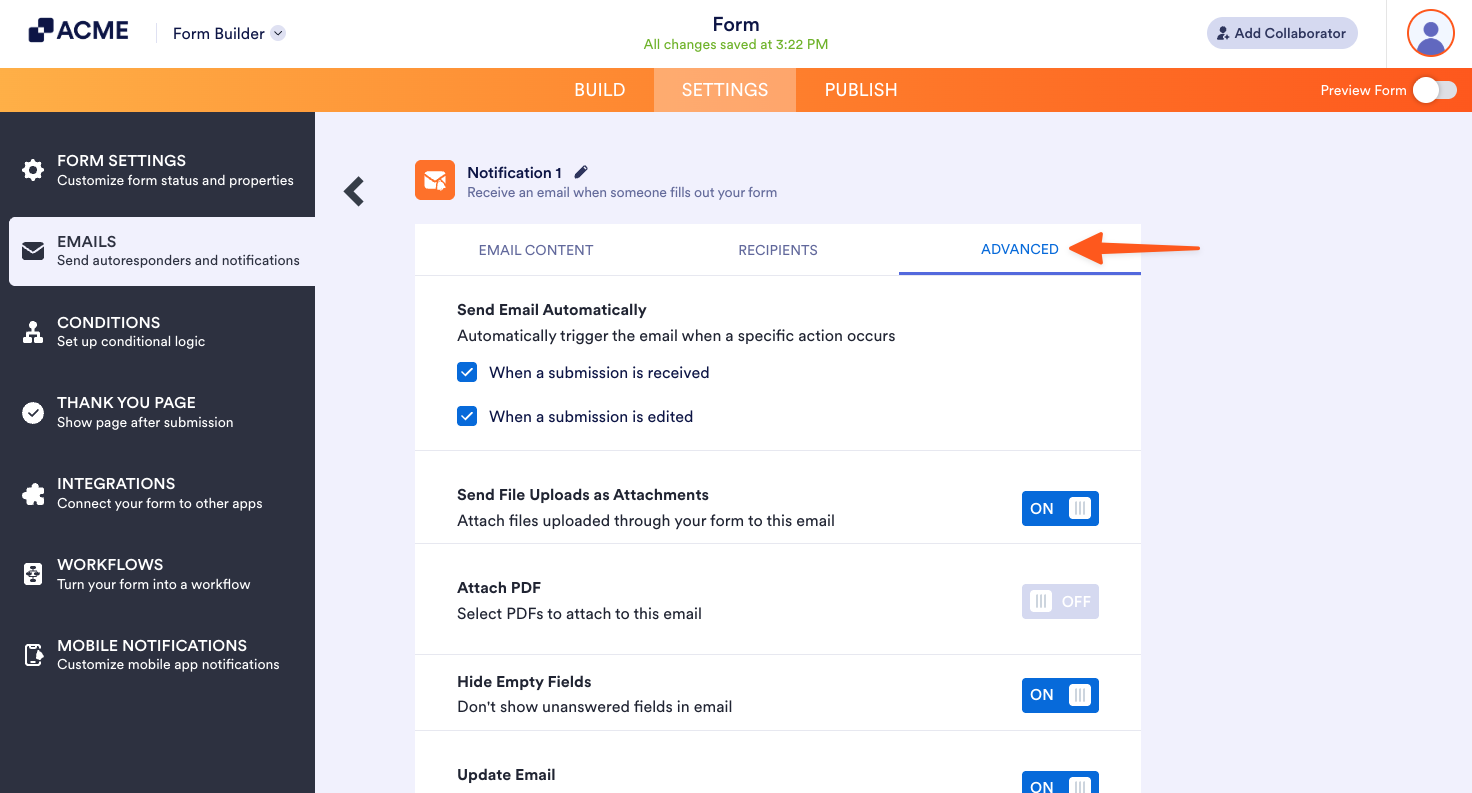
Accessing Advanced Options
The Notification’s Advanced tab holds additional options for your email notifications like changing the sender address and adding file attachments to name a few.
To view advanced options, edit your notification, then go to Advanced at the top.
Visit the following guides to learn more about the available options and how to use them:

Send Comment: