AWeber is an affordable and easy-to-use email marketing and autoresponder tool. It allows you to send email newsletters easily to your subscribers.
If you want to automatically pass your subscribers collected from your form to your AWeber’s email lists, follow these steps:
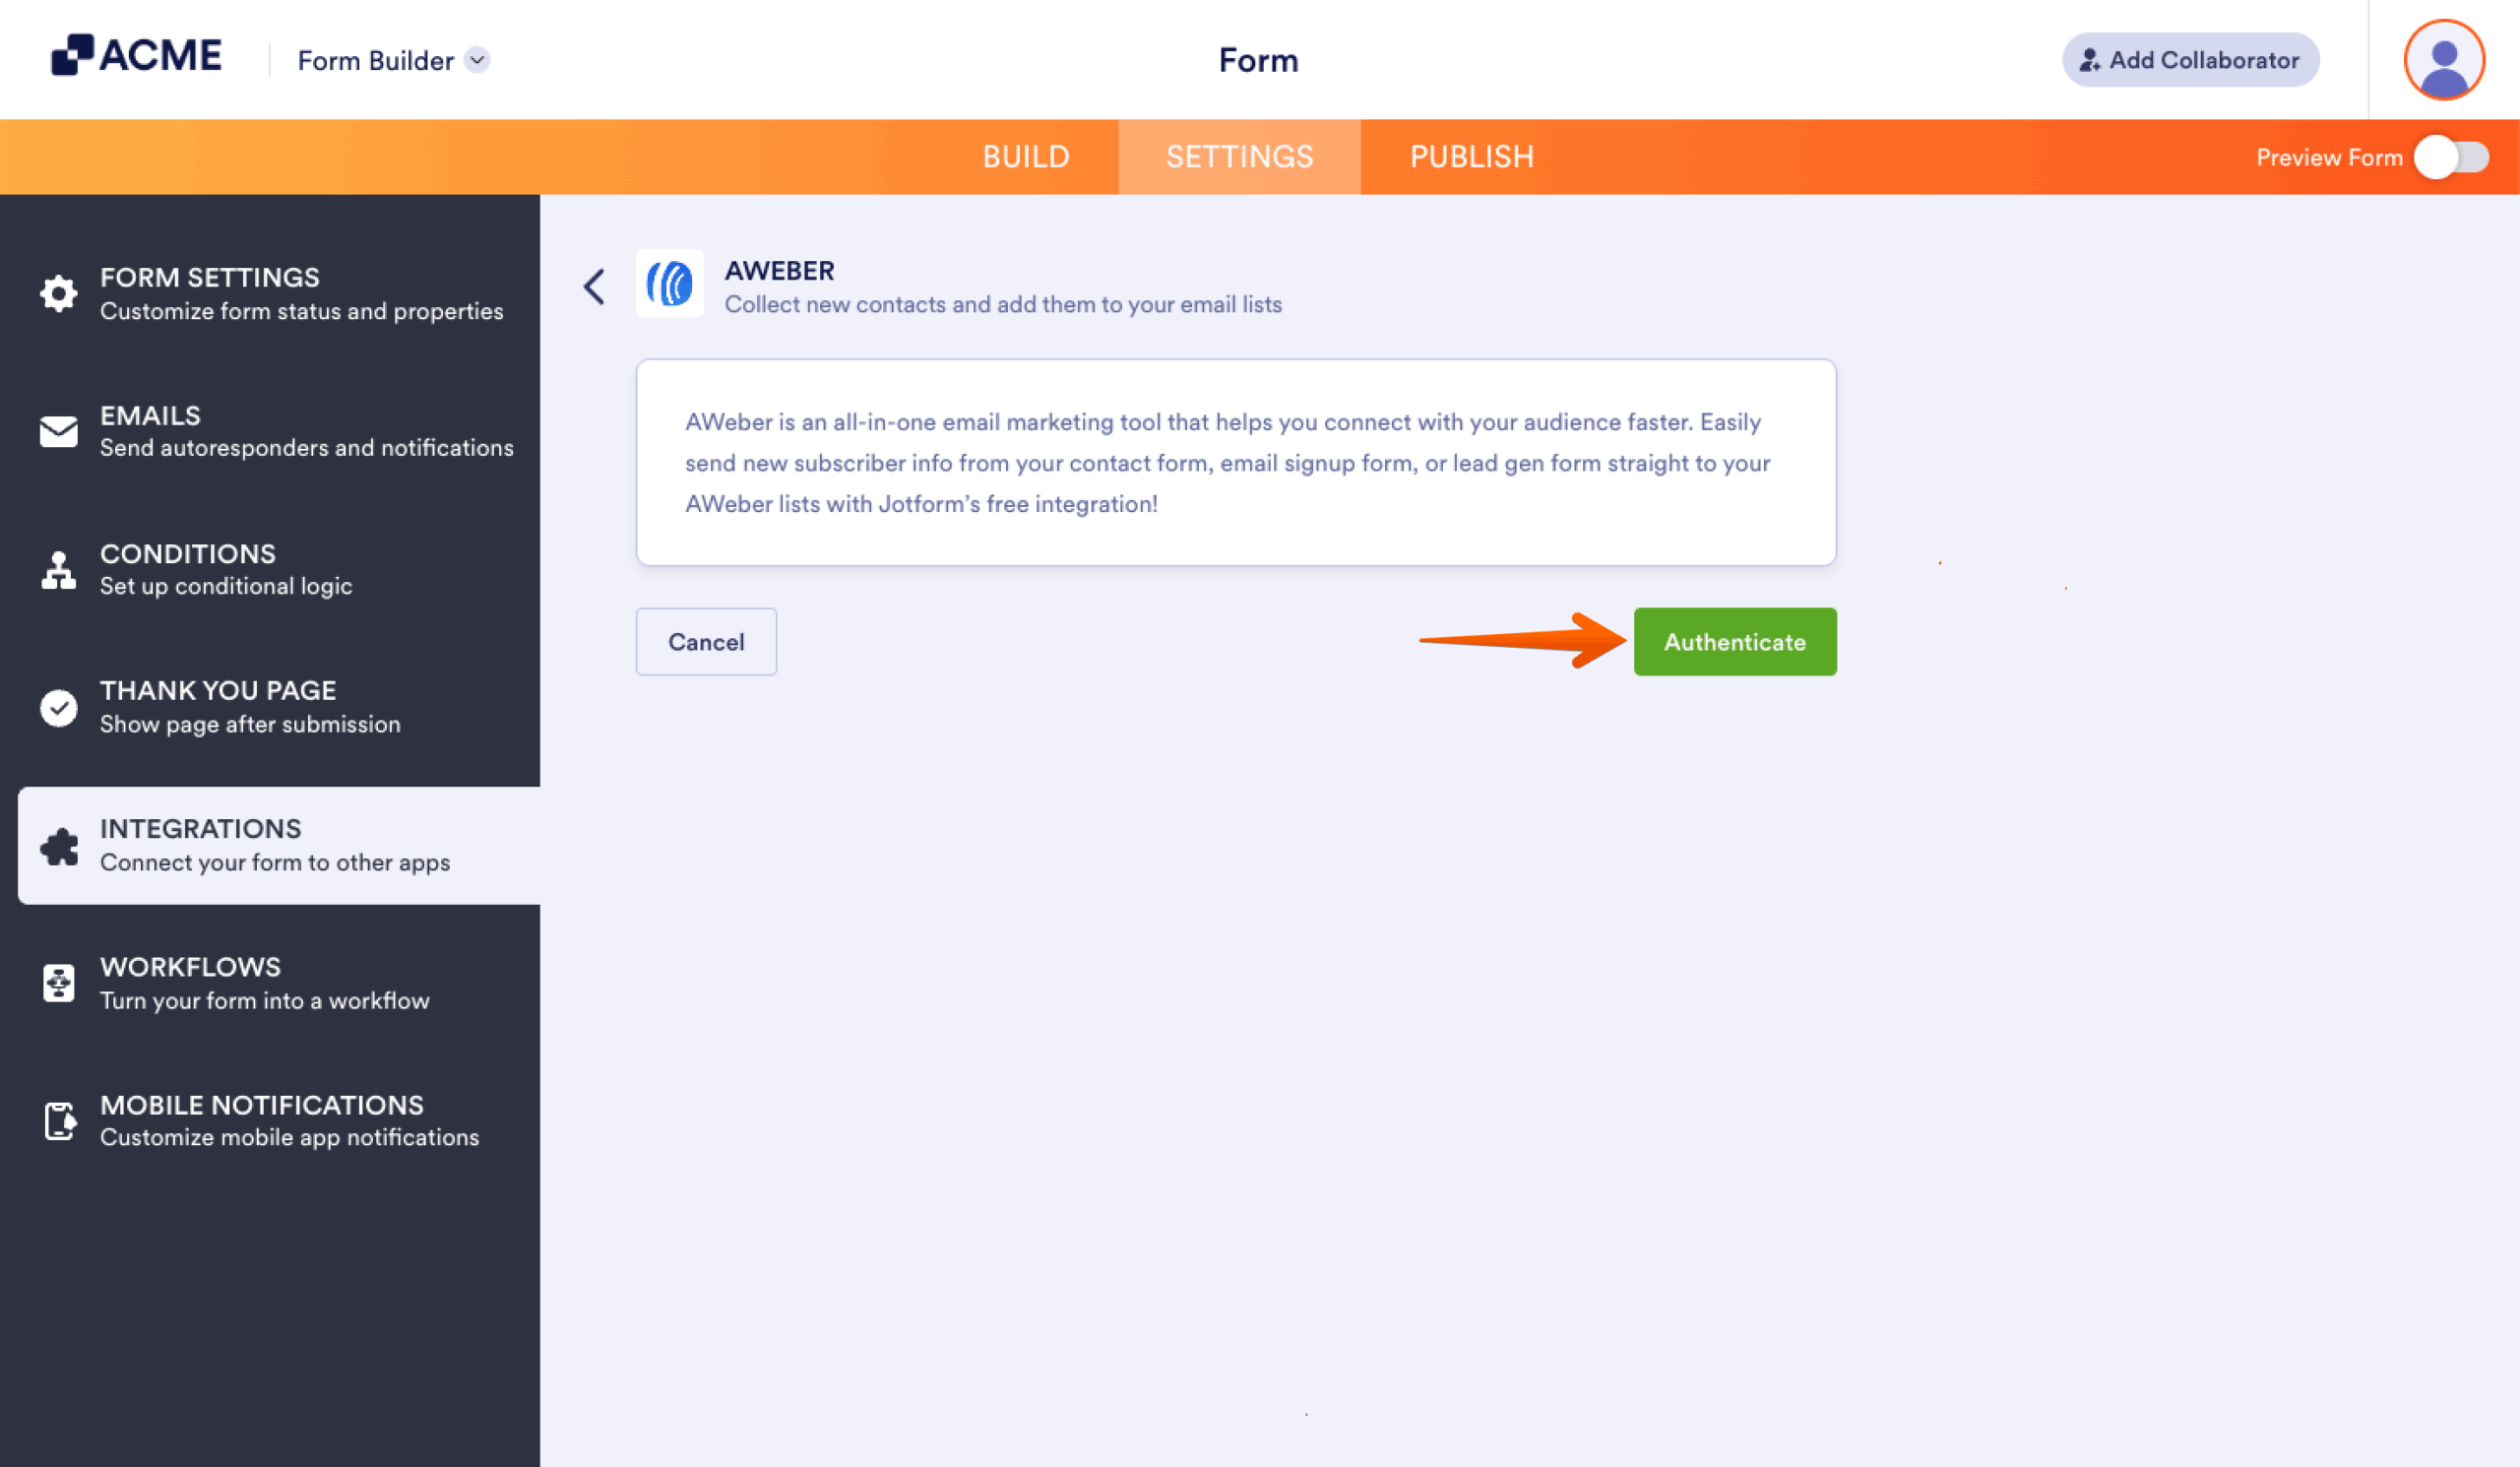
- In the Form Builder, navigate to the Settings tab at the top middle of the page.
- Select Integrations on the left panel.

- Search for and click AWeber from the list.

- Click the Authenticate button to connect your AWeber account. Ensure to allow permission when asked.
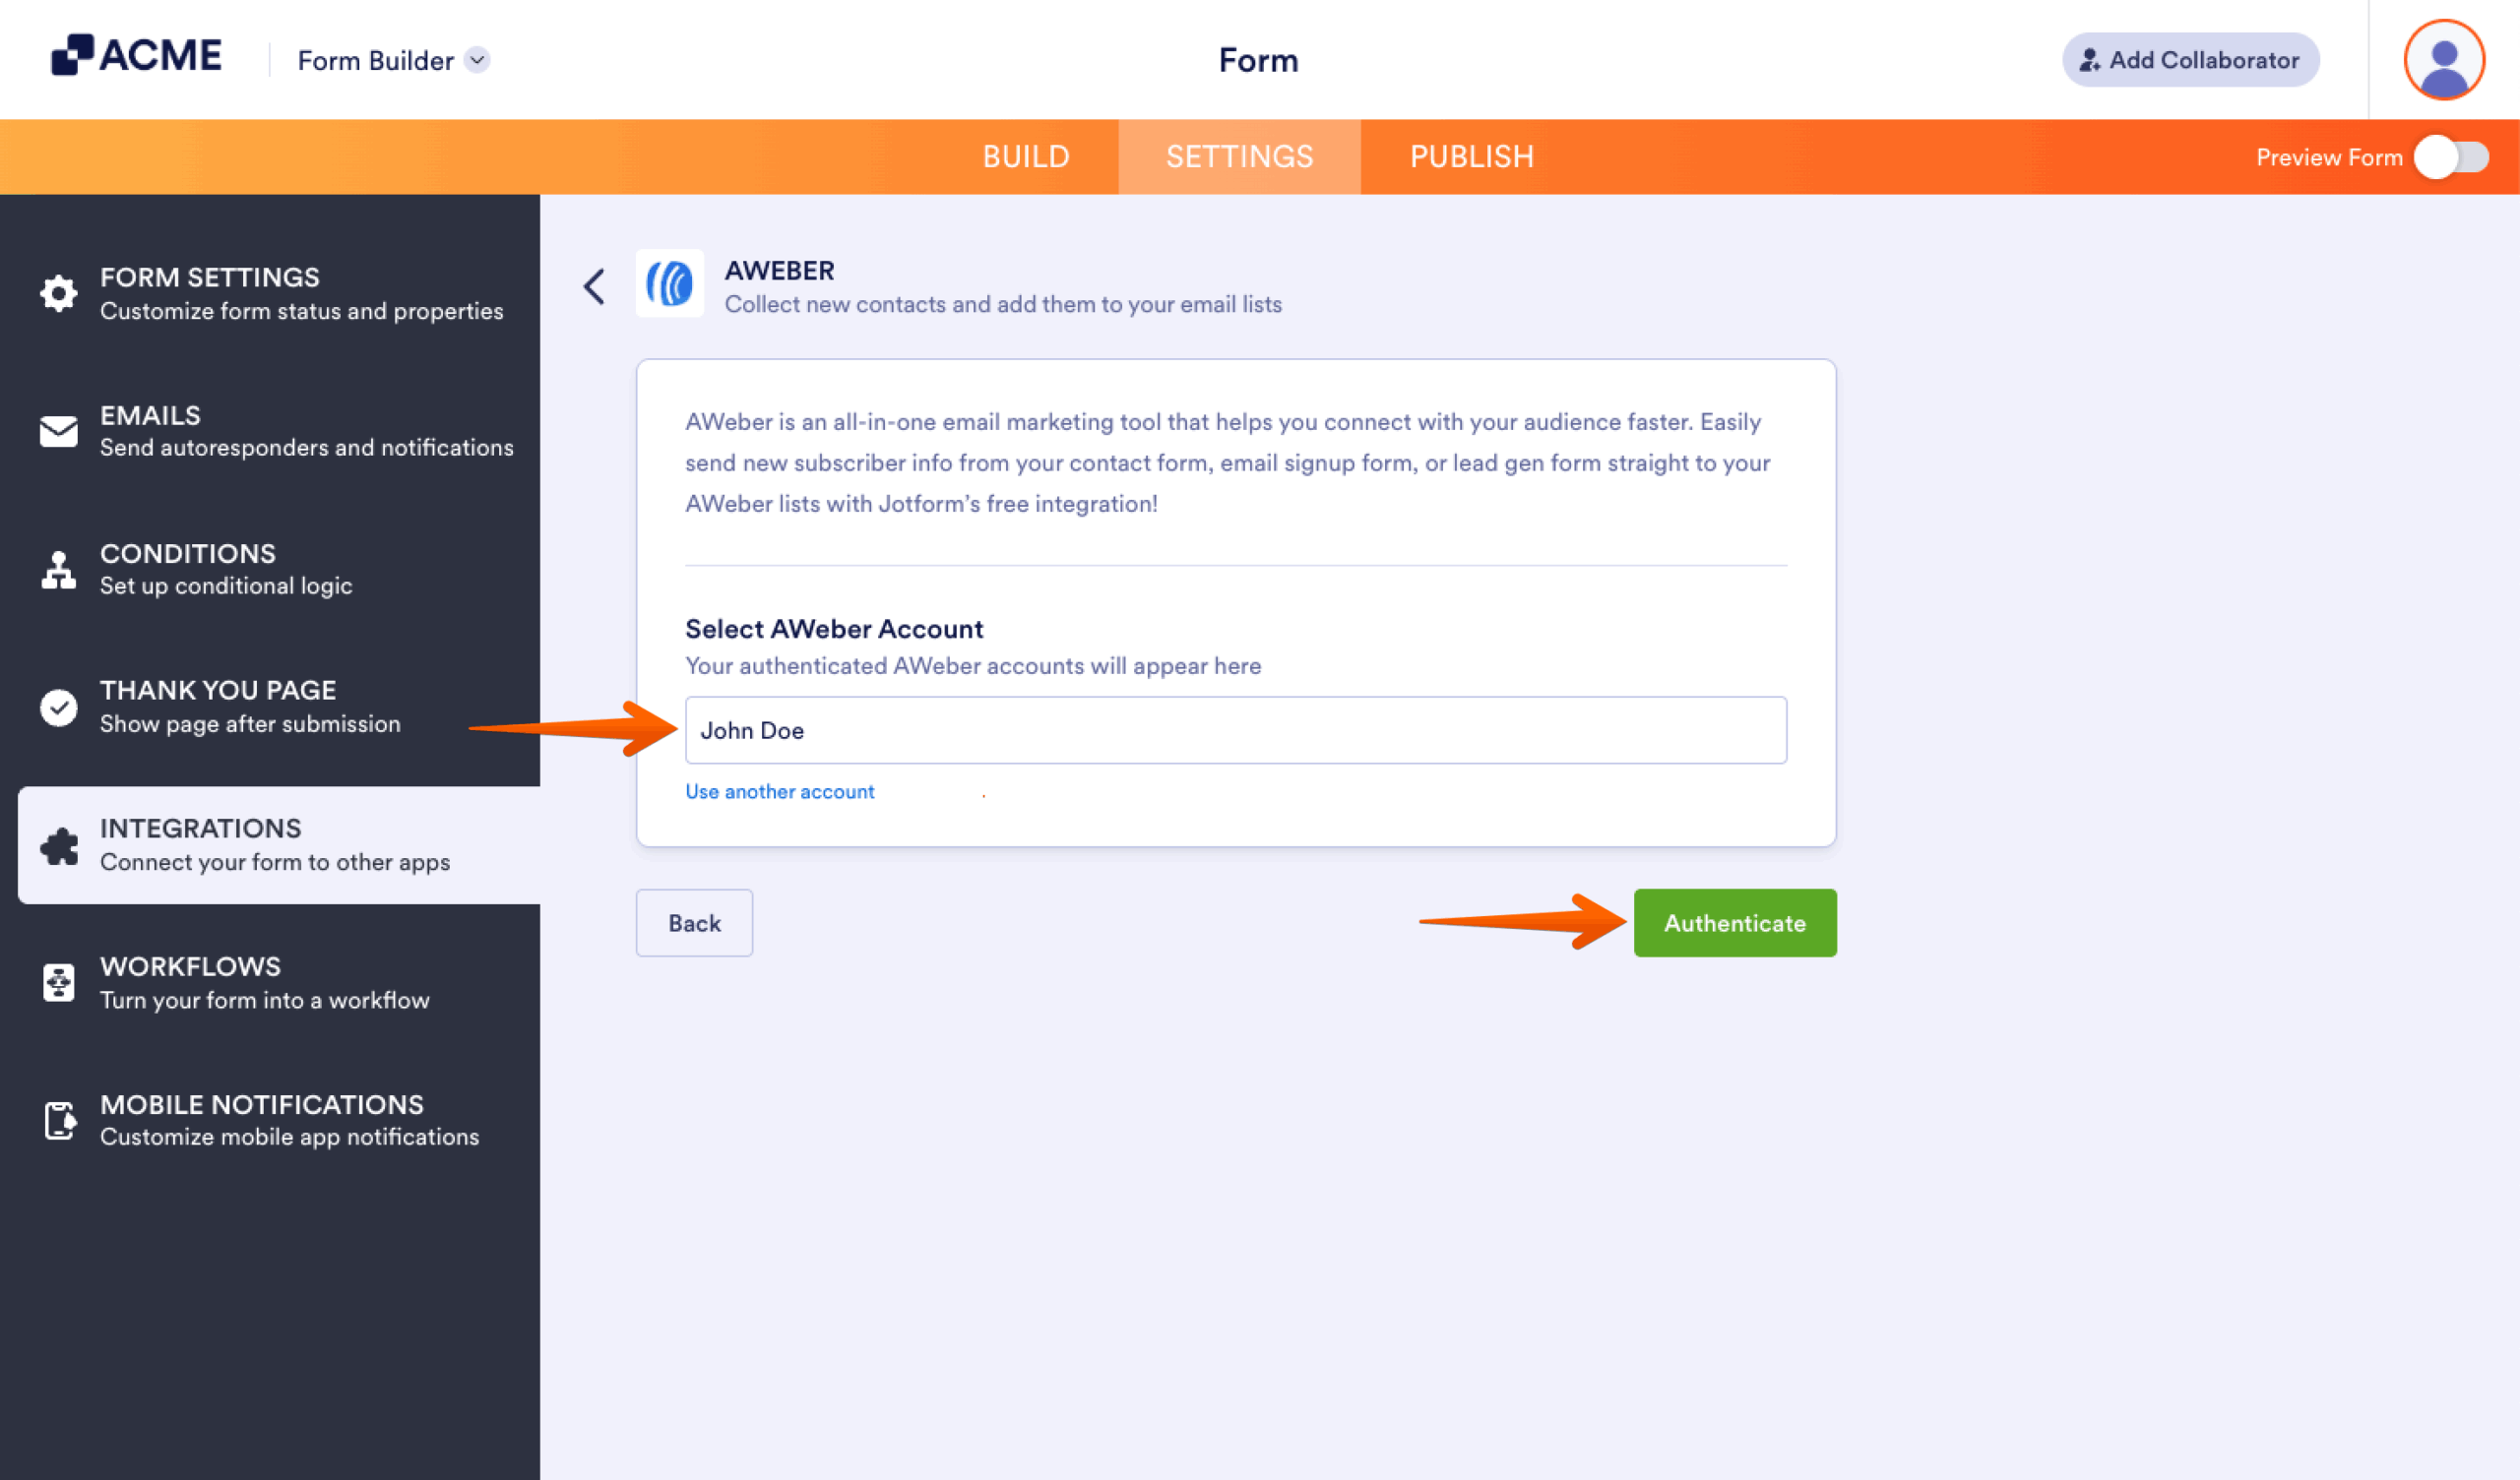
For previously authenticated accounts, choose the account to use, then click the Authenticate button.
- Now, set up your integration accordingly:
- Select a list — Select a list to send your contacts to.
- Match your fields — Match the fields between AWeber and the form.
- Update existing contact — The integration selects this option by default. Keep it checked if you want to update existing contacts based on the data they provide in the form.
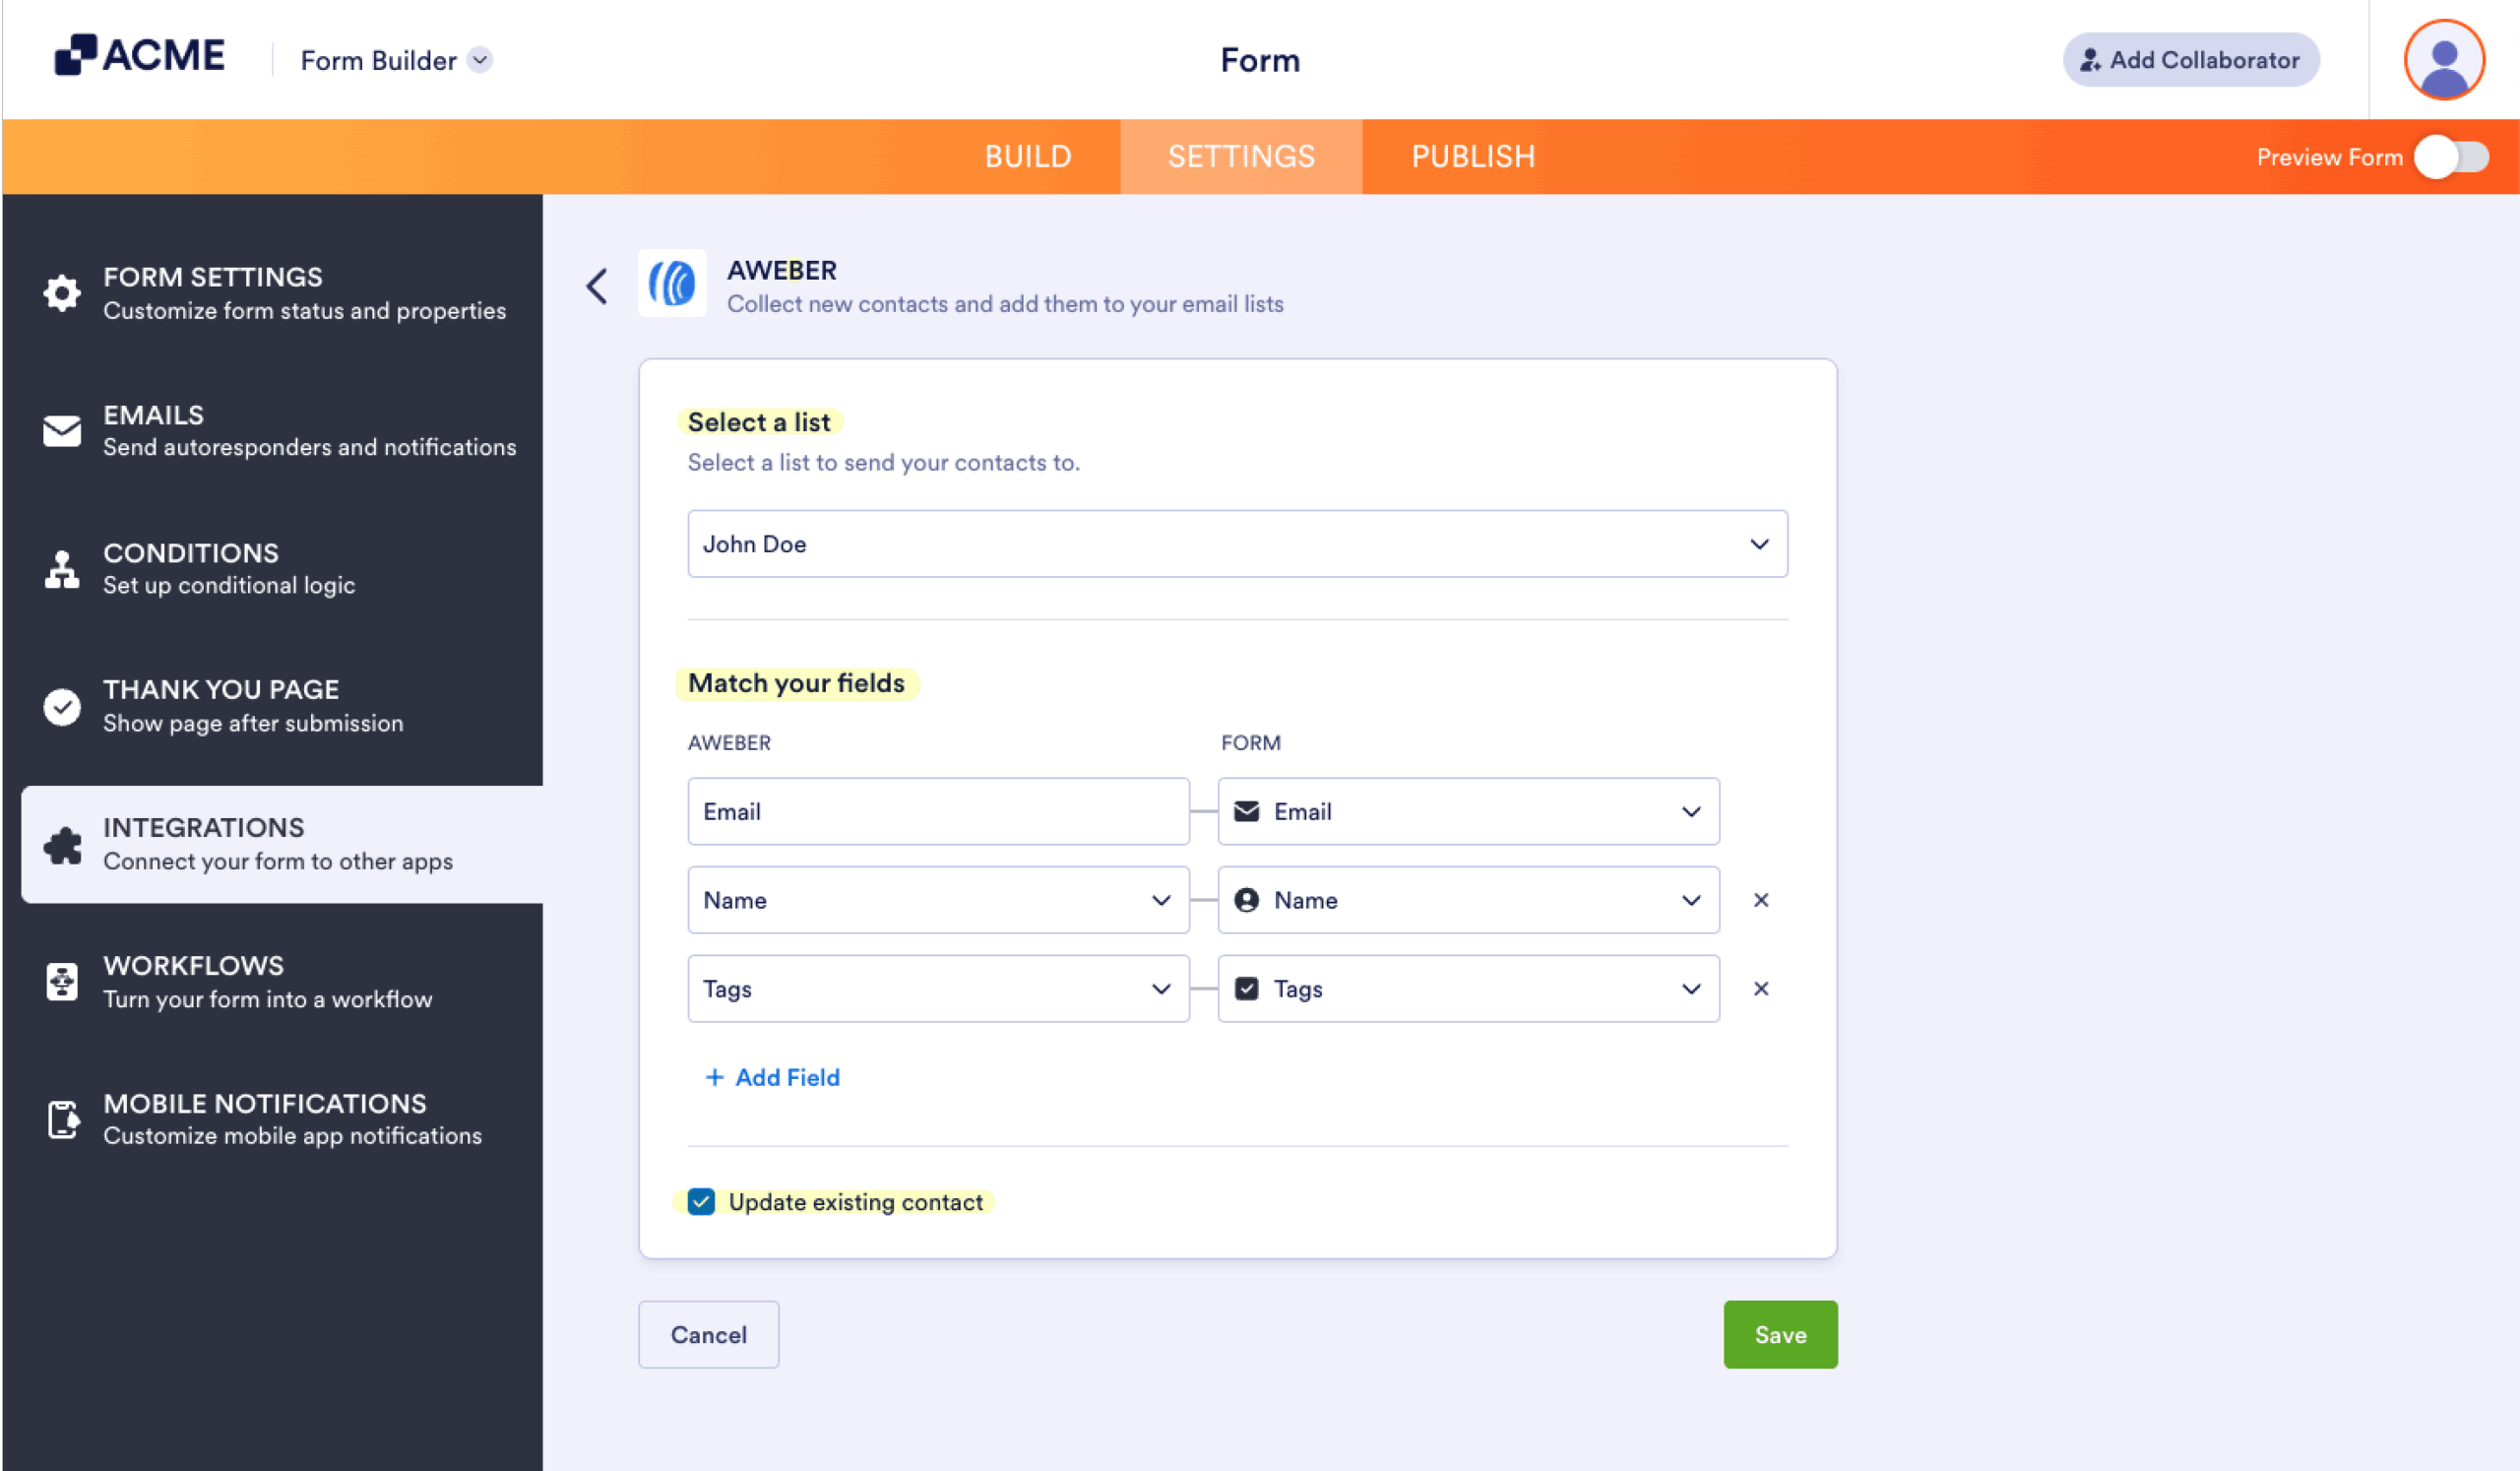
- Finally, click the Save button to complete the integration.
Note:
- With AWeber integration, you can only collect the Name and Email of your subscriber.
- You can apply tags to new subscribers by mapping Tags from AWeber to your form fields. Tags mapping supports Dropdown, Single Choice, and Multiple Choice elements.
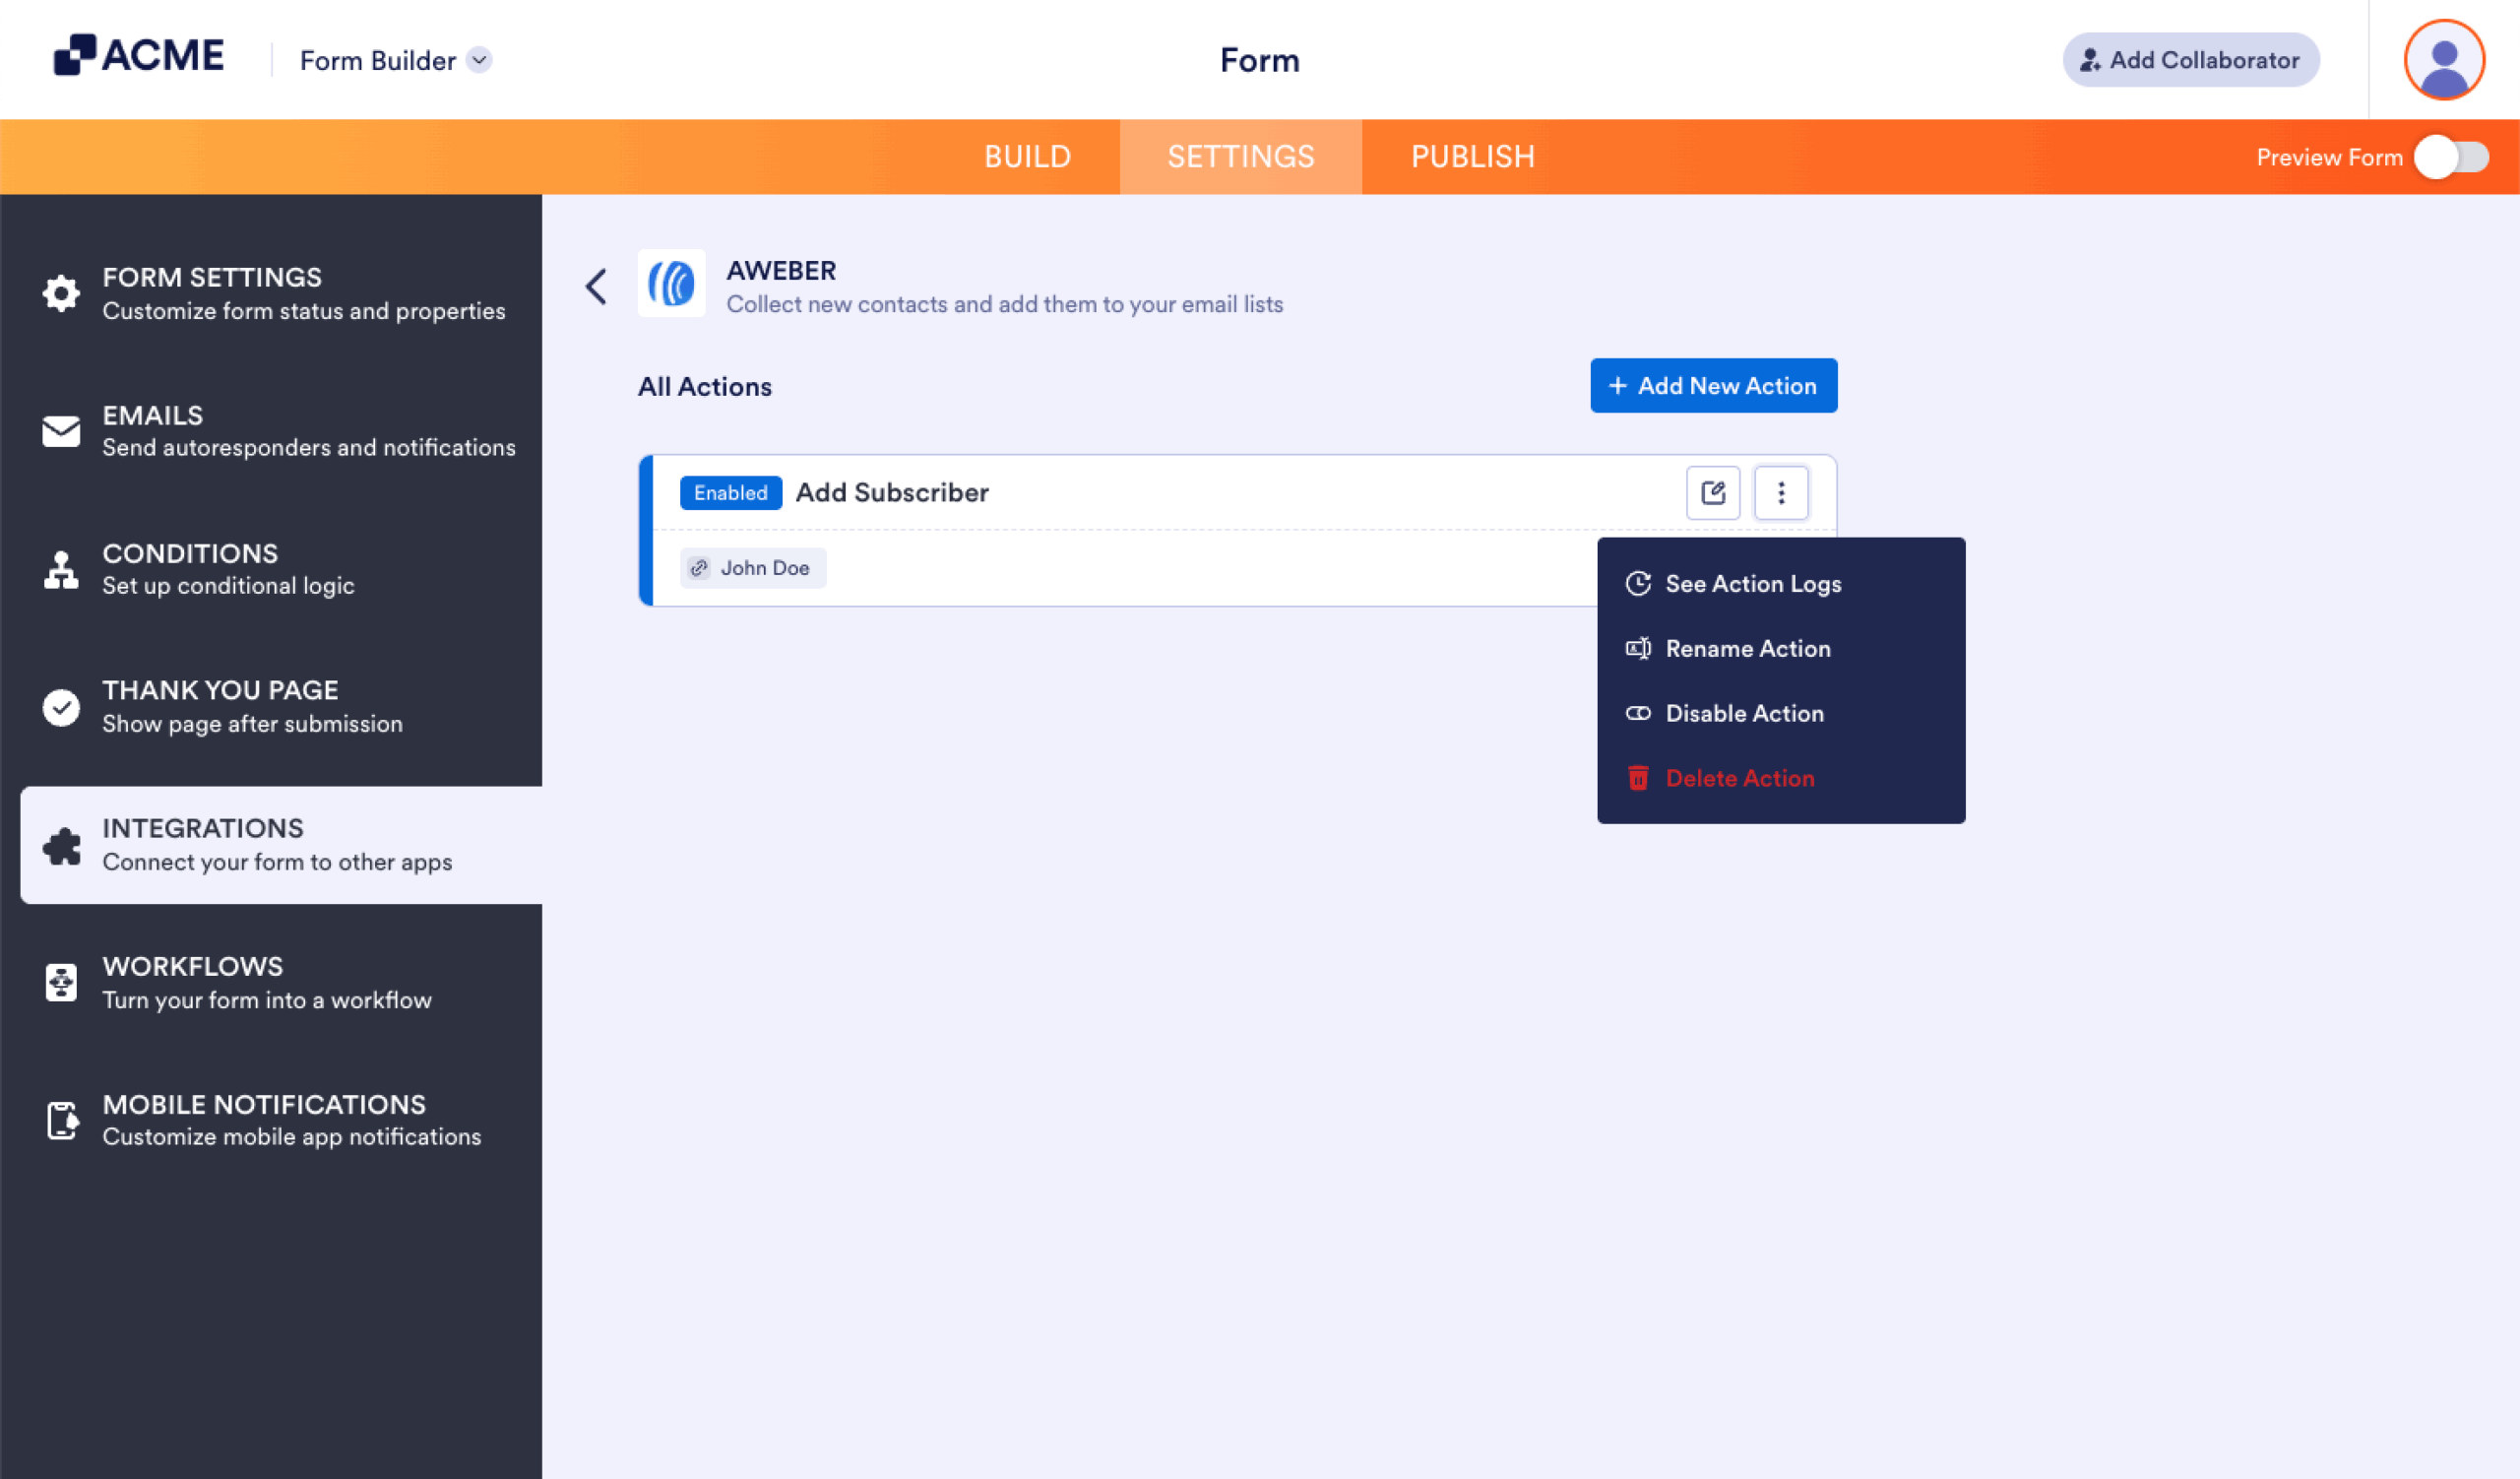
After saving the integration, you can see the list of actions you created and the Add New Action button on the main page. If you hover your mouse over the created action, you’ll see the Edit Action (pencil icon) and the More (thee-dotted vertical icon) options to the right. The More option includes the following:
- See Action Logs — This section will display your AWeber’s successful and failed runs. It’s useful when troubleshooting issues.
- Rename Action — If you want to personalize the action’s title.
- Disable Action — This option is useful to temporarily stop the integration from sending data.
- Delete Action — If you want to delete the action/integration from your form.
Note: AWeber requires Confirmed Opt-In, which means users must first confirm their subscription by clicking the approval URL sent to them via email before AWeber adds them to your list.

Send Comment: