If you have a File Upload in your form specifically for accepting images, you could do some tricks to display the uploaded images in the Notification Email, Autoresponder, and Thank You Message page.
Note: Displaying the image to users through Autoresponder and Thank You Message Page will require you to disable the Login to view uploaded files option from your Privacy Settings.
The trick would be to add the IMG: prefix in the unique field tag/name of the file upload element. Let’s start!
Display Uploaded Images in Form Emails
To display uploaded images in the form’s email alerts
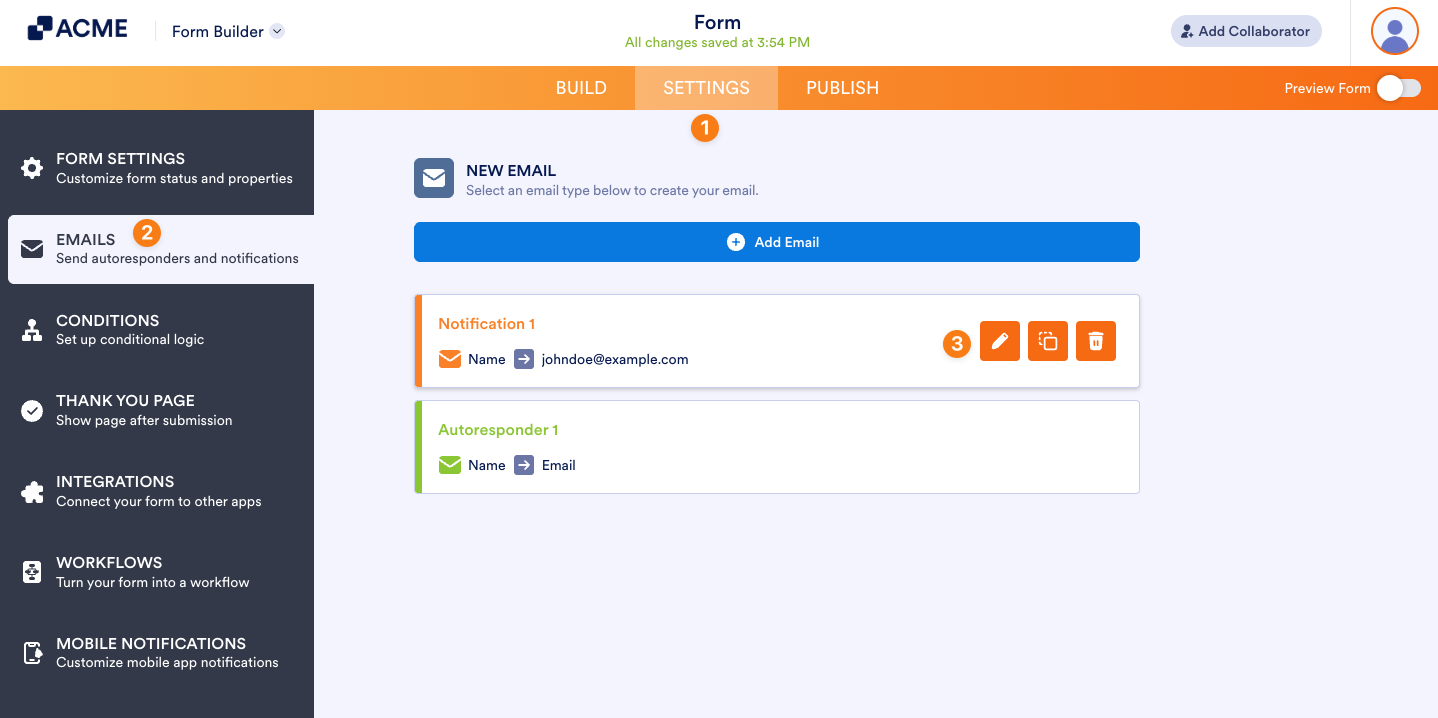
- In the Form Builder, go to the Settings tab.
- Select the Emails tab from the left panel.
- Hover over the Notification or Autoresponder Email and click the pencil icon to edit.
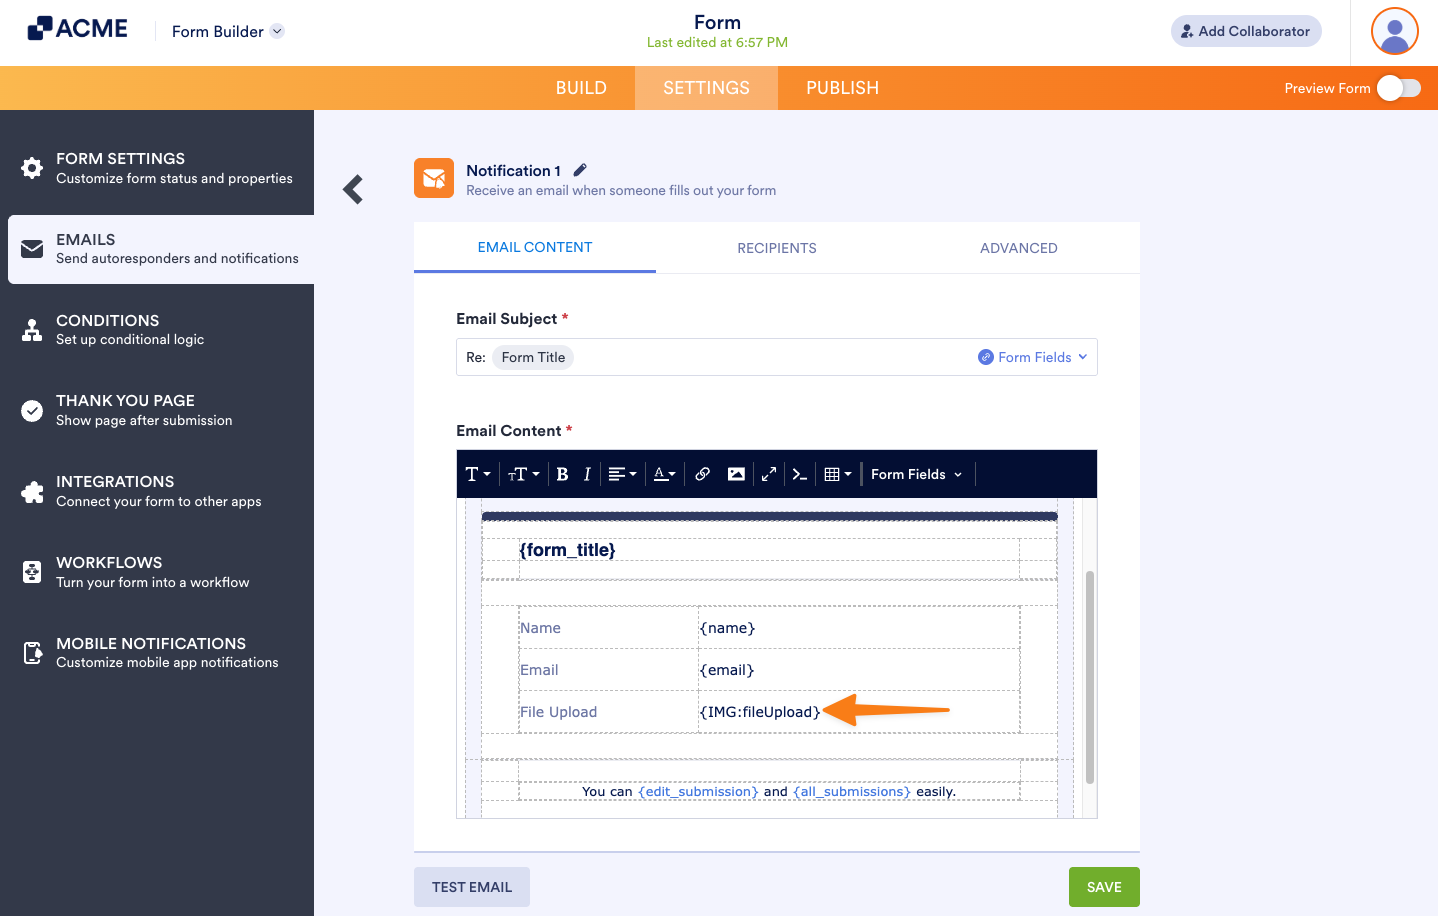
- Add the prefix to your file upload element’s unique name/tag. For example, if you see {fileUpload}, change it to {IMG:fileUpload}.
The above trick will display the images in their original dimensions. To display the images in certain sizes, you must specify it after the unique name/tag. Here are examples:
- {IMG:fileUpload:100:200} will put an image 100px wide and 200px tall.
- {IMG:fileUpload::200} will set the width automatically but limit the height to 200px.
Note: You can still download the images in their original sizes even if you set their specific sizes.
Display the Uploaded Image on the Thank You Page
After submitting the form, you can also display the uploaded image on the Thank You page.
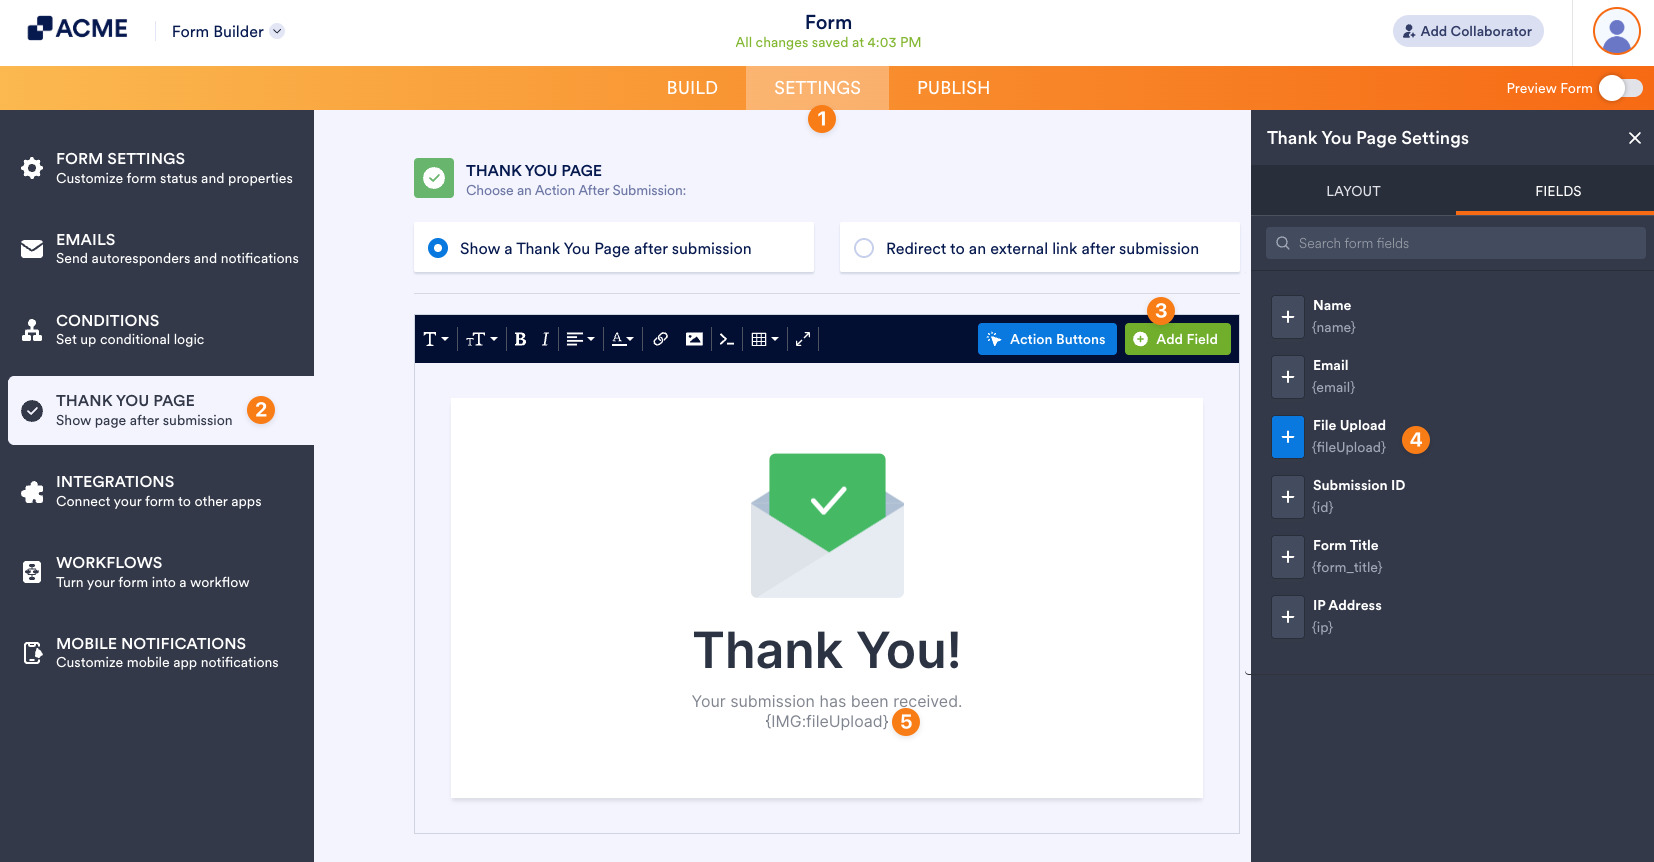
- In the Form Builder, go to the Settings tab.
- Select the Thank You Page on the left panel.
- Click the +Add Field button.
- Select an area where you want to display the image and click on the File Upload field to add it.
- Add the IMG: prefix, and that’s it!

Send Comment: