Single Sign-On (SSO) lets users in your organization sign in securely through your identity provider. In some cases, you may need multiple SSO configurations — for example, when different teams or partners use separate systems such as Okta, Microsoft Entra ID, Google, or OneLogin.
Having multiple SSO providers simplifies user management and ensures a consistent, secure login experience.
Note
To enable multiple SSO providers, your account must support this feature. If the Add SSO Provider button is disabled, contact your Business Development Manager to learn more about activating this option.

After the feature is activated, you can start adding new SSO providers from your Admin Console. The process is identical to configuring your first SSO setup and only takes a few steps:
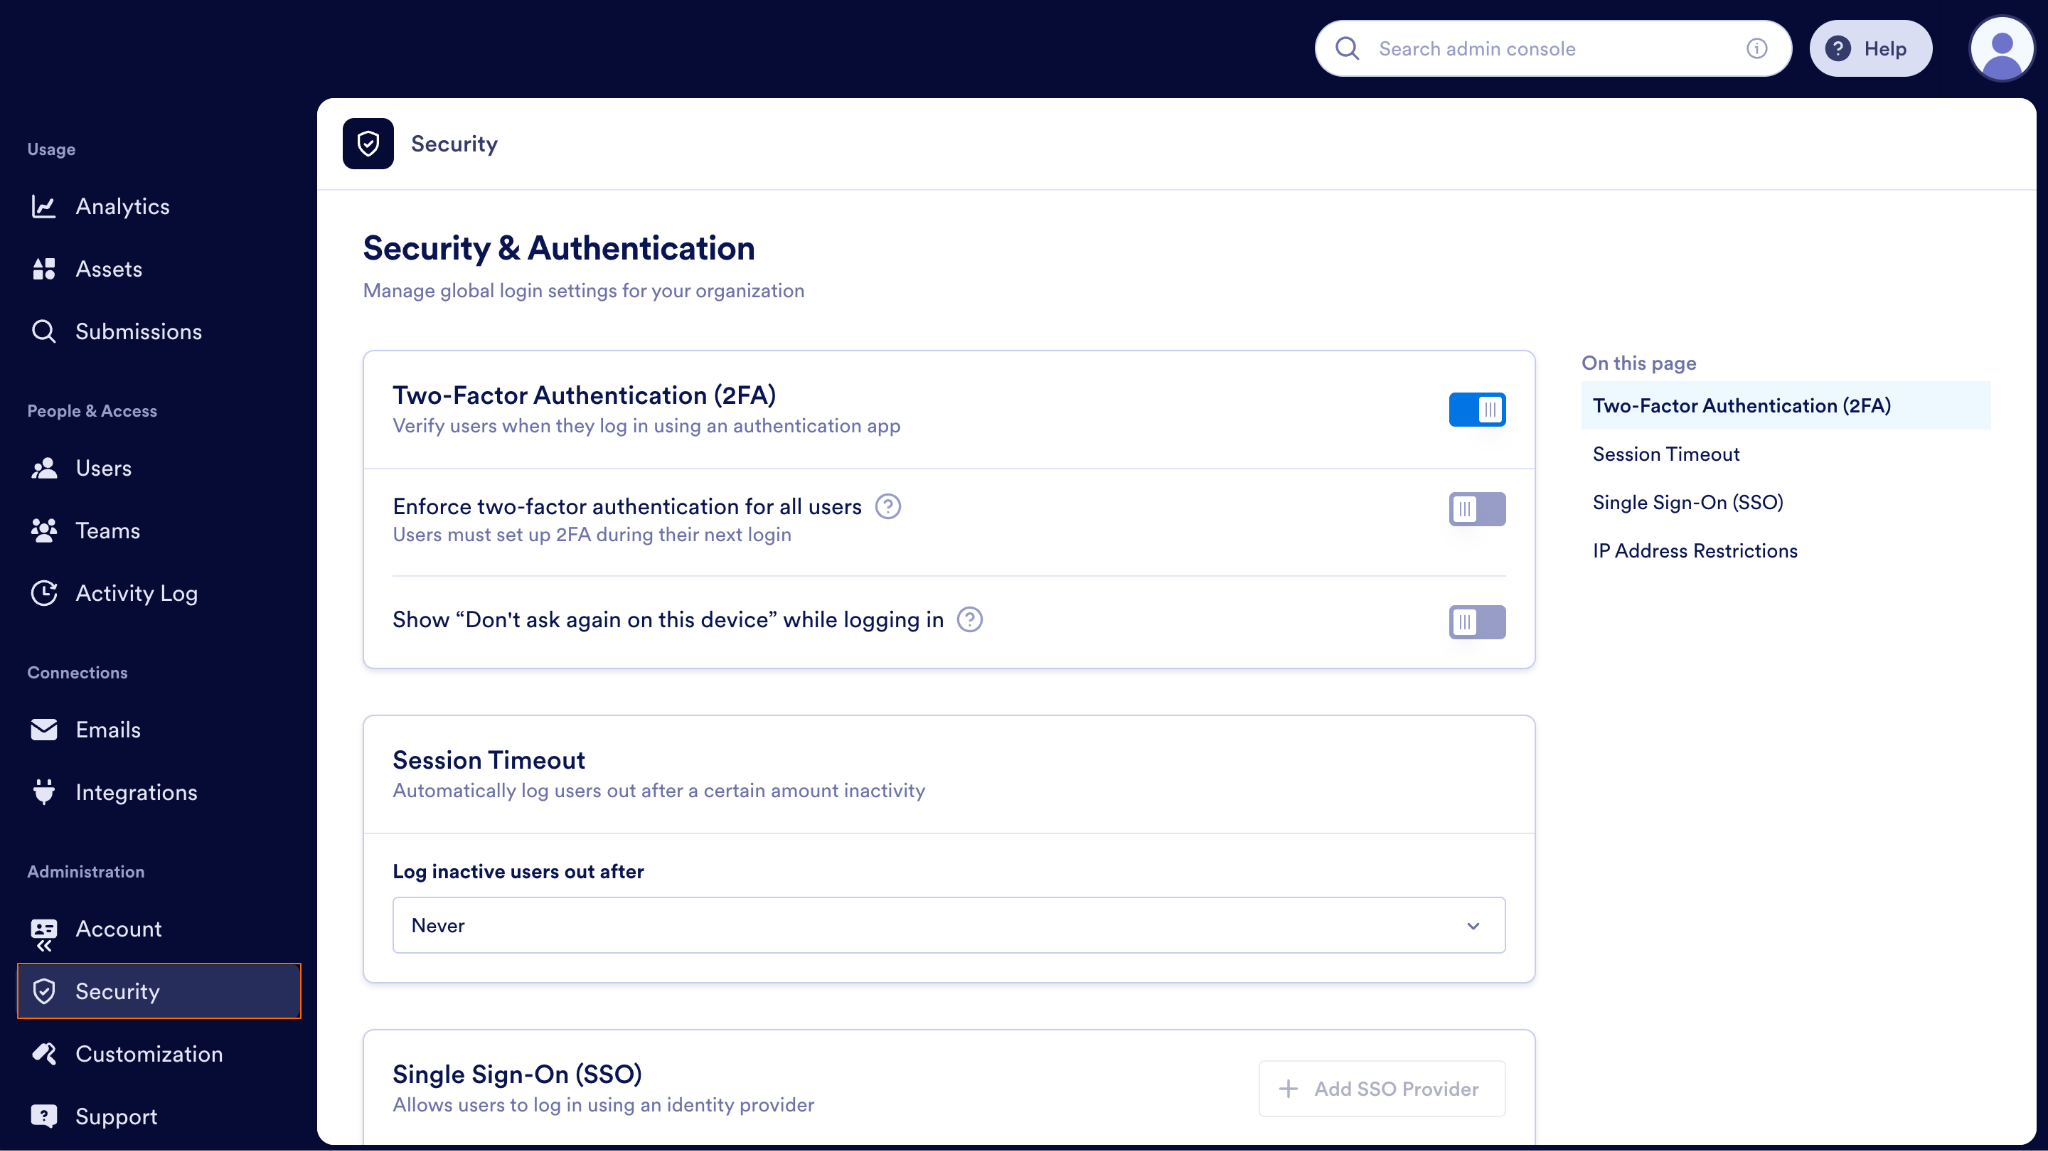
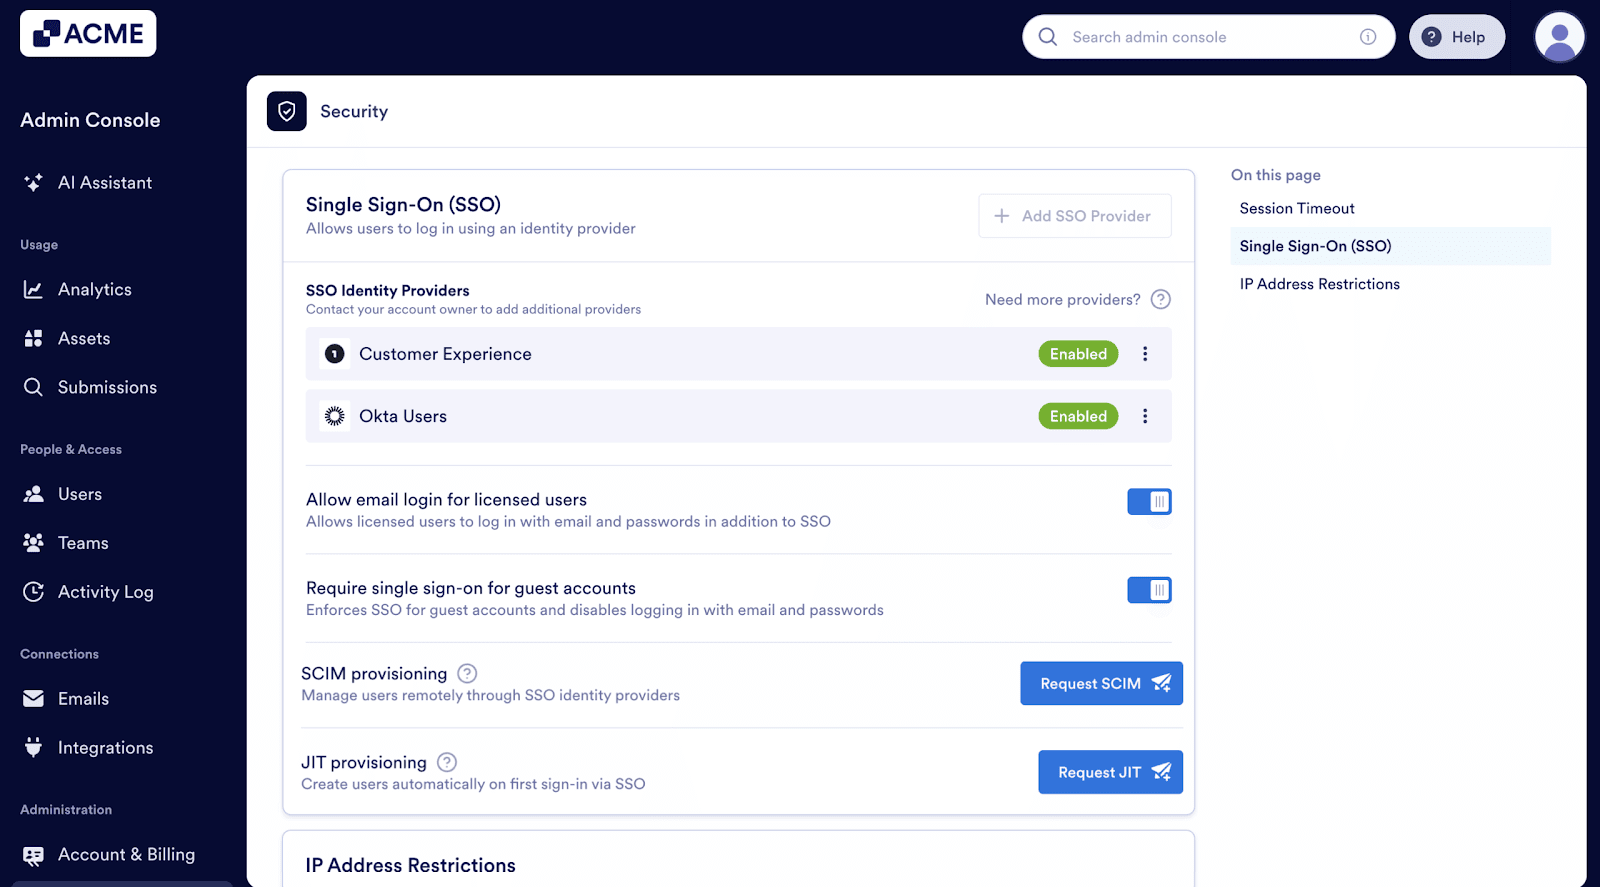
- In the Admin Console, in the left menu click on Security.
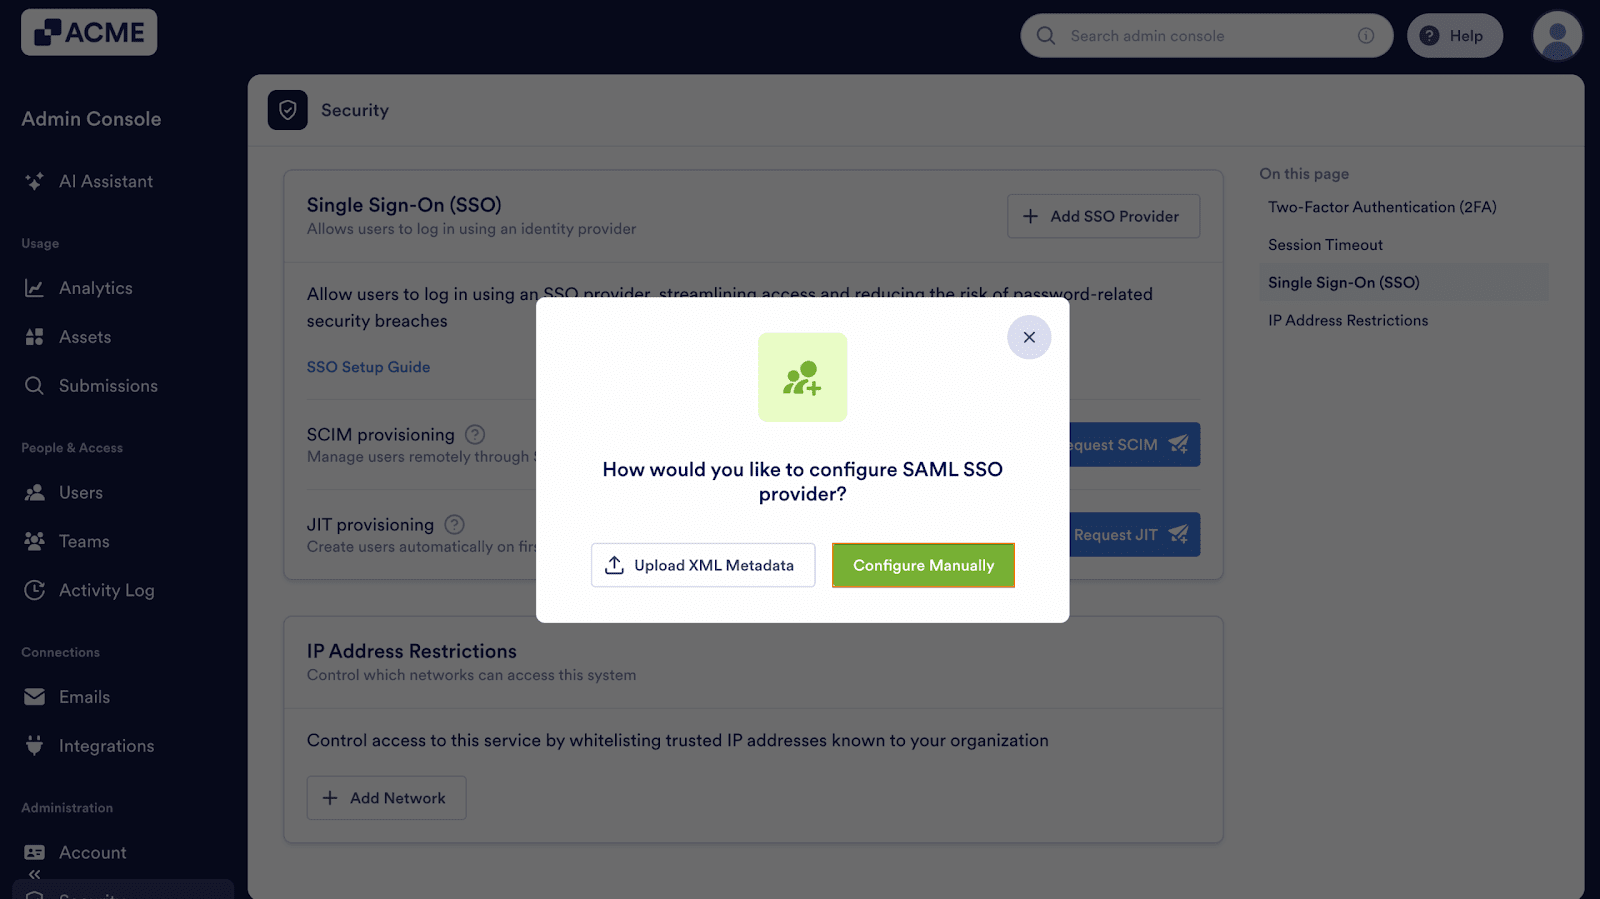
- Under Single Sign-On (SSO), select Add SSO Provider.

- Select Configure Manually.
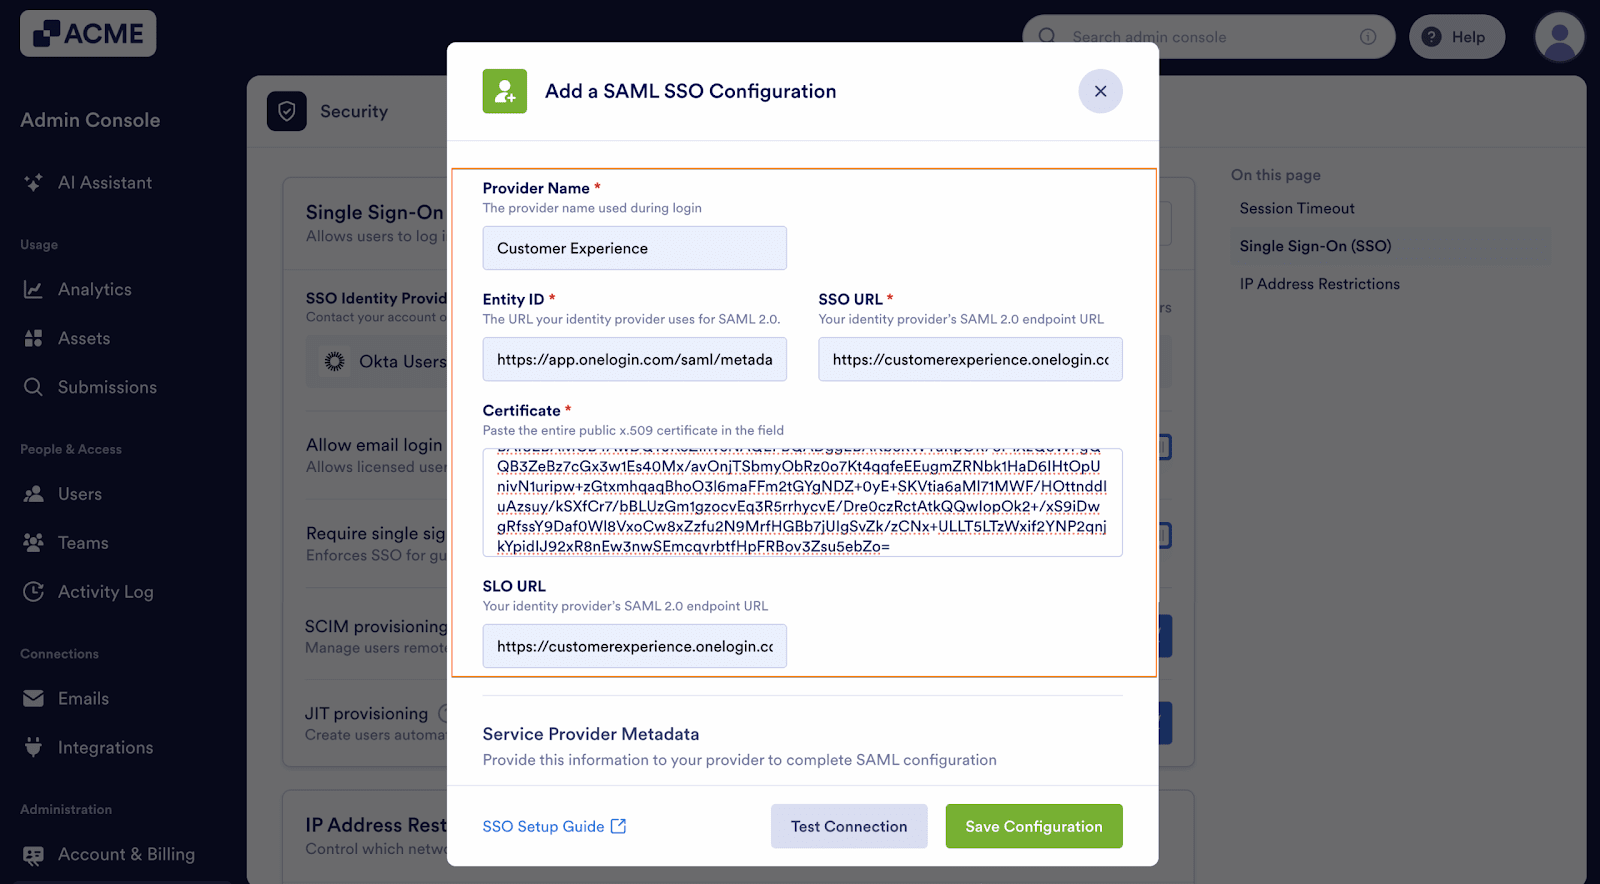
- Edit and map the following SAML SSO Configuration:
- Provider Name — The name you want users to see on the login page. You can use a more personalized name here for identification purposes.
- Entity ID —Your organization’s unique identifier in your Identity Provider (IdP).
- SSO URL — The login URL where users are redirected to authenticate via your IdP.
- Certificate — The X.509 Certificate or the one used to validate authentication requests.
- SLO URL — The logout URL to redirect users after signing out.
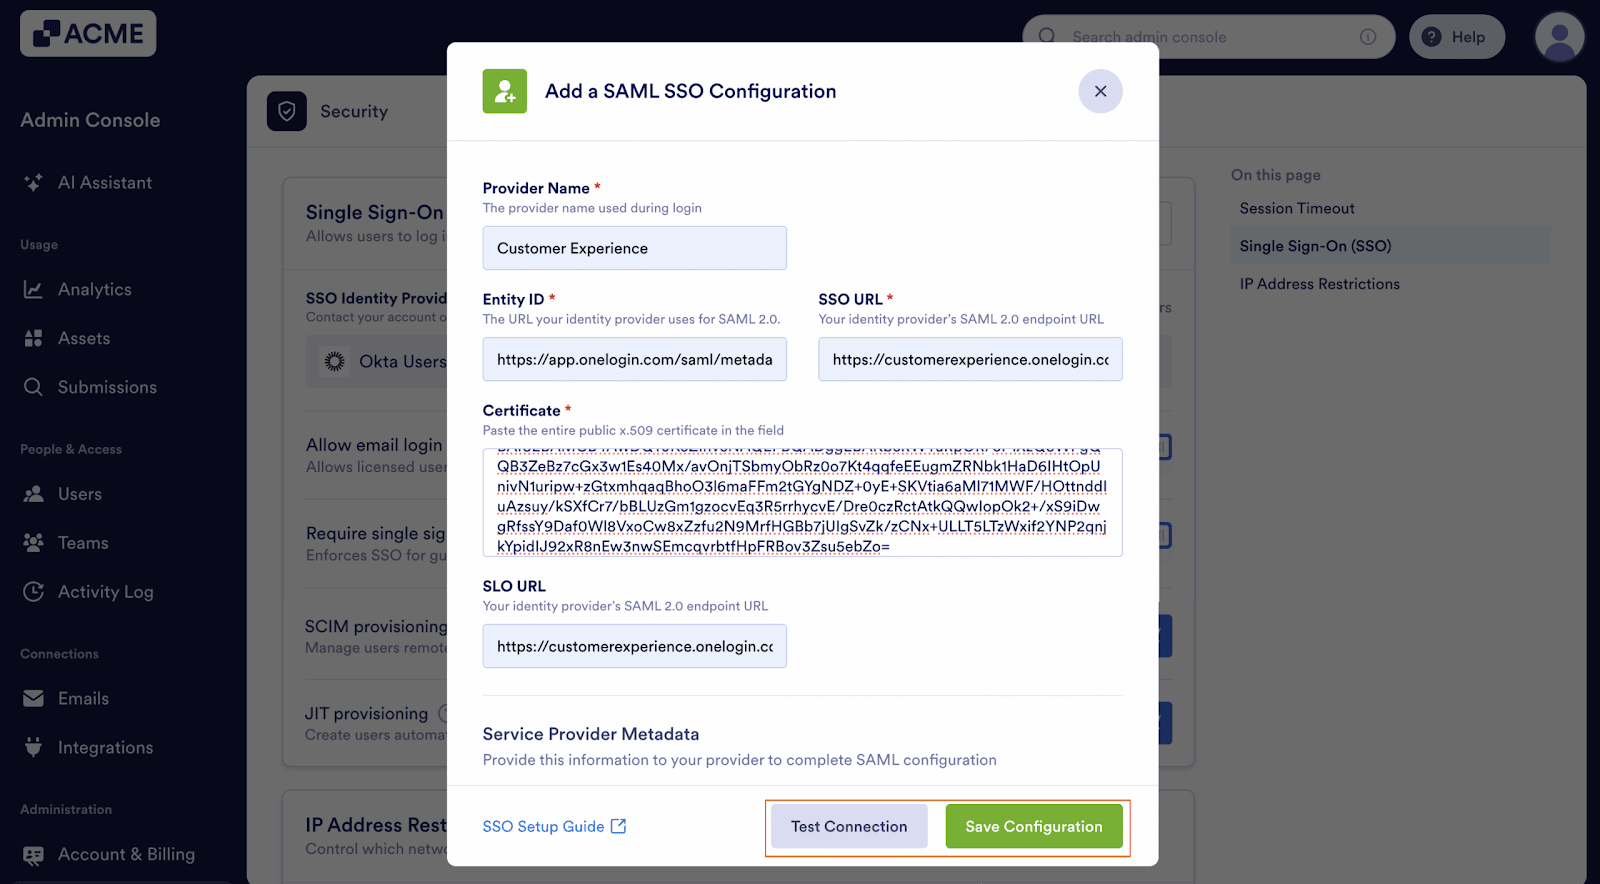
- Finally, click the Test Connection button to confirm if your configuration works. If it’s successful, click the Save button to complete the integration and save it to your list of SSO providers.
After saving your information, you’ll see all the SSO providers listed on the SSO Settings section of your organization, as you can see below:

Send Comment: