Multi-column forms are ideal for longer forms that might be overwhelming in a single-column layout. By breaking up the form into multiple columns, users can easily navigate and complete it with ease. Aside from custom CSS, the Form Builder has built-in features that allow you to create multi-column forms.
Shrinking Form Fields
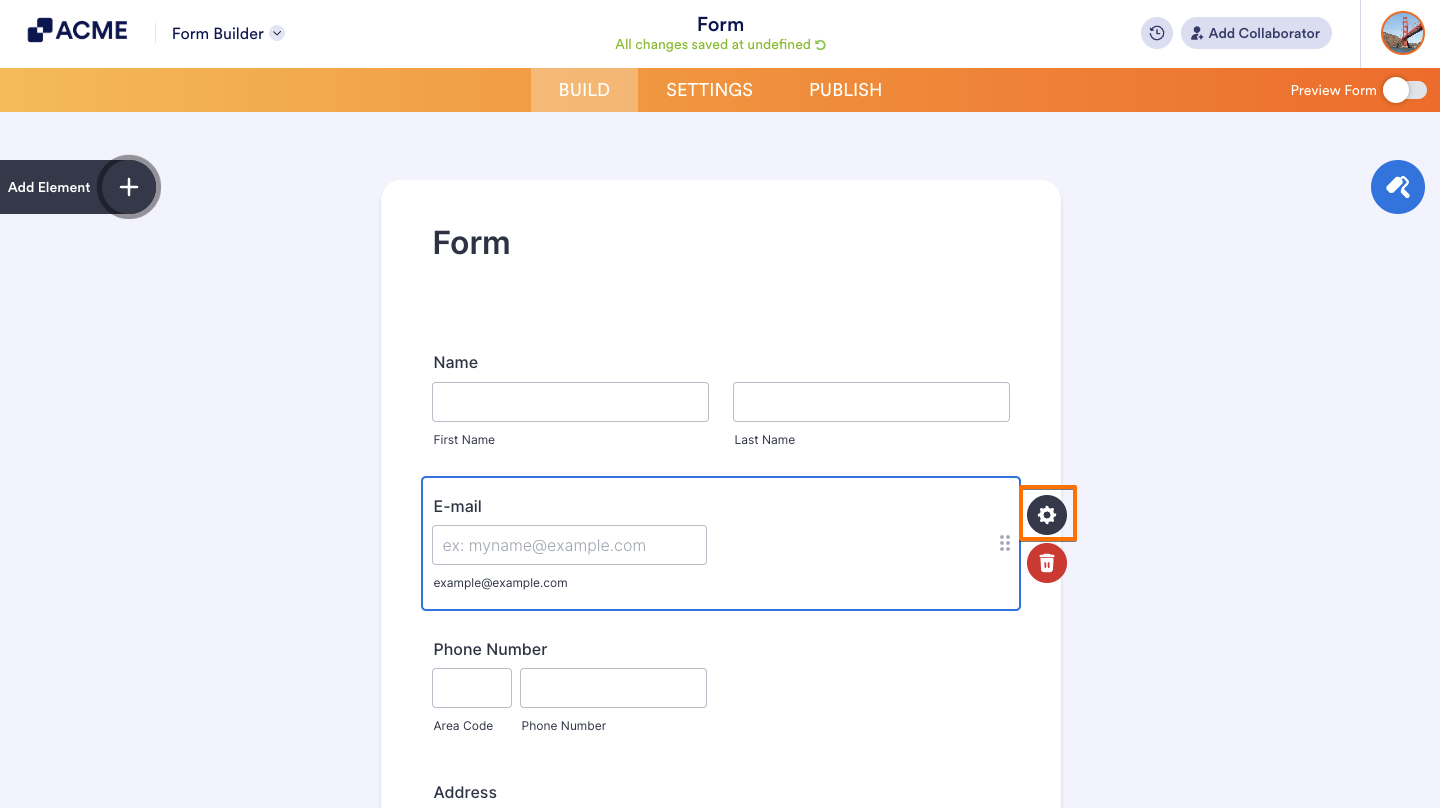
By default, each field you add occupies a row on your form. Shrinking allows you to display at least two form fields in a row. To shrink a field:
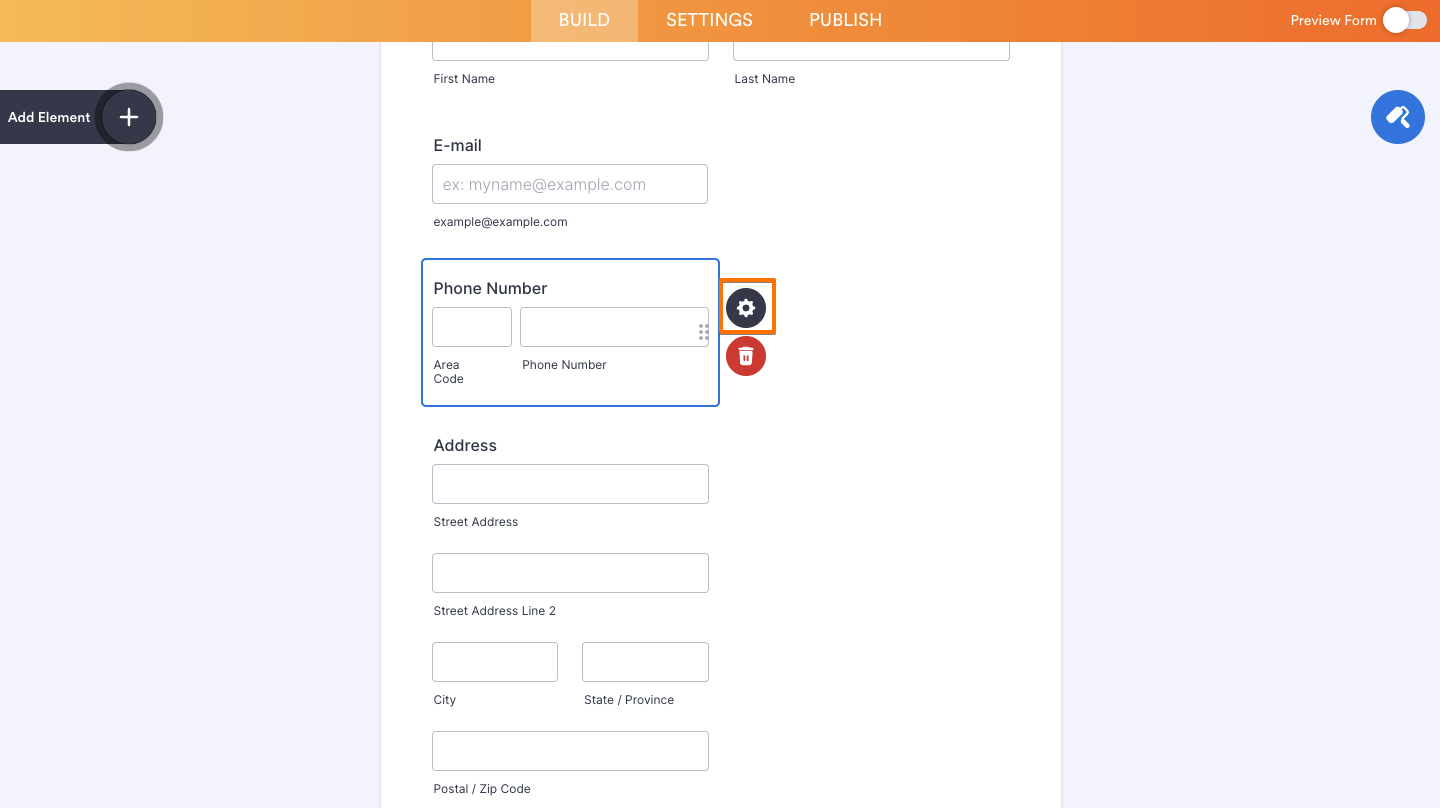
- In Form Builder, select your form element’s Gear icon to open its properties.
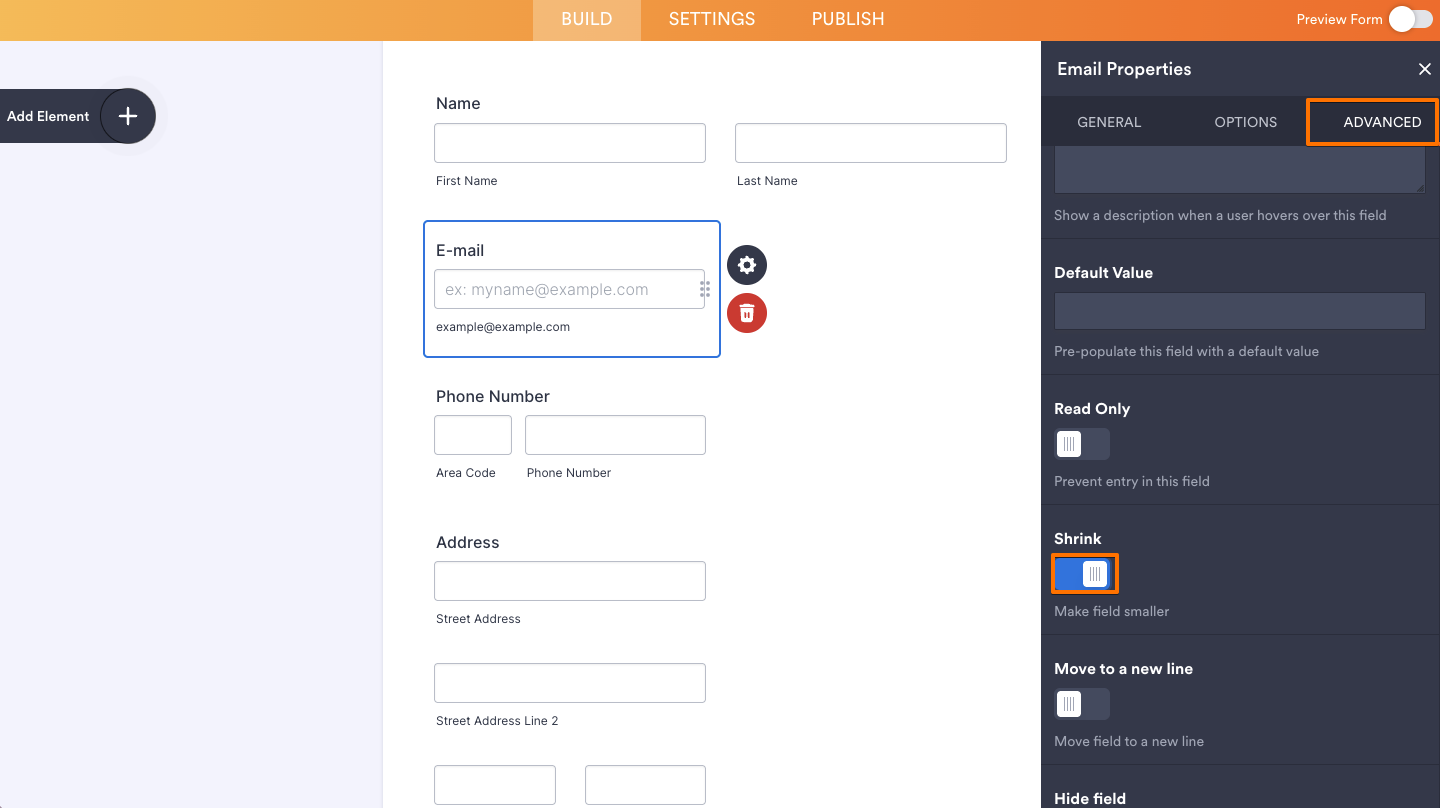
- In the properties panel on the right, go to the Advanced tab at the top.
- Toggle Shrink to On.
Setting Up Three or More Columns
To display your form fields in three or more columns:
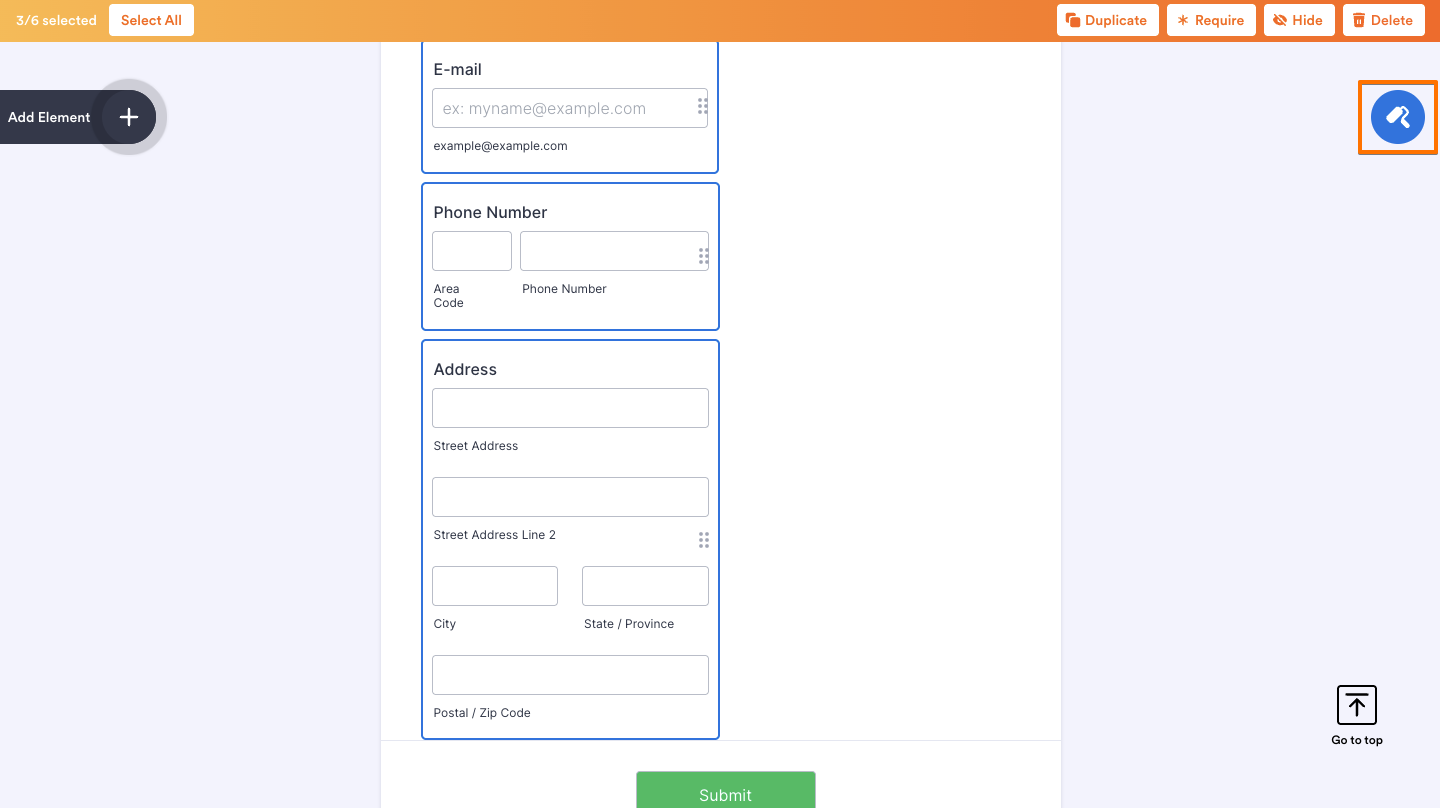
- In Form Builder, select at least three elements on your form with Ctrl+Click or Command+Click.
- Right-click on one of the highlighted elements.
- Select Shrink from the Context menu.

- On the upper right side of the page, click on the Paint roller icon.
- In the Form Designer panel on the right, click on Advanced Designer at the bottom.
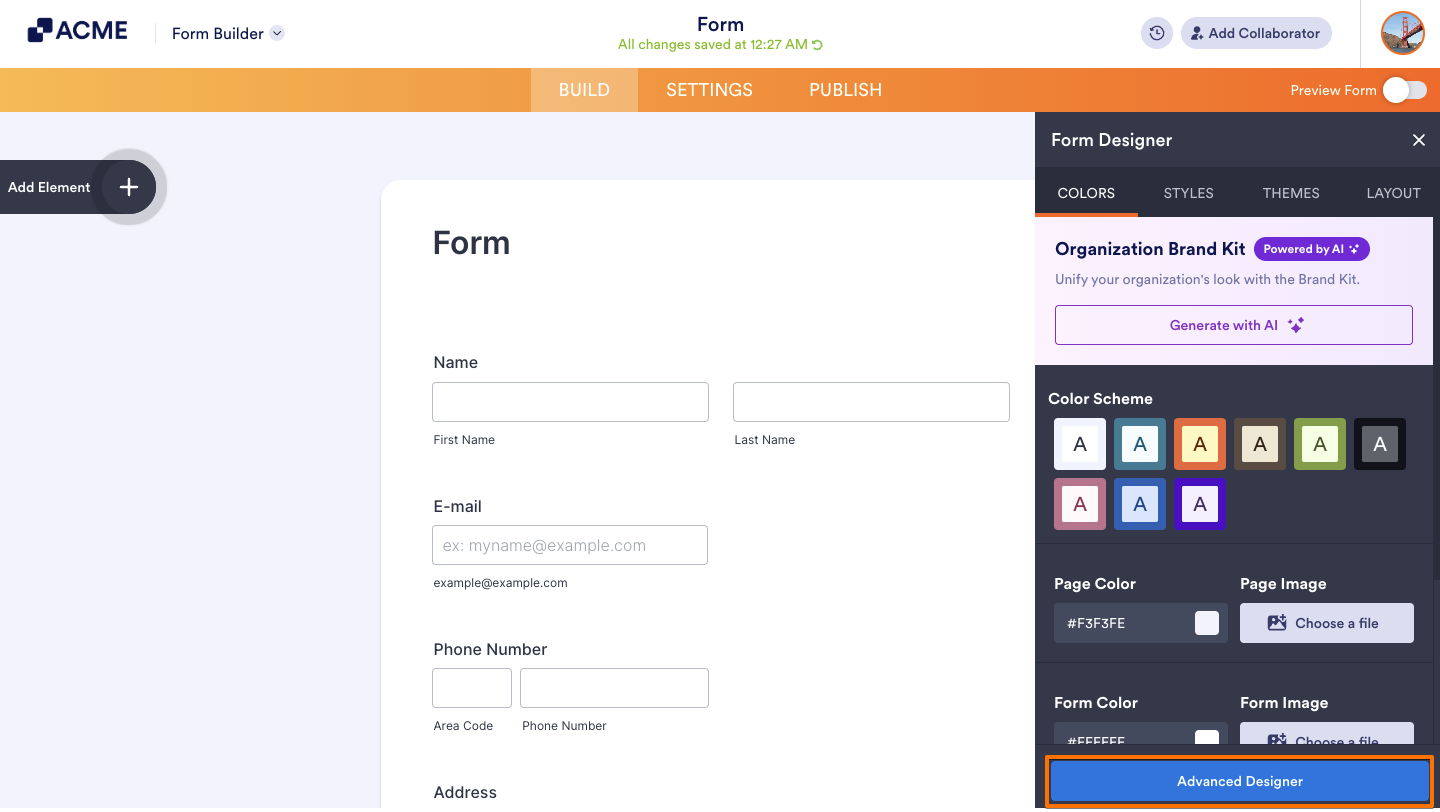
- In Advanced Designer, select Form Layout on the right and check the Enable Columns box.
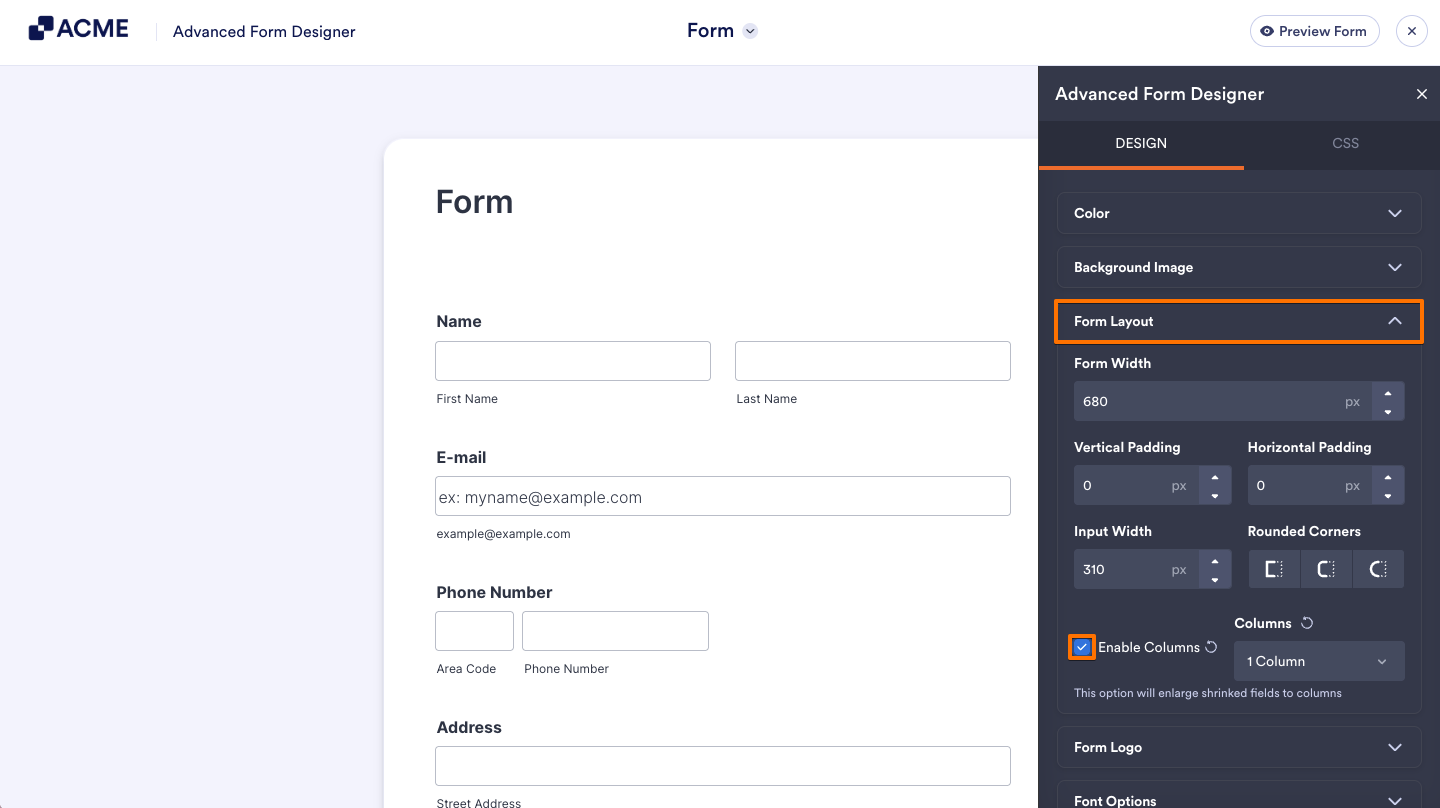
Note
The Enable Columns option is available only if there’s at least one shrunken element on your form.
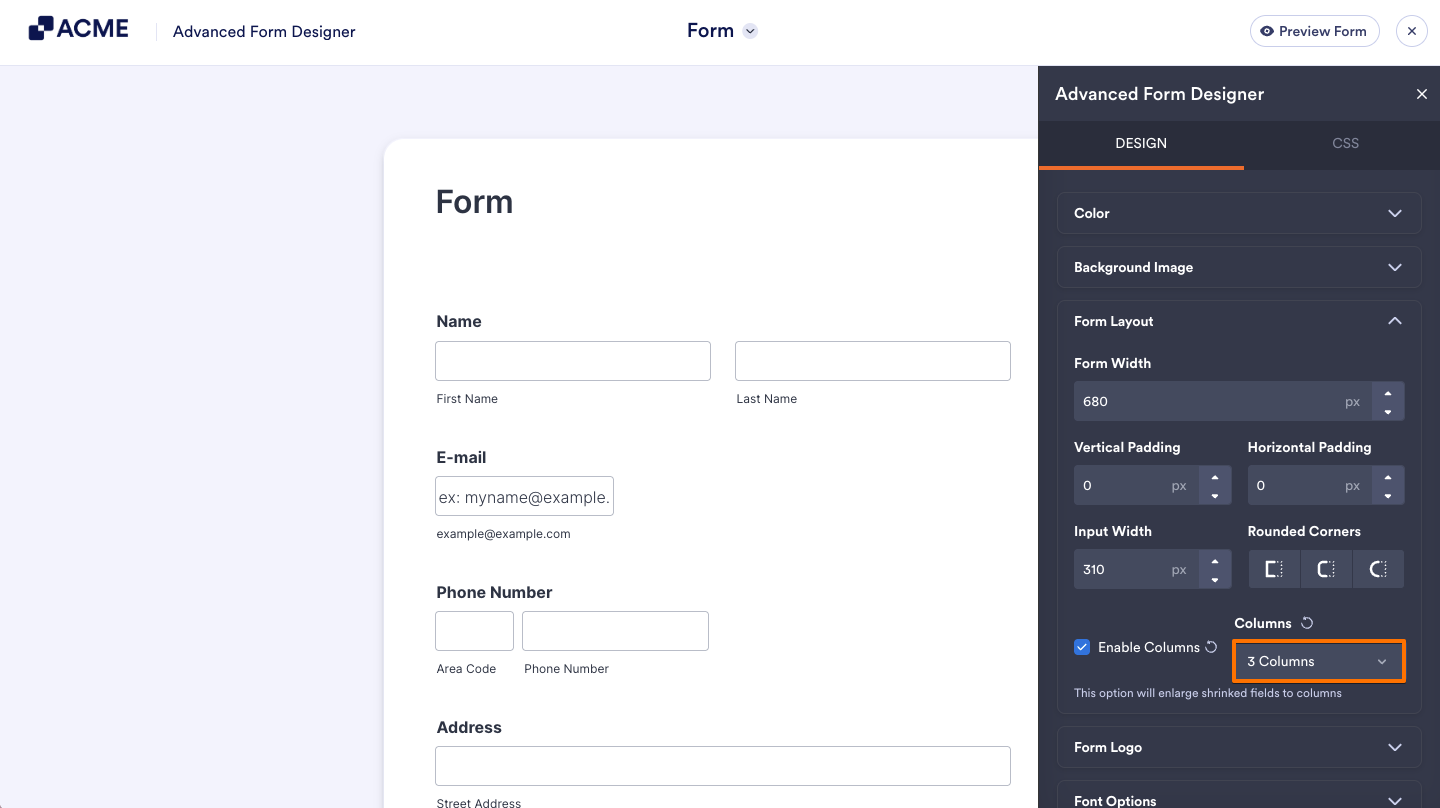
- Select your desired number of columns in the Columns dropdown menu.
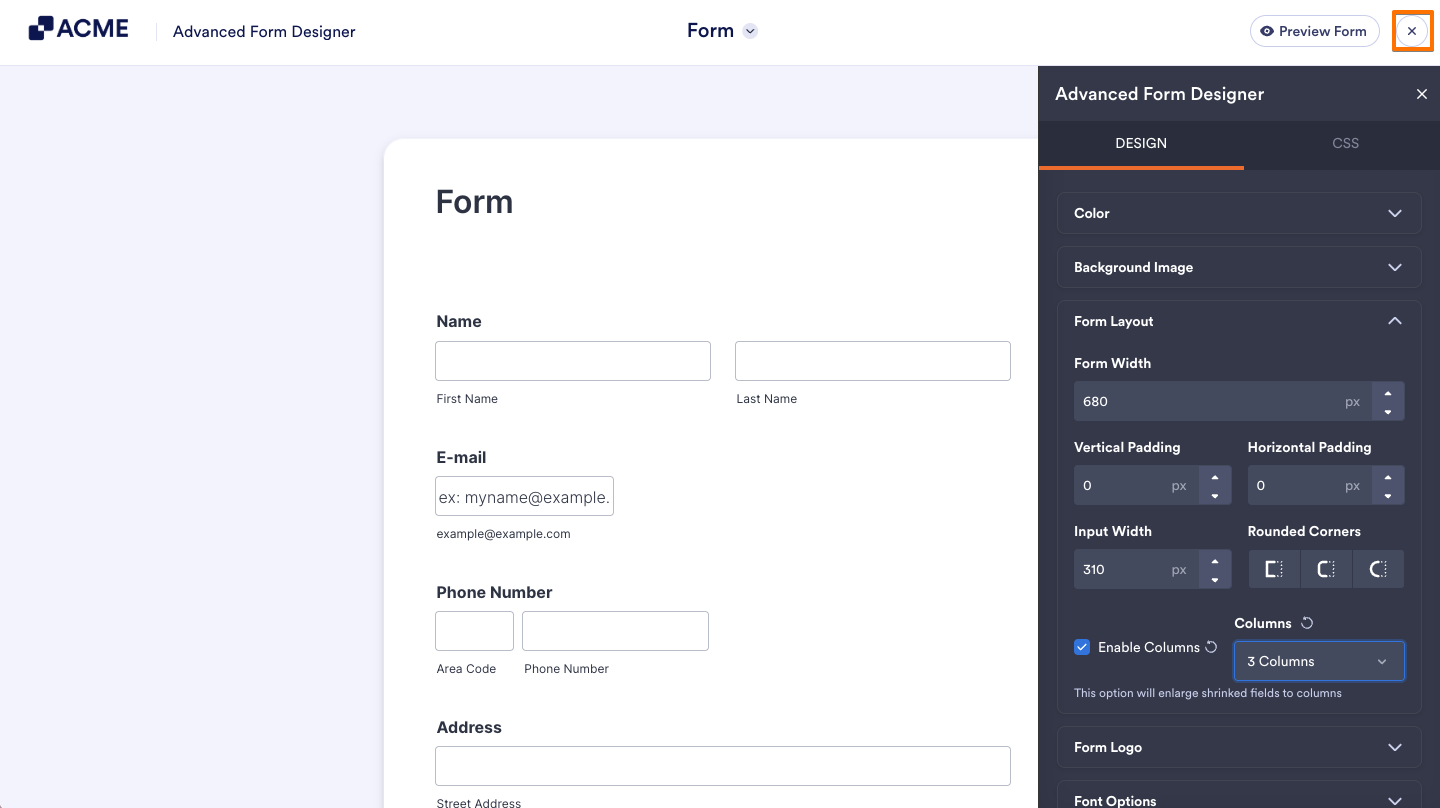
- After completing your changes, on the top right side of the page, click on the X icon.
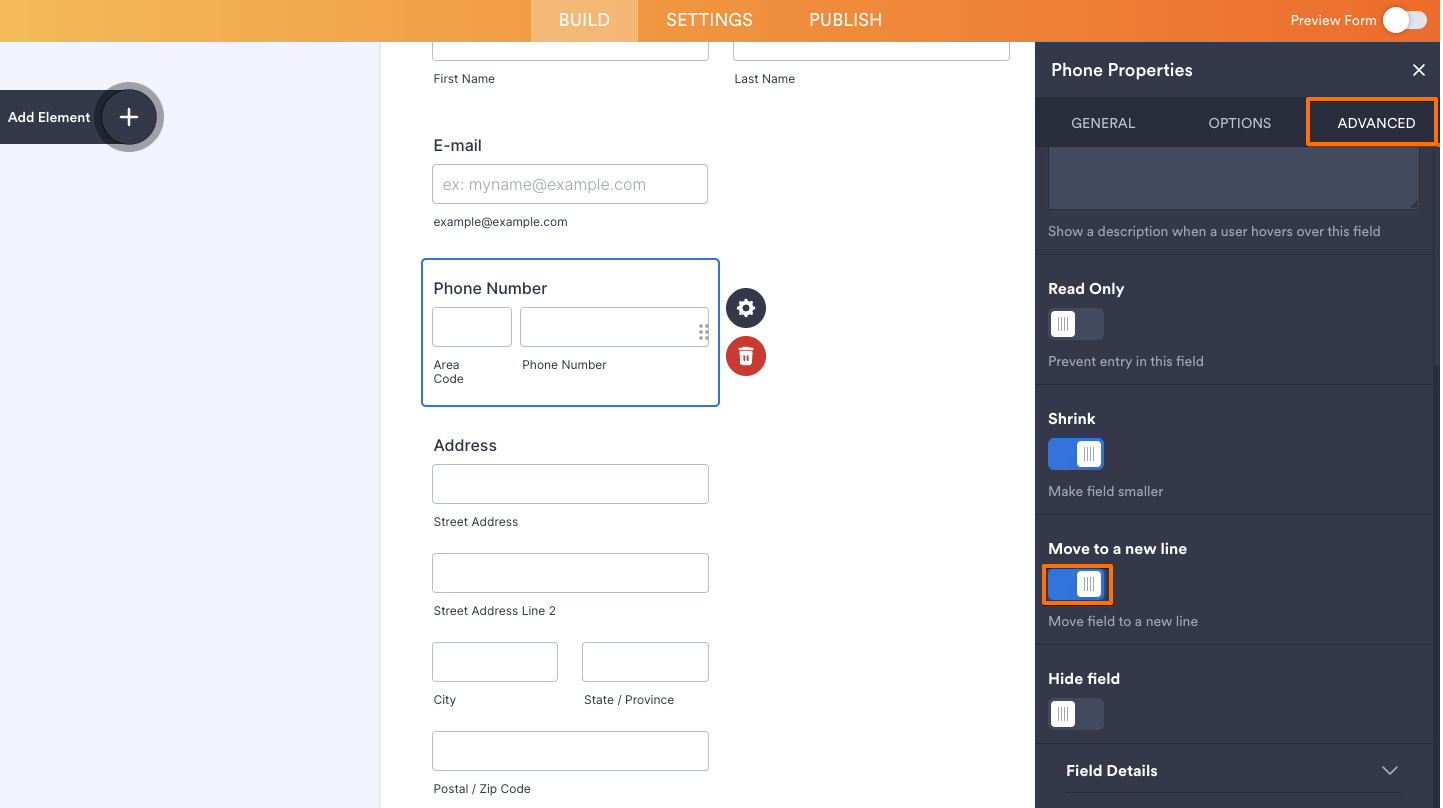
Moving a Shrunken Field to a New Line
Suppose you have a three-column form and you need to display only two fields in a specific row instead of three; you can use the Move to a new line option. To move a shrunken field to a new line:
- In Form Builder, click on your form element’s Gear icon to open its properties.
- In the properties panel on the right, go to the Advanced tab at the top.
- Toggle Move to a new line option to On.
Here are a few more things to consider when setting up form columns:
- Form width– Ensure that your form’s width is wide enough to accommodate the columns.
- Field width– If you need to create a two-column form and one field just won’t budge, you might want to try reducing its width. Due to the responsive nature of the form, a relatively long field would occupy too much space for the other field to be rendered right beside it.
- Field label position– A field with a left-aligned label will be wider than a field with a top-aligned label.

Send Comment: