
If you work with spreadsheets or forms, then you’re probably a big fan of the checkbox.
A checkbox is a handy tool that makes it much easier to enter and process information with two opposing values. In formula speak, this is known as a true-false value.
An acquisition team can use a checkbox in a checklist of purchase items. They can check an item to denote that it has been purchased (true), and uncheck it to show that it hasn’t been purchased (false).
Checkboxes are also great in task lists, showing that a to-do item is complete or incomplete, and in employee lists to keep a record of which staff members have completed a training session or contributed to the office Super Bowl pool.
There are endless ways to use checkboxes in sheets and forms, and it’s easy to set them up in all of the main spreadsheet-database programs, including Excel, Google Sheets, and Jotform Tables.
Let’s start by looking at how to insert a checkbox in Excel in a few simple steps:
Just so you know
Learn how to make the most of your data with Jotform’s detailed Microsoft Excel tutorial. You can even integrate Jotform with Excel to sync form data to your spreadsheets!
6 quick steps to insert checkbox in Excel
1. Make sure the Developer tab appears on your ribbon (main menu)
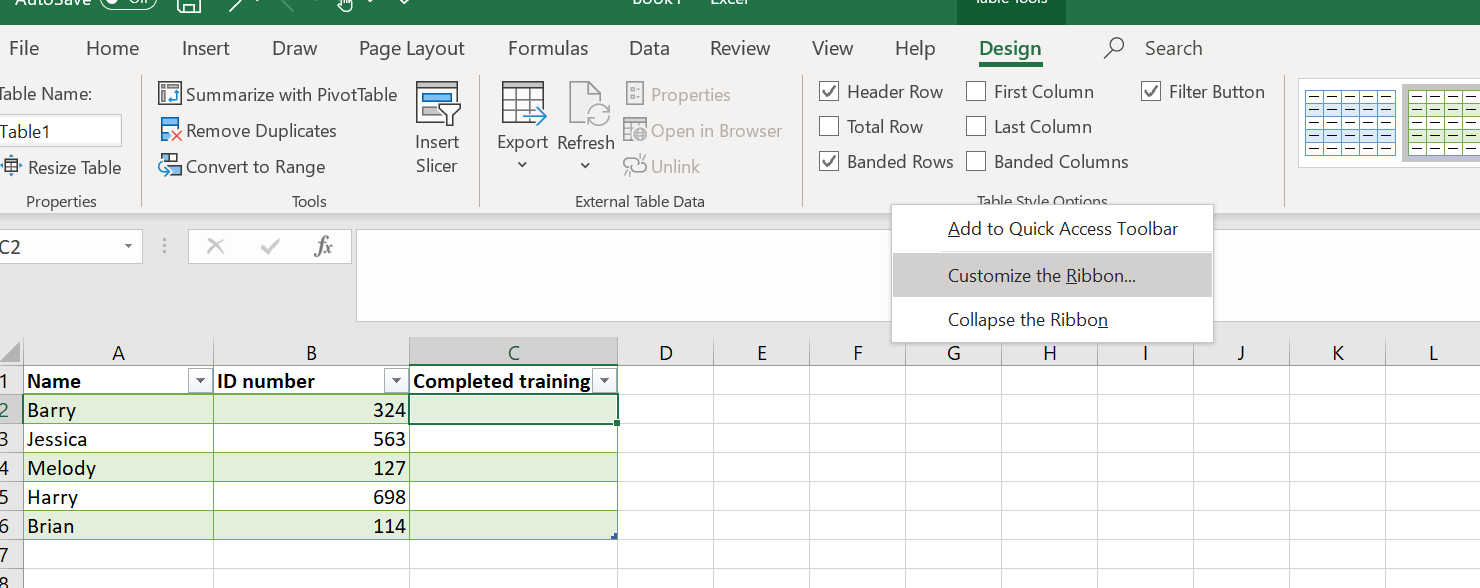
To insert a checkbox in Excel, you need to use the “developer” tools. These don’t appear by default on the main menu, also known as the “ribbon.” To include developer tools on your ribbon, hover your cursor over the bottom part of the ribbon and right-click the mouse. Select Customize the Ribbon.
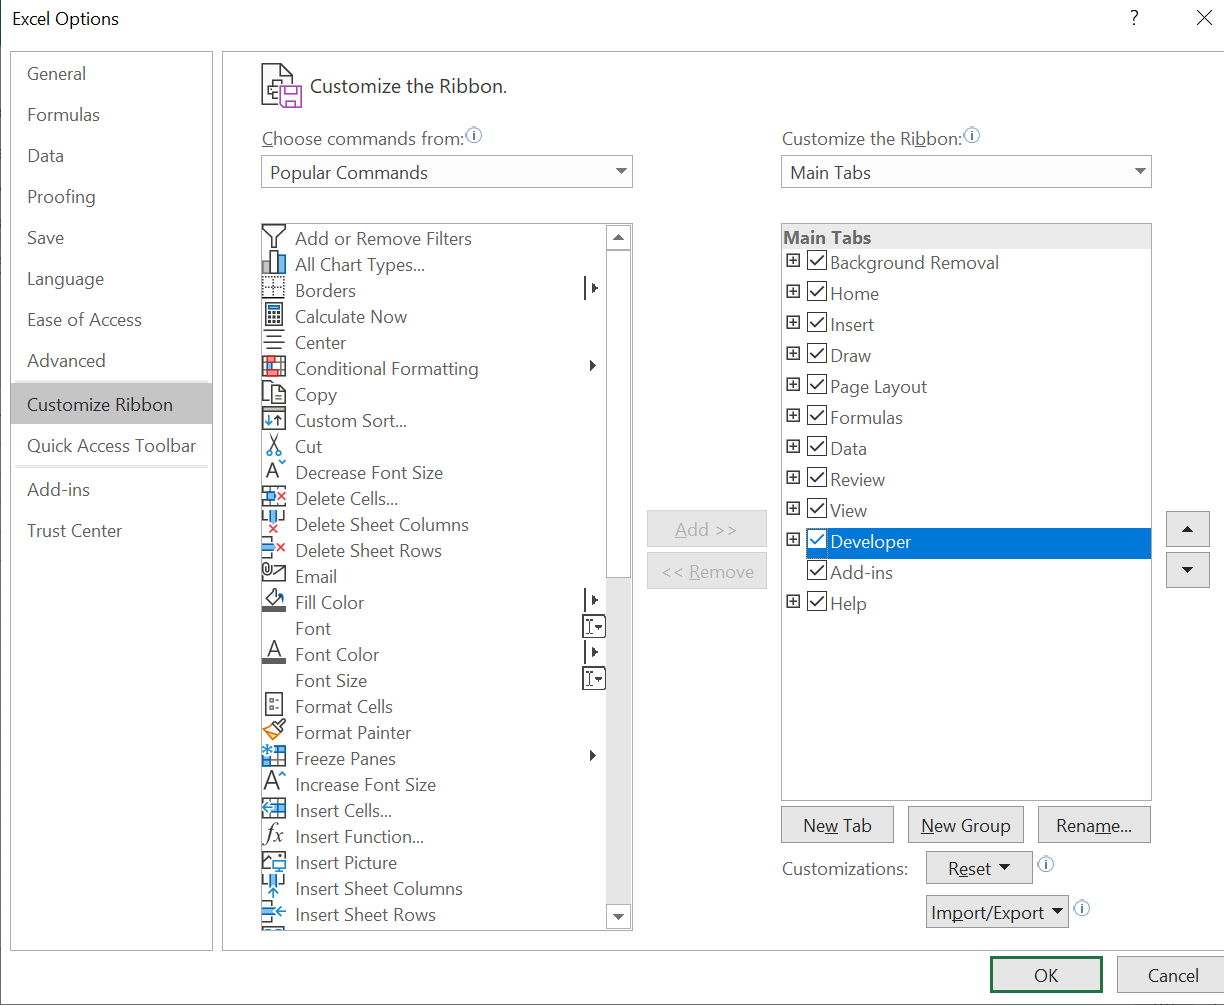
A dialog box will open. In the right column, under Main Tabs, check the box next to Developer. Now the developer tools are available on your ribbon, and you can easily insert checkboxes.
2. Insert the checkbox
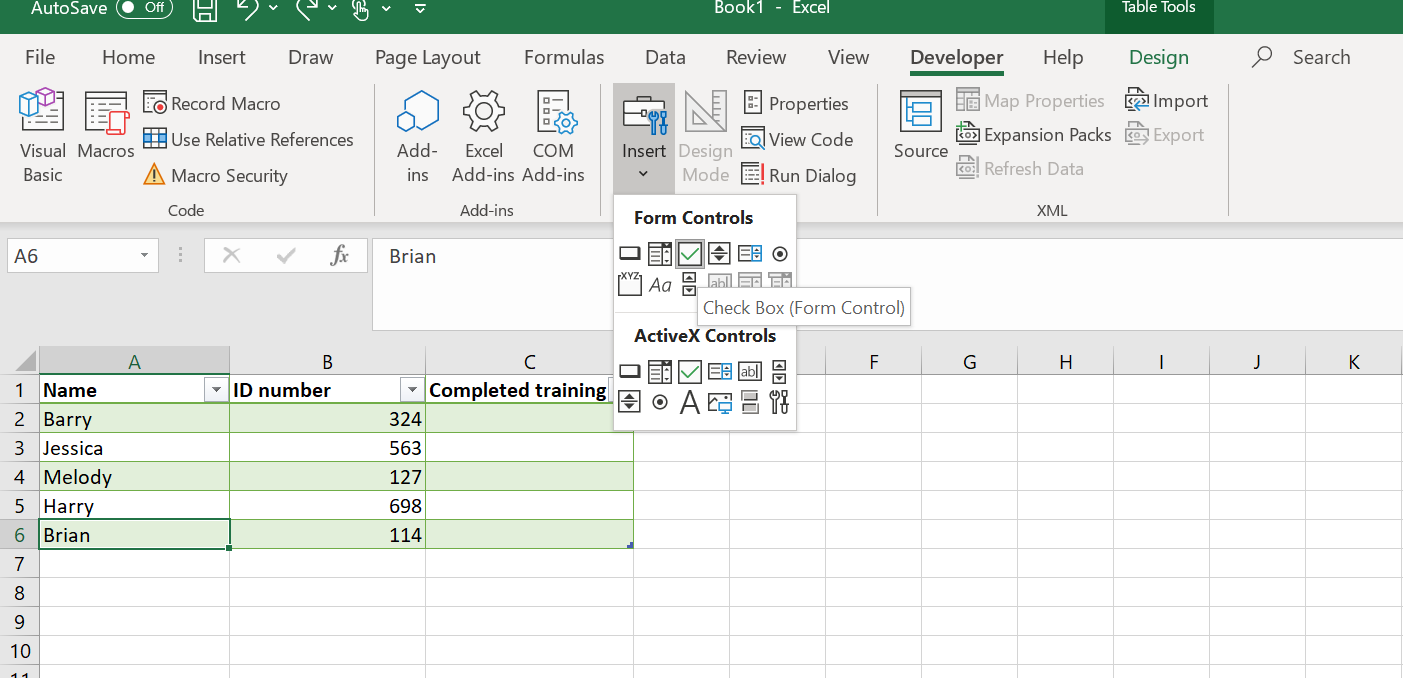
Go to Developer > Insert Controls > Form Controls and click on the checkbox icon.
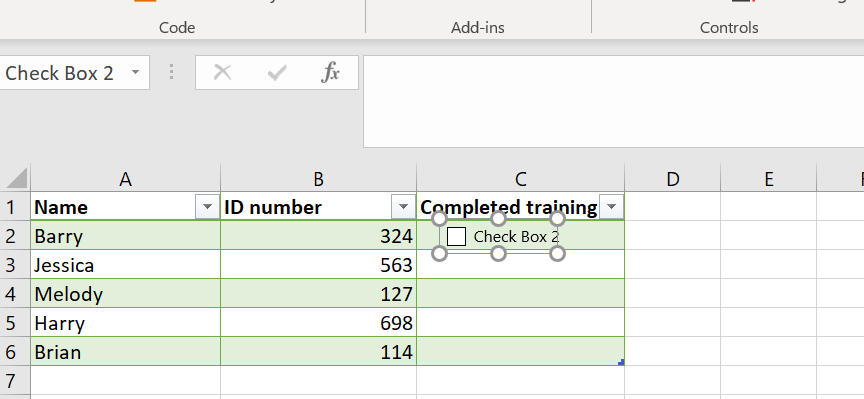
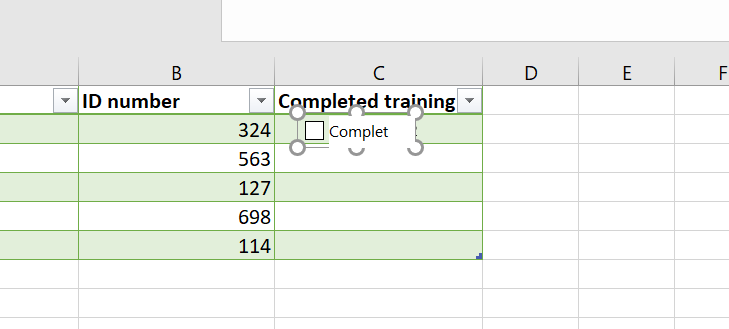
The cursor now appears as a small cross. Position the cross where you want to insert the checkbox, and then click. The checkbox is inserted, but as you can see below, it isn’t properly positioned in a cell. Now it’s time to move it.

Hover over the checkbox frame until the four-arrow drag icon appears, and then use the cursor to move the checkbox inside the cell.
3. Edit the checkbox text
The checkbox comes with default text alongside it. To replace it with your own text, click inside the box and use the delete key to remove the default text and type in your own.
You don’t have to include text — the checkbox can appear on its own. If you don’t want any text to accompany the checkbox, delete the default text altogether.
4. Duplicate the checkbox for the entire column
To insert checkboxes along the entire column, click on the bottom right corner of the checkbox cell and drag down to include all the relevant cells. The checkbox is automatically copied for all the cells.

5. Format the checkbox
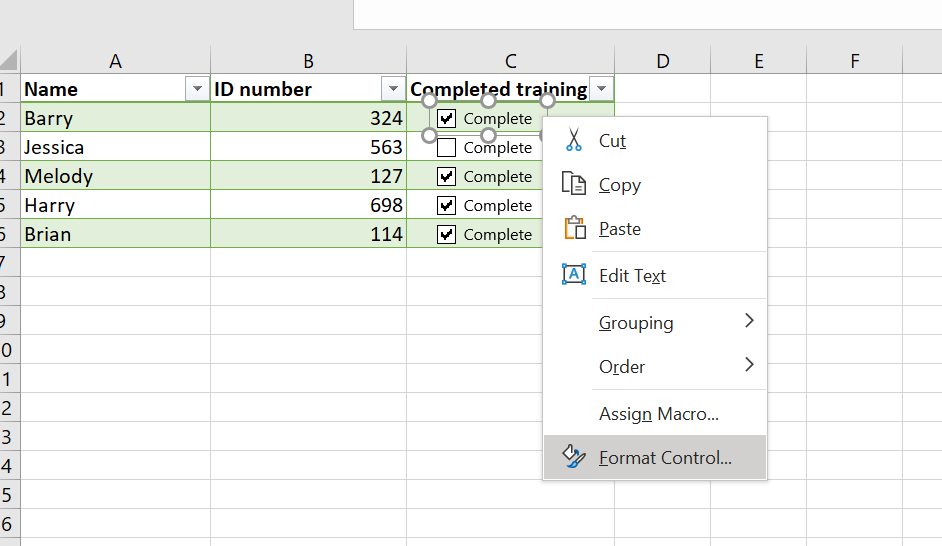
There are a few different formatting options. To start formatting, highlight the checkbox and right-click. Select Format Control from the dropdown menu.
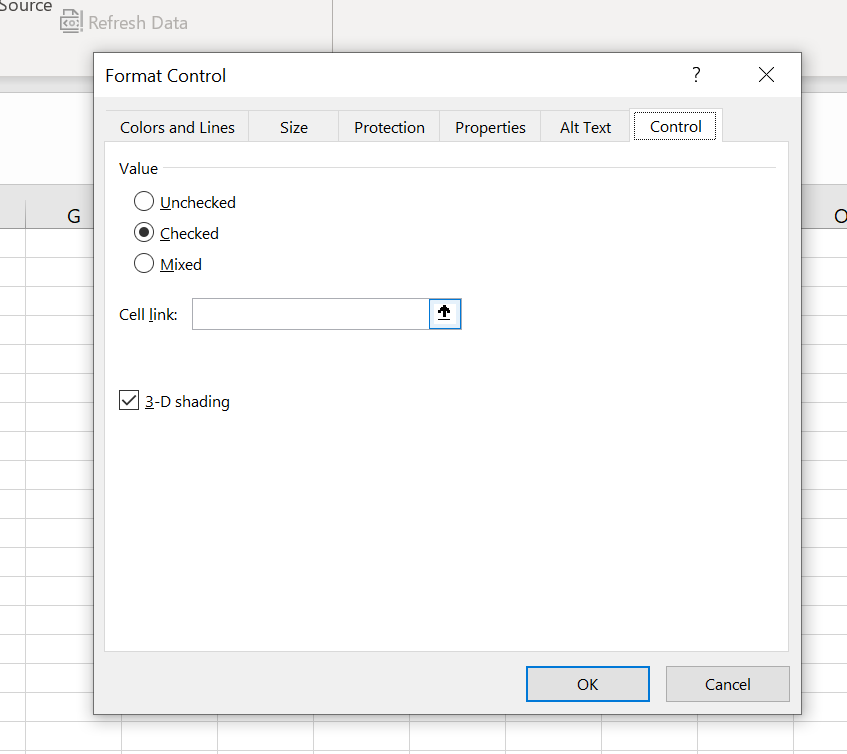
In the dialog box that appears, there are several actions you can take:
- Set a default value for the checkbox. Decide whether you want checkboxes to be checked or unchecked by default. There’s also an option for mixed, which is a shaded gray. This indicates that the checkbox isn’t applicable in the spreadsheet or form. You can override the mixed option by clicking once to uncheck the box or twice to check the box.
- 3D shading. You can format checkboxes to appear as 3D shaded, which creates a more visually pleasing look. If you want 3D shading, check the box to apply it.
Applying these formats to all checkboxes in a column is simple. Use the drag function on the bottom right of the formatted checkbox cell and drag down to include the entire column. All the cells will automatically update with the checkbox formatting.
6. Go advanced
There is a more advanced function you can use to link Excel checkboxes with formulas for all kinds of data analysis. Click on a checkbox cell and open the Format Control dialog box. In the Cell link field, click on the apply button (an upward-pointing arrow) at the right end of the field.
Next, click on the cell you want to link to the checkbox. The cell position will automatically appear in the cell link description.
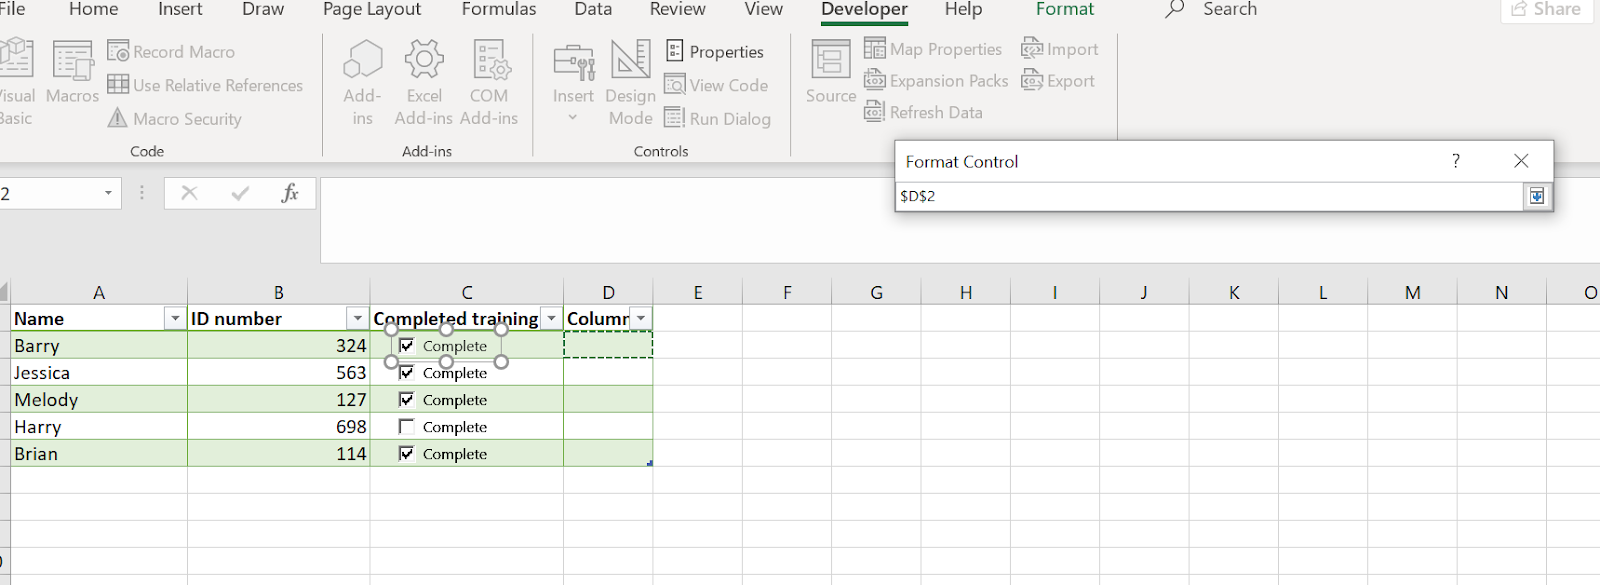
This cell is now linked to the checkbox cell and represents the value of the checkbox as true (checked) or false (unchecked).
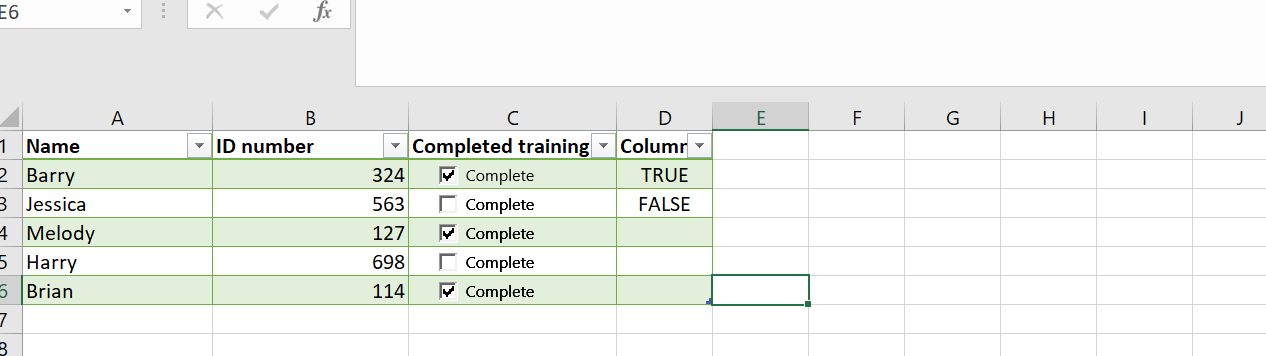
When you repeat this for the entire column, it creates a set of values that you can process with various formulas or export for further processing. Note that each row must be manually linked to its true-false cell. For large spreadsheets with hundreds of entries, this isn’t a suitable technique. But it works for small businesses with smaller data sets.
Adding checkboxes in Google Sheets
Using checkboxes in Google Sheets is just as easy as it is in Excel: Simply highlight the cell where you want a checkbox to appear, and go to Insert > Checkbox.
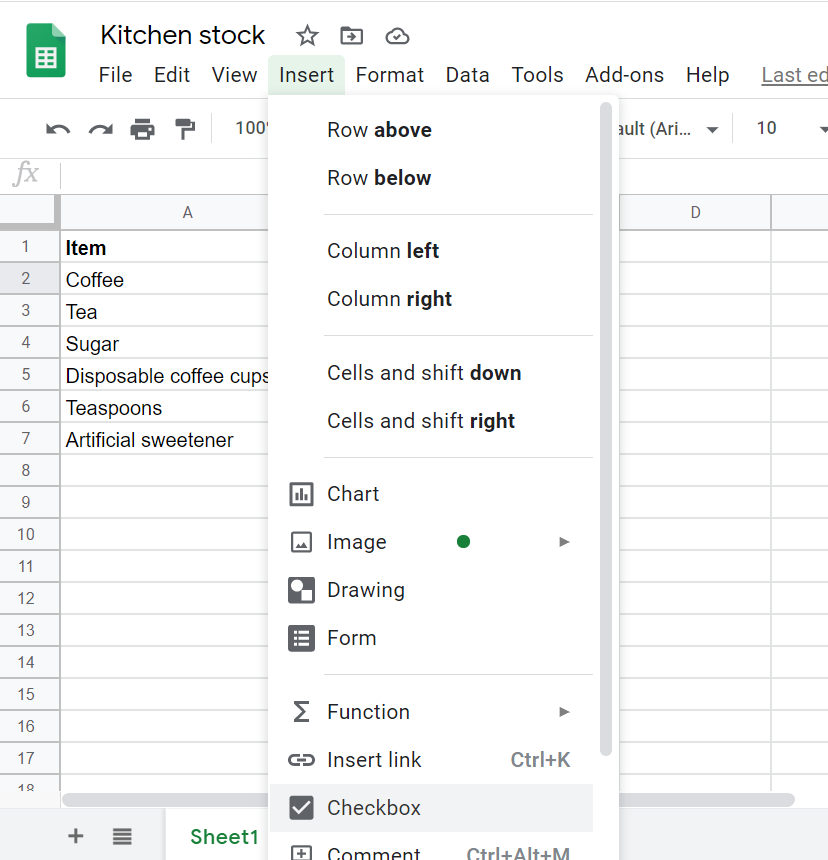
The checkbox will then appear.
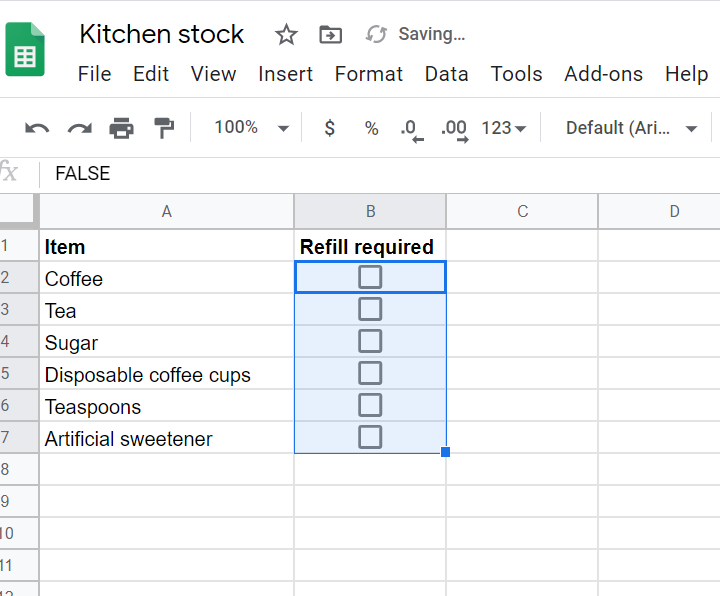
To copy the checkbox for the entire column, click on the bottom right corner of the checkbox cell and drag to include all the relevant cells.
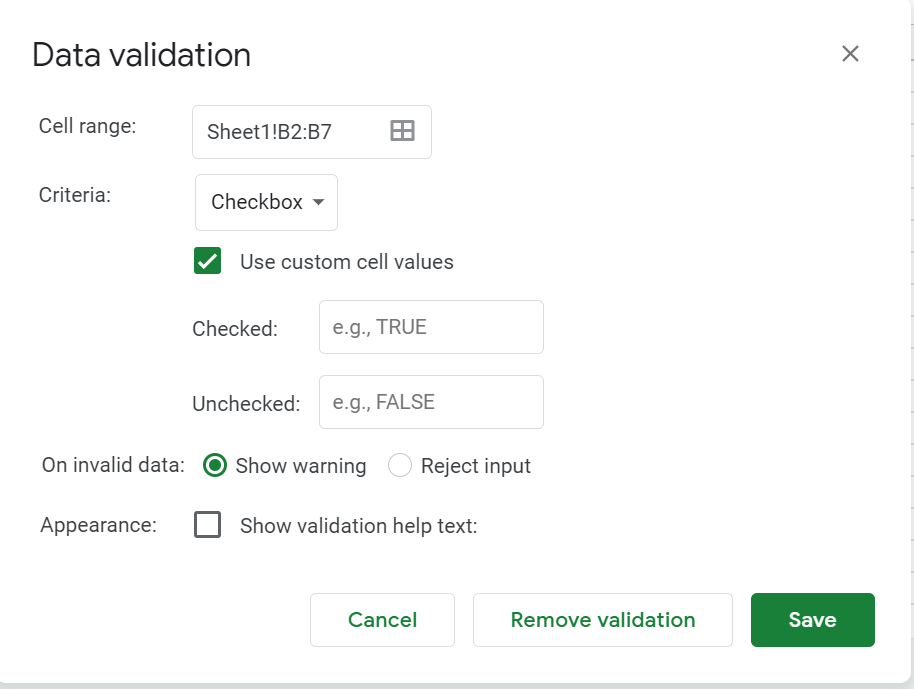
Note that you can customize checkboxes in Google Sheets with values other than the standard true and false. To create checkboxes with customized values, select the cells where you want the checkboxes to appear, then go to Data > Data validation.
In the dialog box, open the Criteria dropdown menu and select Checkbox. To insert customized values, check the Use custom cell values box, and enter the relevant values for checked and unchecked. Click Save to save your customizations.
Adding a checkbox in Jotform Tables
In your Jotform table, click on the Columns tab and Add a new column. Select Checkbox from the menu that appears. Then click on Next.

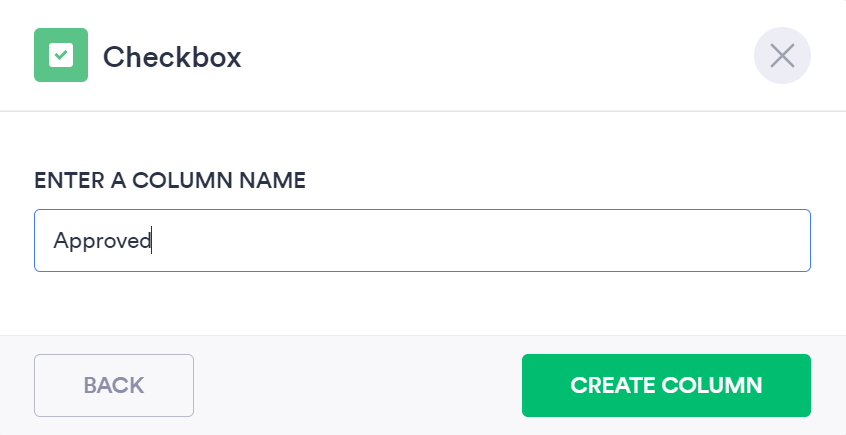
Enter a name for the checkbox column and click Create Column.
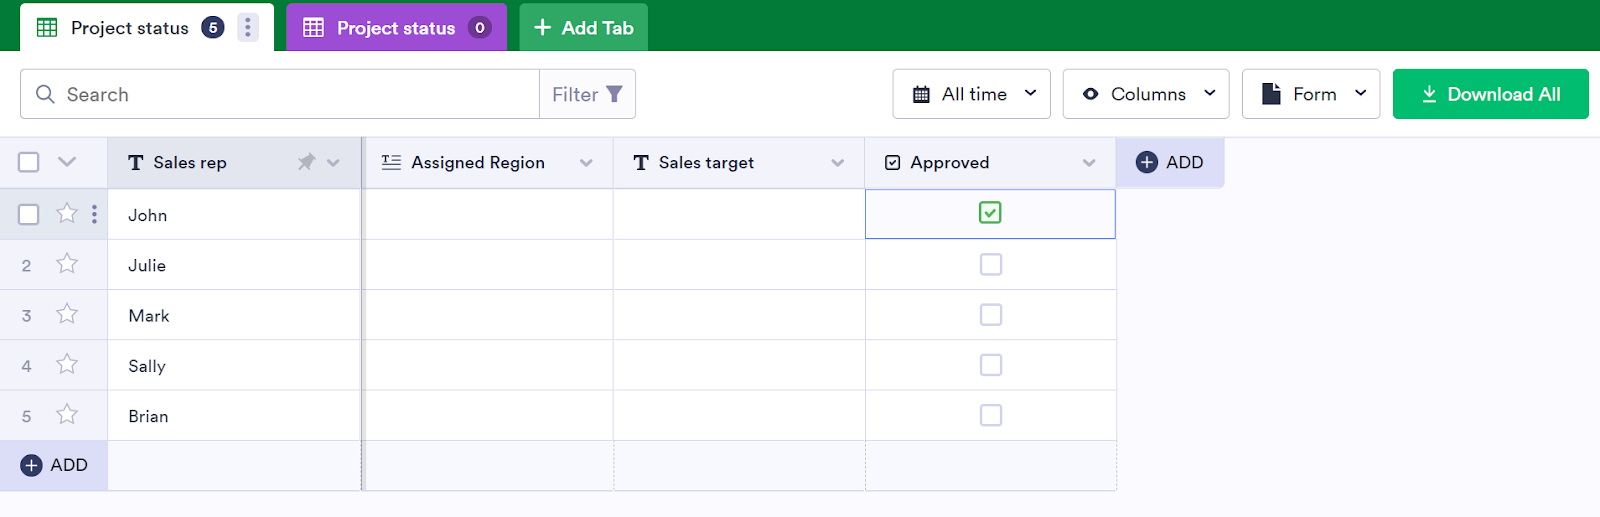
There you go — the checkbox column is ready!
Insert checkbox? Check!
With all the main spreadsheet programs today offering a simple checkbox function, there’s no reason not to use checkboxes wherever and whenever you need them.
Whether you’re using Jotform Tables, Google Sheets, or Excel, the checkbox is your quick, go-to tool for making spreadsheets and tables more efficient, user-friendly — and even fun.


Send Comment: