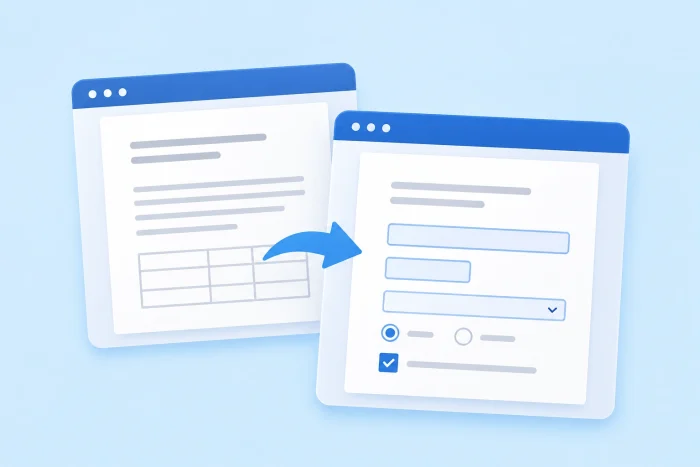
Turn a Word document into a fillable form in four steps:
- Show the Developer tab: Go to File > Options > Customize Ribbon, check the Developer box, and click OK.
- Add form fields: Place your cursor where you want a field, open the Developer tab, and select a control, such as Plain Text, Check Box, or Drop-Down List.
- Set field options: Select a control, and click Properties to add dropdown choices or adjust how the field behaves.
- Lock the form: Click Restrict Editing, check Allow Only This Type of Editing, choose Filling in Forms, and click Yes, Start Enforcing Protection.
For HR professionals, office managers, teachers, or small business owners, it can be difficult to use a Word document as a form. Send it to a dozen people, and you’ll spend more time cleaning up documents than reading the answers in them.
Word’s built-in tools fix part of that problem, letting you add fillable fields and lock everything else so people can type only where you want them to. This guide walks you through each step to make a solid fillable form in Word and then covers a faster, web-based way to collect the same information without emailing files at all.
Why force a Word file to be a form when there’s Jotform?
Microsoft Word is built for writing static documents. To collect information, handle intake, or get agreements signed, use Jotform instead.
Build a new form, or upload a PDF of your original document to Jotform Smart PDF Forms, and every response generates a filled-in copy in your exact layout.
The platform offers features Word can’t match:
- Link sharing: Send a simple web link instead of email attachments.
- Mobile-friendly design: Forms adapt to any screen, so they’re easy to fill out on a phone.
- E-signatures: Collect digital signatures securely.
- Automatic compiling: Every response goes straight into a searchable table.
Create better forms with Jotform today.
Creating a fillable form in Microsoft Word in 4 steps
Word hides its form tools by default. Once you turn them on, you can use Word document form controls to convert an existing document into a fillable form without any extra software or add-ons.
Here’s how to create a fillable form in Word using the Developer tab and its form controls:
1. Show the Developer tab
Microsoft Word keeps its form tools on the Developer tab. To turn it on using a PC, go to File > Options > Customize Ribbon, check the Developer box in the list of main tabs on the right, and click OK. The tab will then appear in your ribbon, so you need to do this only once.
On a Mac, go to Word > Preferences > Ribbon & Toolbar, check Developer, and click Save.
2. Add fillable fields to your document
Open the Word document you want to convert, and decide where each answer should go. If your form uses blank lines like “Name: ________,” delete the underscores so a field can replace them. Then click where the first answer belongs, open the Developer tab, and choose a control from the Controls group:
- Plain Text: Short answers, such as names and phone numbers, without formatting
- Rich Text: Longer answers, with options to make the text bold or type multiple paragraphs
- Check Box: Yes-or-no questions or lists of options
- Drop-Down List: A fixed set of choices, such as departments or shirt sizes
- Date Picker: A calendar for selecting dates
Repeat this process for every field. If you add one by mistake, right-click it and select Remove Content Control.
On a Mac, the Developer tab offers Text Box, Check Box, and Combo Box options. You’ll learn how to turn a text box into a date or number field in the next step.
3. Set each field’s options
Most fields work as soon as you add them, but you need to add choices to dropdown lists before you can use them. Select the control, click Properties on the Developer tab, click Add, and type each choice in the Display Name box (for example, Full-time, Part-time, or Contractor). The same Properties window lets you give any field a title or choose how a date picker displays dates.
Leave Contents Cannot Be Edited unchecked on dropdown lists; checking it stops people from selecting a choice. If you want people to type their own answer and be able to pick from the list, select Combo Box instead of Drop-Down List.
On a Mac, right-click a field and select Properties. Choose a Type for a text box (such as Regular Text, Number, or Date) or add the list of choices for a combo box.
4. Restrict editing and save
If you don’t protect the file, anyone filling out the form can still change your questions, labels, and layout. To secure your form, go to Developer > Restrict Editing, check Allow Only This Type of Editing in the Document, and choose Filling in Forms from the dropdown menu. Then click Yes, Start Enforcing Protection and add a password if you want to stop others from turning protection off.
Save the document, and then fill it out yourself to make sure every field works. To make changes later, open Restrict Editing, and click Stop Protection.
To complete this process on a Mac, click Protect Form on the Developer tab to lock the form, and click it again whenever you need to make changes. To add a password, go to Review > Protect Document and enter the password there.
Downsides to keep in mind while using Word for online forms
It’s easy to set up a form in Word; the problems start with collection of the responses, especially if you send the form to more than a handful of people. Here are the main drawbacks:
- It’s hard to fill out on a phone: Word documents use a fixed page layout, so people completing your form on a phone have to zoom in and scroll to find each field. Many form fields (such as date pickers or dropdown menus) don’t work at all in Word’s mobile app.
- Recipients need the desktop version of Word: Word for the web can’t create form fields, and a document locked with Restrict Editing generally can’t be edited there. Someone opening your form in a browser may not be able to type in it, so your recipients will need to install Word on their computer.
- Every response becomes a separate file: Send the form to 50 people, and you’ll receive 50 attachments, each one a document you have to open, read, and copy into a spreadsheet manually. You face the challenges of typos, skipped fields, and mixed-up file versions with every response.
- You can’t receive payments or add logic or required signatures to the form: Word can’t collect payments or hide questions that don’t apply to someone. It also can’t require a signature before a form is returned, which is important if you’re sending contracts and waivers.
- Saving the form as a PDF removes the fields: Sending a PDF instead seems like an easy fix, since anyone can open a PDF. But Word can’t create a fillable PDF from Word form fields. Saving the document as a PDF keeps the layout and drops the interactivity. Recipients get a static file they’d have to print, fill out by hand, and scan.
Why you should turn your Word document into a Jotform instead
Instead of emailing a static file and hoping it arrives intact, use Jotform to convert your Word document into an online form that can be completed on any device. There are two ways to do it, depending on how much your original layout matters:
1. Build a responsive web form in minutes
If the questions in your Word document matter more than how it looks, re-create the form in the Jotform Form Builder. Drag and drop text boxes, dropdown menus, and file upload fields onto the page. You can also add features not available in Word, such as secure payment fields, conditional logic (which hides questions that don’t apply based on a respondent’s previous answer), and signature fields (which let you collect e-signatures).
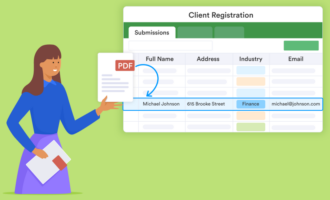
The form automatically adapts to smartphones, tablets, and desktops, and every submission goes straight to Jotform Tables, a searchable, spreadsheet-style workspace. Instead of copying answers from 50 attachments, you can open a single table that has organized every response already.
2. Keep your original layout with Jotform Smart PDF Forms
If you need to keep the document’s exact look (for example, if you’re sending a contract or official form), save your Word file as a PDF first. Word can do this: Go to File > Save As. Or you can use one of the best Word-to-PDF converters for your setup. Then, in Jotform, click Create Form, select Import Form, and choose Import PDF Form to upload the file.
Jotform turns the PDF into a mobile-friendly online form, connects its fields to your original document, and lets you add any fields it doesn’t detect. Respondents fill out the online version and can submit a PDF online from their phone, without downloading or printing a thing. Jotform then generates a completed PDF in your original layout, which you can email automatically or sync to Google Drive, Dropbox, or Box.
Instead of drowning in digital clutter with each response, send a single link and collect all answers in one place. Create your first form in Jotform for free, and simplify your forms process.
This article is for HR professionals, office managers, teachers, and small business owners who have an existing paper or Word-based form (like an intake sheet or contract) and need to digitize it so others can fill it out.



















Send Comment: