The Admin Console provides a centralized view of all forms within your organization. From this page, you can review key details such as Form Name, Status, Submission Count, Last Edit Date, Date Created, Owner, Share Type, and e-Signature status. You can also take various administrative actions to manage and control your organization’s forms efficiently.
 How to Analyze Forms Usage in your Organization from the Admin Console
 How to Enable or Disable Forms in your Organization from the Admin Console
 How to Archive or Unarchive Forms in Your Organization from the Admin Console
 How to Trash or Restore Forms in Your Organization from the Admin Console
 How to Show or Hide Form Widgets Organization-Wide from the Admin Console
Viewing and Managing Options
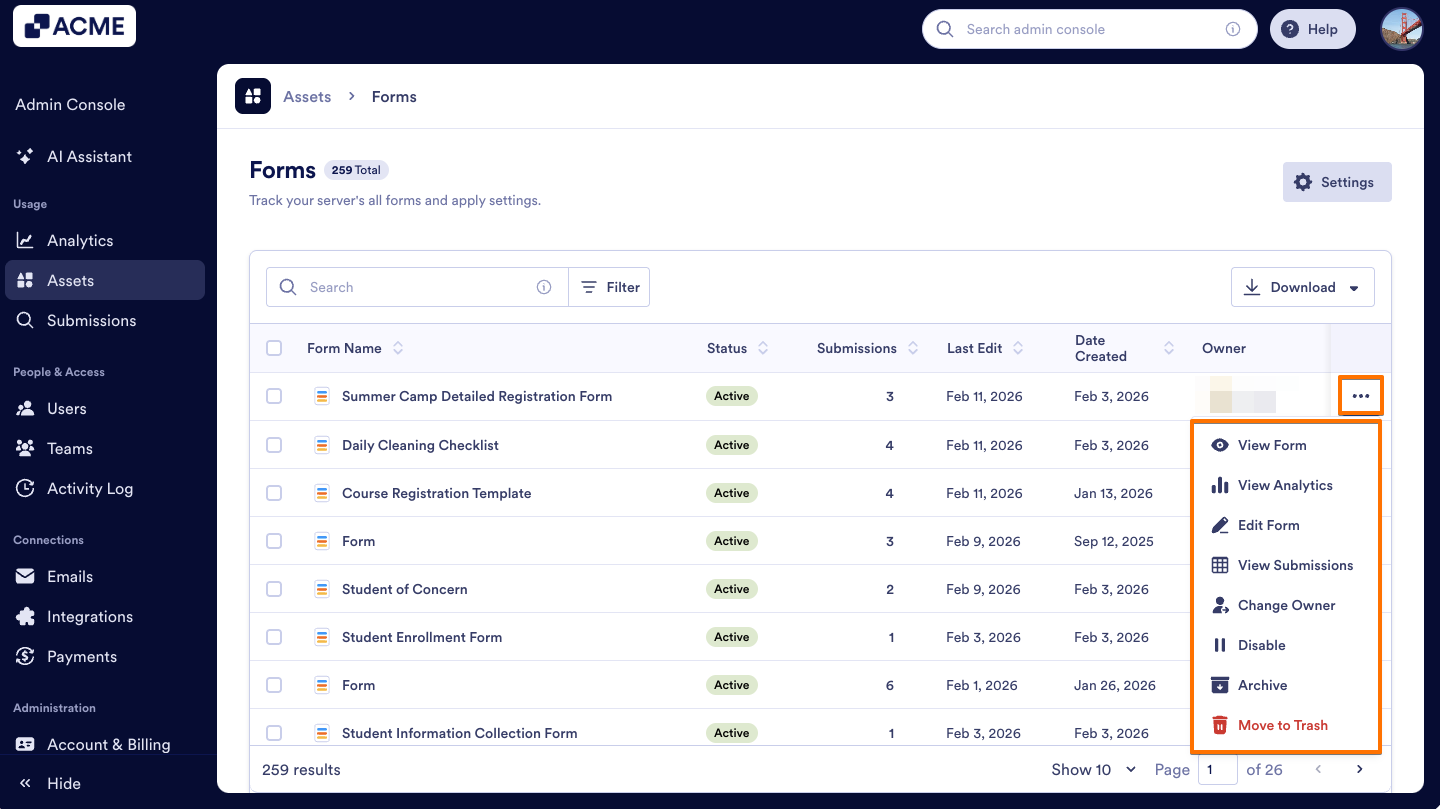
Each form has individual options:
- View Analytics: View a summary for all of the data for the specific form.
- View Form: View a live version of the Form.
- Edit Form: Open the Form in Build Mode.
- View Submissions: View the Submission Table for the Form.
- Change Owner: Change the Owner of the form.
- Move to Trash: Delete the form.
- Restore: Recover the form from Trash.
- Purge: Permanently delete the form and all its data.
- Disable: Disable the form to stop new submissions.
- Enable: Activate the form, making it accessible for use.
- Archive: Store the form to archive.
- Unarchive: Remove the form from the archive.
Note
The actions you take here will also affect the form owner’s workspace. For example, deleting a form will remove it from the user as well, so keep this in mind.
Process
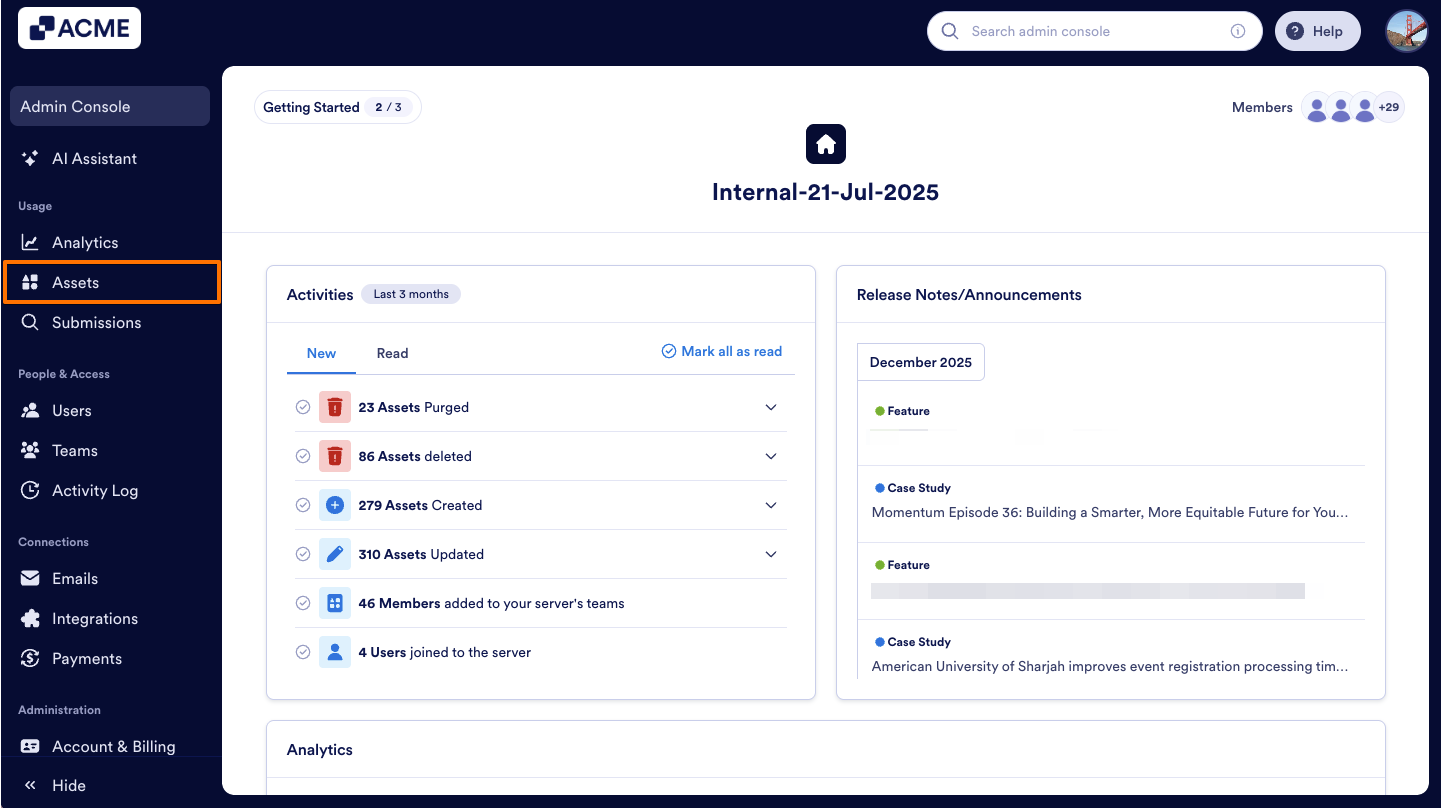
- In the Admin Console, click on Assets.
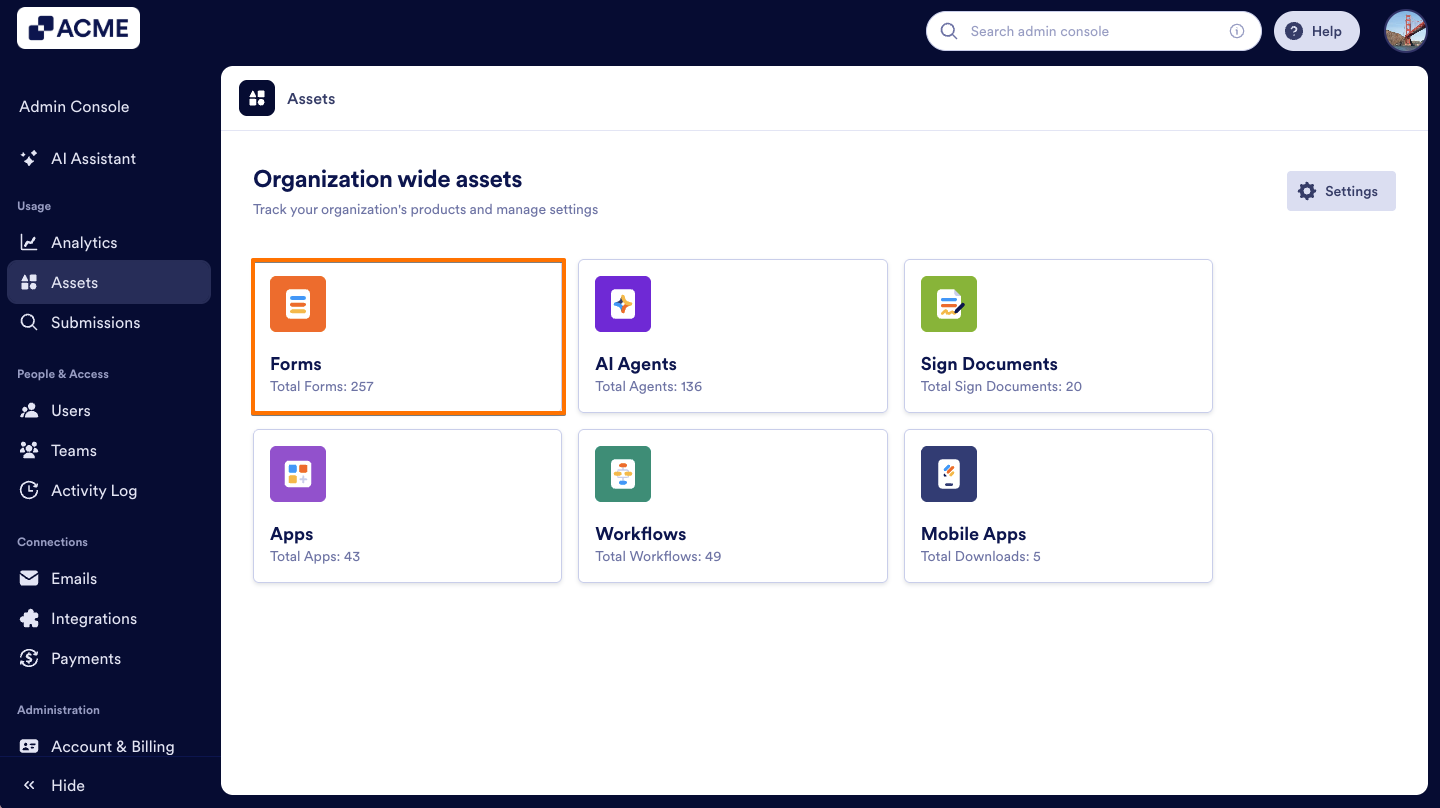
- Then, click on Forms to load all forms on your server.
- Now, find the form you’d like to manage and click on the Three dots icon to access the menu.
After accessing the menu, we can start selecting the options. Here’s what you can do:
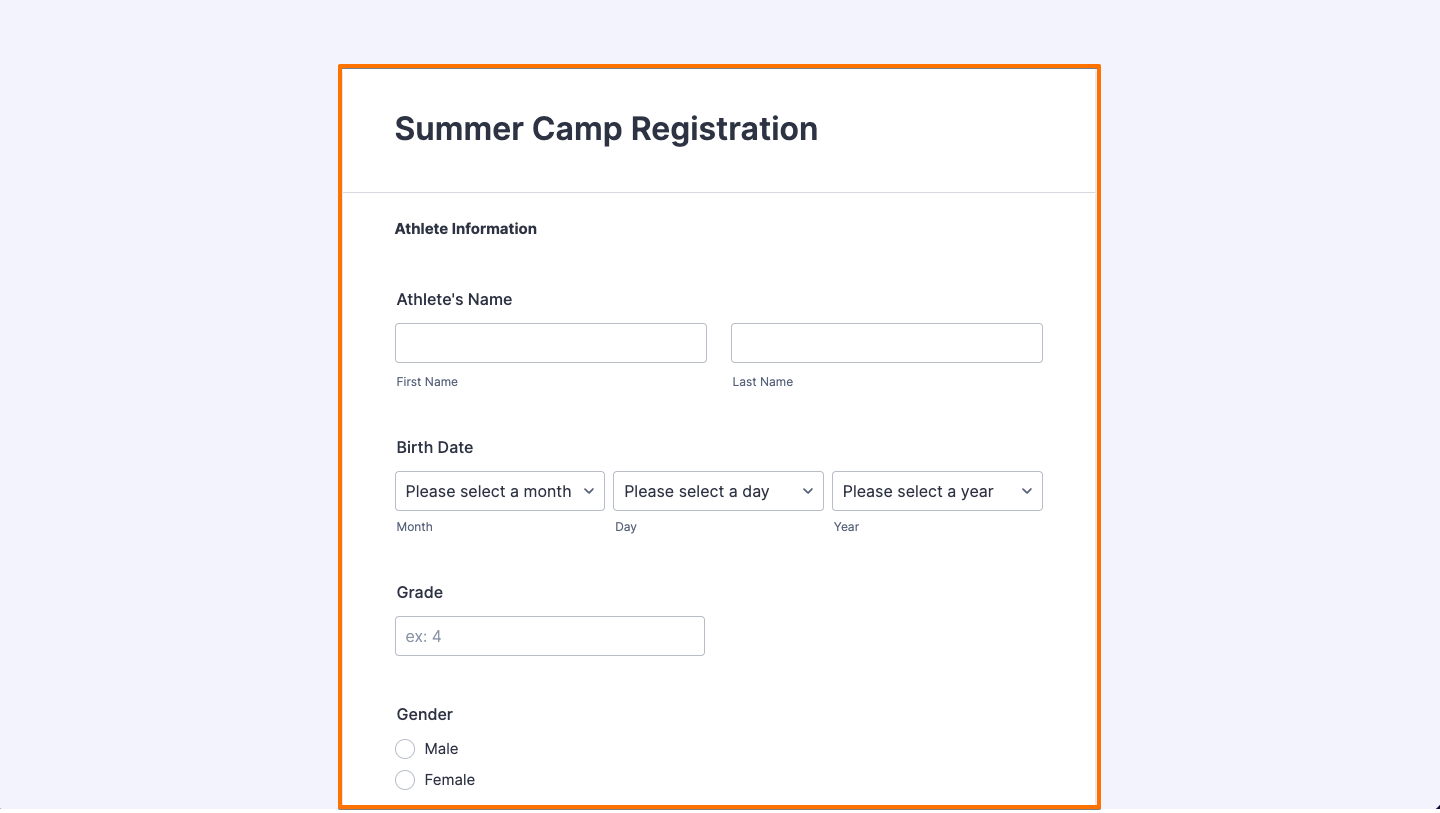
View Form
- Click on the View Form option in the menu.
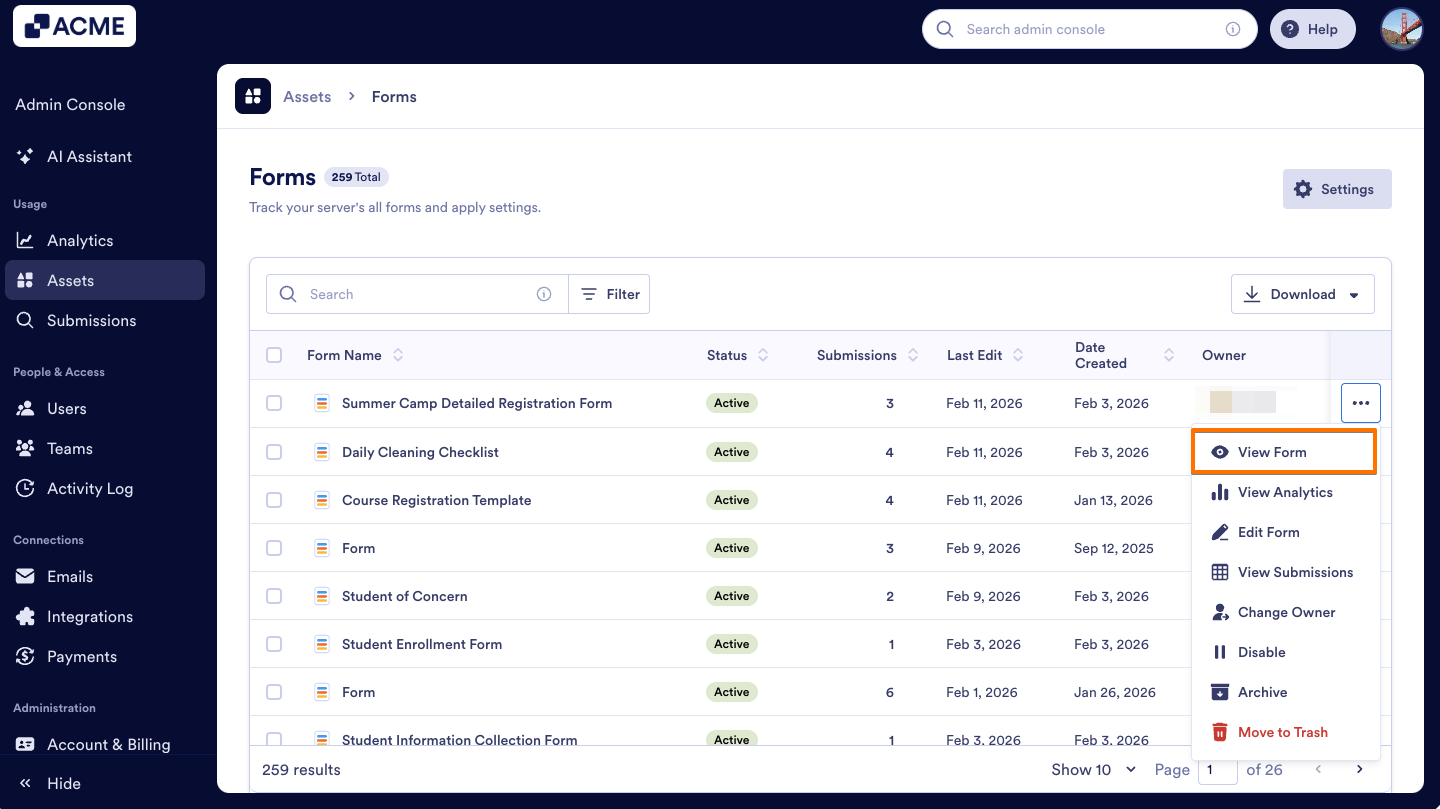
- After clicking on View Form, you’ll be brought to the live version of the form. Here, you can share it via the URL or create a submission.
View Analytics
- Select View Analytics from the menu.

- You will be taken to the Analytics page of the form you selected. This is where all of the data about your form lives, including Performance and Submissions.

For more information about Analytics, you can check out our guide How to Analyze Forms Usage in your Organization from the Admin Console.
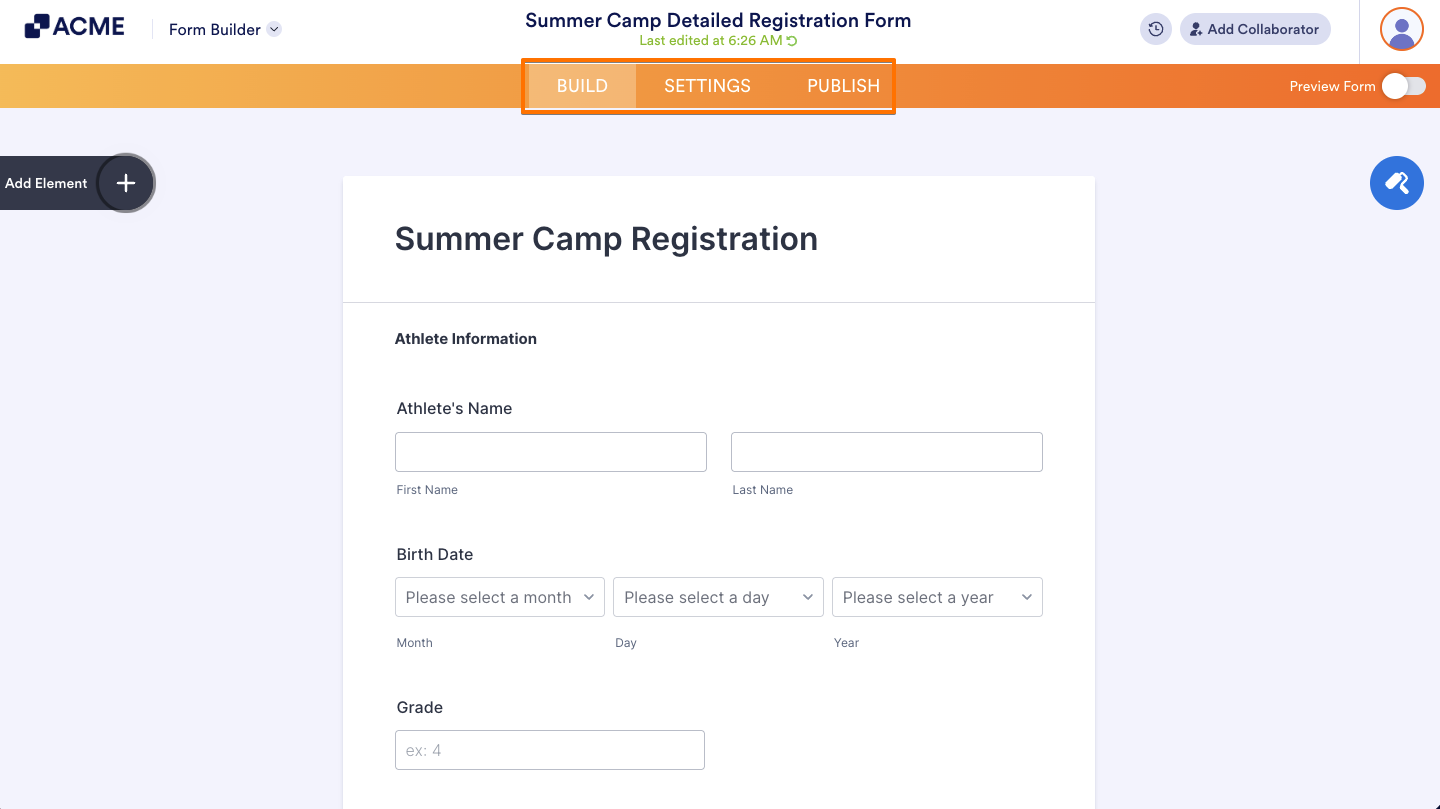
Edit Form
- First, you need to click on Edit Form in the menu.

- Then you’ll be taken to the Form Builder, where you can edit the form, adjust its settings, or update its privacy.
If you don’t own the form, a red pop-up will appear at the bottom of the page showing the form owner’s username.
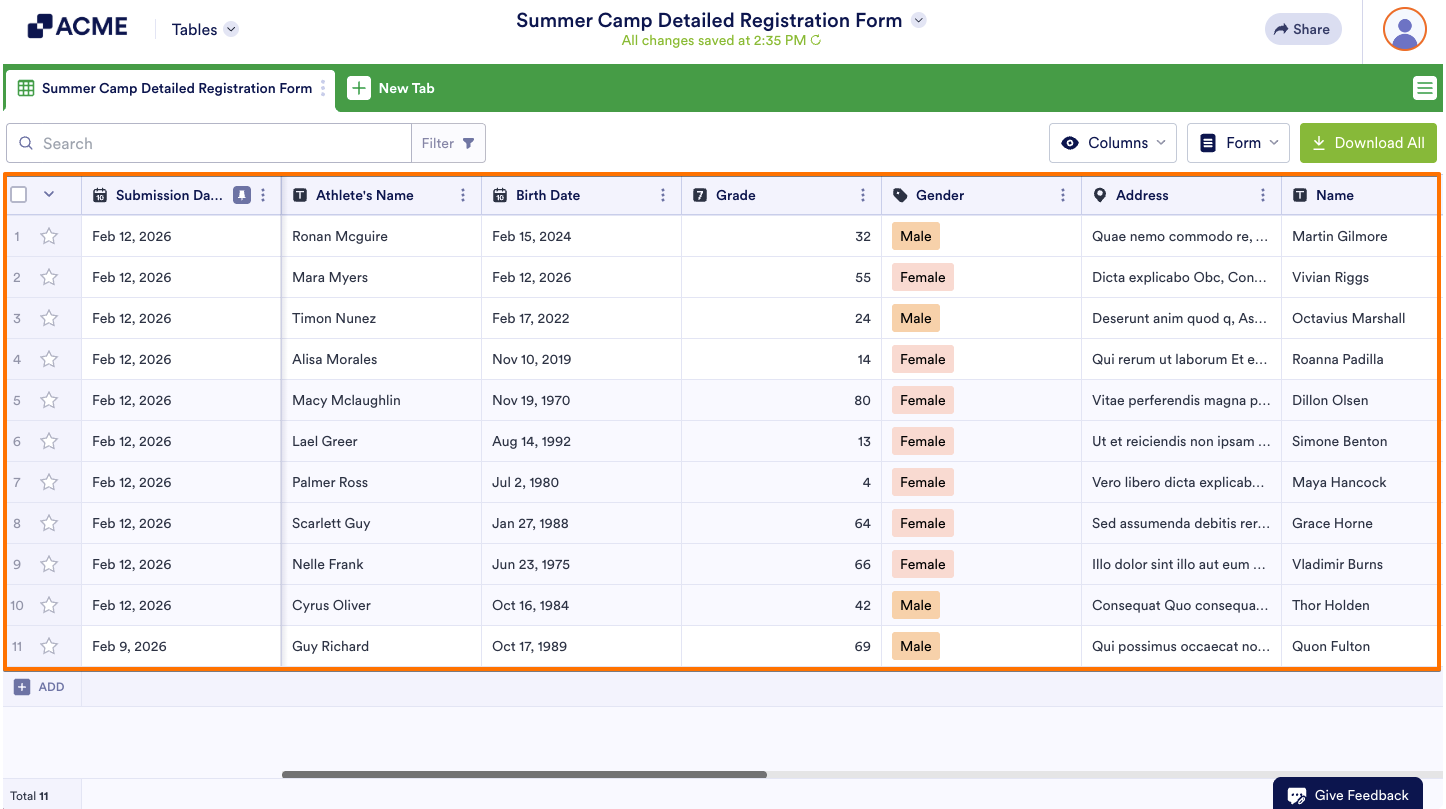
View Submissions
- Select the View Submission option in the menu.
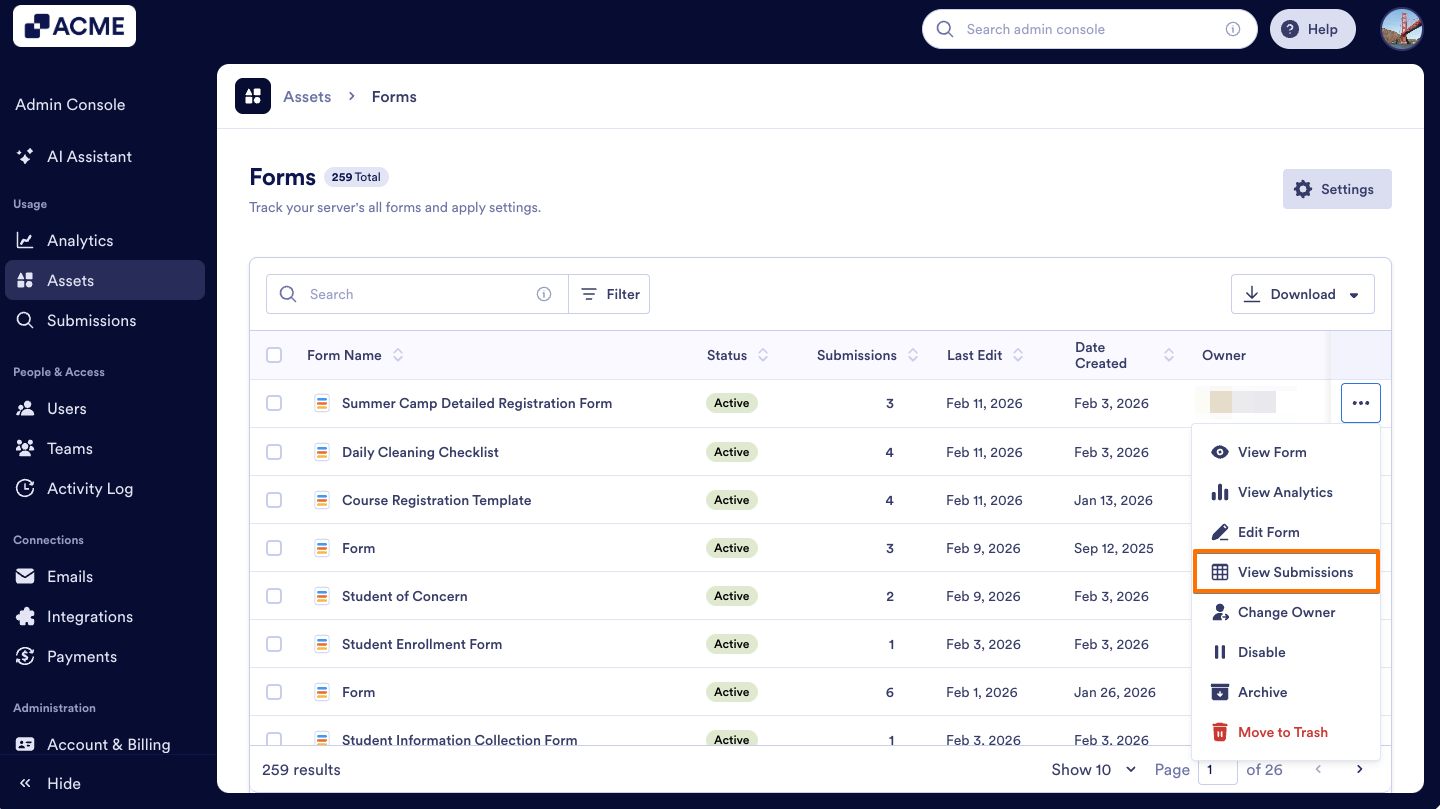
- After clicking, the Submission Table for the form will open. You can view all submission data here.
Change Owner
- Select Change Owner from the Three dots menu.

- Then, select the new owner from the Drop-down menu and click on Change.
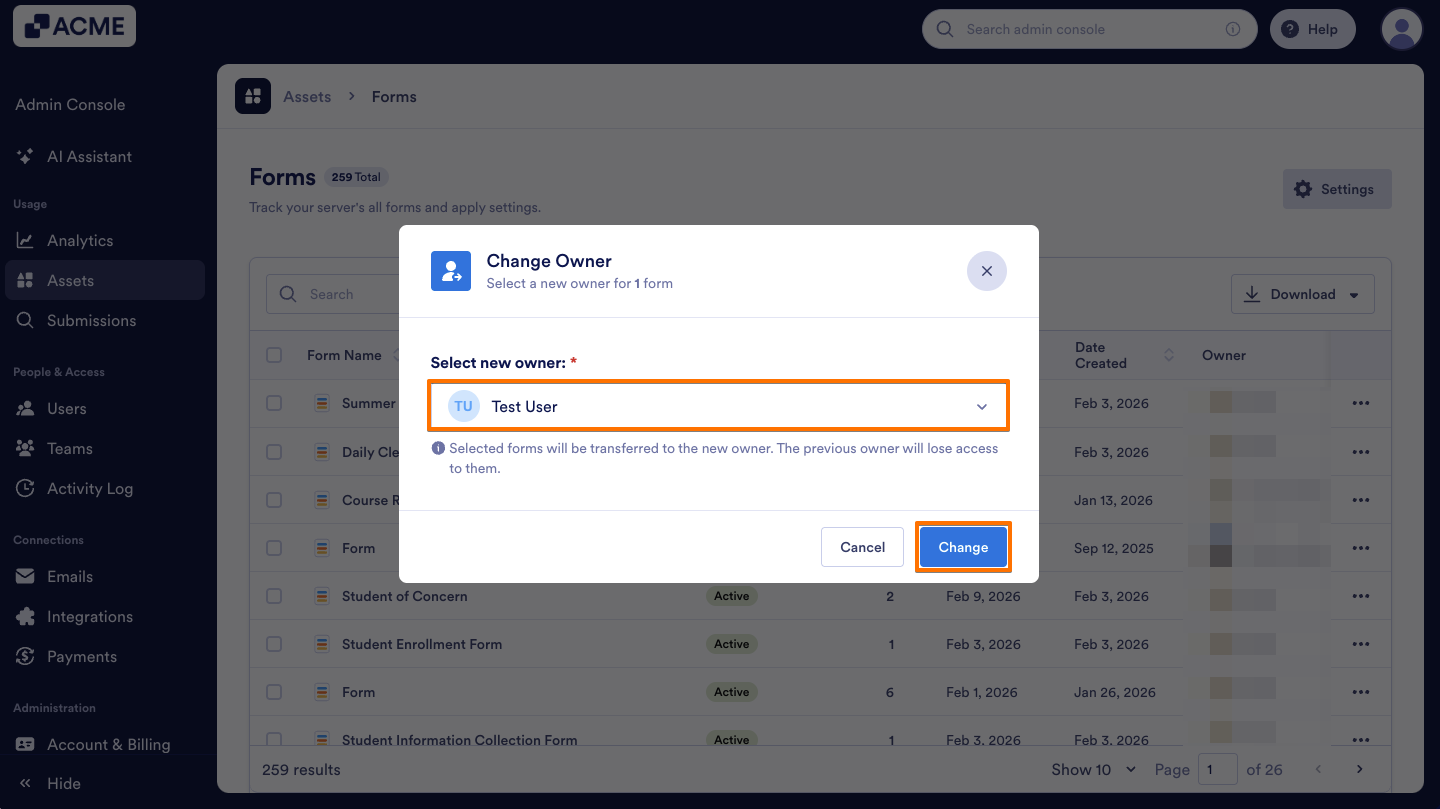
The updated owner will appear under the Owner column in the forms list.
Disable
- Select Disable from the Three dots menu.

- After clicking, your assets will be disabled indefinitely until you manually enable them again

Check out our guide How to Enable or Disable Forms in your Organization from the Admin Console to learn how to enable a form or disable and enable forms in bulk.
Archive
- Click Archive from the Three dots menu.
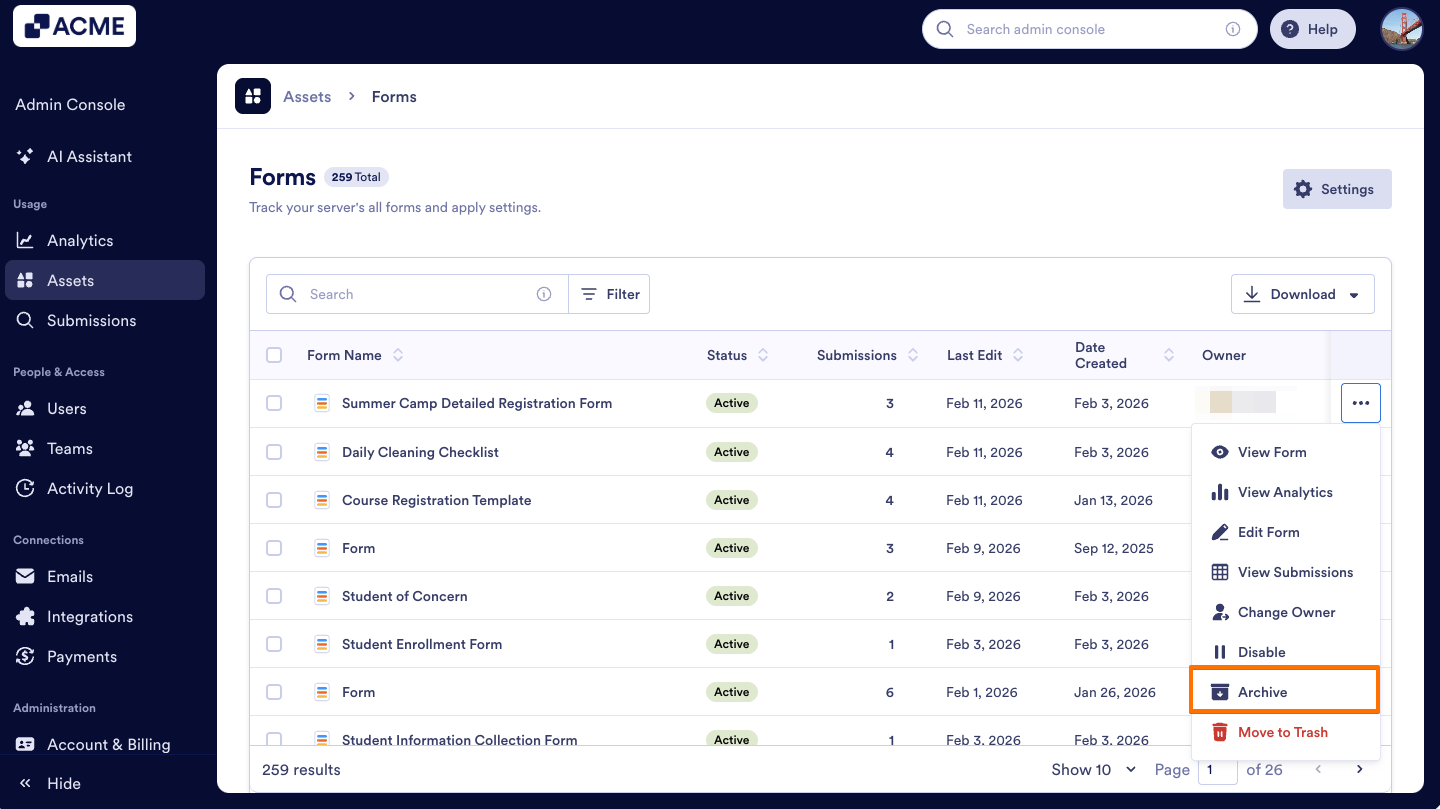
- Now your assets will be stored and will no longer be active, keeping them accessible for future reference without cluttering your main workspace.
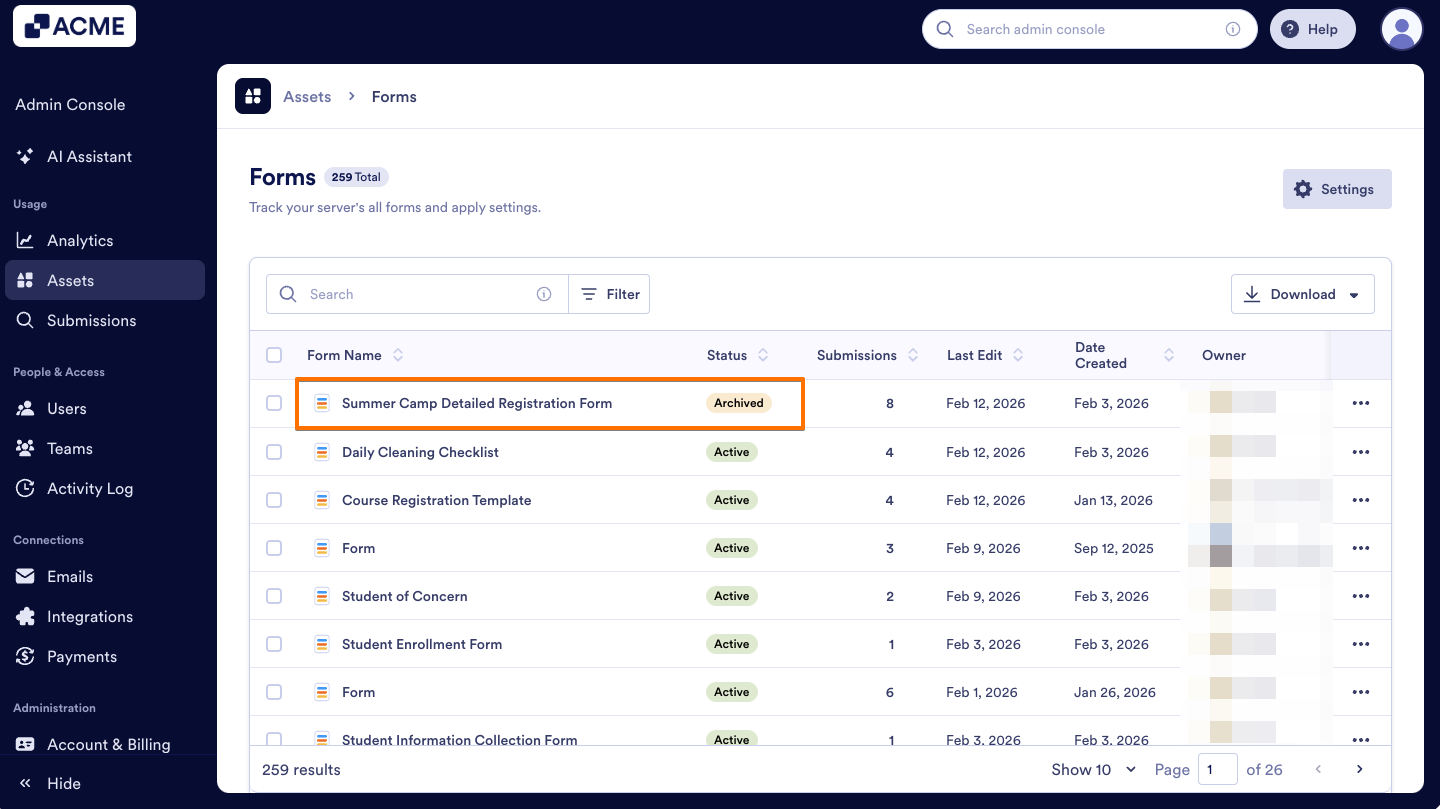
To unarchive the form or perform these actions in bulk, refer to our guide How to Archive or Unarchive Forms in Your Organization from the Admin Console.
Move to Trash
- Select Move to Trash from the Three dots menu.
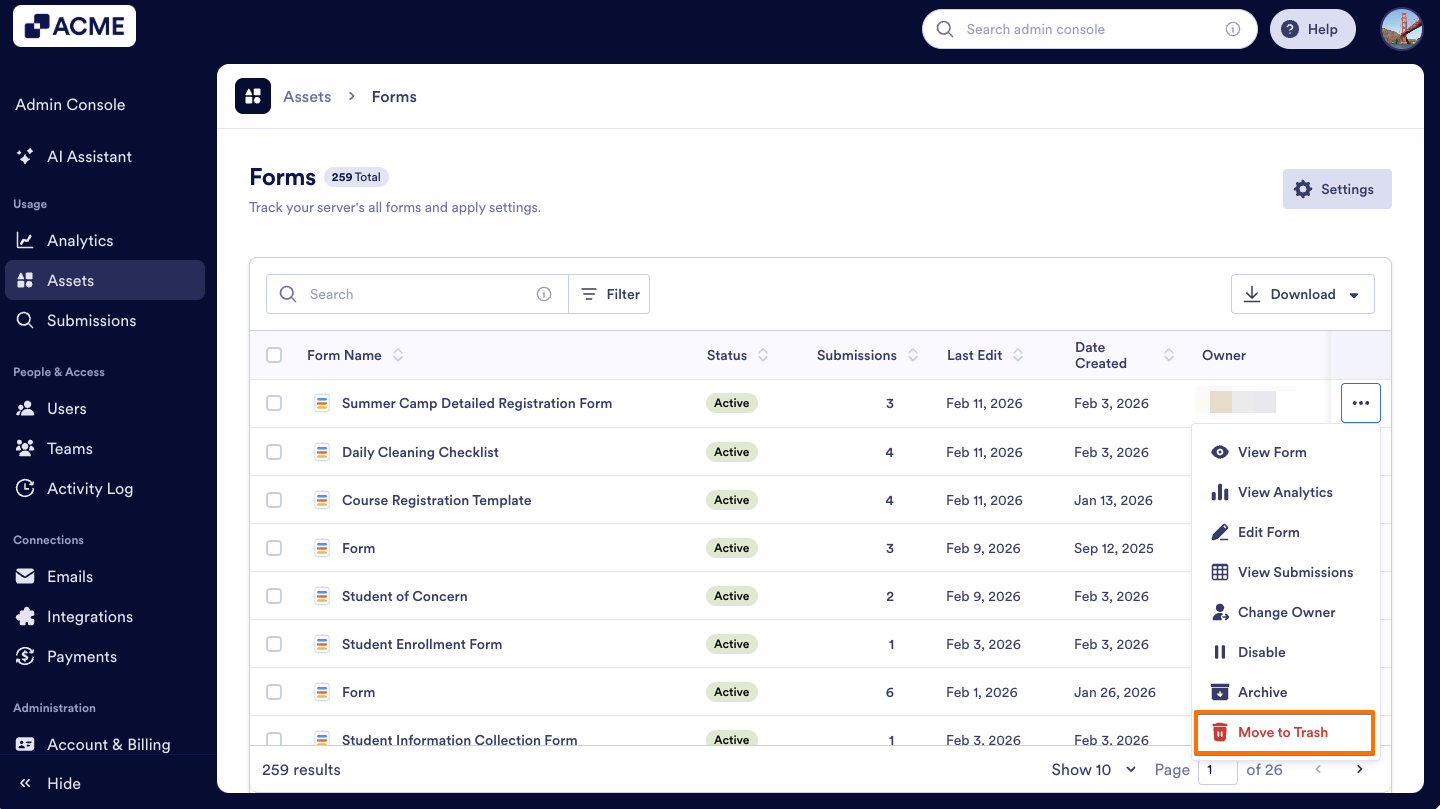
- After deleting the form, it will be moved to the creator’s trash.

To Restore or Purge forms, or to perform these actions in bulk, you can check out our guide How to Trash or Restore Forms in Your Organization from the Admin Console for more information.
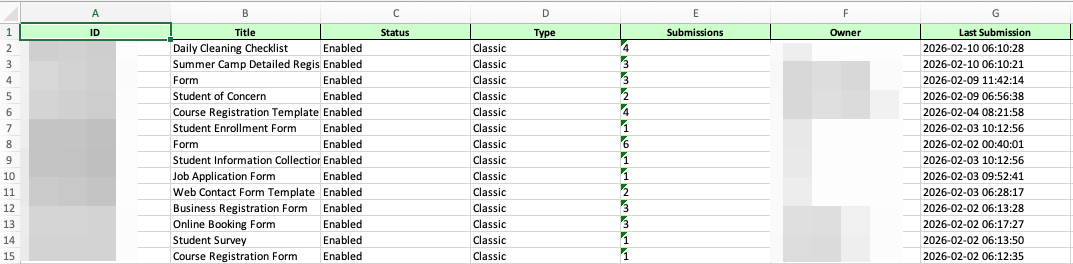
Forms Report
In the Forms landing page, you can download a brief report of all the forms on the server, including the Form ID, how many submissions are on the form, and the availability of the form.
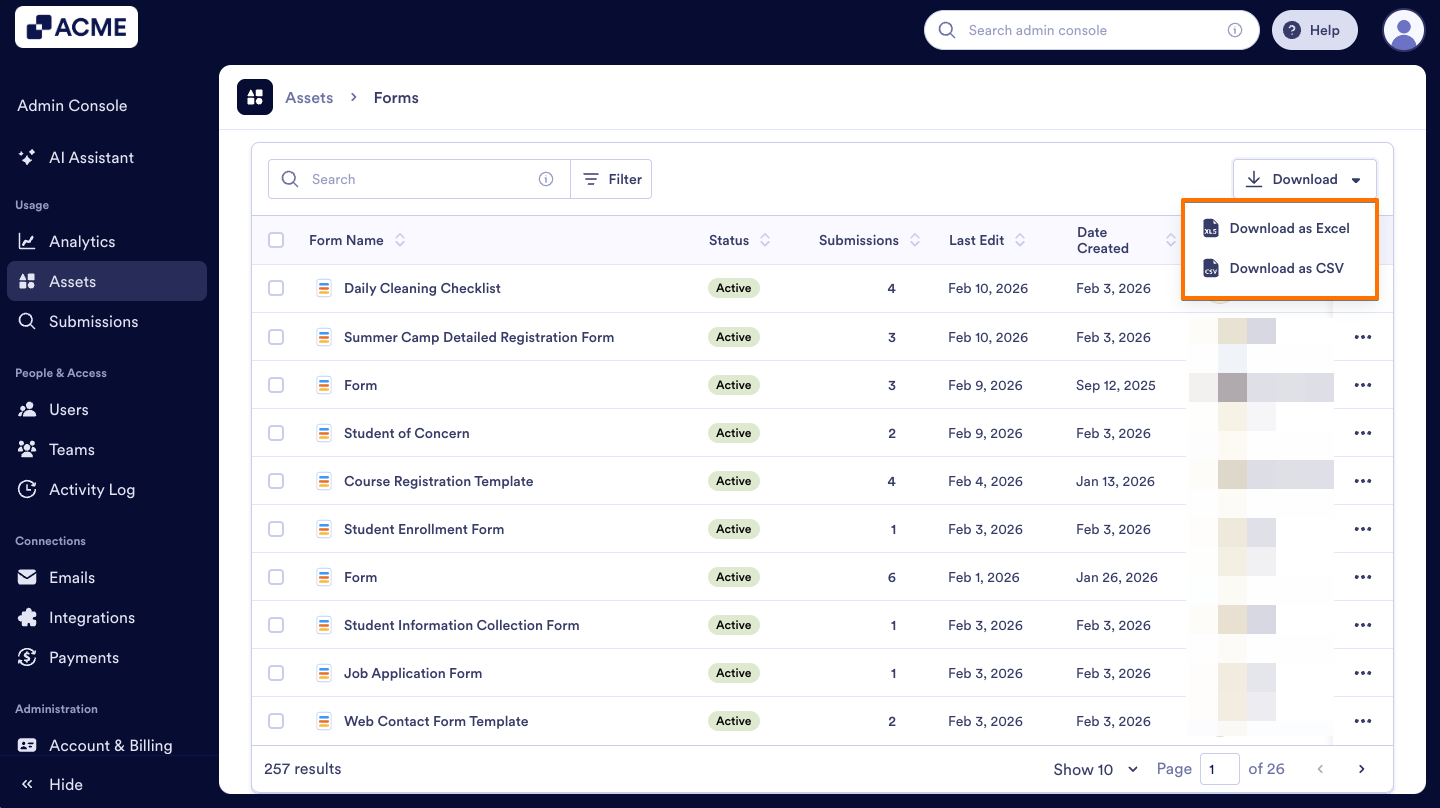
Let’s walk through this process together:
- In Forms, click on Download on the right-hand side of the page.

- Next, click on the download type to start the process.
Settings
As an admin, you can update different form settings. To learn more, check out our guides:
- How to Show or Hide Form Widgets Organization-Wide from the Admin Console
- How to Create and Manage Form Theme Organization-Wide from the Admin Console
- How to Manage AI Generated Form Templates Organization-Wide from the Admin Console
Filtering Forms
You can easily locate the forms you need by applying filters such as Asset Owner, Status, Last Edited, Date Created, Share Type, or eSignature.
- In the Admin Console’s Form Assets page, click on the Filter button on the right side of the Search bar.
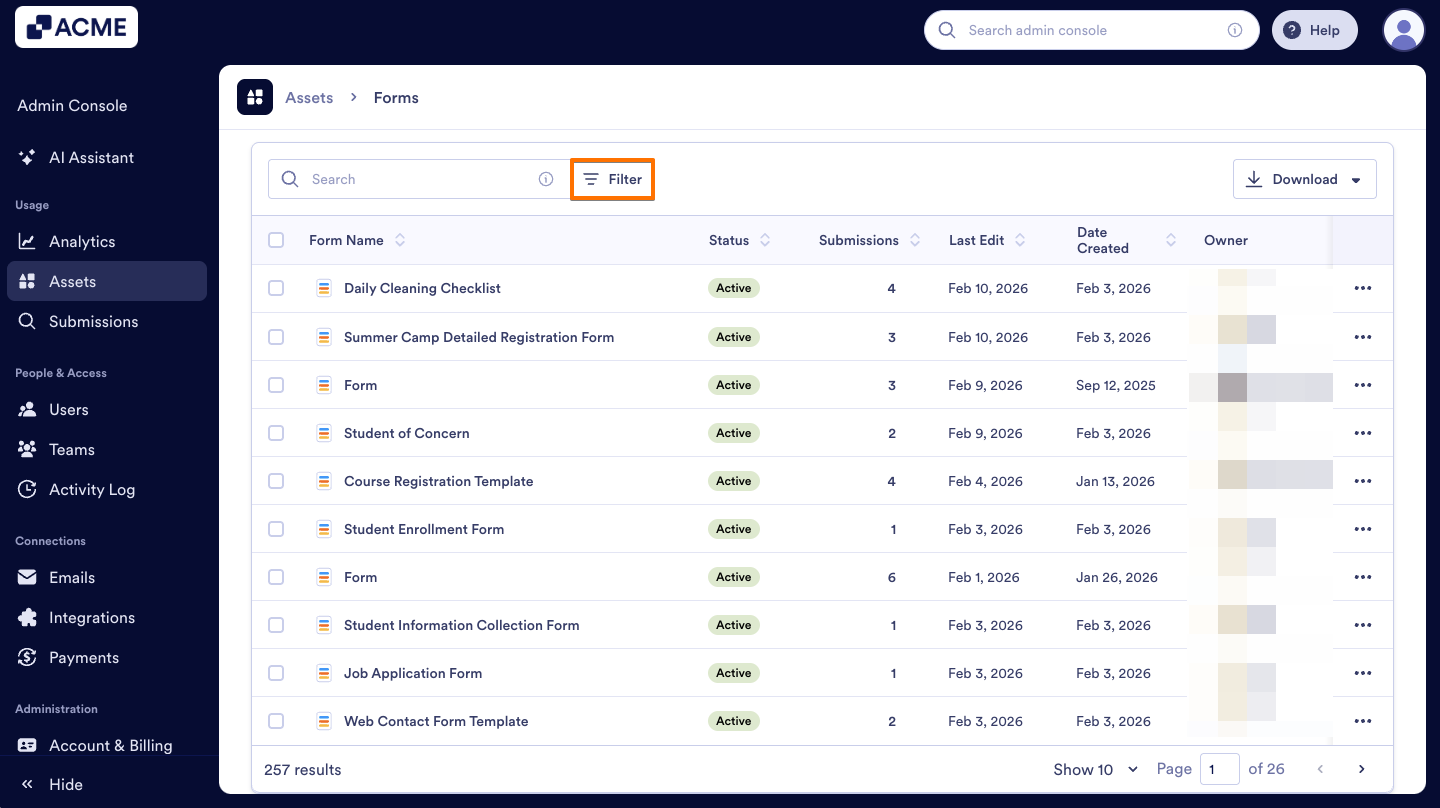
- Select filters based on your search criteria, and the matching forms will appear automatically.
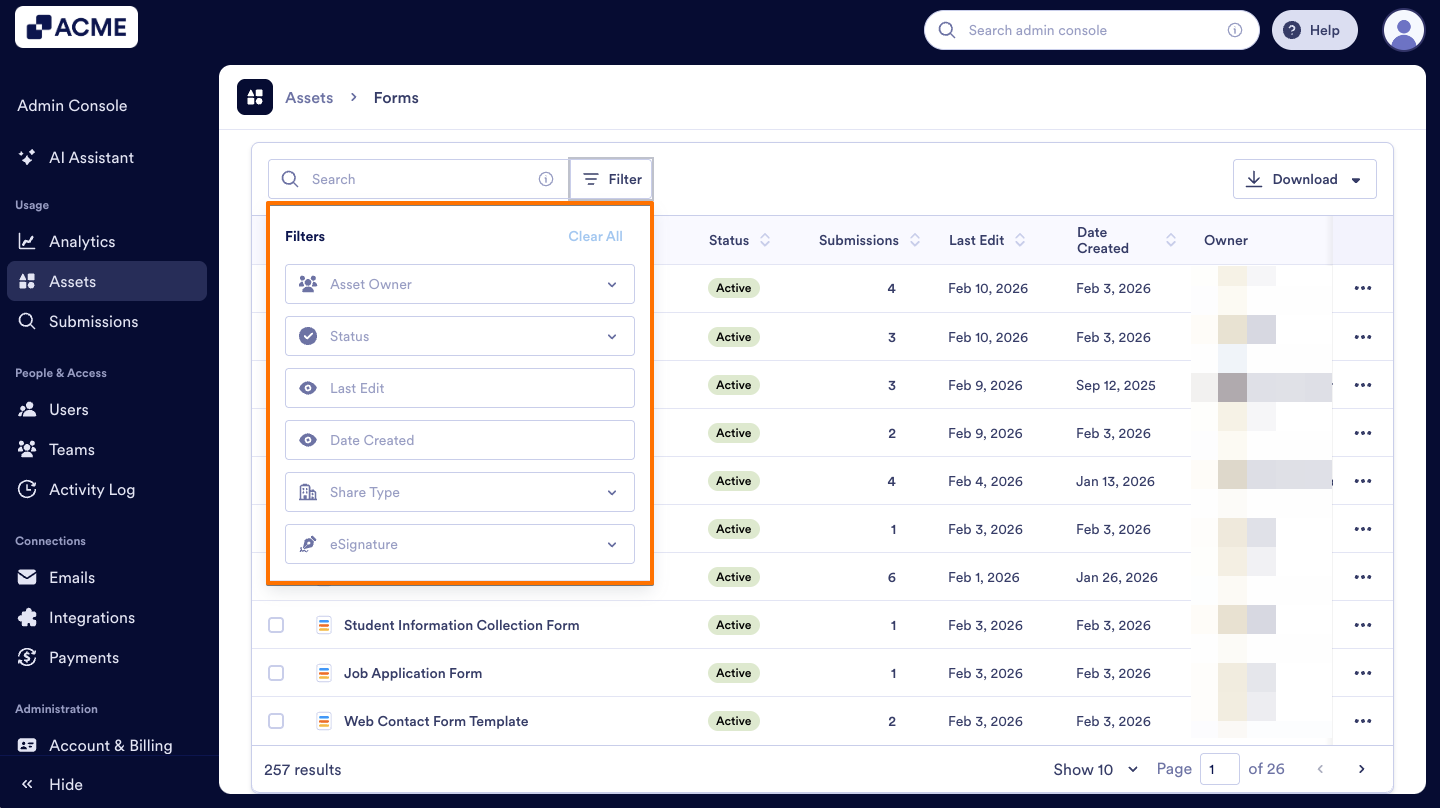
Asset Owner: Filter forms owned by individual users or those owned by a team.
Status: View forms that are Active, Disabled, In Trash, or Archived.
Last Edit: Filter forms by the date they were last modified.
Date Created: Filter forms by their creation date.
Share Type: View forms that are set to Public, Private, or Company Shared.
eSignature: Filter forms by whether eSignature is Enabled or Disabled.
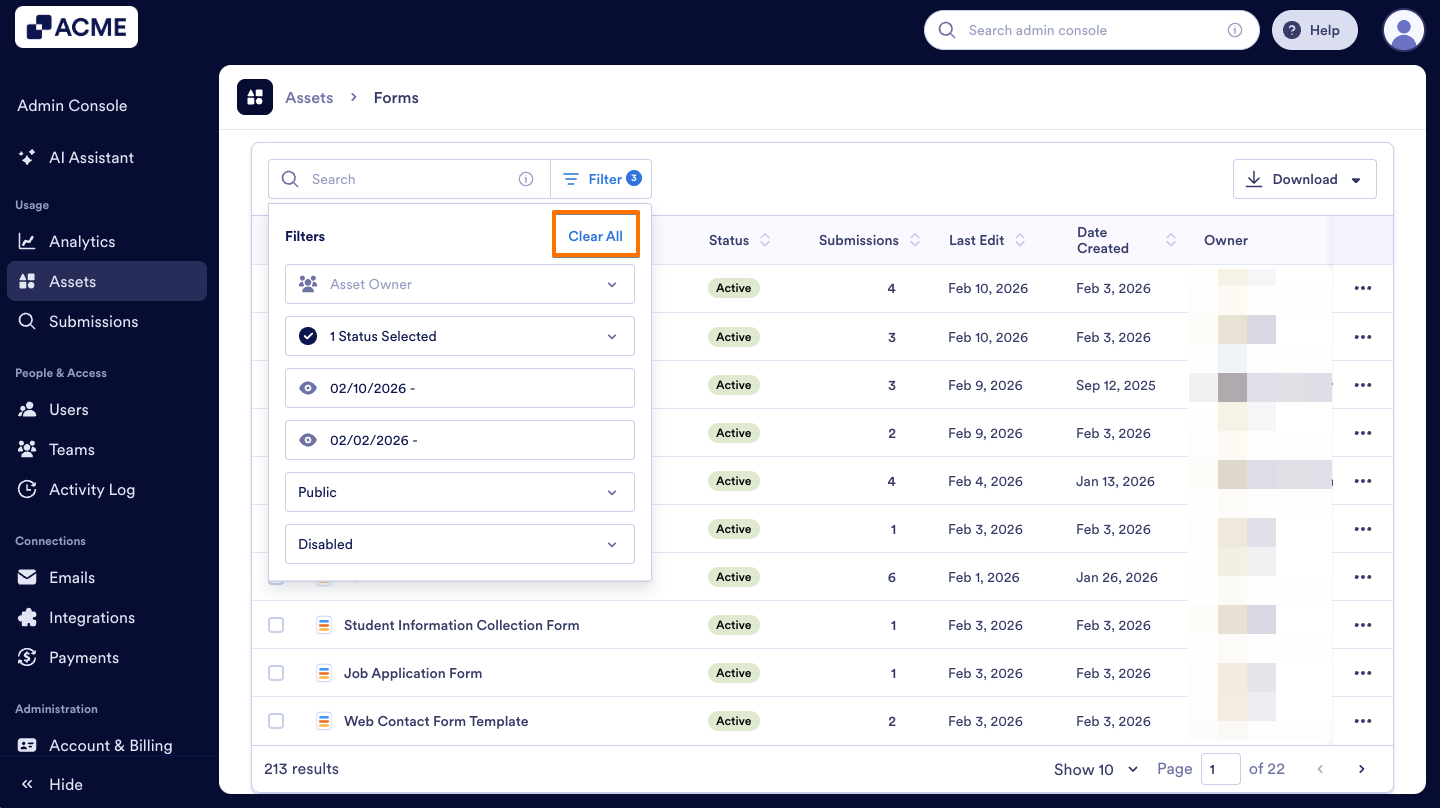
- Finally, if you want to delete all filters, you can click on Clear All.
Sorting Forms by Columns
To organize your forms by category, just click the column header for the data you want to prioritize.
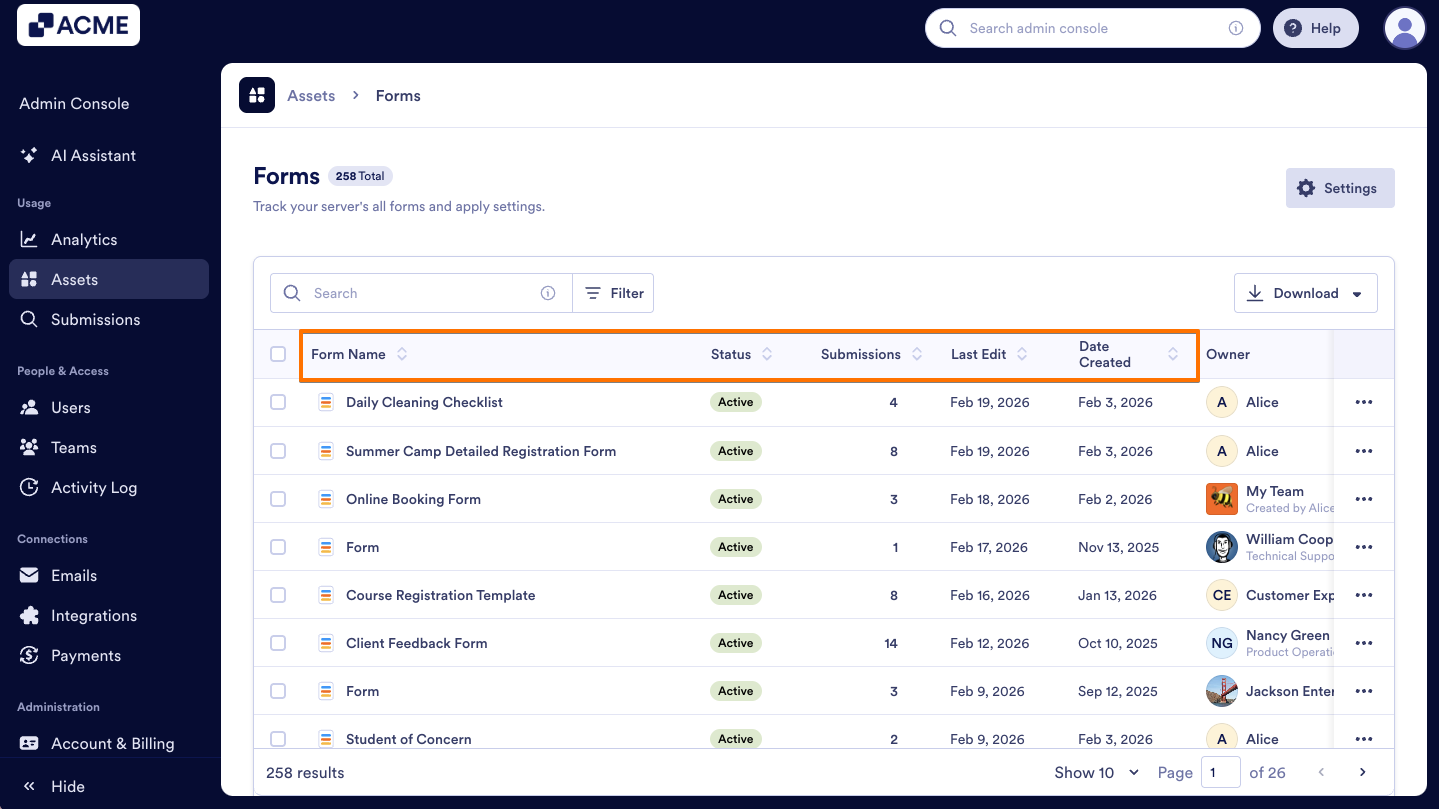
Form Name: Click this header to sort your forms alphabetically. You can switch between A–Z or Z–A.
Status: Use this column to group forms by their current state. Easily see all active, disabled, archived, or trashed forms together.
Submissions: Sort forms by the number of submissions, from most to least or least to most, to track engagement.
Last Edit: Organize forms by the date they were last modified to find recently updated forms quickly.
Date Created: Sort forms by the date they were created, making it easier to find your newest or oldest forms.

Send Comment: