

Your Shopify storefront is open for business. But to thrive, it needs more than product listings and a checkout page. Customers need an easy way to ask questions, share feedback, and tell you what they’re looking for.
Jotform App for Shopify helps you make those connections through customizable forms and surveys embedded directly into your storefront. Collect customer information, leads, orders, and requests without coding, and manage form submissions in one place.
Jotform helps you automate what happens after a form is submitted, reducing the manual work of managing customer requests.
With the Jotform App for Shopify, you can
- Tailor forms with conditional logic and prefilled fields
- Accept payments and file uploads through your forms
- Automate follow-ups and route requests for approval
- Generate documents and collect e-signatures
- Use AI Agents to answer questions, capture data, and support customer workflows
Here’s how to connect Jotform to your Shopify store, create a form, and publish it on your storefront.
Installing Jotform App for Shopify
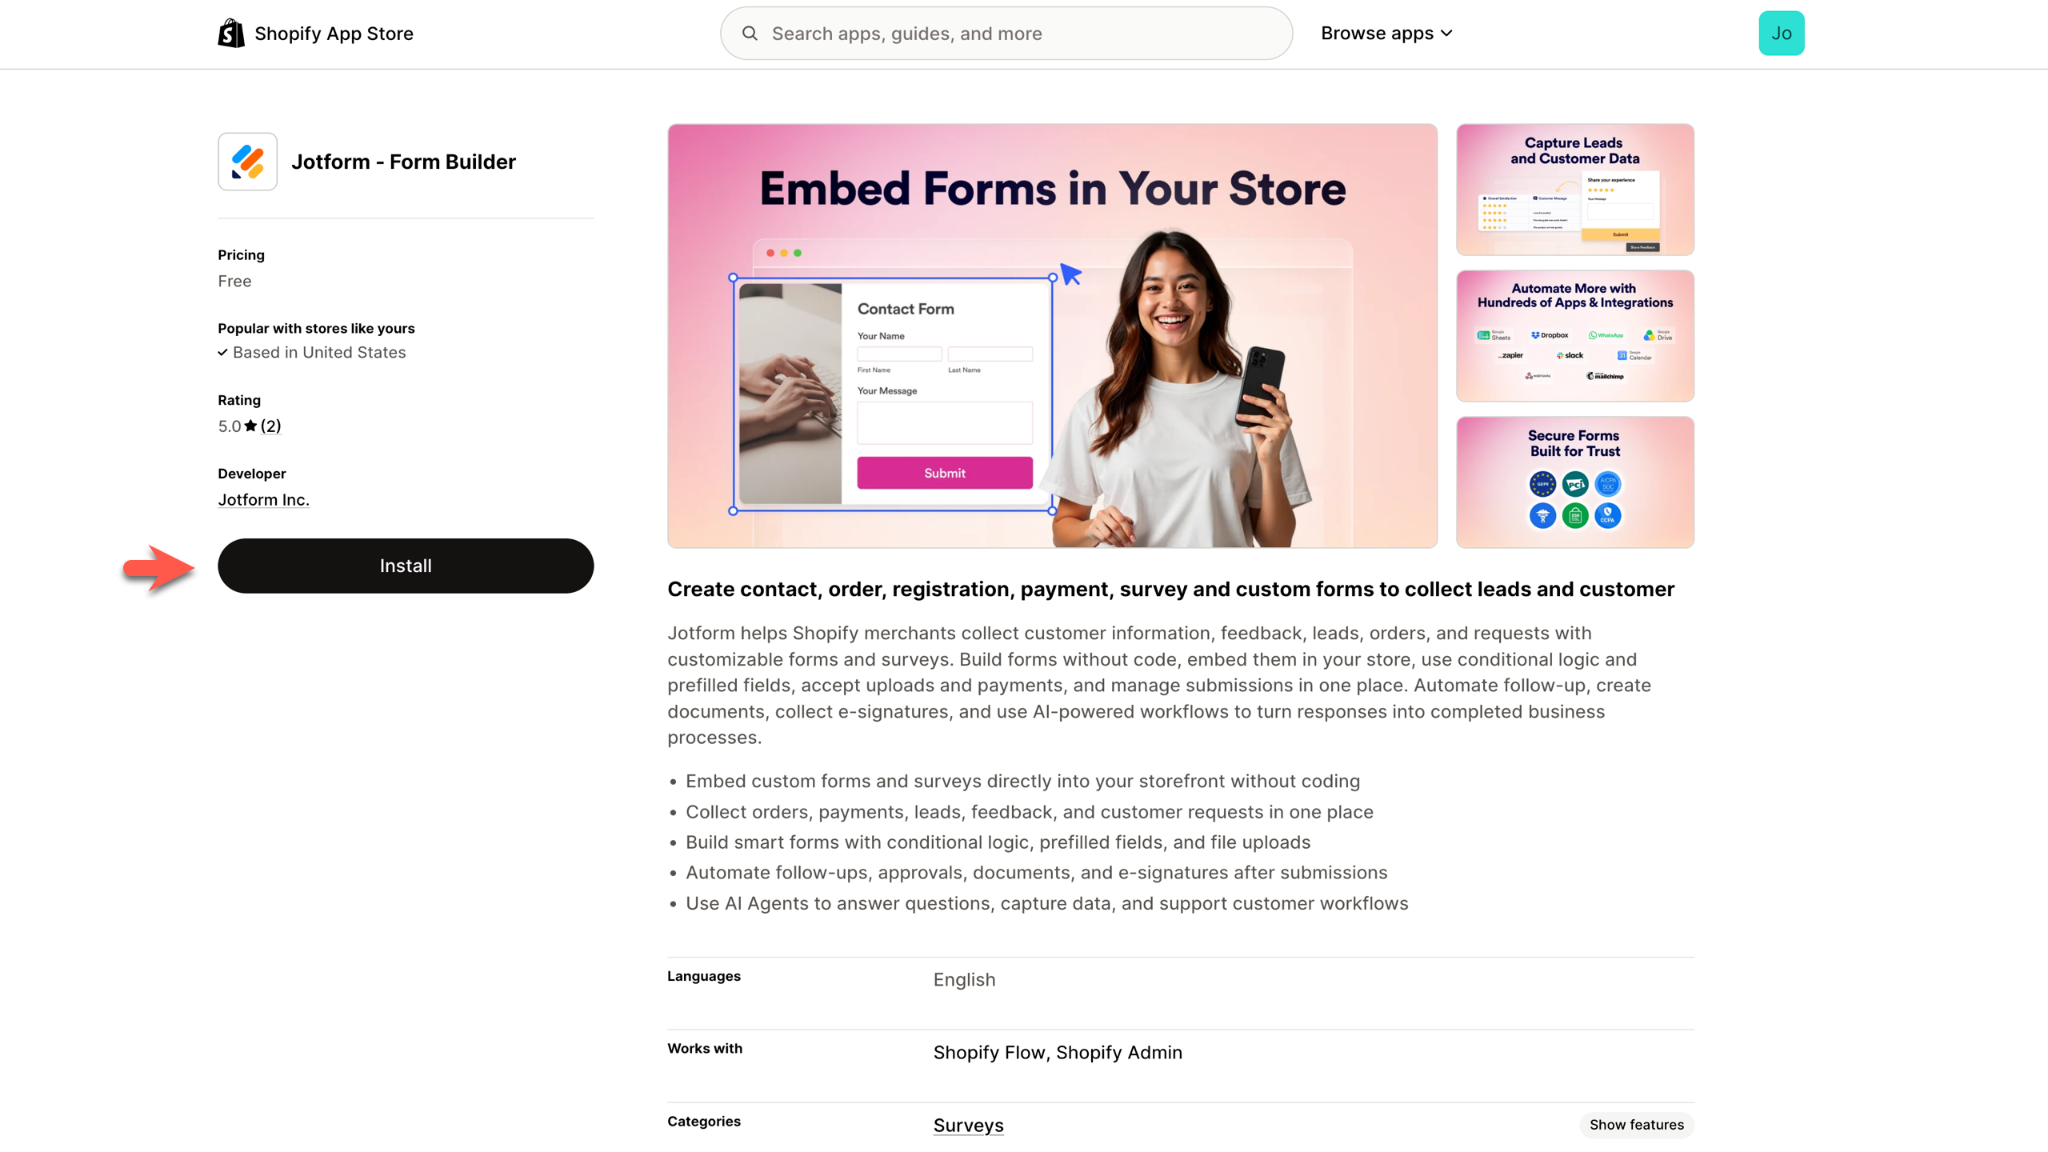
To add Jotform to your Shopify account, start by logging in to Shopify. Search the Shopify App Store for the Jotform Form Builder and click Install.
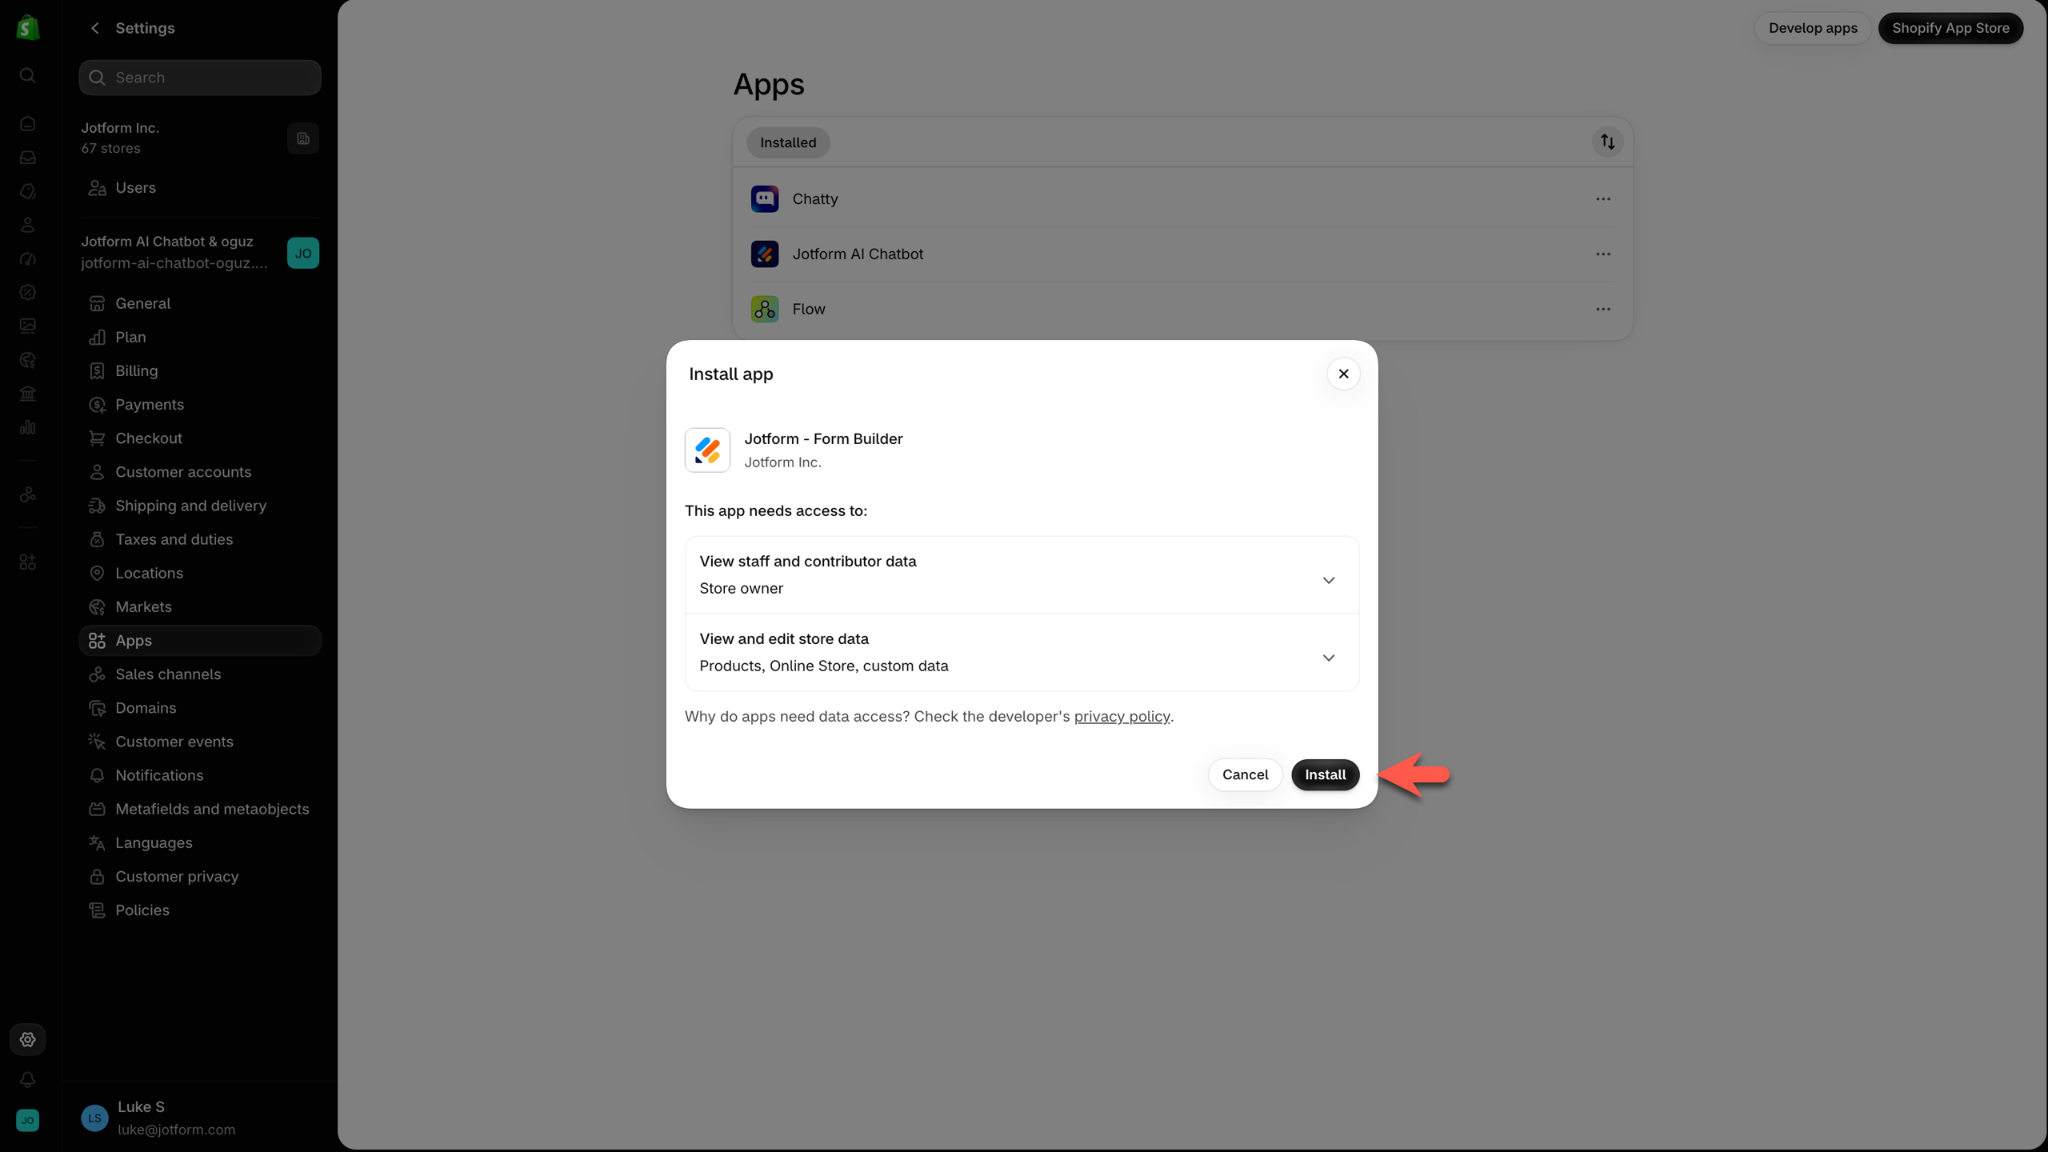
Click Install again on the popup that follows to confirm that you’d like to add Jotform to your Shopify account.
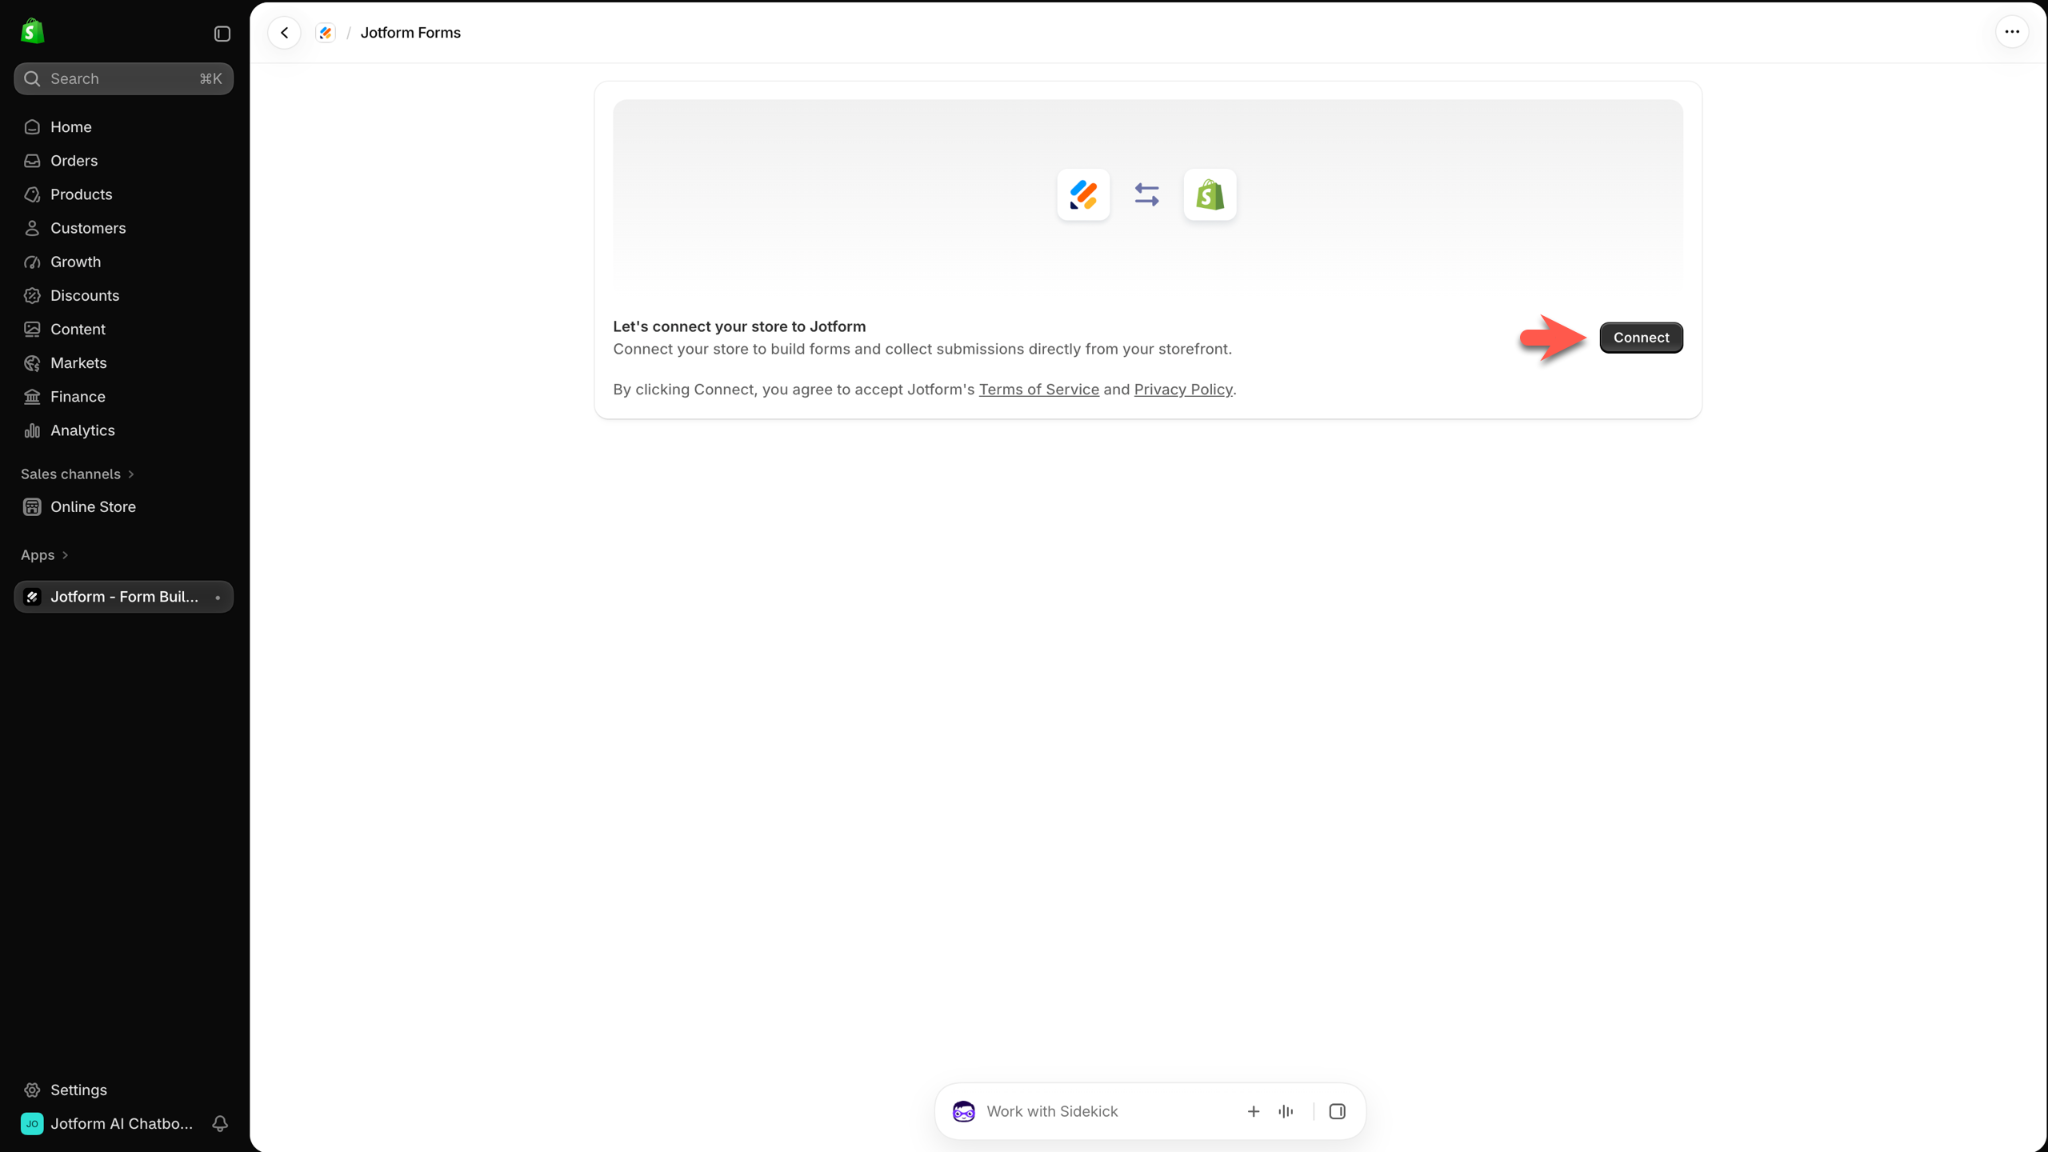
On the following screen, click Connect
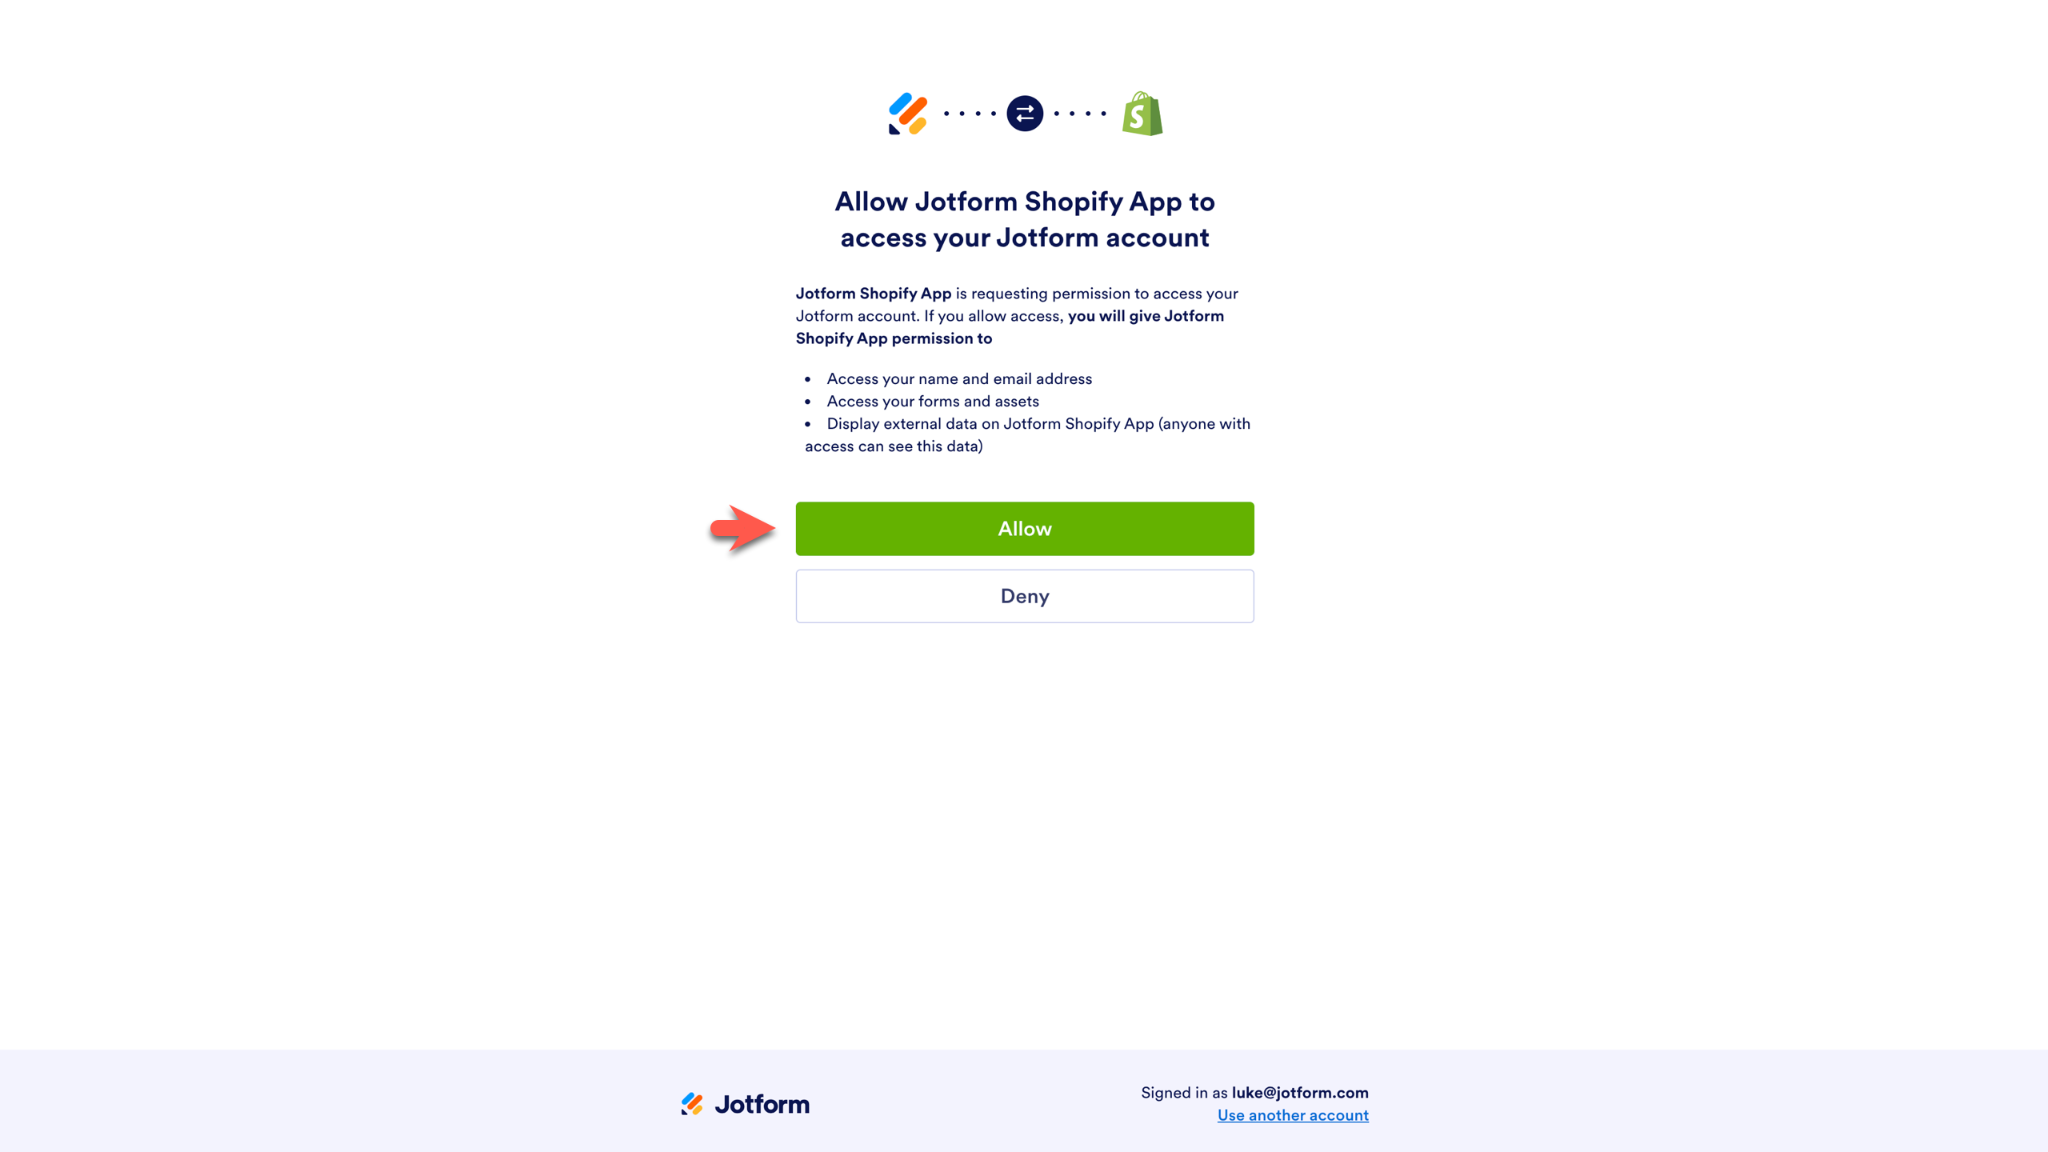
If you’re not already signed into your Jotform account, you’ll be prompted to sign in. Click Allow to provide Jotform Shopify App access to your Jotform account.
And that’s all there is to the installation process. Now it’s time to create your first form with Shopify and Jotform.
Creating your first form
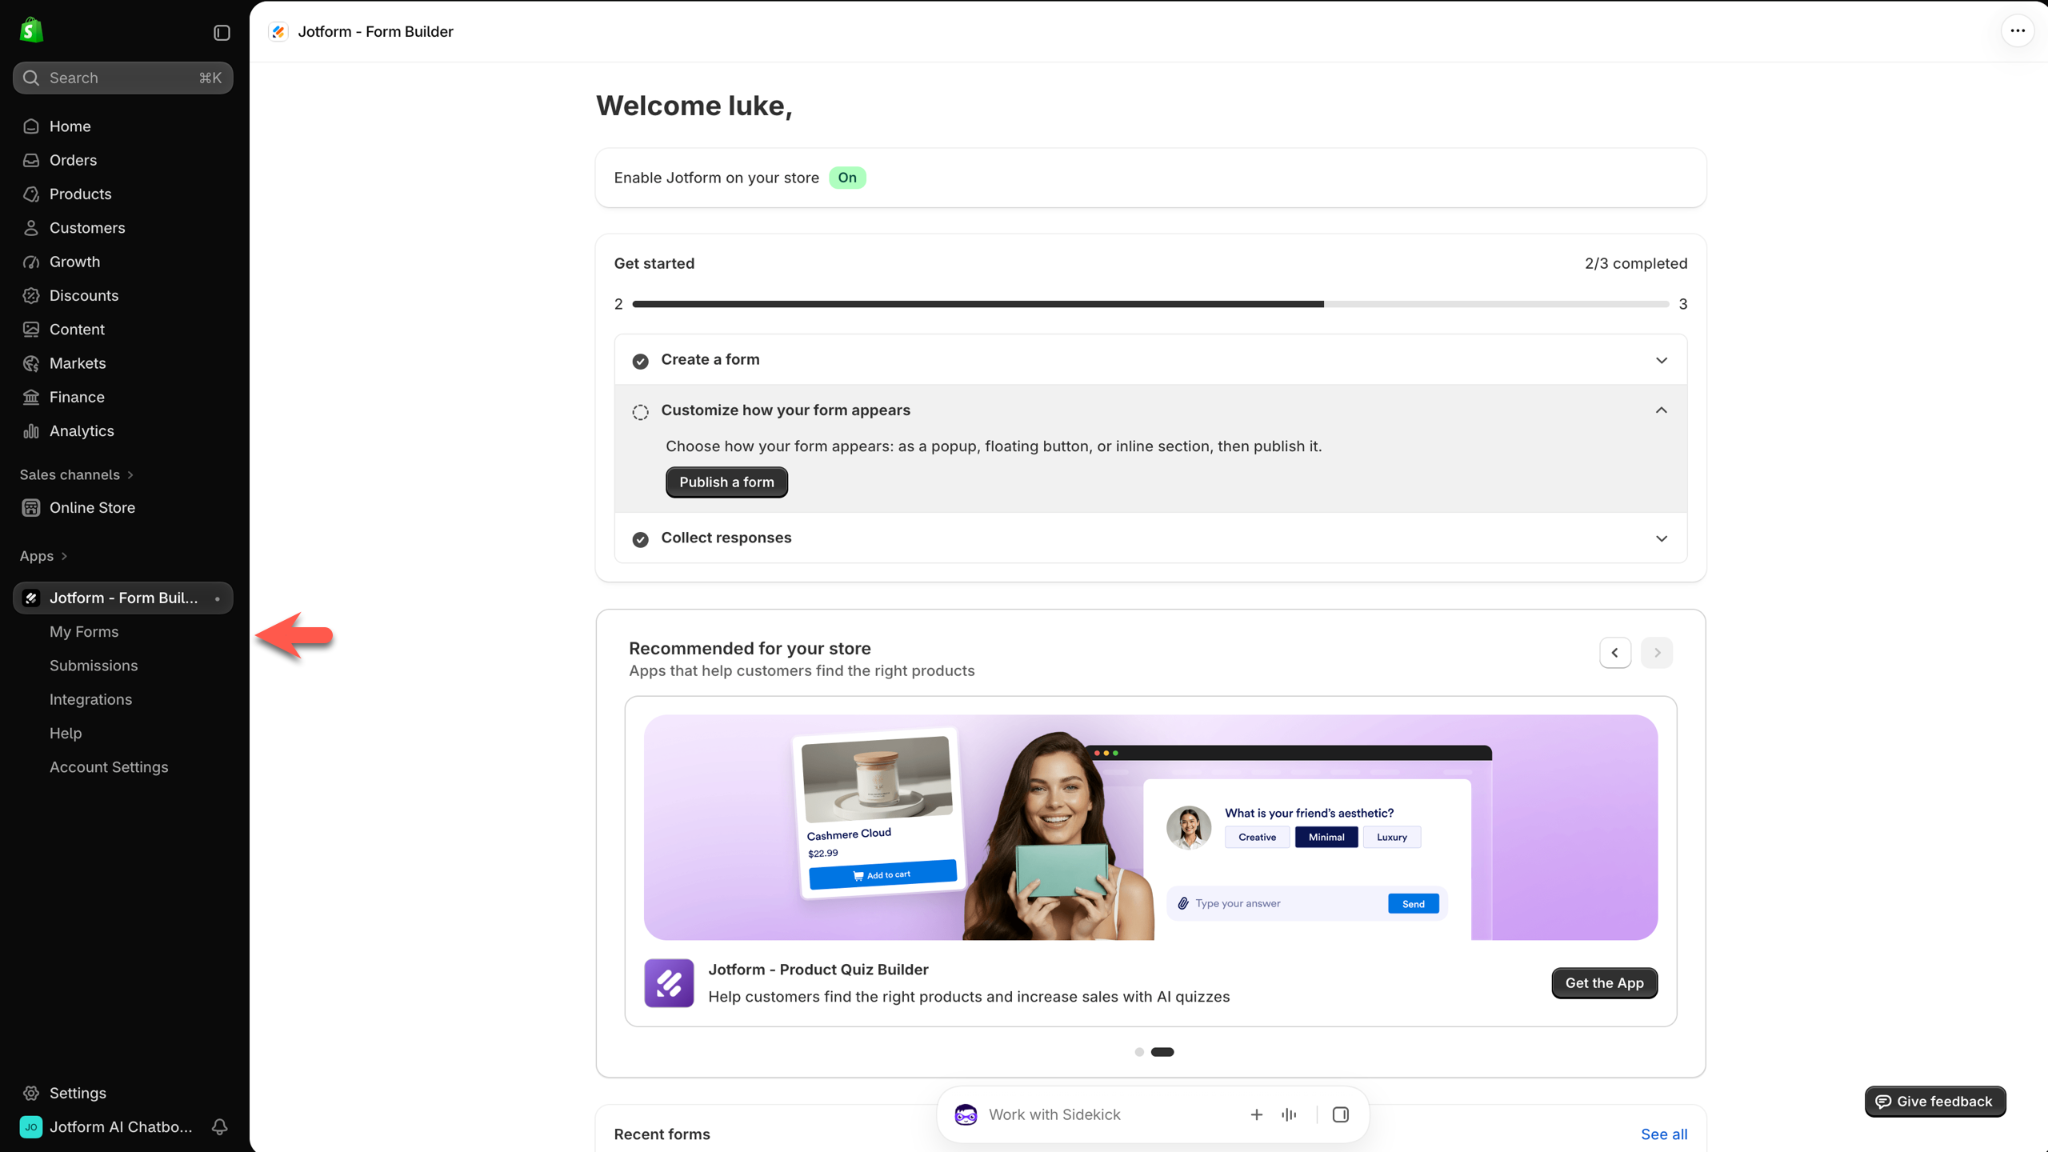
From the Jotform Shopify Form App page, select My Forms from the menu on the left.
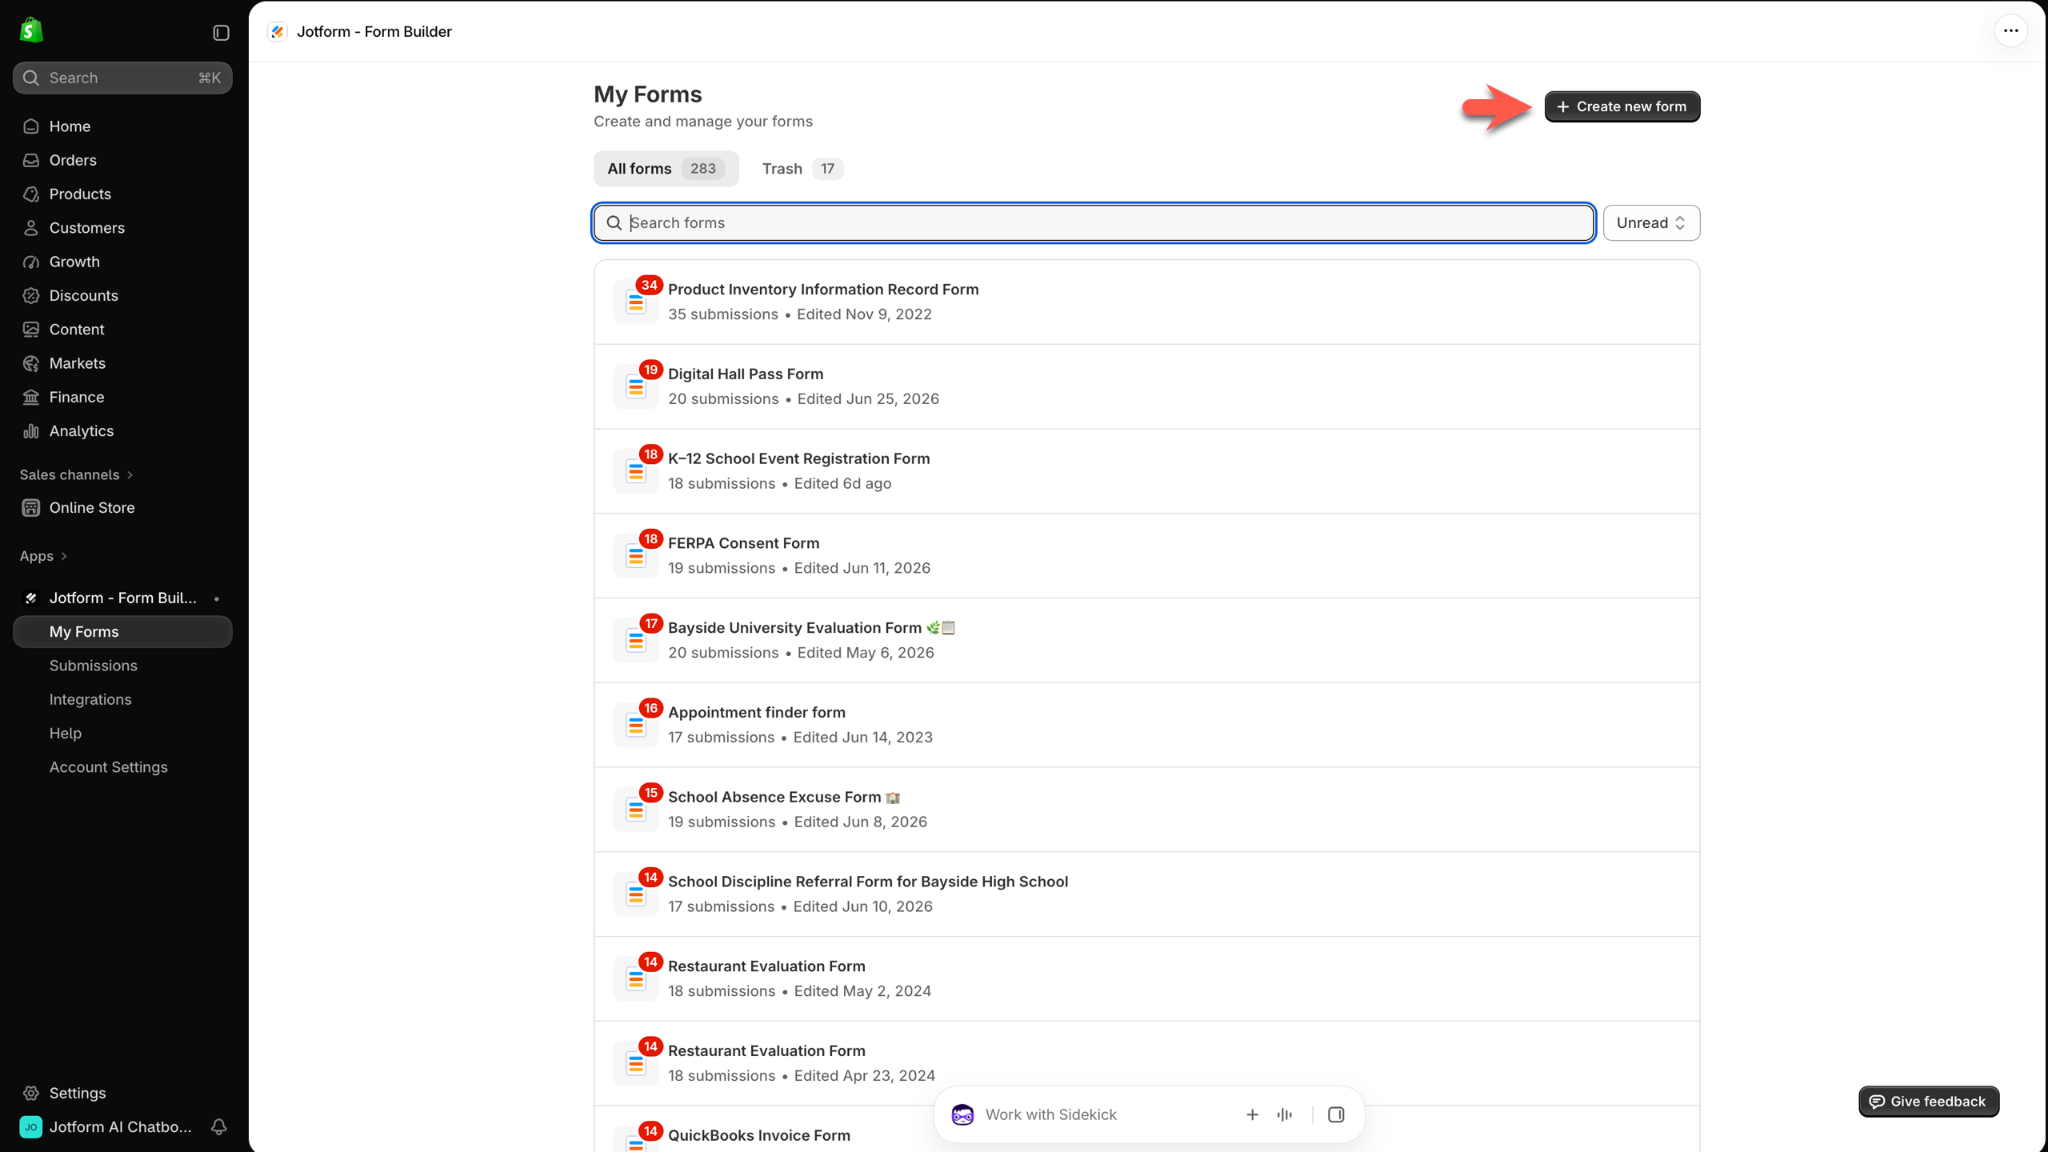
Next, click the Create new form button. If you don’t have any forms in your Jotform account yet, the button will appear in the middle of the page.
Pro Tip
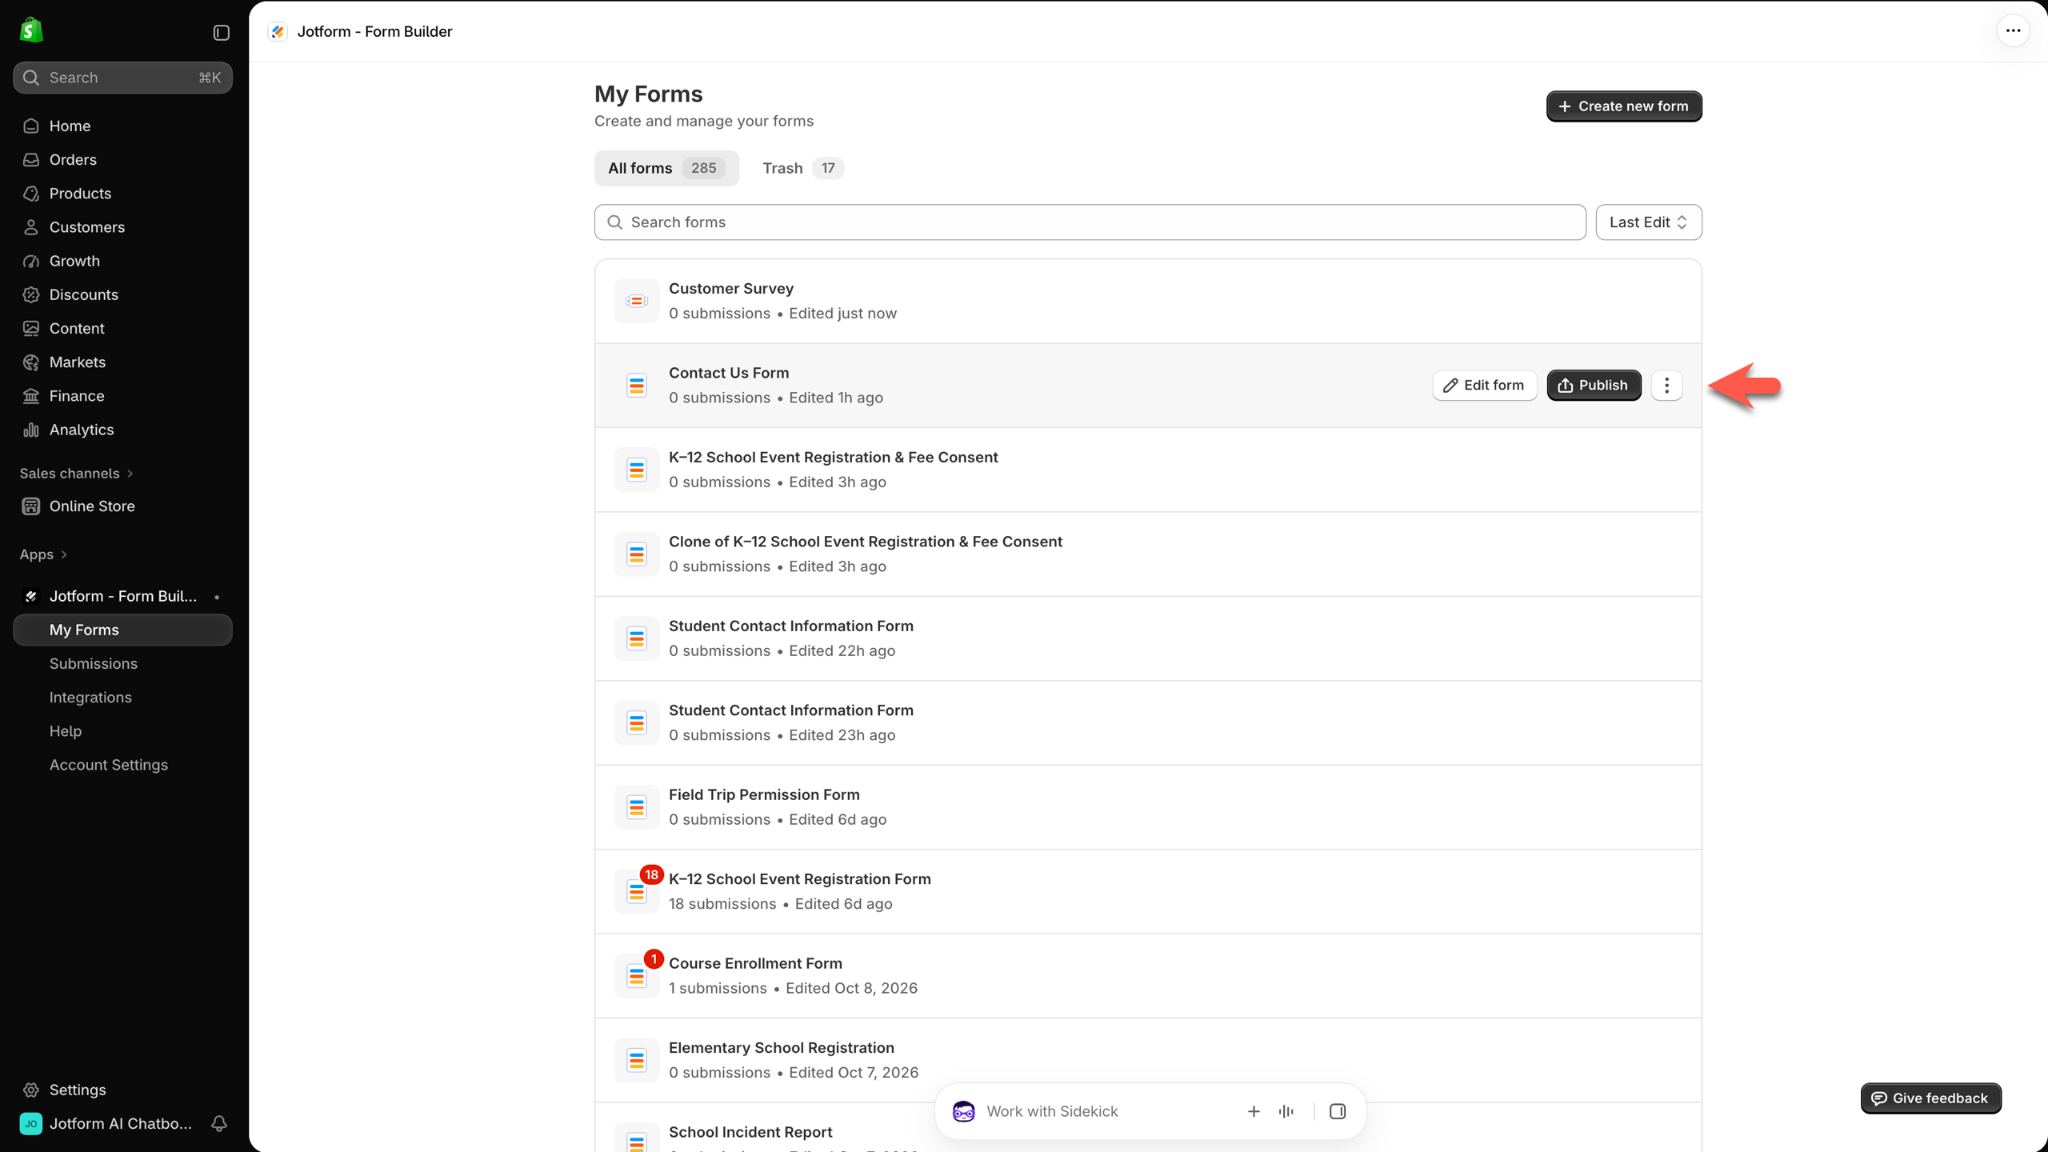
If you already have a form that’s ready to publish, hover over the form on the My Forms page and click Publish. More information about publishing a form can be found in the next section of this article.
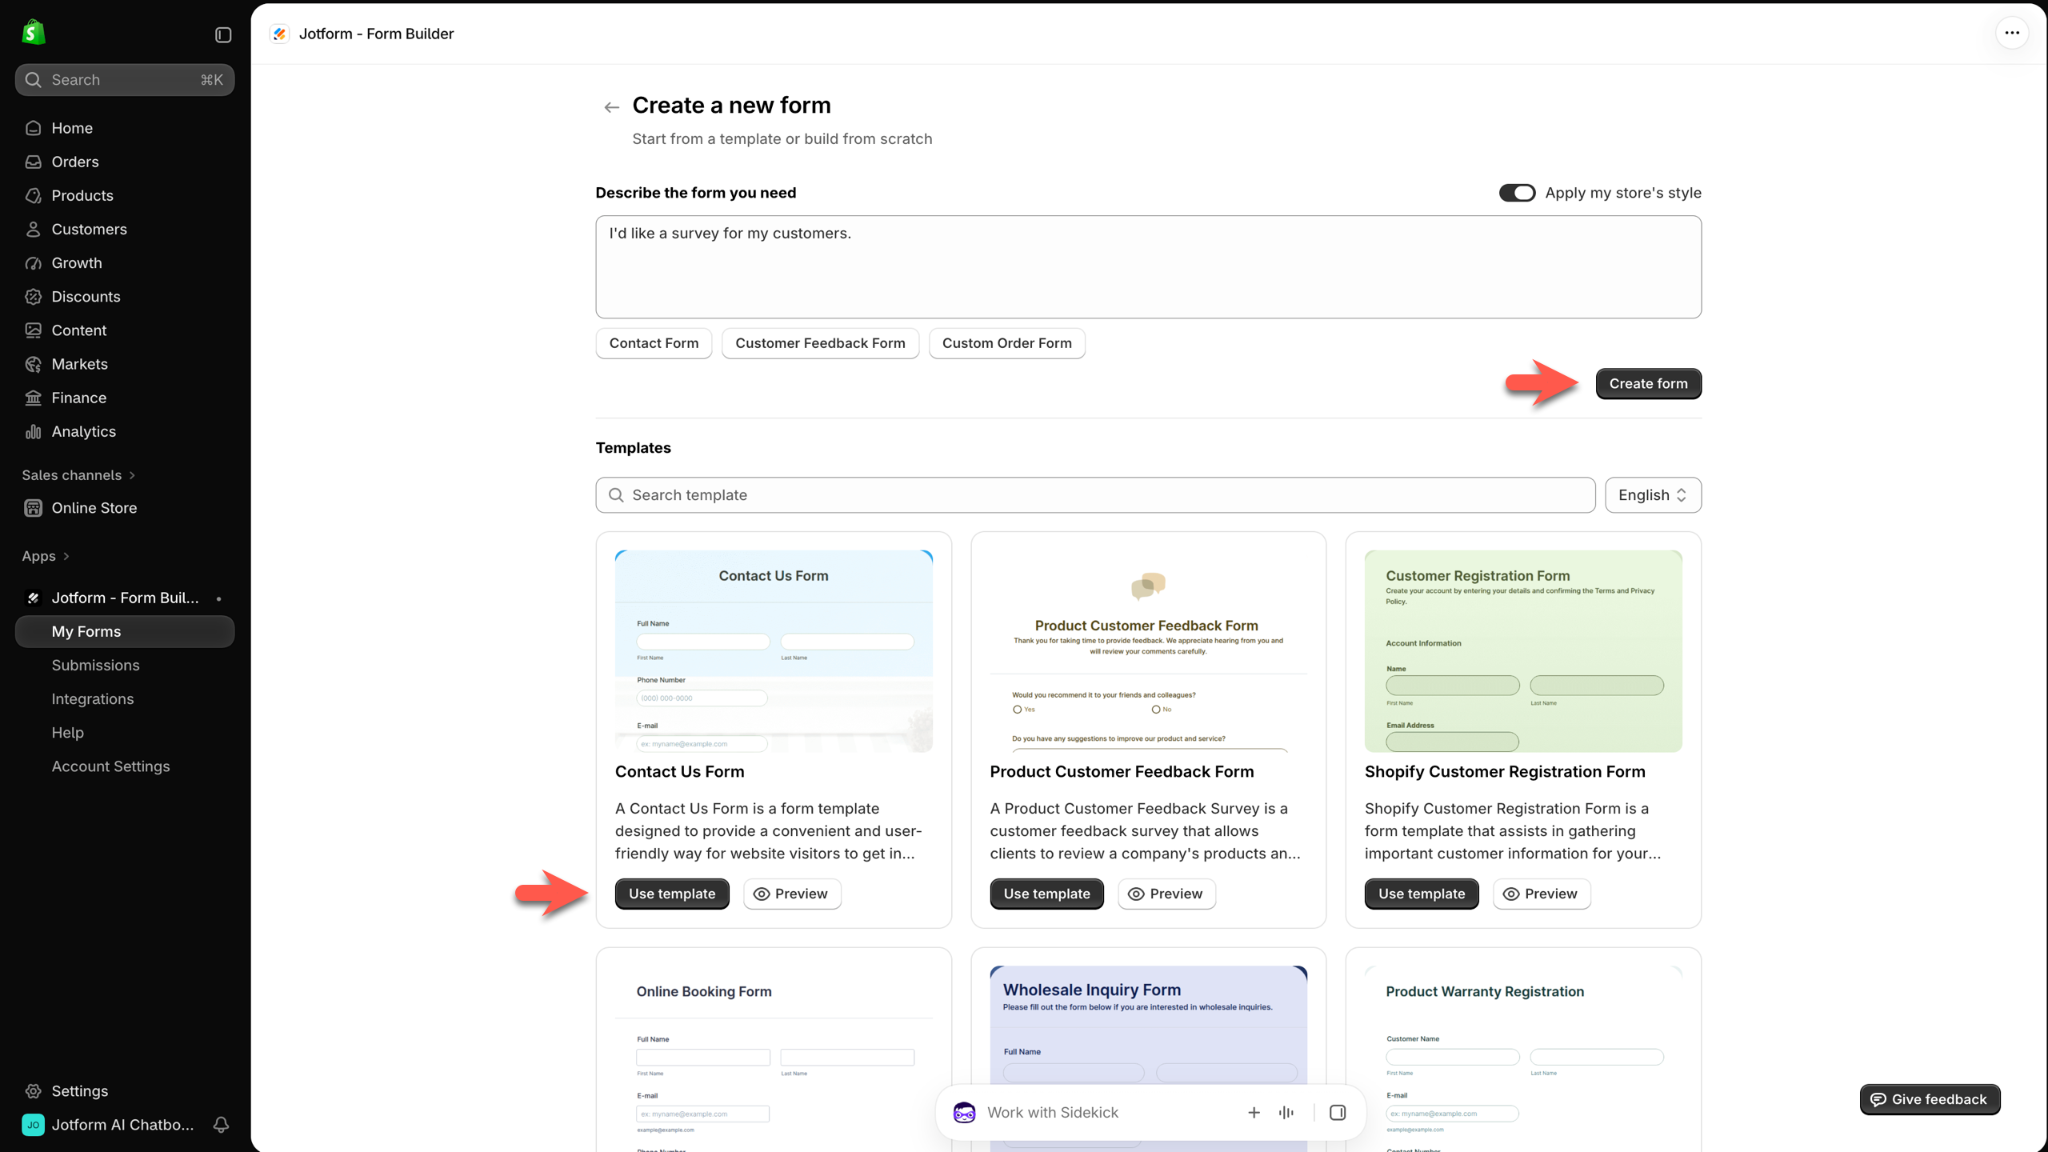
Describe the form you need in the prompt field and click Create form. To use a customizable, pre-built form, select a form from the Templates section and then click Use template.
Publishing your form
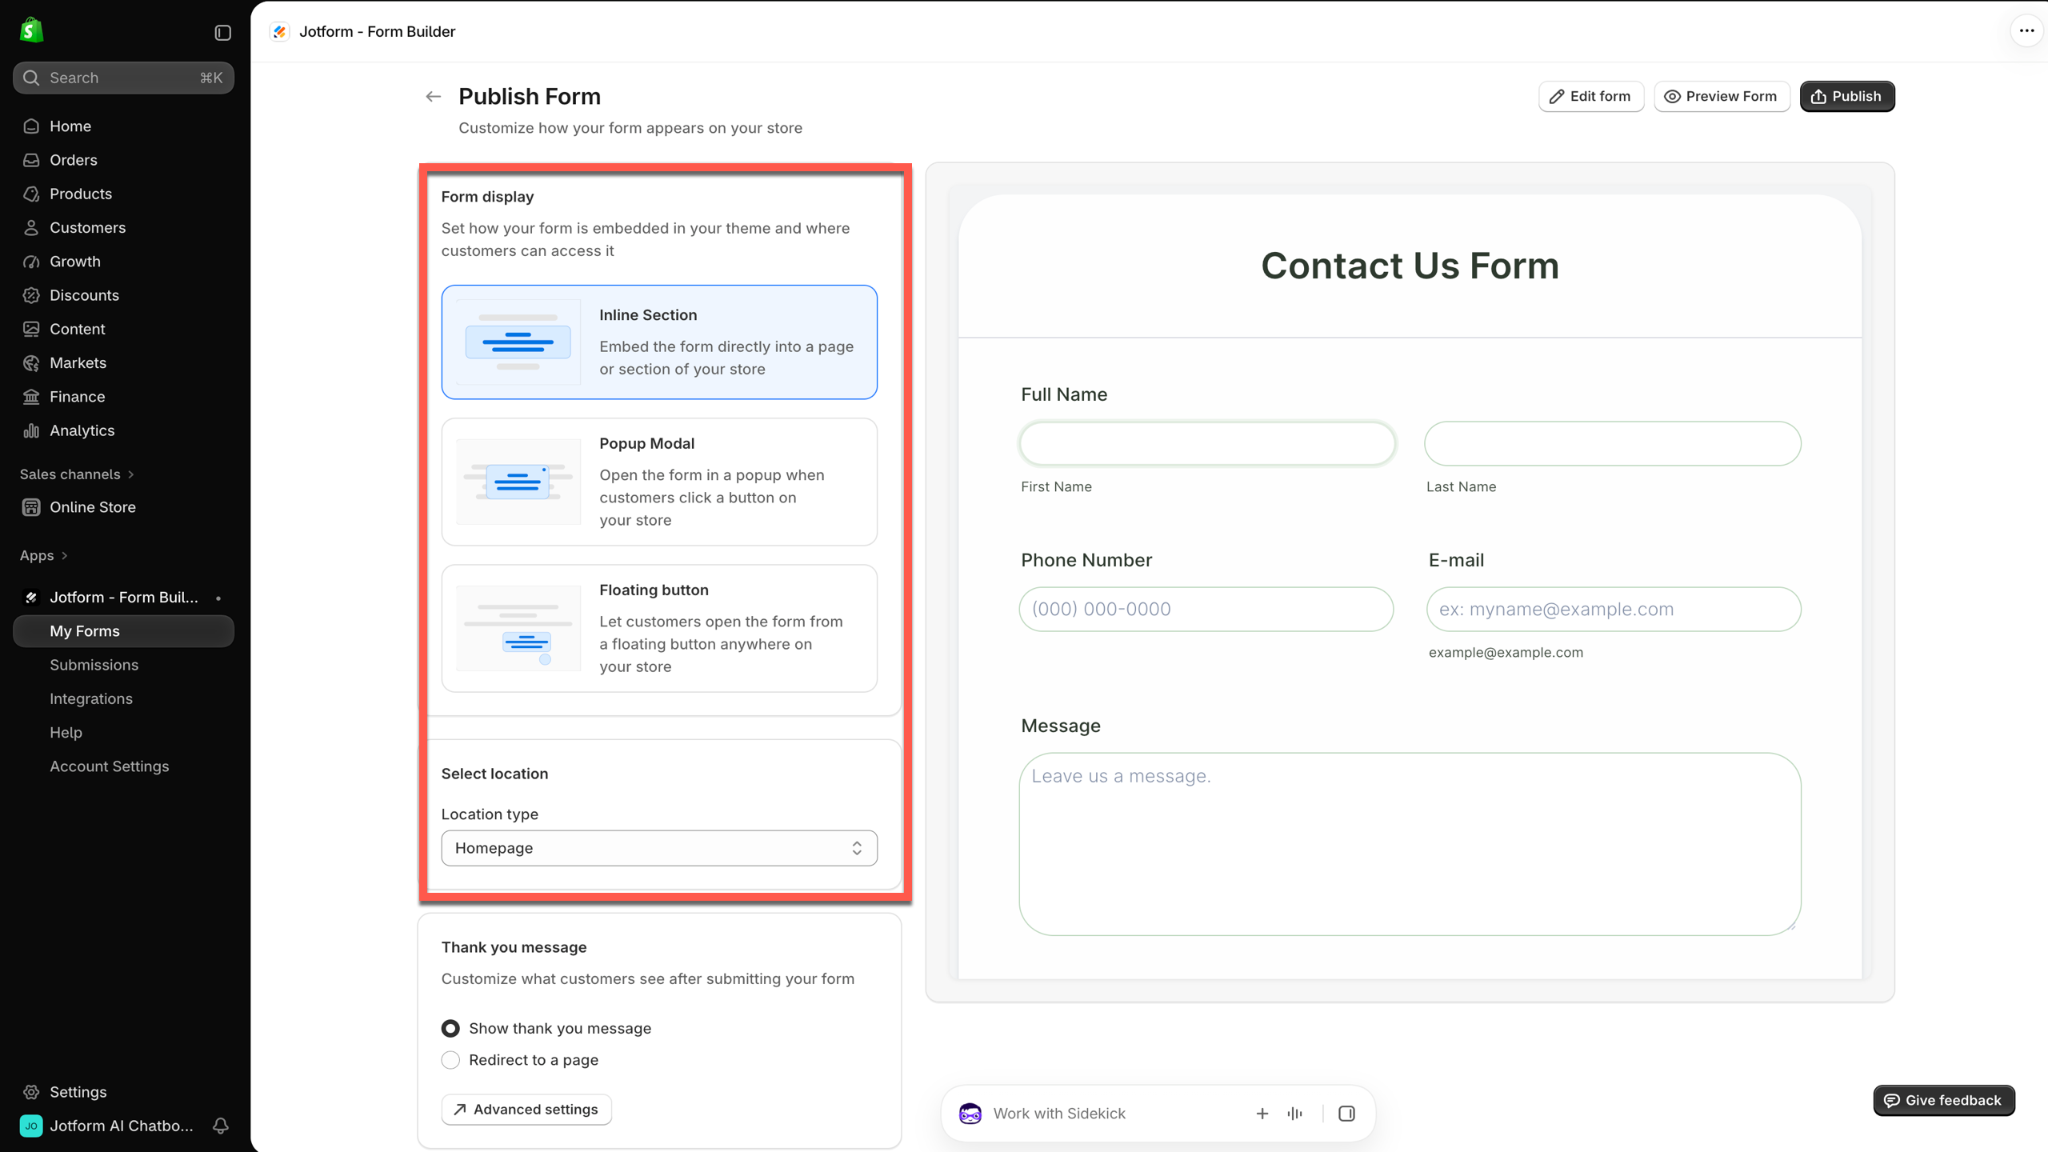
After you create a form or choose a template, the Publish Form page will open. This is where you can choose how and where the form will appear on your Shopify store, among other things.
In the Form display section, select Inline Section to embed the form directly into a page or section of your store. Choose Popup Modal to open the form in a popup when customers click a button or Floating button to let customers access the form via a floating button on your store.
Then, in the Select location section, click the Location type dropdown menu to select the type of store page where you want the form to appear. Options include your homepage, a product page, or a blog post page.
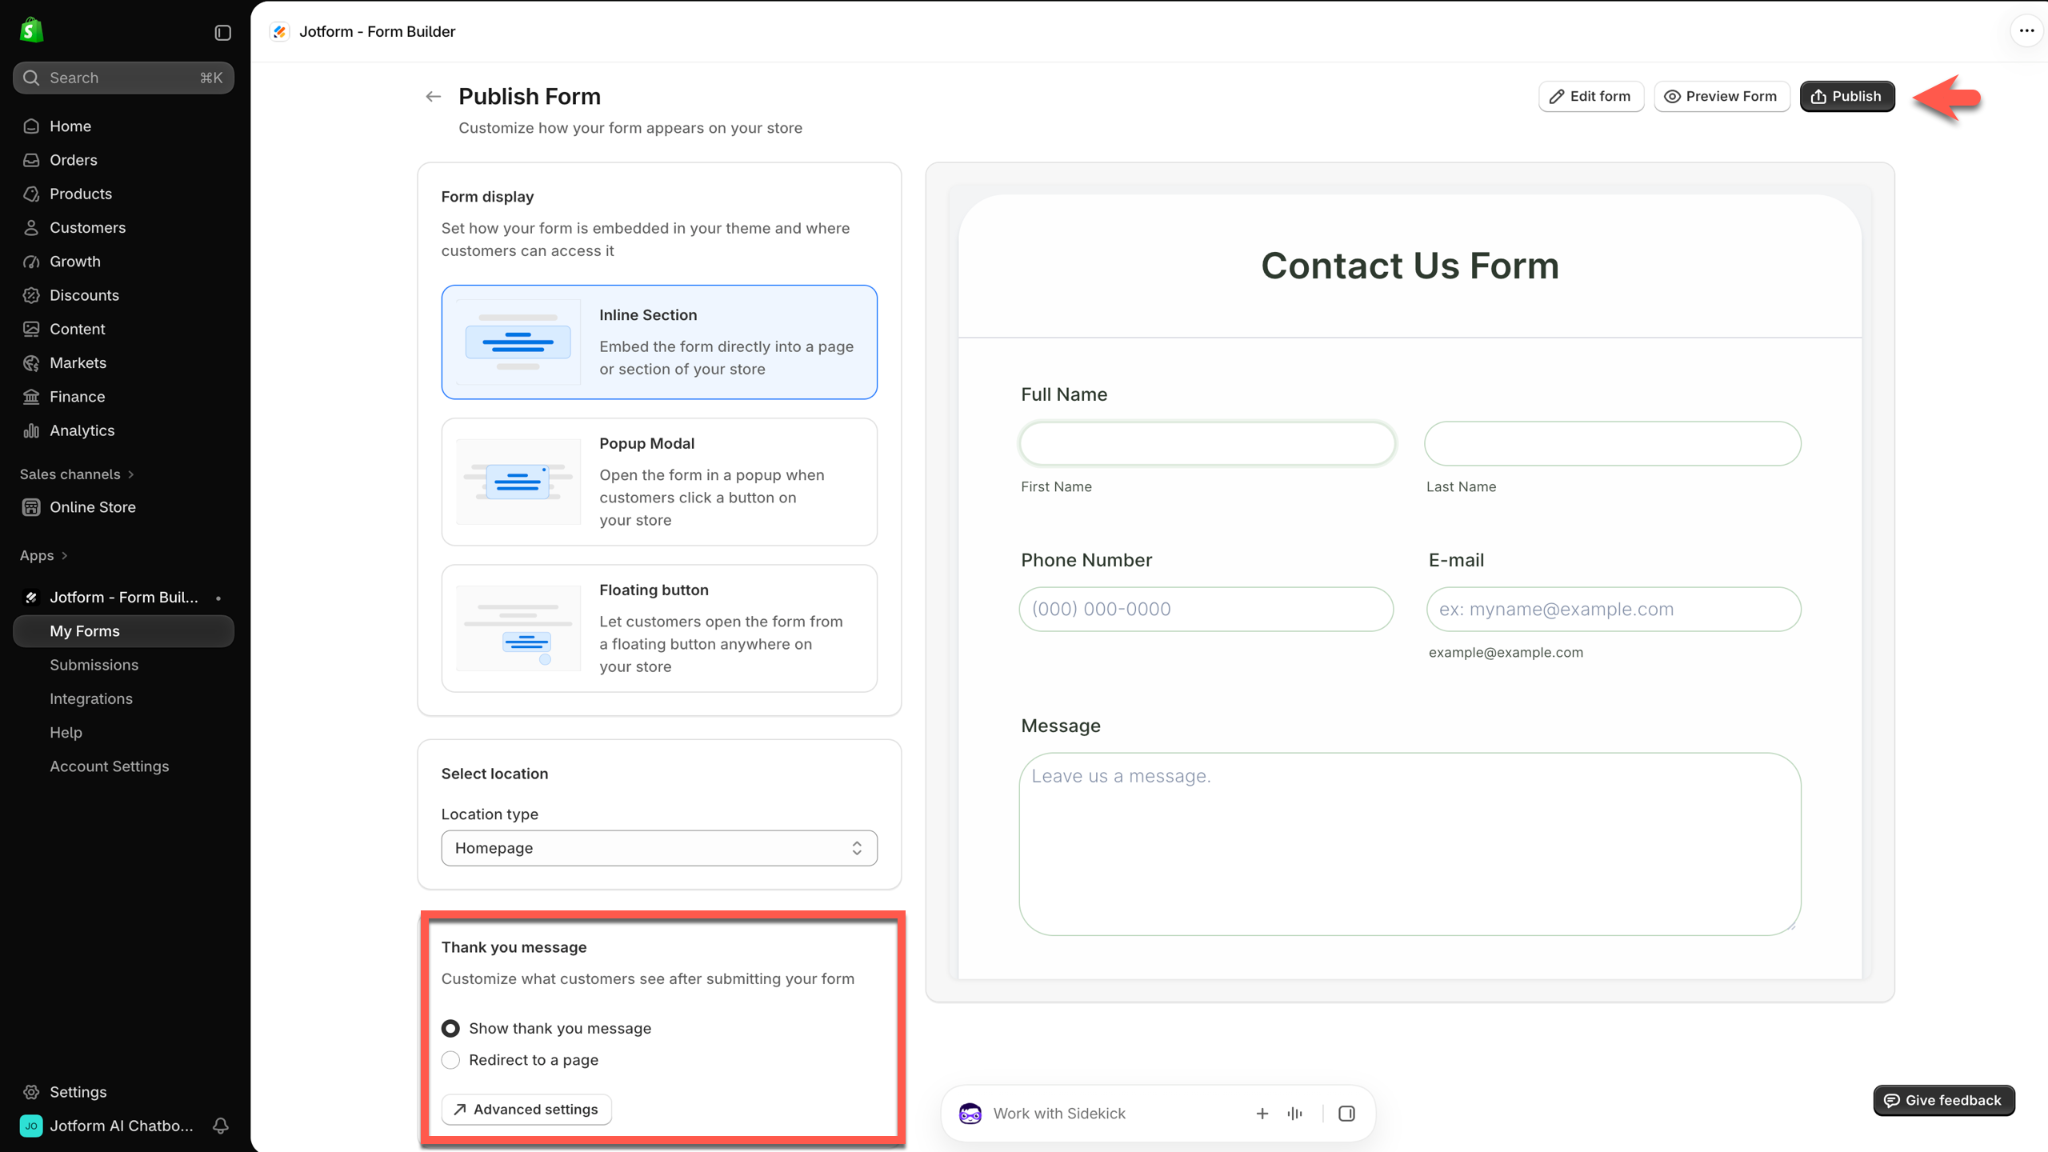
Further down the Publish Form page is the Thank You message section. Use it to customize what customers see after submitting your form. Select Show thank you message to display a confirmation message, or click Redirect to a page to send customers to another page after they submit the form.
Beneath the Thank you message options is the Advanced settings button.
Use the buttons on the top right of the page to continue editing your form, see a form preview, or publish your form.
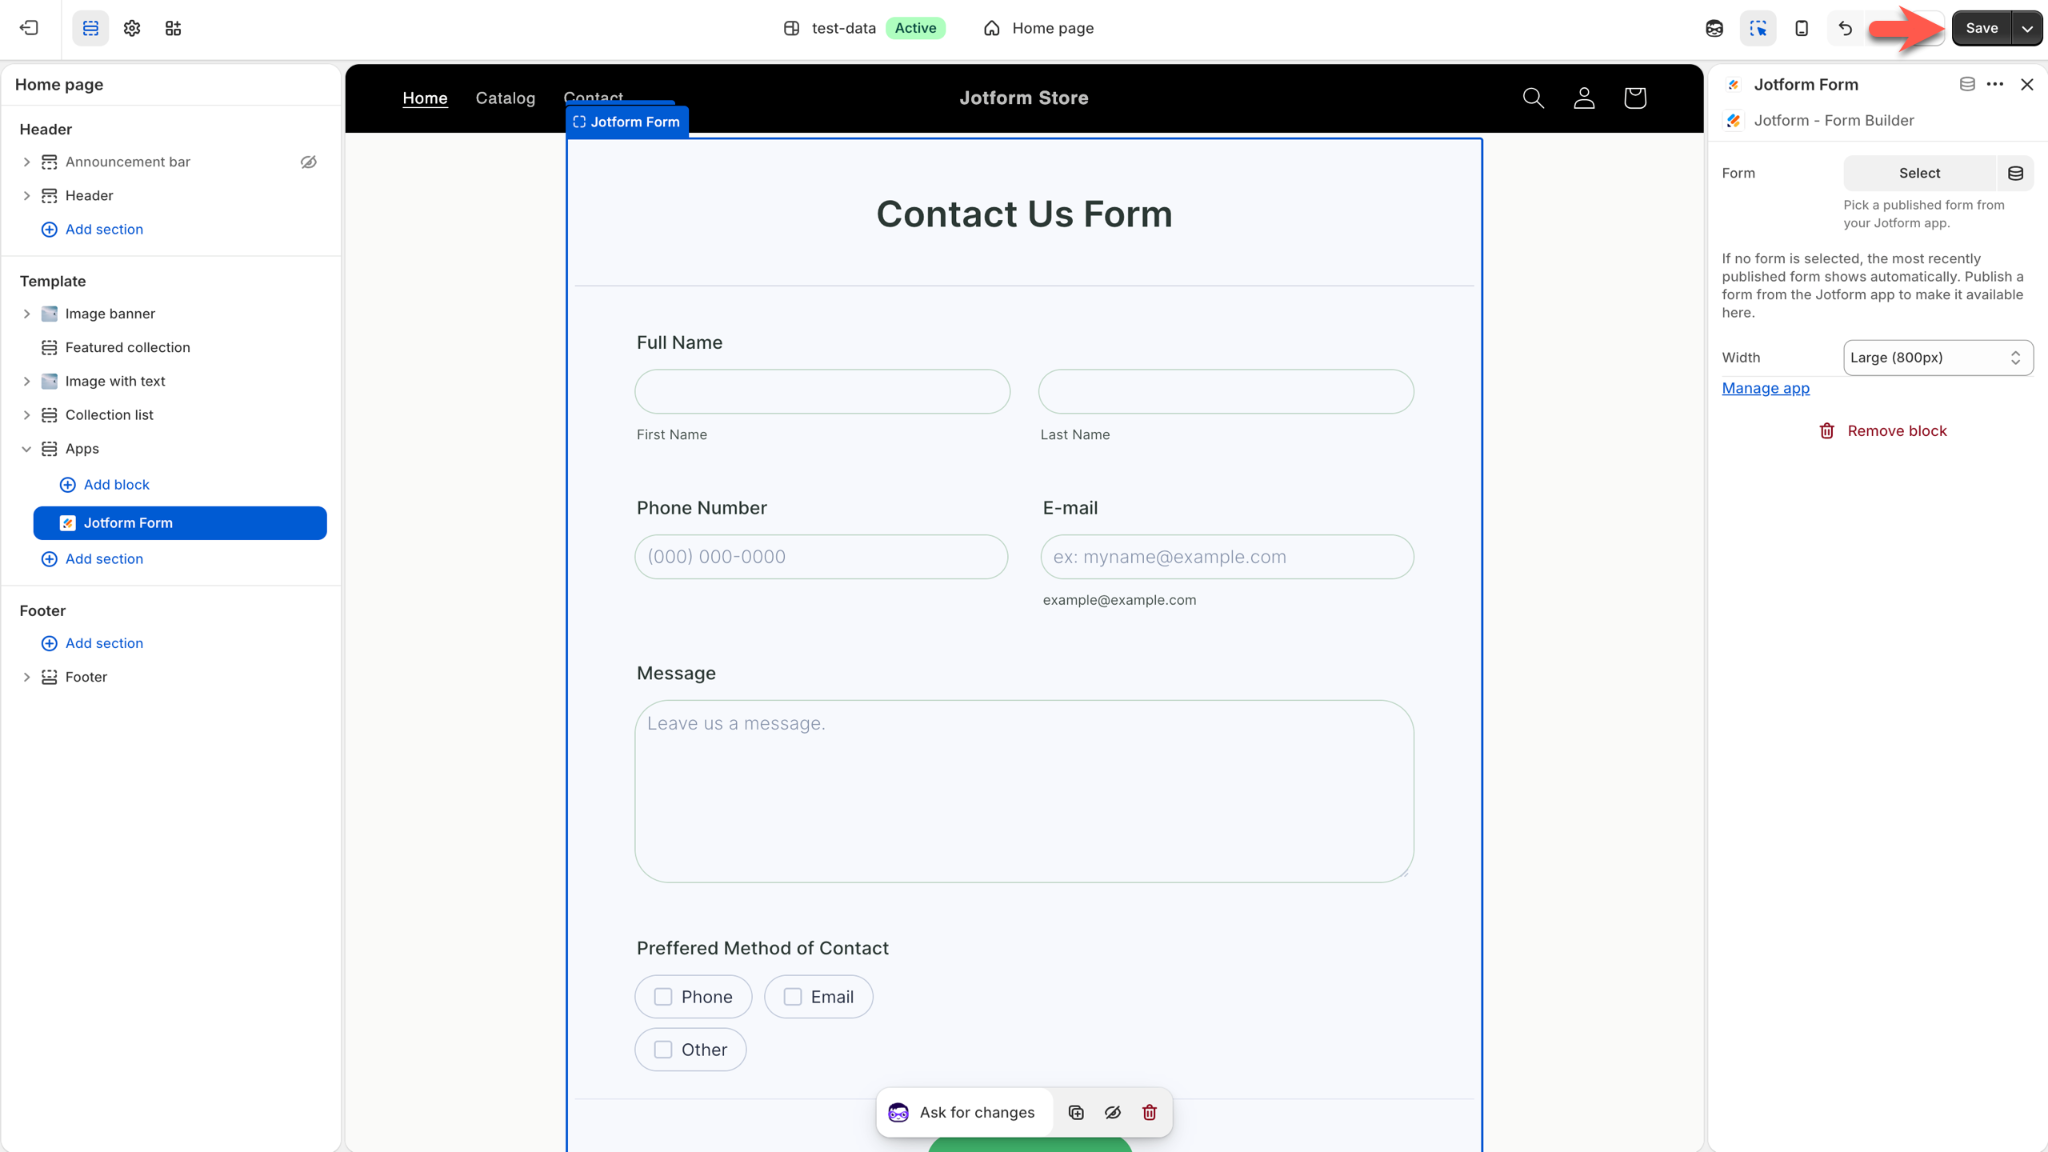
After your form is published, your Shopify store will open in editing mode. Do a final review of the form and its placement in your store. Click Save when you’re done.
Editing your form
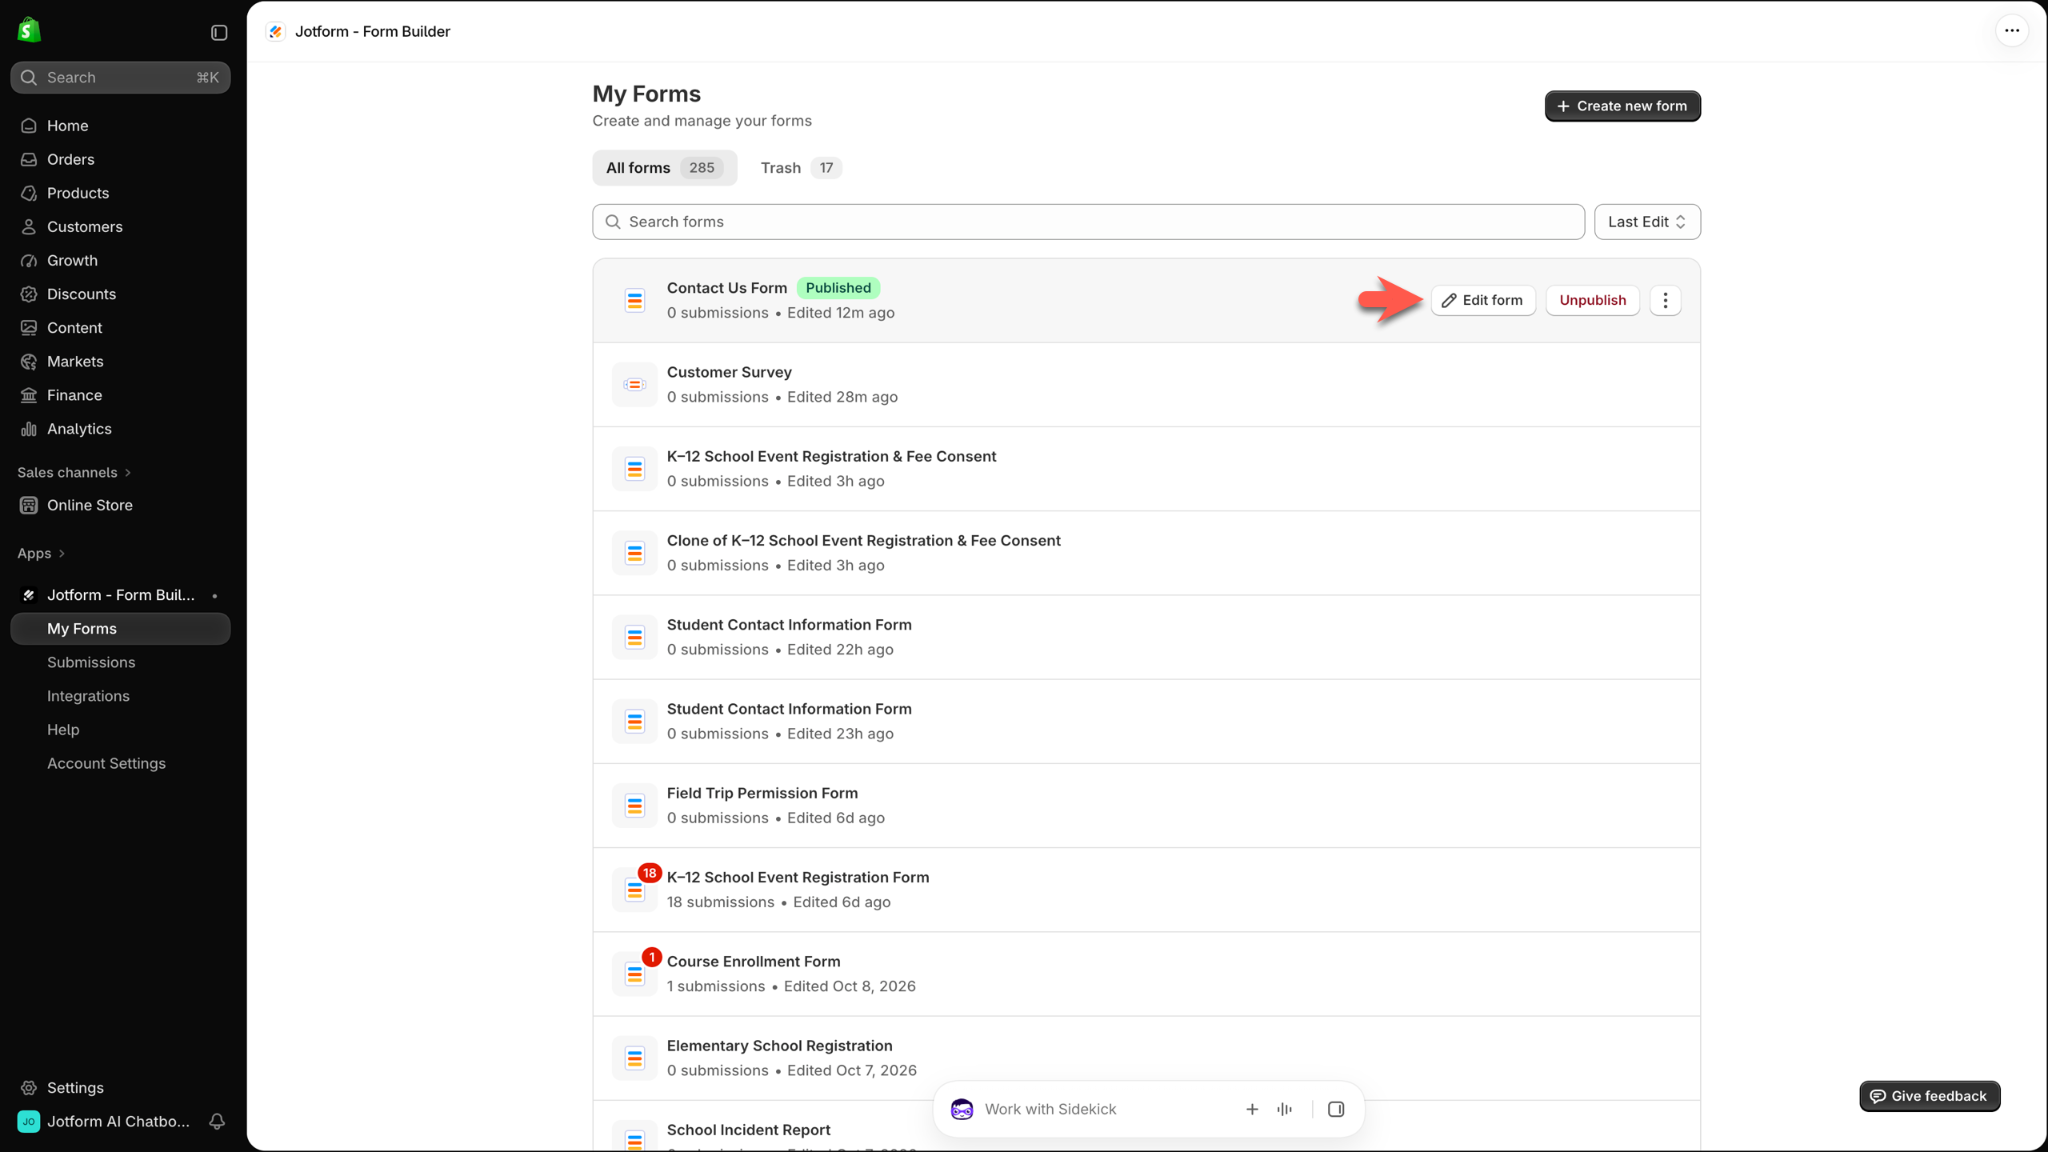
To make changes to an existing form, go to the My Forms page from the Jotform – Form Builder menu within Shopify.
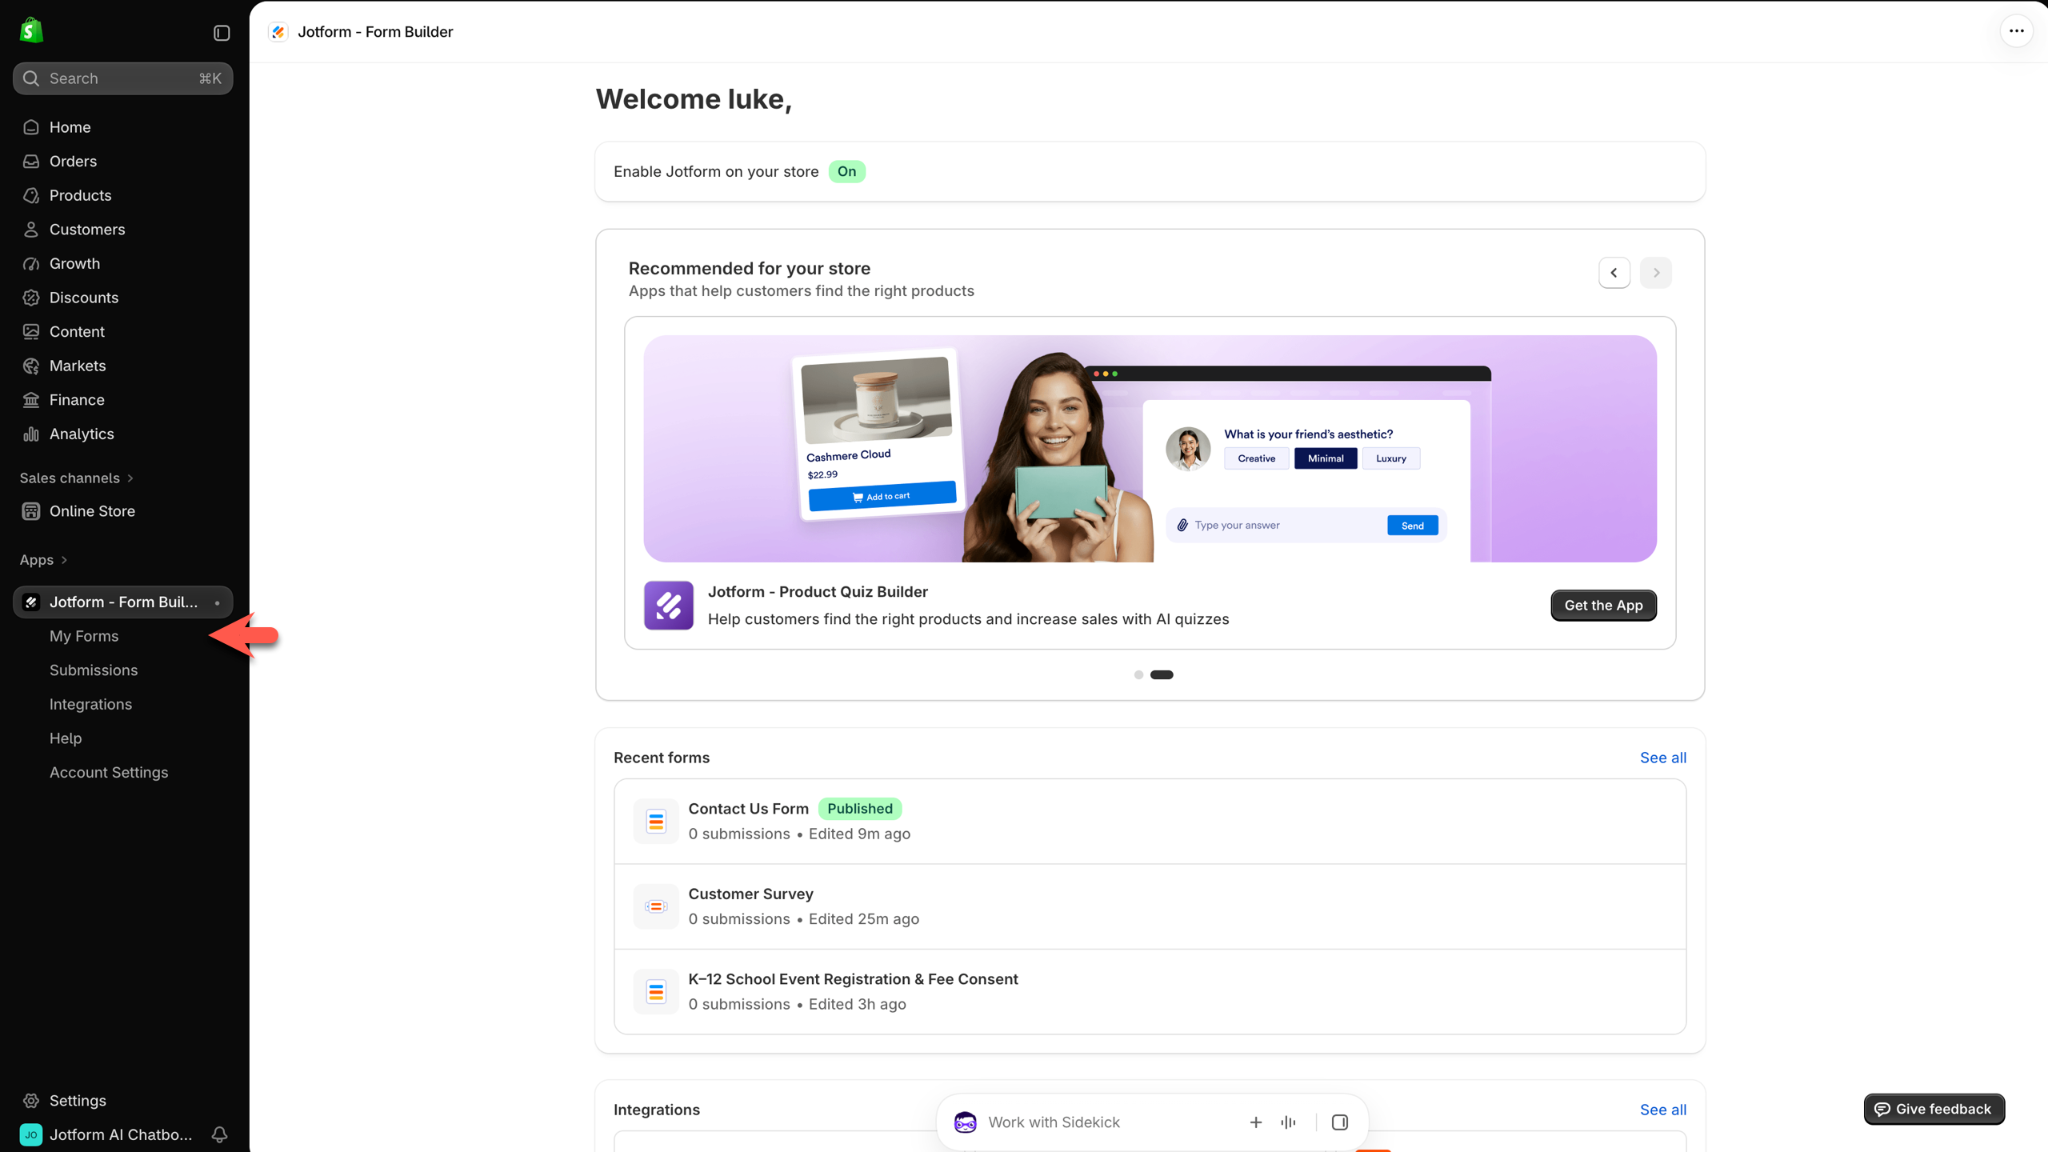
Hover over the form you want to edit and then click Edit form.
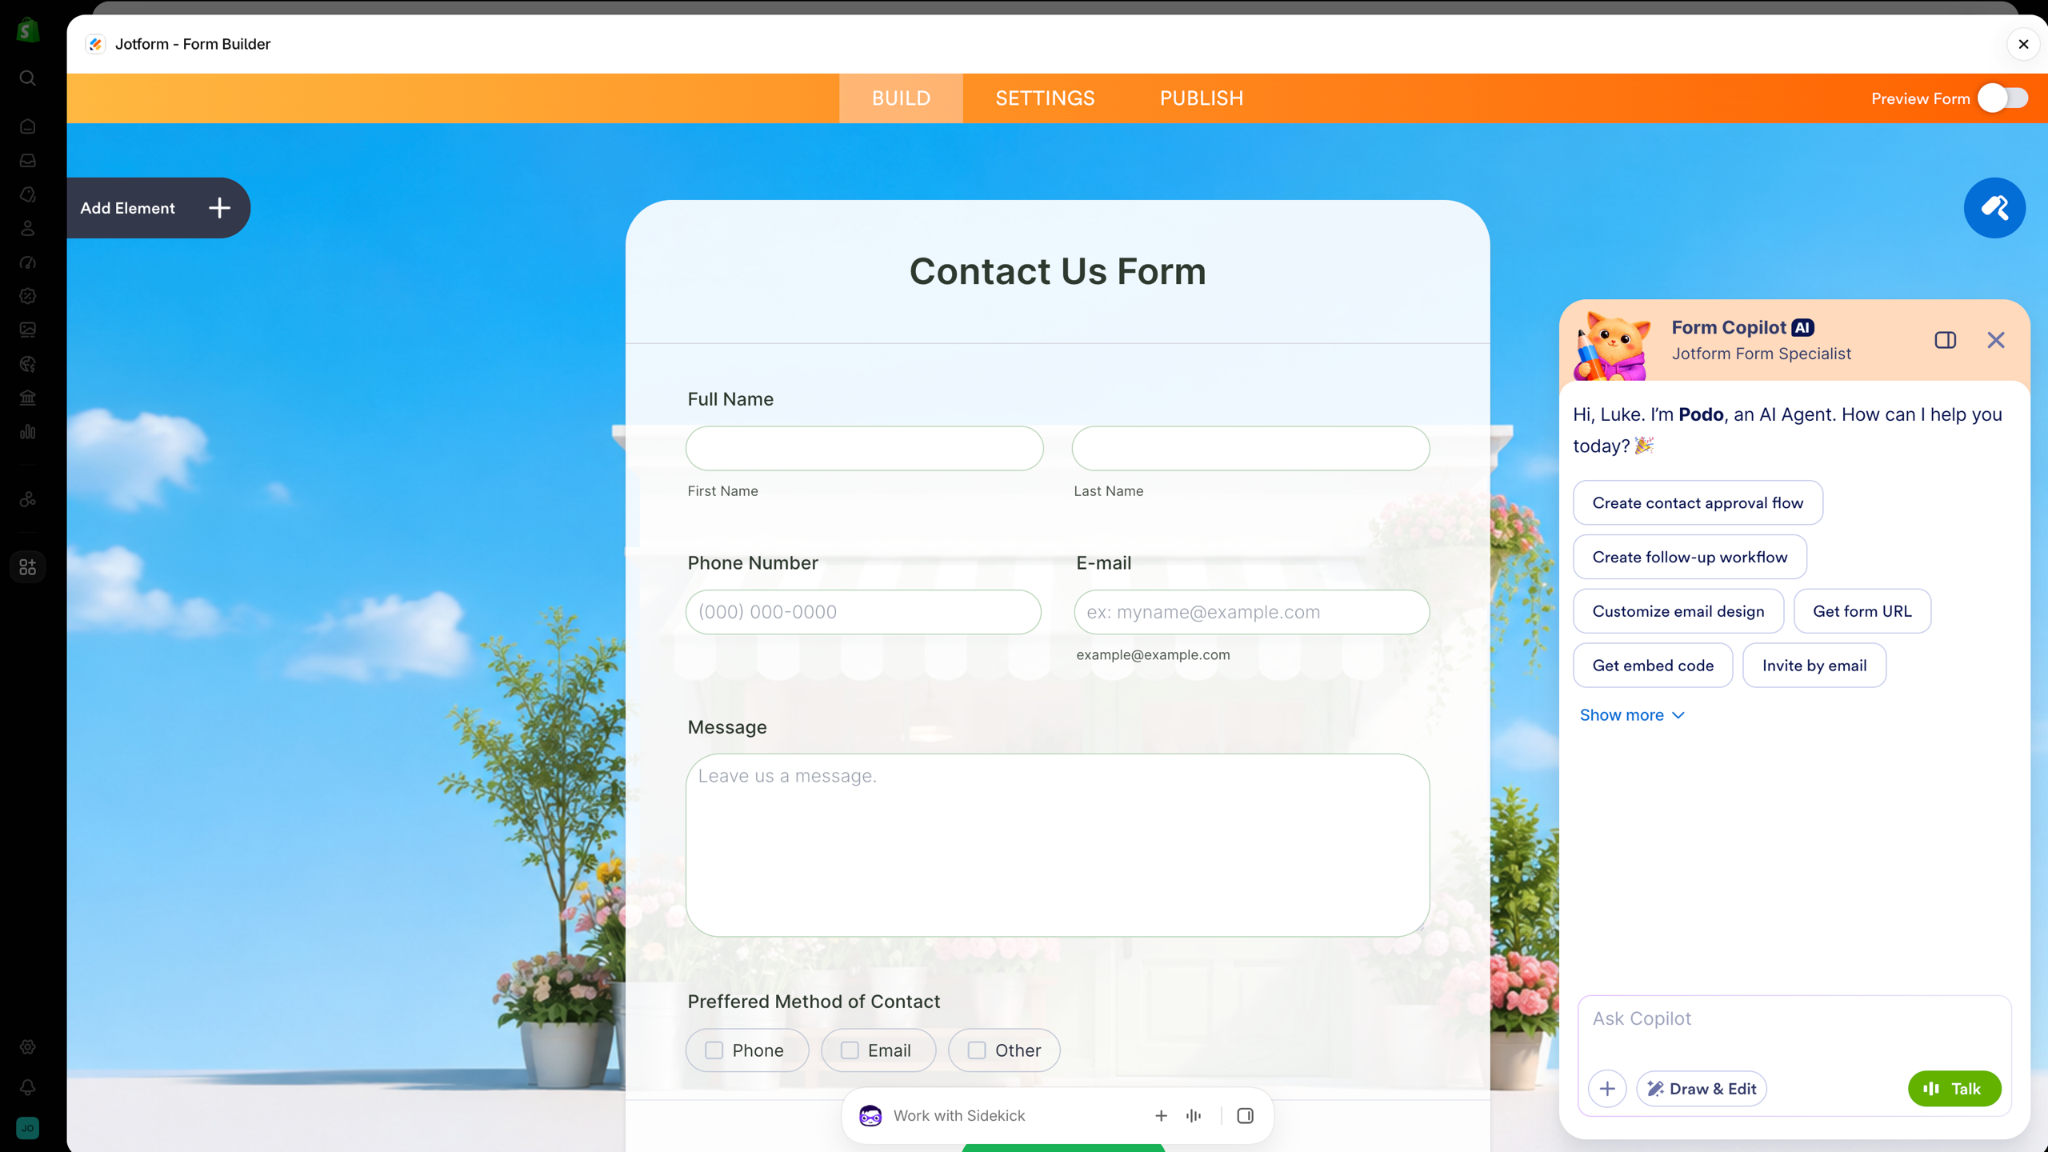
The Jotform Form Builder will open within your Shopify account.
You can now edit and publish your forms in one place. There’s no need to jump between Shopify and Jotform.
Managing your forms
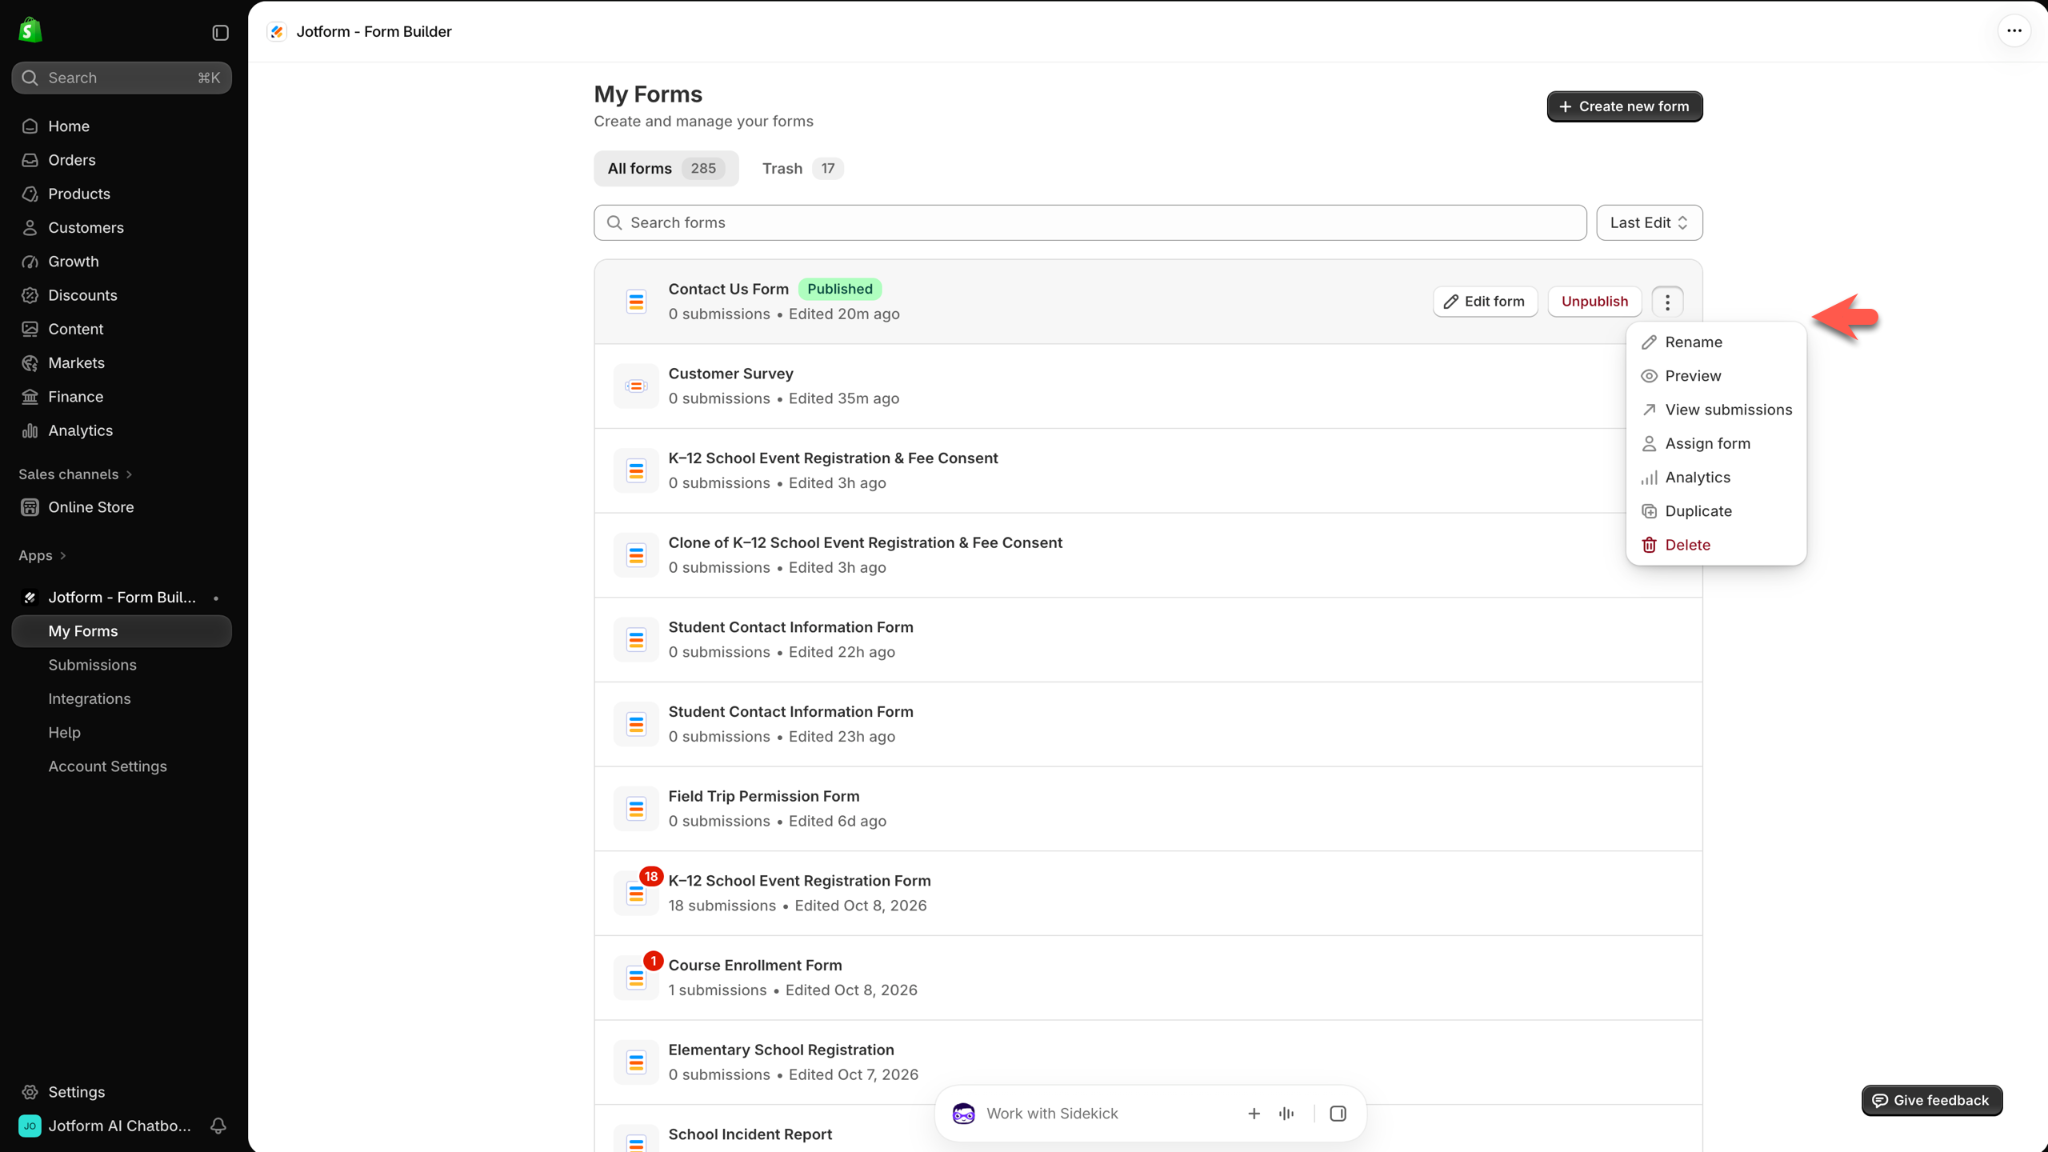
It’s also easy to manage your forms within your Shopify workspace. To access form management options, go to your My Forms page in Shopify, hover over the form you want to manage, and click on the three dot icon.
This menu provides a convenient way to rename your form, preview it, view submissions, and more without leaving Shopify.
Make it easier for customers to connect
A customer question, custom order request, or piece of feedback can lead to a better shopping experience or even another sale. After form submissions arrive, Jotform’s full suite of no-code tools helps you organize customer responses and automate the next steps, reducing busywork for you and your team.
To get started, install Jotform App for Shopify for free — and create forms that help you serve your customers and grow your business.


















































Send Comment: