Creating an AI chatbot for your Canva designs lets you engage visitors in real time—answer questions instantly, guide users through content, and provide support right where it’s needed. Whether you’re building presentations, landing pages, or shareable visuals, the Jotform AI Chatbot for Canva helps you transform your designs into dynamic, conversation-driven experiences that feel modern, helpful, and engaging.
Opening the Jotform AI Chatbot App
Before you can start customizing and using the AI chatbot, you’ll need to open the Jotform AI Chatbot app. You can do it by editing your current designs and through the Canva designer page. This is how it’s done:
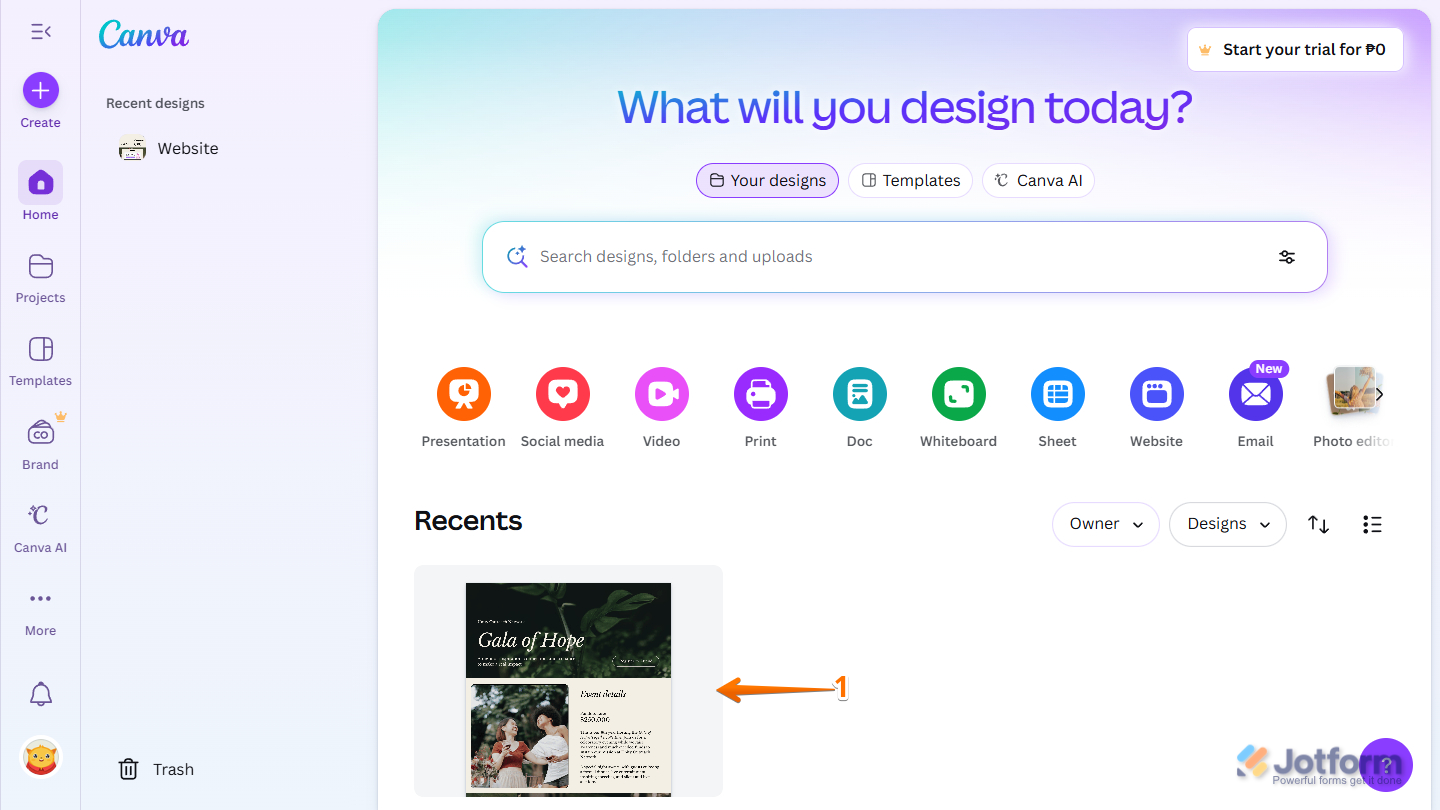
- Log in to your Canva account, and on the Home page, under the Recents section, click on one of your designs from the list.
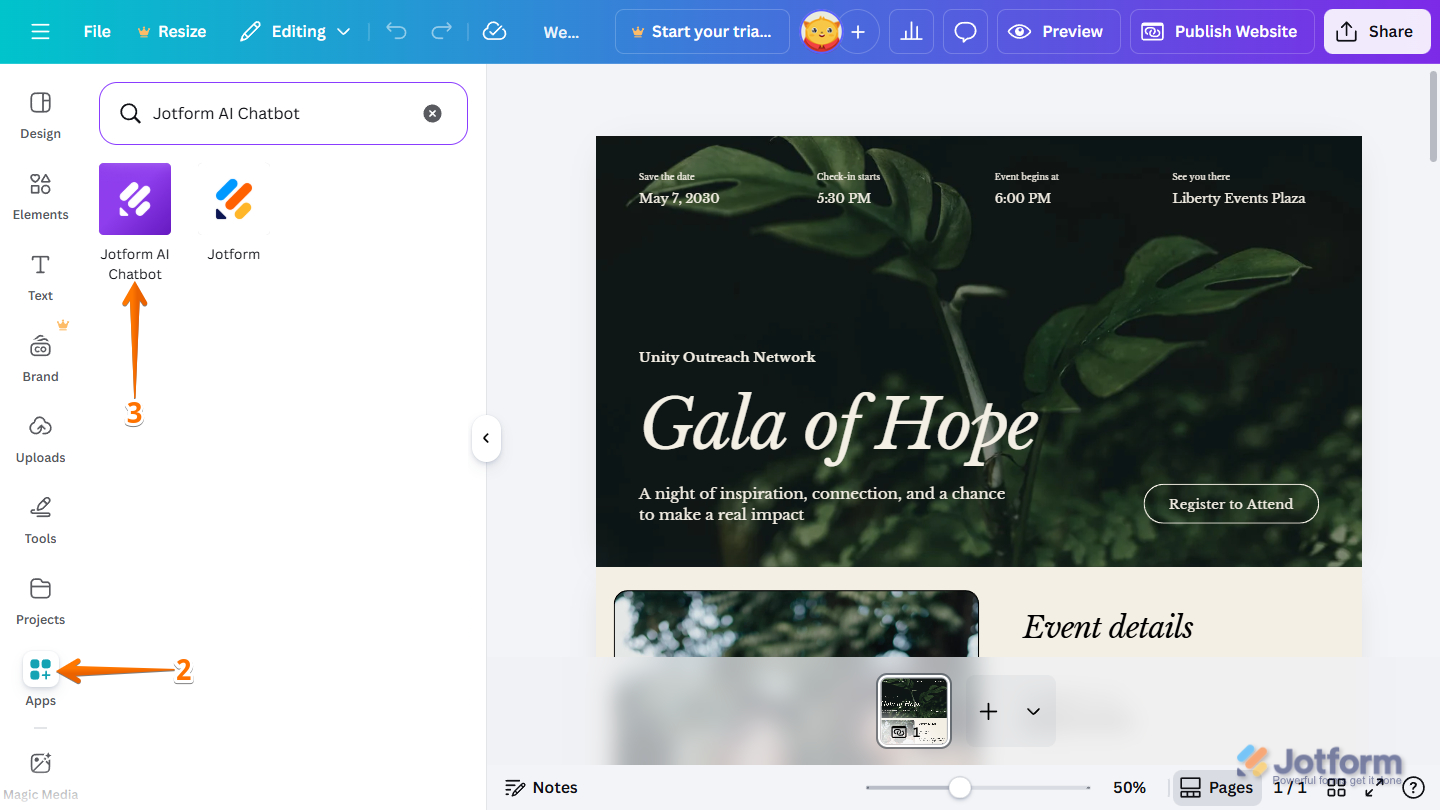
- Then, on the left of the Canva designer page, click on Apps.
- Next, in the Search field at the top, enter Jotform AI Chatbot, then click it on the results page.
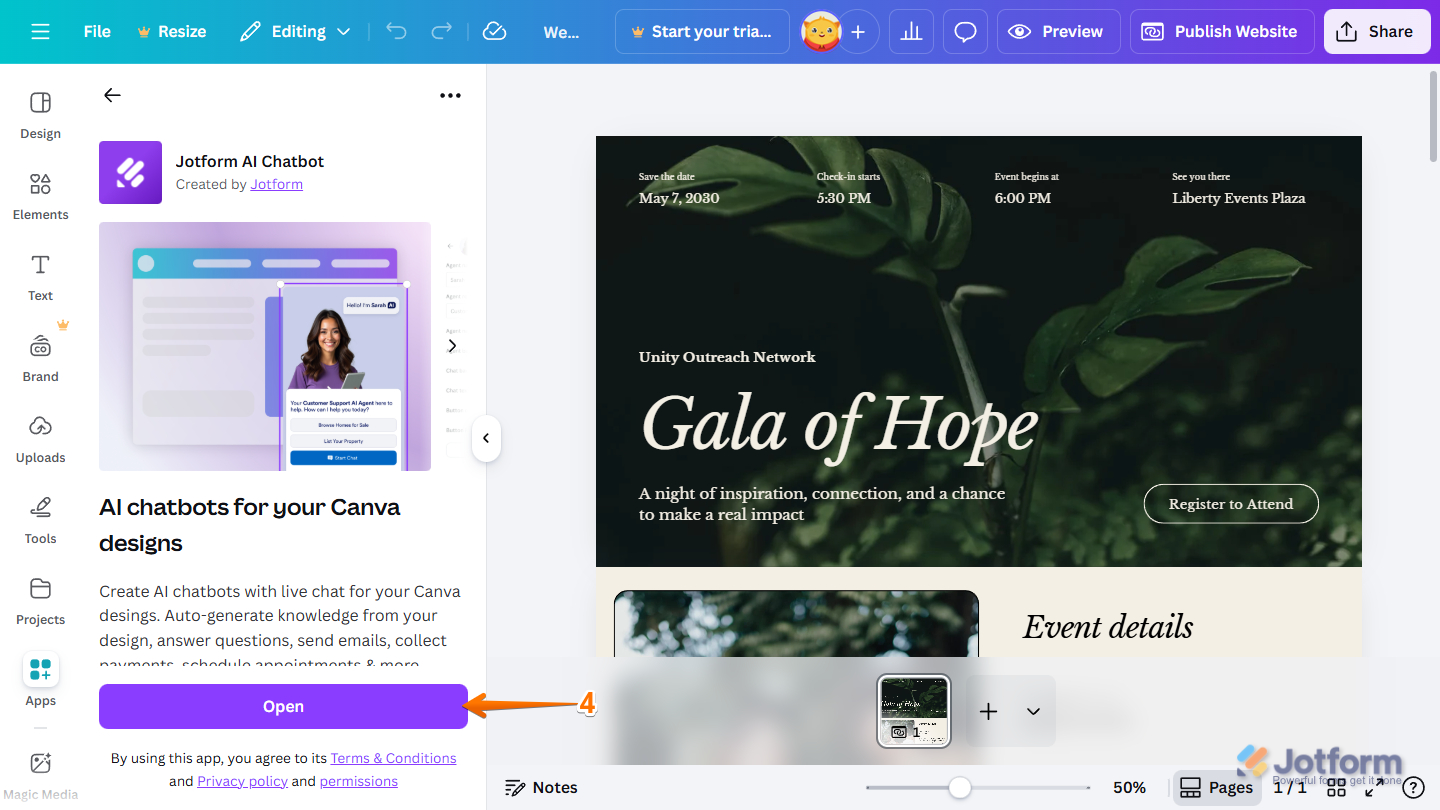
- On the next screen, at the bottom of the Jotform AI Chatbot, click on Open.
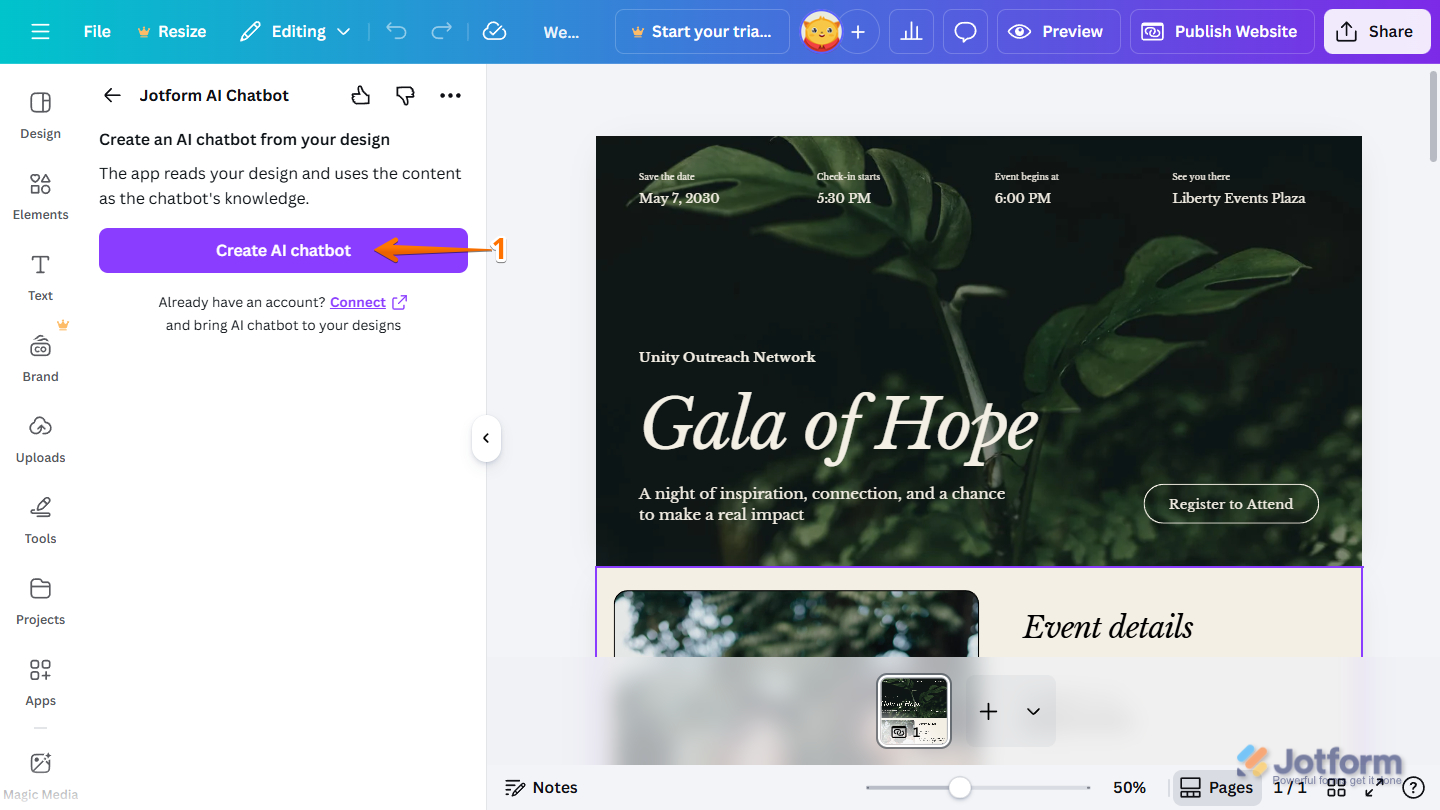
- Now, select what you want to do:
- Create an AI Chatbot — Create a new chatbot instantly, even without logging in to your Jotform account.
- Connect — Log in to your Jotform account and start with an existing AI Chatbot.

Creating and Adding an AI Chatbot as a Guest
You don’t need a Jotform account to get started. As a guest, you can quickly create and add an AI chatbot to explore its features, see how it works, and start engaging users—no sign-up required. Here’s how to get going:
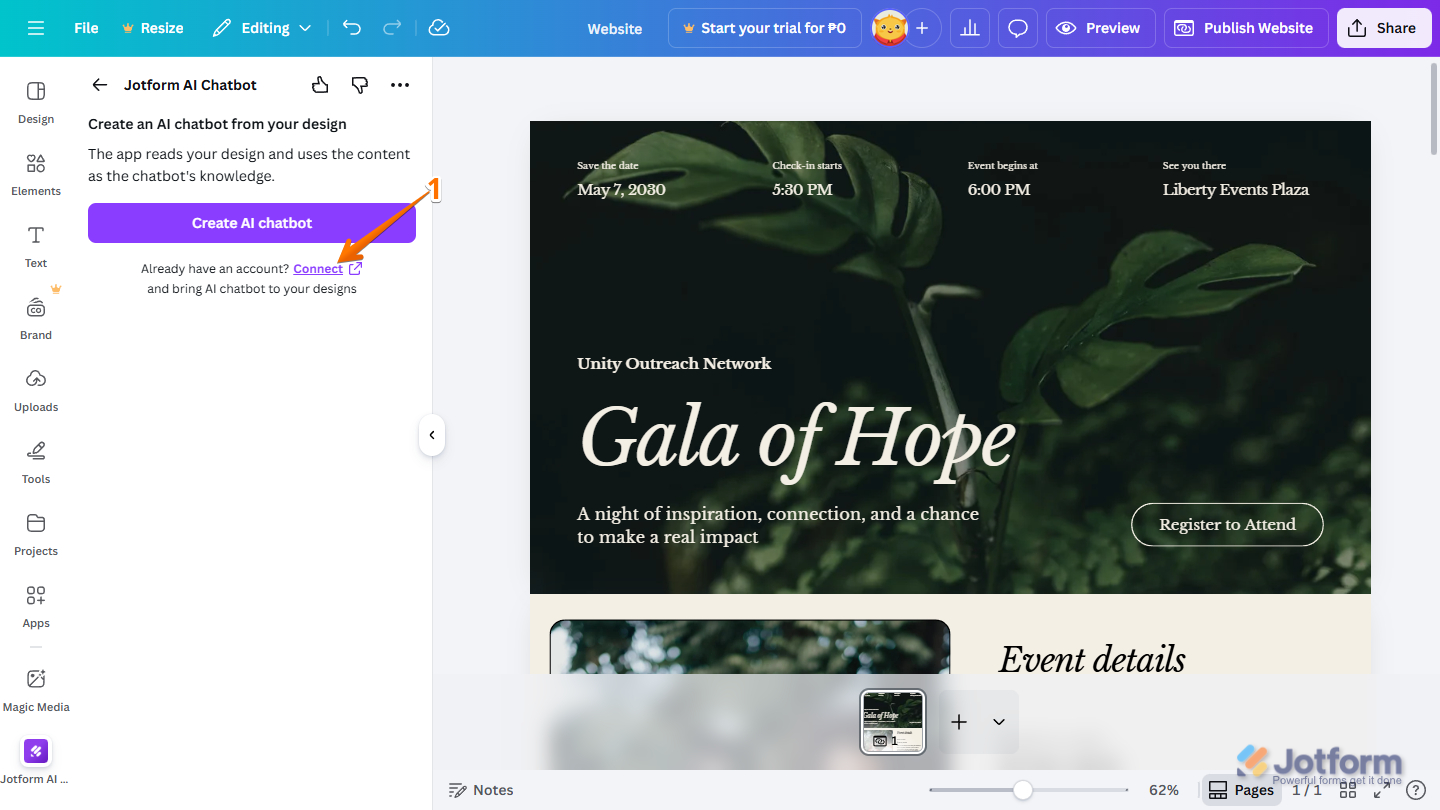
- On the opened Jotform AI Chatbot screen, click on the Create AI Chatbot button. It will automatically read your design and determine the most relevant information to use when responding to user questions.
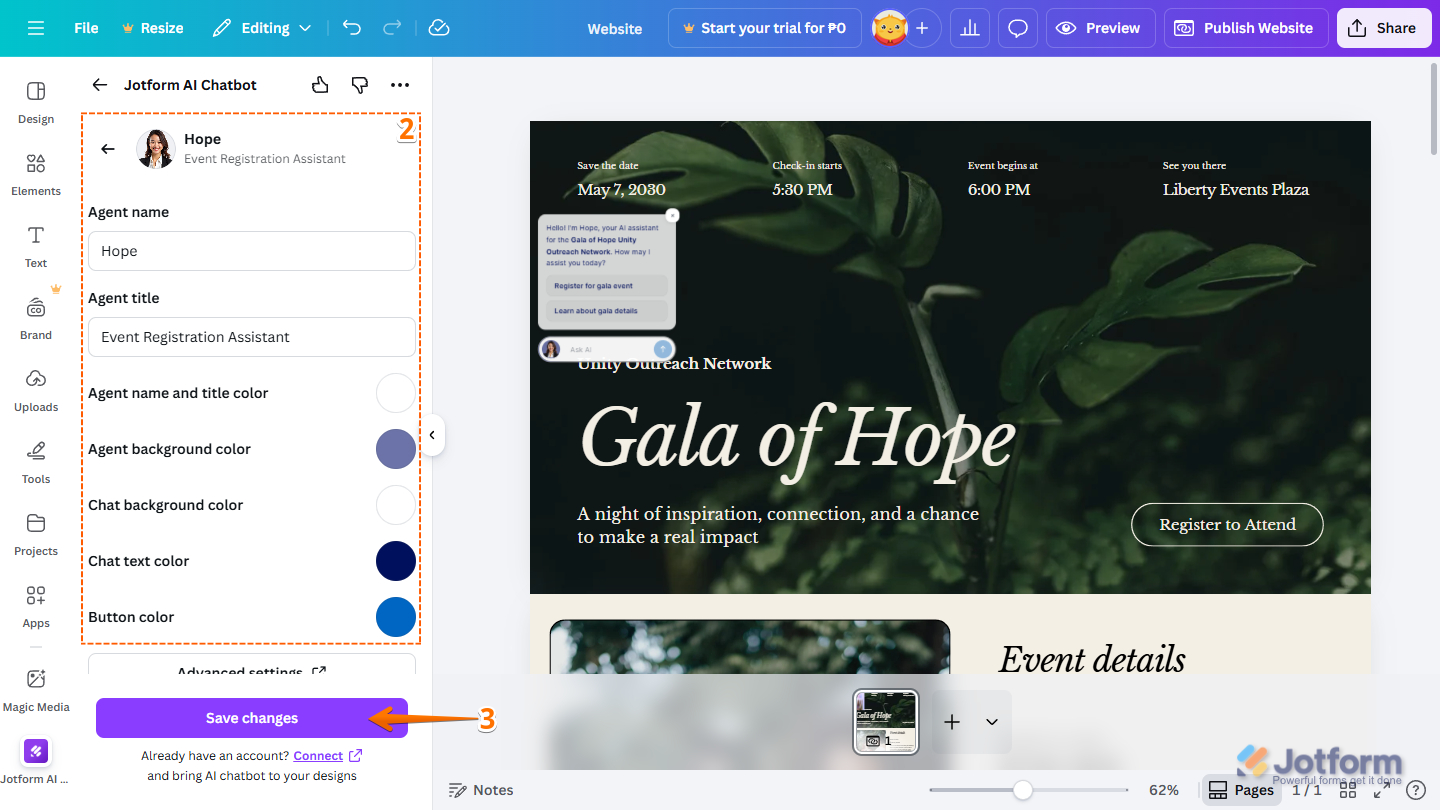
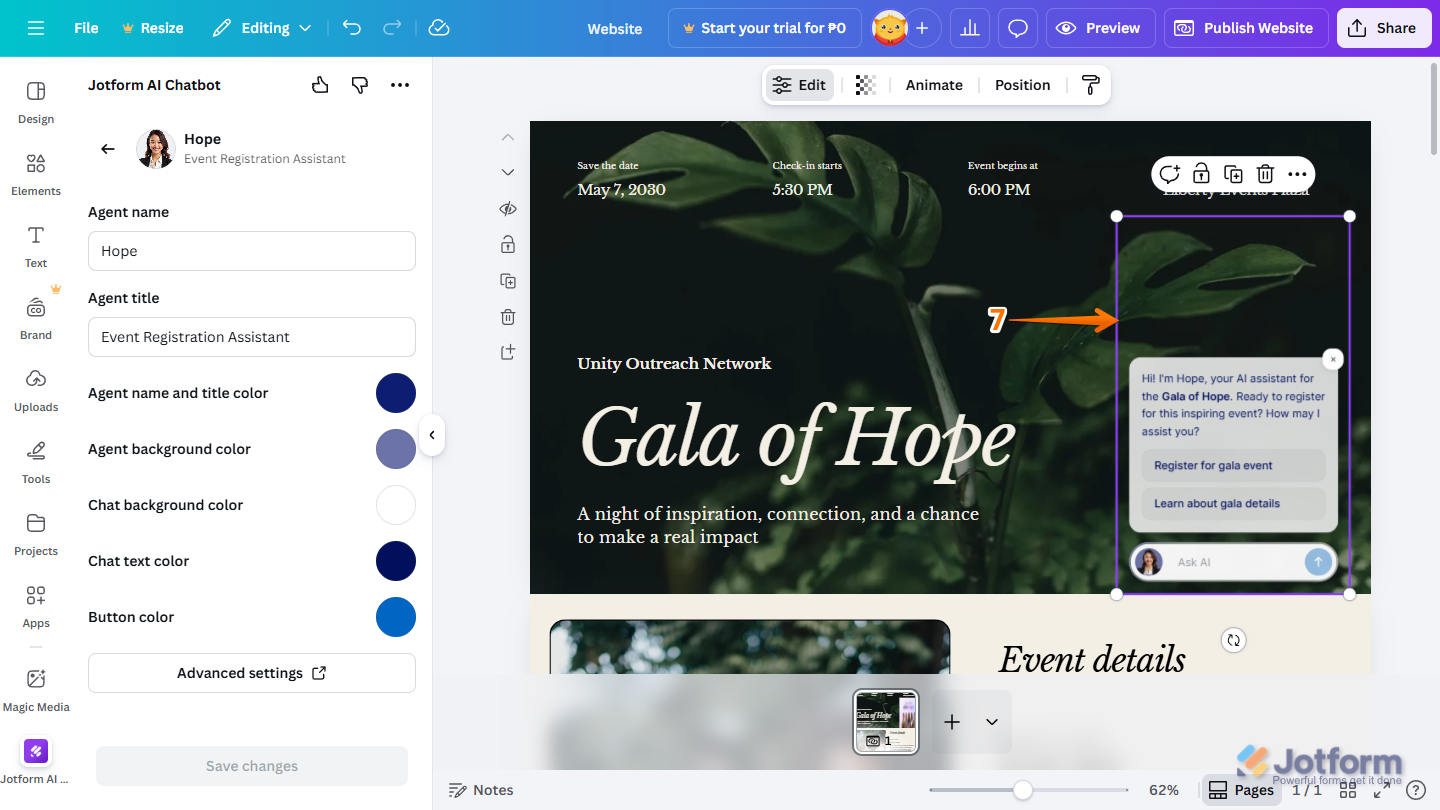
- Then, set up these things:
- Agent Name — The display name of your chatbot or live agent shown in the chat interface, helping users know who they’re talking to.
- Agent Title — A short label that describes the agent’s role or purpose displayed below or alongside the agent name.
- Agent Name and Title Color — The color used for the agent’s name and title text, allowing you to match your brand style and improve readability.
- Agent Background Color — The background color behind the agent’s name, title, or avatar area in the chat window.
- Chat Background Color — The main background color of the chat area where messages appear.
- Chat Text Color — The color of the text inside chat messages, ensuring clarity and contrast against the chat background.
- Button Color — The color of interactive buttons in the chat interface, such as send, start, or action buttons, to align with your design theme and highlight actions.
- Now, click on Save Changes.
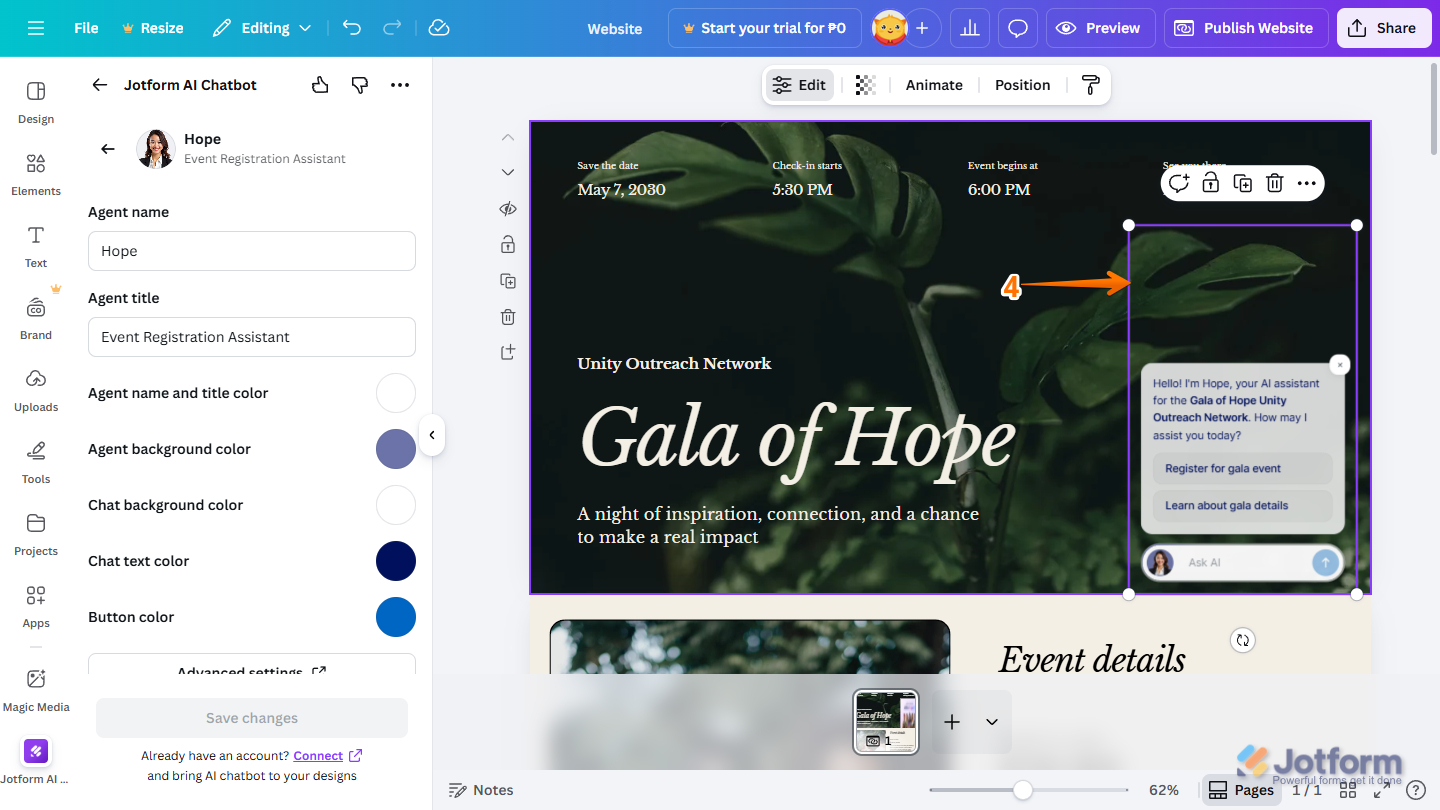
- Finally, drag and drop your Jotform AI Chatbot into the section of your design where you want it to appear to engage users.
Note
Clicking the Connect link at the bottom of the Jotform AI Chatbot configuration screen lets you log in to Jotform and add the AI chatbot to your existing list of chatbots.

Using an Existing AI Chatbot
If you already have an AI chatbot set up, there’s no need to start from scratch. Using an existing AI chatbot lets you quickly connect, customize, and deploy it, saving time while keeping your experience consistent across designs and projects. You can do it in just a few steps:
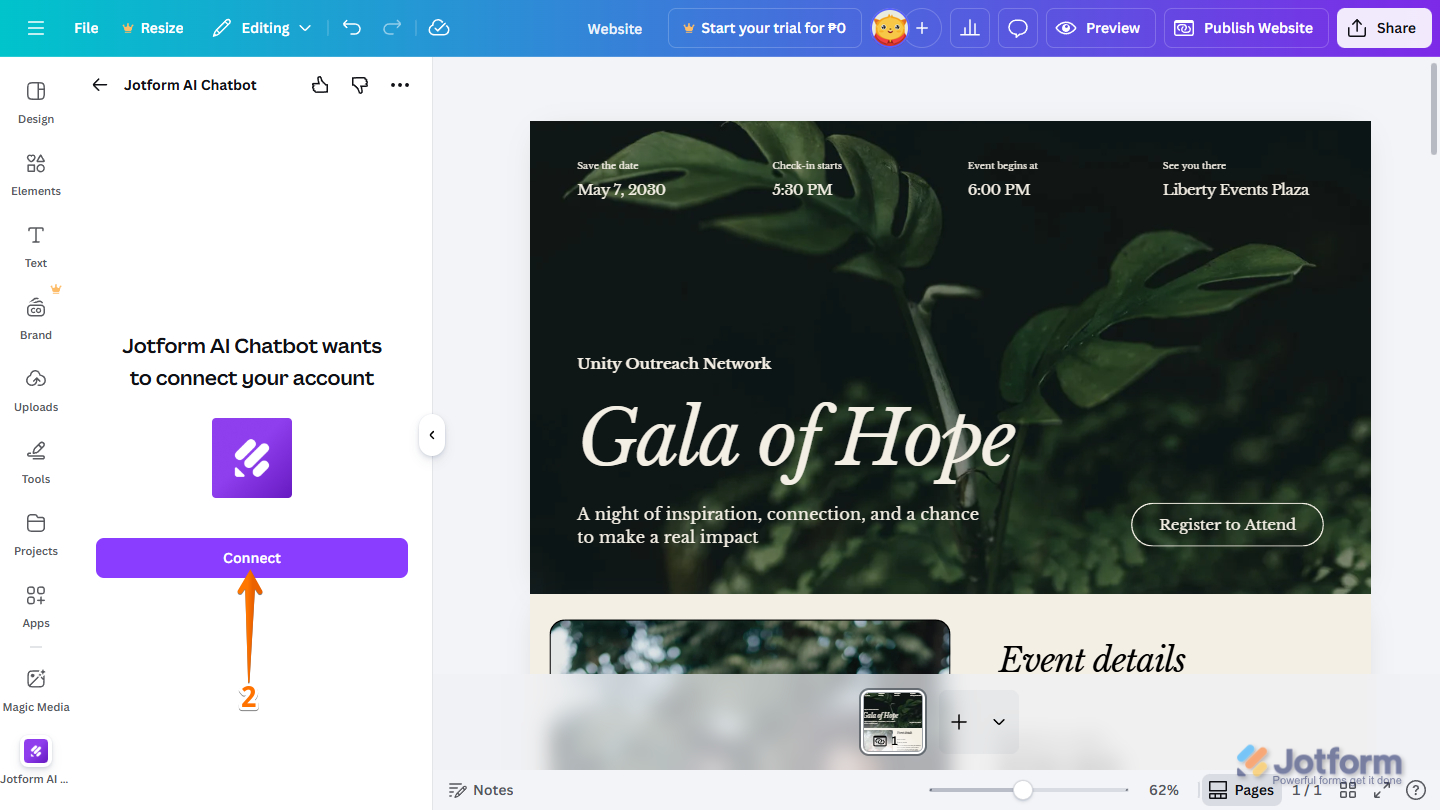
- On the opened Jotform AI Chatbot screen, click on the Connect link next to Already Have an Account? question.
- Then, click on the Connect button.
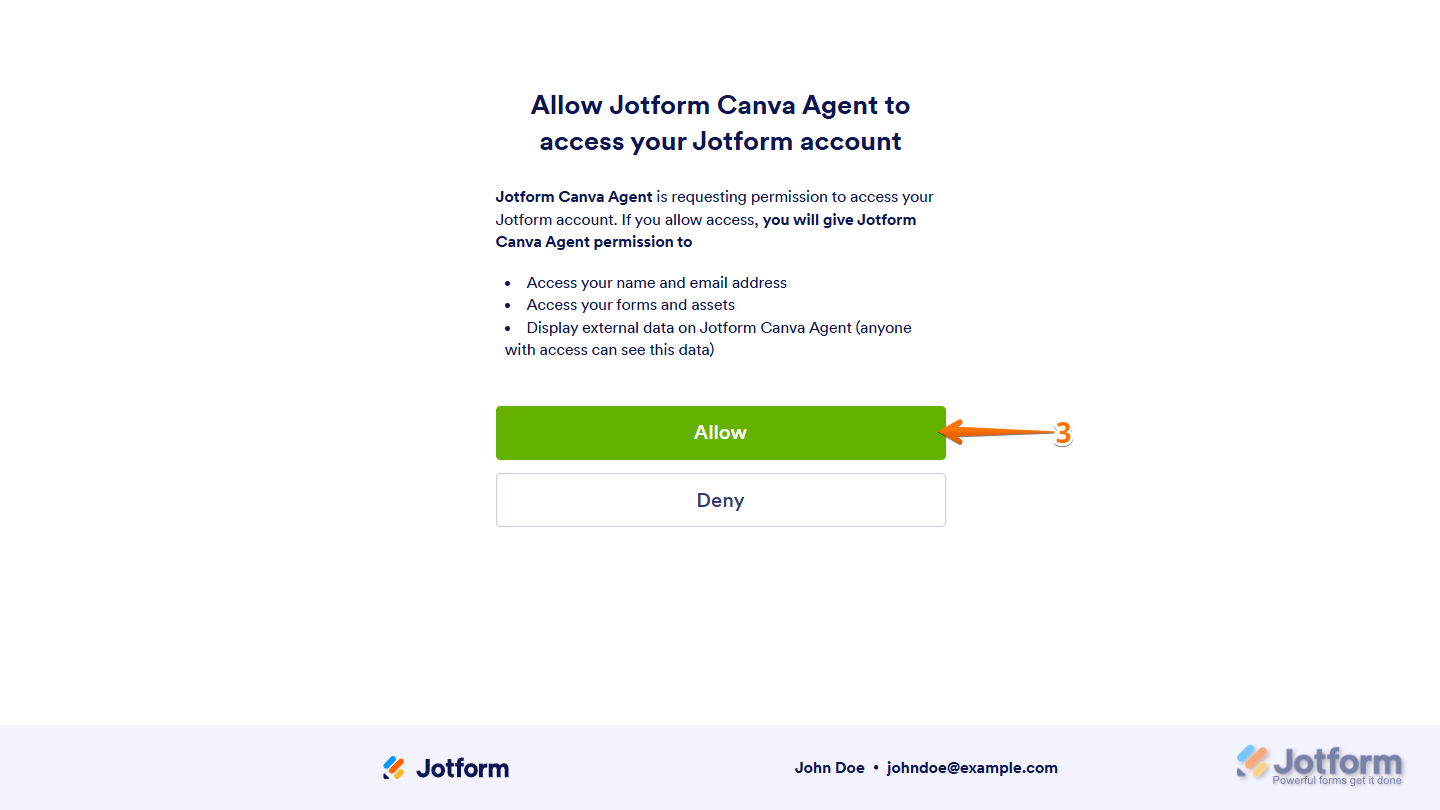
- Next, in the new window that opens, click on Allow. You may be required to log in to your Jotform account if you haven’t already.
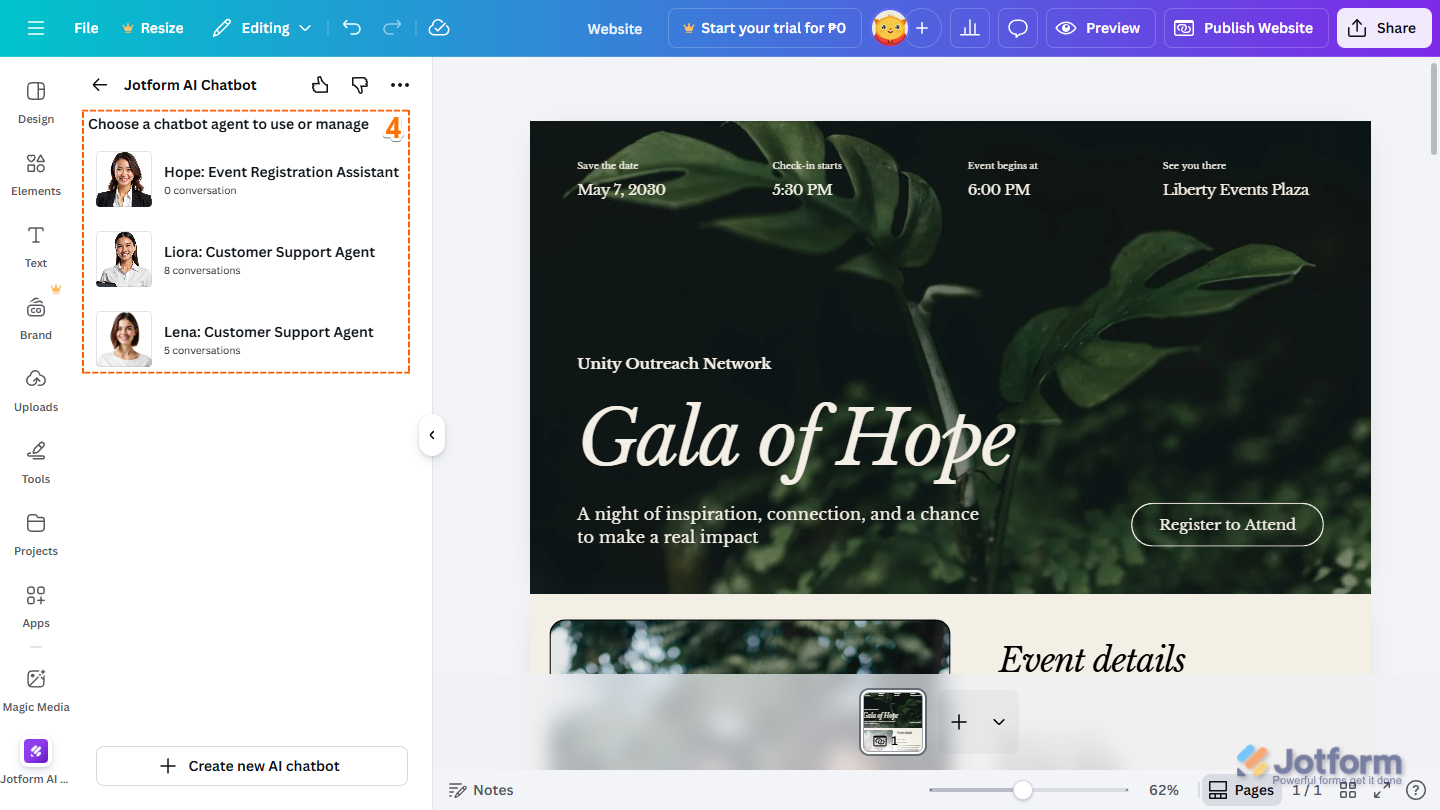
- Now, in the Jotform AI Chatbot section on the right, under the Choose a Chatbot Agent to Use or Manage section, select an AI Chatbot from the list, then click it.
Note
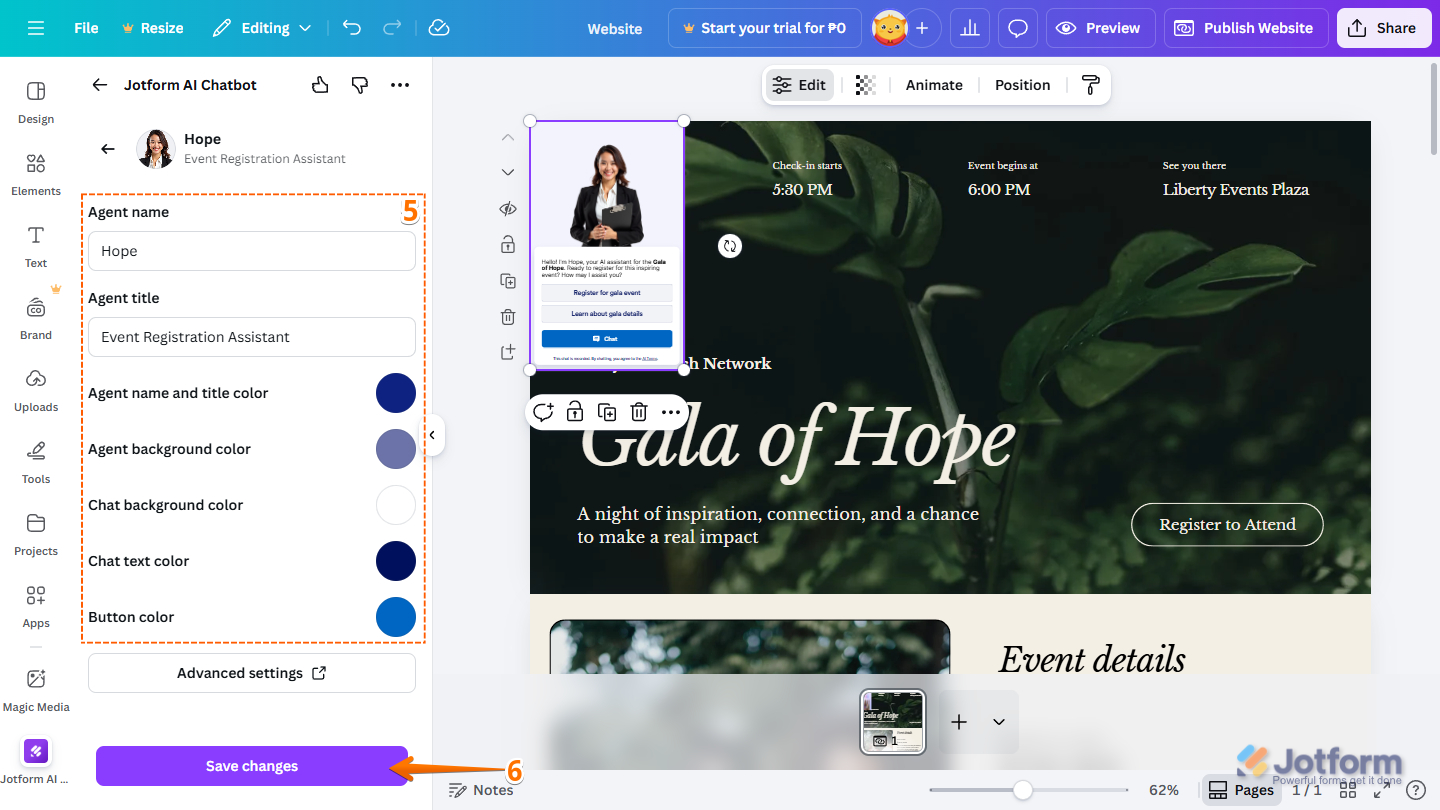
- Then, configure these things:
- Agent Name — The name shown for your chatbot or live agent in the chat window, making it clear who is responding to the user.
- Agent Title — A brief descriptor that explains the agent’s function or role, shown near the agent name for added context.
- Agent Name and Title Color — Sets the text color for the agent’s name and title, helping them stand out and stay consistent with your branding.
- Agent Background Color — Defines the background color of the area where the agent’s name, title, or avatar is displayed.
- Chat Background Color — Controls the background color of the conversation area where all messages are displayed.
- Chat Text Color — Specifies the color of the message text, ensuring it remains easy to read against the chat background.
- Button Color — Determines the color of clickable buttons in the chat interface, helping emphasize actions and match your overall design.
- Now, click on Save Changes.
Pro Tip
Click the Advanced Settings link at the bottom of the AI Chatbot configuration section to open the AI Agent Builder, where you can further customize your chatbot using advanced options like knowledge sources, actions, tools, and automations.
- Finally, drag and drop your Jotform AI Chatbot into the section of your design where you want it to appear to engage users.
That’s it! You’ve successfully added the Jotform AI Chatbot to your Canva design. Your design is now interactive, allowing visitors to ask questions, get instant responses, and engage with your content in real time.

Send Comment: