With Tables, you can easily import existing data from CSV, XLS, or XLSX files and continue working with it in one place. This is useful when you’re moving data from spreadsheets or other systems, combining information from different sources, or bringing existing records into Tables for ongoing work. Importing saves you from having to enter data manually and makes it easier for individuals and teams to organize and work with information they already have.
Creating a Table with Imported Data
To create a new table with your existing data, use the Import Data option to upload your file and create a new table with the imported data.
Importing Data Into a New Table
Importing your existing data into a new table is easy. You can do it in just a few steps:
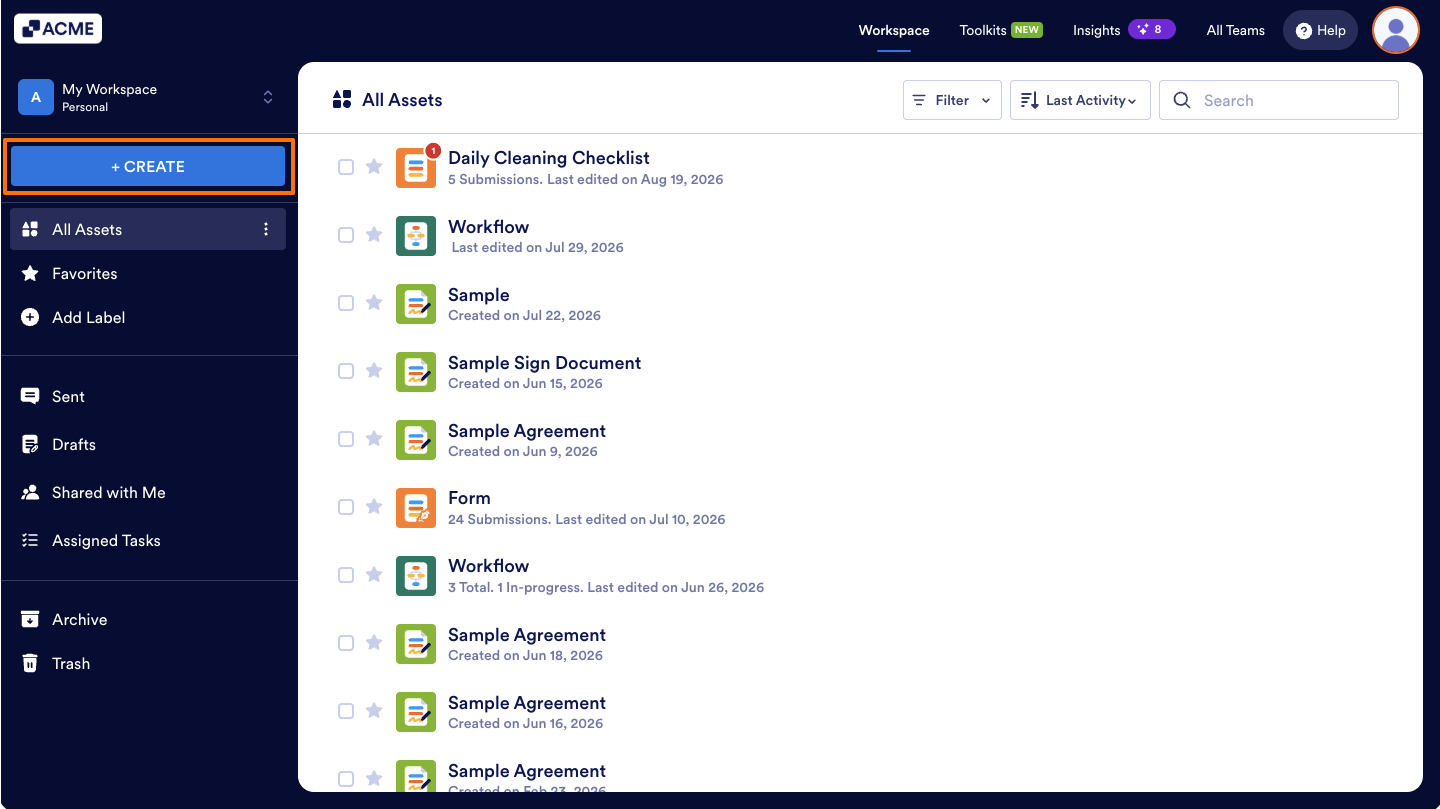
- On the top-left side of your Workspace page, click on Create.
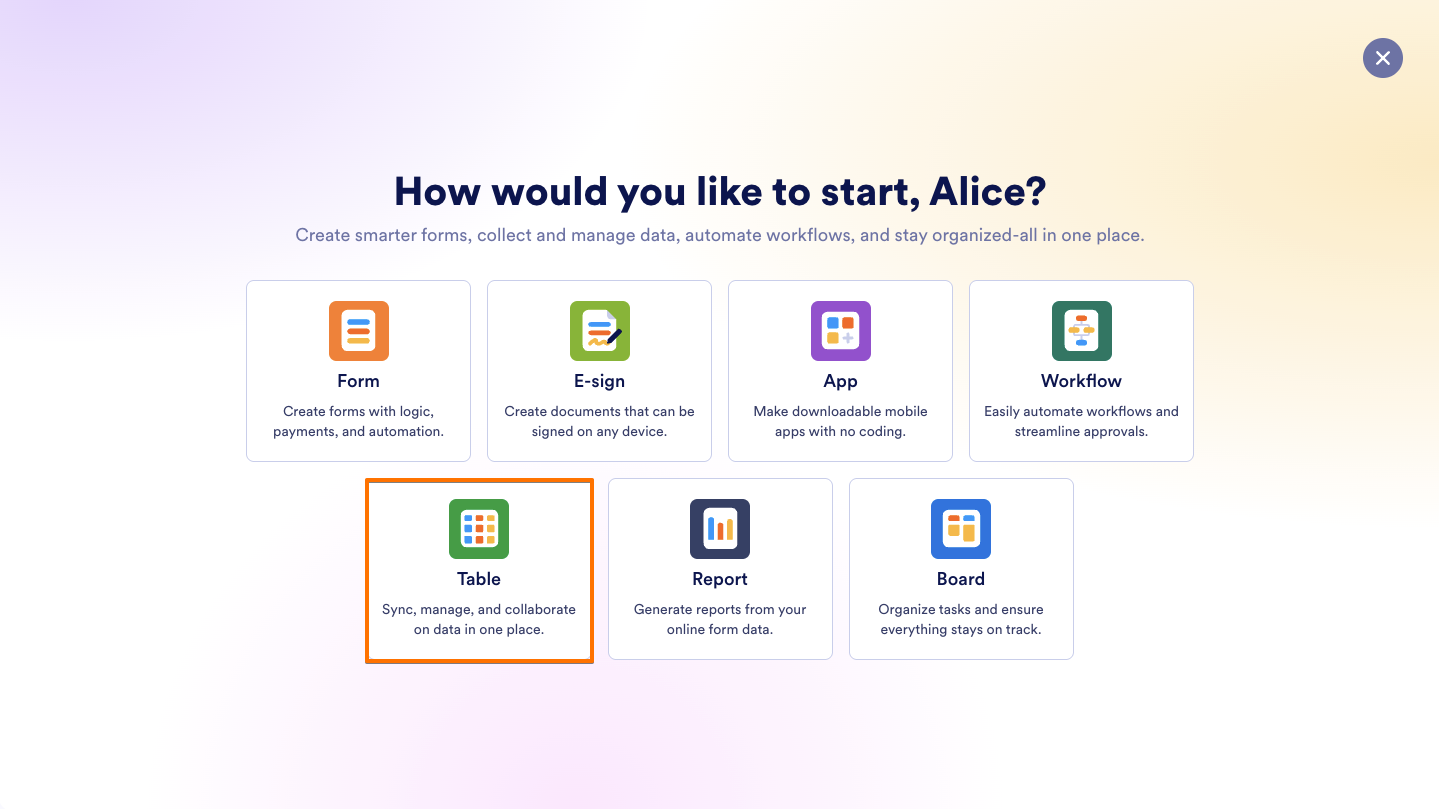
- Now, in the menu that opens up, select Table.
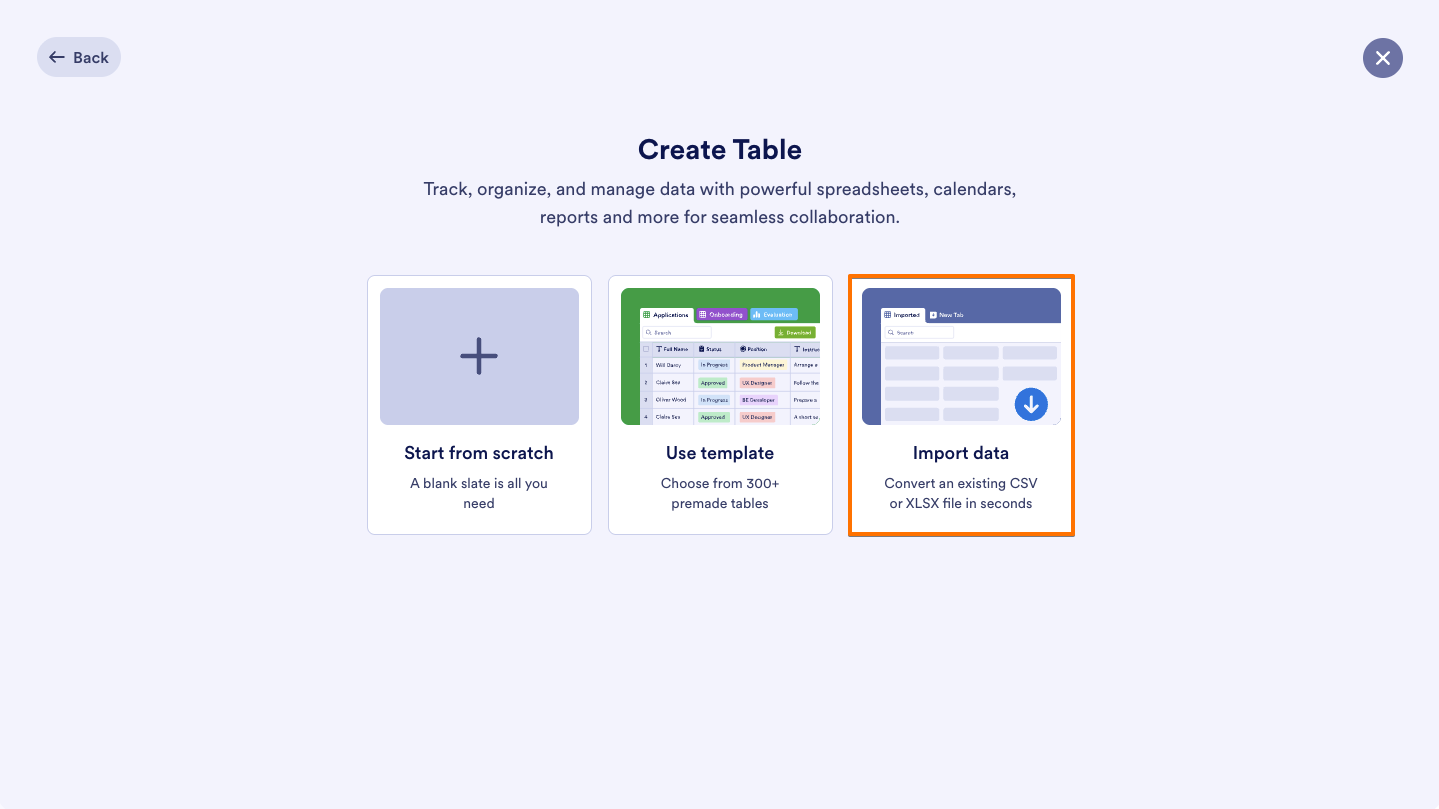
- Then, select Import Data.
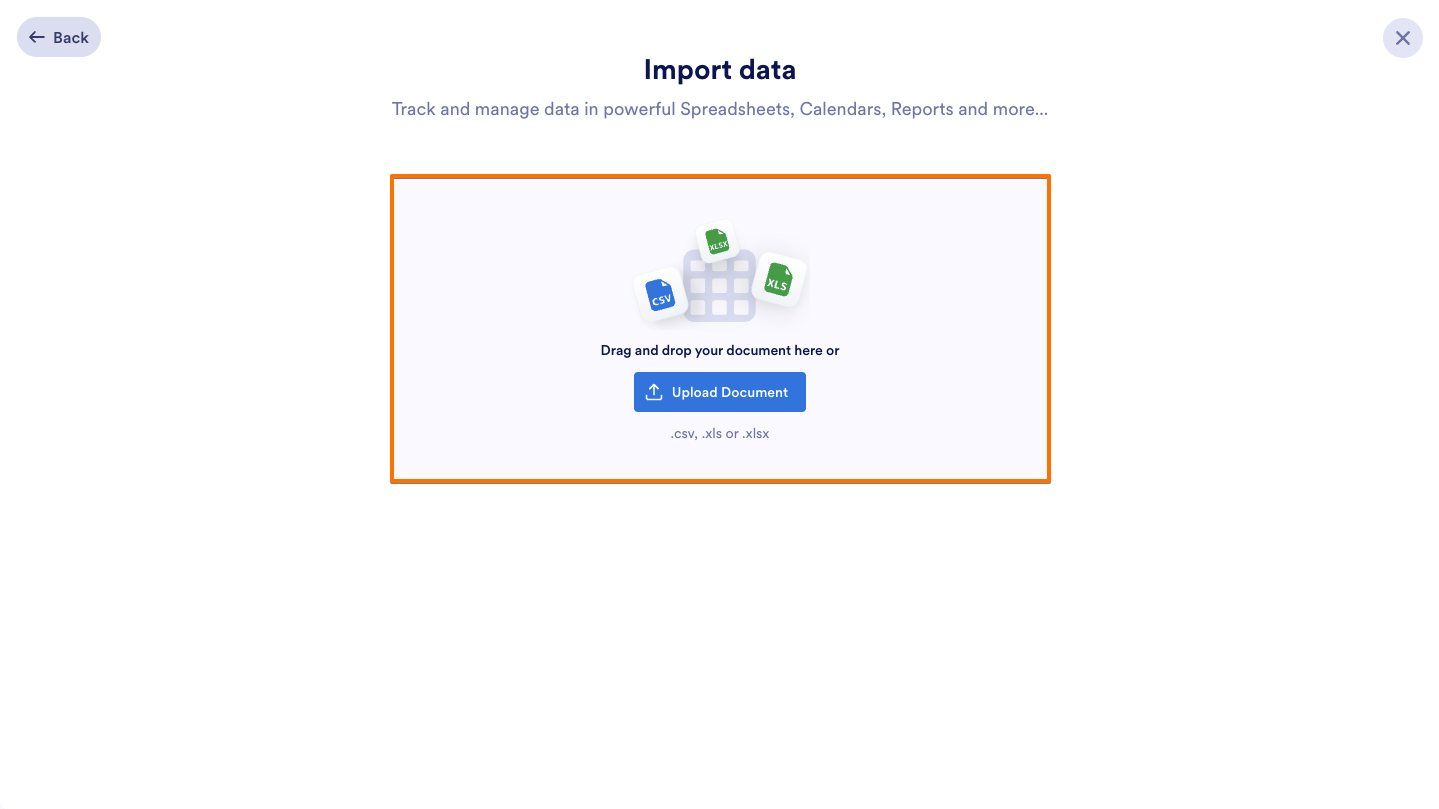
- In the Import Data menu, drag and drop a CSV, XLS, or XLSX file into the Upload area, or click on Upload Document, and select the file from your device to import its data into a new table.
- To change the type set for a column, click on its header in the table preview and, in the menu that opens, select a different one.
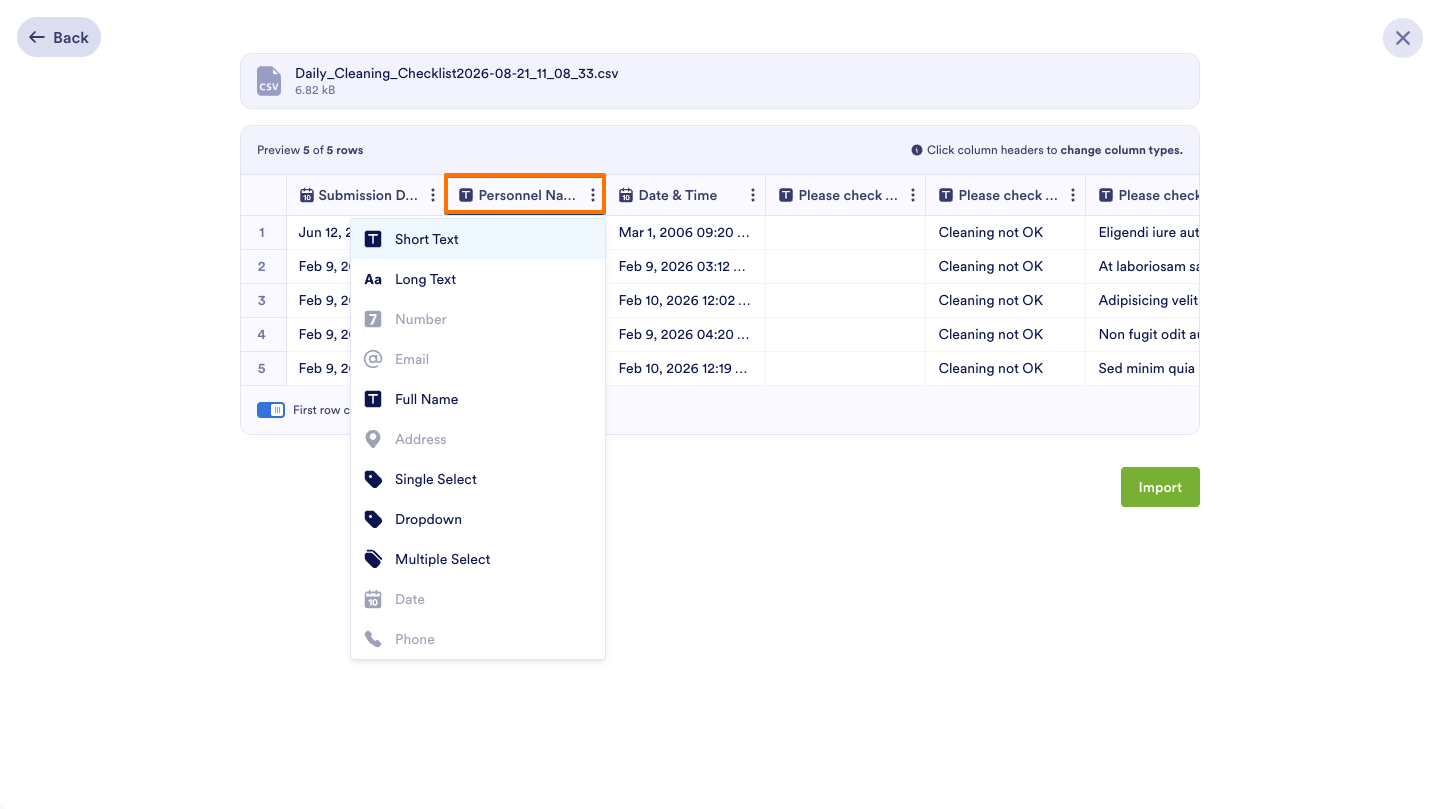
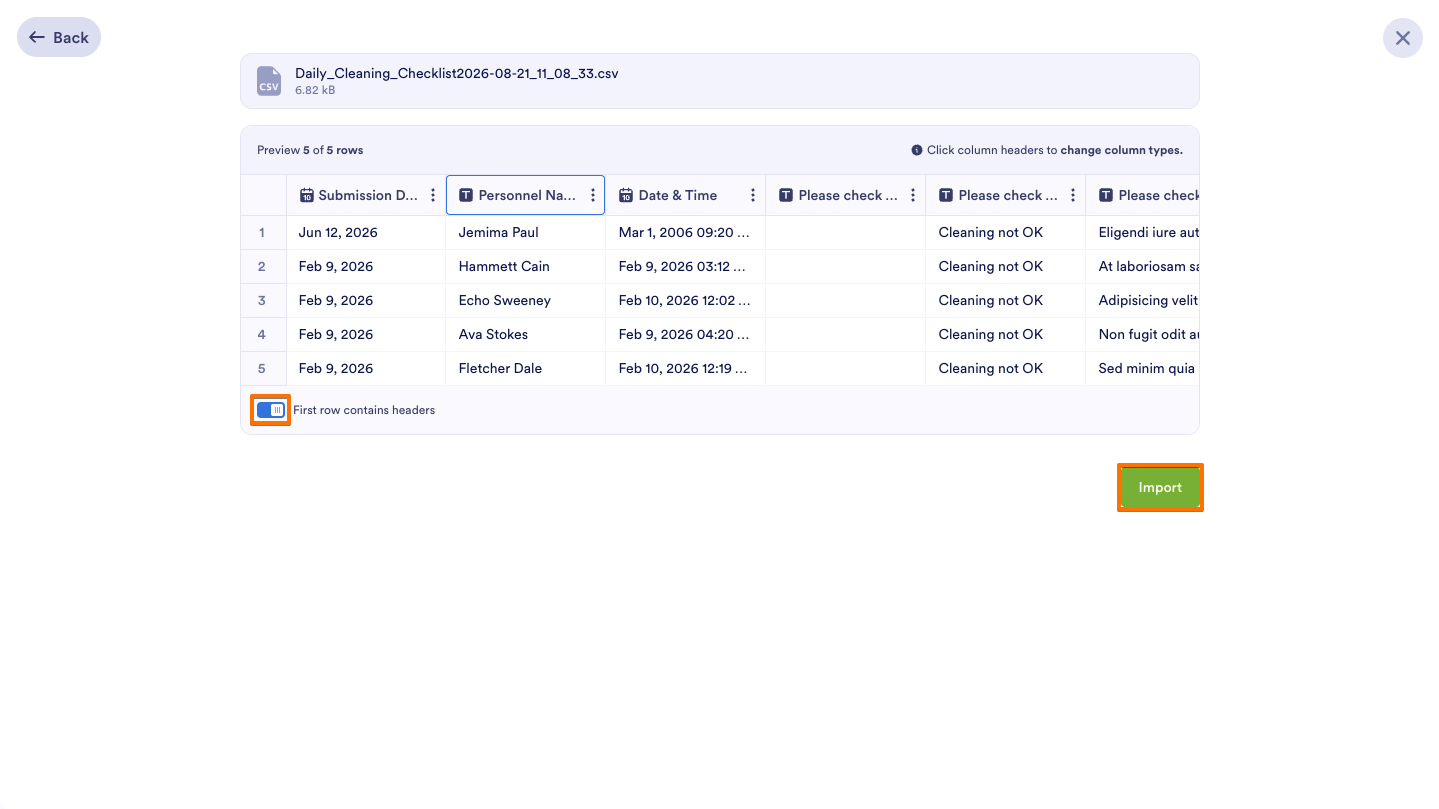
- At the bottom of the preview, on the left side of First Row Contains Headers, toggle it off to import data starting from the first row using the default column letters. You can change these column headers later. Check out our guide on How to Rename Columns in Tables to learn how.
- Once everything’s set, click on Import.
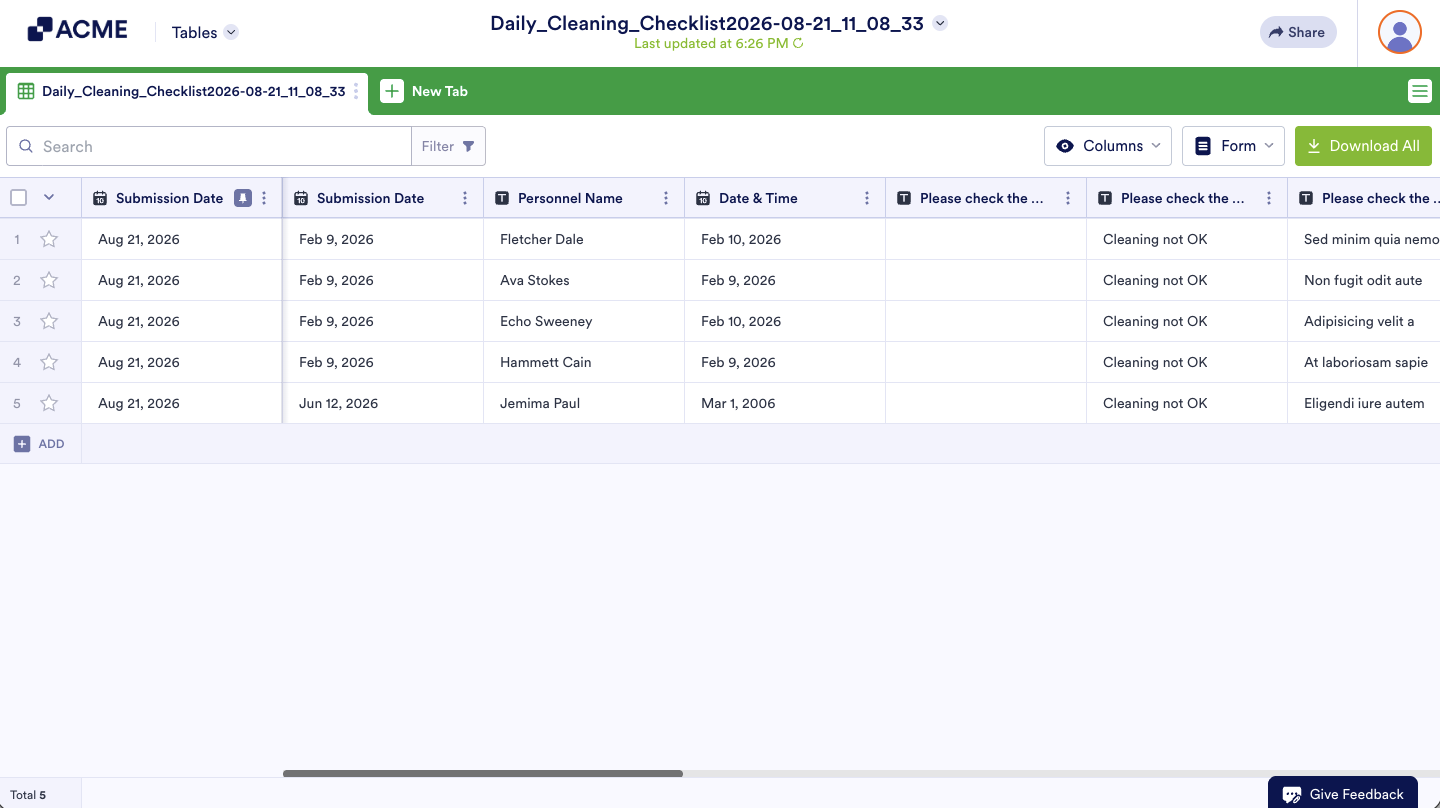
That’s it! Your existing data is now imported into the main tab of a new table.
Adding a New Tab with Imported Data
To add a new tab to an existing table with your imported data, use the Import Data option to upload your file and add the imported data as a new tab.
Importing Data Into a New Tab
Adding your existing data to a new tab is simple. Here’s how to get started:
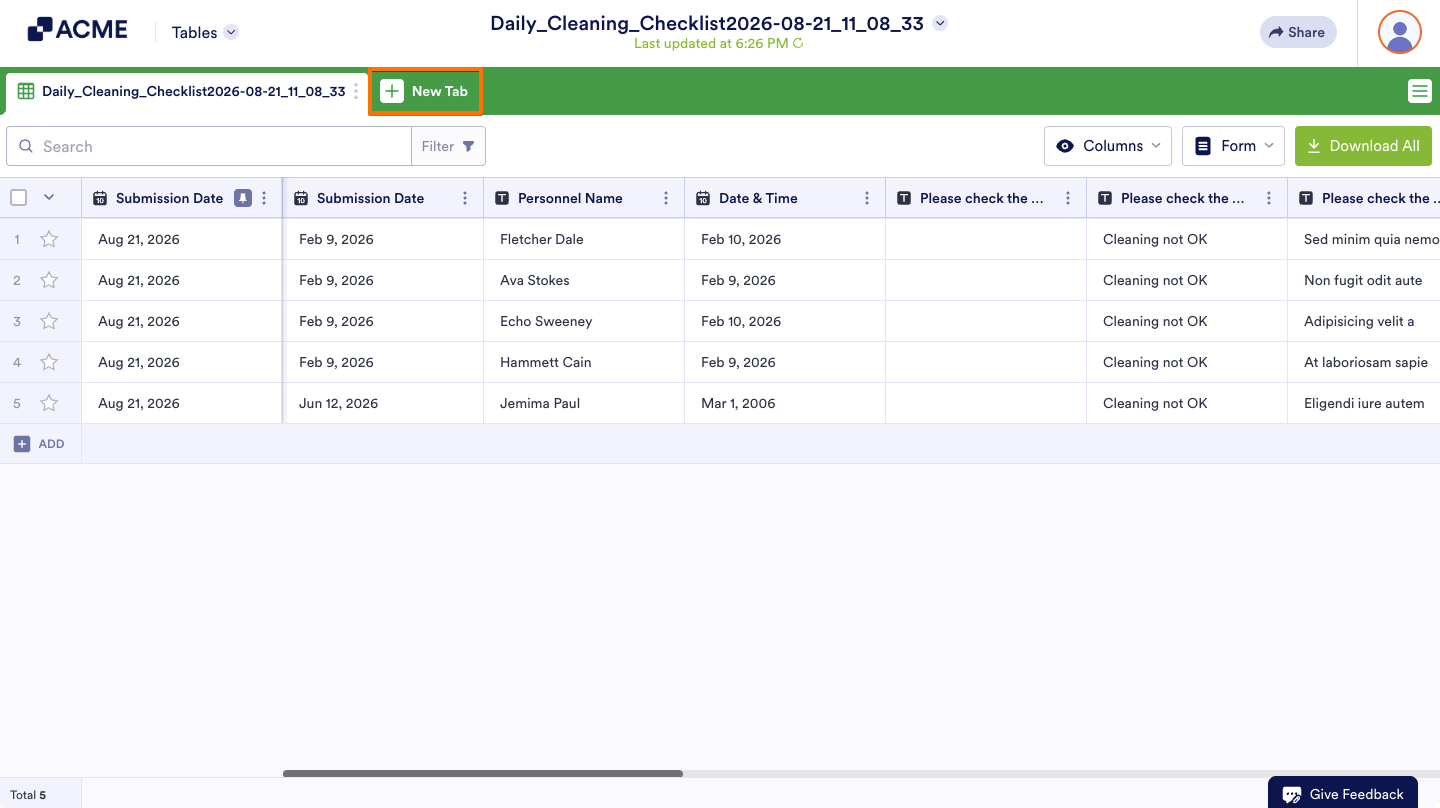
- In Tables, in the green navigation bar at the top of the page, click on New Tab.
- Now, in the menu that opens up, select Table.
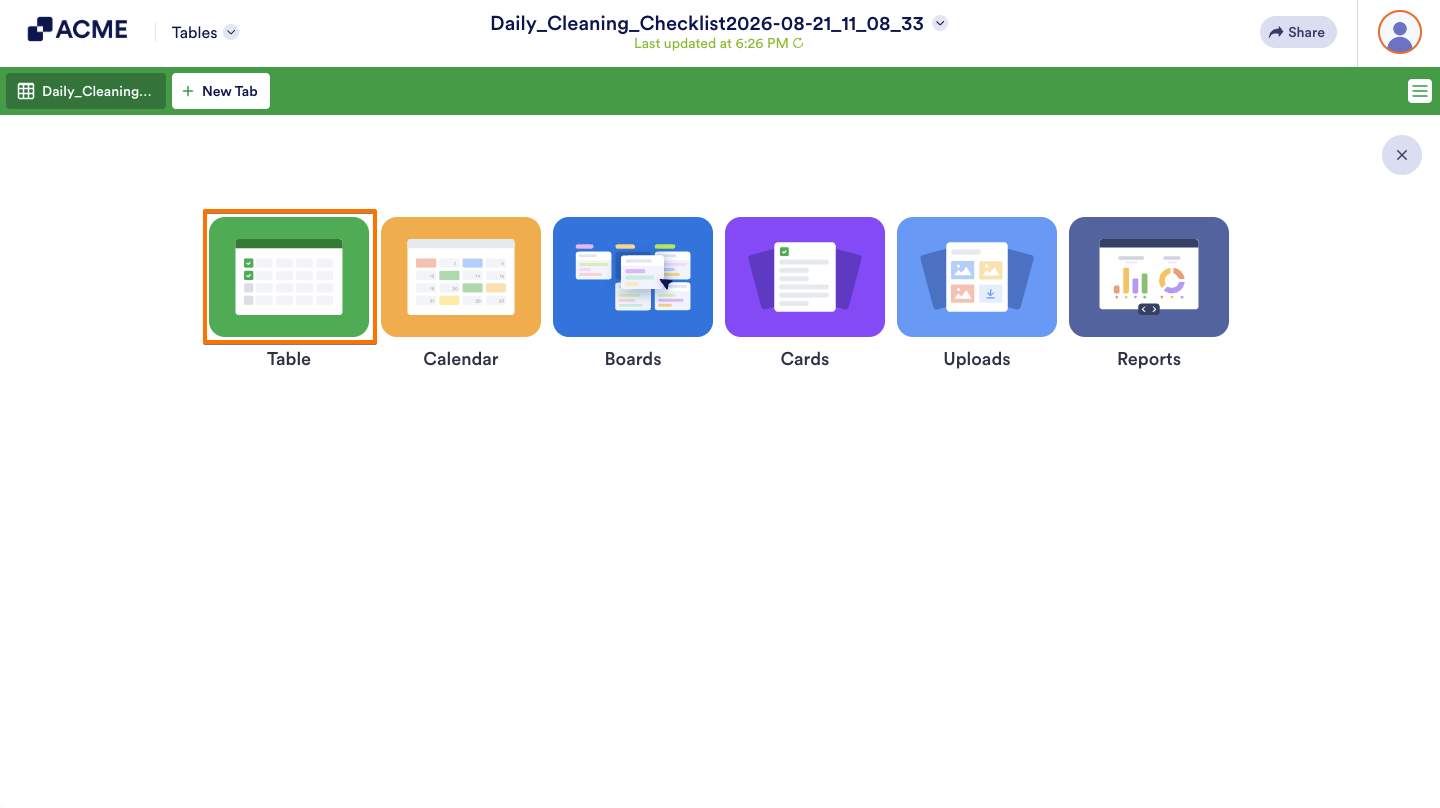
- Then, in Create Table View, select Import Data.
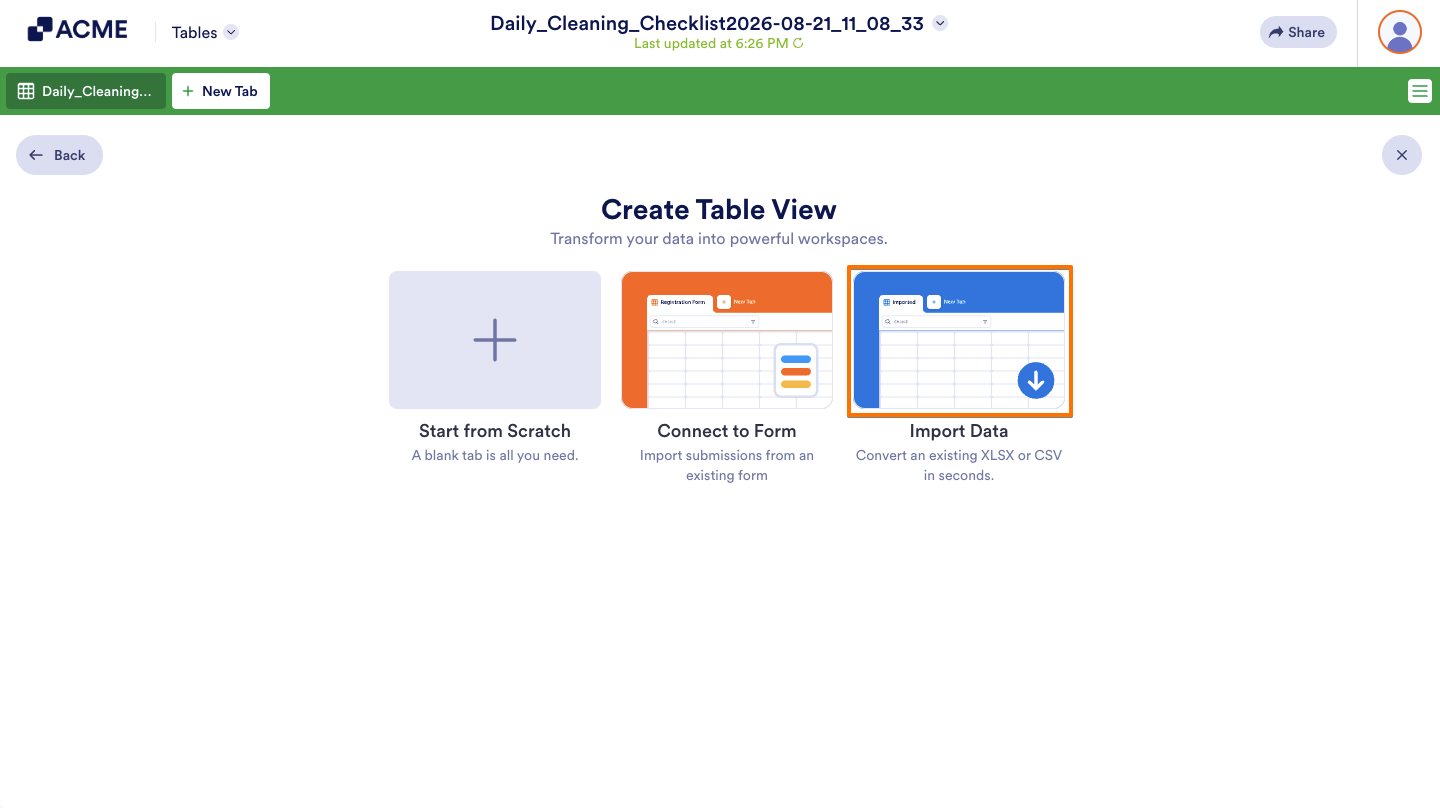
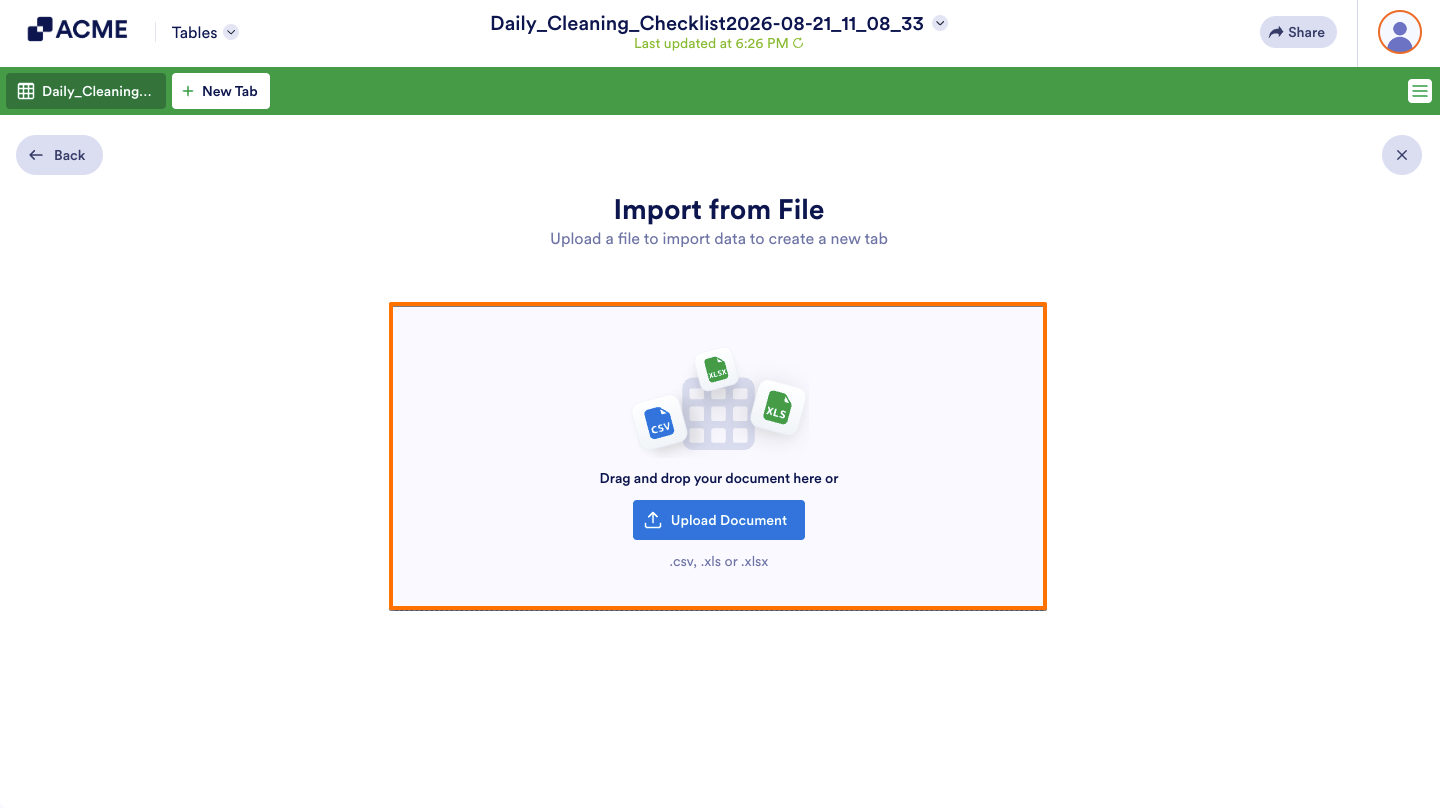
- In Import From File, drag and drop a CSV, XLS, or XLSX file into the Upload area, or click on Upload Document, and select the file from your device to import its data into a new tab.
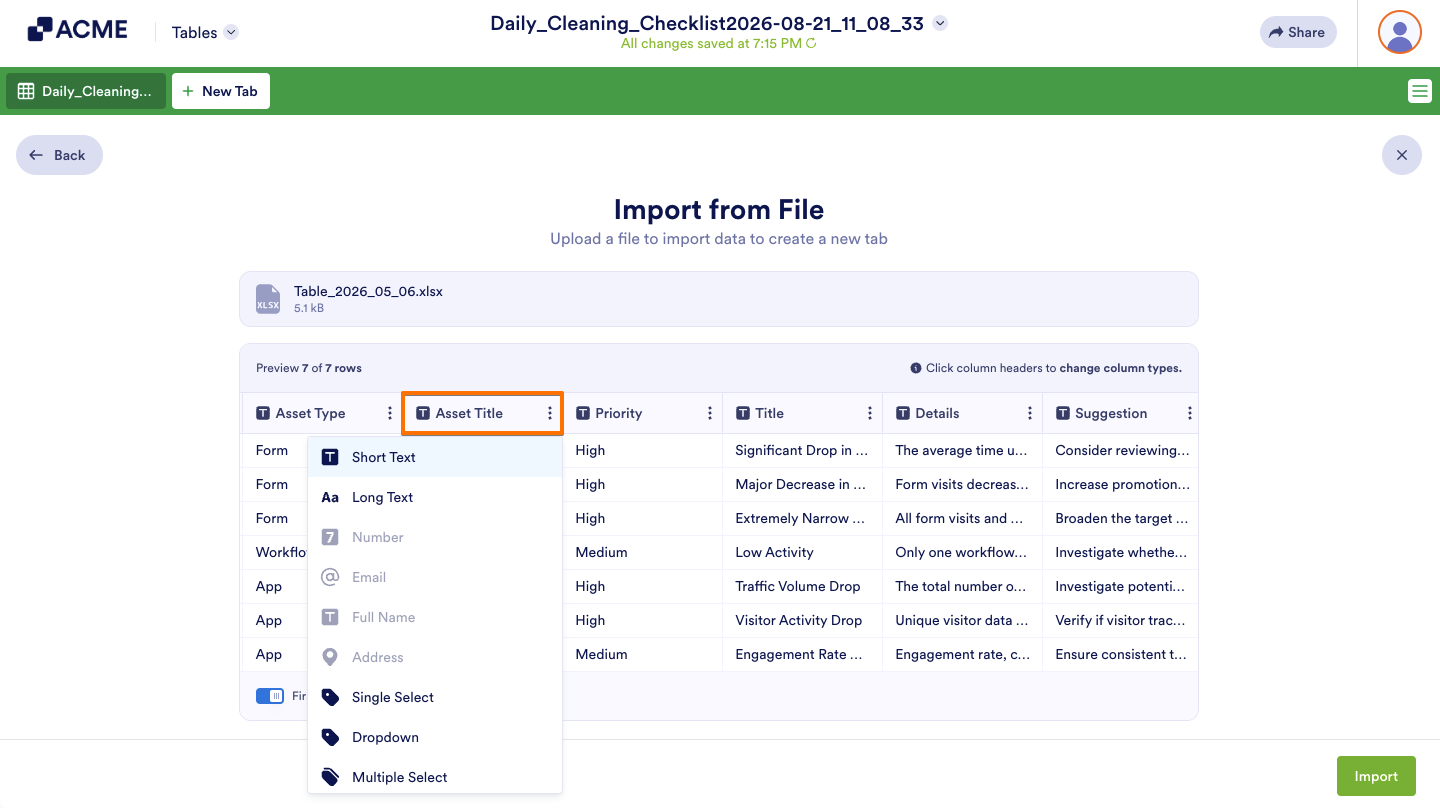
- To change the type set for a column, click on its header in the table preview and, in the menu that opens, select a different one.
- To import data starting from the first row with default column letters, at bottom of the preview, on the right side of First Row Contains Headers, toggle it off. You can change these column headers later. Check out our guide on How to Rename Columns in Tables to learn how.
- Once everything’s set, click on Import in the bottom-right corner of the page.
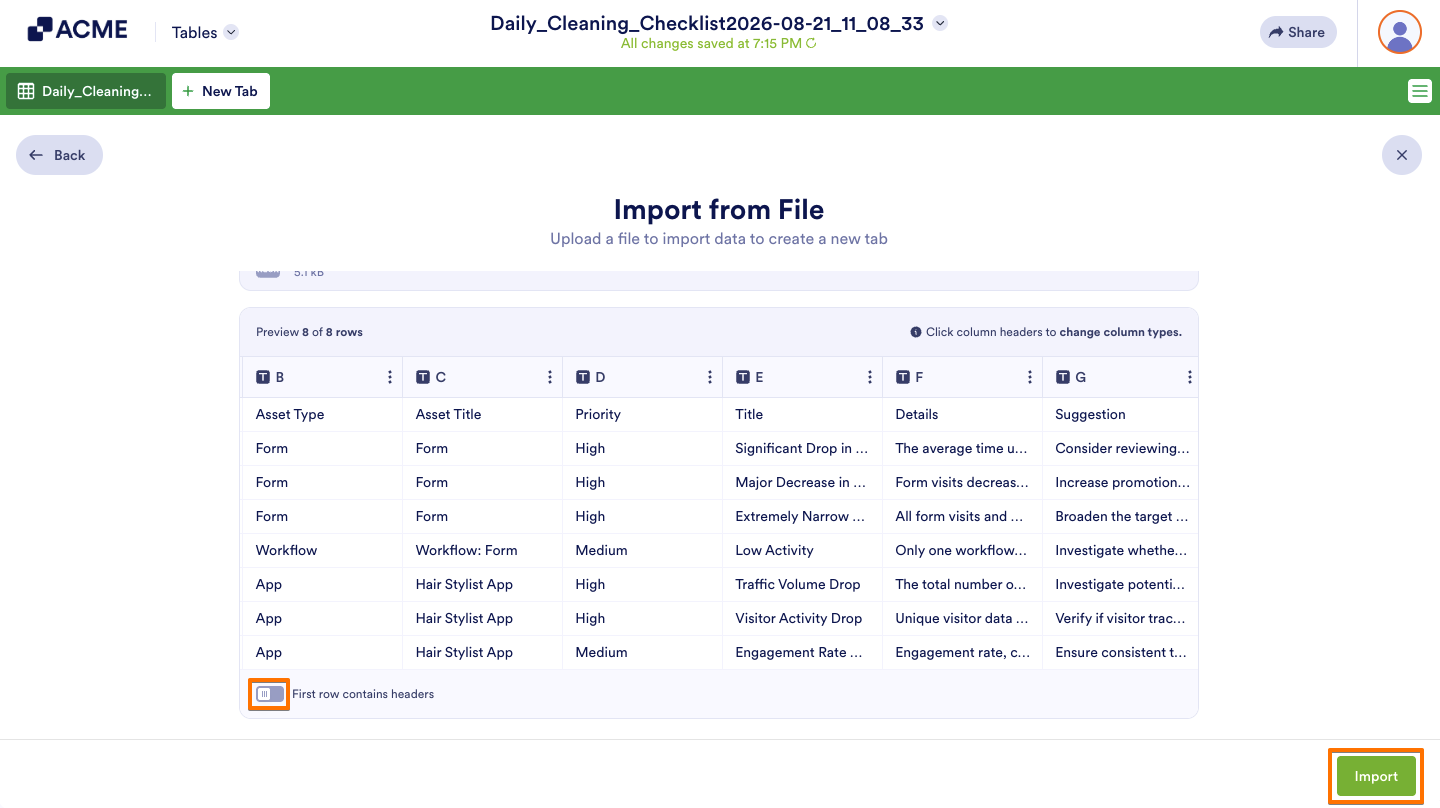
That’s it! Your data is now imported into a new tab in the table.
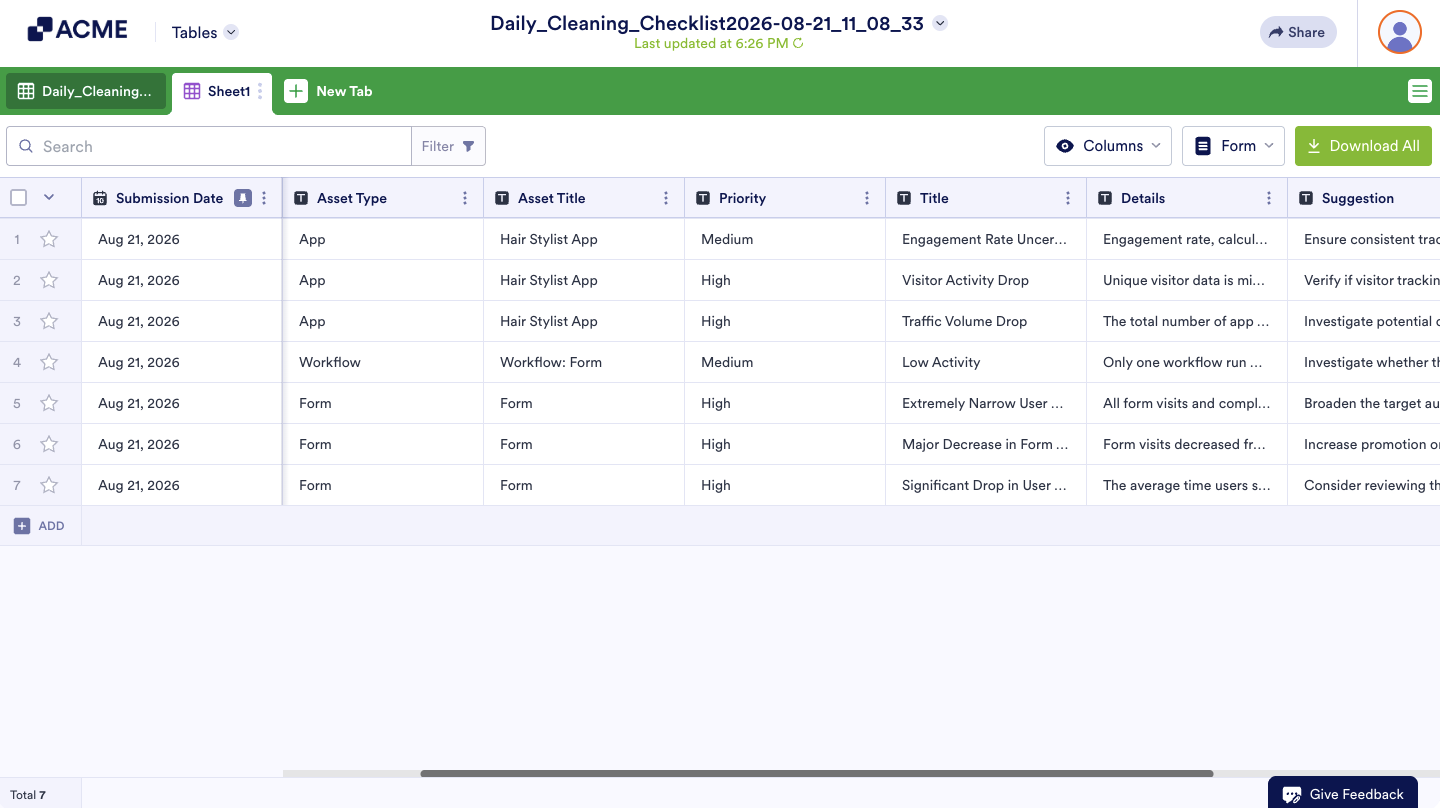
Importing Data Into an Existing Tab
Importing data into an existing tab is easy, whether it already has data or is blank. Here’s how to get started:
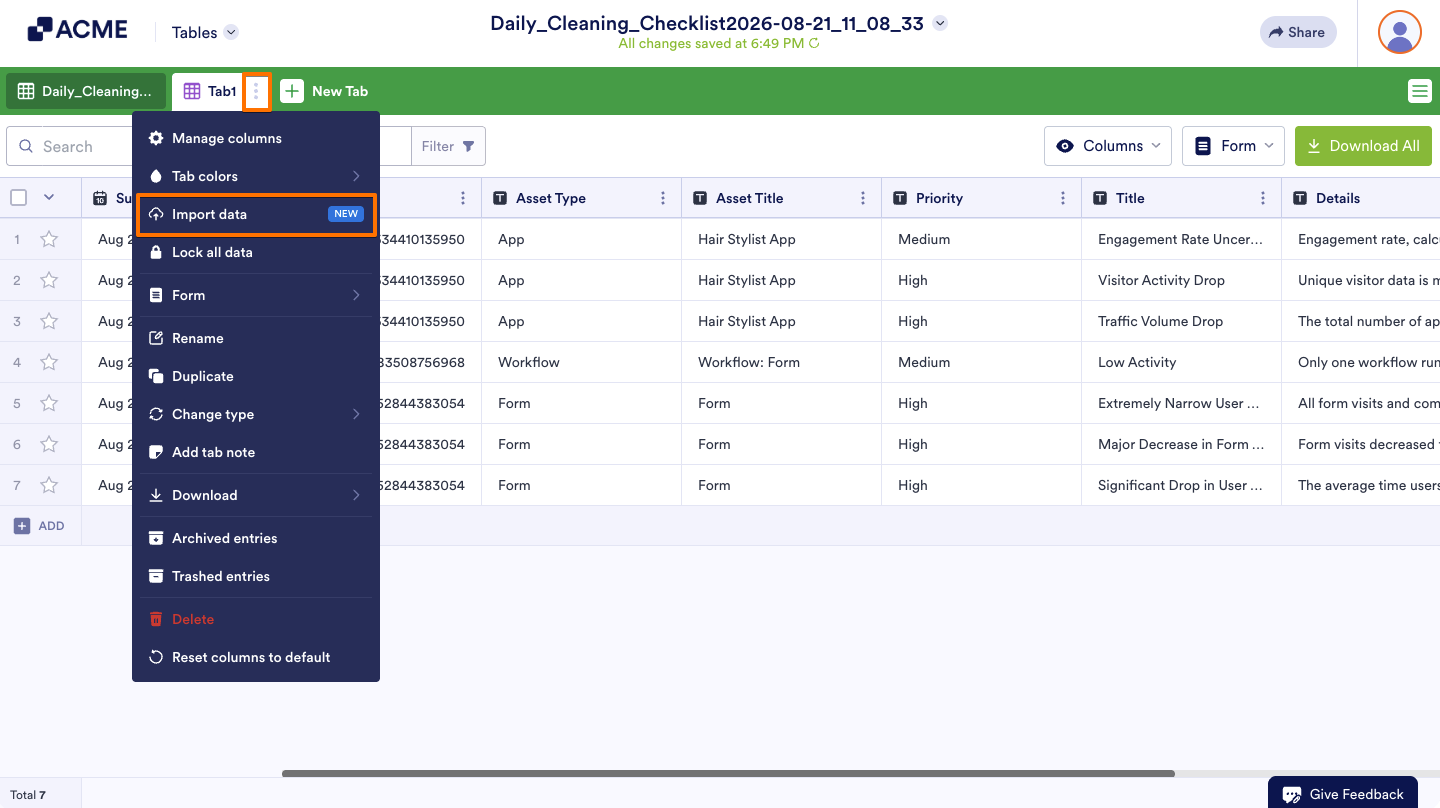
- In Tables, on the right side of an existing tab name, click on the Three Dots icon.
- Then, in the menu that opens, select Import Data.
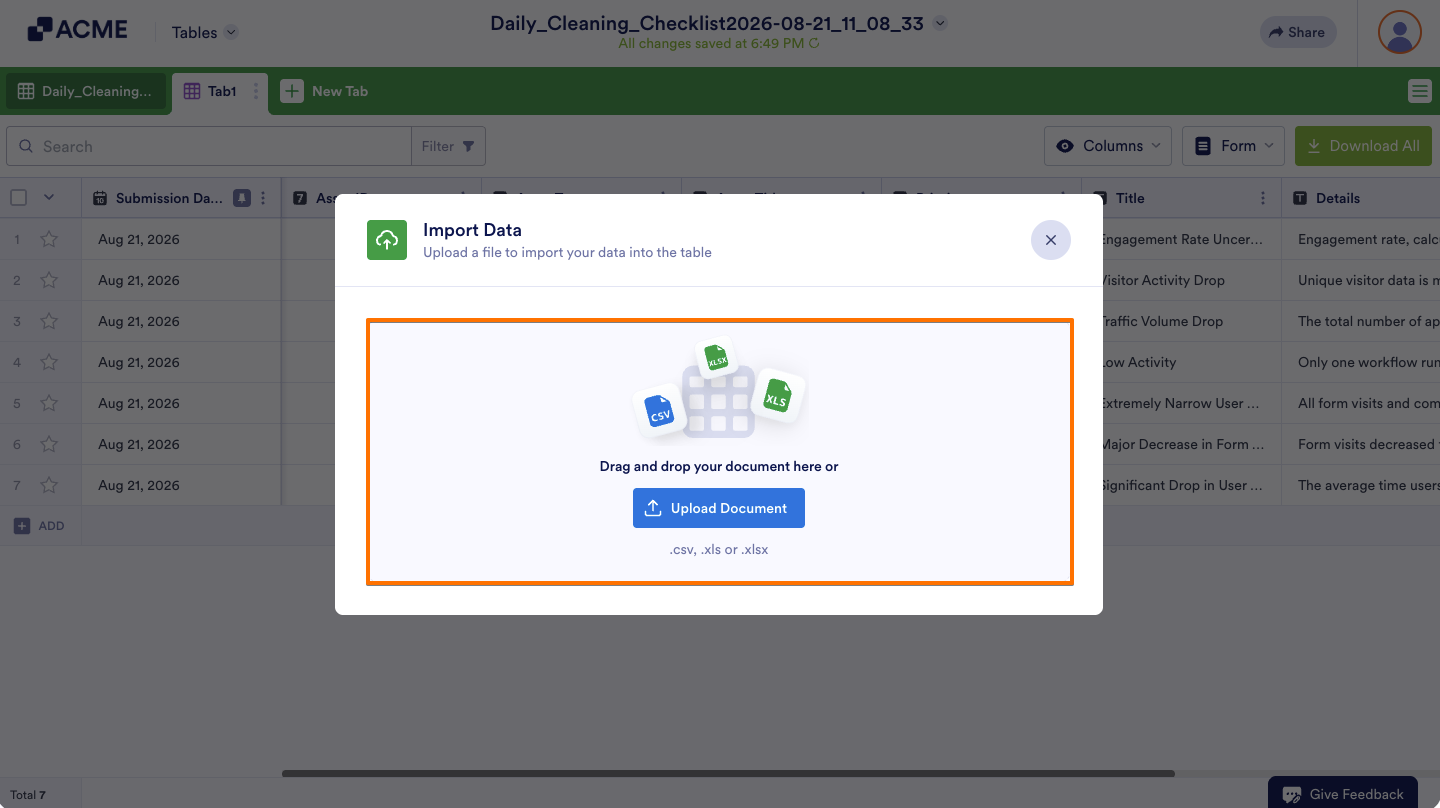
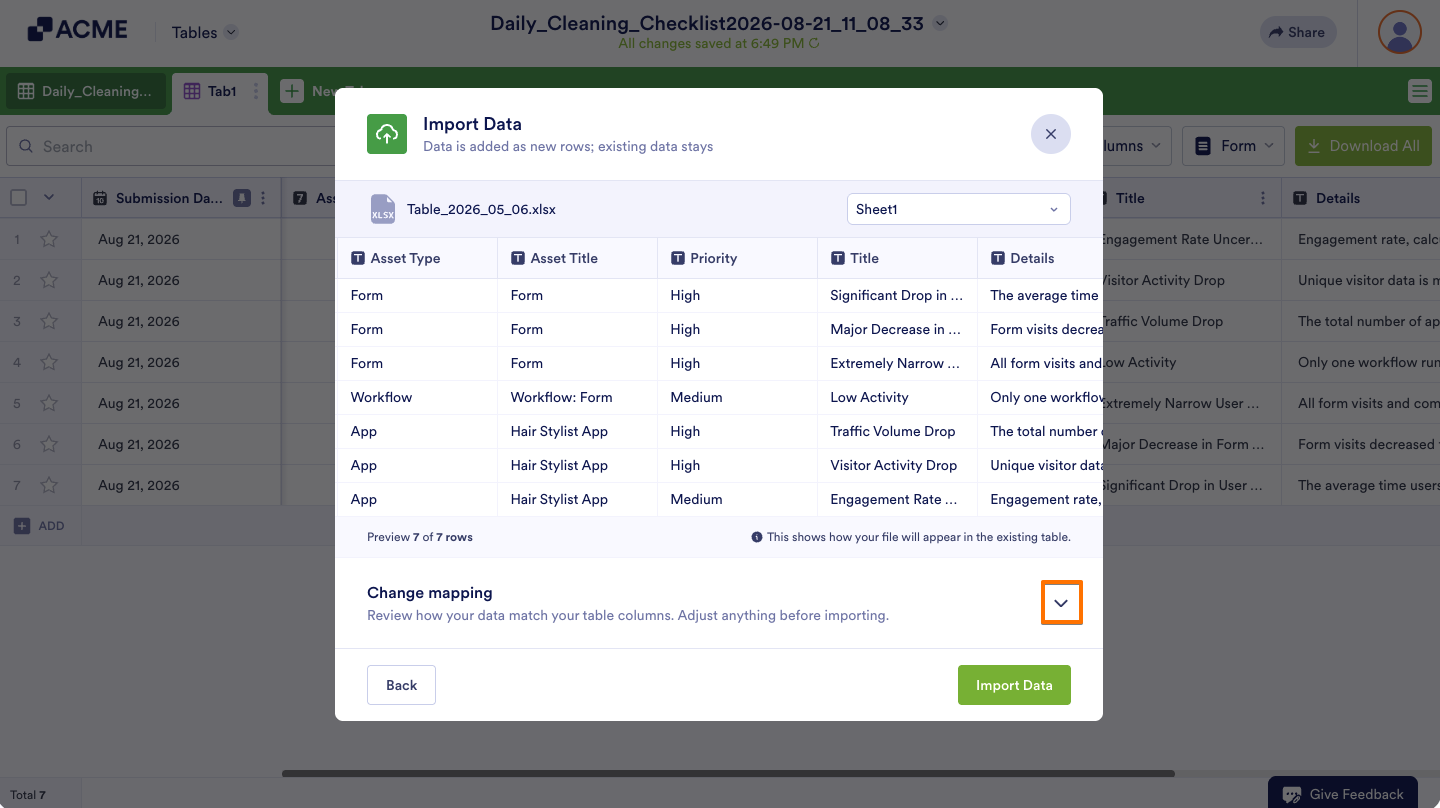
- In the Import Data window that comes up, drag and drop a CSV, XLS, or XLSX file into the Upload area, or click on Upload Document, and select the file from your device to import its data into the existing tab.
- Now, below the table preview, on the right side of Change Mapping, click on the Downward Arrow icon to change how the columns in your imported file are matched to the table columns.
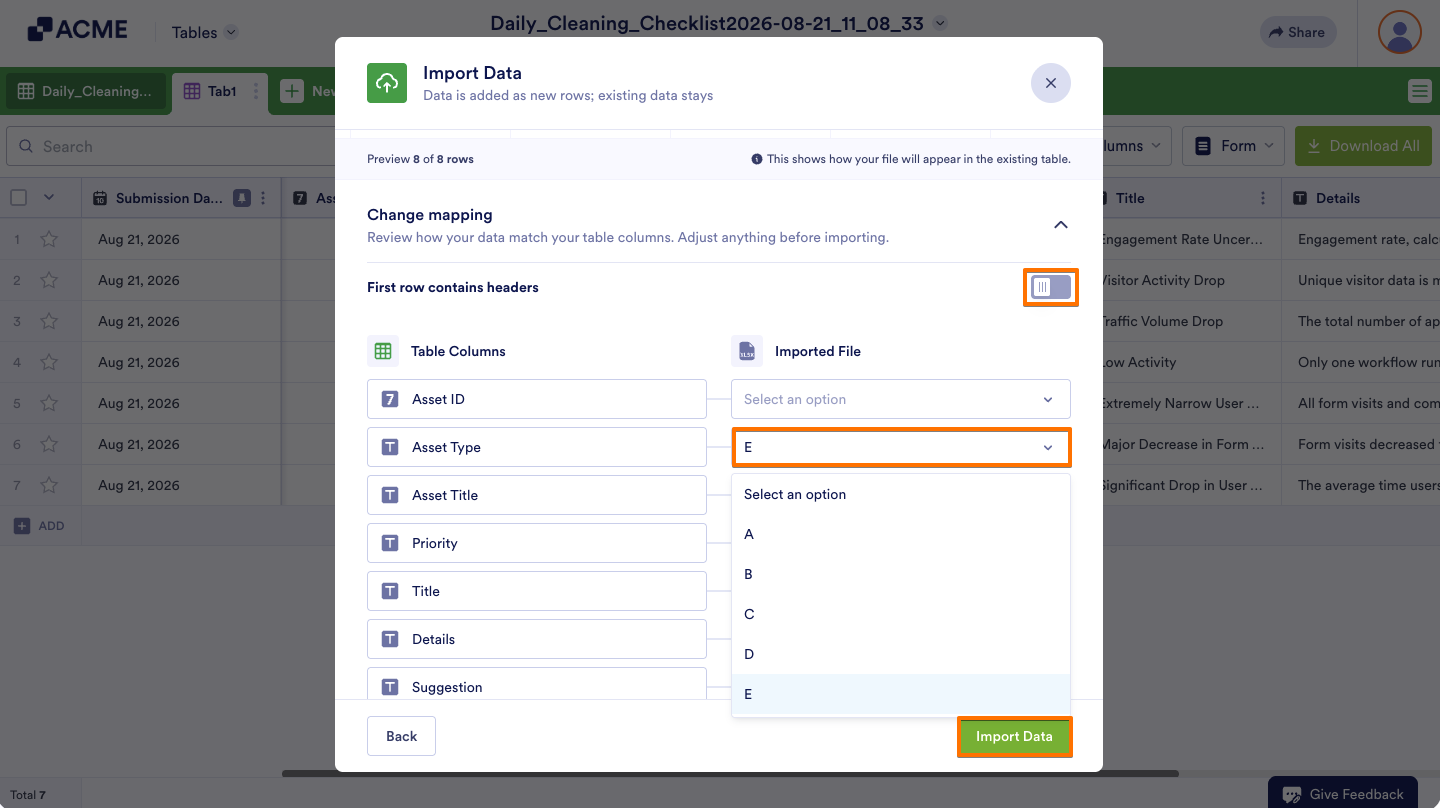
- To import data starting from the first row, on the right side of First Row Contains Headers, toggle it off.
- Then, under the Imported File column, click on a Downward Arrow icon, and in the menu that opens, select a different column to match to the column next to it under Table Columns. Or, if you’re importing data starting from the first row, select the corresponding default column letter instead.
- Once everything’s set, click on Import Data.
That’s it! Your data is now imported into the existing tab.

Send Comment: