Once your organization’s email domain is successfully added and verified, the system automatically scans the Jotform’s regular user environment for users registered with that domain.
Navigating to the Unmanaged Accounts List
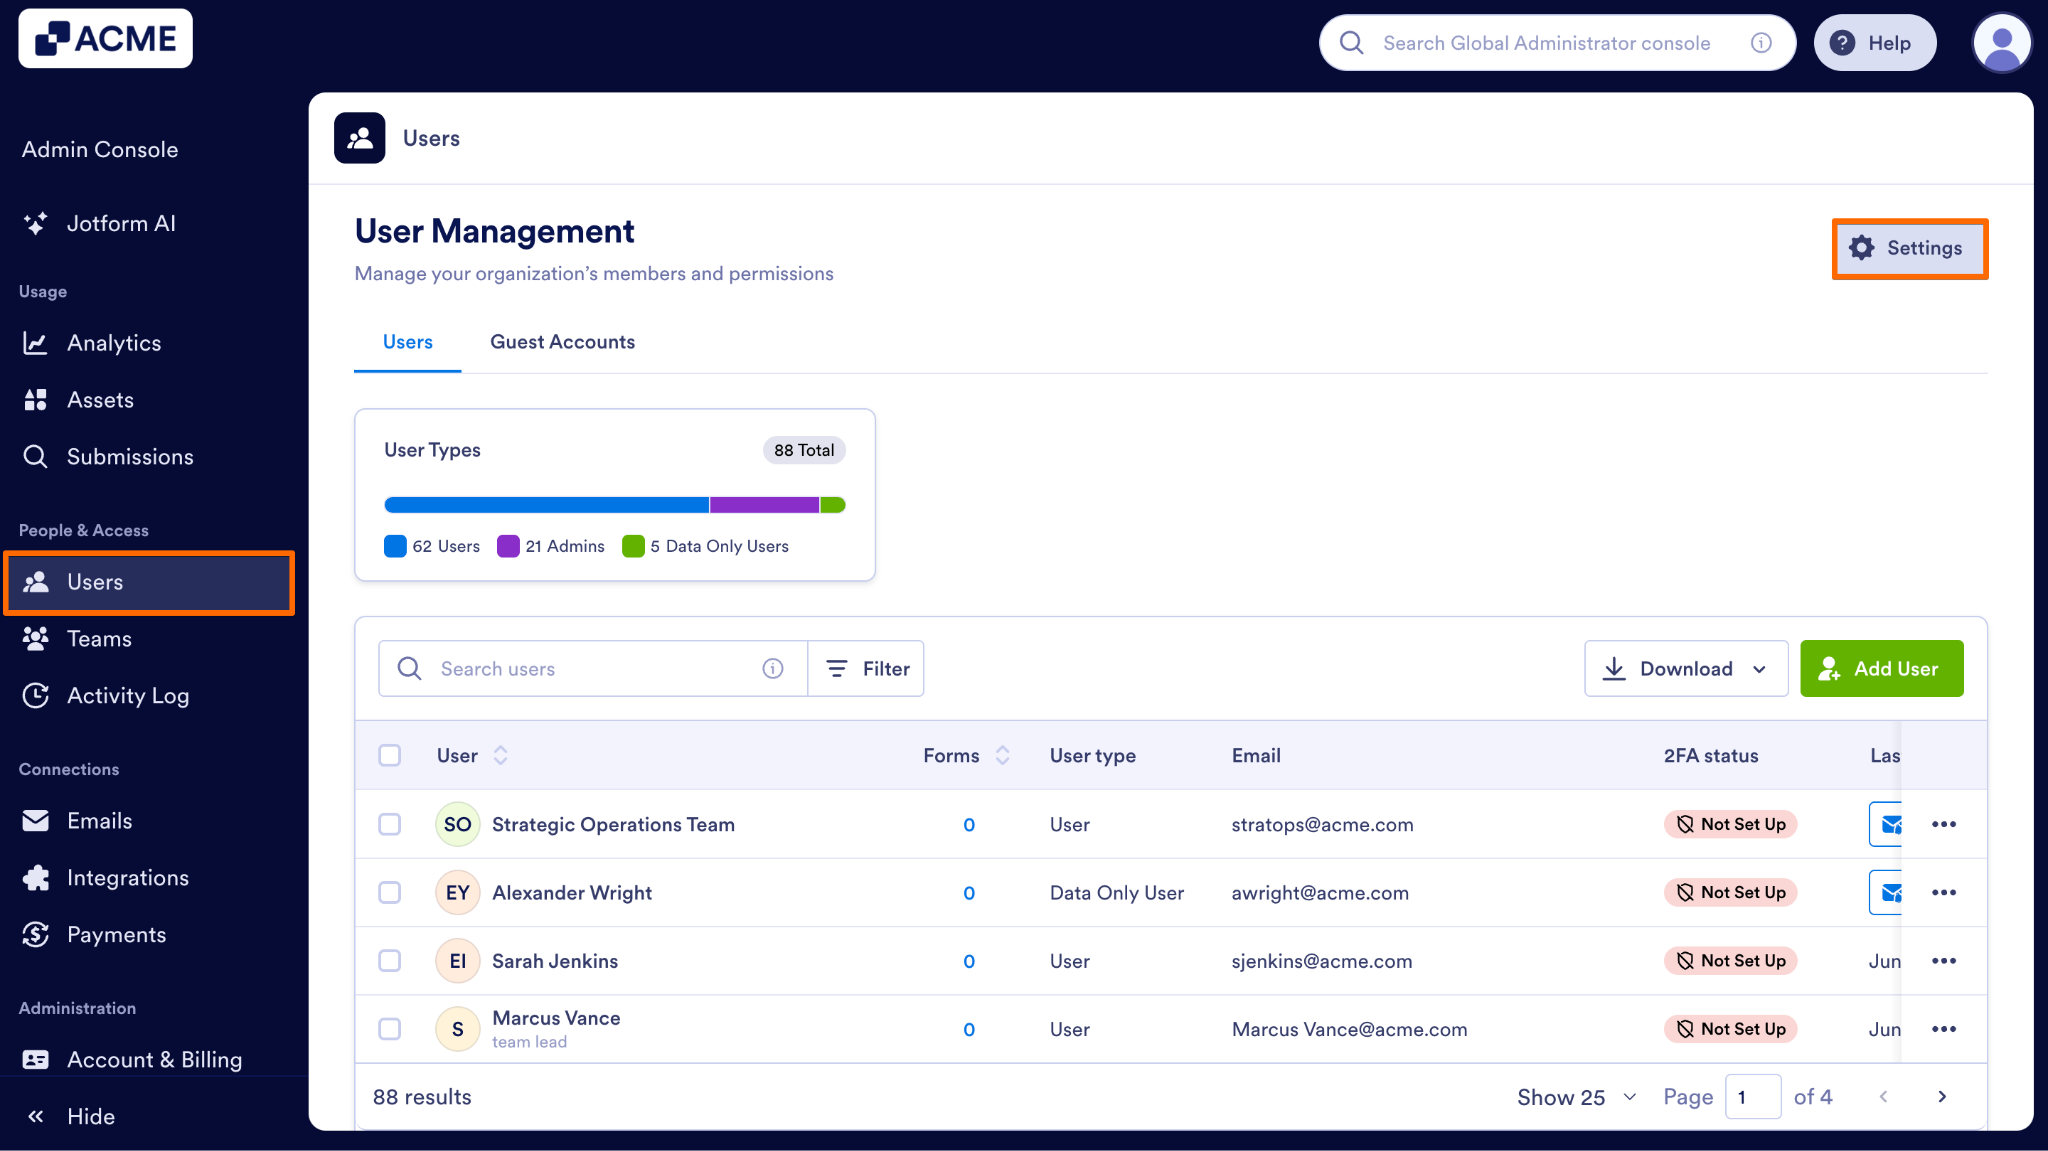
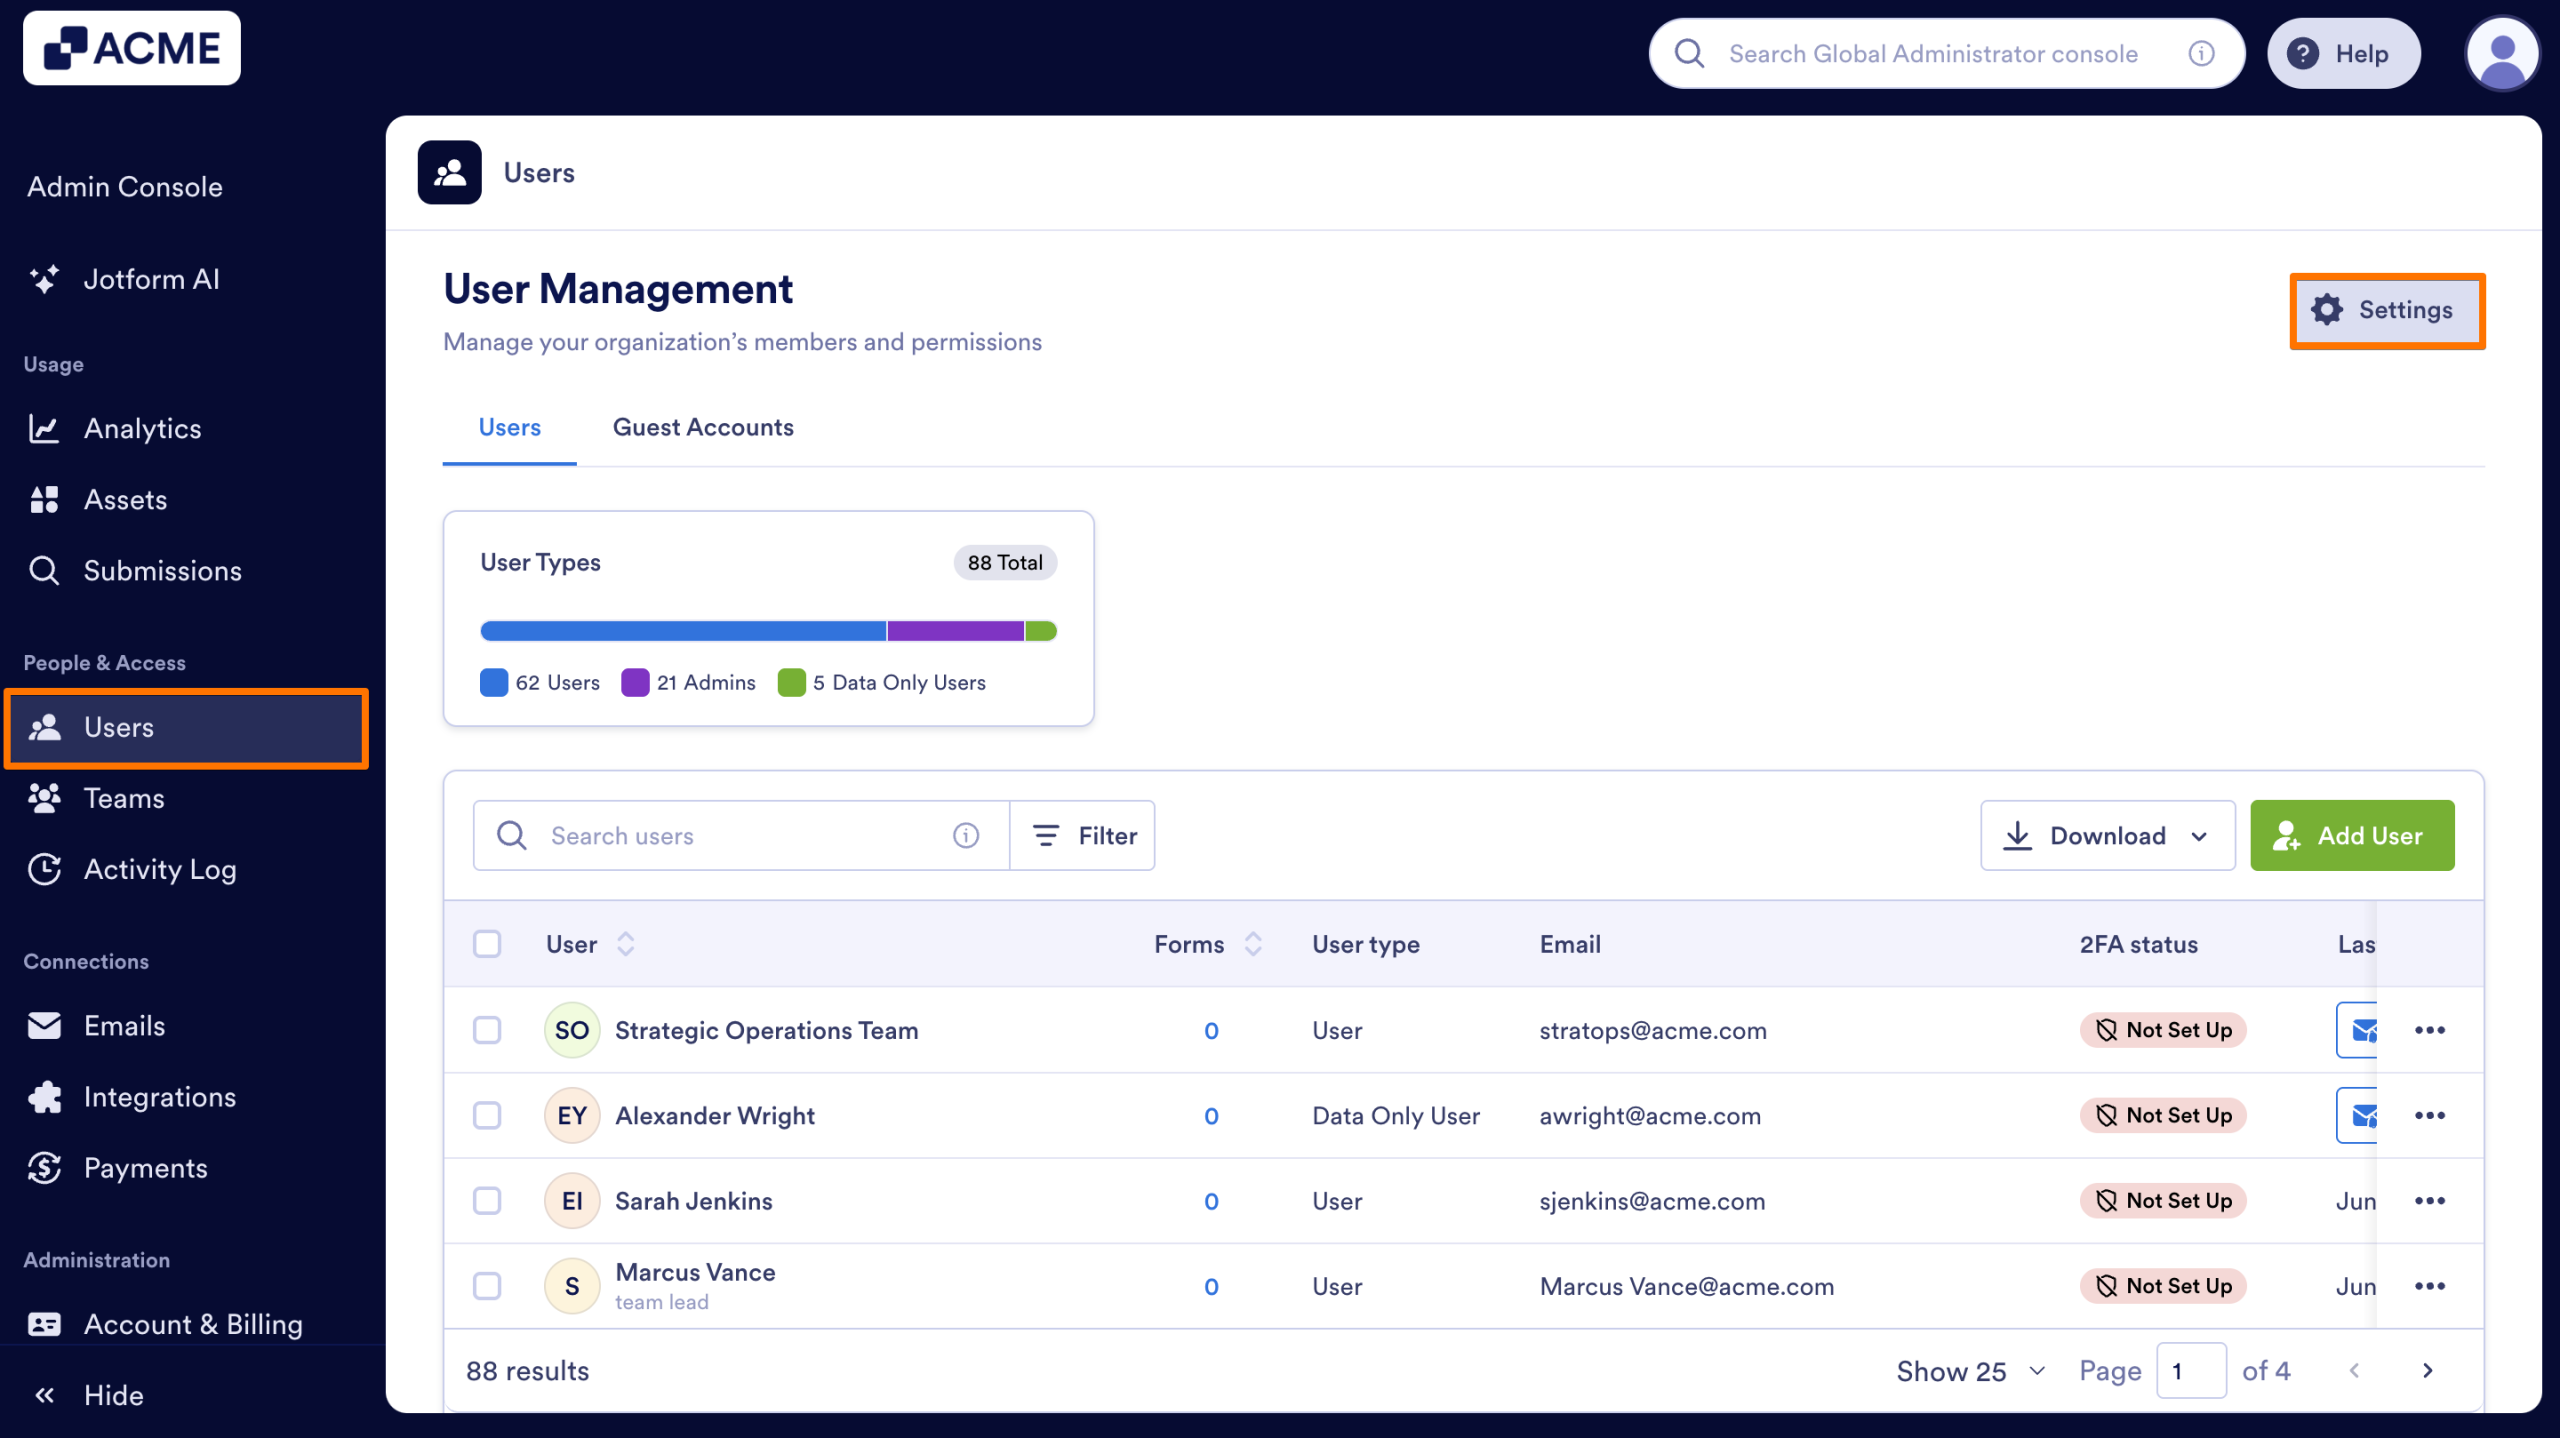
- In the Admin Console, on the left side of the page, click on Users.
- Next, on the right top of the page, click on Settings.
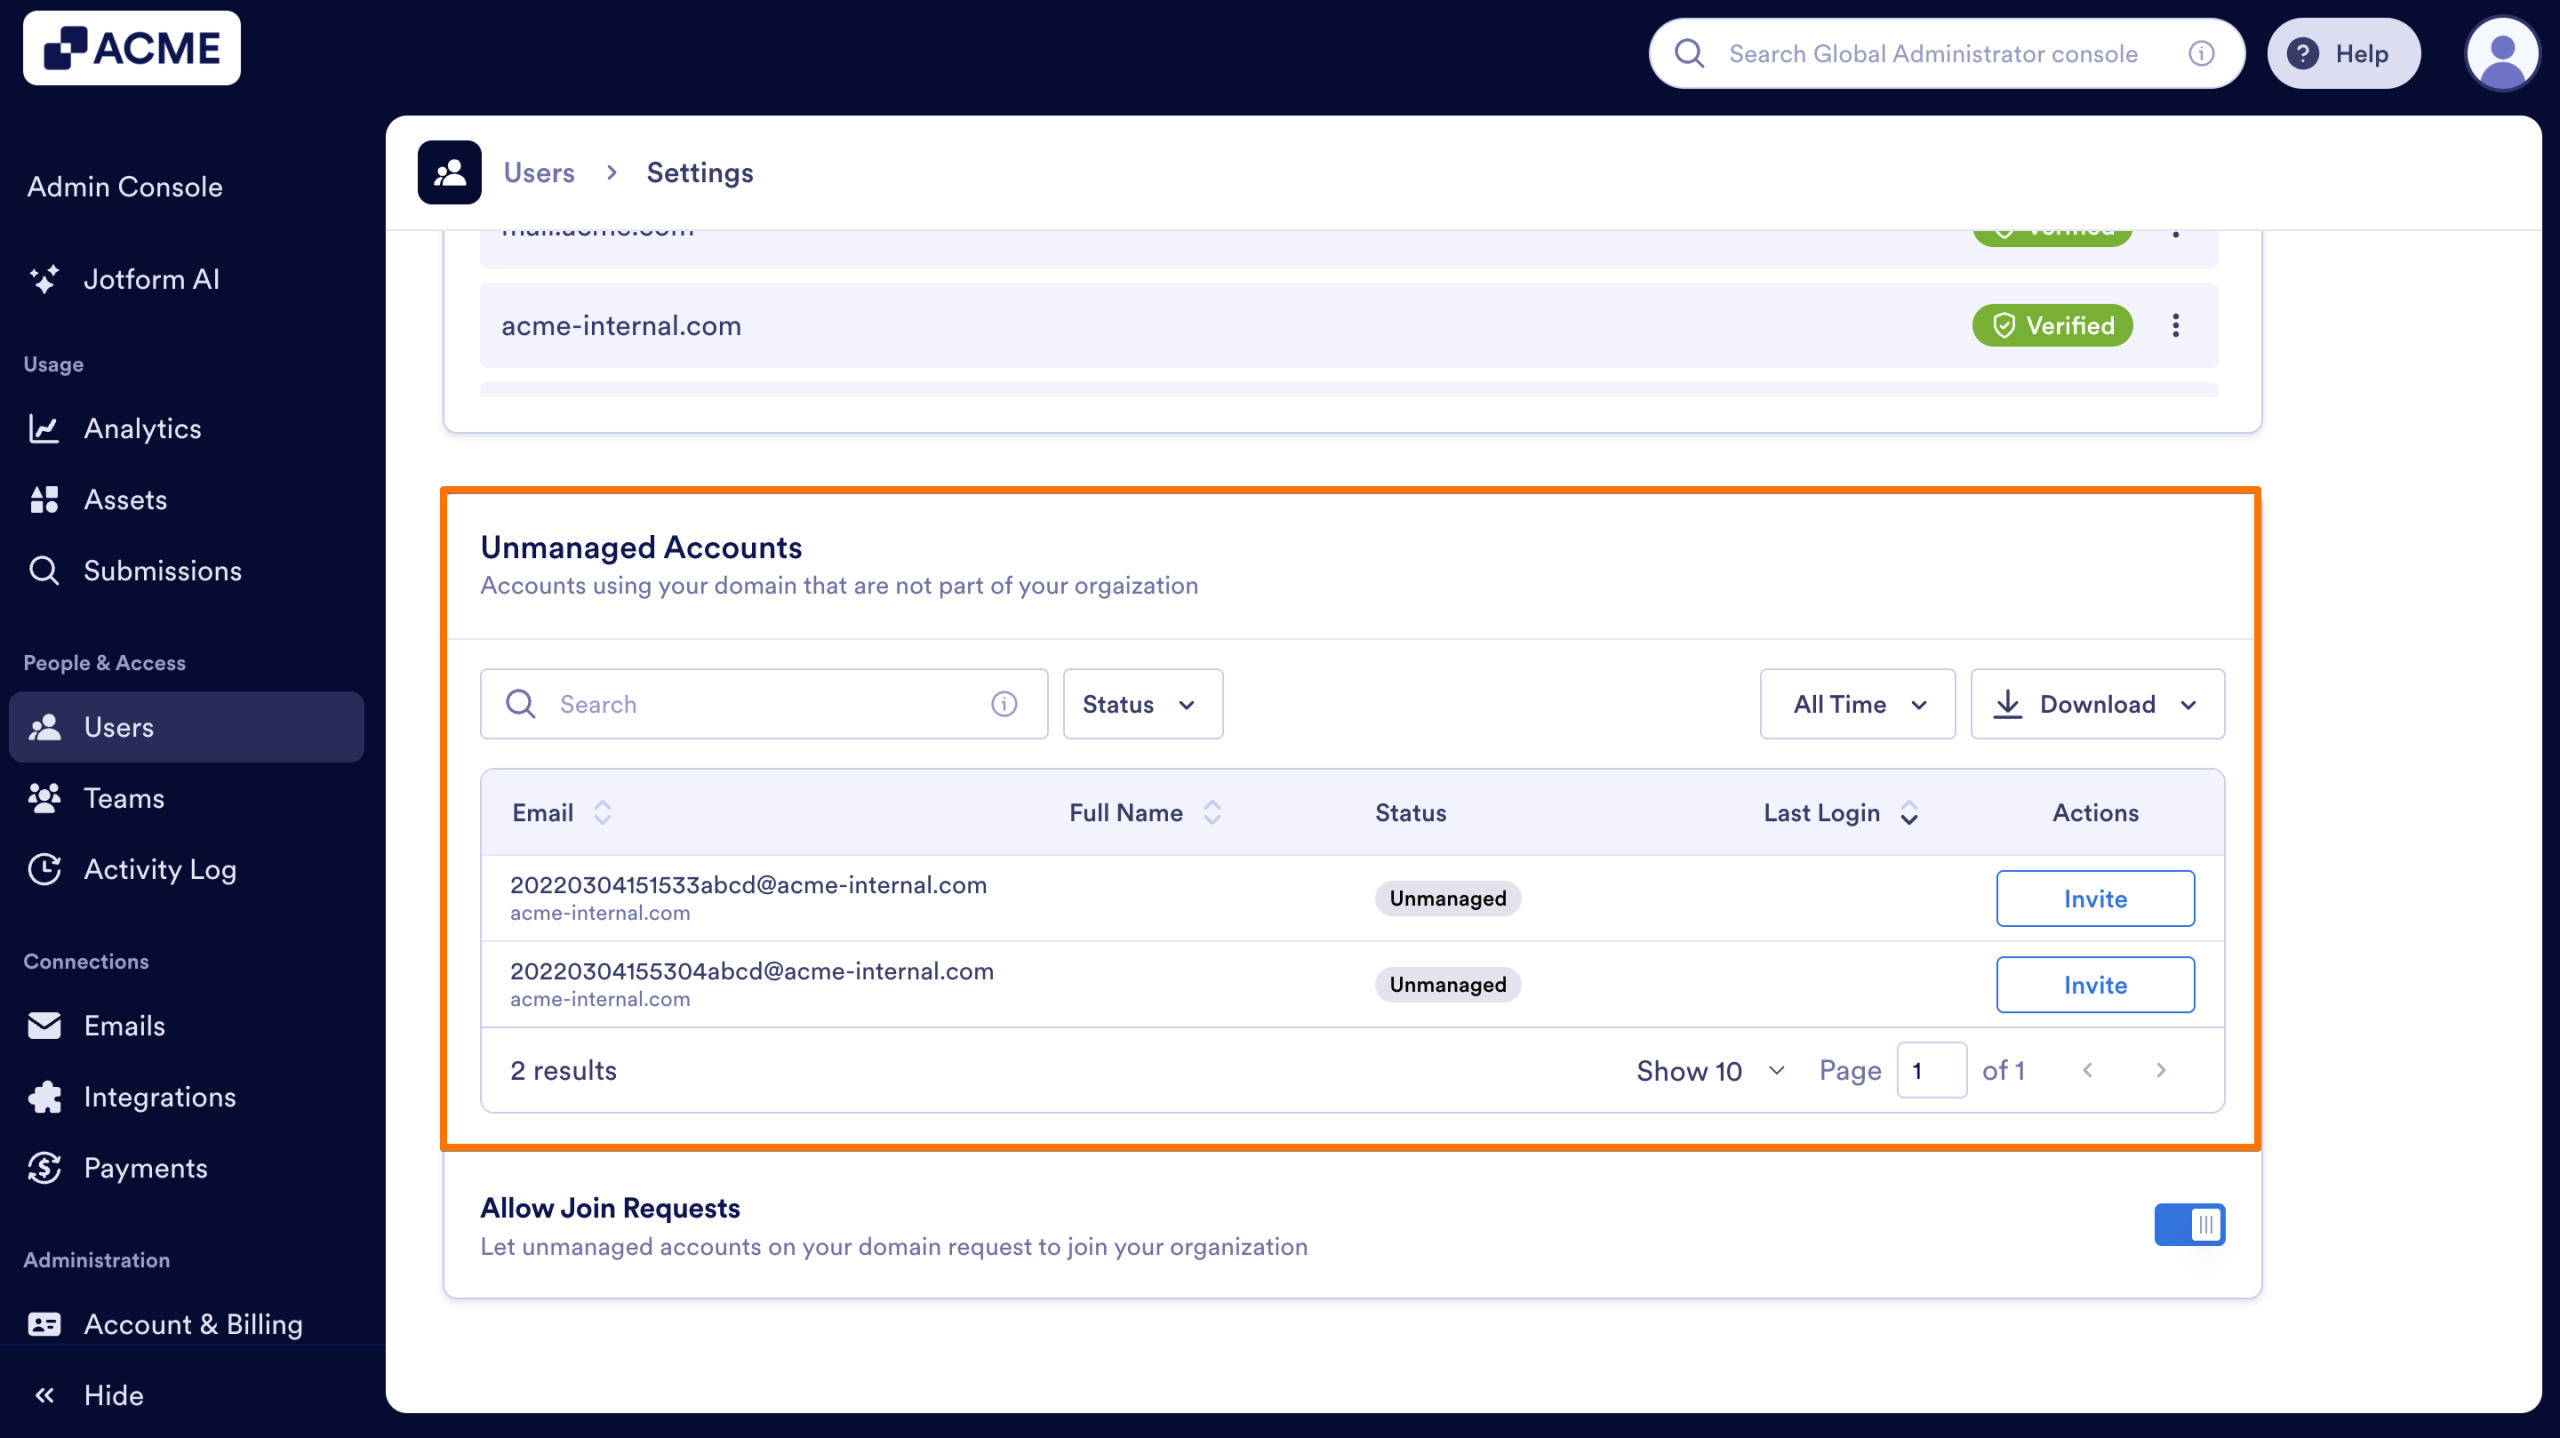
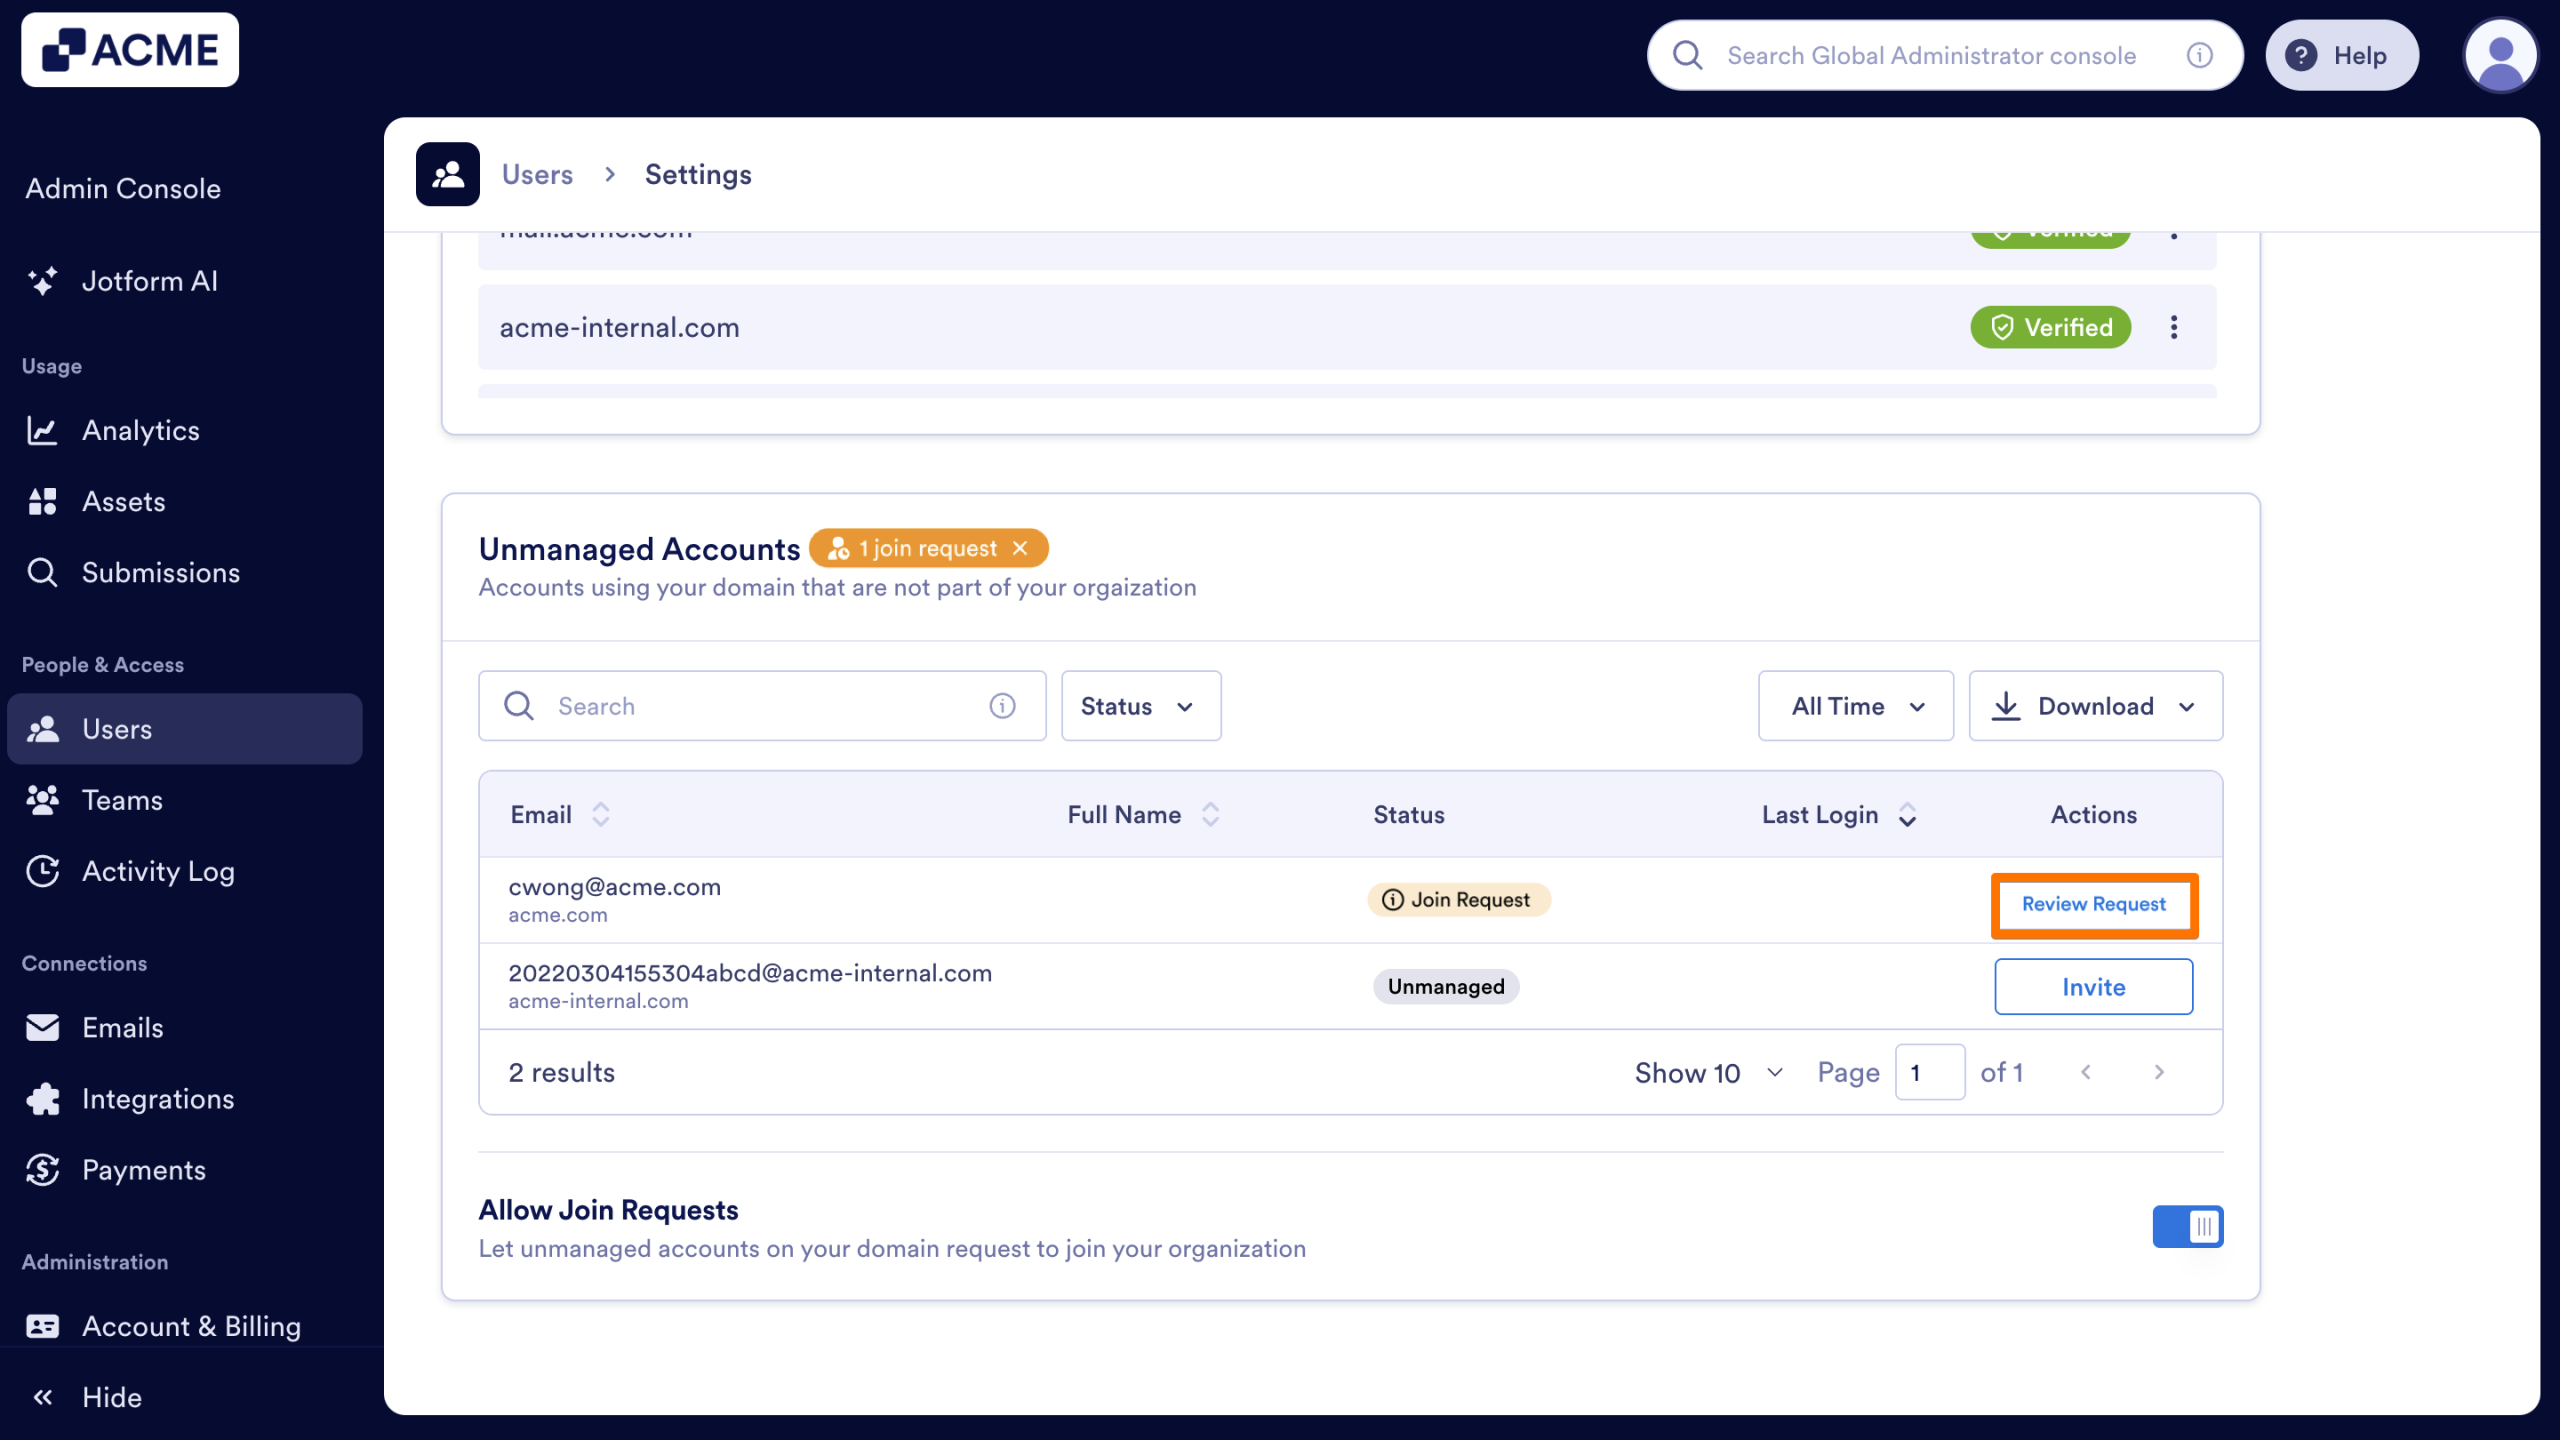
Scroll down to find the Unmanaged Accounts section to view the table of discovered users.
Understanding the List Columns
The table displays important details regarding discovered standard users:
- Email: The email address of the discovered standard user.
- Last Login: Shows when the user last logged into their standard account, helping you identify active users.
- Status & Actions: These columns indicate where the user is in the process and what actions you can take.
| Status | Meaning |
|---|---|
| Unmanaged | User discovered to have a regular Jotform account but not yet invited. |
| Join Request | The user clicked on the Request to Join Organization button from their standard account. |
| Already a Member | The user is already a part of your Enterprise server. |
| Joined | The user has accepted the invite and successfully migrated. |
| Invited | The invitation has been sent. |
| Approved | The user requested to join the organization and was approved by the server admin. |
| Denied | The user requested to join the organization and was denied by the server admin. |
The Invitation and Approval Process
There are two primary ways for a standard user to join your Enterprise server: they can either be invited directly by an admin, or they can submit a request to join themselves.
These paths are mutually exclusive to prevent overlapping workflows. The option for a user to send a join request is only available after your organization’s domain is verified, and it will be completely hidden from the user’s dashboard if the server admin has already sent them a direct invitation. If an admin sends a direct invitation first, the user bypasses the request stage entirely and moves straight to registration.
Depending on how the workflow is initiated, the process unfolds as follows:
How to Invite a User
When you want to migrate an independent user before they request access, you can initiate a direct invitation from your dashboard.
- Starting in the Admin Console, on the left side of the page, click on the Users tab.
- Next, at the top of the page, click on the Settings tab.
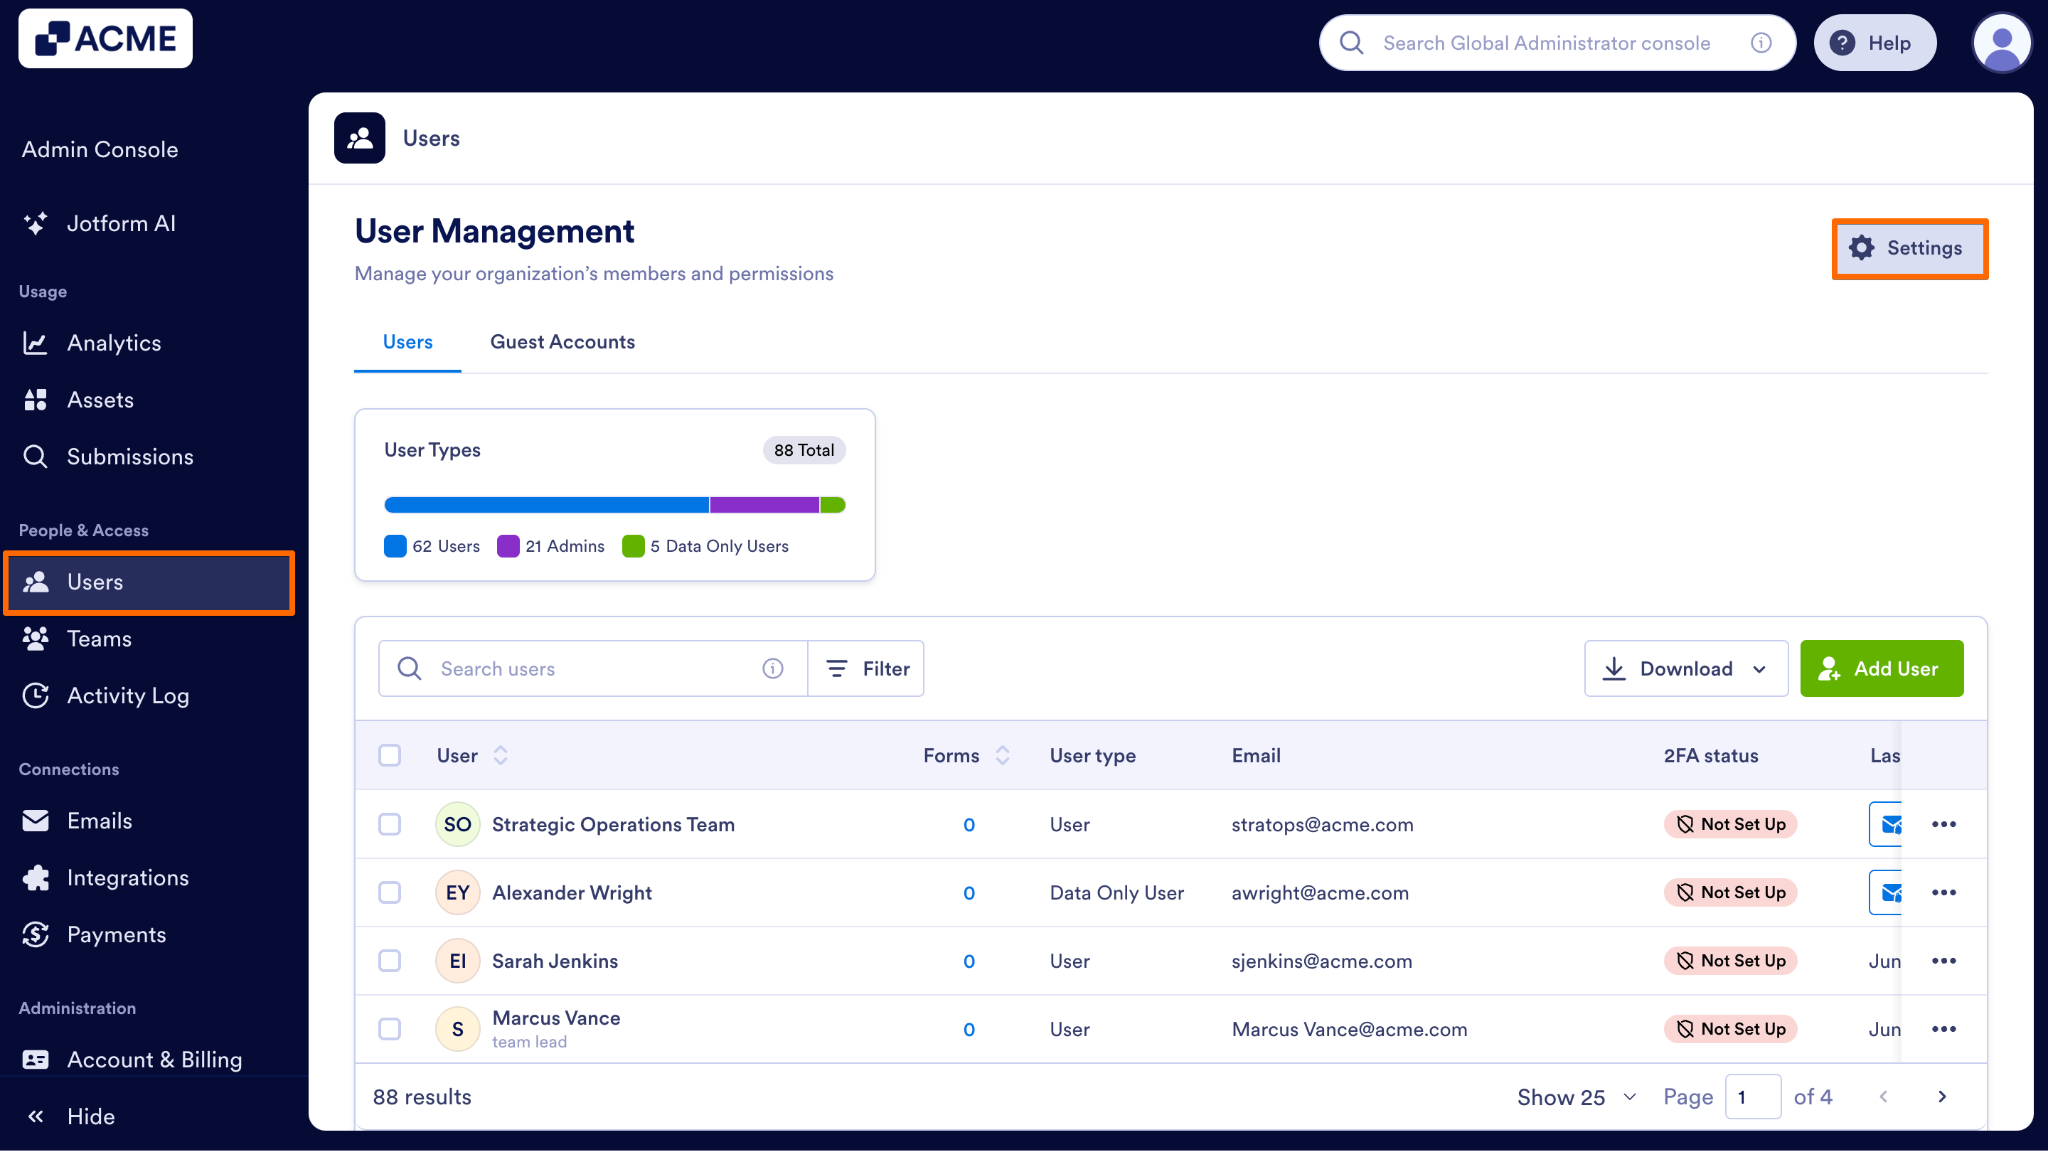
- Finally, click on the Invite button next to their email address.
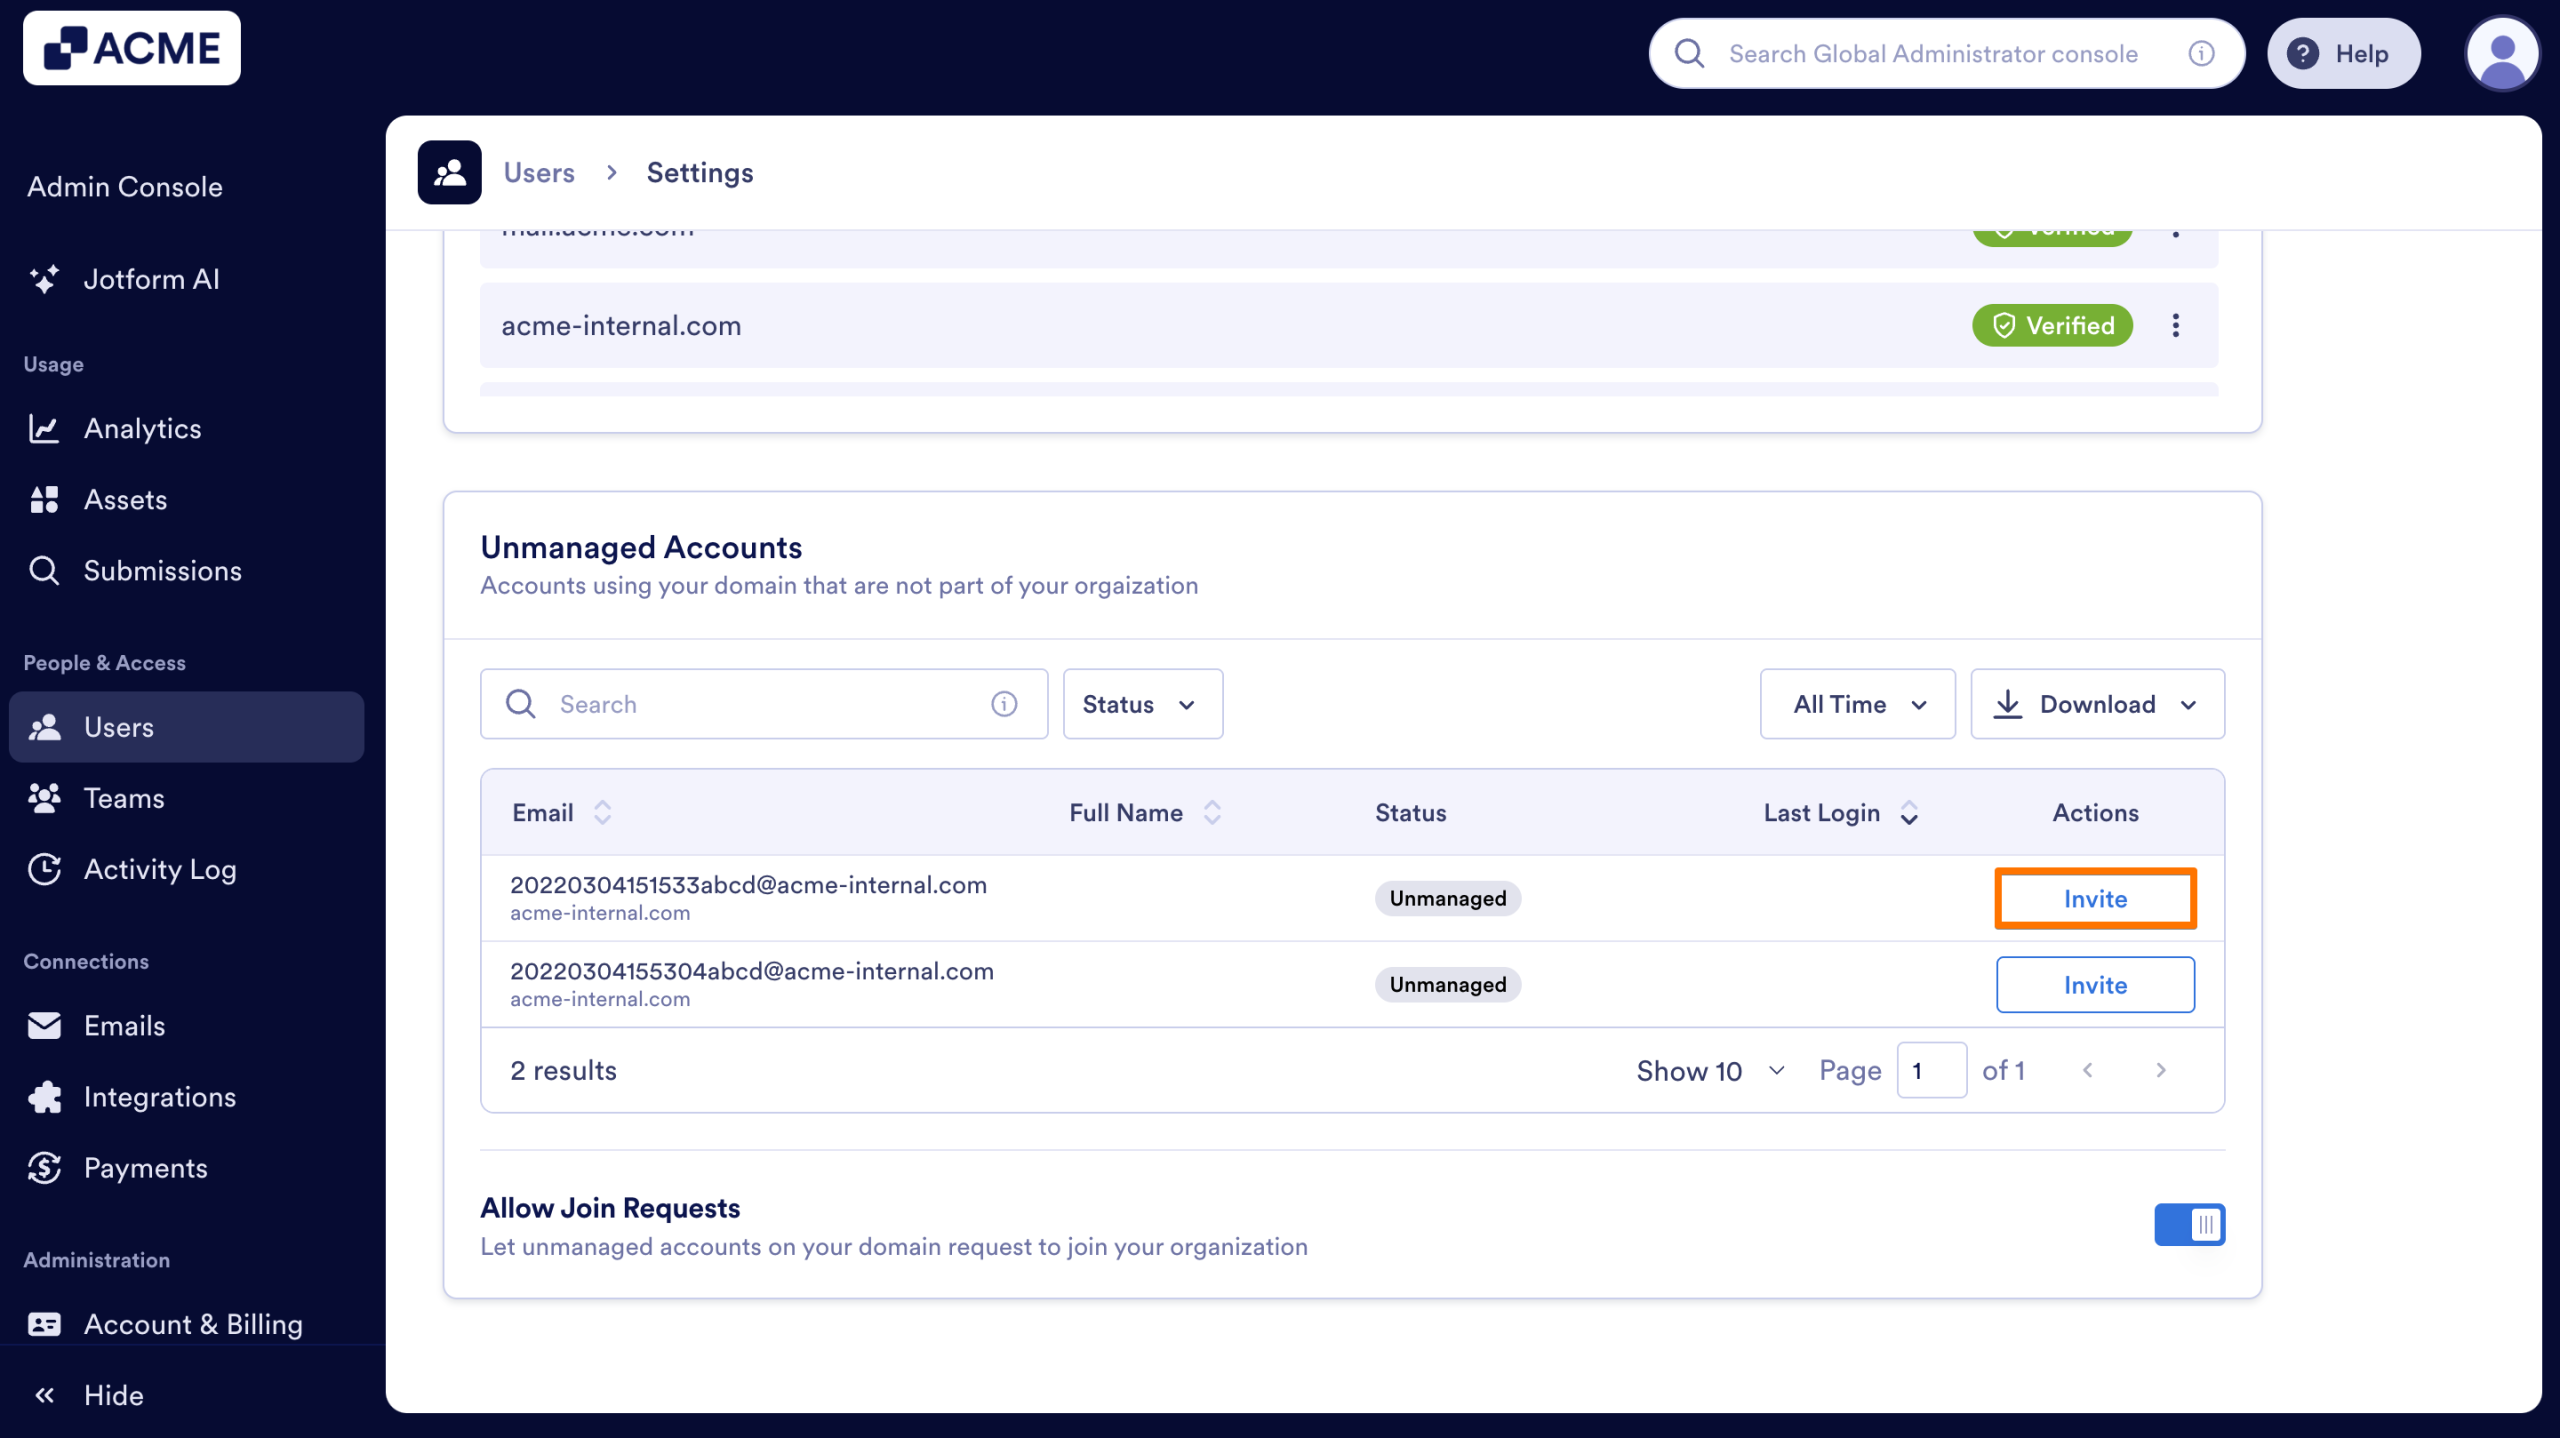
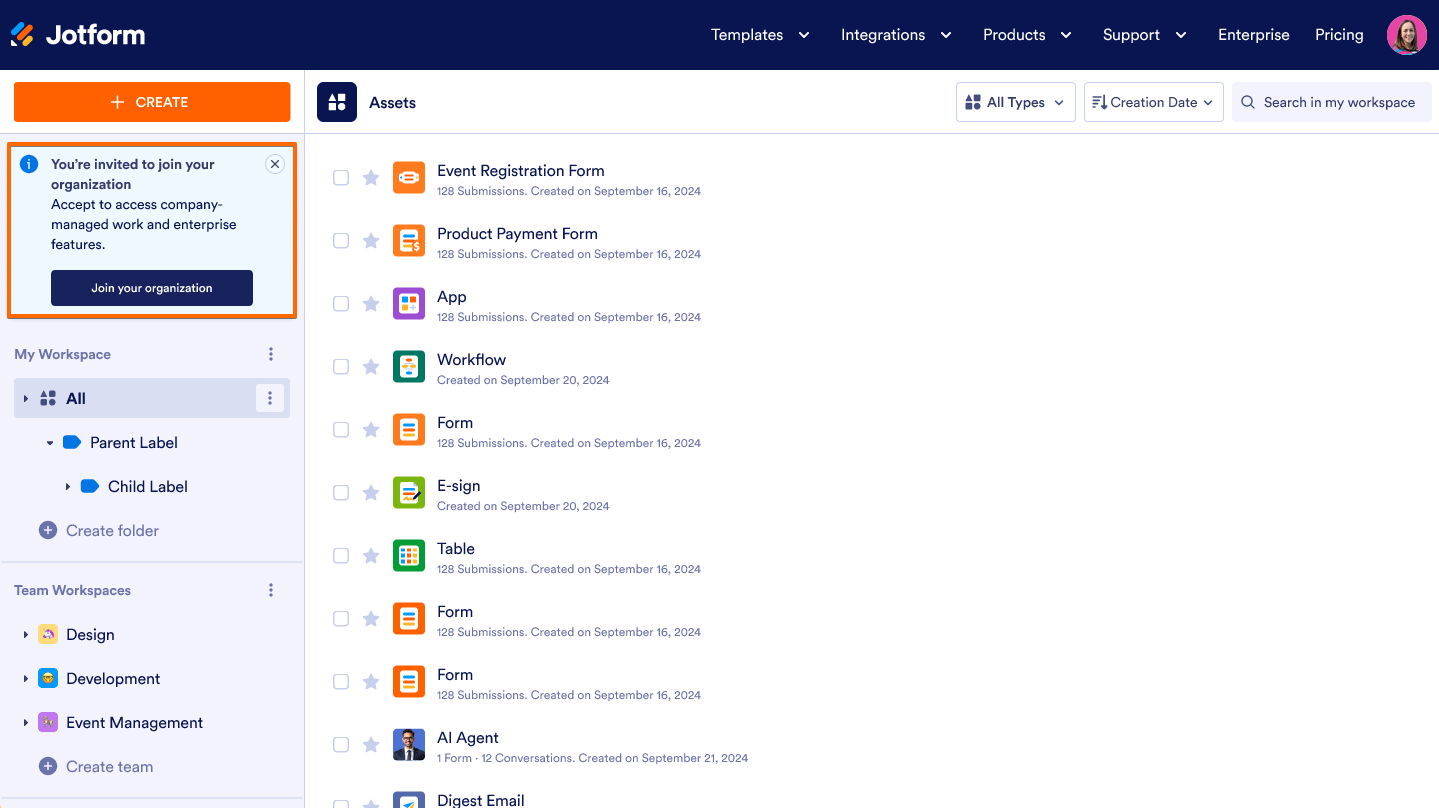
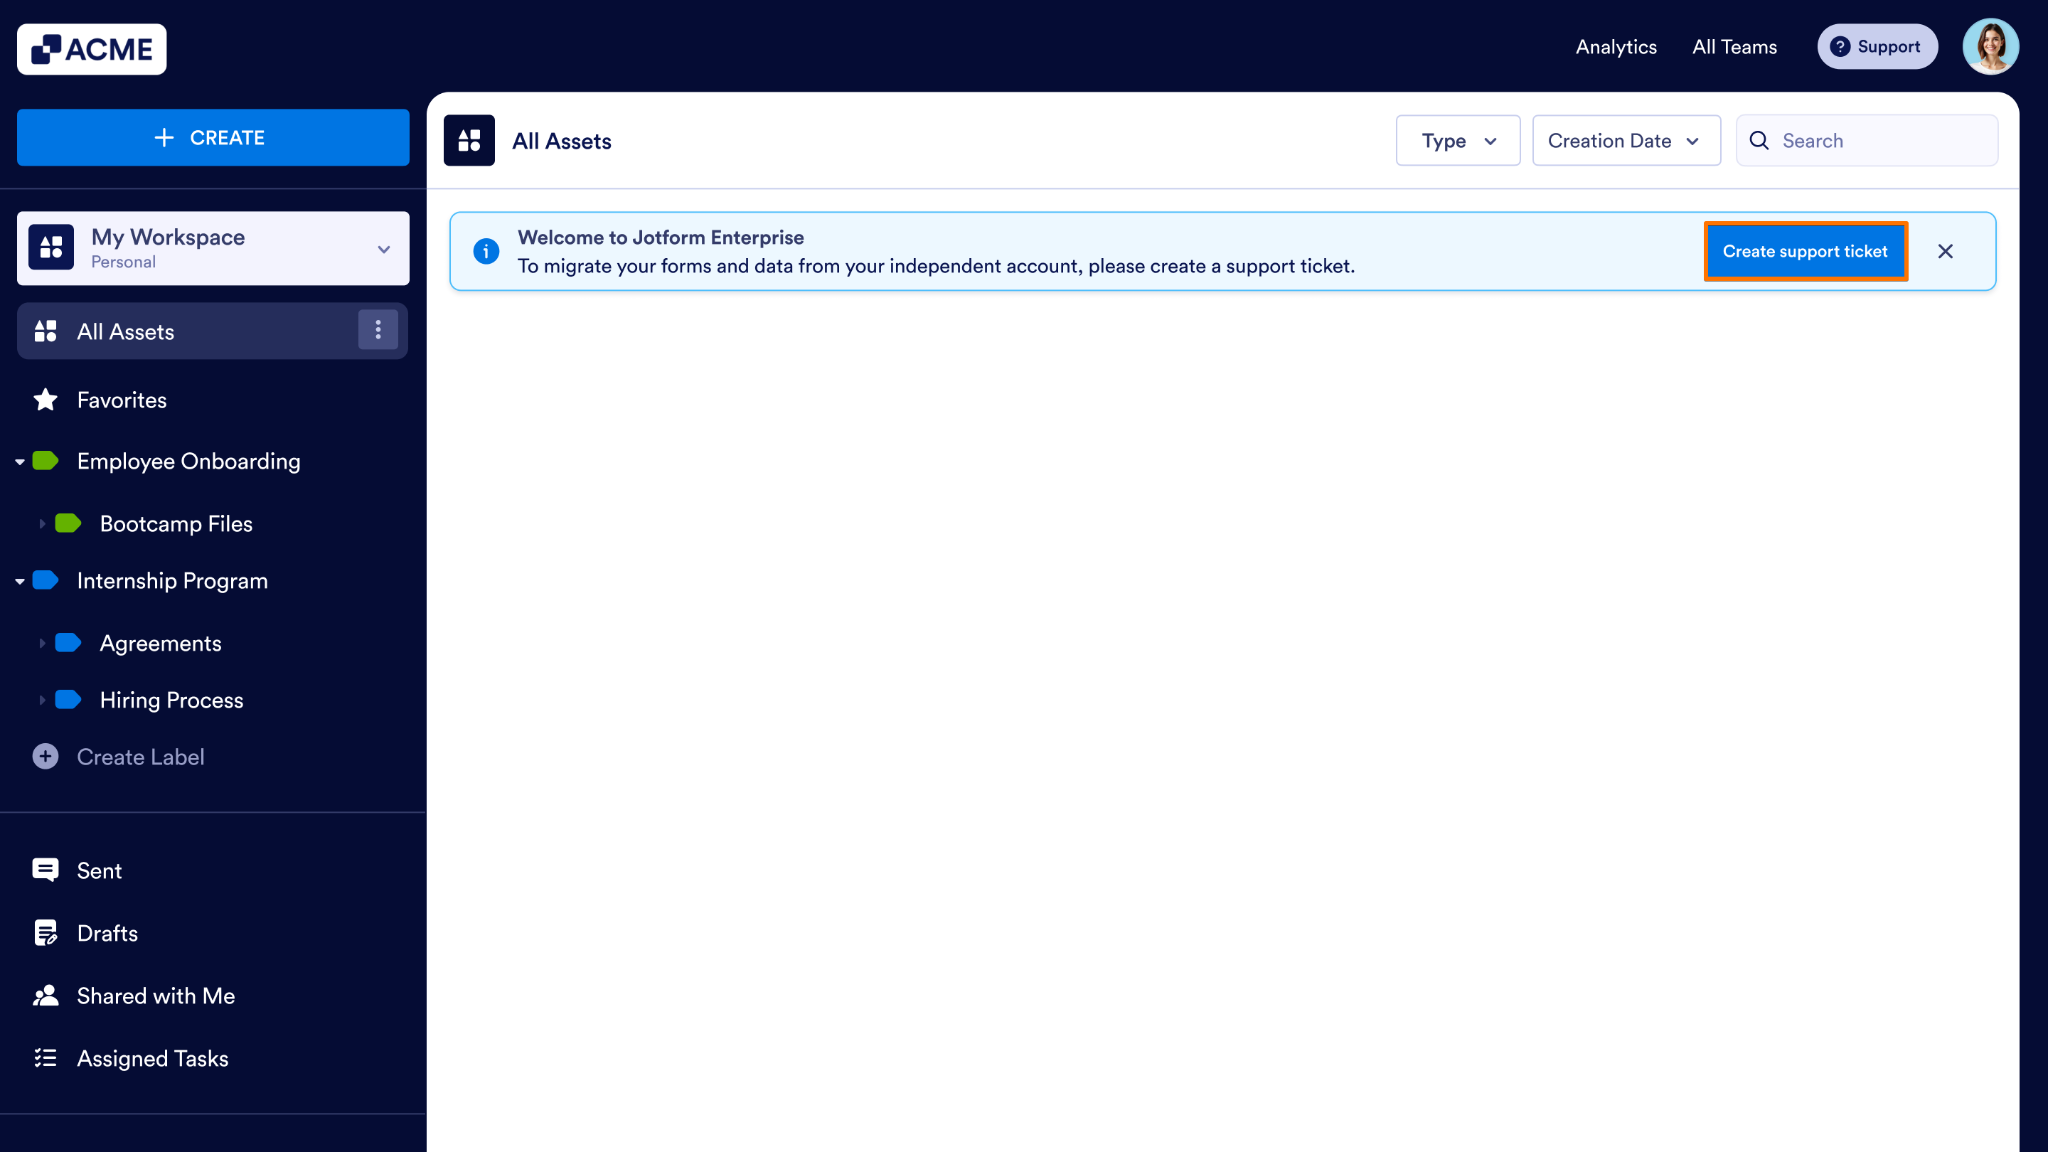
Once sent, the user will receive an automated invitation email and see a notification banner the next time they log into their Jotform account, prompting them to sign up for your server.
How a User Requests to Join and How to Approve It
When you have verified your domain but have not sent a direct invite, the standard user can initiate the onboarding process from their own dashboard.
The User’s Side
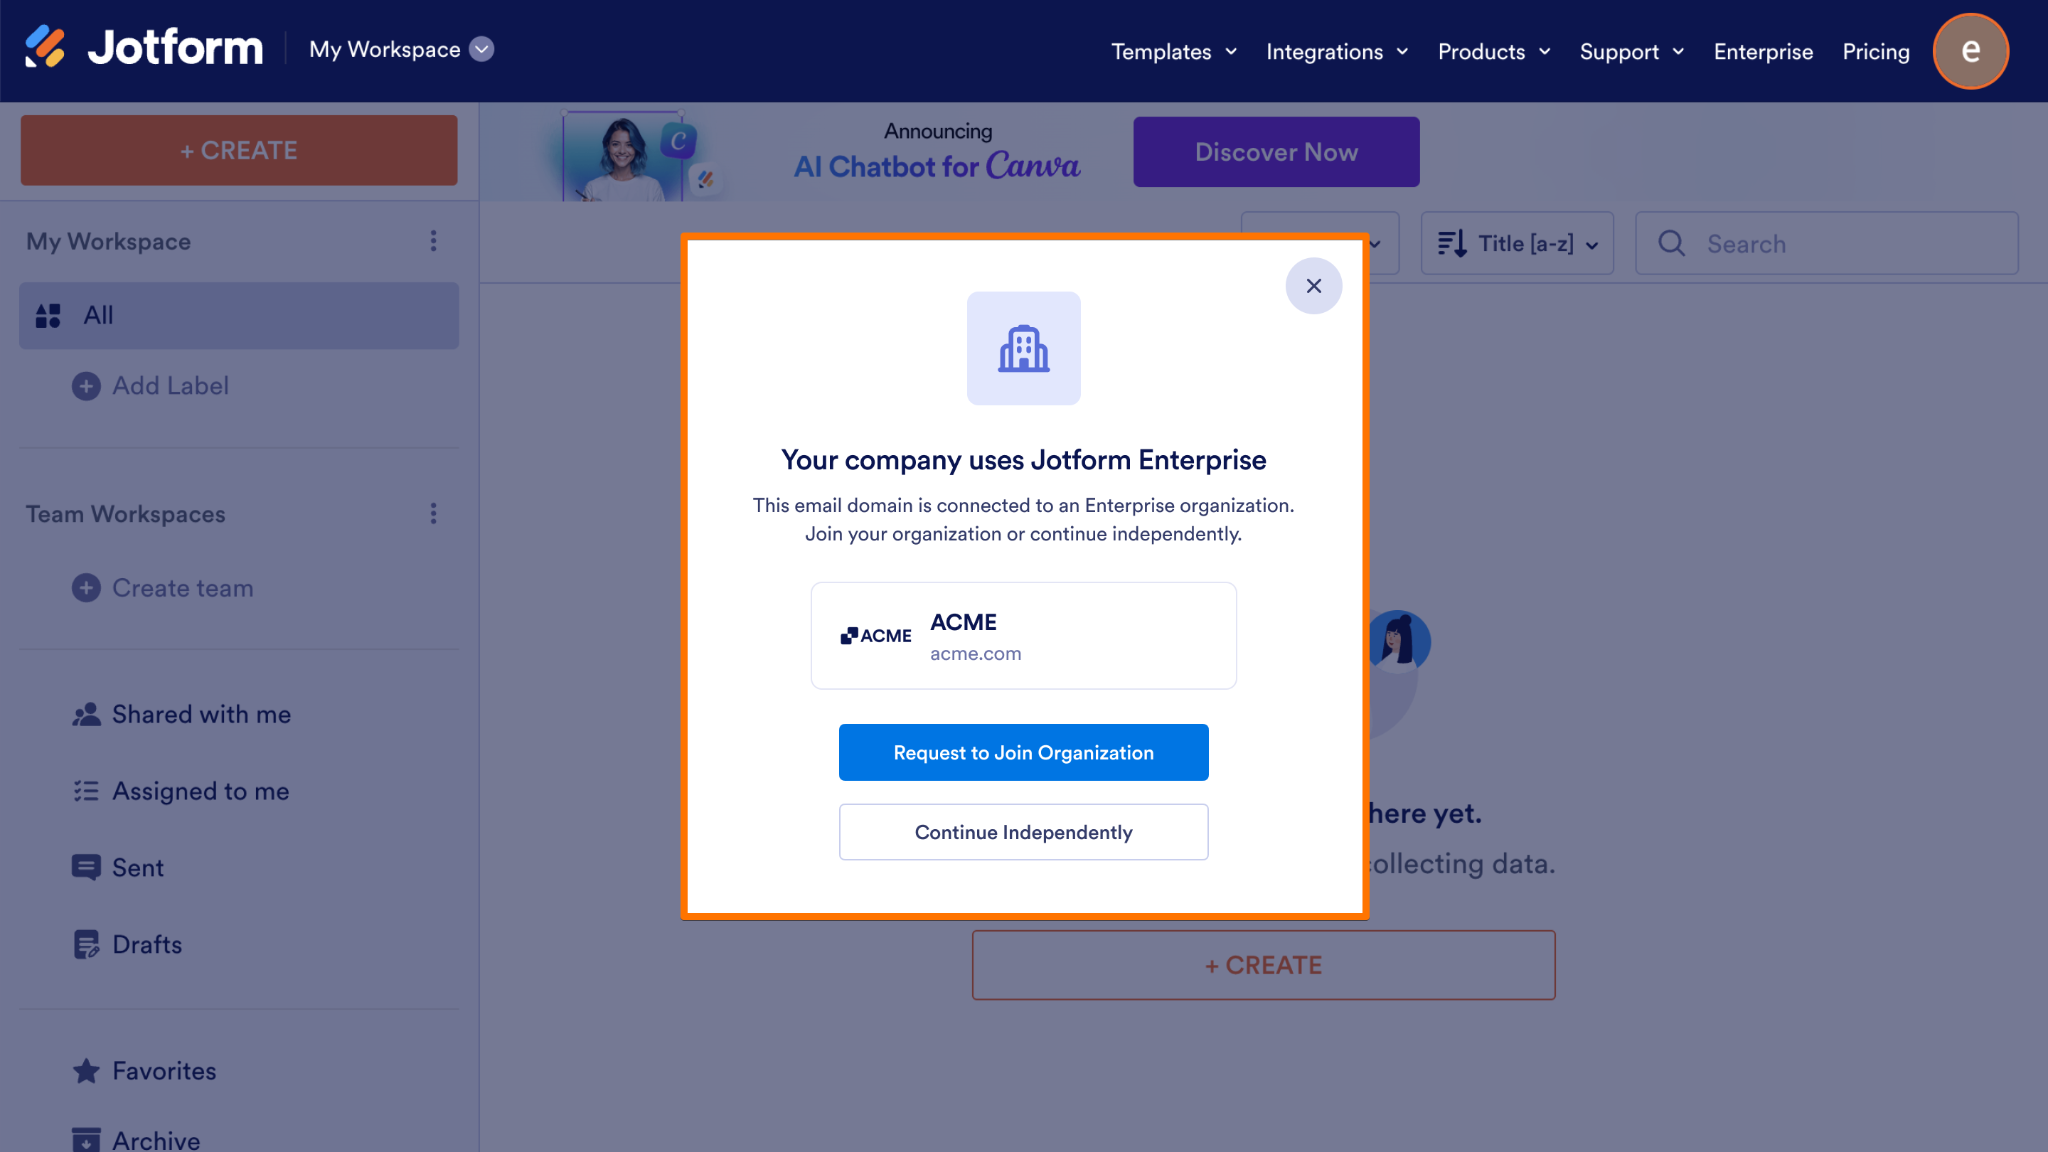
- Starting in the My Workspace page, the standard user logs into their regular Jotform account and sees a pop-up modal stating that their company uses Jotform Enterprise.
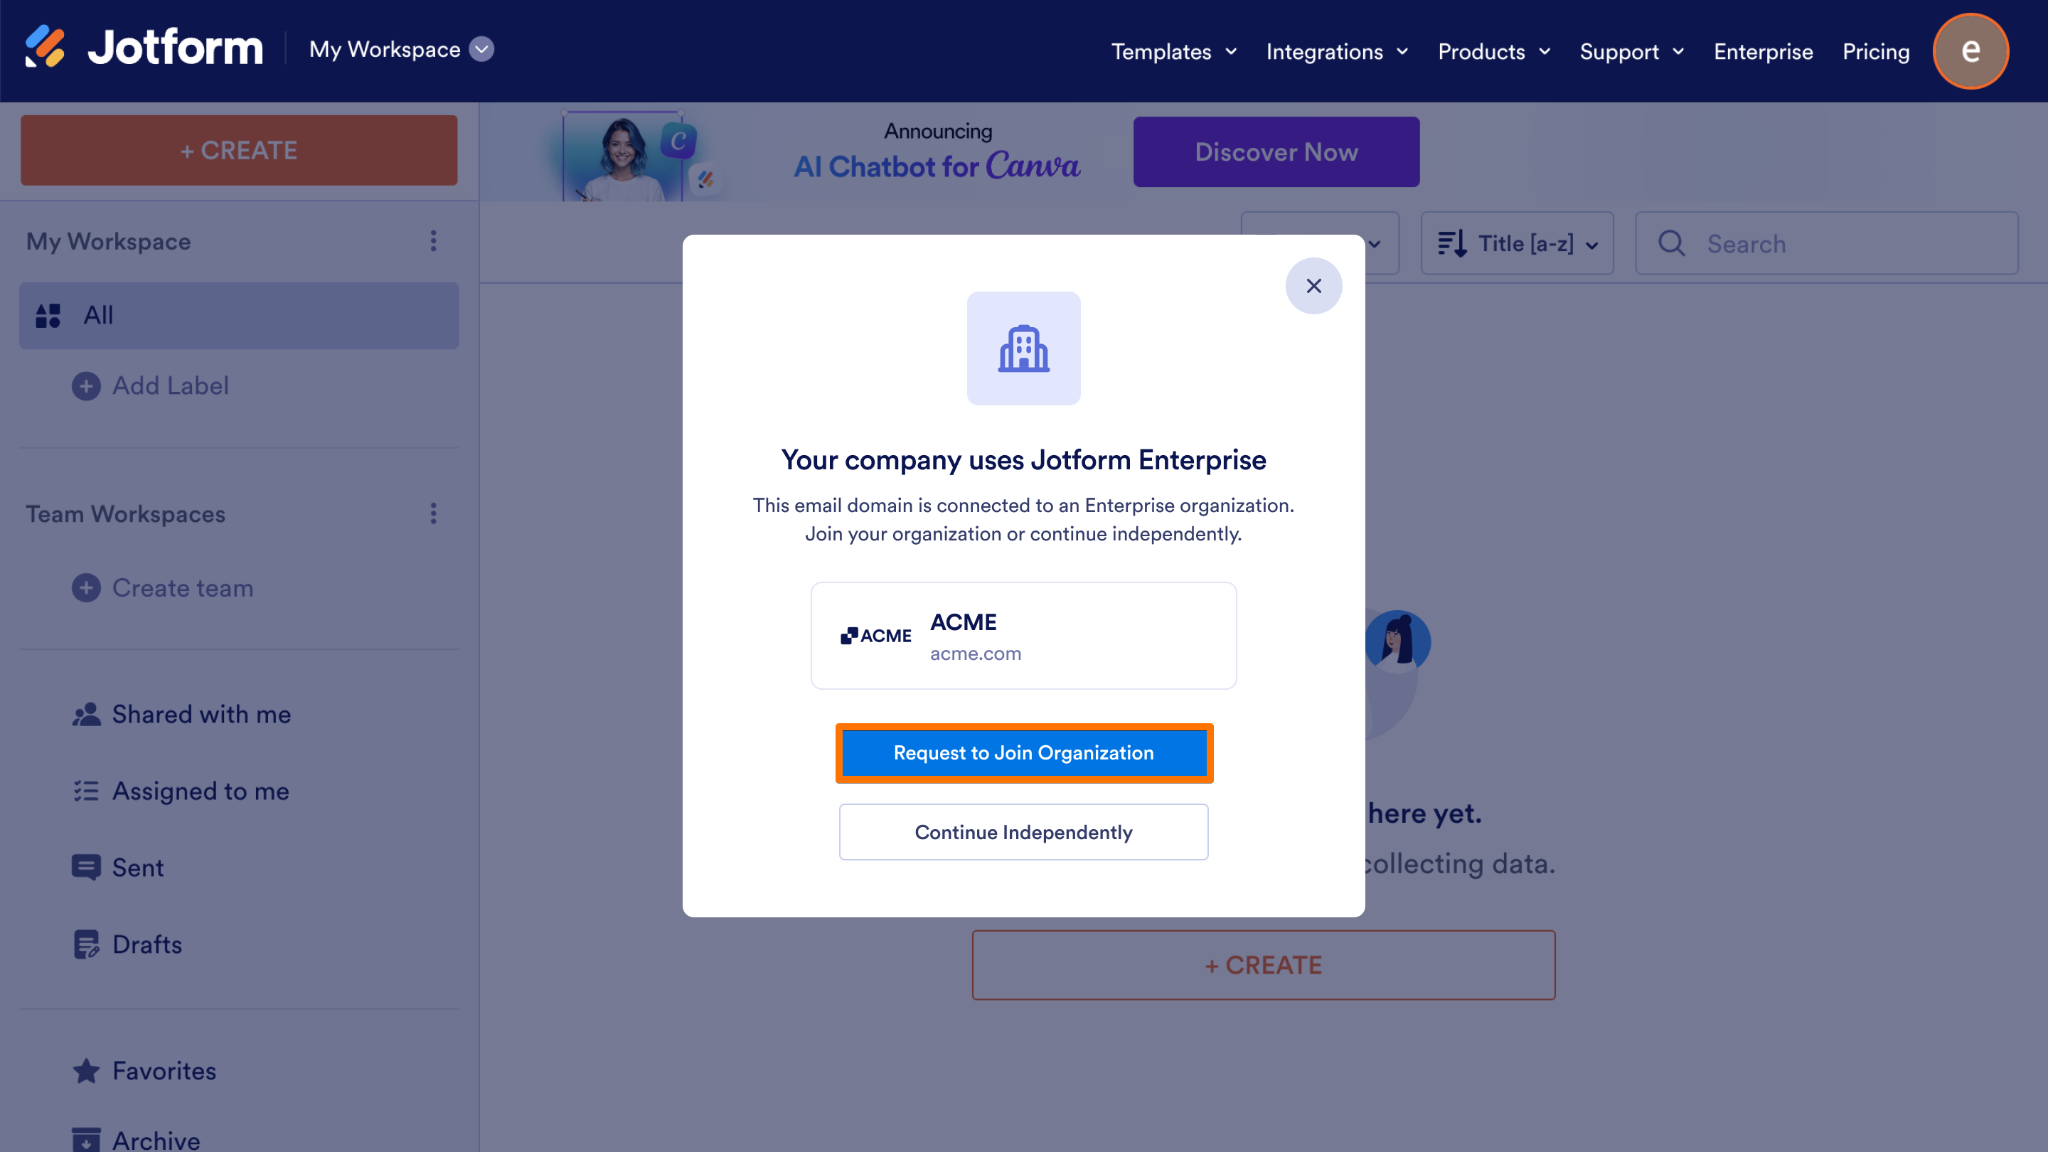
- Next, inside the modal, the user clicks on the Request to Join Organization button.
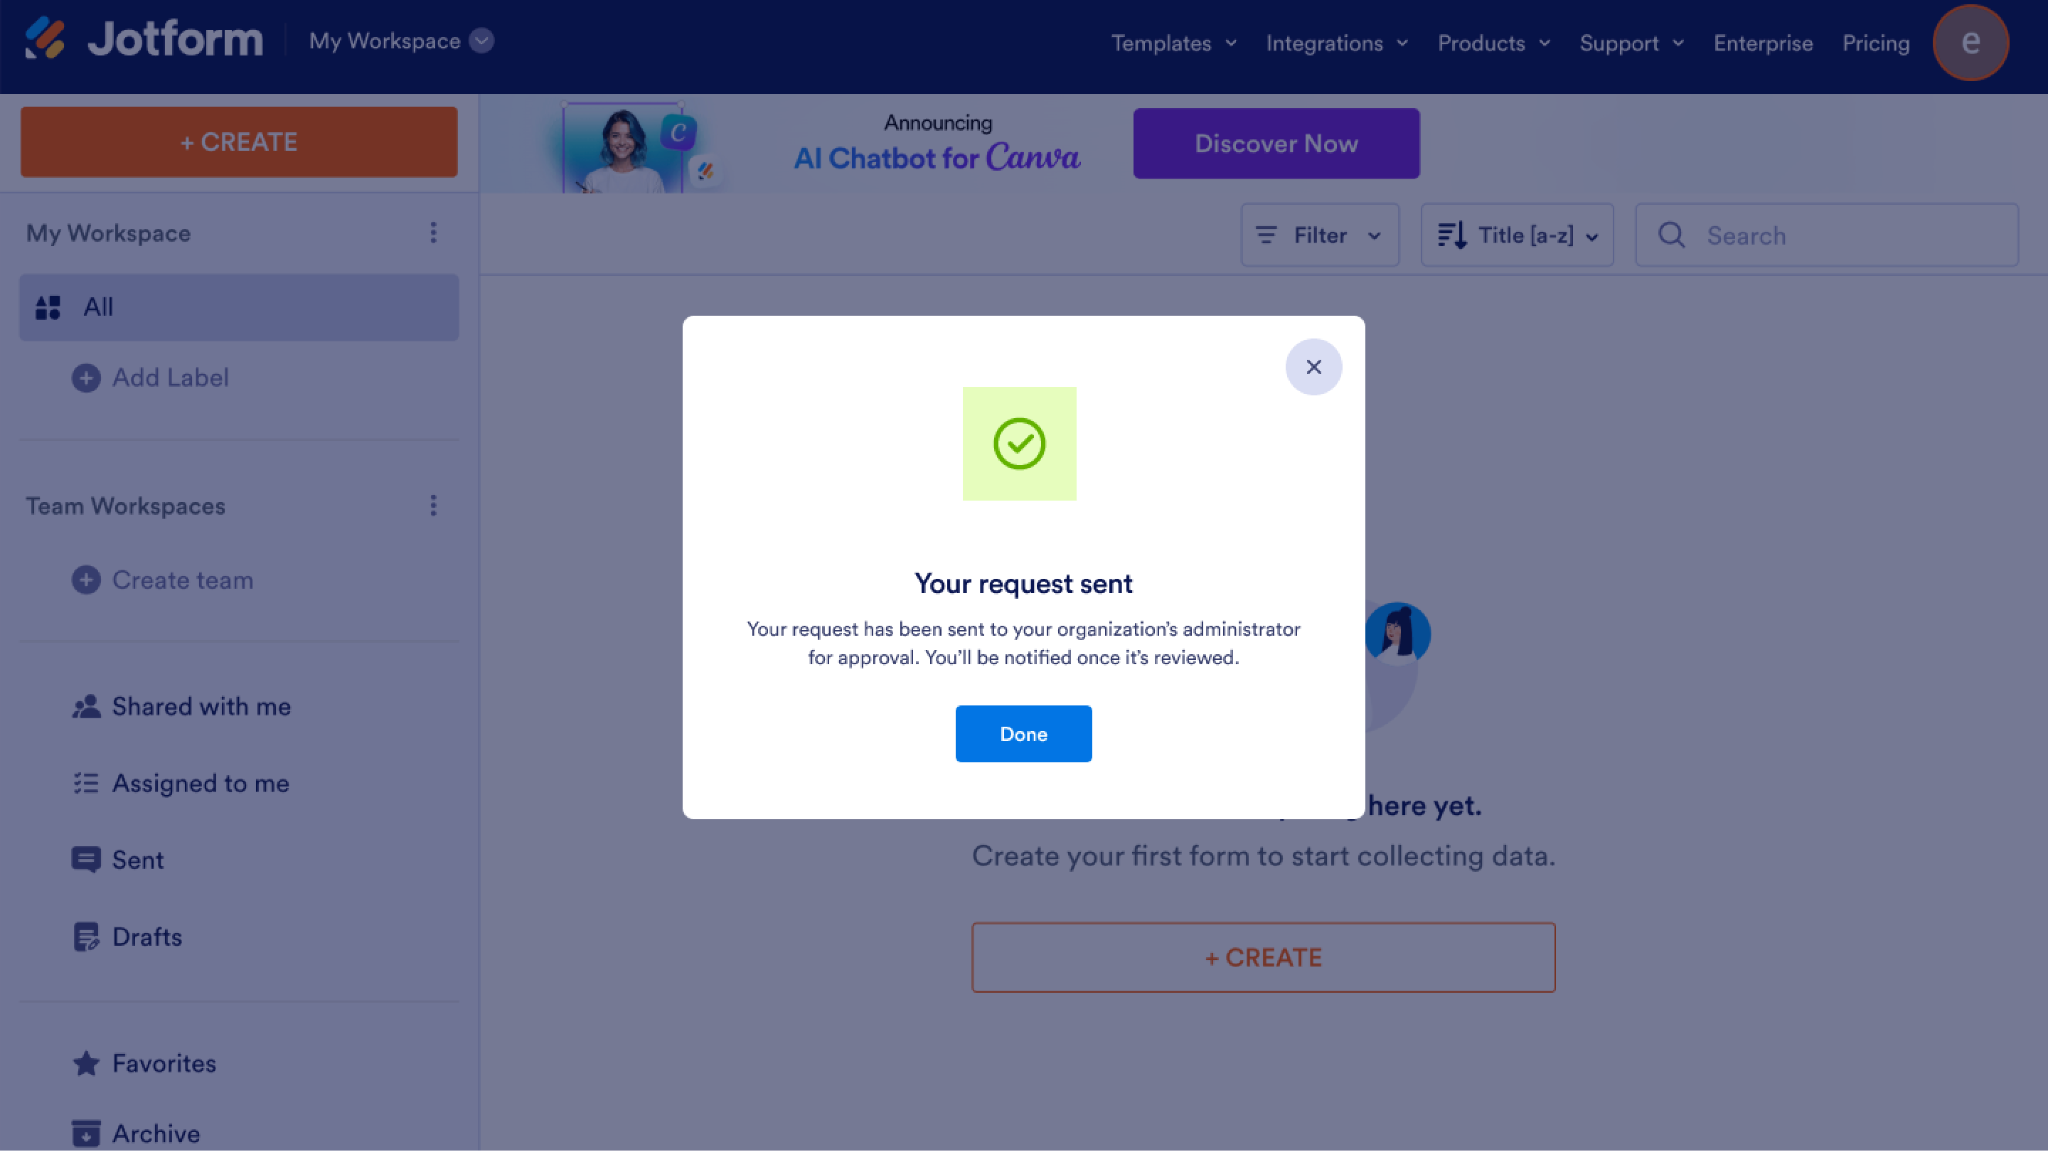
- Then, they will see a confirmation screen stating that their request has been sent to the administrator.
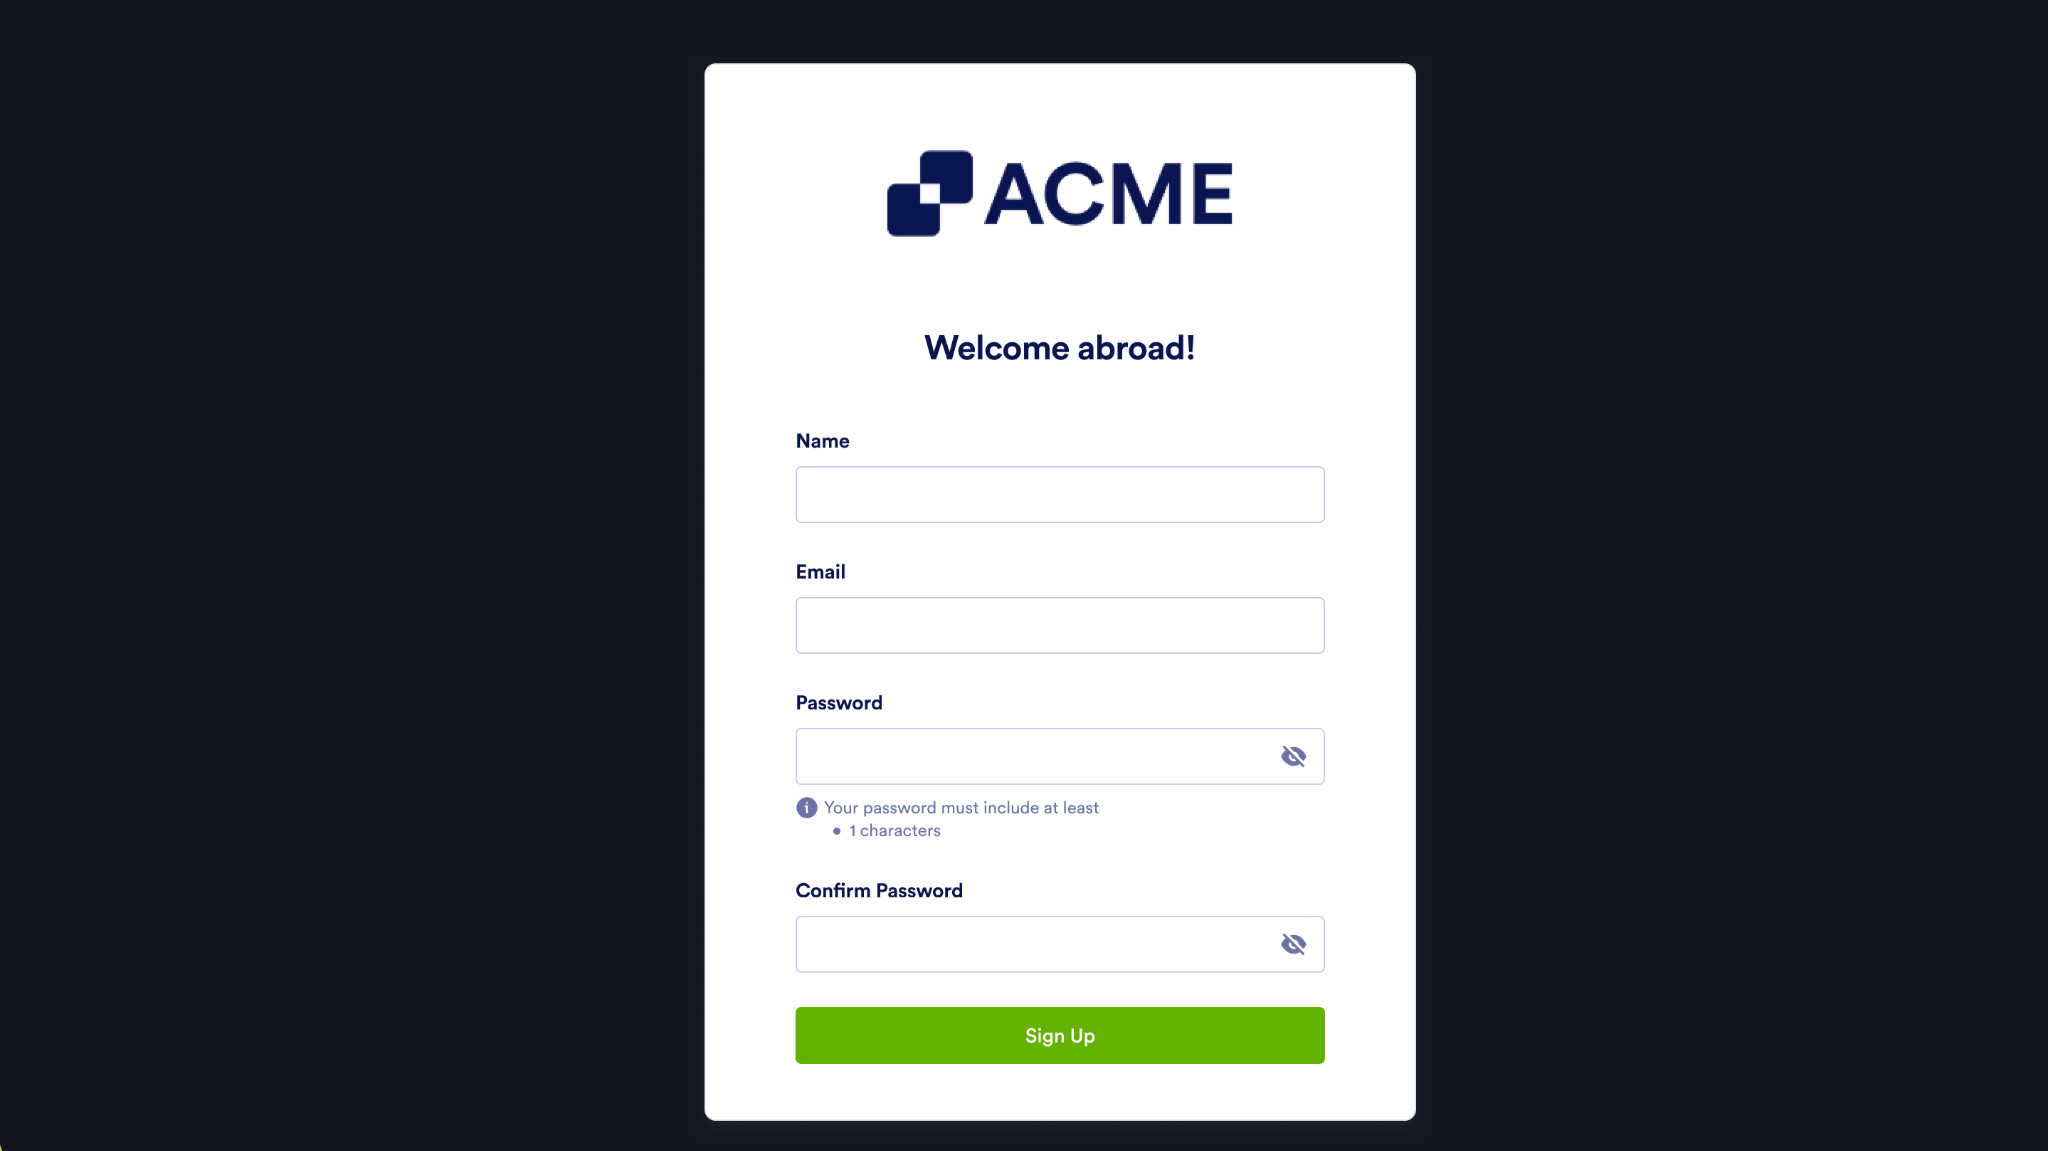
- Finally, once the admin approves the request, the user is redirected to the Enterprise server sign-up page to complete their registration.
The Admin’s Approval
Once the user submits their request, you will receive an automated email notification alerting you to the pending action.
- Starting in the Admin Console, on the left side of the page, click on Users.
- Next, at the top right of the page, click on Settings to see the unmanaged accounts.
- Then, click on the Review Request button next to the user’s status.
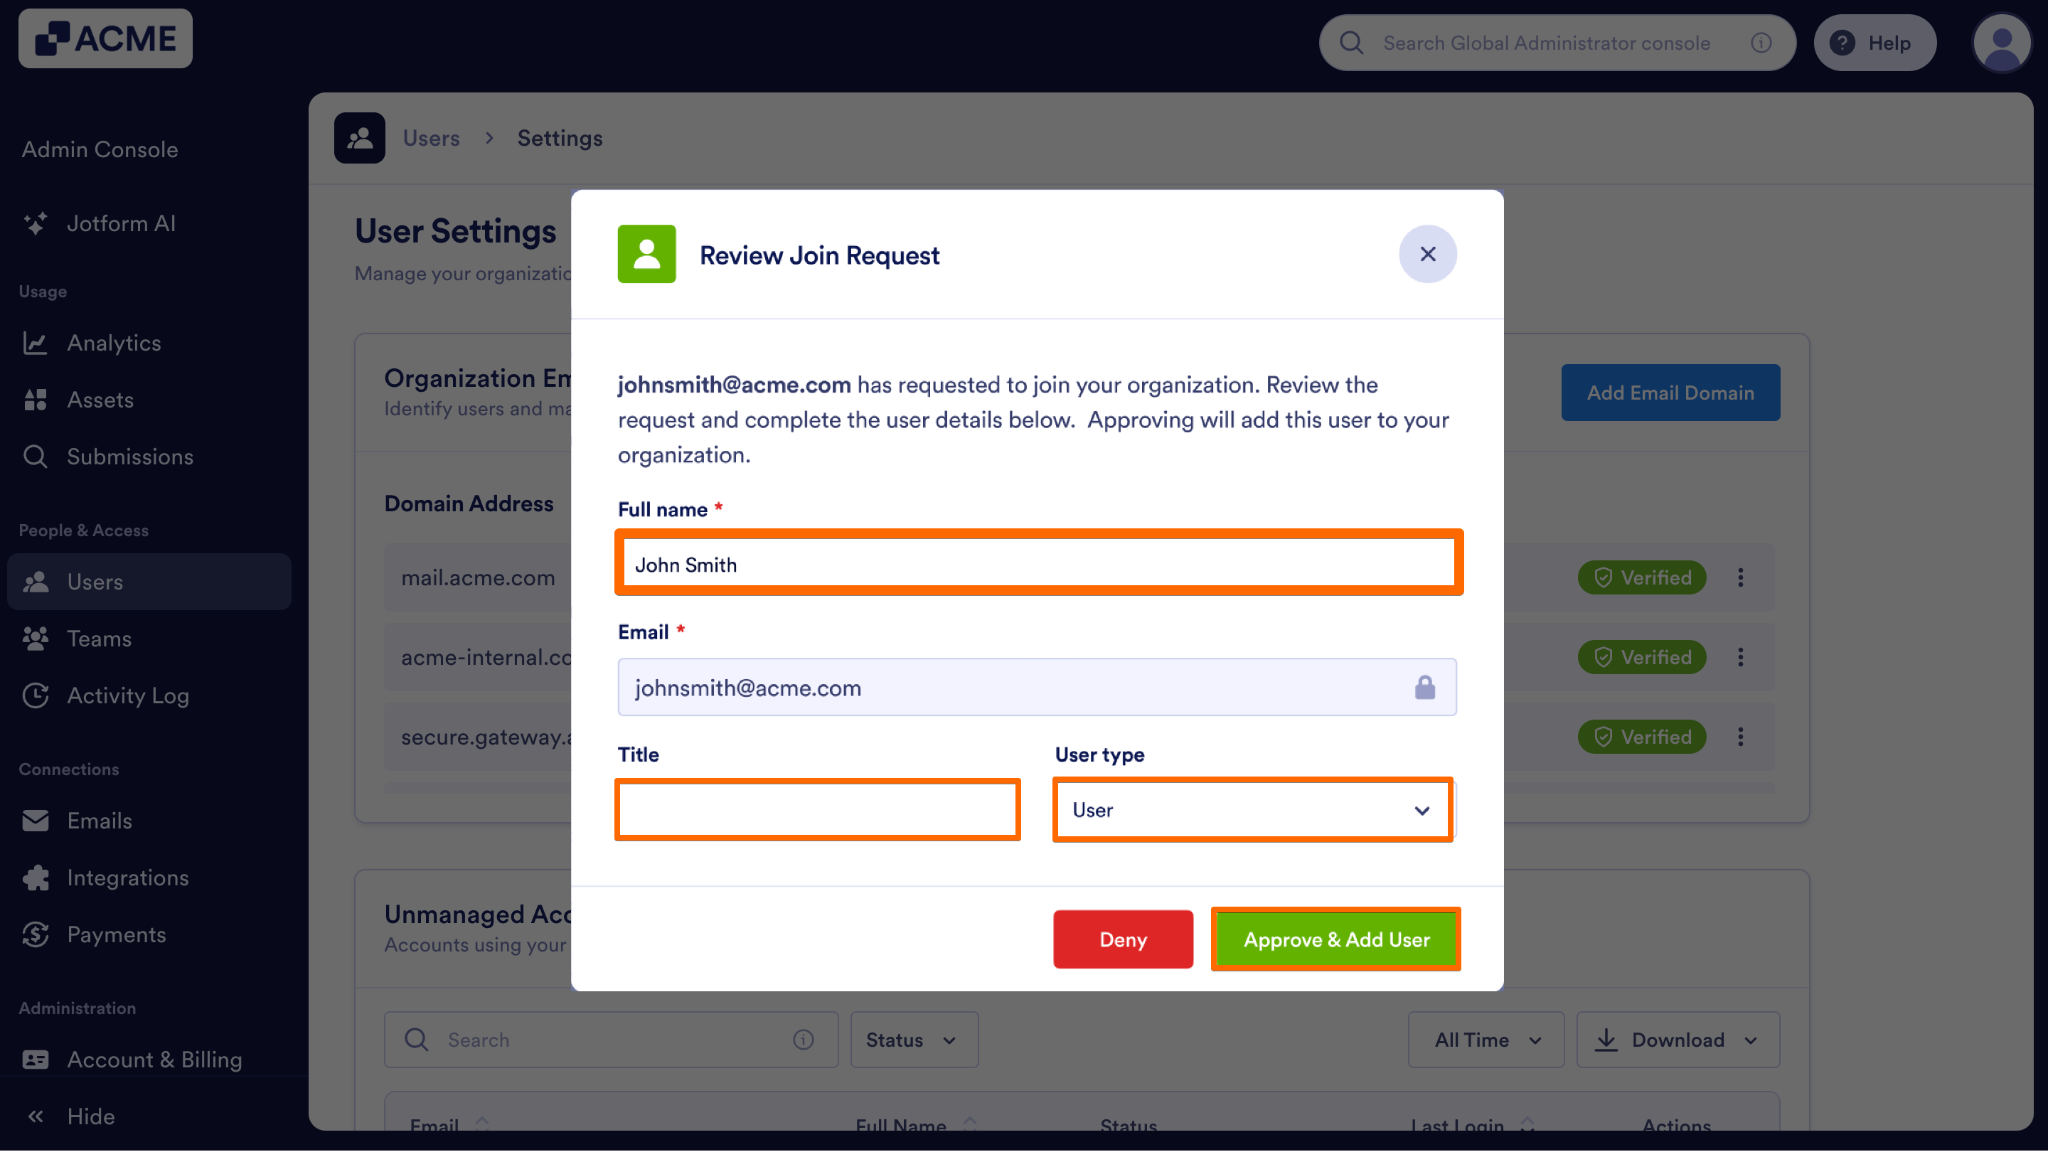
- Enter the Full name, title and user type of the user you want to add.
- Finally, click on the Approve & Add User button to grant them server access.
Note
If a user successfully joins your Enterprise server, they will subsequently be able to start a migration request to transfer their existing forms and data from their old account into their new Enterprise workspace.

Send Comment: