The Organization-wide Auto Delete Submissions feature helps admins manage data across all account forms efficiently by automatically removing submissions after a set period of time. Configuring this organization-wide feature to Auto-Delete and Purge immediately deletes expired entries upon reaching their expiration date, completely bypassing the trash folder, to ensure unified privacy compliance and keep storage clean across the entire organization.
Setting Up Auto-Delete Submissions from The Admin Console
You can set up the Auto-Delete Submissions feature in the Assets section of your Admin Console, allowing you to set a default Auto-Delete period for form submissions across all your existing forms at once. This setting will also apply to any forms you create in the future. Here’s how to do it:
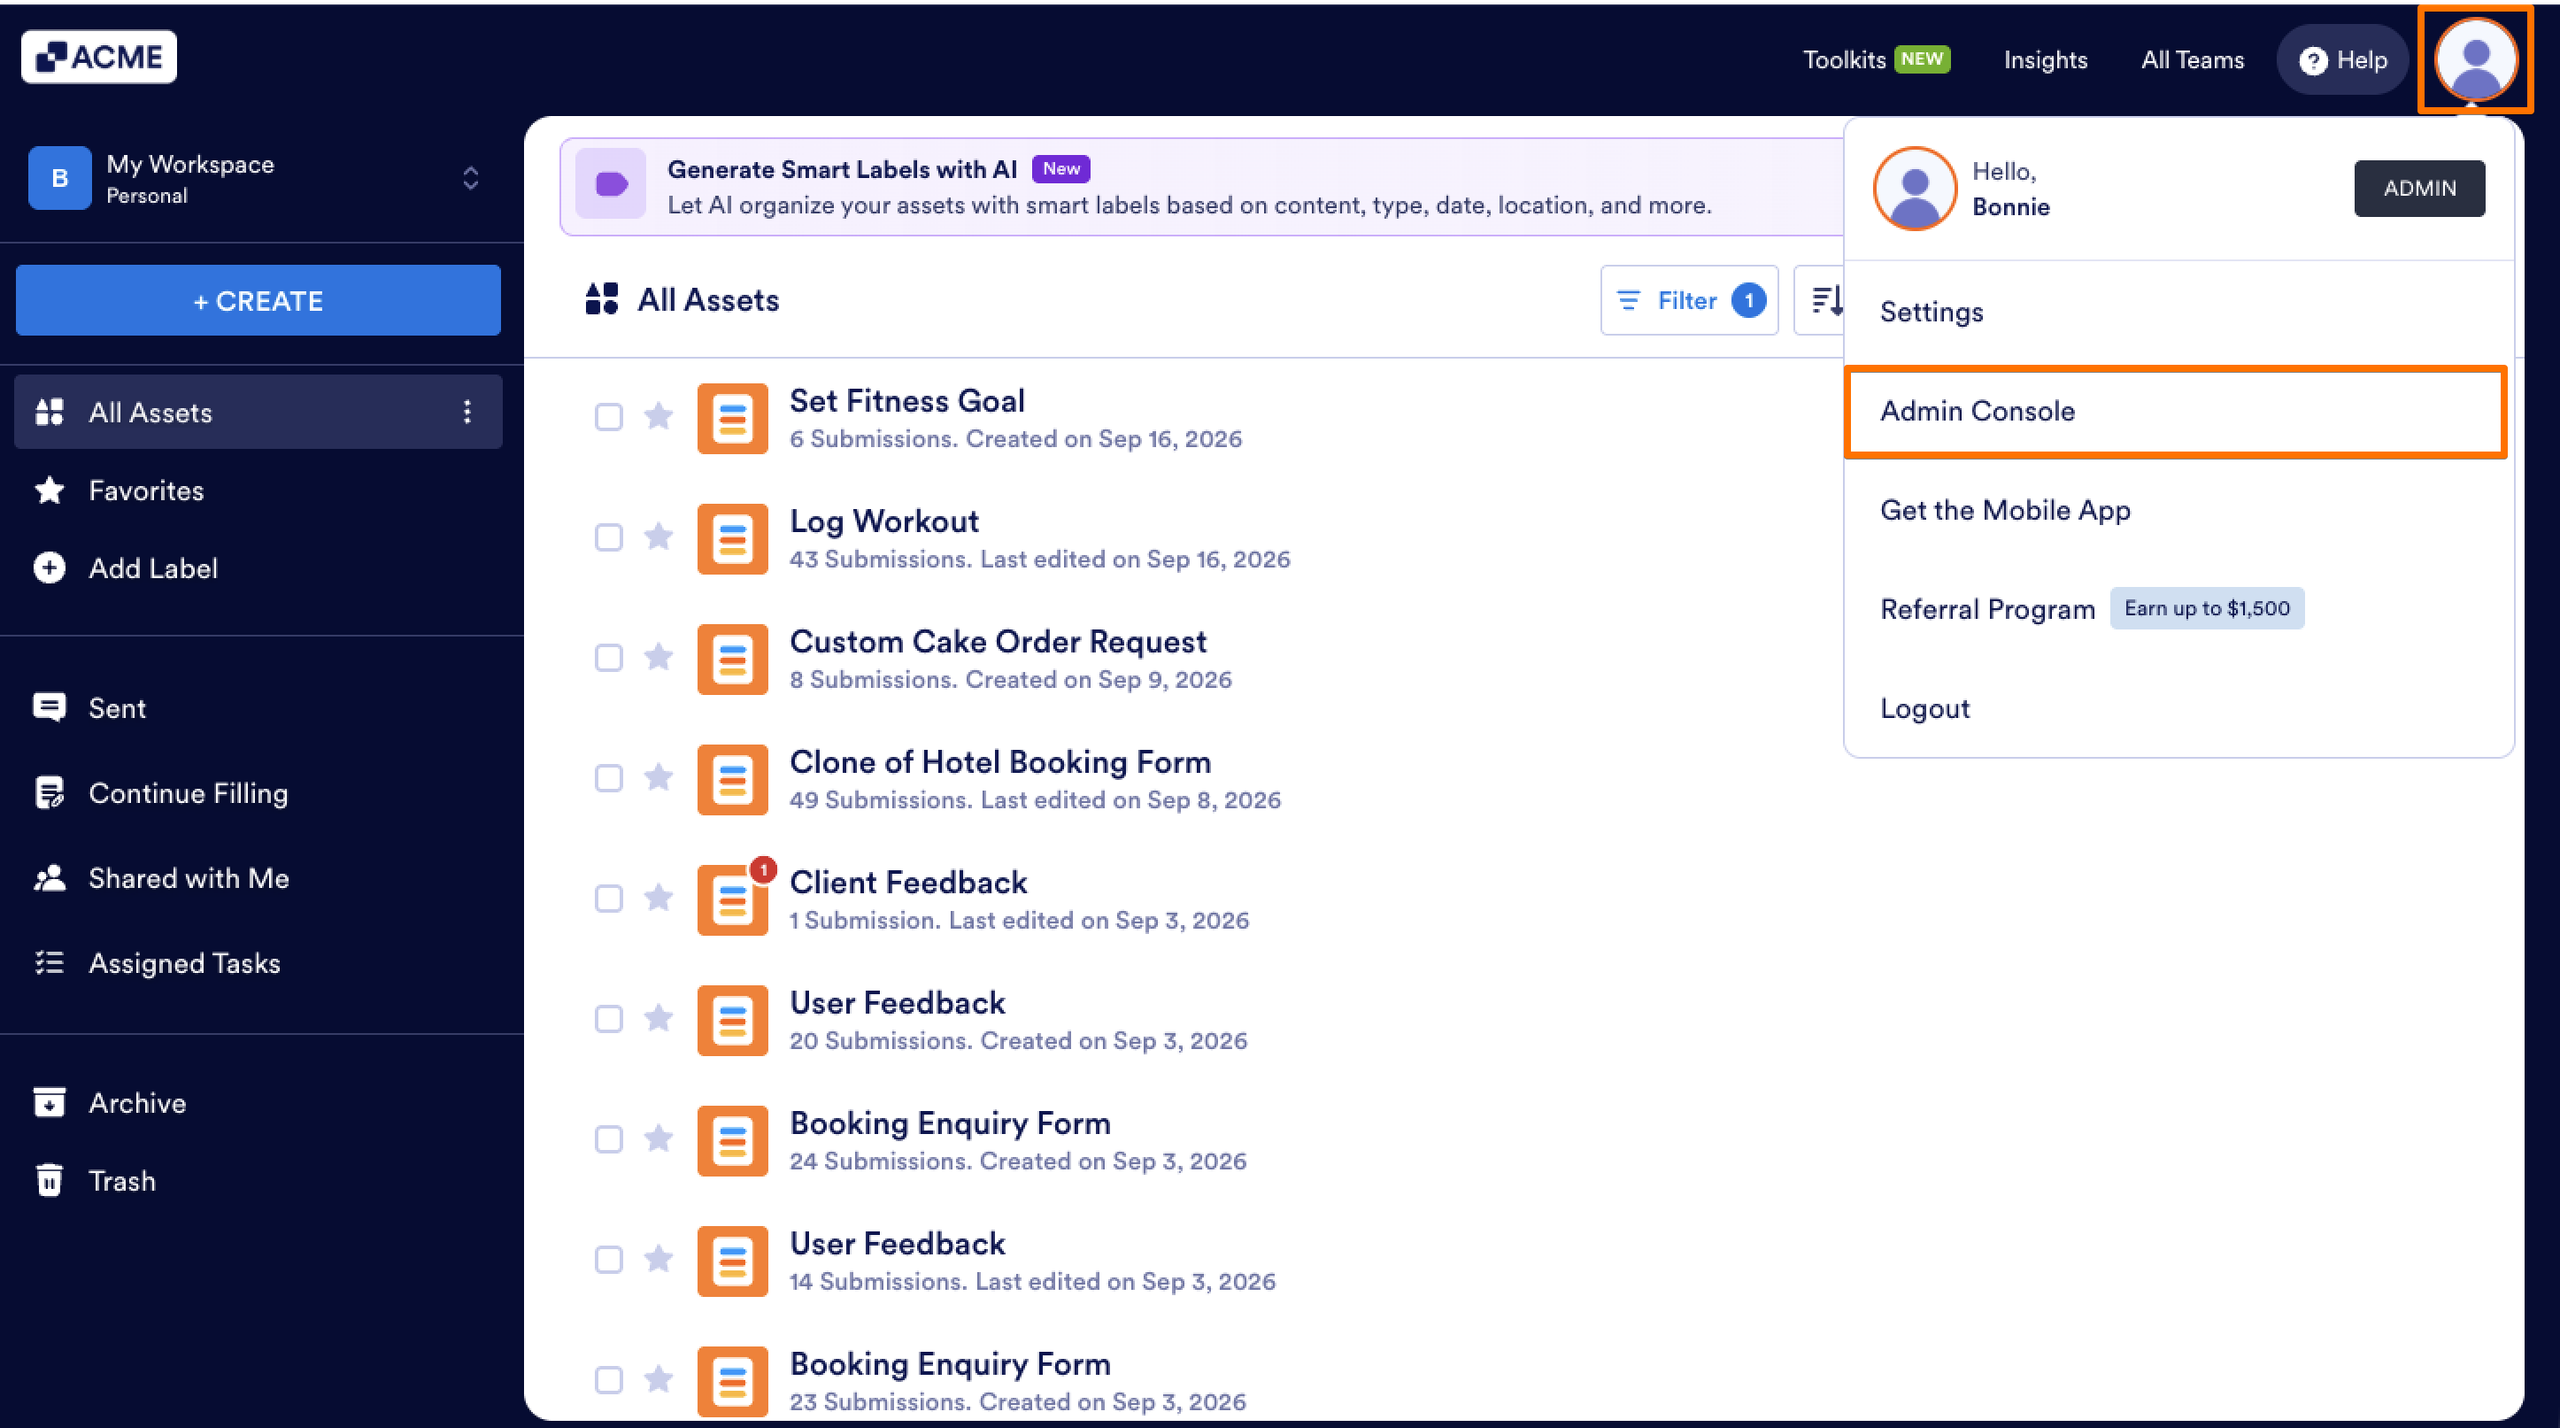
- On your Workspace page, click on your Avatar/Profile picture in the top-right corner of the screen.
- In the Dropdown Menu, select Admin Console to access your organization’s Admin Console page.
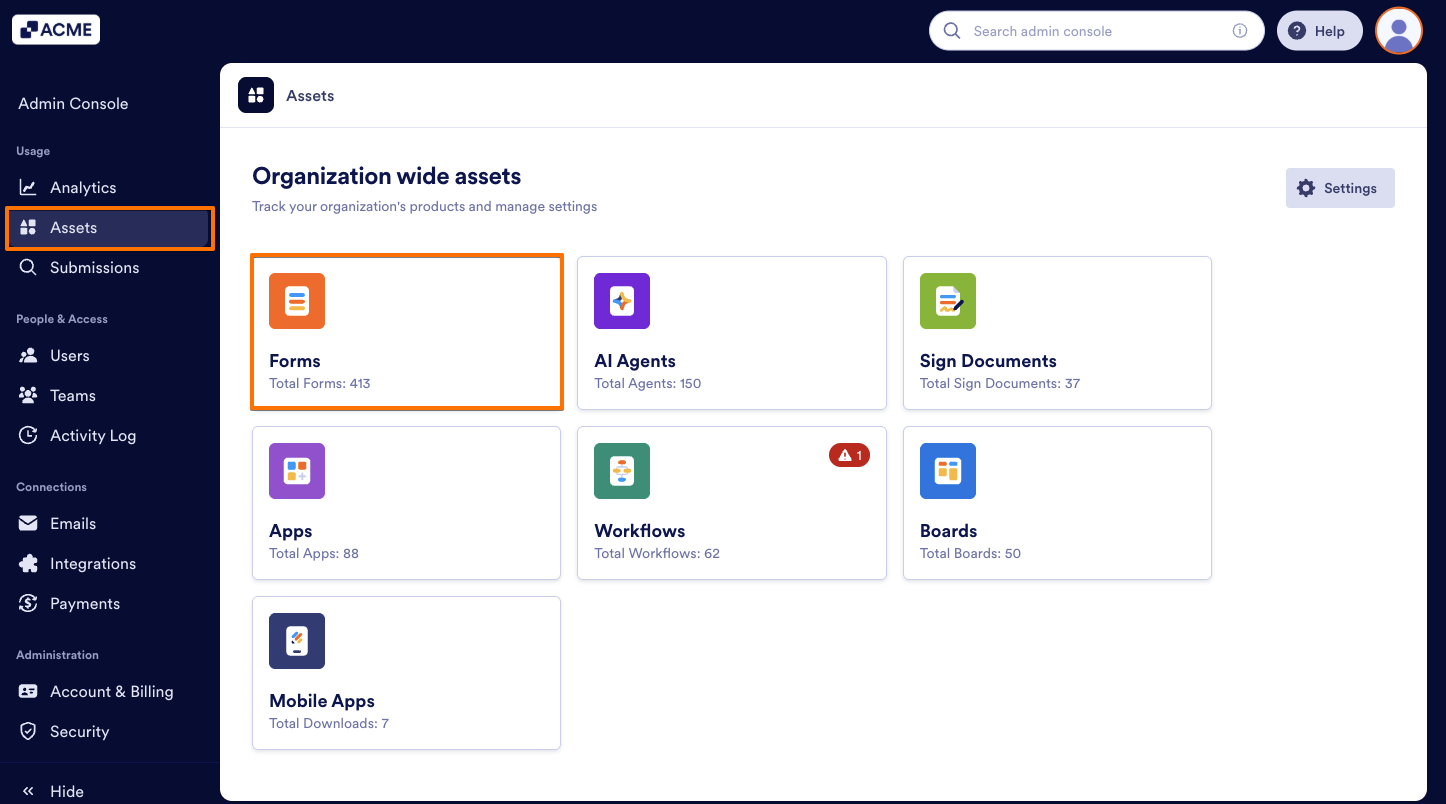
- Now, click on the Assets tab in the left-hand menu.
- Then, click on the Forms.
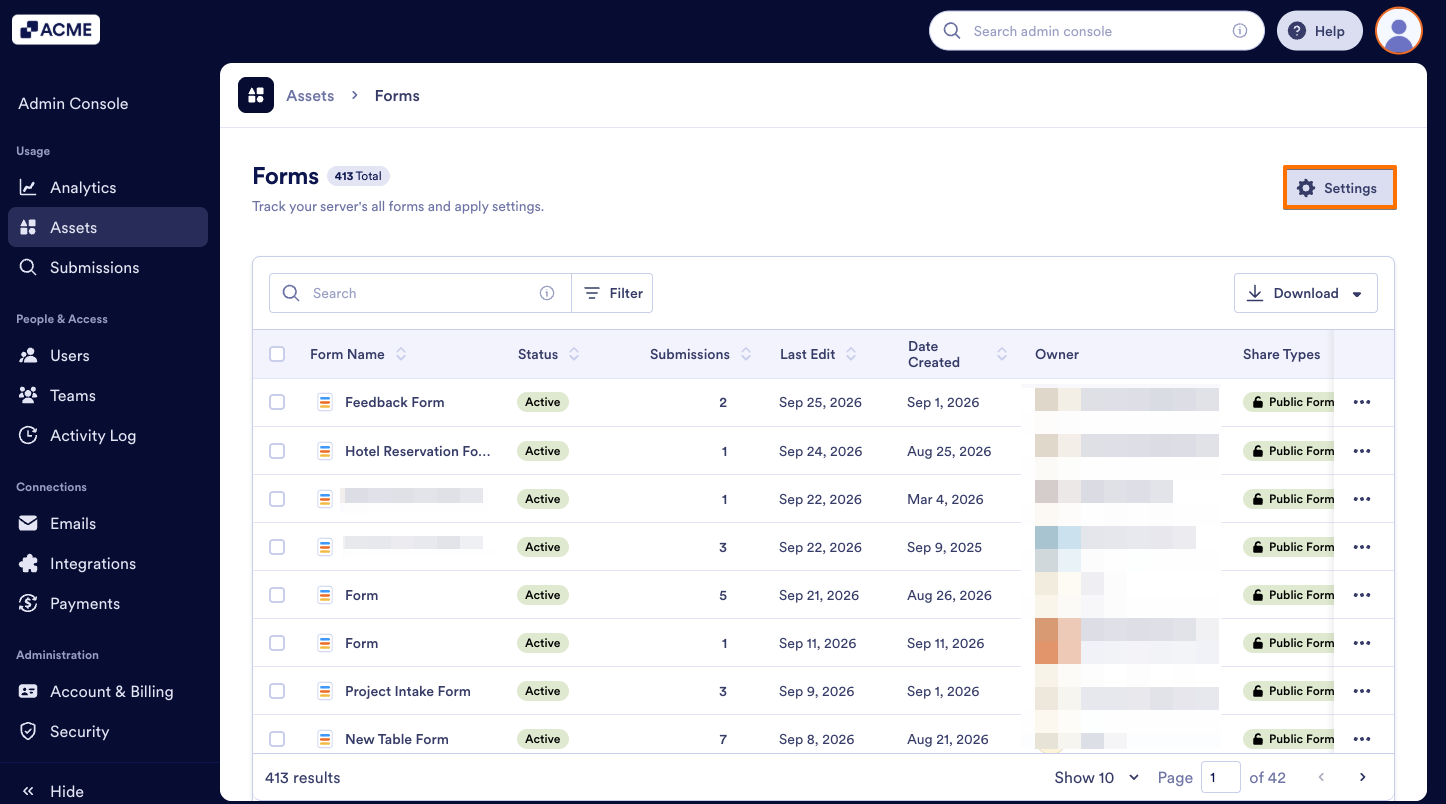
- On the page that opens, click on Settings to open your form Settings.
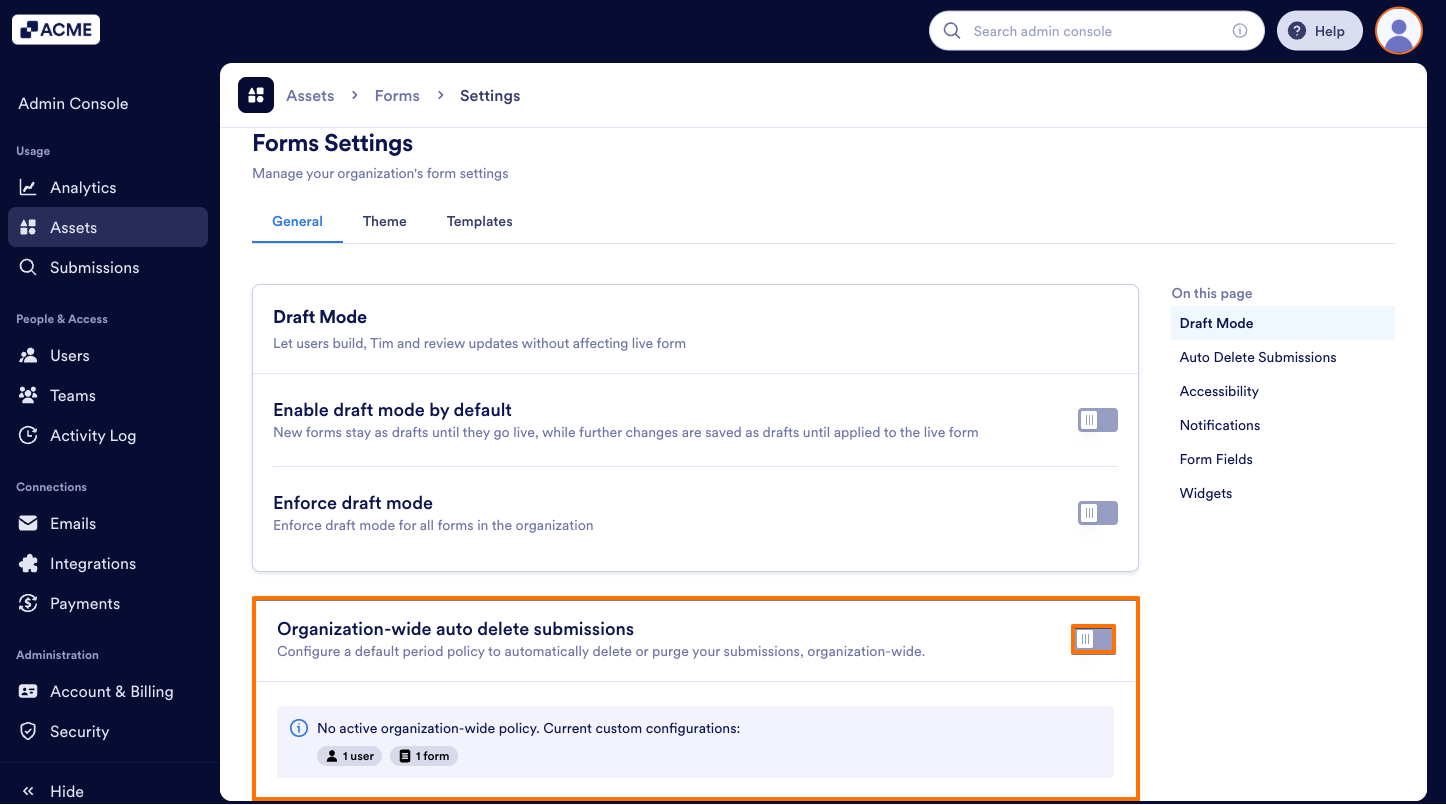
- Now, toggle on the Organization-wide auto delete submissions toggle.
- Now, in the Auto-Delete Submissions window that opens, select how you want deleted submissions to be handled:
- Move to trash: Submissions are moved to your trash folder when they reach the expiration date and are permanently deleted after 30 days. This option allows recovery if needed.
- Purge: Submissions completely bypass the trash folder and are permanently deleted immediately upon reaching the expiration date. This action is irreversible.
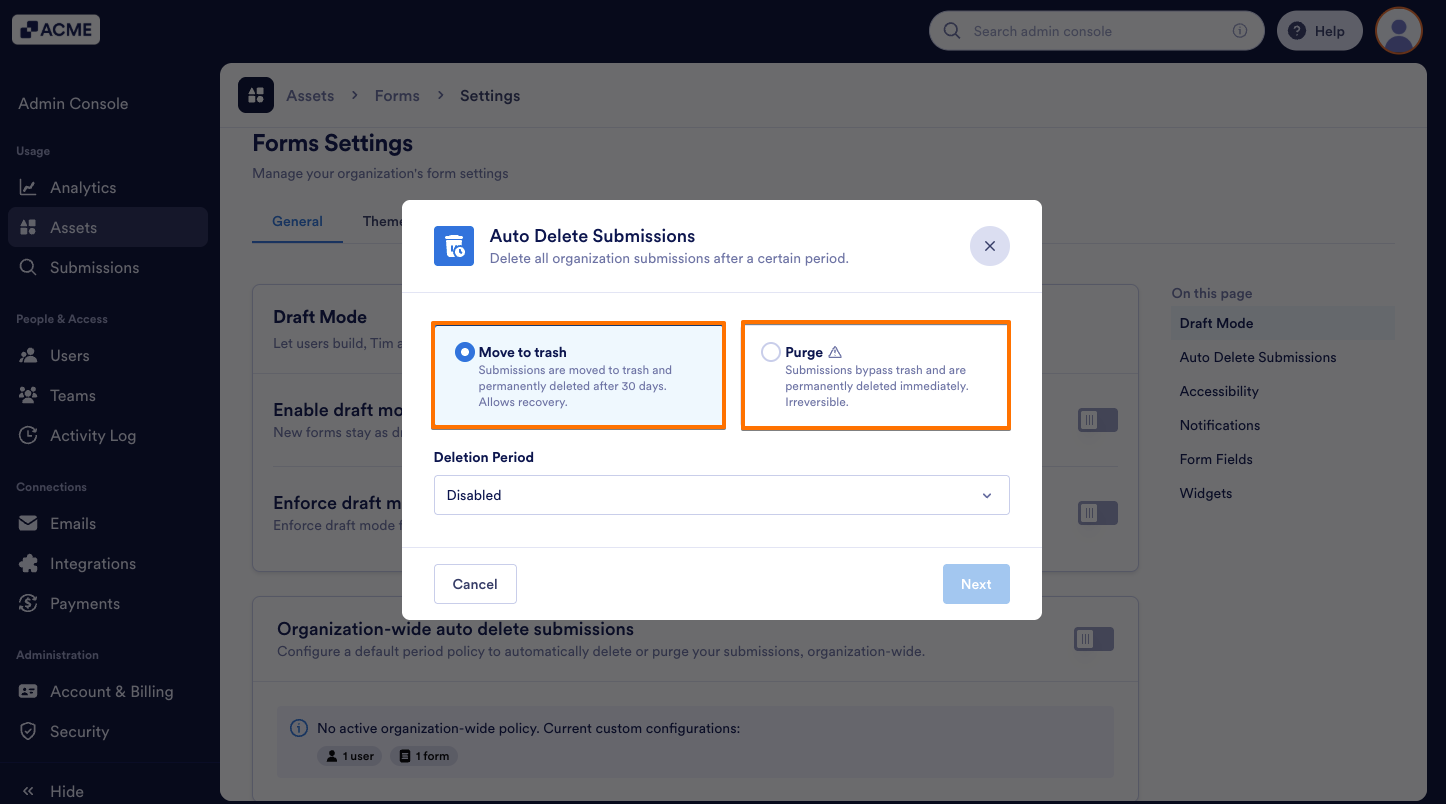
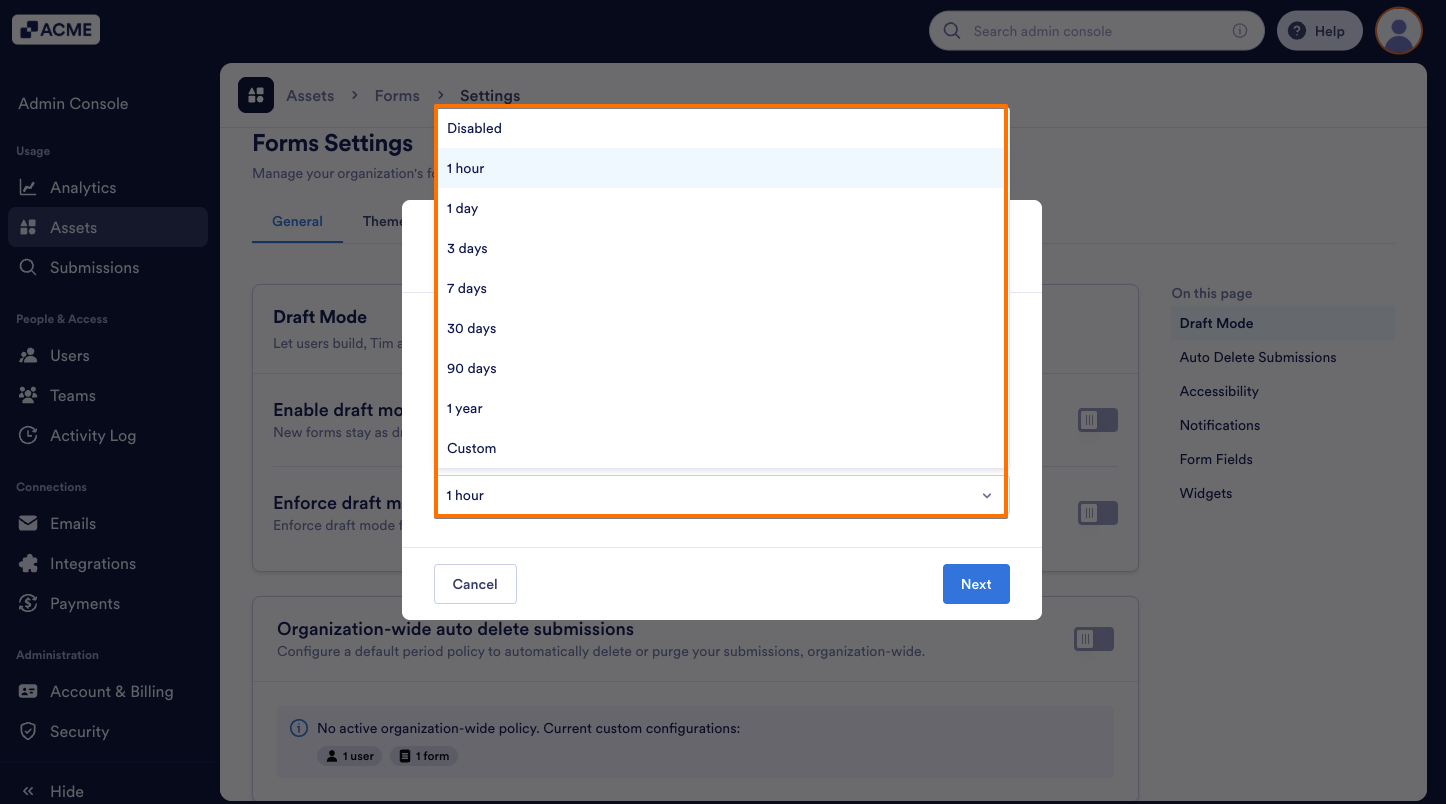
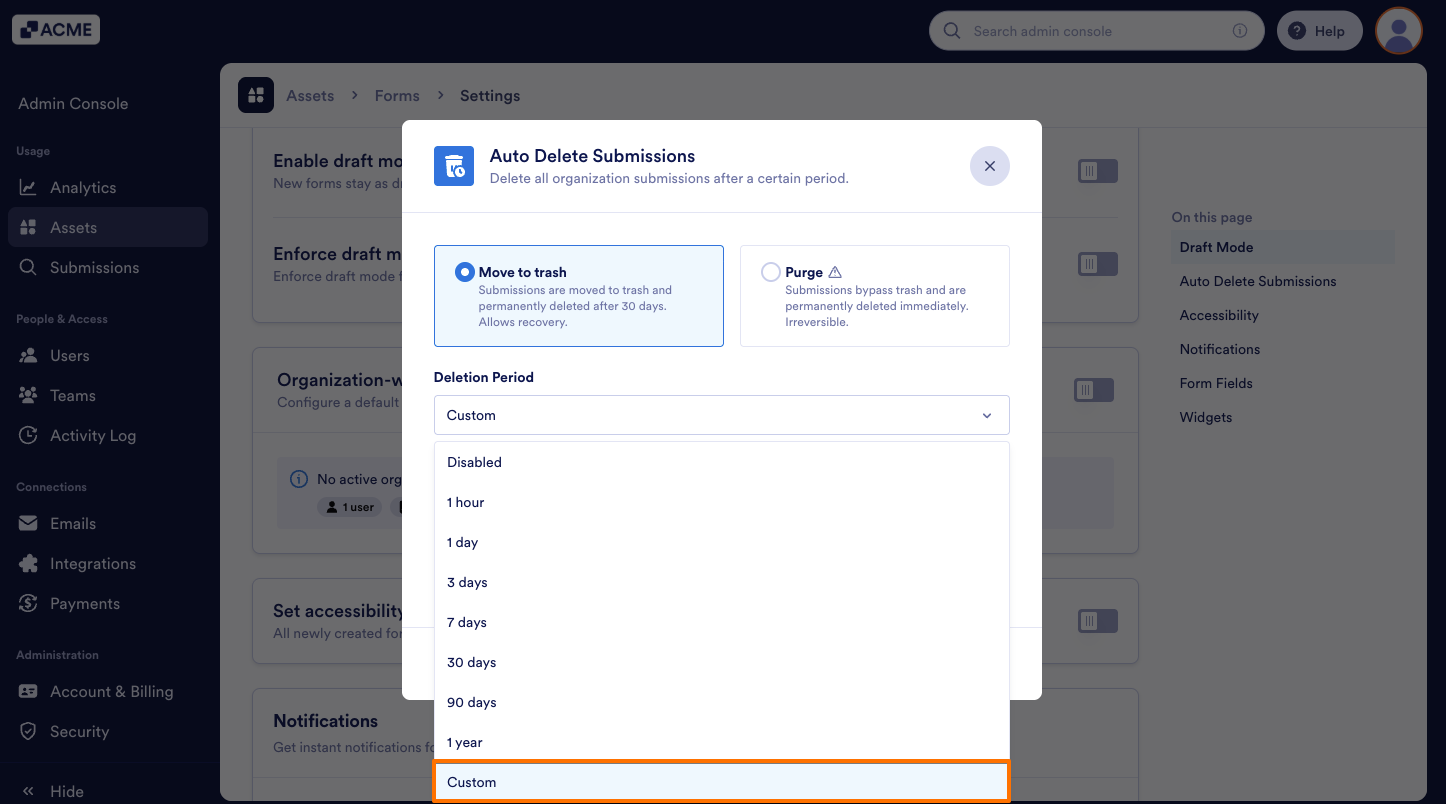
- In the Auto-Delete Submissions window that opens up, click on the Deletion Period dropdown menu and select the time frame you want for your submissions to be automatically deleted.
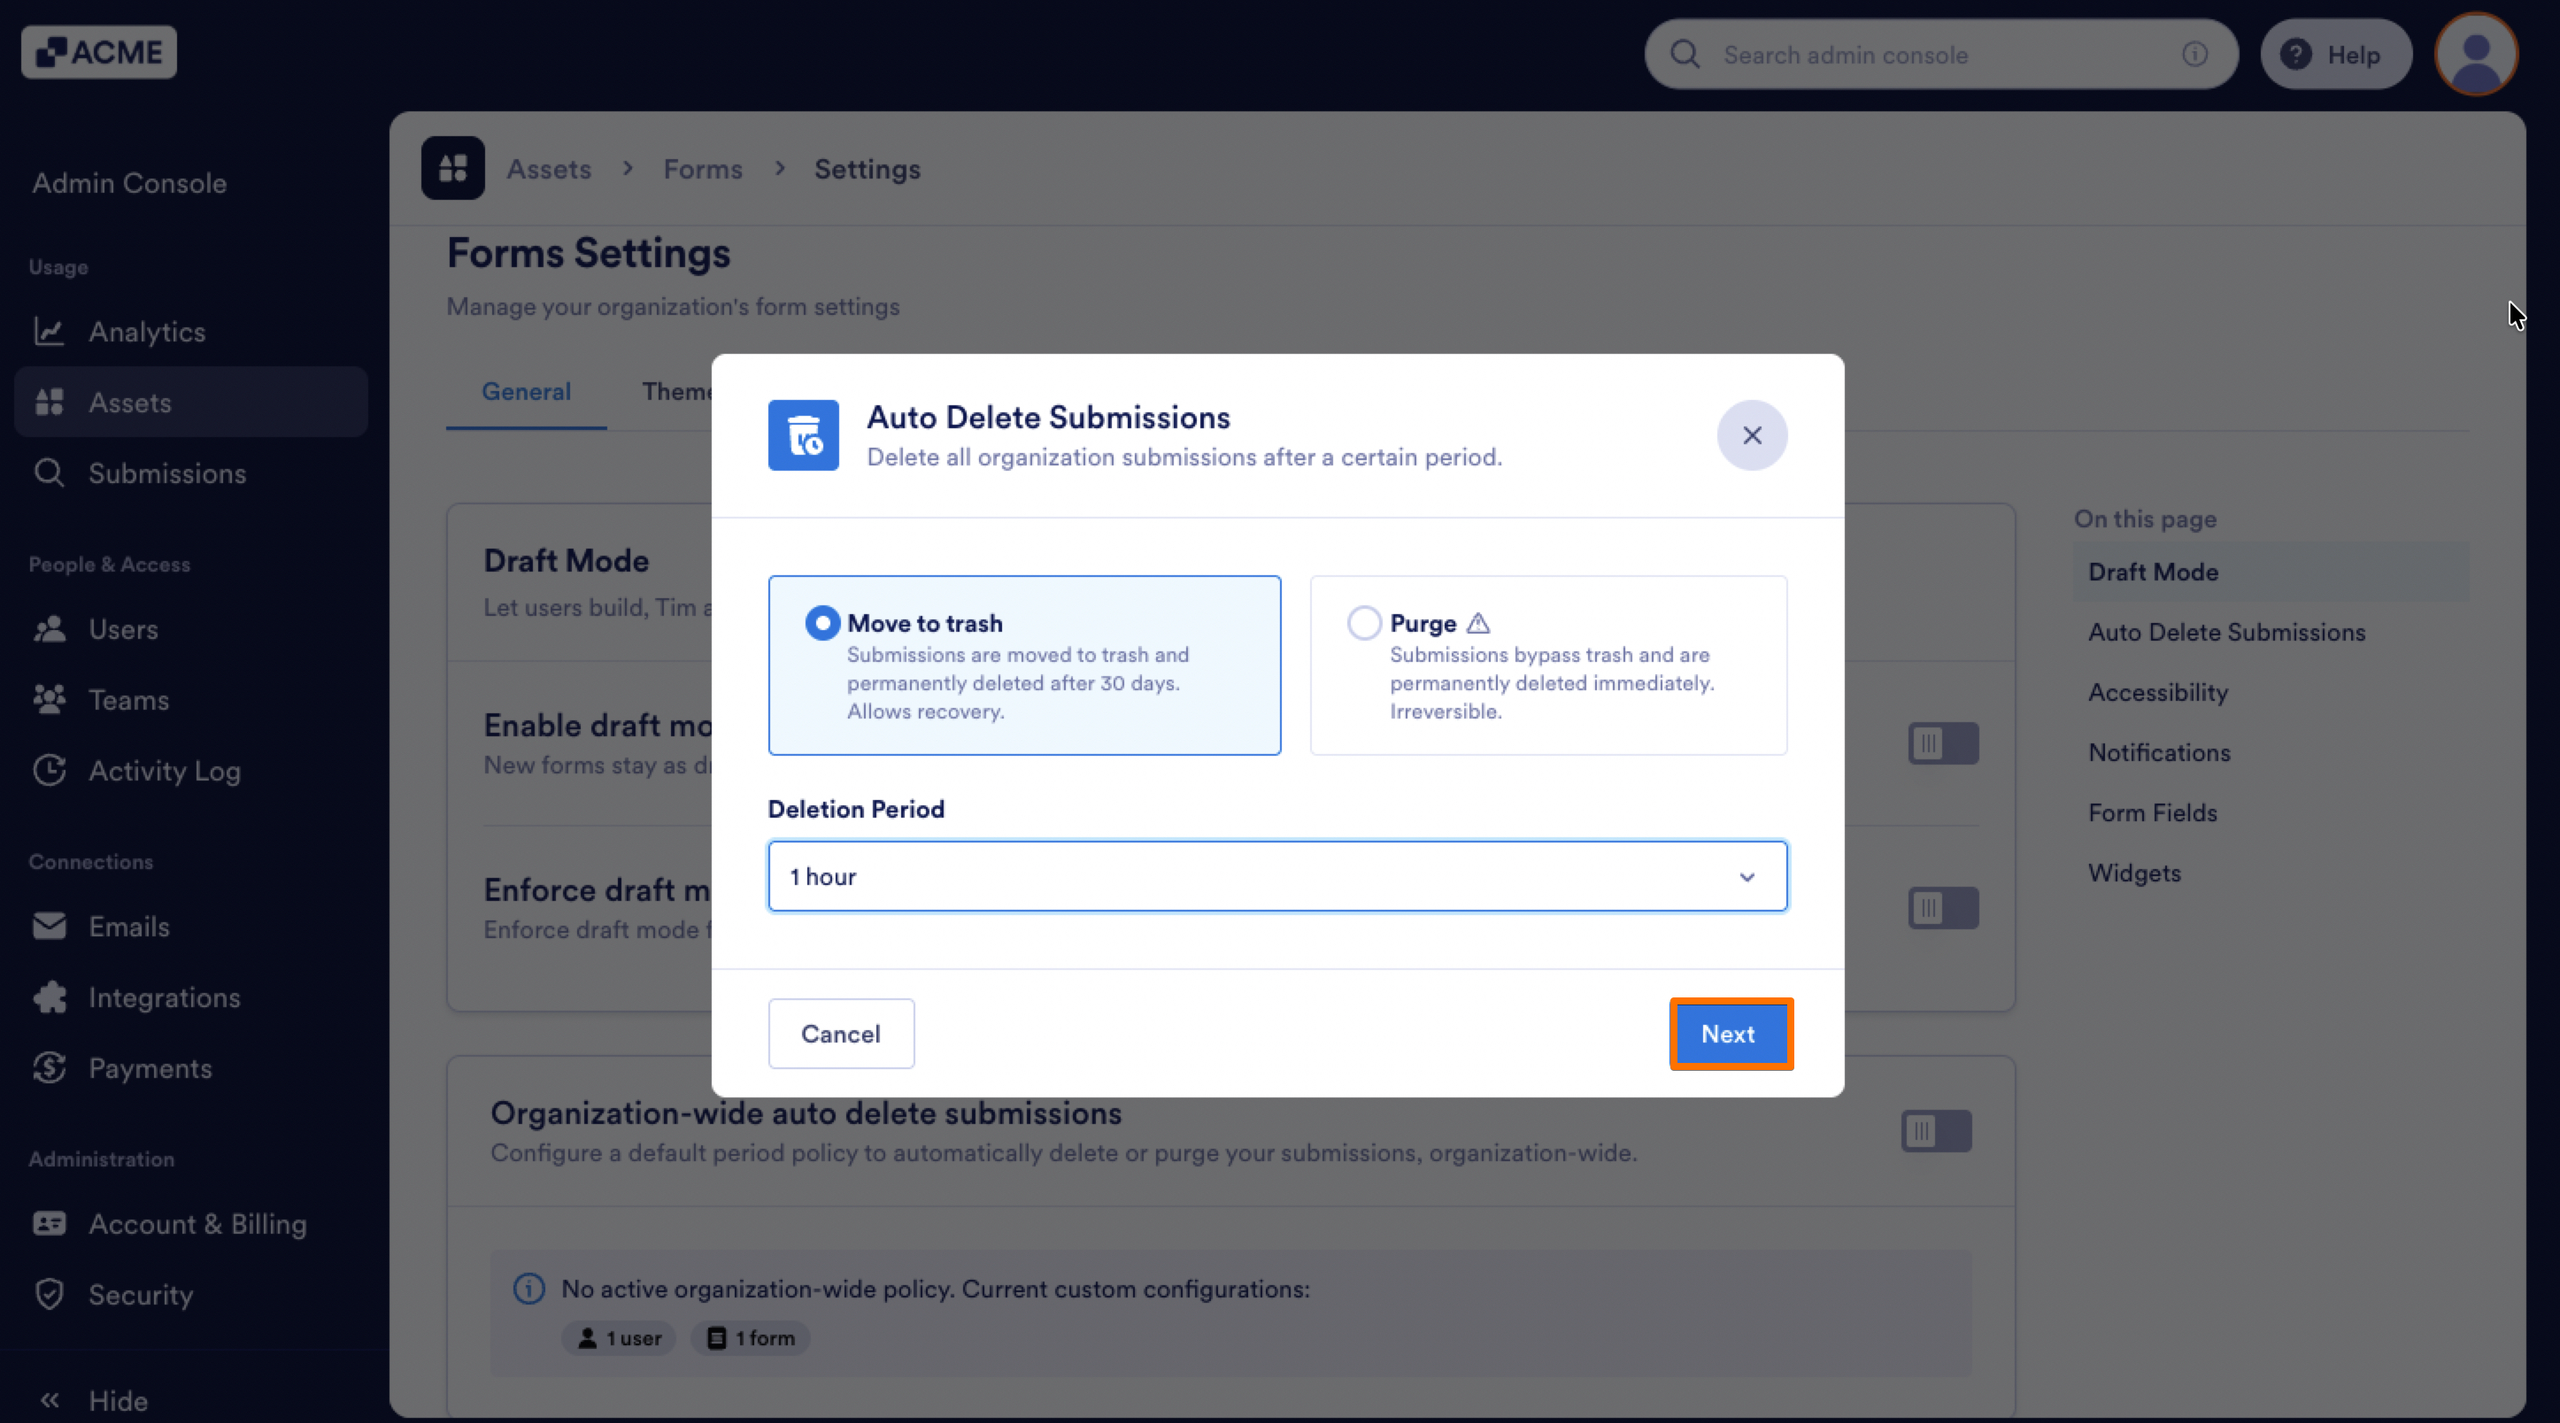
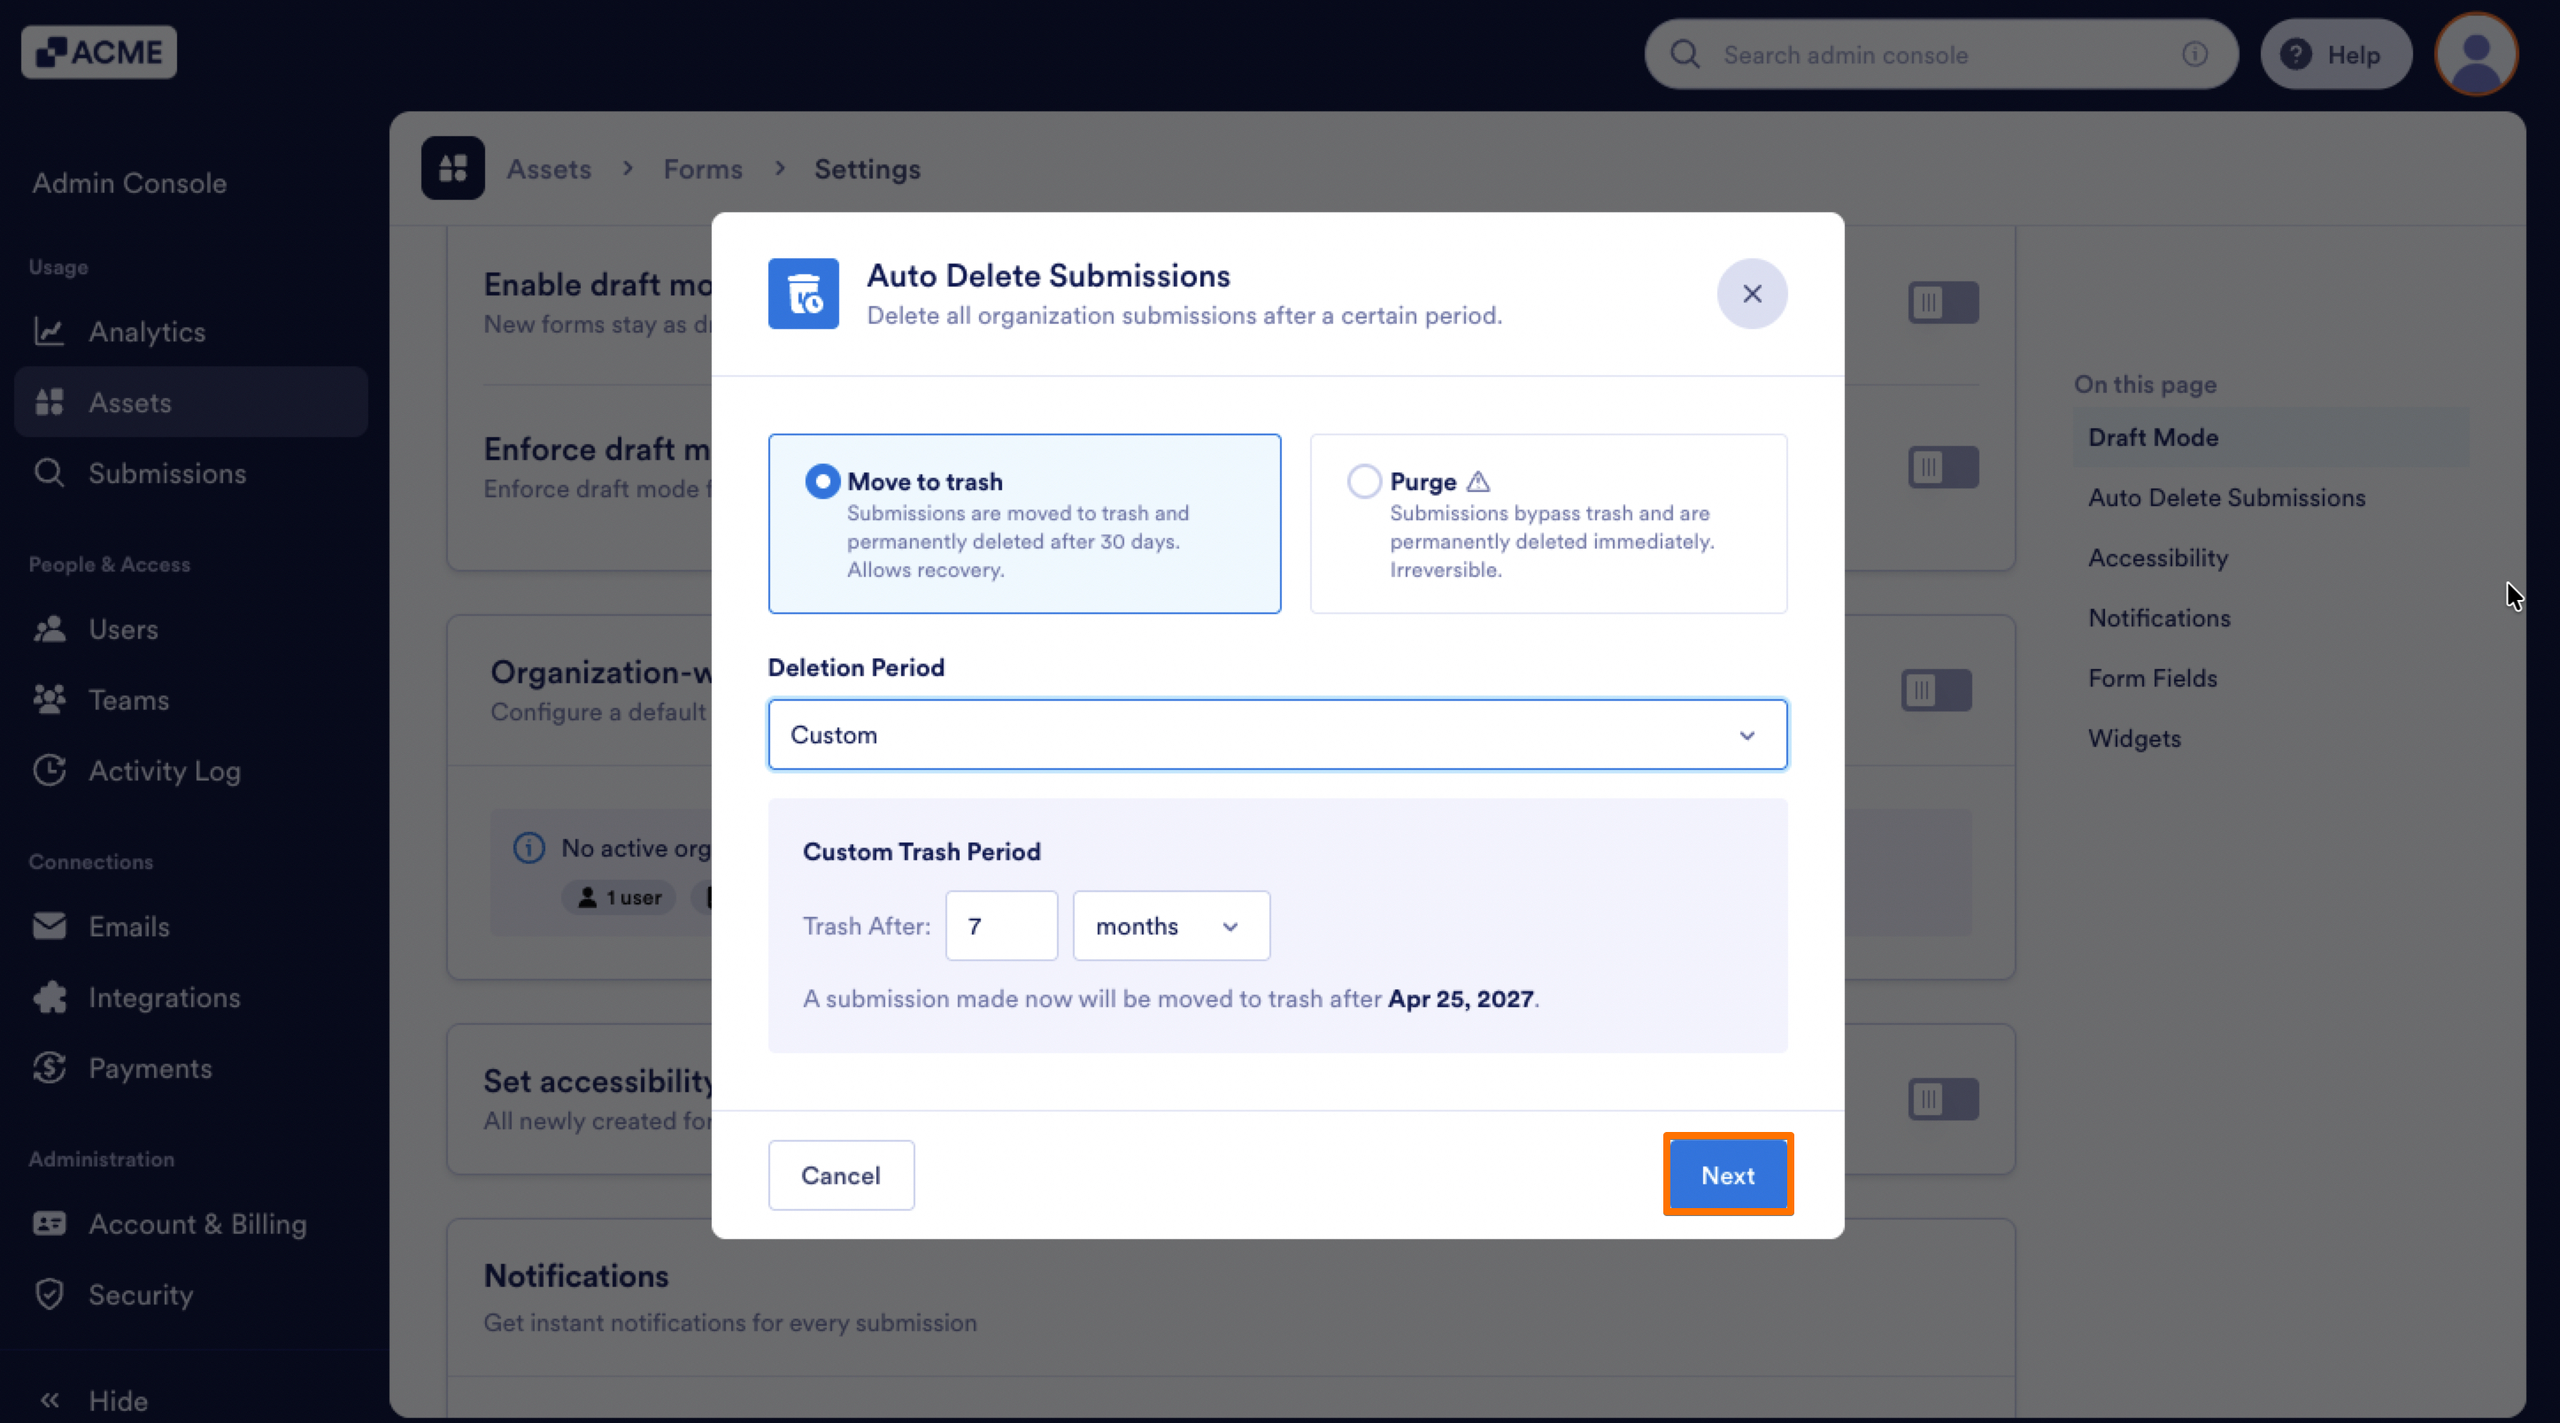
- Then, click on Next at the bottom of the window.
- From the window that opens, you can view your organization’s users and forms.
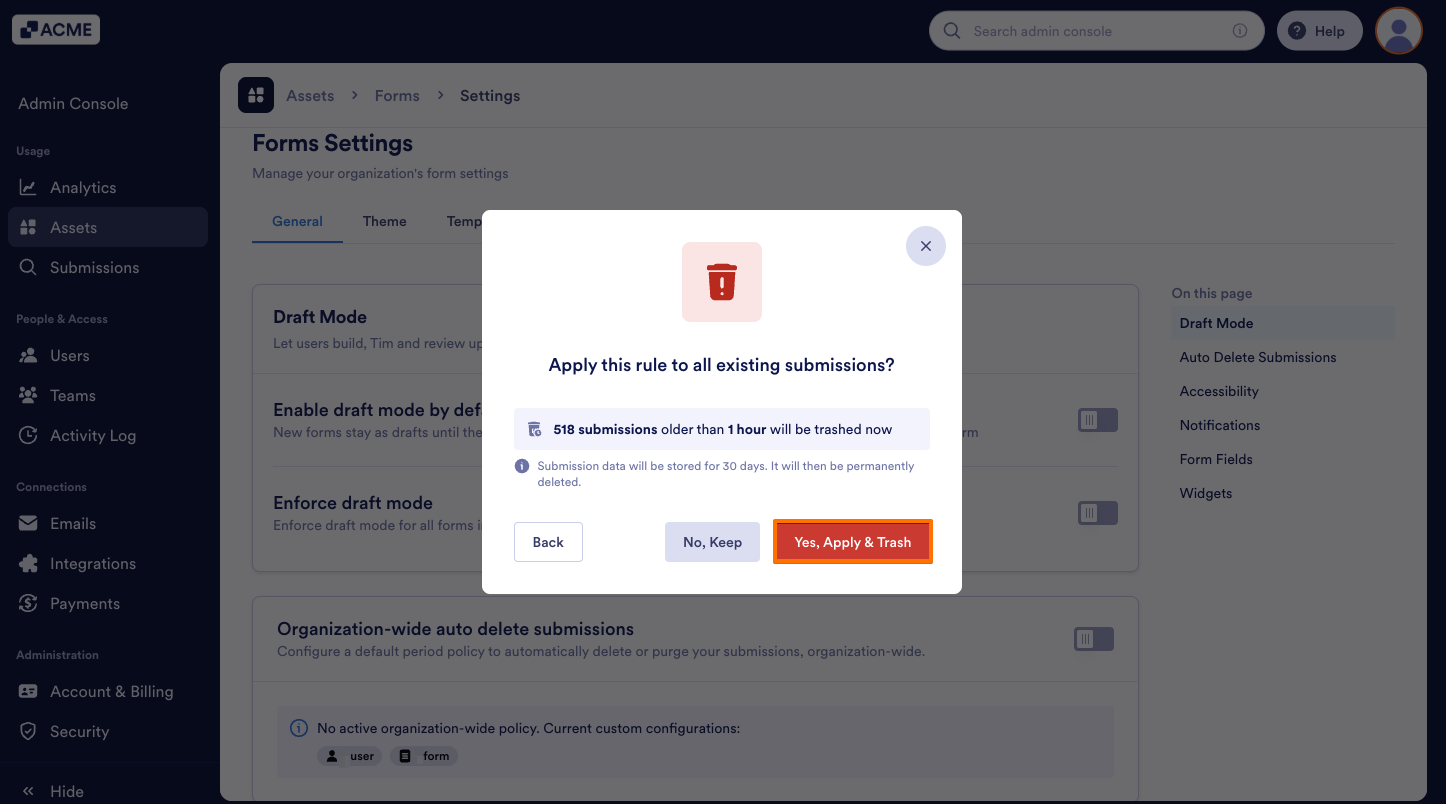
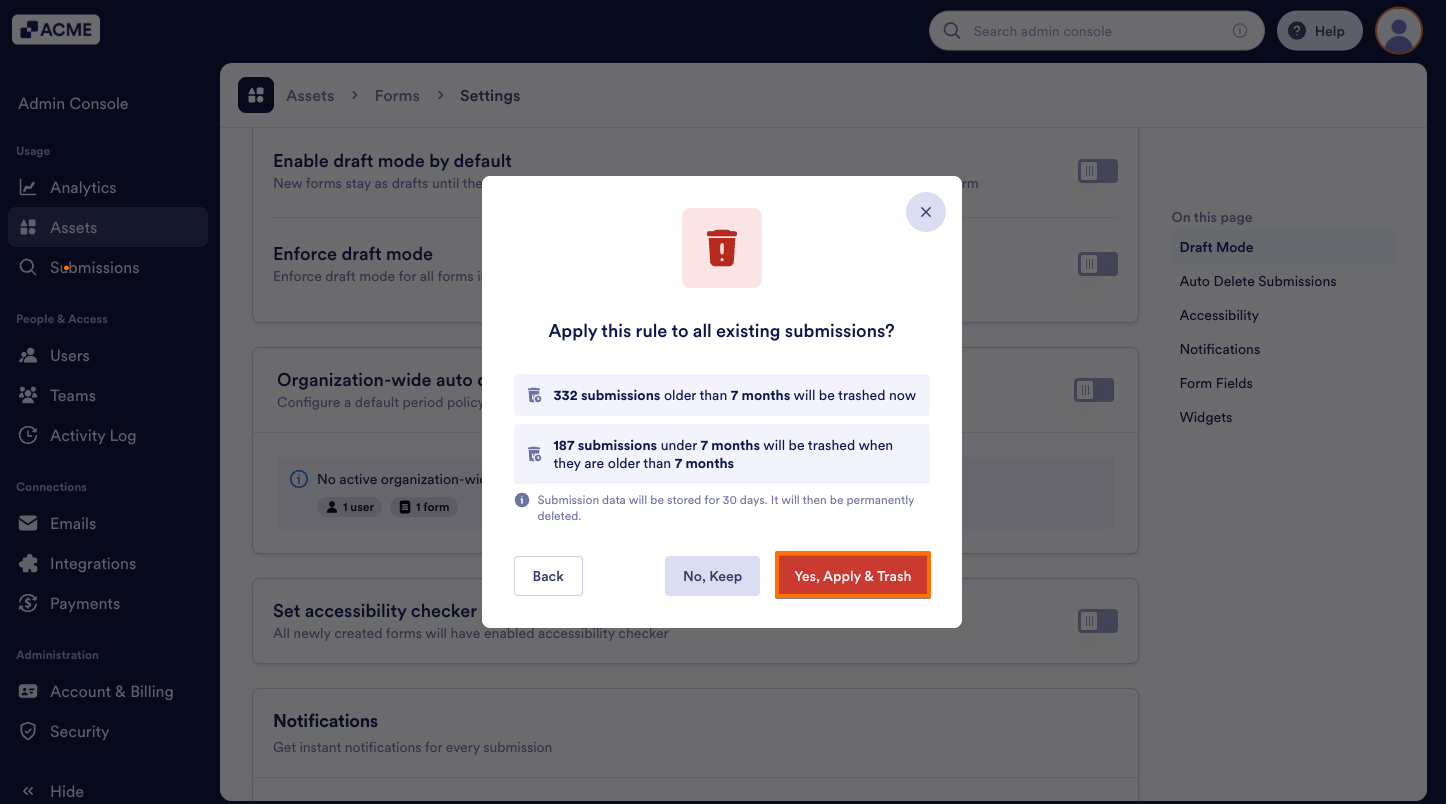
- No, Keep: Clicking this button cancels the process and preserves the current custom auto-delete settings for the listed forms and users without applying the new organization-wide policy.
- Yes, Change: Clicking this button confirms the update, immediately overriding all existing custom deletion periods across the specified forms and users with the new organization-wide timeframe.
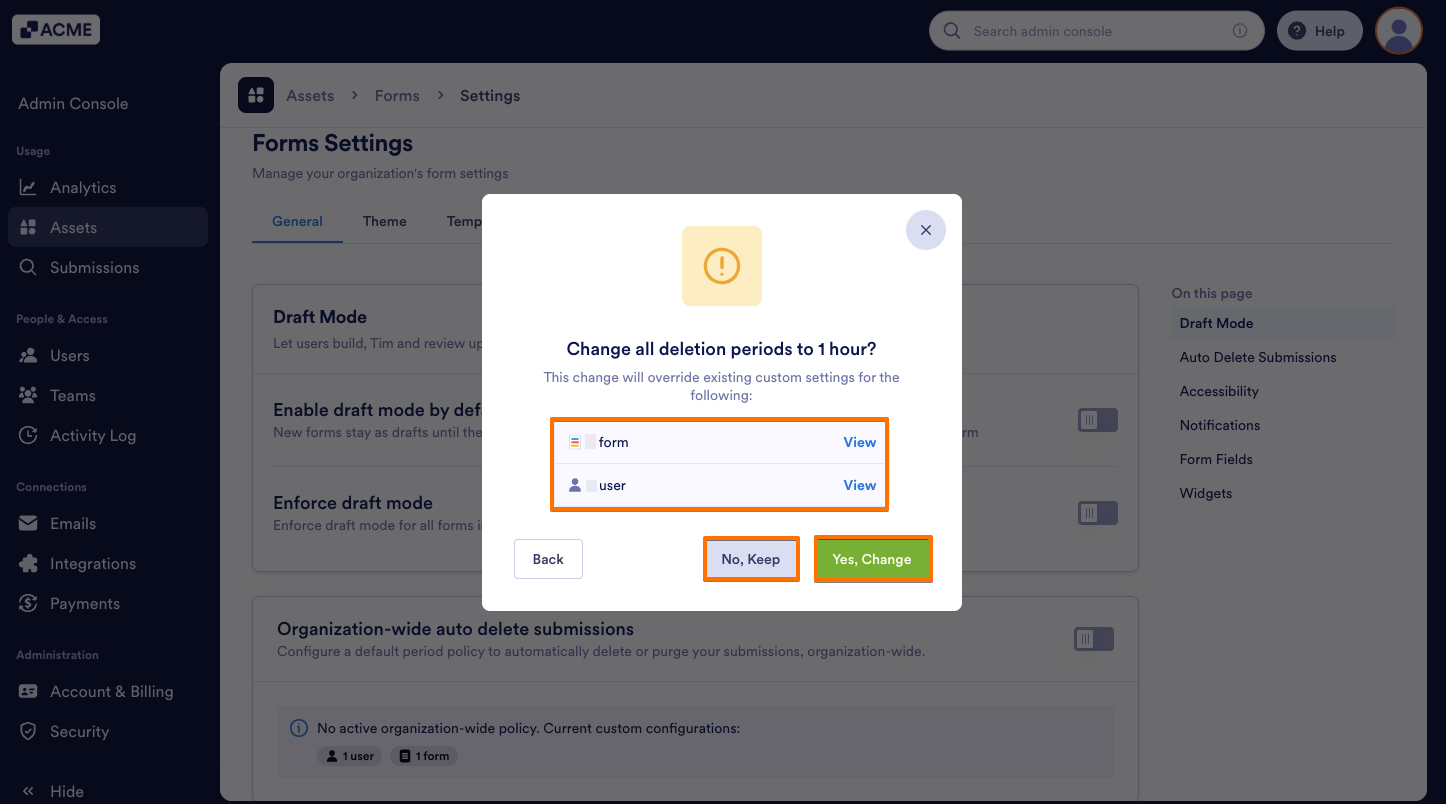
- Now, click on Yes, Apply & Trash, and you’re done.
Note
When this org-wide setting is enabled, it completely overrides all individual auto-delete scenarios that have been set up by users, unless the Keep option is selected.
If you selected the Purge option, follow the same steps, then click on Yes, Apply & Purge button at the end.
Setting Up a Custom Deletion Period
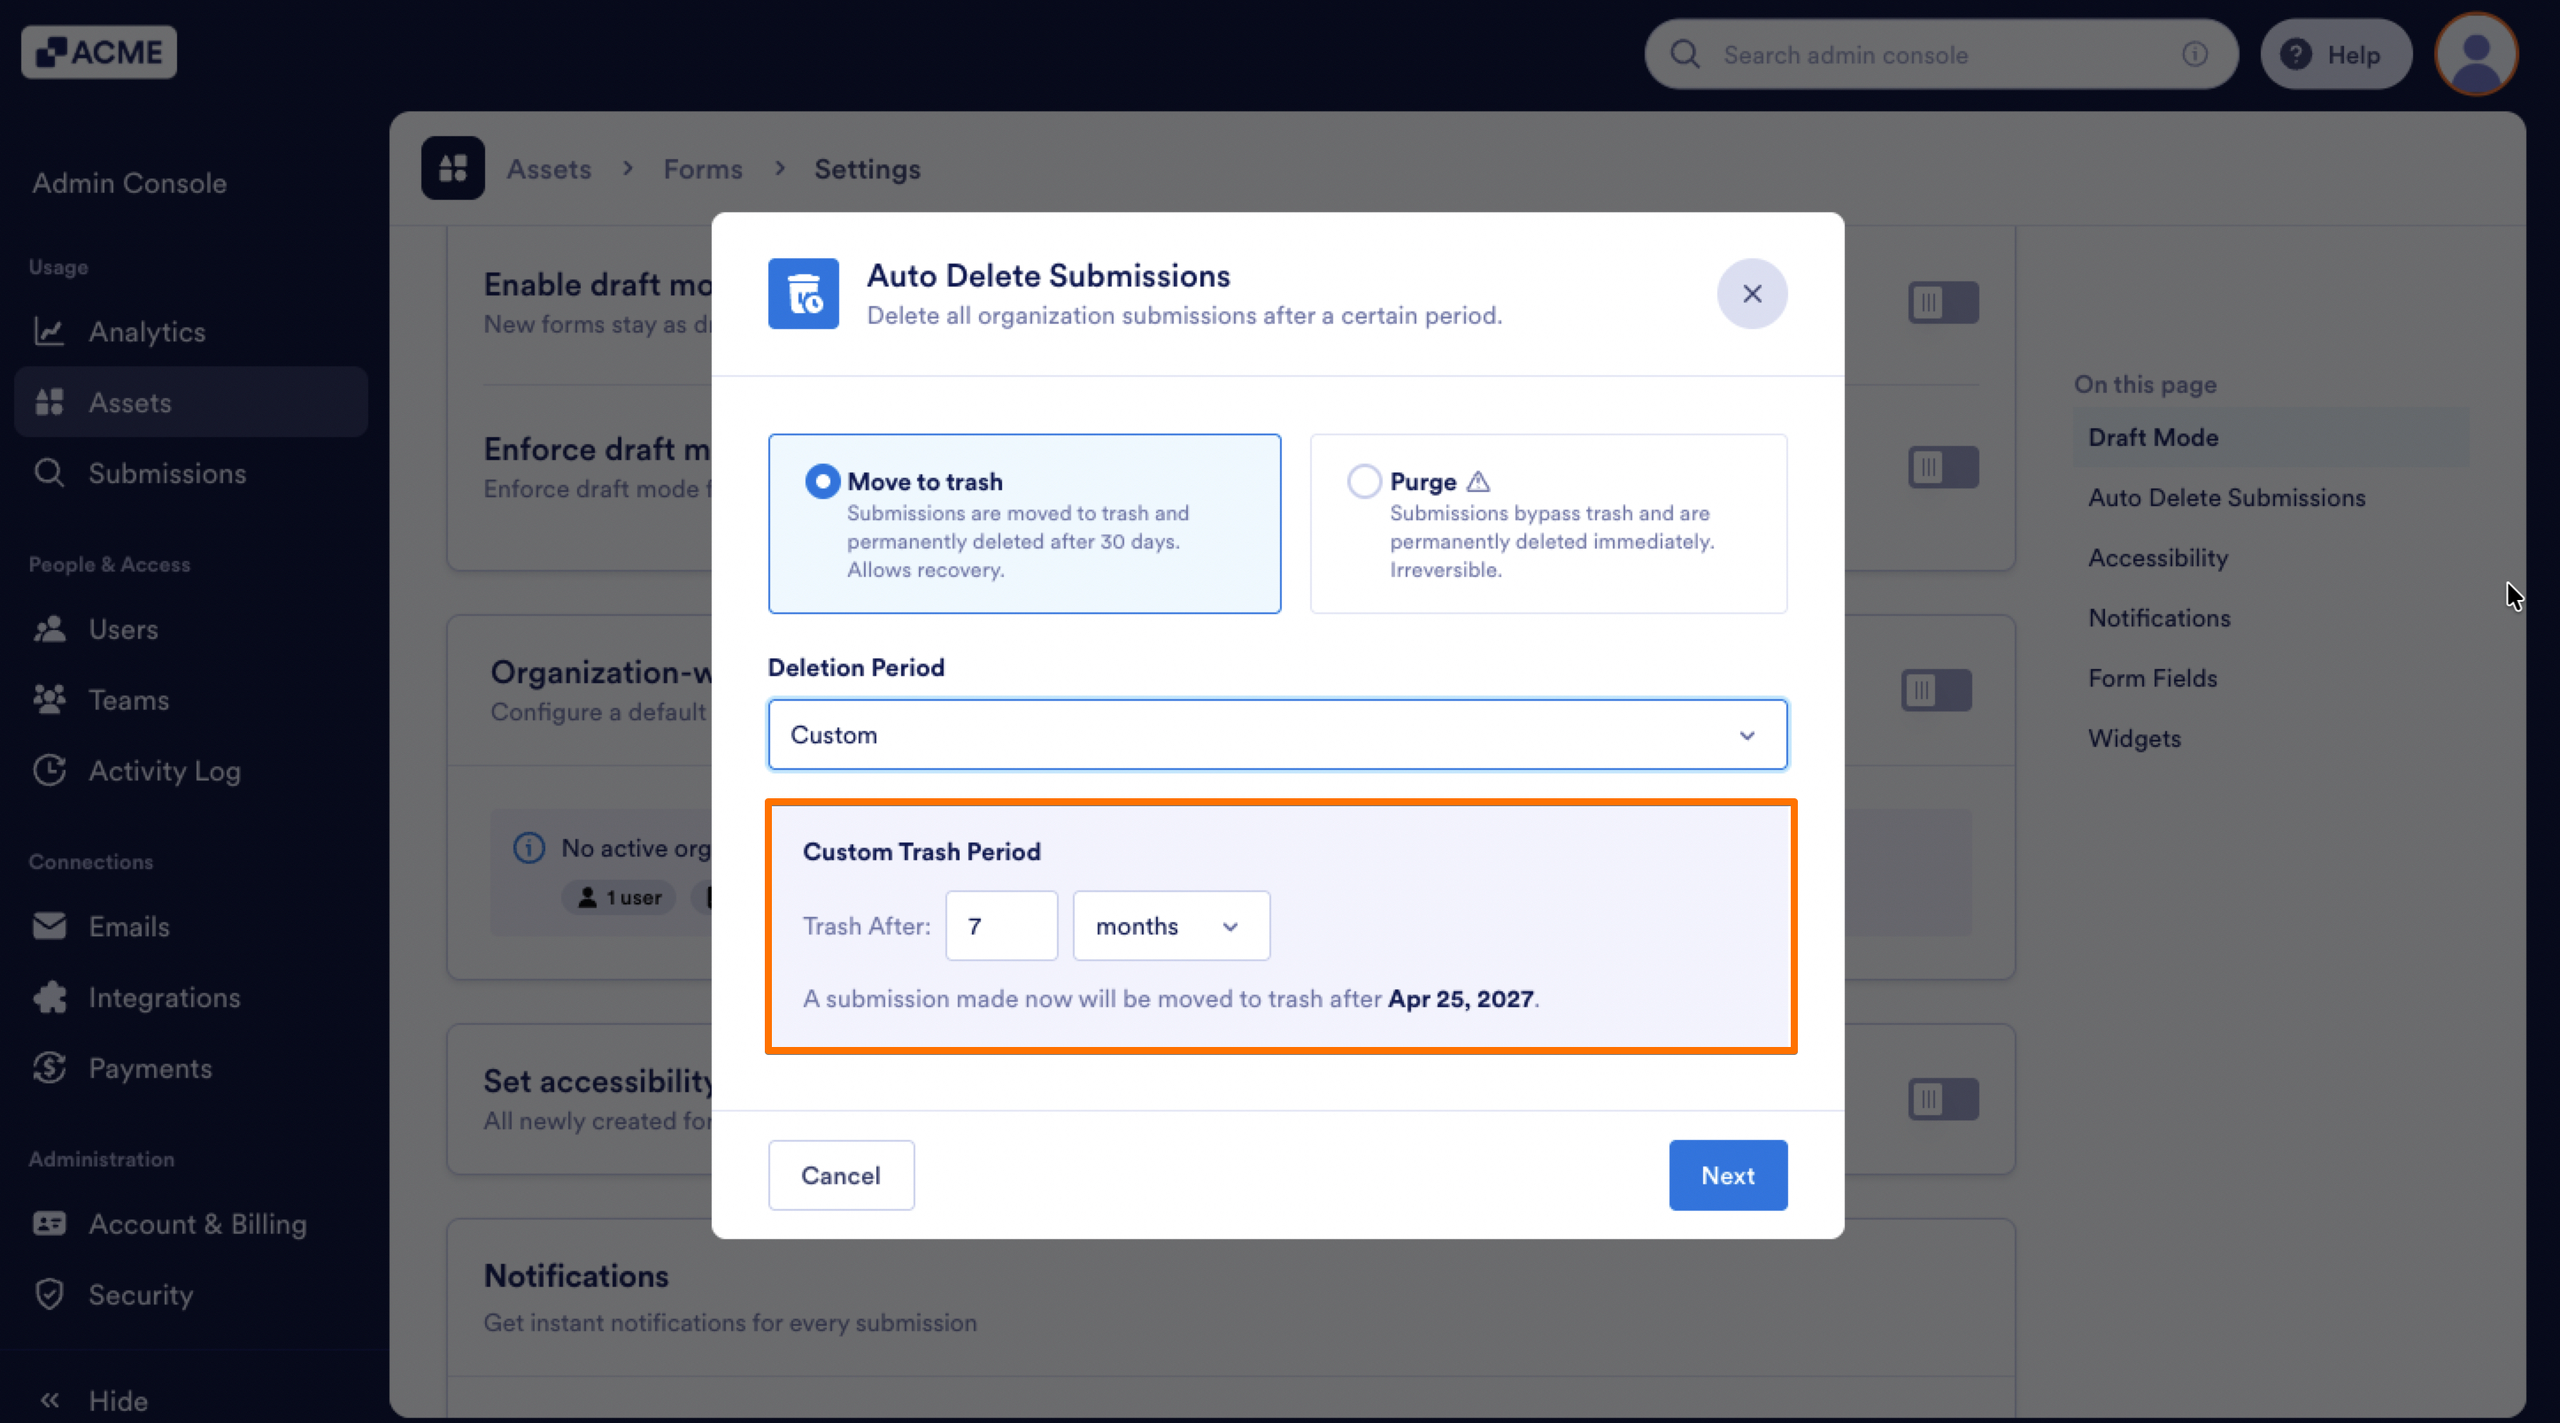
If the preset timeframe options do not match your exact needs, you can define a custom duration.
- Click on the Deletion Period dropdown menu, then select Custom.
- Enter the value and frequency for the submissions to delete.
- Then, click on Next at the bottom of the window.
- Now, click on Yes, Apply & Trash, and you’re all set.
Note
If you selected the Purge option, follow the same steps, then click on Yes, Apply & Purge button at the end.

Send Comment: