In Tables, it’s possible to respond directly to form submitters. You can also forward submissions to your colleagues. It is helpful if you want to stop getting email alerts and prefer sending messages directly from your account.
There are three ways to pull up the Reply and Forward options:
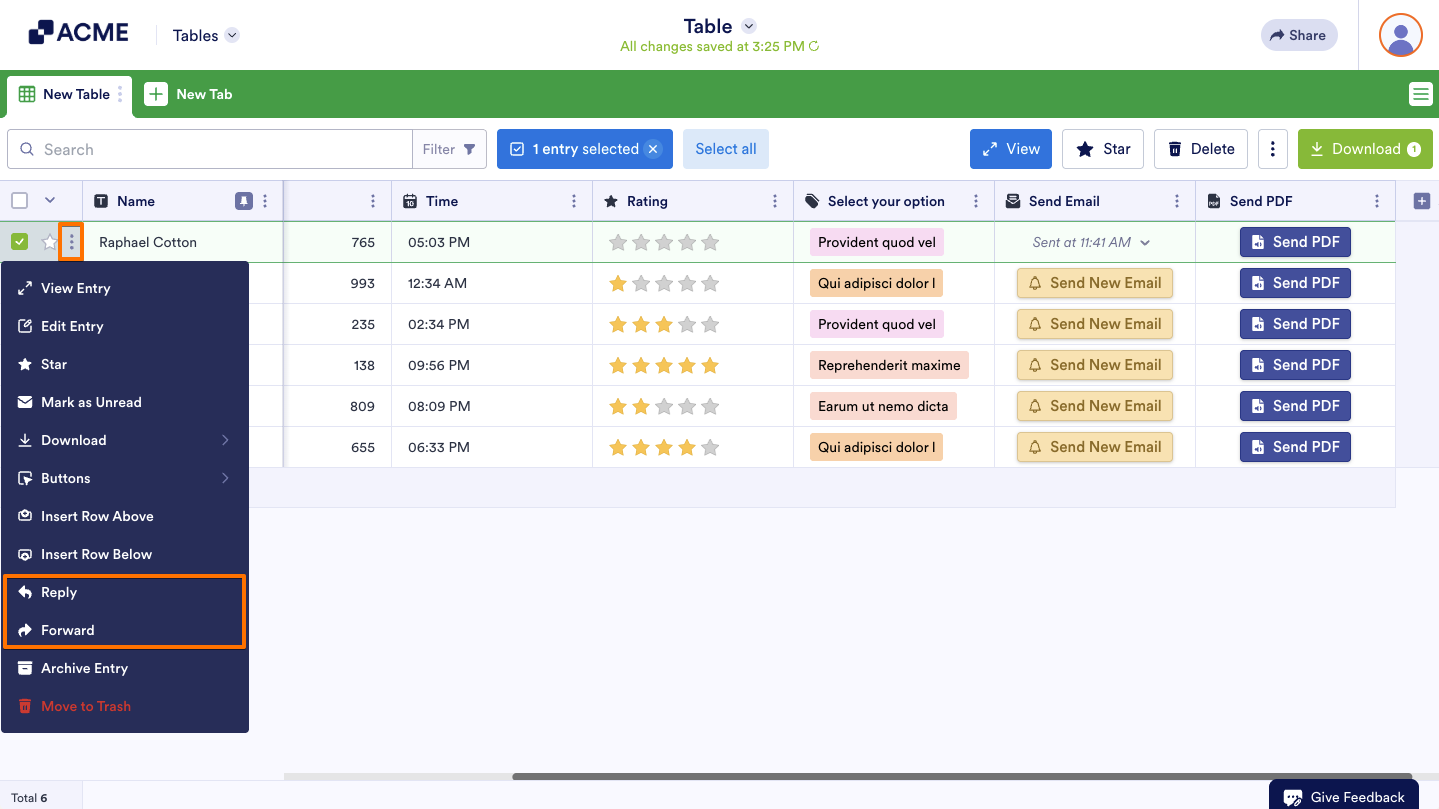
Inline Submission Menu
You can pull up the Inline Submission Menu by doing the steps below:
- Select the submission in Tables.
- Click the Three Vertical Dots icon near the Star icon of the selected submission. Alternatively, Right-Click the submission to open the Inline Submission Menu.
- Click the Reply or Forward option.
Top Submission Menu
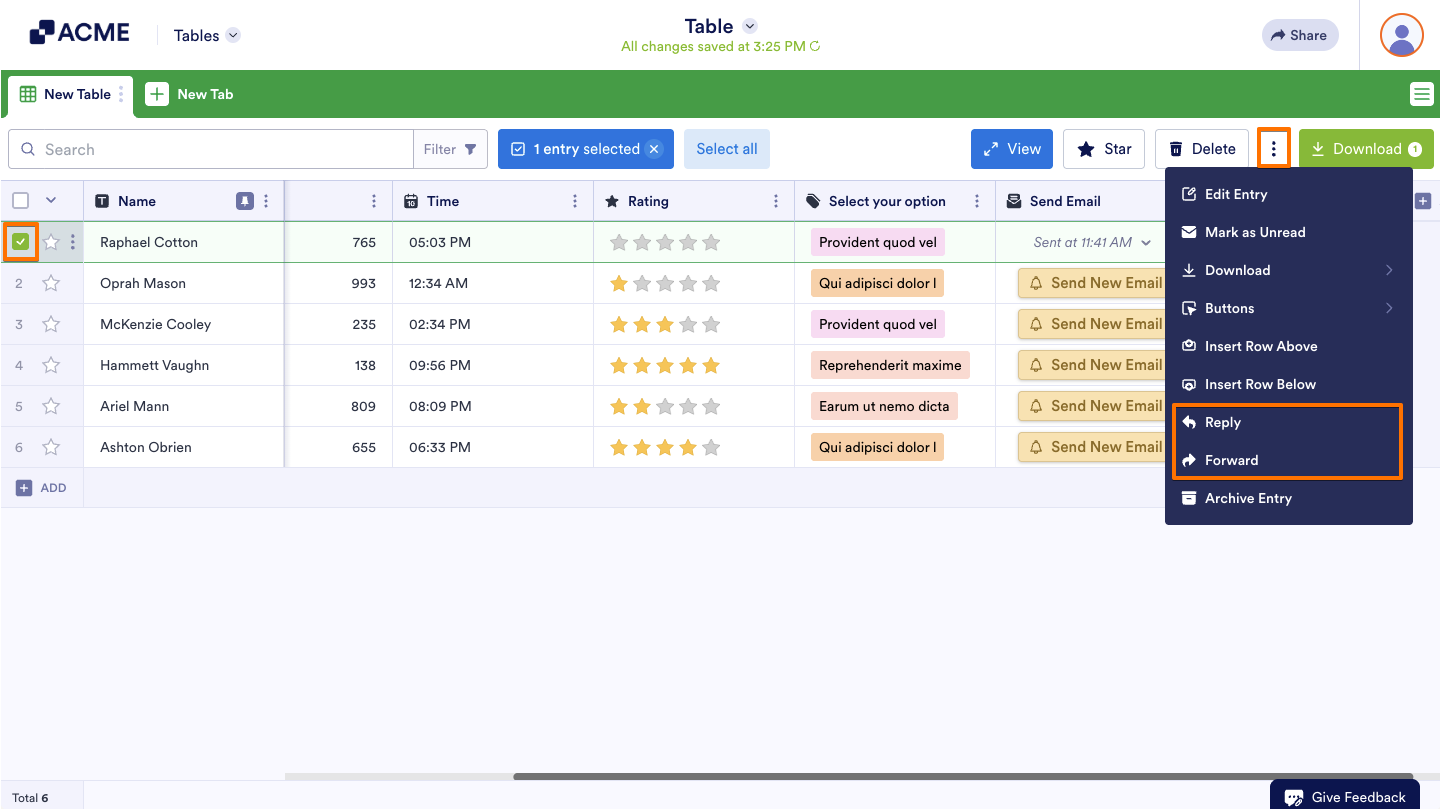
You can open the Top Submission Menu by doing the following:
- In Tables, check the box next to the submission.
- Then, click the Kebab or Three Vertical Dots icon at the upper right corner of the page.
- Click the Reply or Forward option.
Single Submission Viewer
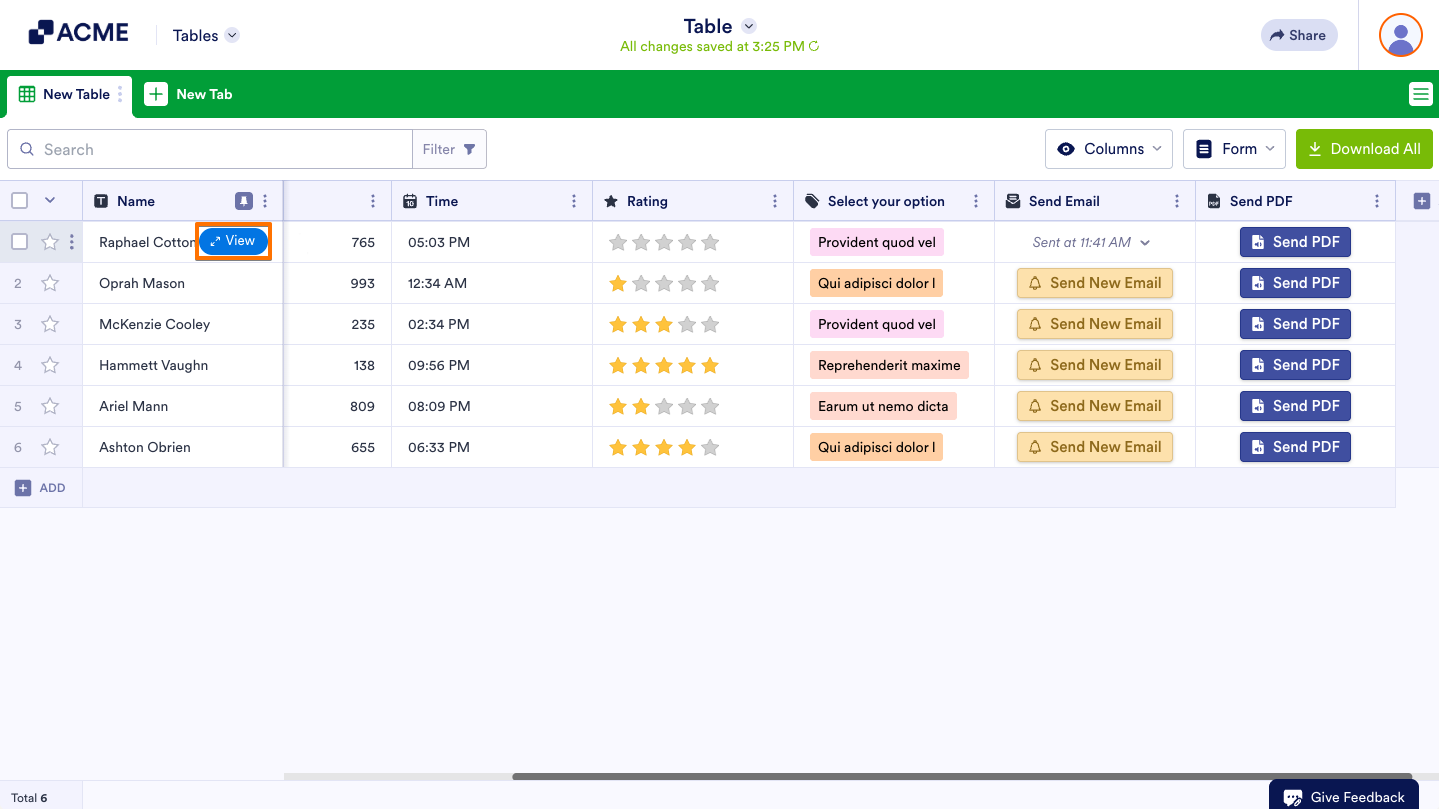
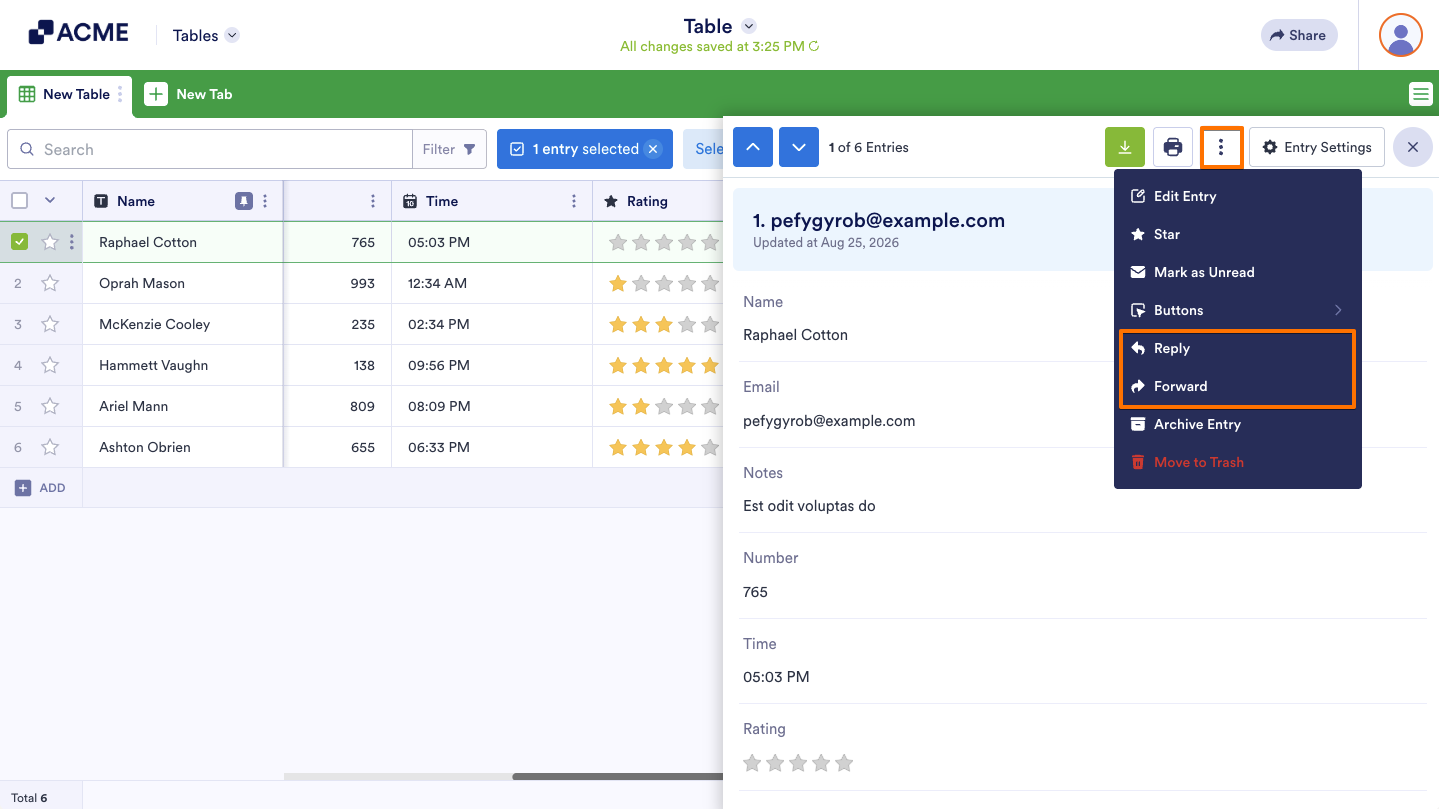
To open the single submission viewer:
- While hovering your mouse over the submission, click the View button.
- In the single submission view, click the Kebab or Three Vertical Dots icon at the upper right corner of the page.
- Click the Reply or Forward option.
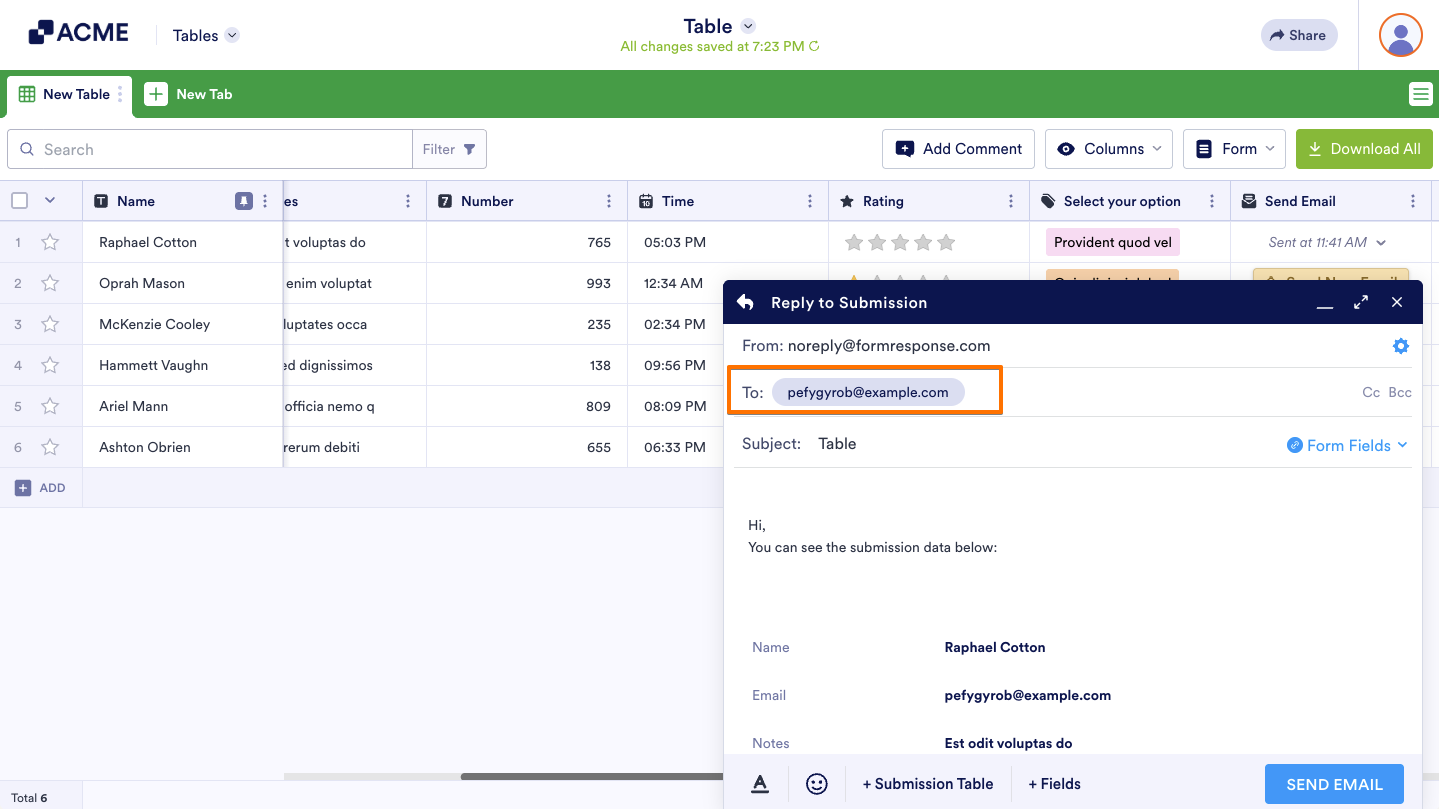
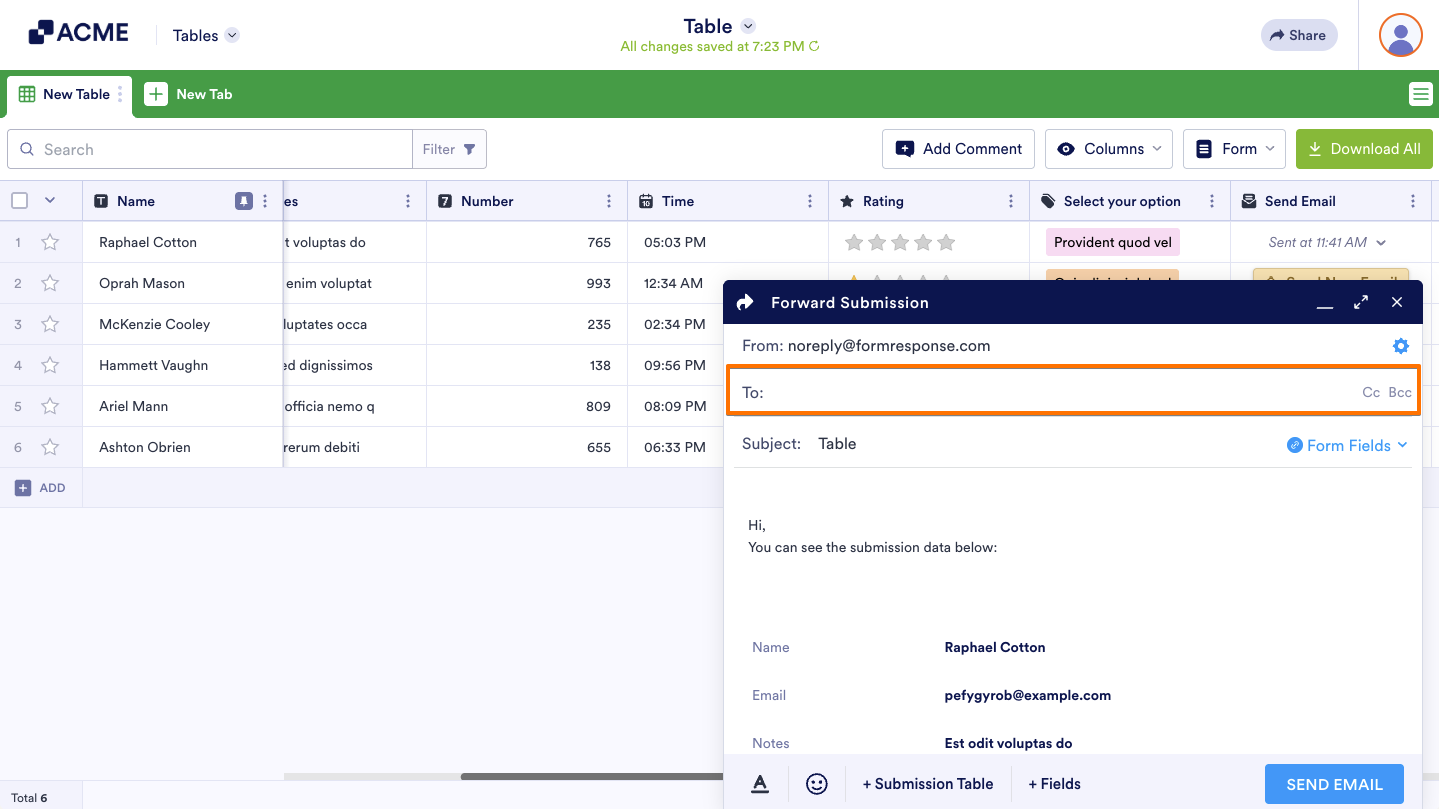
The only difference between the Reply and Forward options is the To box. When Replying to a submission, the To box is automatically populated with the submitter’s email address, while the Forward option is empty, and you must input an email address.
Reply to Submission:
Forward Submission:
The other options are the following:
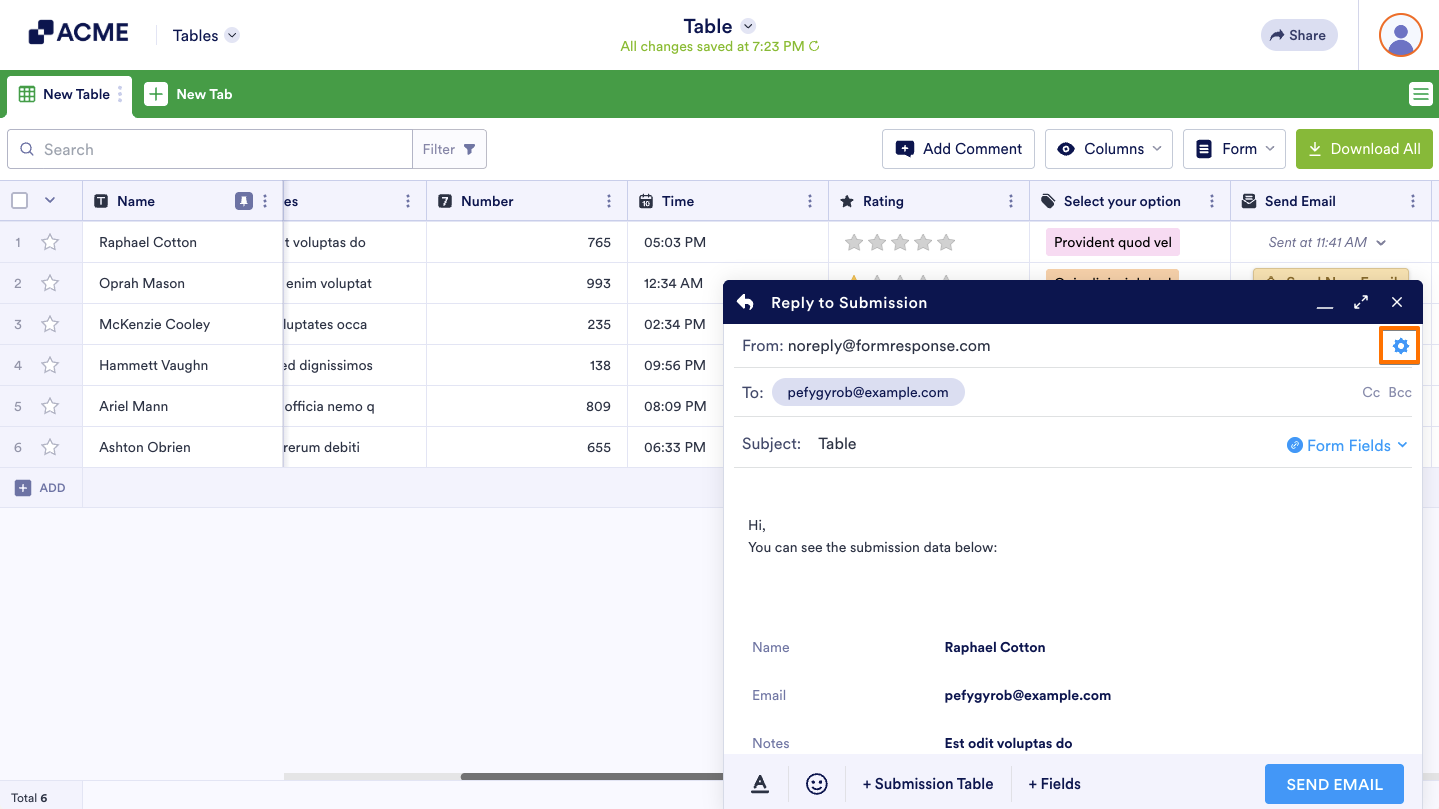
Email Settings
You can change the Reply-to Email and select the Sender Email on the email settings page. You can pull this up by clicking the From box or the gear icon on the far right.
See also:
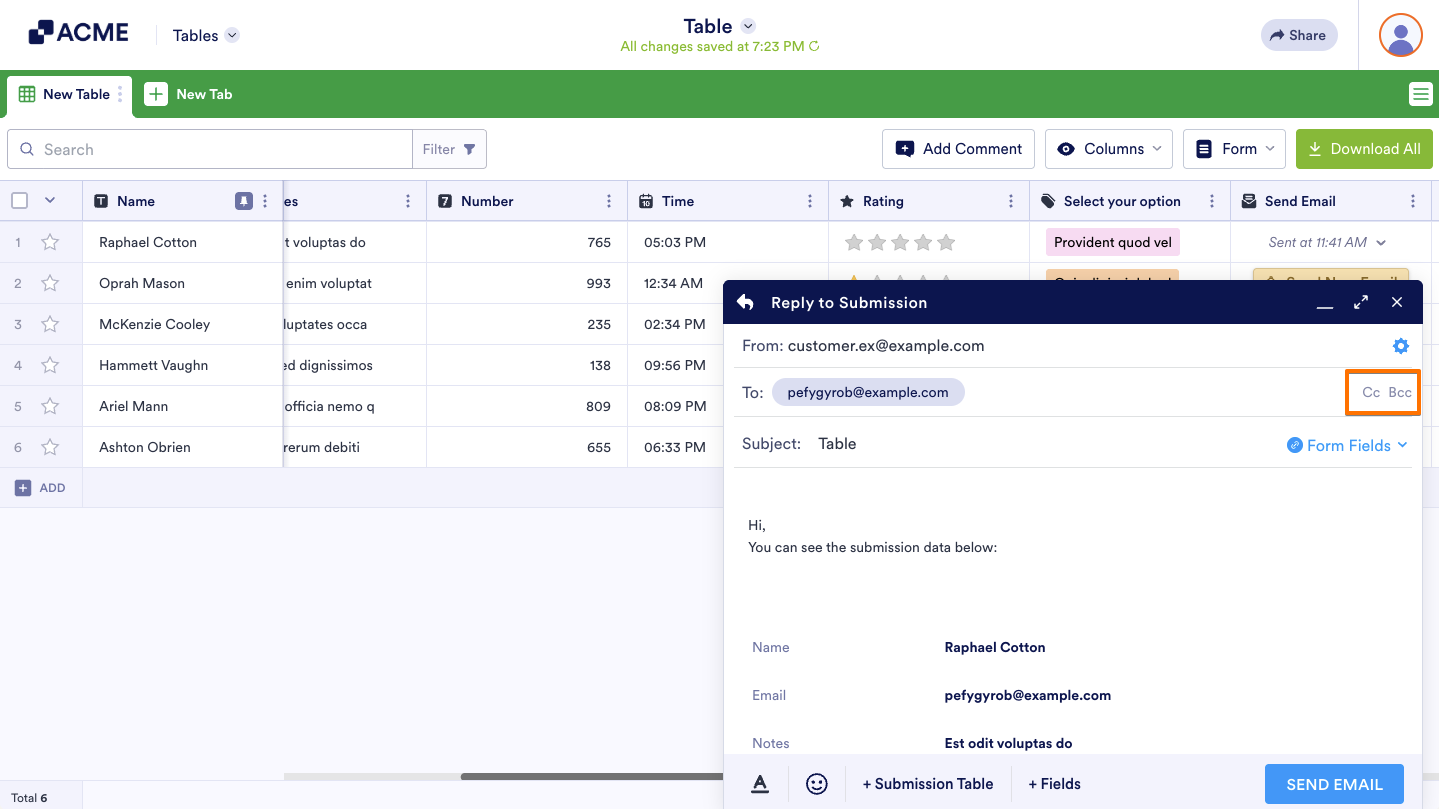
CC & BCC
When responding to or forwarding a submission, you can add a CC (carbon copy) and BCC (blind carbon copy). Click these options on the right side of the To box to add the CC/BCC recipients.
Form Fields
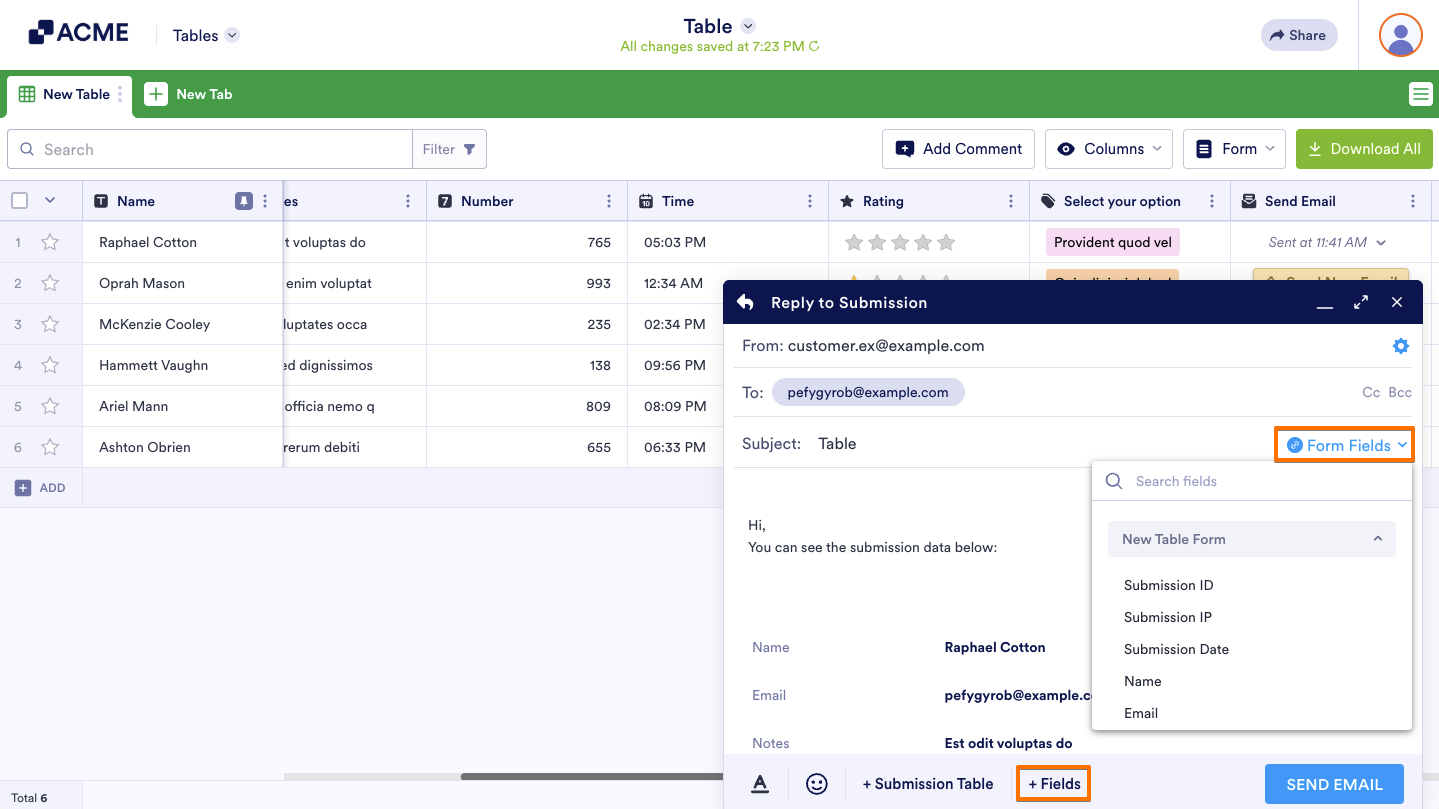
You can find the Form Fields option on the right side of the Subject box and at the bottom of the email content. The first Form Fields option lets you personalize the email’s subject line, while the same option at the bottom allows you to add form field answers to the email content.
Submission Table
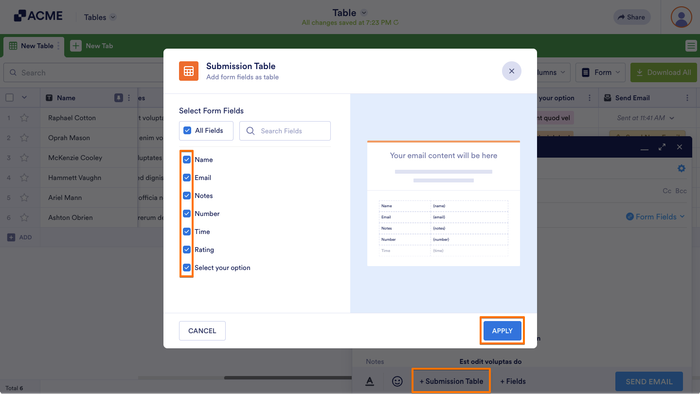
The submission table option allows you to exclude form fields in your reply or the forwarded submission. Click the option and uncheck the fields from the window. Please don’t forget to click the Apply button to save the changes.
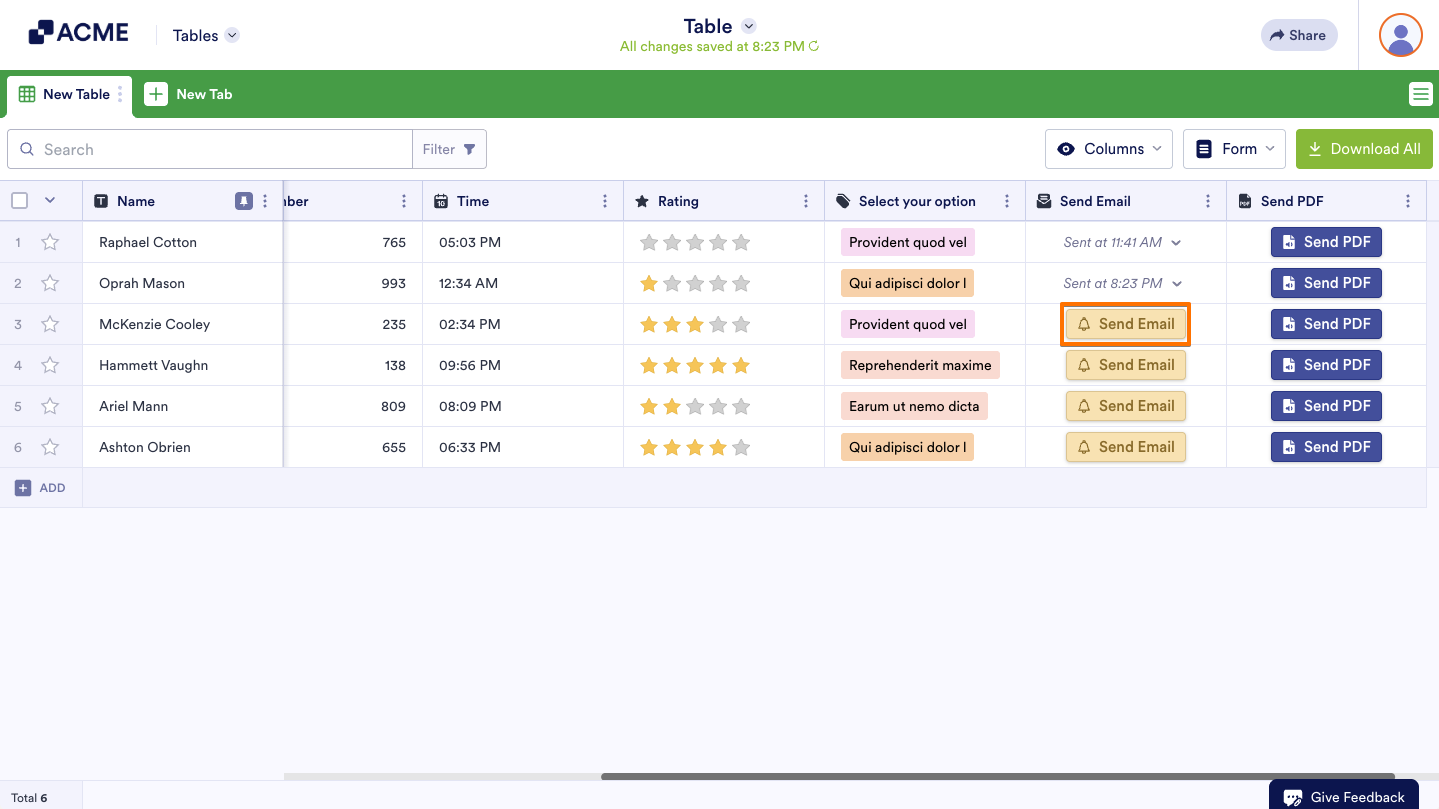
With all the above, don’t forget to click the Send Email button to send your reply or forward the submission.

Send Comment: