
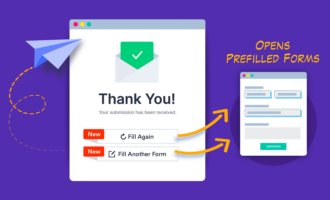
Prefilling forms is a great way to help make your clients’ lives easier. It saves them from having to fill in information more than once and gives them a customized experience. Plus, it simplifies and clarifies the form.
But there’s another very important reason to prefill forms: People make mistakes. It doesn’t matter how careful someone is. It happens to the best of us — and it happens more than we probably care to admit.
Prefilling forms can definitely help reduce errors. For extra-strength error protection, you may want to consider locking your forms. It’s a good option when you know for sure that you have the correct data.
Taking care of a menagerie of fans
Ryan has a business selling hand-crafted glass figurines of various animals. Most people buy only one or two of his figurines. But he has a few customers that are incredibly loyal.
As soon as Ryan releases a new animal, his die-hard fans will snap them up. The fact that he crafts these by hand means that he usually releases a limited number of each.
That makes them highly collectible. Some of his fans sell their figurines for hundreds of dollars on eBay.
Ryan really appreciates the loyalty of his customers. So when one of his customers buys their 100th piece, he sends them a unique, one-off gift. Most of his animals have a very organic style, but the unique gift figurines look like he’s carved them from rare gems.
He also gives his fans a choice of color. For a while, he sent off an email asking what color they wanted, but he decided to streamline the practice with Jotform.
Ryan created a form to ask his customers what color gift they wanted. But he realized that he didn’t want the gift to be transferable. And with the market for his figurines as hot as it is, he didn’t want someone to steal the figurines if they got access to the email he sent.
It was a small chance, for sure, but he didn’t want to risk it. So Ryan added name and address fields to his form so that his customers would know where the gift was going, but he locked down the fields so no one could change them. Here’s how he did it.
Locking the fields
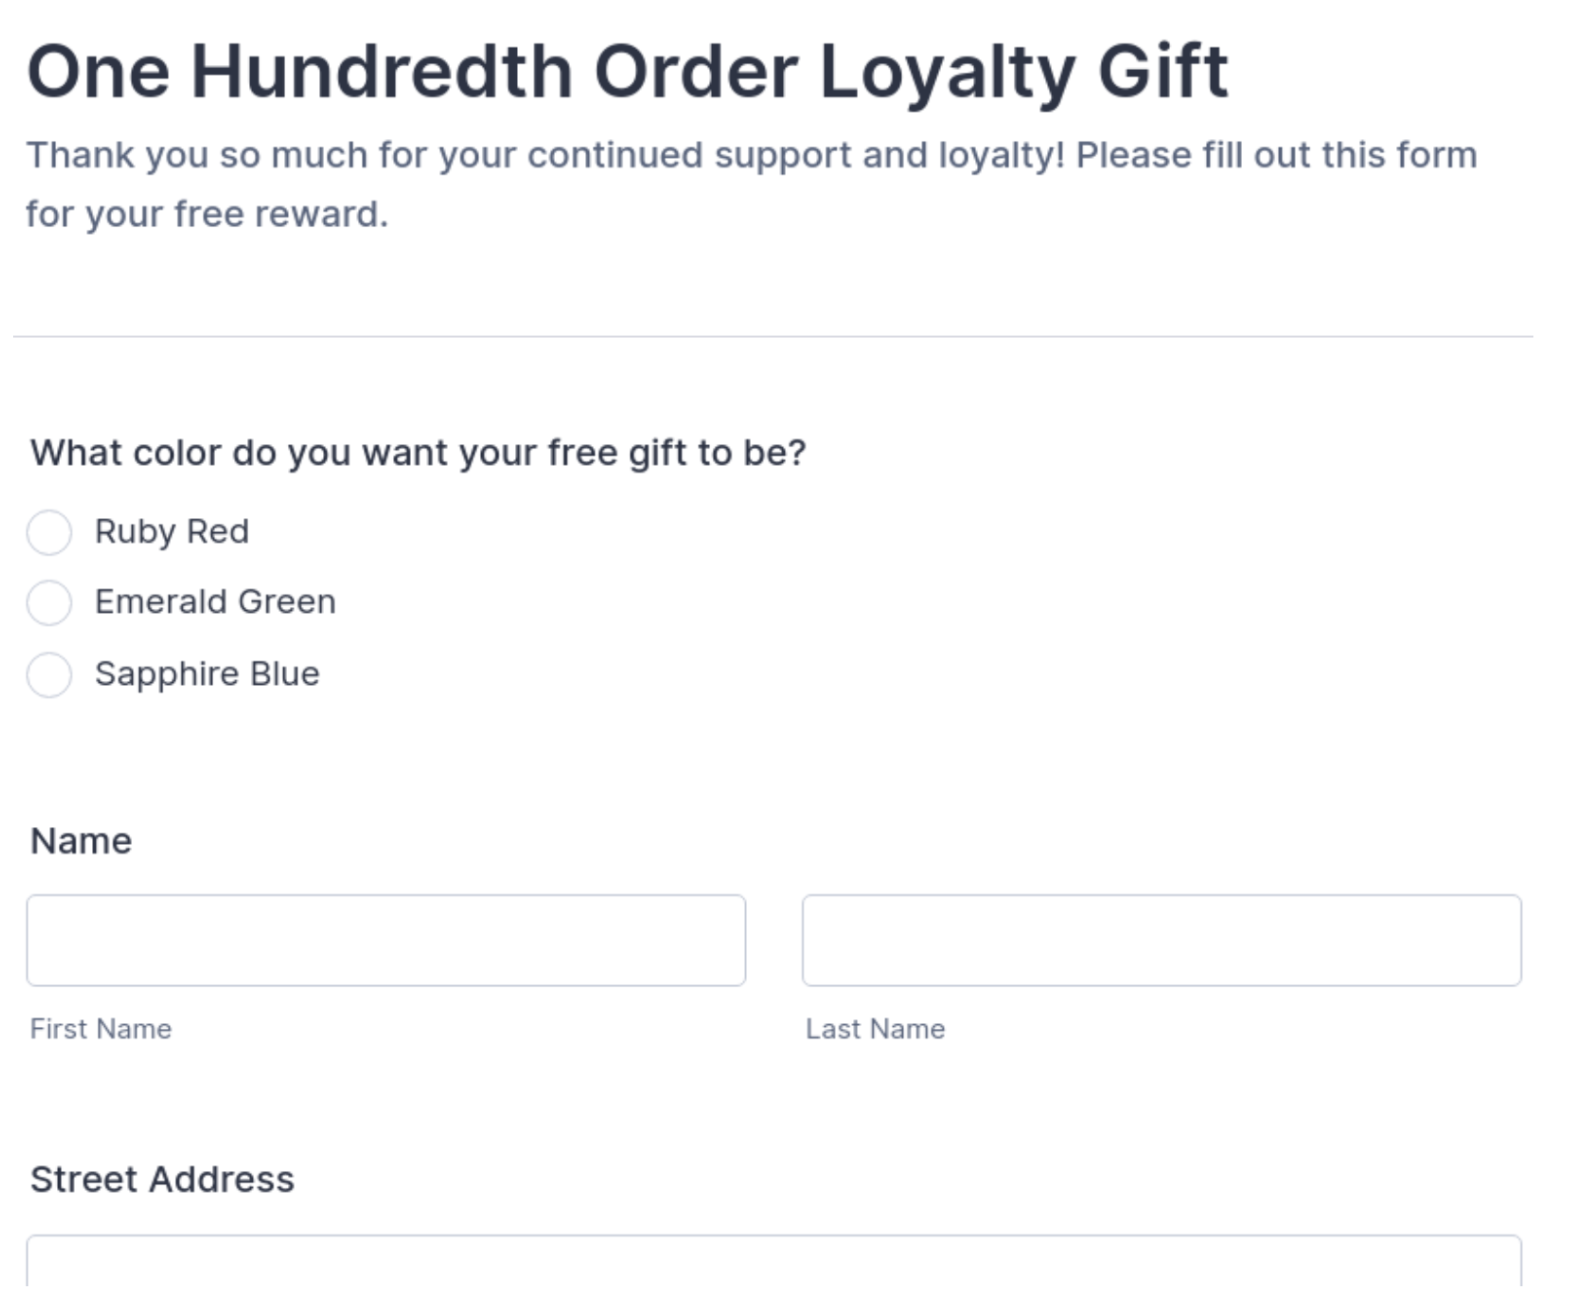
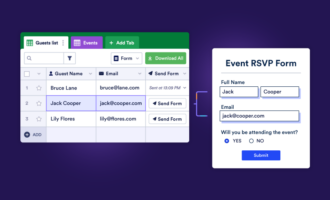
First off, Ryan used Jotform to create the gift form. It made sense since he uses Jotform Tables to keep track of his customers.
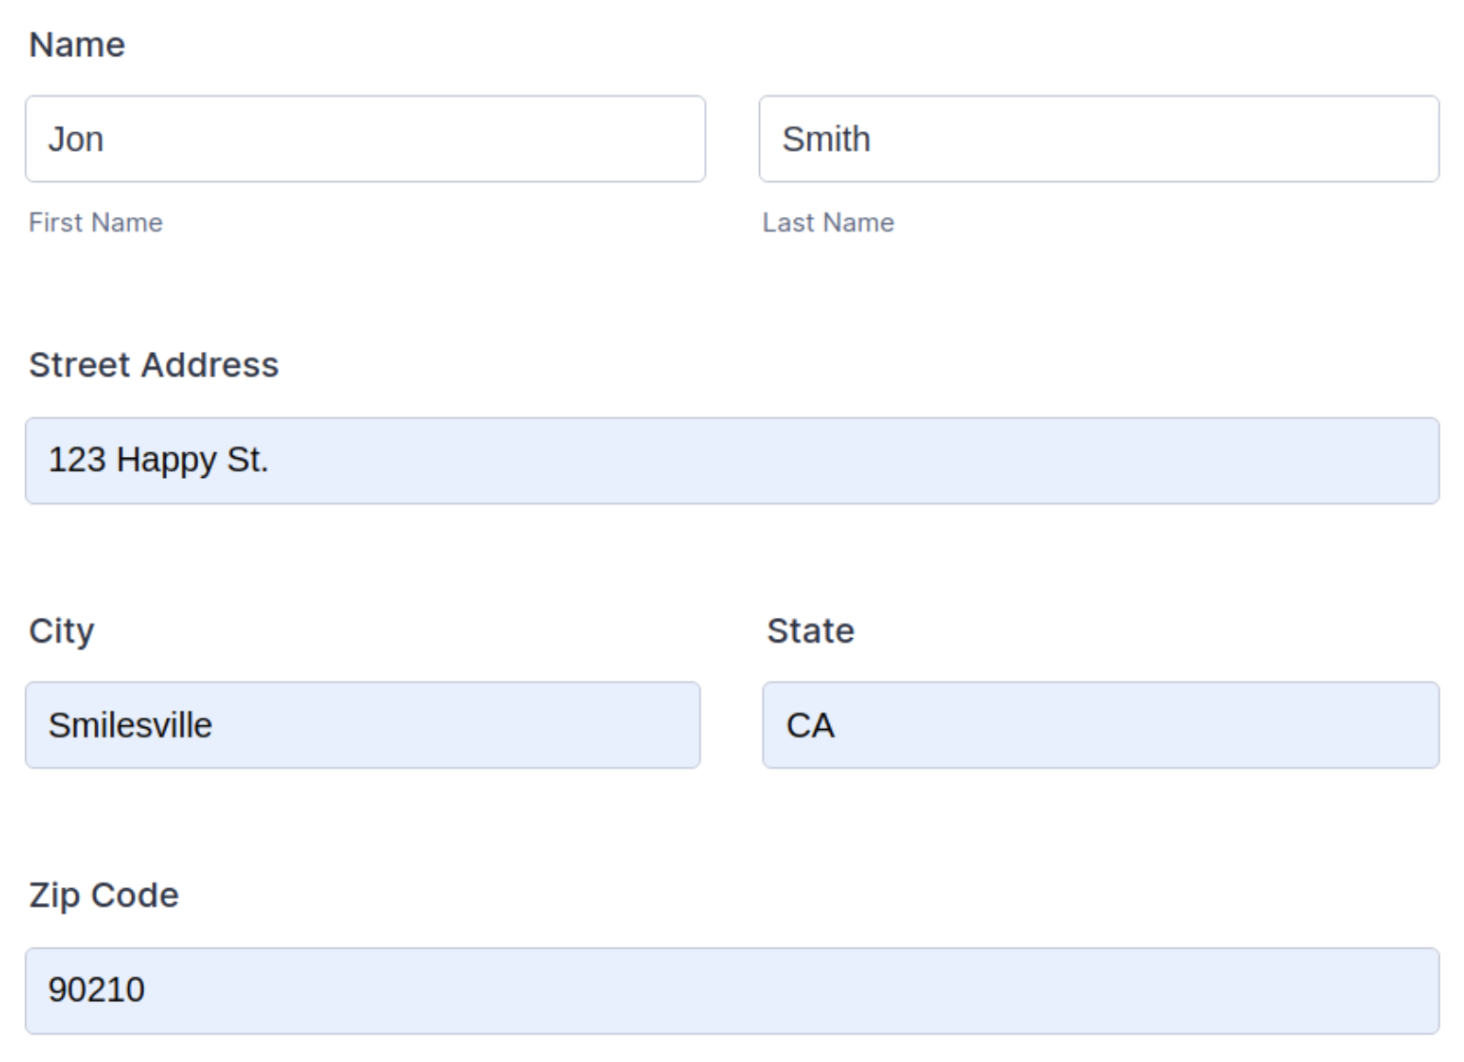
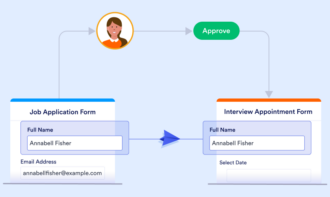
And it’s easy to use information from Tables to prefill forms. That keeps him from making mistakes as well. Here’s what his form looks like.
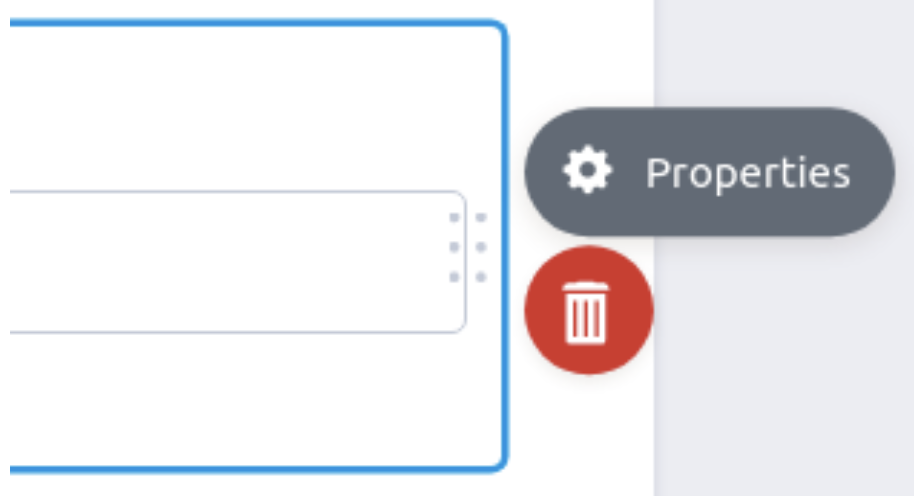
To lock the fields, Ryan selected the first one and edited the properties by clicking on the gear icon.
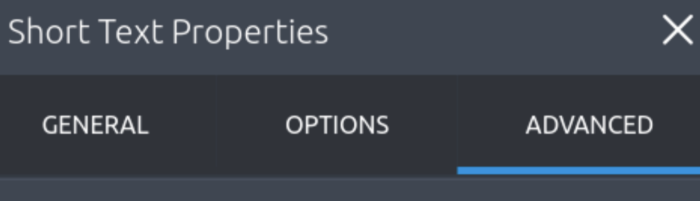
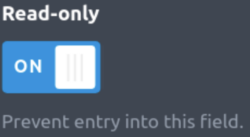
Then he went to the Advanced tab in the Properties menu, and he set the field to Read-only with the toggle switch.
You won’t be able to mark every form element as read-only. For example, the address element doesn’t have that option, so it’s better to use individual text boxes for the address.
Ryan went ahead and locked down the name and address fields. The only thing he left unlocked was the color selection choice element.
Sending the form
Once Ryan had locked down the appropriate fields, all he had to do was fill in the locked fields and send the invitation for his fans to fill out. The first step is visiting the Publish tab in the orange bar above the form.

Next he went to the Prefill tab by clicking the button in the left menu.
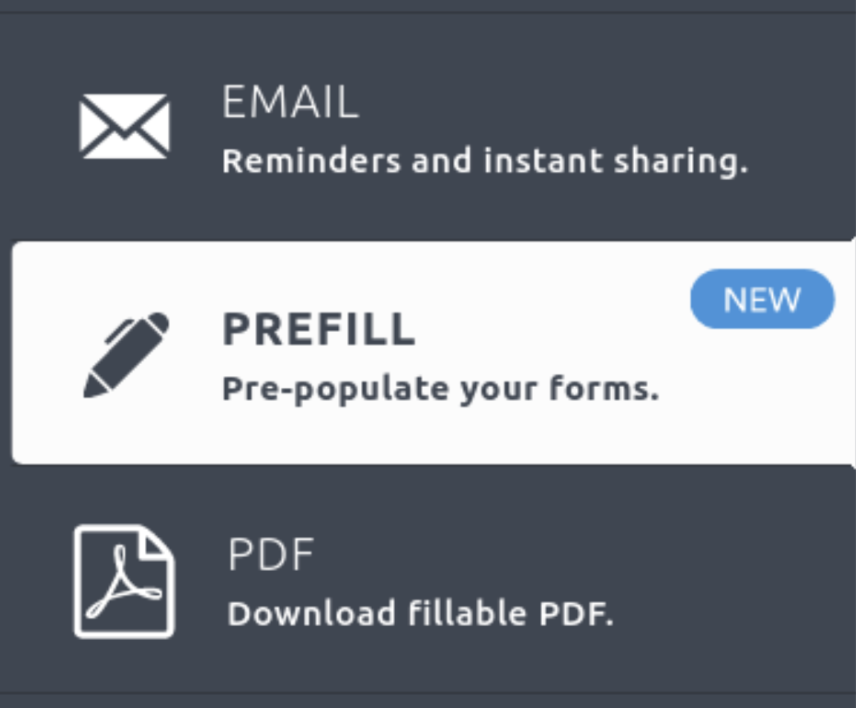
There are several options to prefill the form. He took the data from the table.
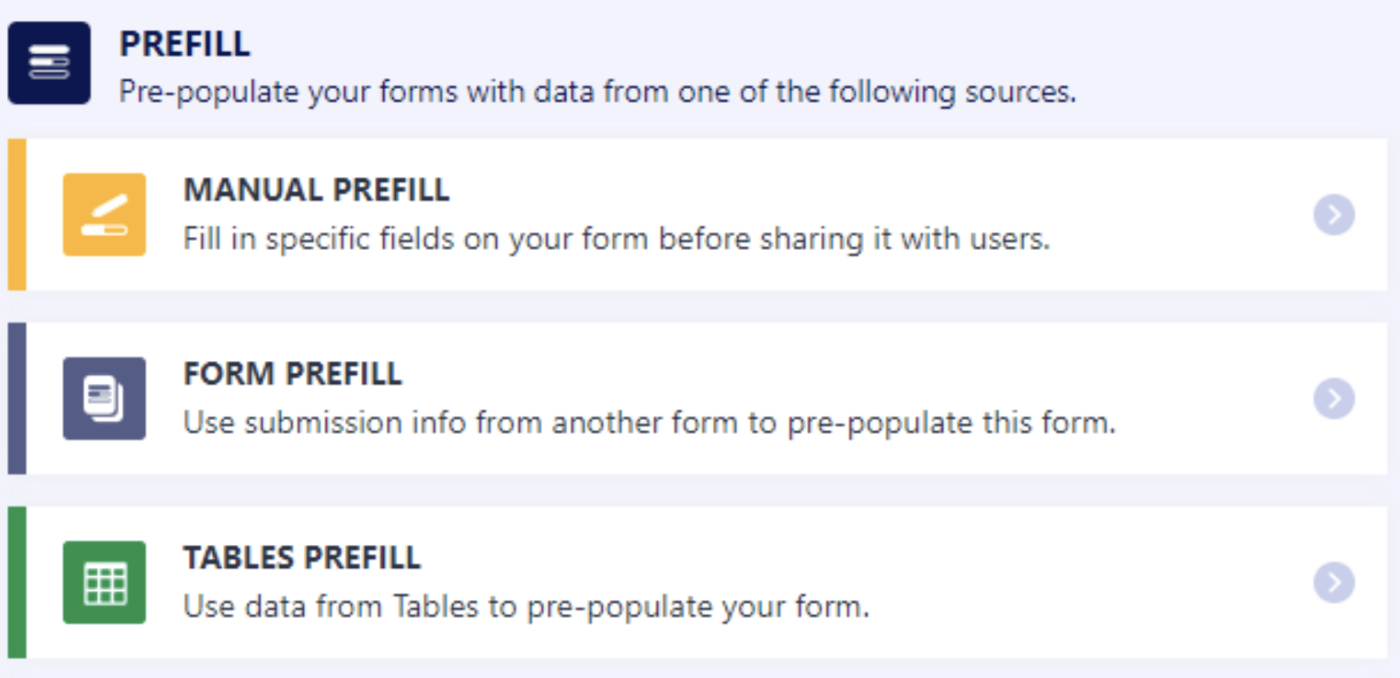
But for this article, we’ll go over how to do it manually. Start by selecting Manual Prefill.

Then click Add a New Prefill.
Now fill in the fields you want to be prefilled. Remember, if you lock a field and don’t prefill it, the field will always be blank. When you’re done, click Create in the upper right corner.
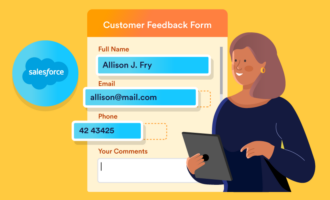
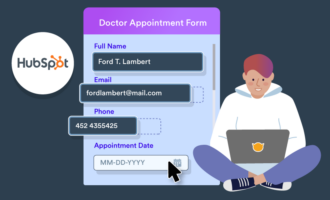
And now you have an invitation ready to go. Ryan creates his invitations in batches once a month to save time. Jotform gives you other prefill options as well, like Salesforce and HubSpot.
Making life even easier
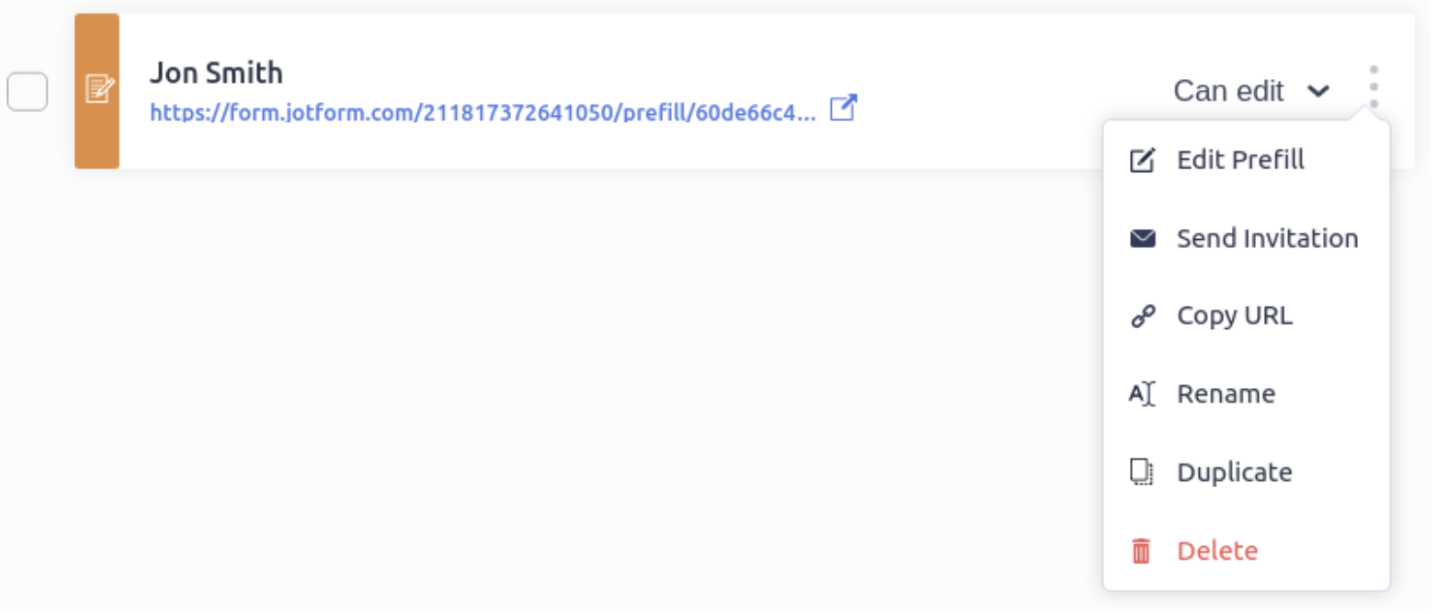
You may have noticed that the invitation already has the invitee’s name. That was actually automagically taken from the Name field. The same thing works with the Email field as well, making your job of sending out invitations even easier.
From there, you can copy the link to preview or share. You can also duplicate it and perform any of the other actions in the dropdown menu.
If you want to learn more about Jotform Prefill, check out our landing page.


Send Comment: