With Jotform Enterprise, you can easily customize your server to suit your needs. One handy option is setting up a custom sender email through SMTP. If you’re using Microsoft SMTP, you’ll get the added benefit of OAuth 2.0, which keeps things simple and secure. This way, your emails remain both easy to manage and well-protected.
Adding Custom Sender Email Using Microsoft SMTP
You can add the custom sender email using Microsoft SMTP through the Emails section of your Enterprise Admin Console page. Setting it up is quick—here’s how:
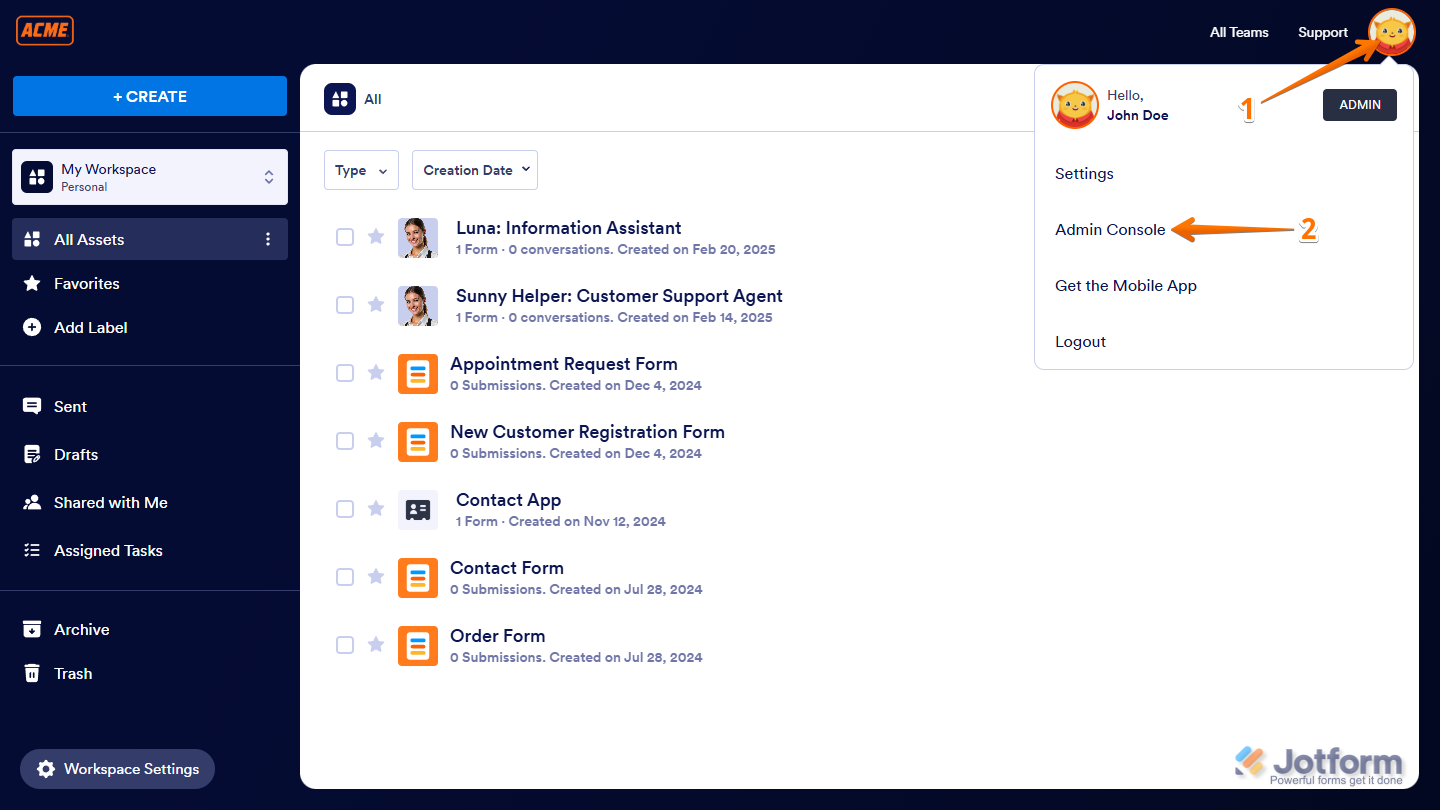
- On your My Workspace page, click on your Avatar/Profile picture on the top-right side of the screen.
- Then, in the menu that comes up, click on Admin Console.
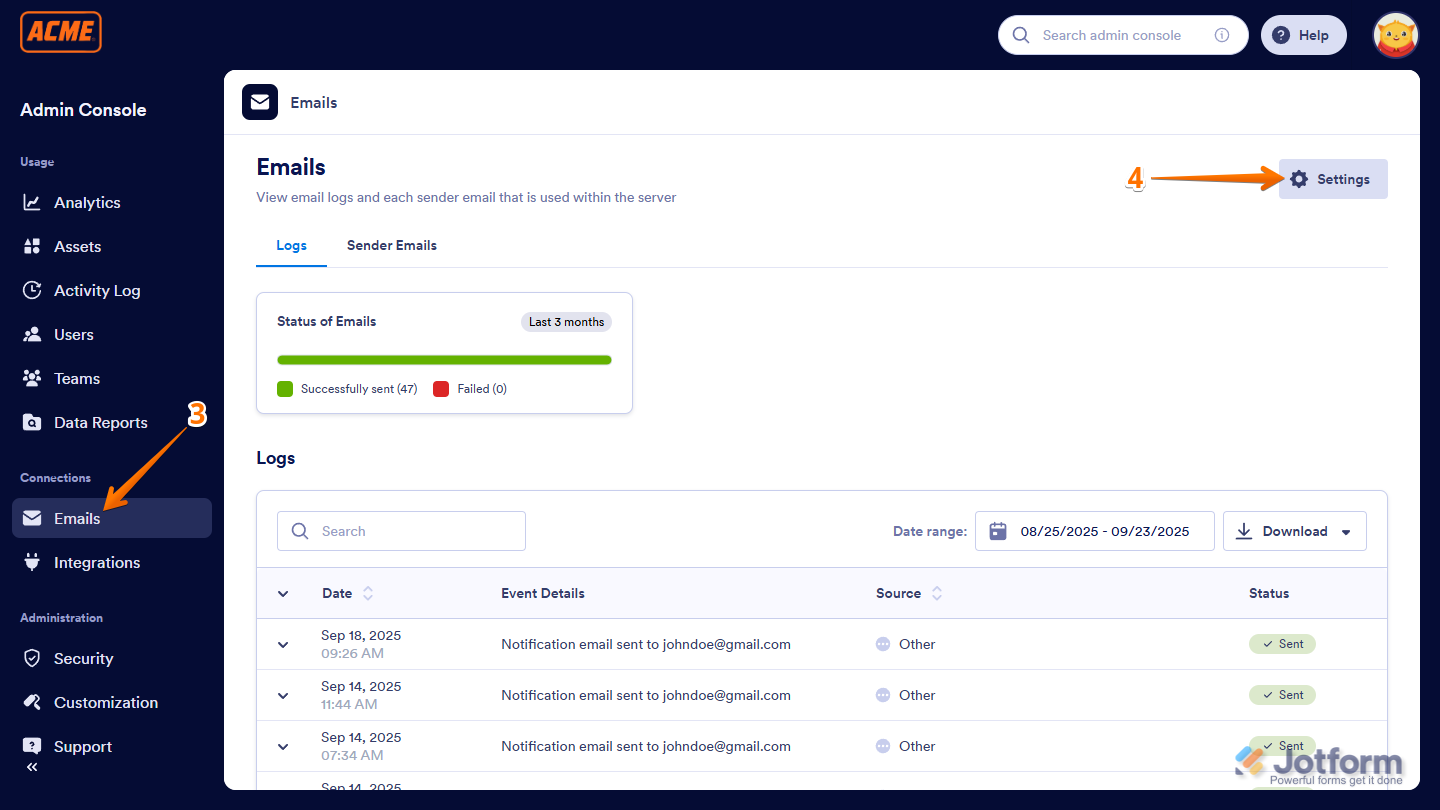
- Next, in the menu on the left side of the Admin Console page, click on Emails.
- Then, on the right side of the Emails page, click on Settings.
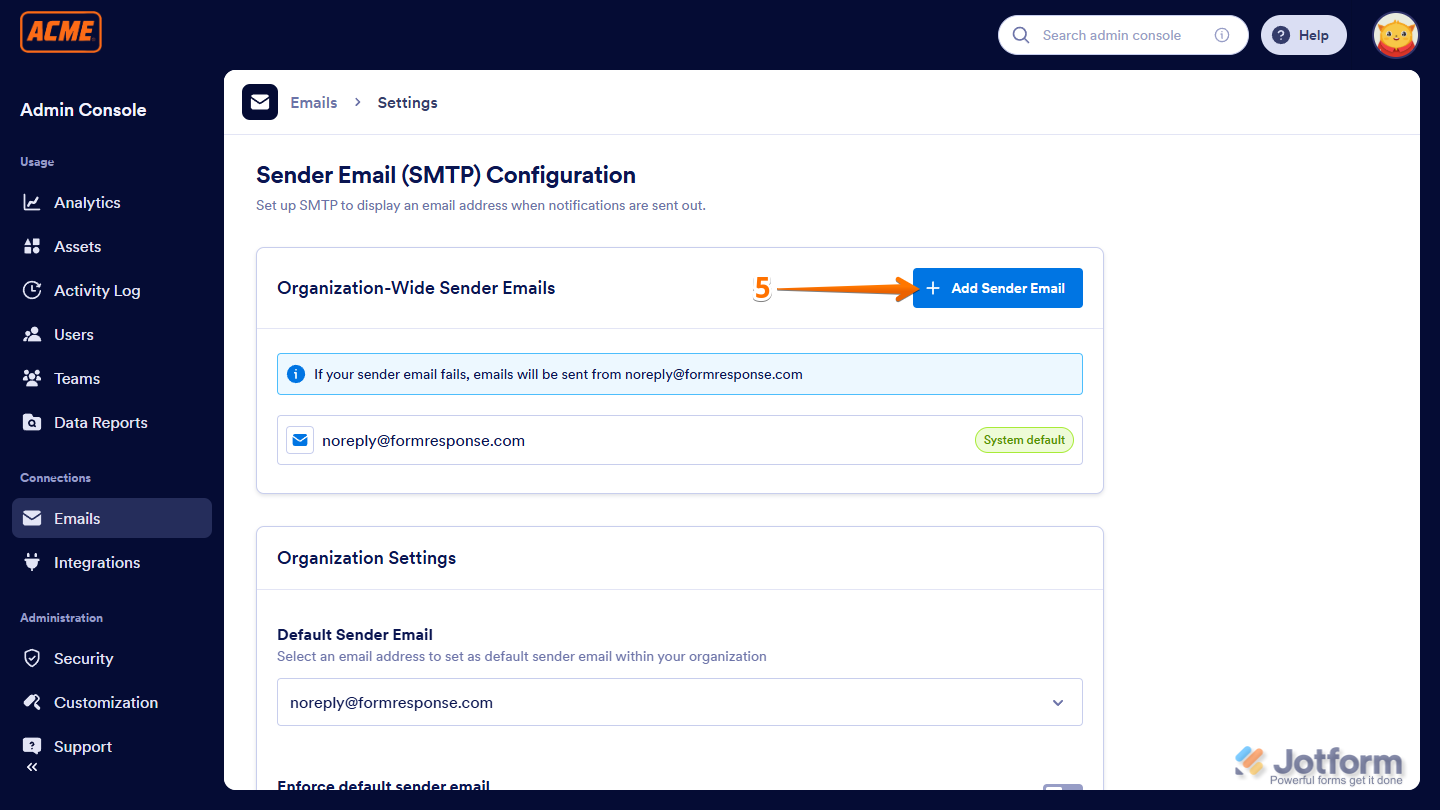
- Now, on the Sender Email (SMTP) Configuration page, under the Organization-Wide Sender Emails section, click on Add Sender Email.
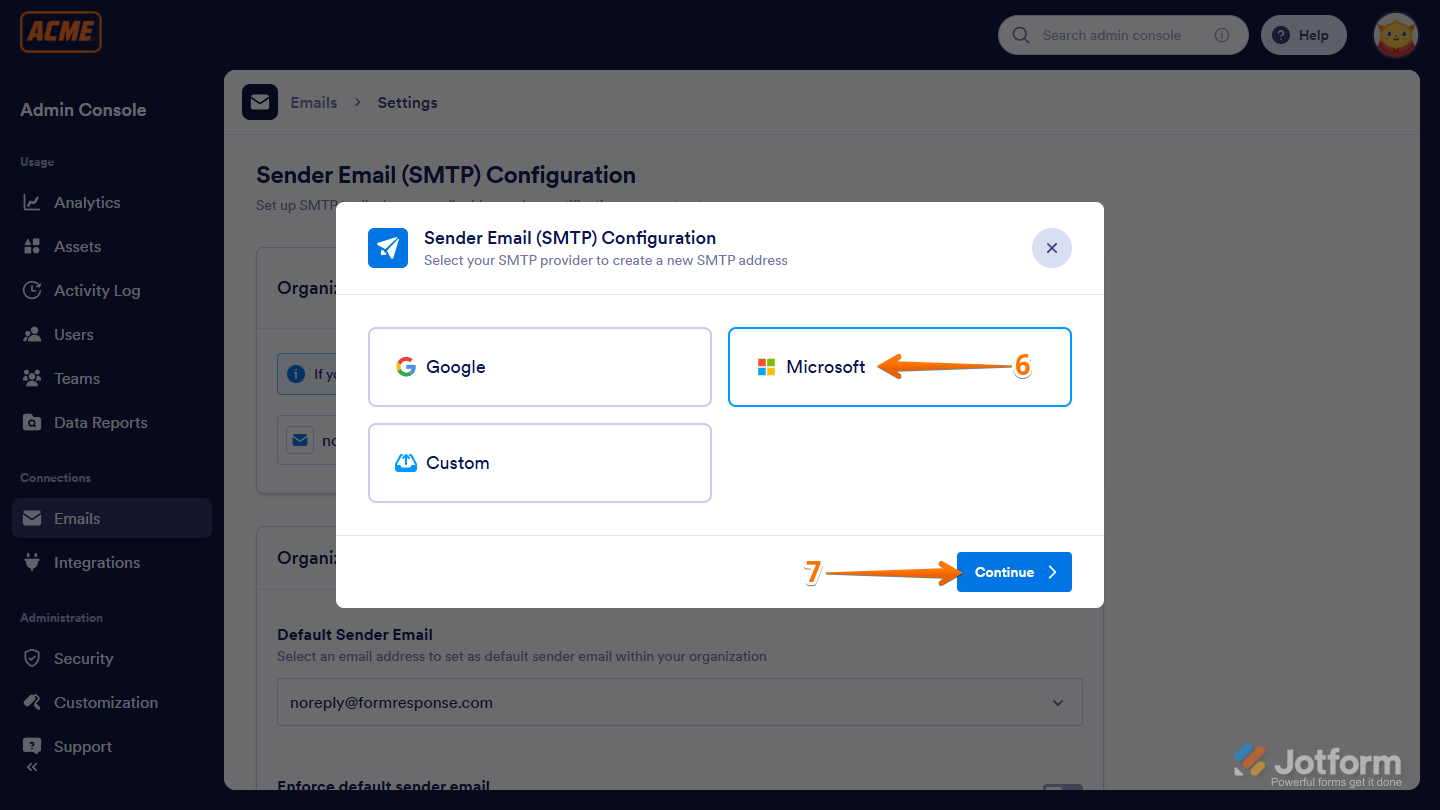
- In the Sender Email (SMTP) Configuration window that comes up, select Microsoft.
- Then, click on Continue.
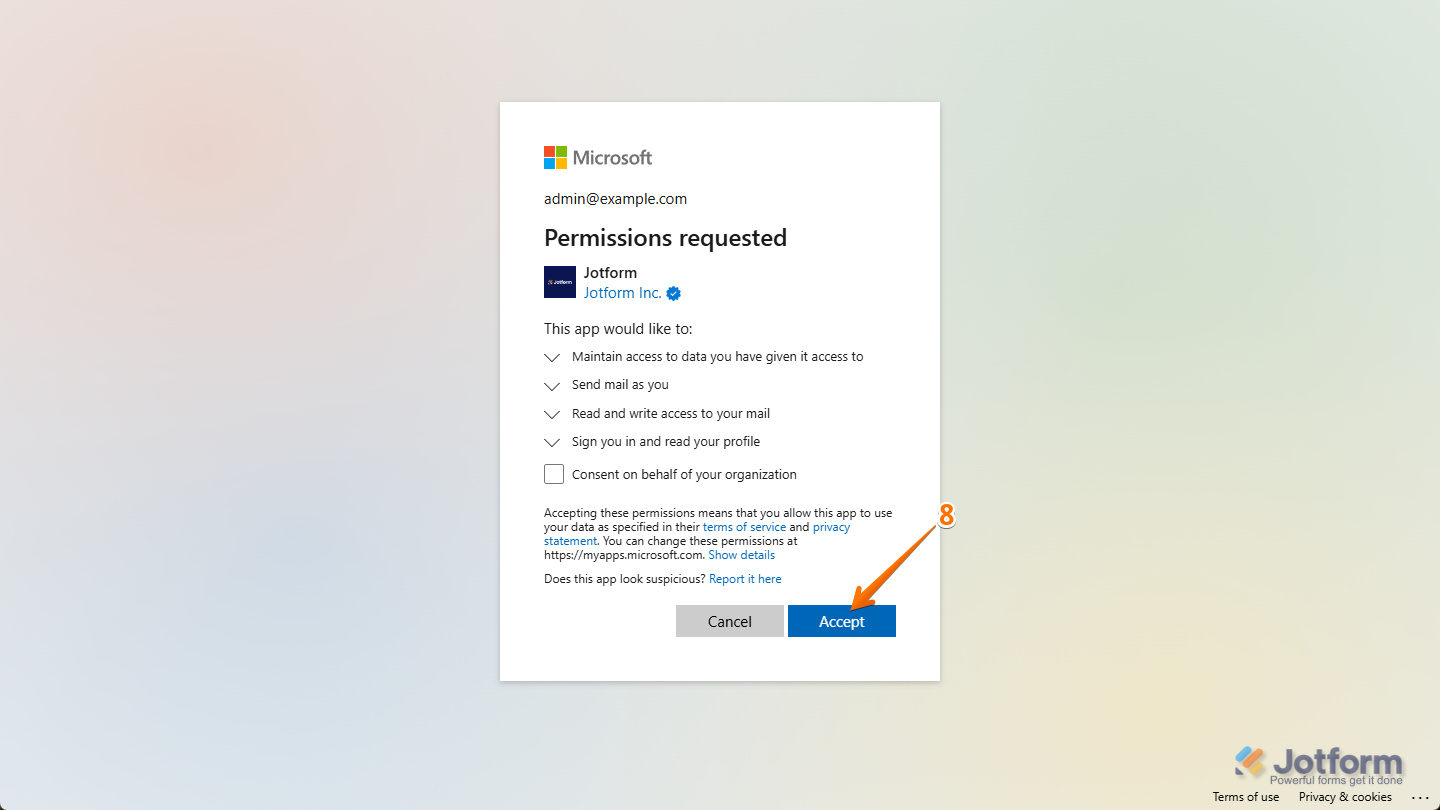
- Next, log in with your Microsoft account and click on Accept.
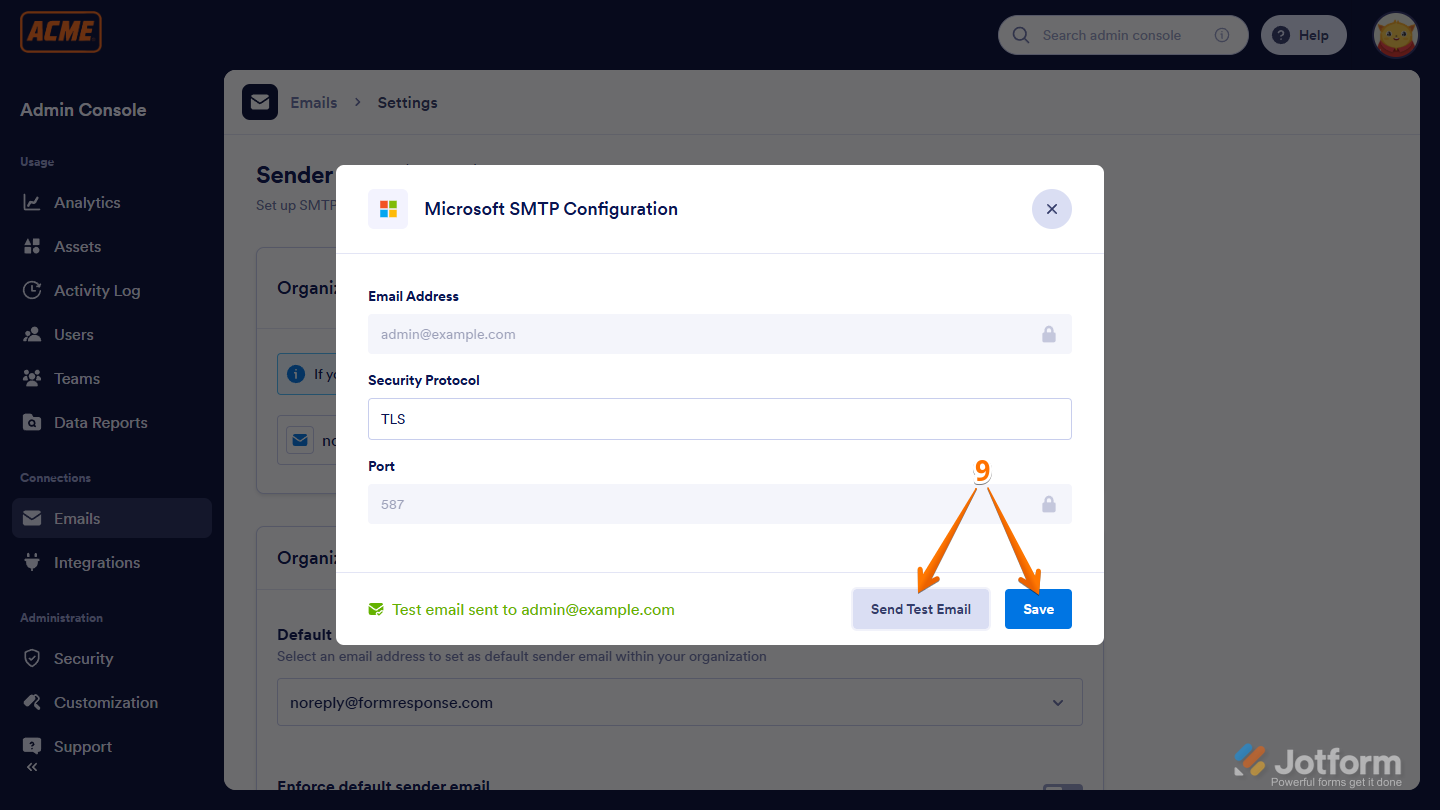
- Now, click on the Send Test Email button to see if it works, and click on Save to complete the setup.
That’s it! You can now send your form emails using your Microsoft Account’s SMTP.
Managing the Organization Settings
In the Sender Email settings, you can choose to make your custom sender email apply across your Enterprise Server. You can also block users from adding their own sender emails in their accounts. Here’s how to get going:
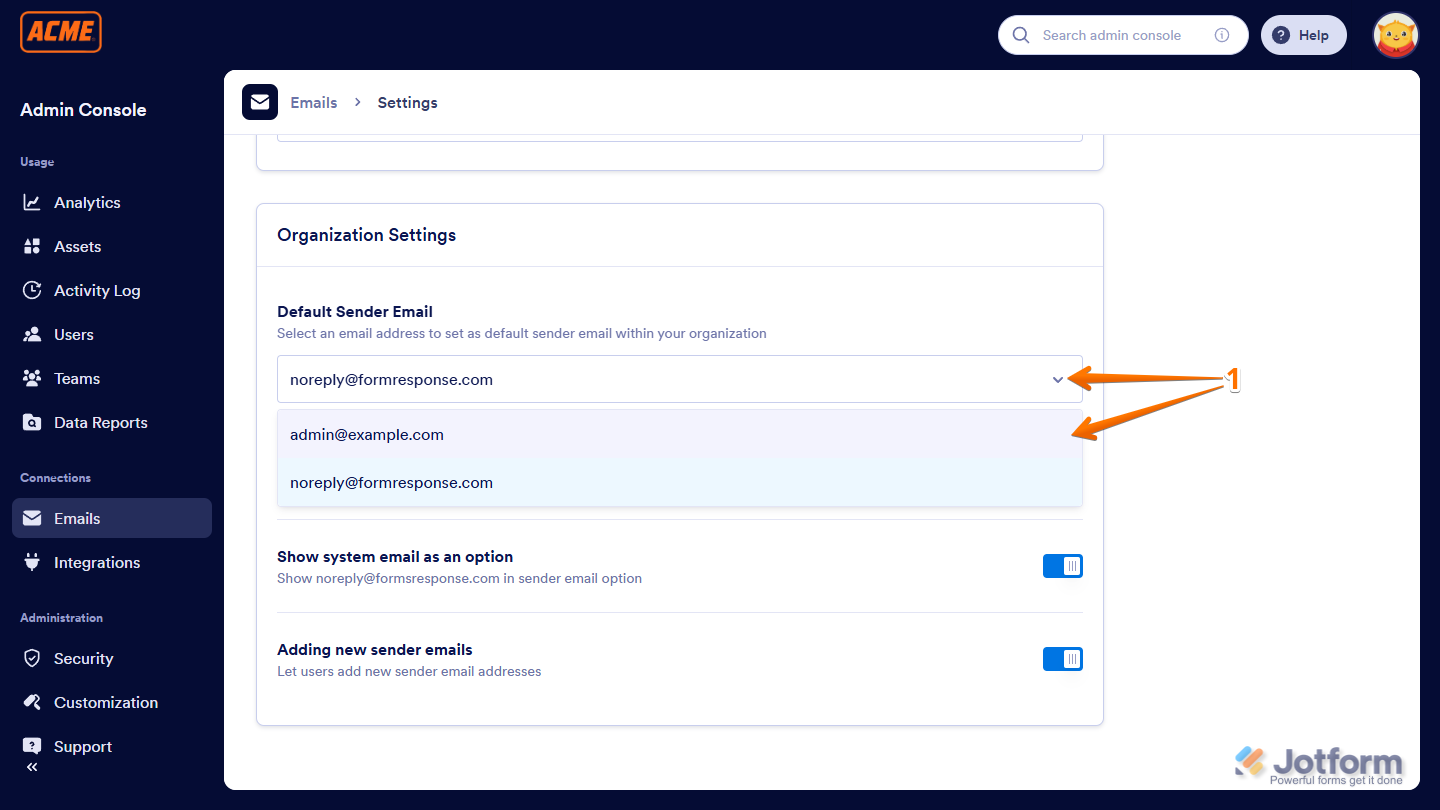
- While still on the Sender Email (SMTP) Configuration page, scroll down to the Organization Settings section, and in the Default Sender Email Dropdown menu, select the custom sender email.
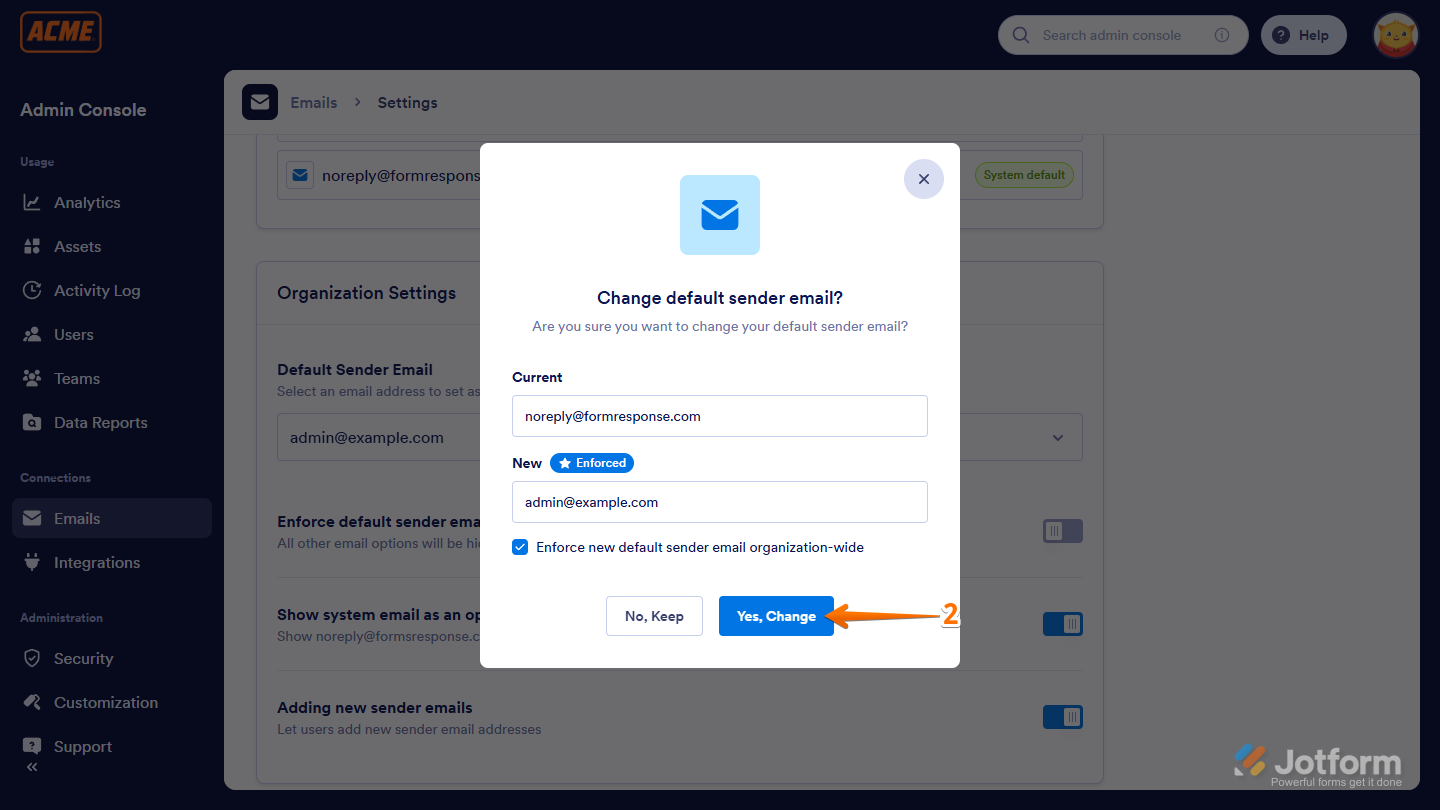
- Then, in the Change Default Sender Email? window that comes up, click on the Yes, Change button.
Note
When you check the Enforce New Default Sender Email Organization-Wide box, all forms on your Enterprise Server will automatically use the new Microsoft SMTP sender email. If you leave it unchecked, users can choose it on their own.
- Next, set up these things:
- Enforce Default Sender Email — Works the same way as “Enforce New Default Sender Email Organization-Wide.” When you turn this on, all other sender emails are hidden from users on your server.
- Show System Email as an Option — Toggle this on to include the default system email in the sender email options. This option is disabled if you enable Enforce Default Sender Email.
- Adding New Sender Emails — Toggle this on to let Enterprise users add their own sender email addresses from their accounts. This option is also disabled if Enforce Default Sender Email is on.

That’s it for setting up the Organization Settings! Once you’ve customized everything to your liking, your email setup and controls are ready to go. From here, you can proceed to managing forms, fine-tuning other server settings, or simply let your team start using the new setup right away.

Send Comment: