As an Admin user, you gain insights into how your Enterprise server is performing. You can monitor the number of submissions received, track form usage, and understand how end-users interact with the forms on your server. The Admin Console provides a centralized location for reviewing and managing various aspects of your server.
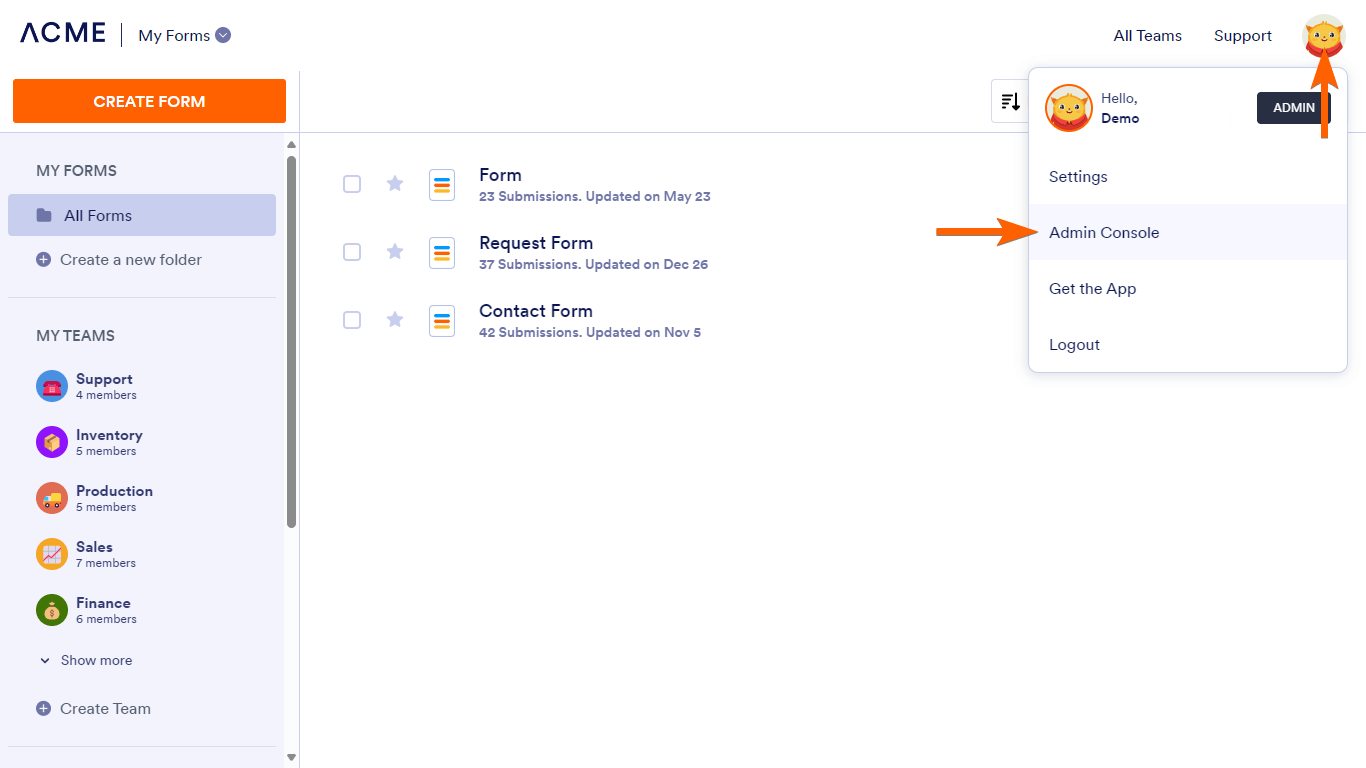
To access the Admin Console
- Select your avatar in the upper-right corner.
- Click Admin Console.
Dashboard
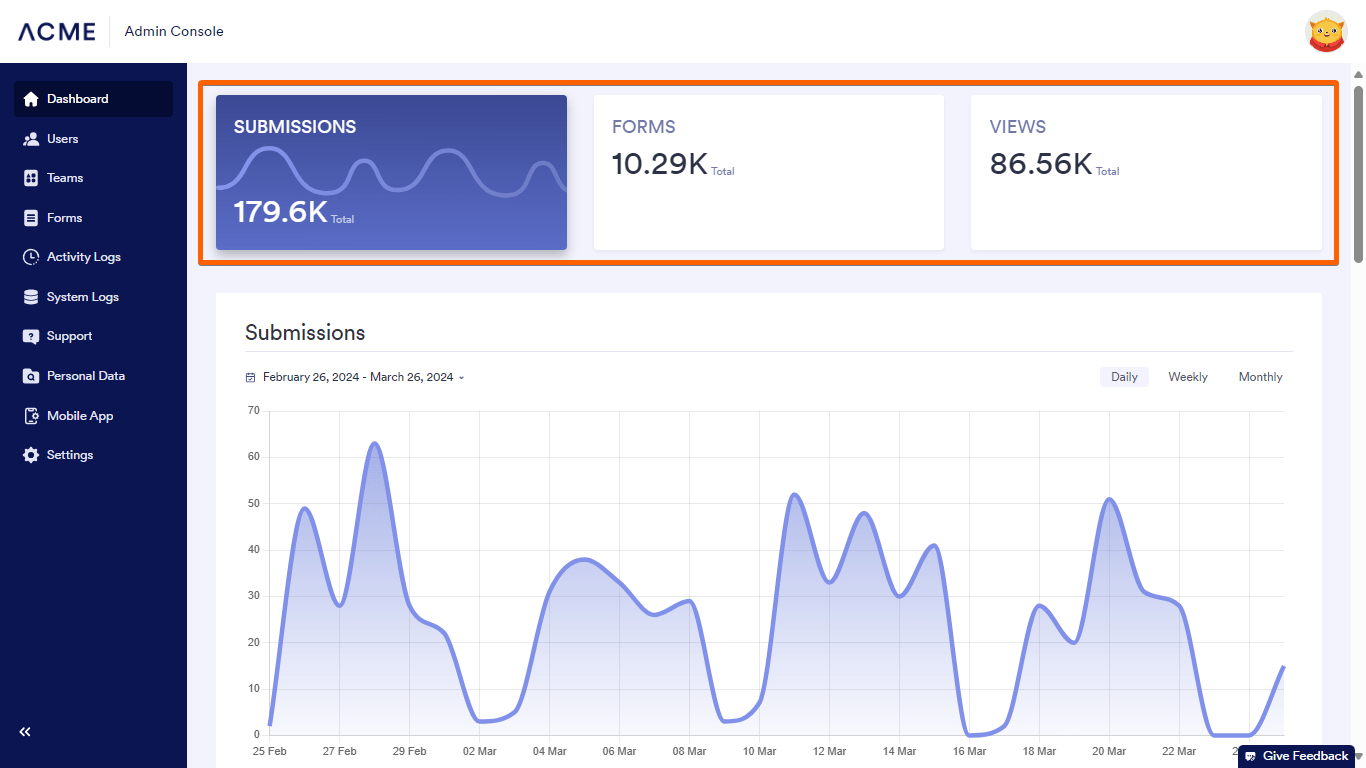
The Dashboard tab provides a comprehensive view of form usage stats where you can review the counts for total forms, submissions, and views.
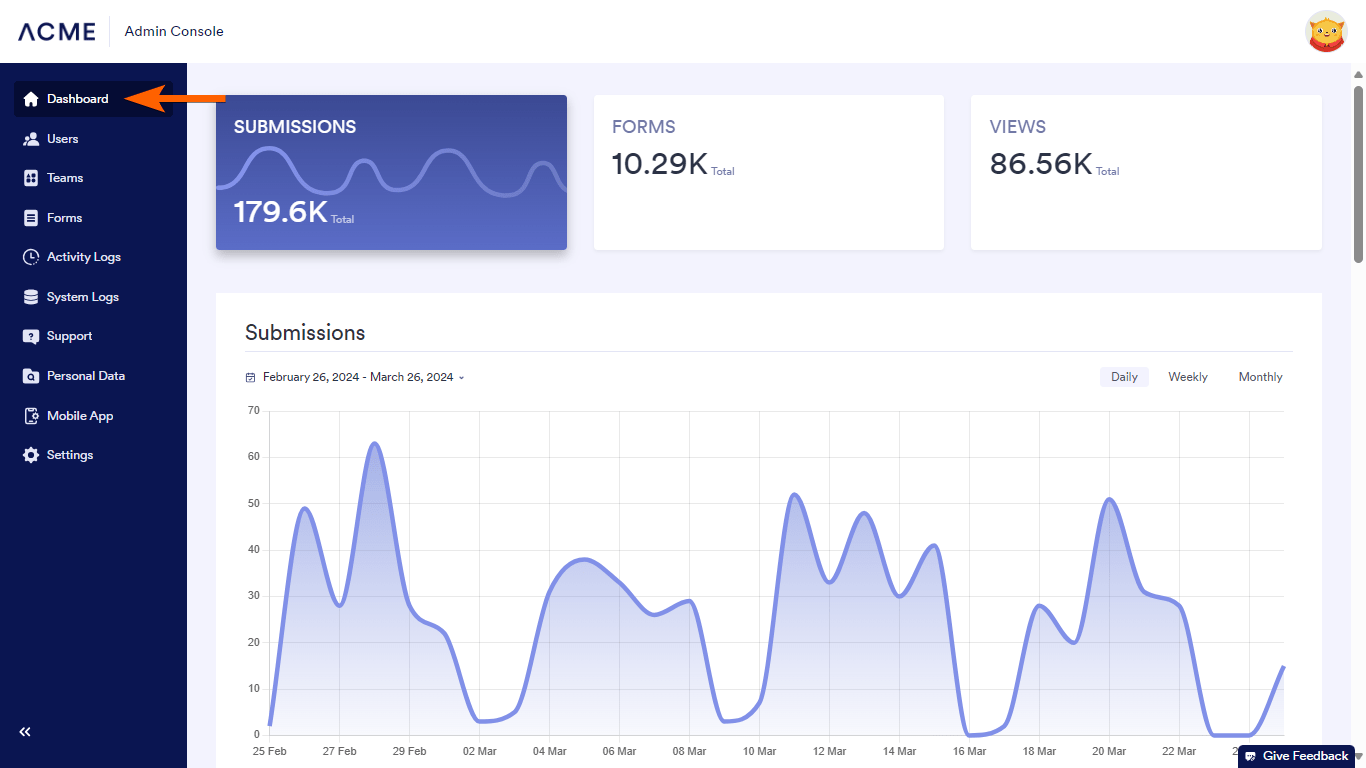
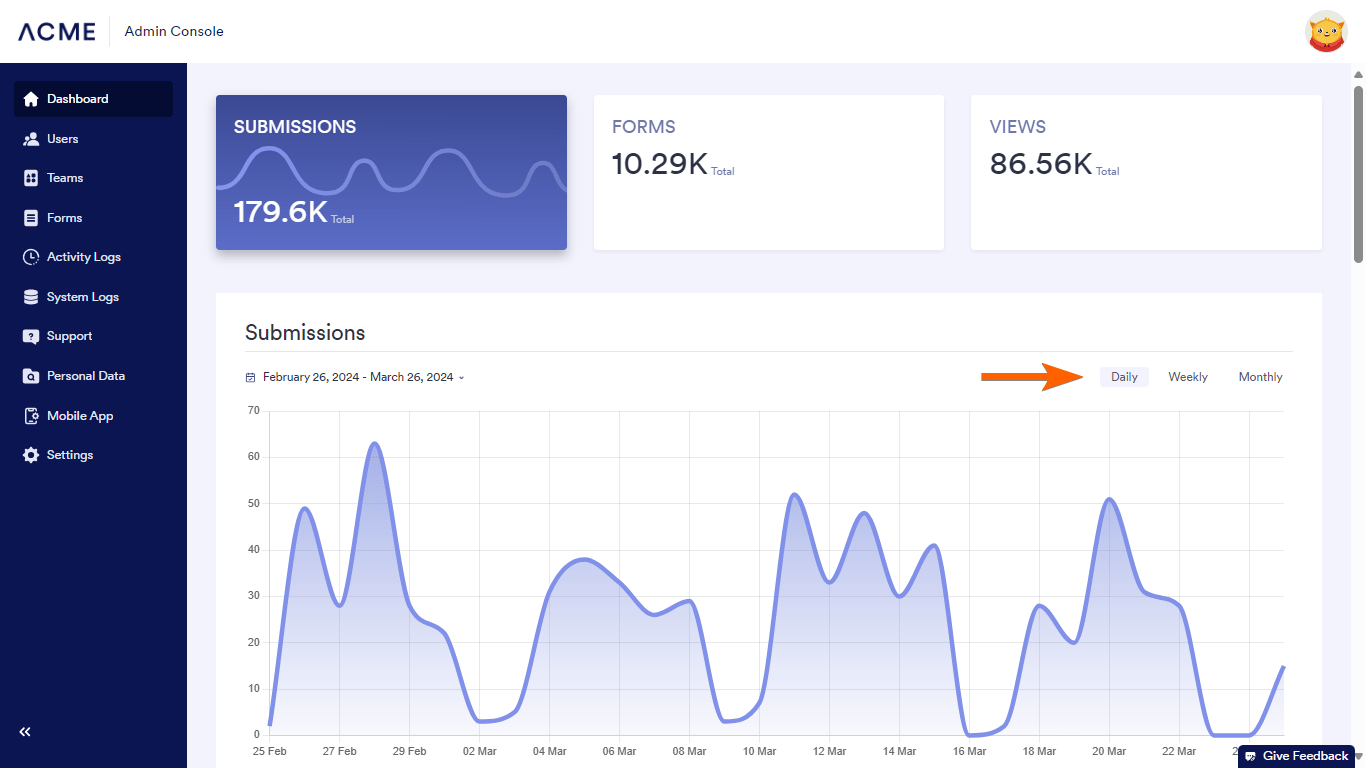
The charts allow you to quickly analyze the numbers. You can filter the dates in the upper-left, then fine-tune the view using the frequency options in the upper-right corner of the chart. You can use the summary cards at the top to switch between views.

Below the chart is a list of all forms on your server presented in a table view with search and sorting options.
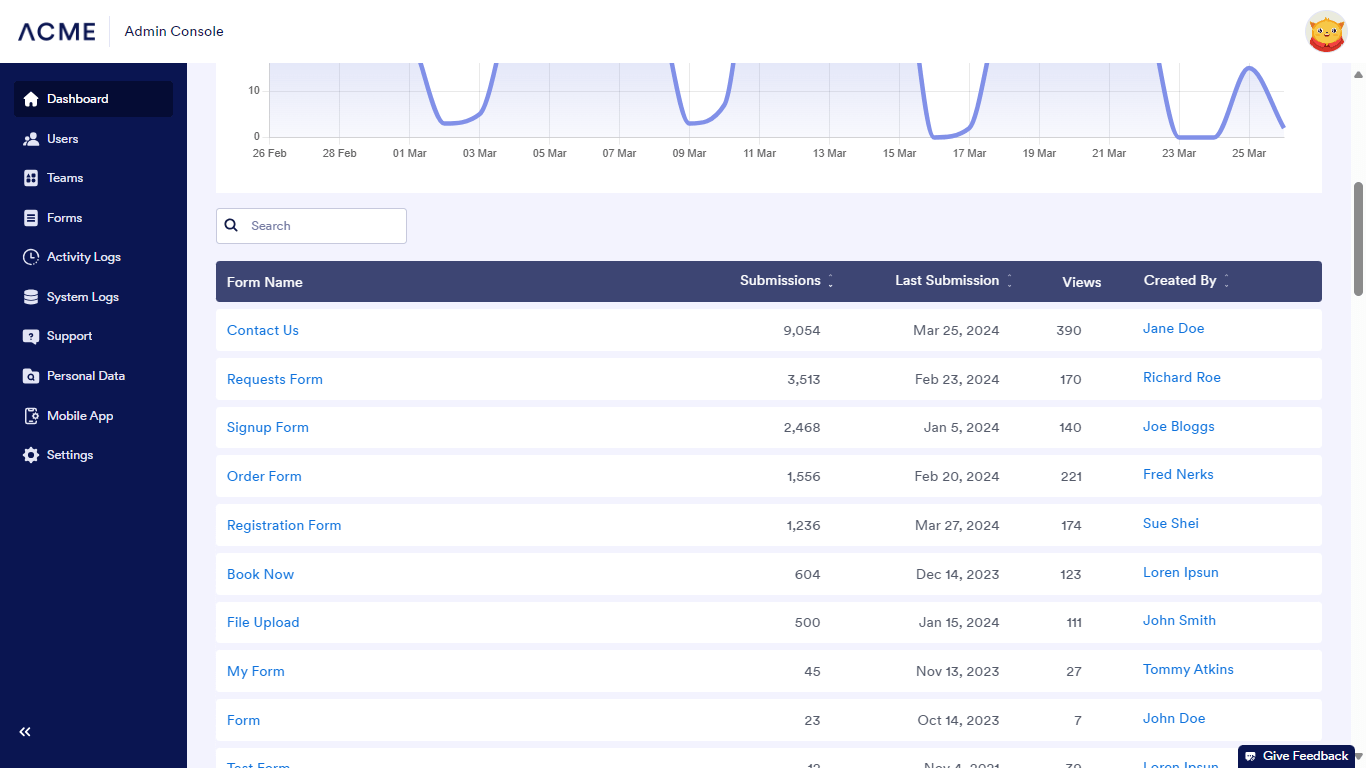
Selecting items under the Form Name or Created by columns allows you to view form- or user-related stats.
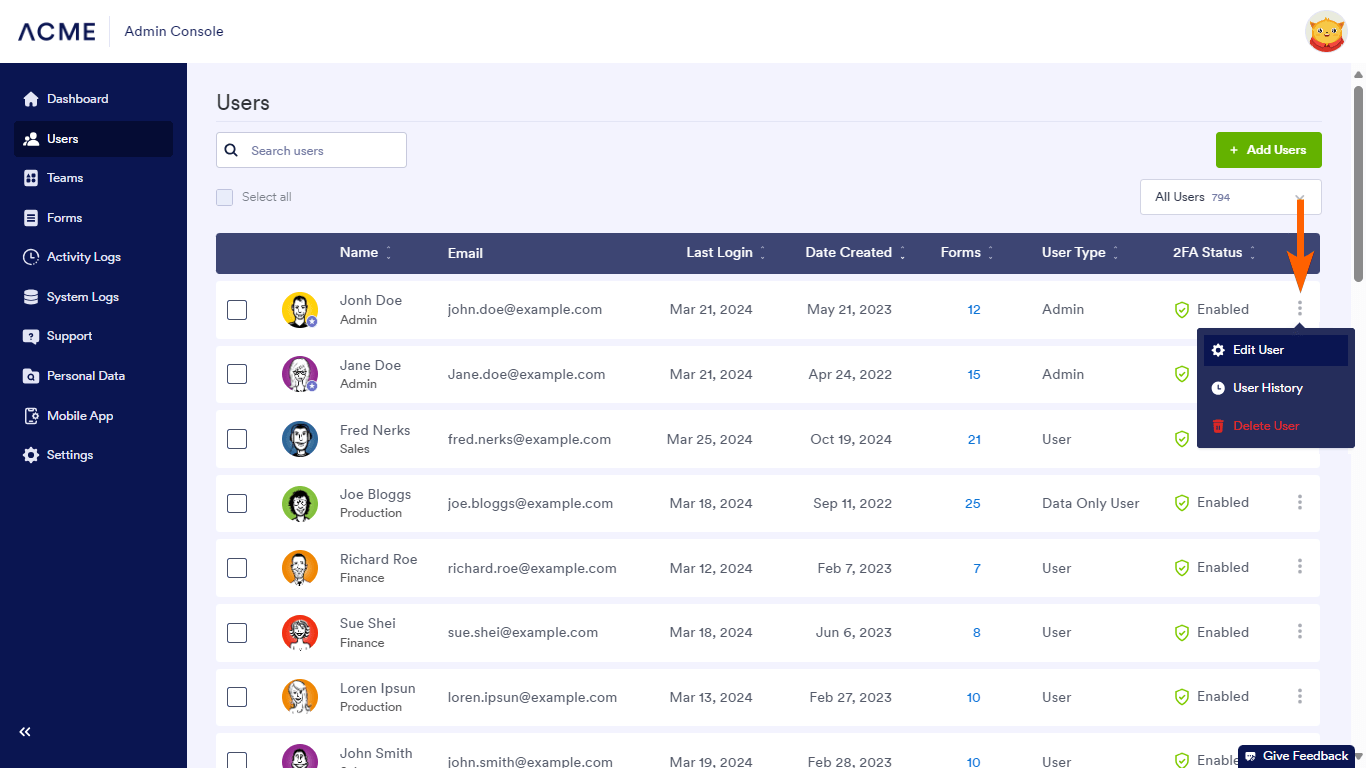
Users
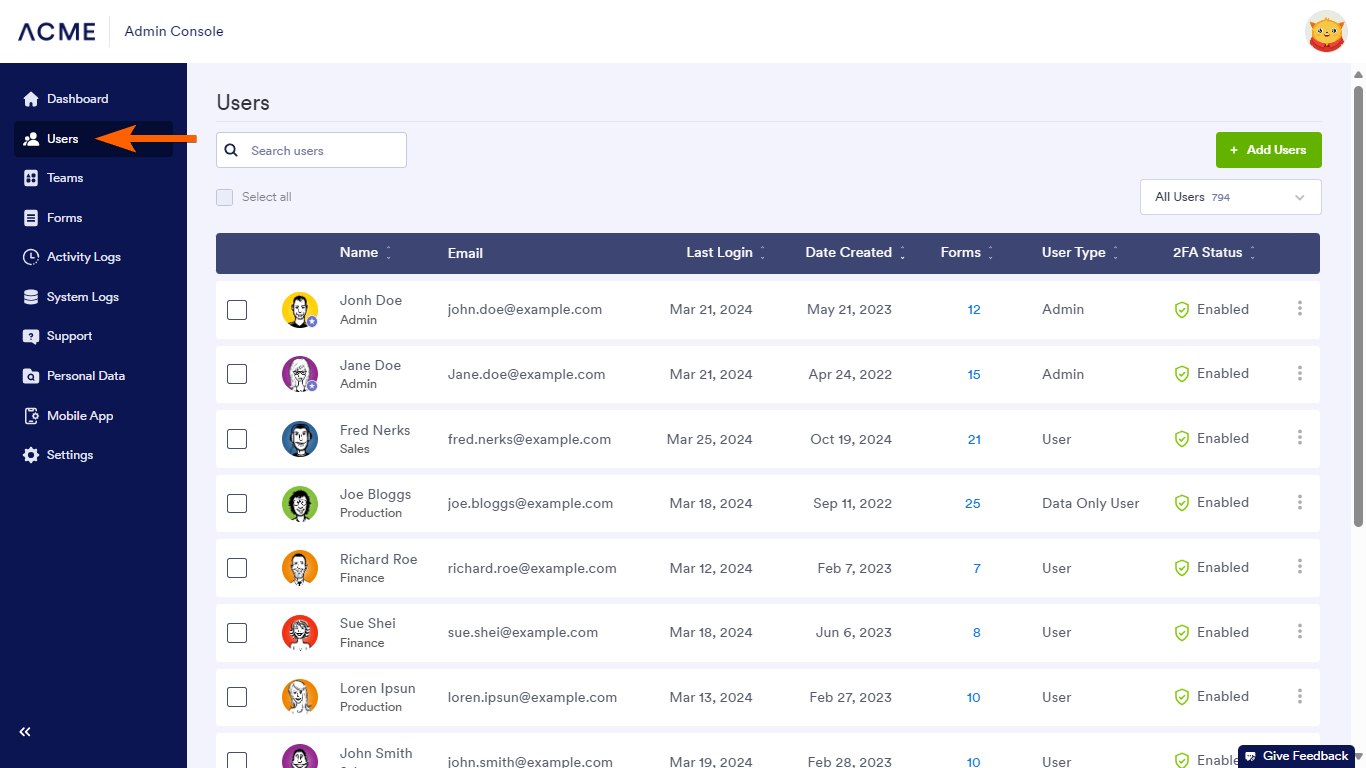
All users on your Enterprise server are listed in the Users tab where you can search, sort, create, or delete users as well as change user roles and permissions.
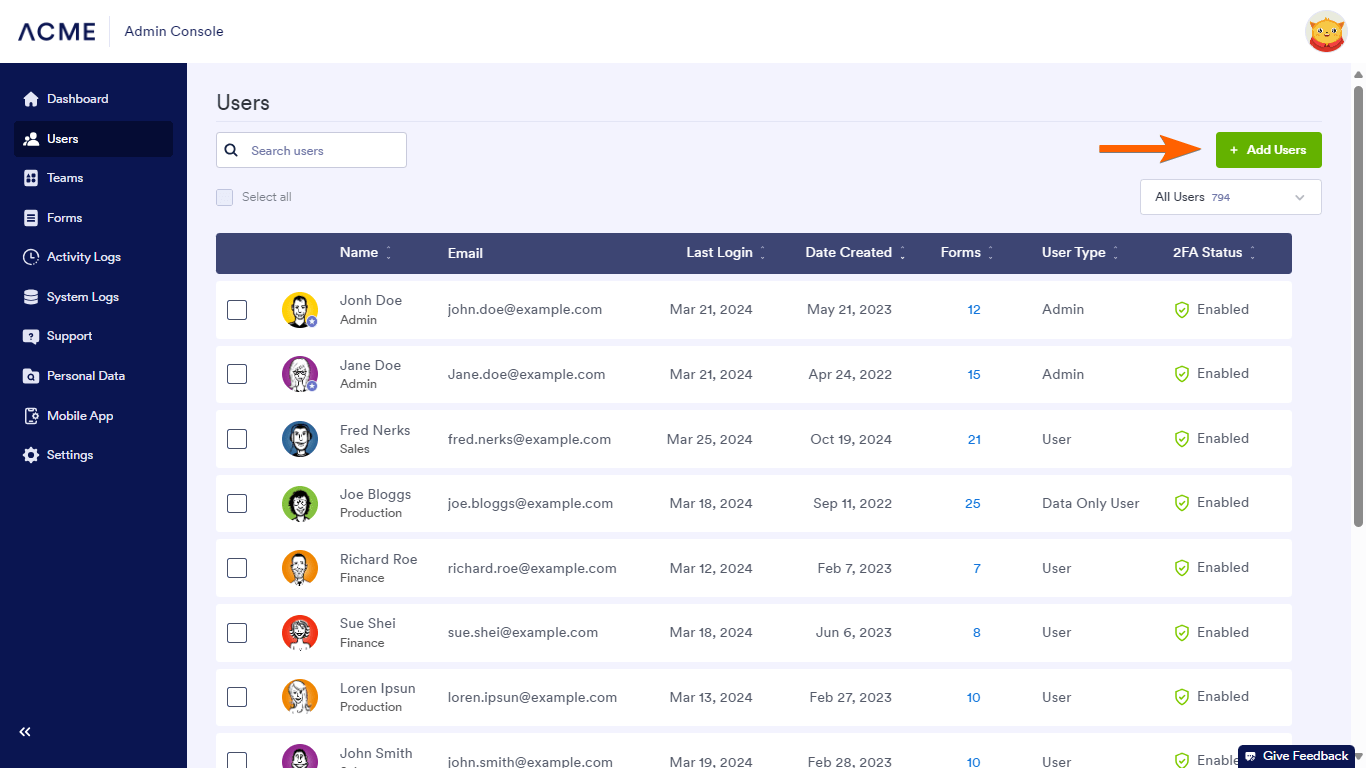
To create a new user, select Add User in the upper-right corner, then enter the details in the dialog.
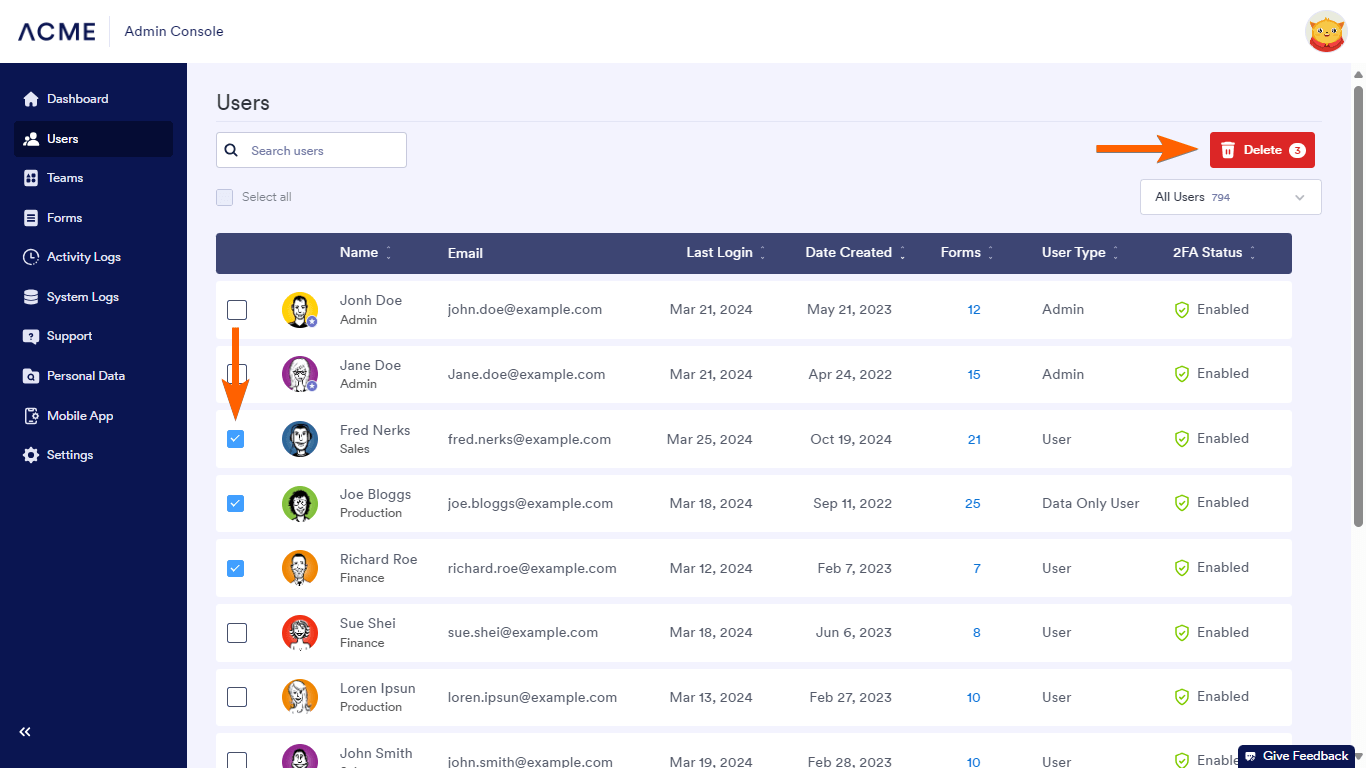
Selecting users using the checkboxes on the left shows the Delete button in the upper-right corner so you can easily delete multiple users if you so choose.
The individual user menu gives you options to edit a user to change their profile info and permissions as well as view their activity history.
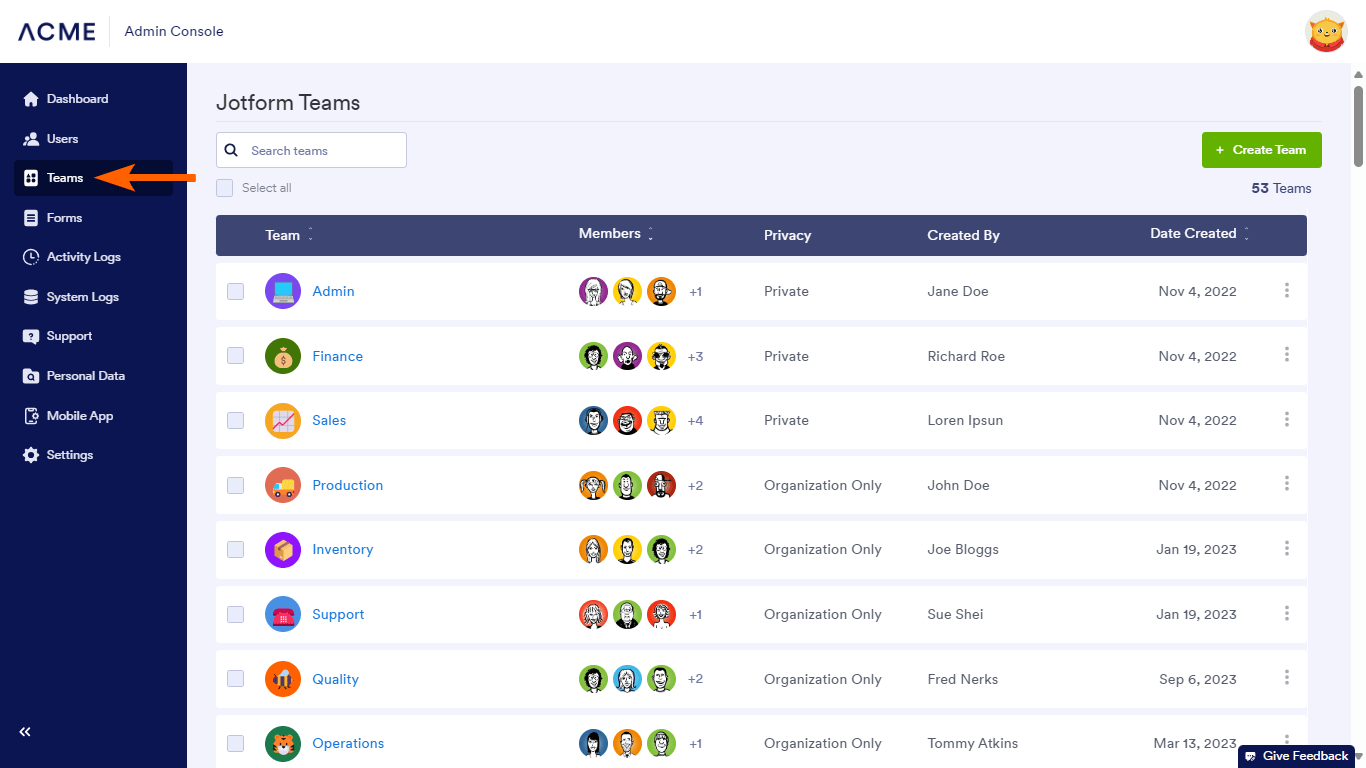
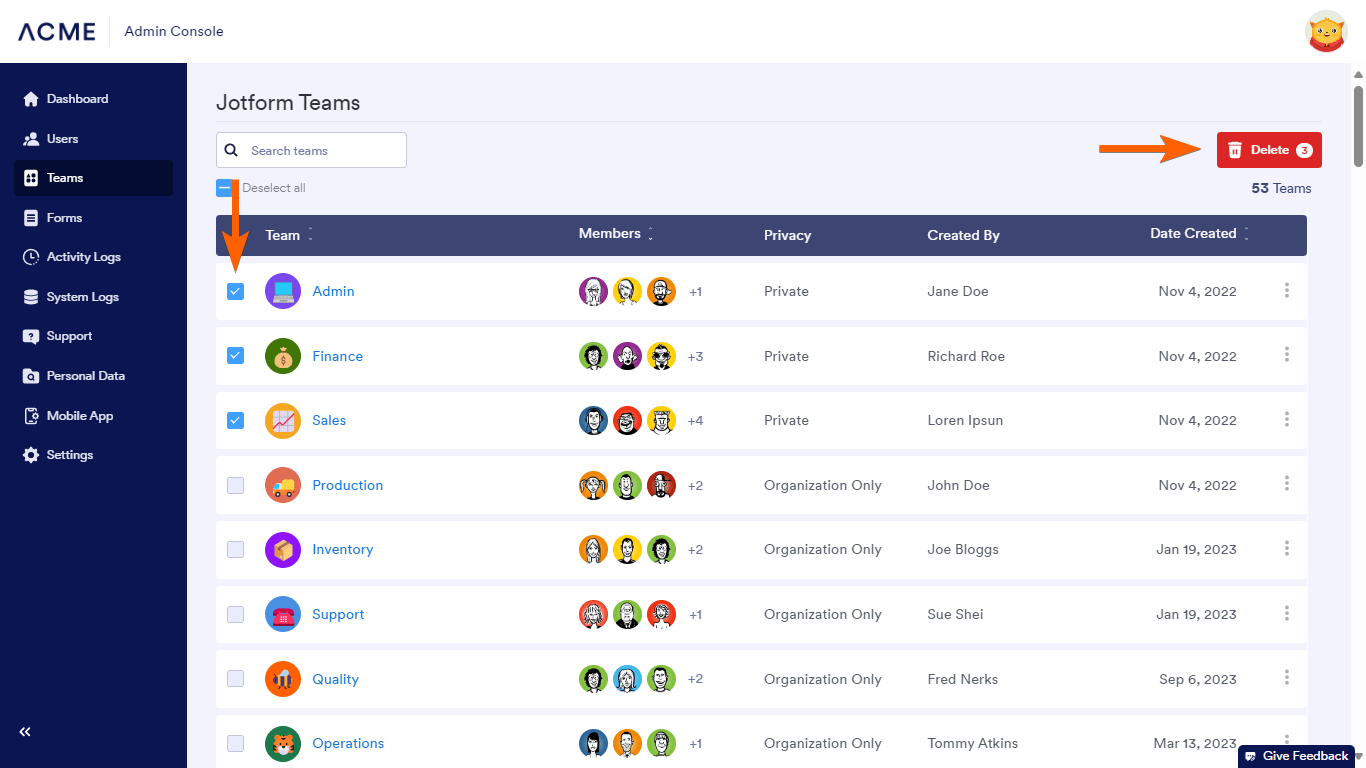
Teams
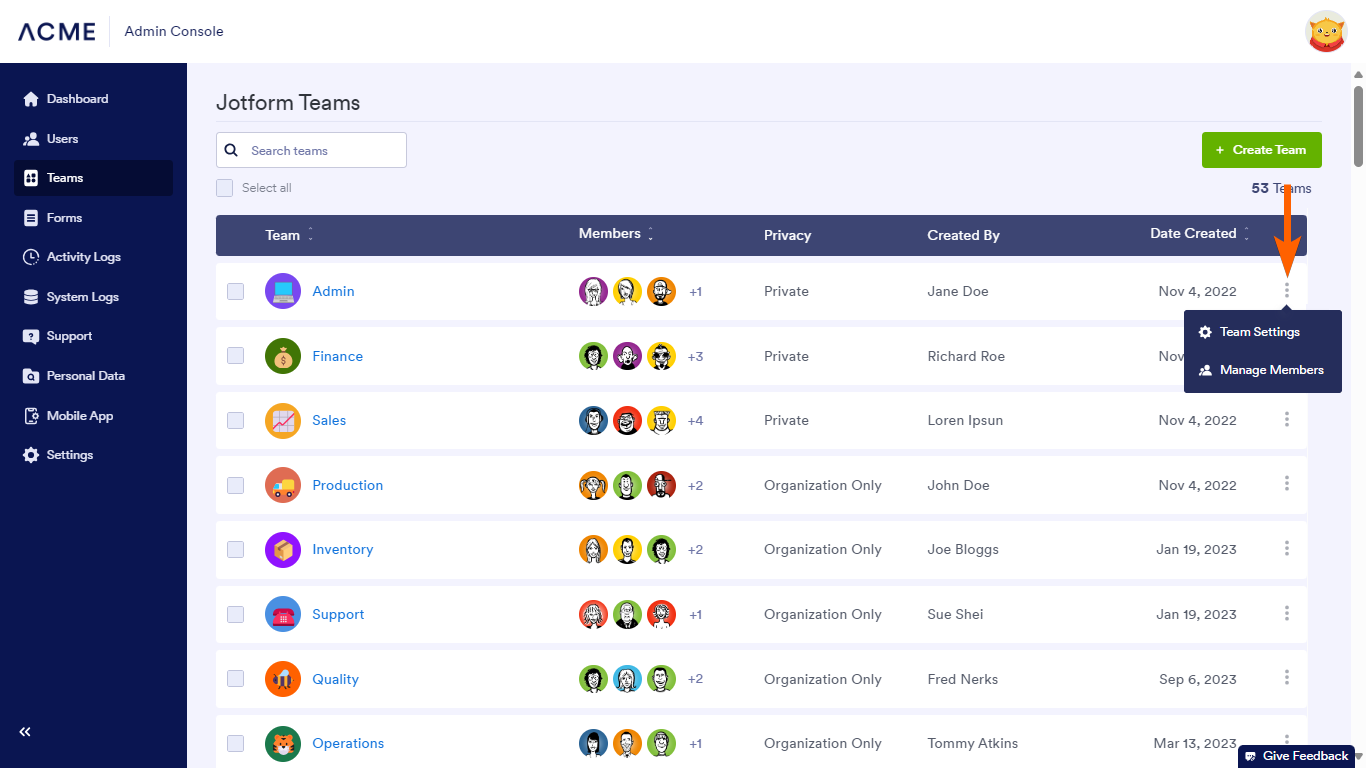
All teams created on your server can be found in the Teams tab. Here, you can search, create, and delete teams, as well as manage team settings and members.
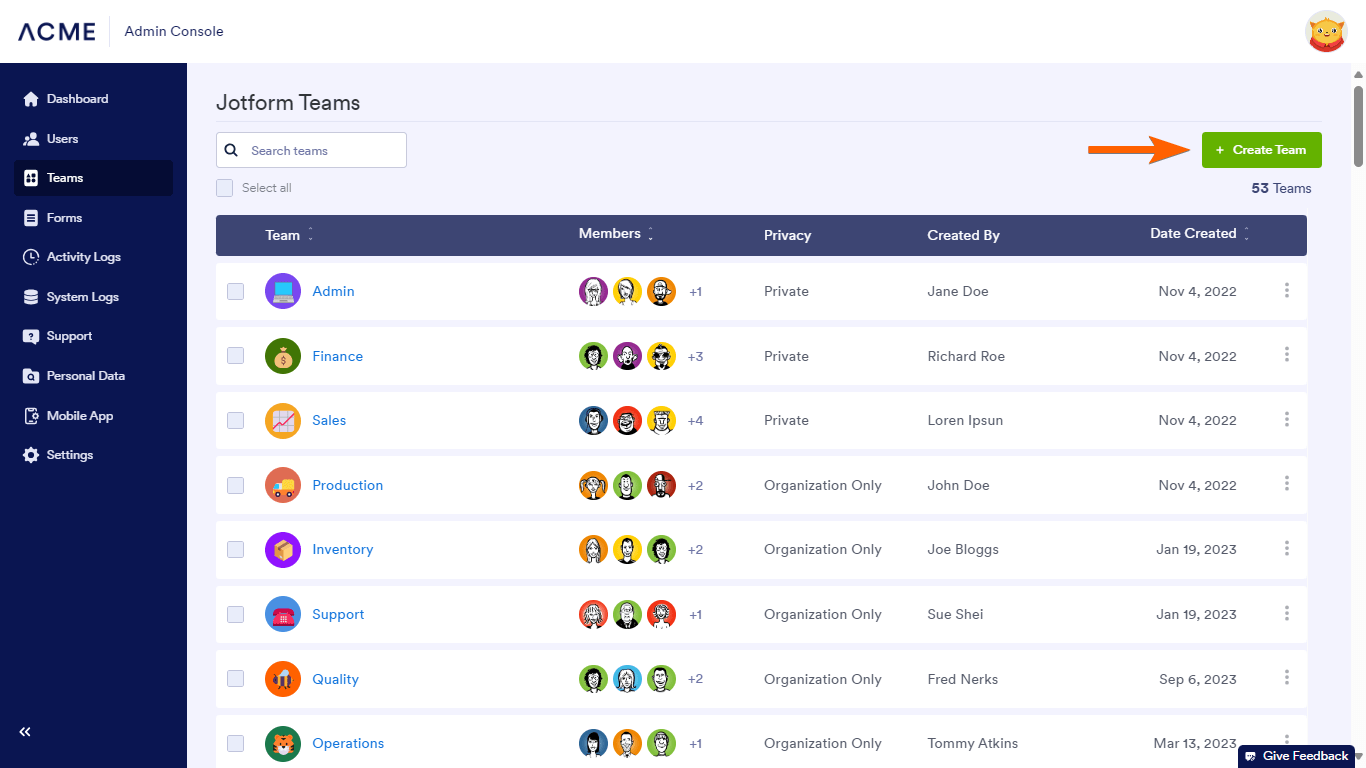
You can change the settings and members of a team from the individual team menu. Start creating a new team by selecting Create Team in the upper-right corner. To delete teams, choose the teams using the checkboxes on the left, then select Delete in the upper-right corner.
See Jotform Teams to learn more.
Forms
All forms available on your server are listed in the Forms tab. Here, you’ll find useful tools to help you manage your server’s forms and submissions.
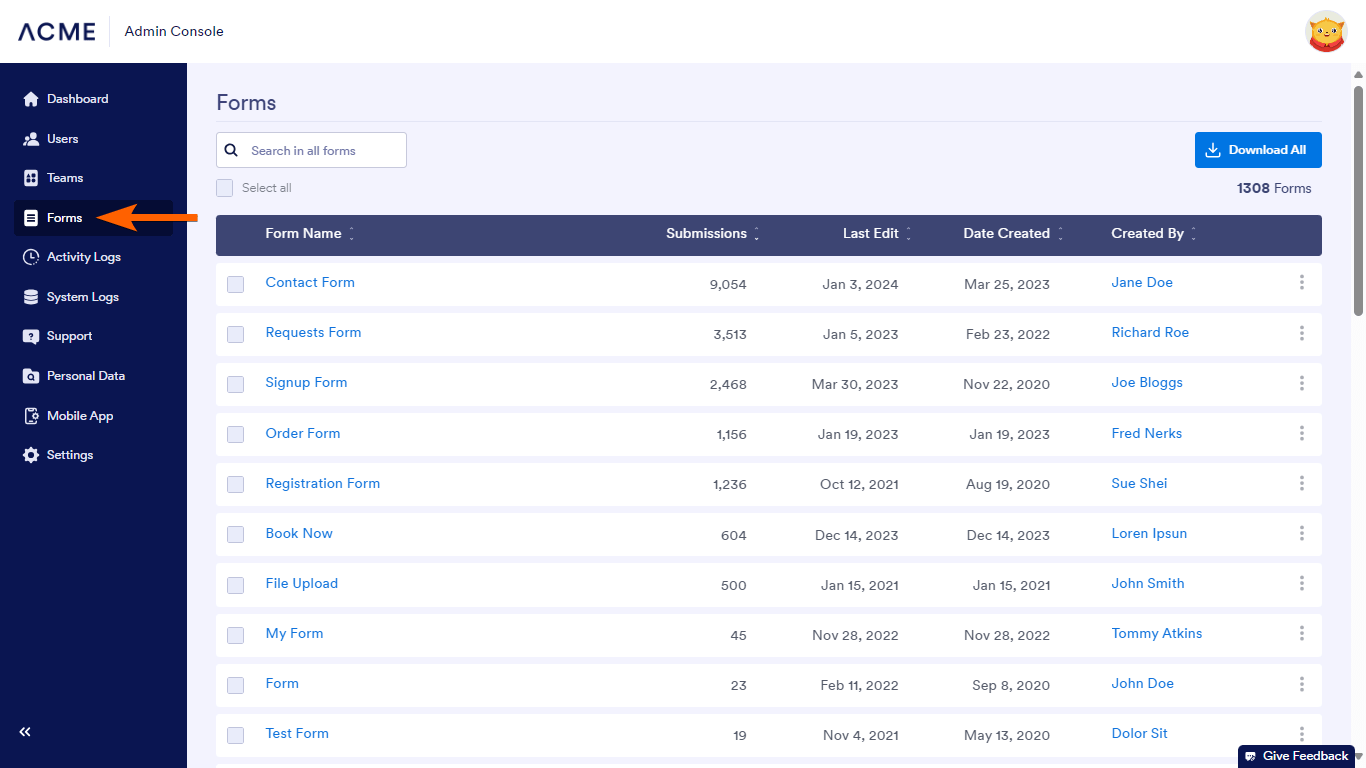
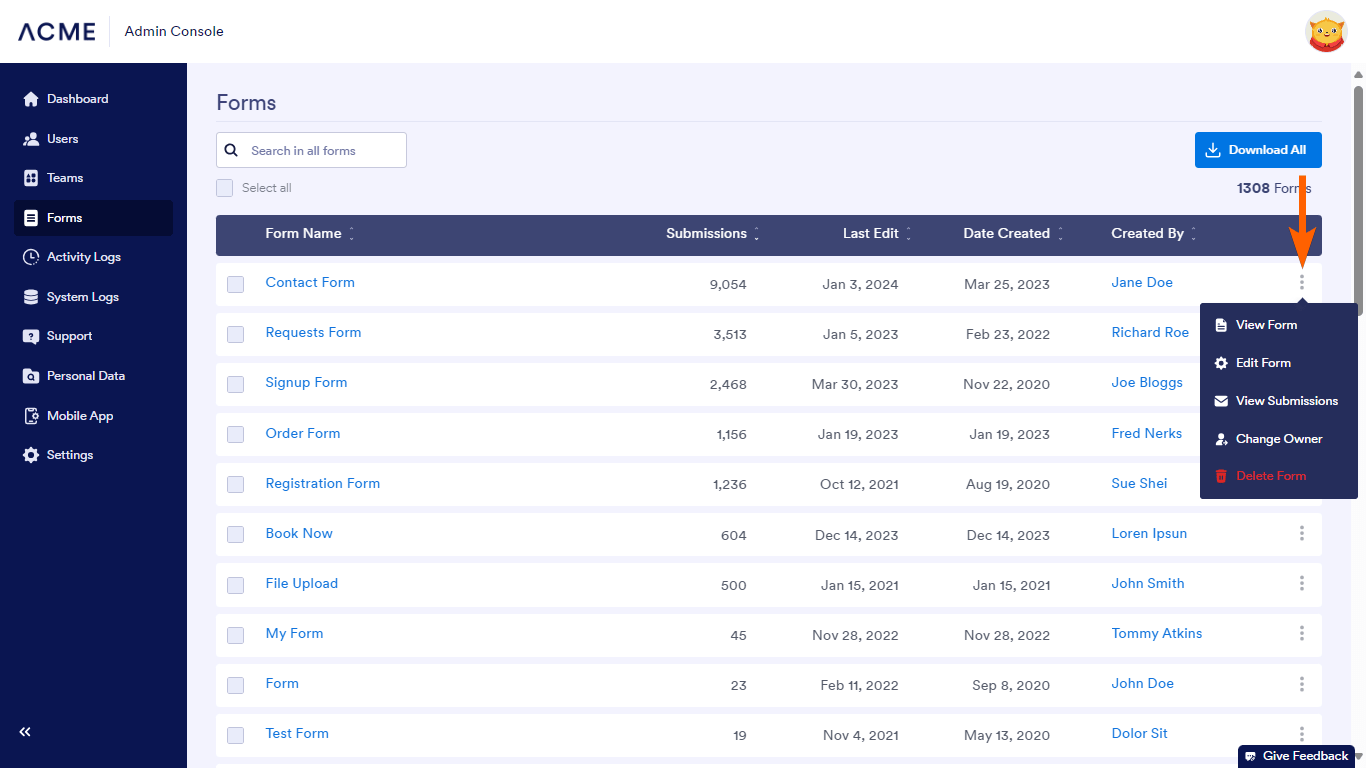
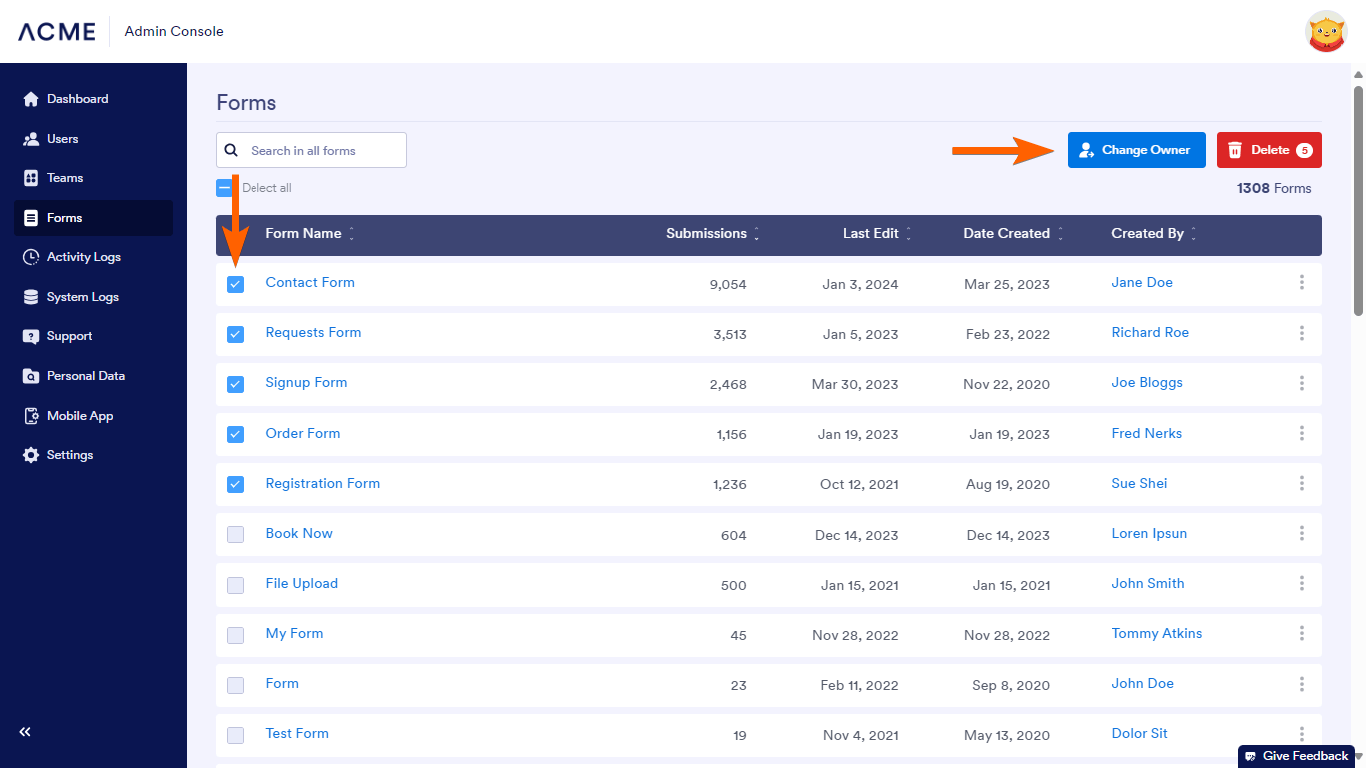
You can select the names under the Created by column to review the forms of individual users. The individual form menu allows you to view, edit, or delete a form, as well as view its entries or change its owner. Selecting multiple forms shows the Delete and Change Owner options for the chosen forms. The Download All button lets you export the forms list into an Excel or CSV file.

Activity Logs
As a server admin, you can review all actions performed by users in the Activity Logs tab. You can search and filter the activity logs based on time, username, actions, and more.
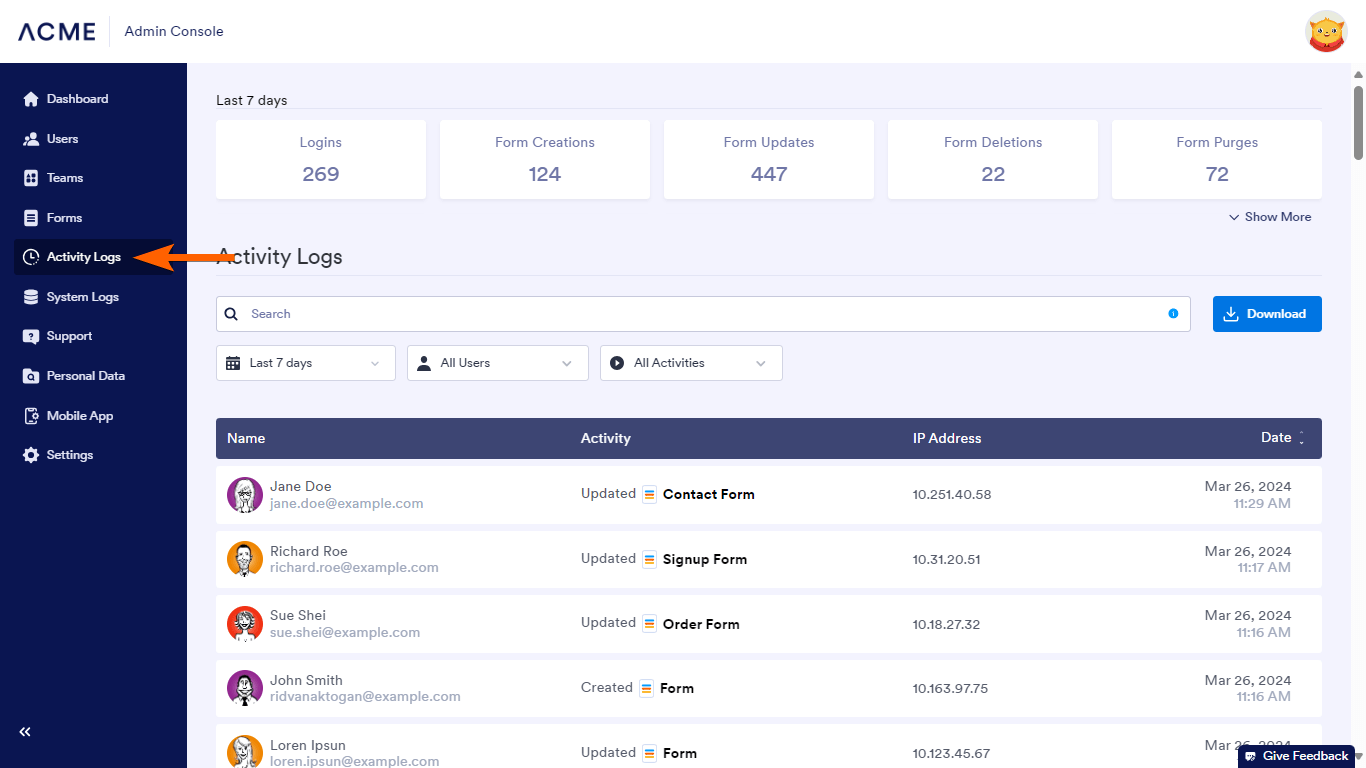
The following actions are tracked:
- Logins
- Forms Created
- Form Modifications
- Form Deletions
- Form Purges
- Submission Edits
- Submission Deletions
Selecting Download allows you to export the logs to an Excel or CSV file.

System Logs
Your server’s email and integration events are listed in the System Logs tab. You can search or filter the records by date, user, type, and status for tracking or troubleshooting purposes.

Selecting Download in the upper-right corner lets you save the results in an Excel or CSV file.
Support
All support requests created on your server are listed in the Support tab. You can search, filter, and track the status of the requests.

To open a new ticket, select Submit a Request in the upper-right corner.
Personal Data
Mostly for country-specific data compliance regulations, it is important to have the option to pull up all submissions of an individual. The Personal Data tab is where you can search data from all forms on your server. You can collect all form entries from a specific email address with options to review or delete them.
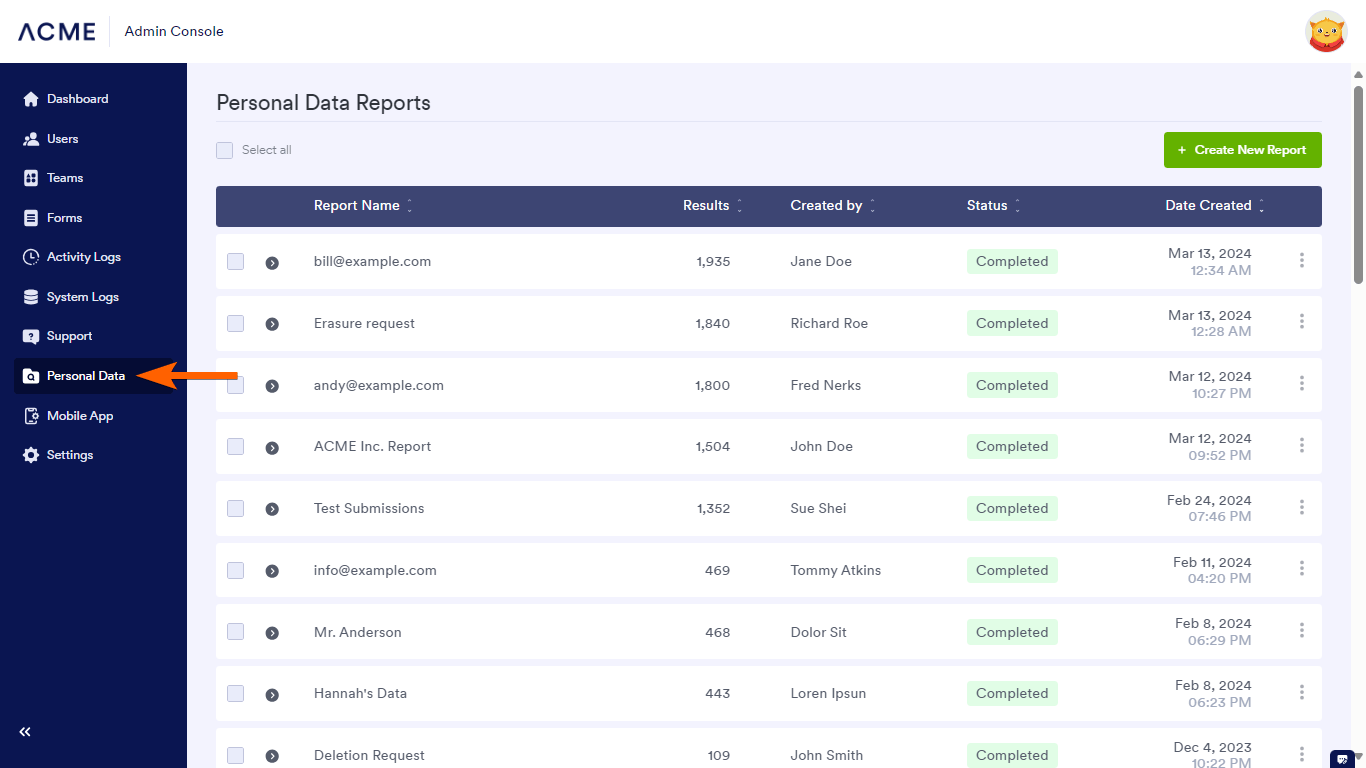
Note
Personal Data is not available on HIPAA-enabled servers.
To collect form entries by email
- Select Create New Report in the upper-right corner.
- In the dialog, enter your desired report name.
- Enter the email address to search, then select Create.
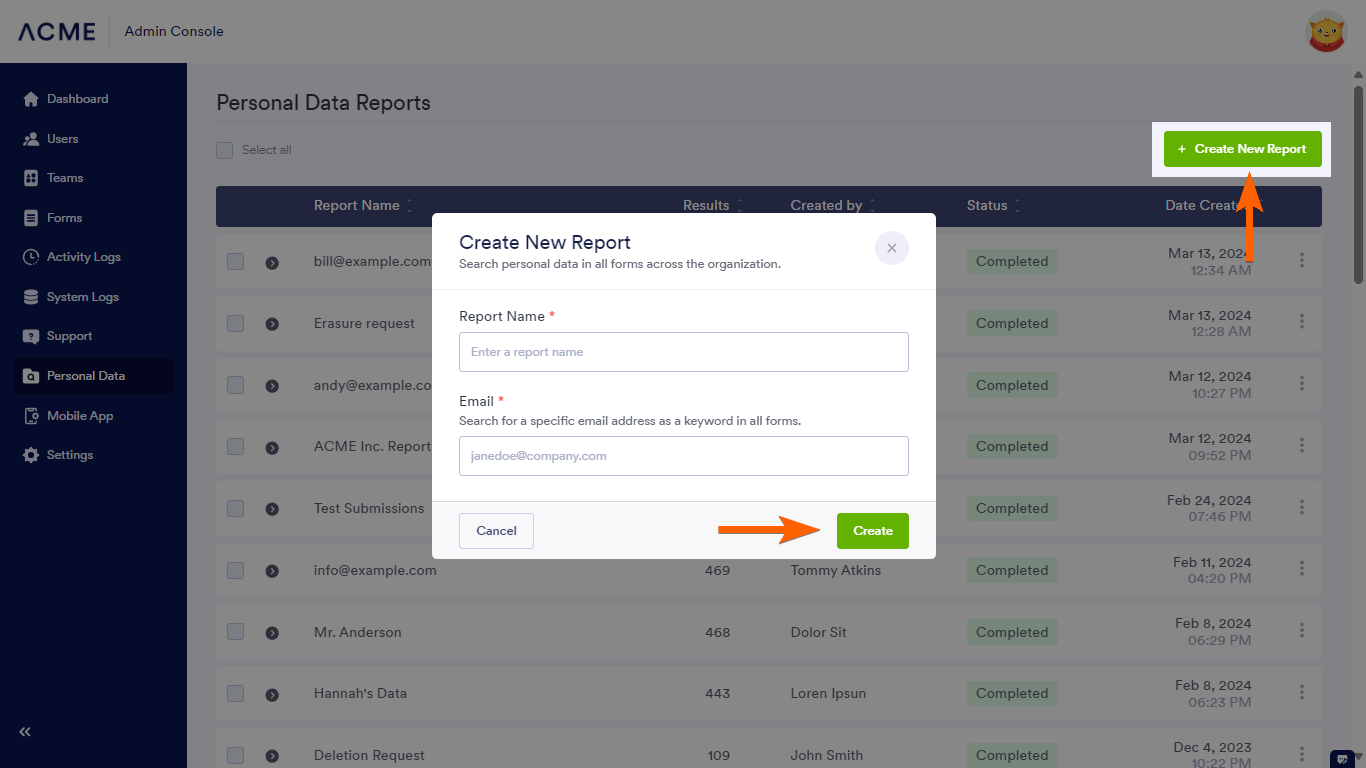
The system will collect all submissions containing the email address. You can view the entries once it’s done.
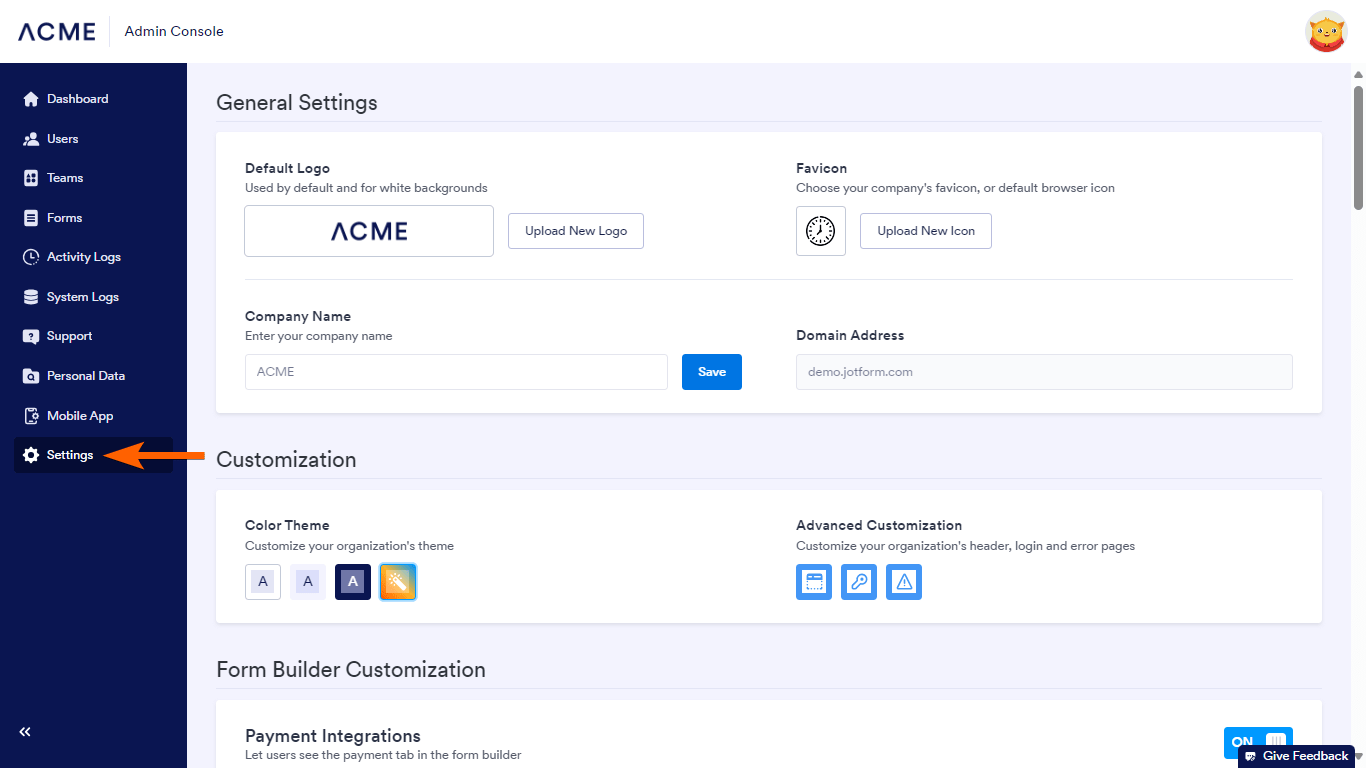
Settings
The Settings tab holds various settings, permissions, and customization options for your server. Here, you can change your organization’s details and themes, set up Single Sign-On (SSO), configure server permissions, and more.

Send Comment:
3 Comments:
November 9, 2022
How do i access the admin console?
April 2, 2022
How much is enterprise admin console?
May 20, 2021
Our deadline has come and gone. How do I take down Jotform so no other submissions can be submitted