The Submit button might seem simple, but it plays an important role in your form—it’s what lets users send their responses when they’re done. You can also customize how it looks and behaves to match your form’s style and flow.
Here are a few ways to use it:
- Use it to clearly mark the final step where users send their responses.
- Customize the button text to match your form’s purpose, like Send, Register, or Place Order.
- Style it to match your form’s design so it feels consistent and easy to find.
- Place it strategically at the end of your form so users can complete their submission smoothly.
Adding and Setting Up the Submit Element
Whether you’re building a new form or editing an existing one, you can add and configure the Submit element in just a few steps. This is how it’s done:
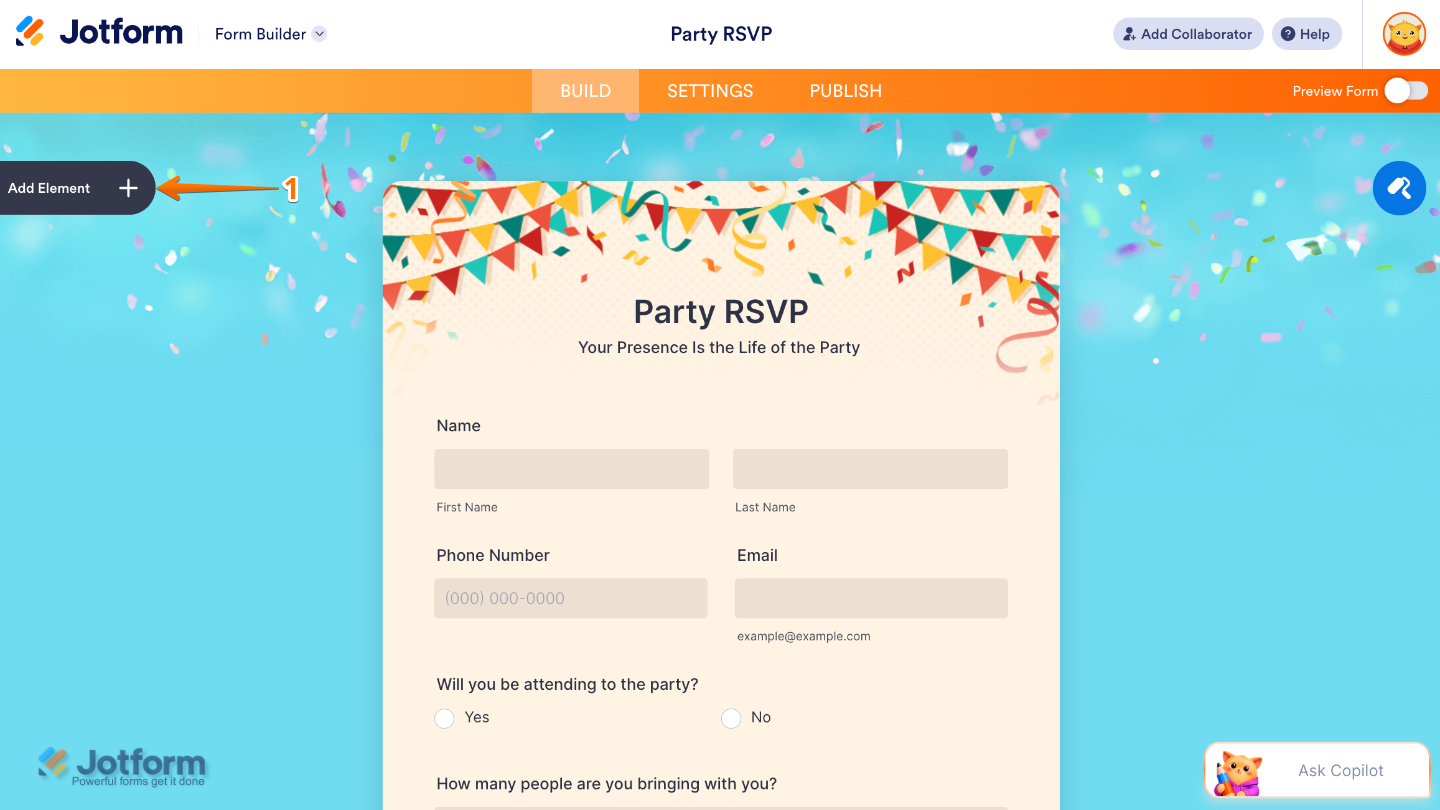
- In Form Builder, click on Add Element on the left side of the page.
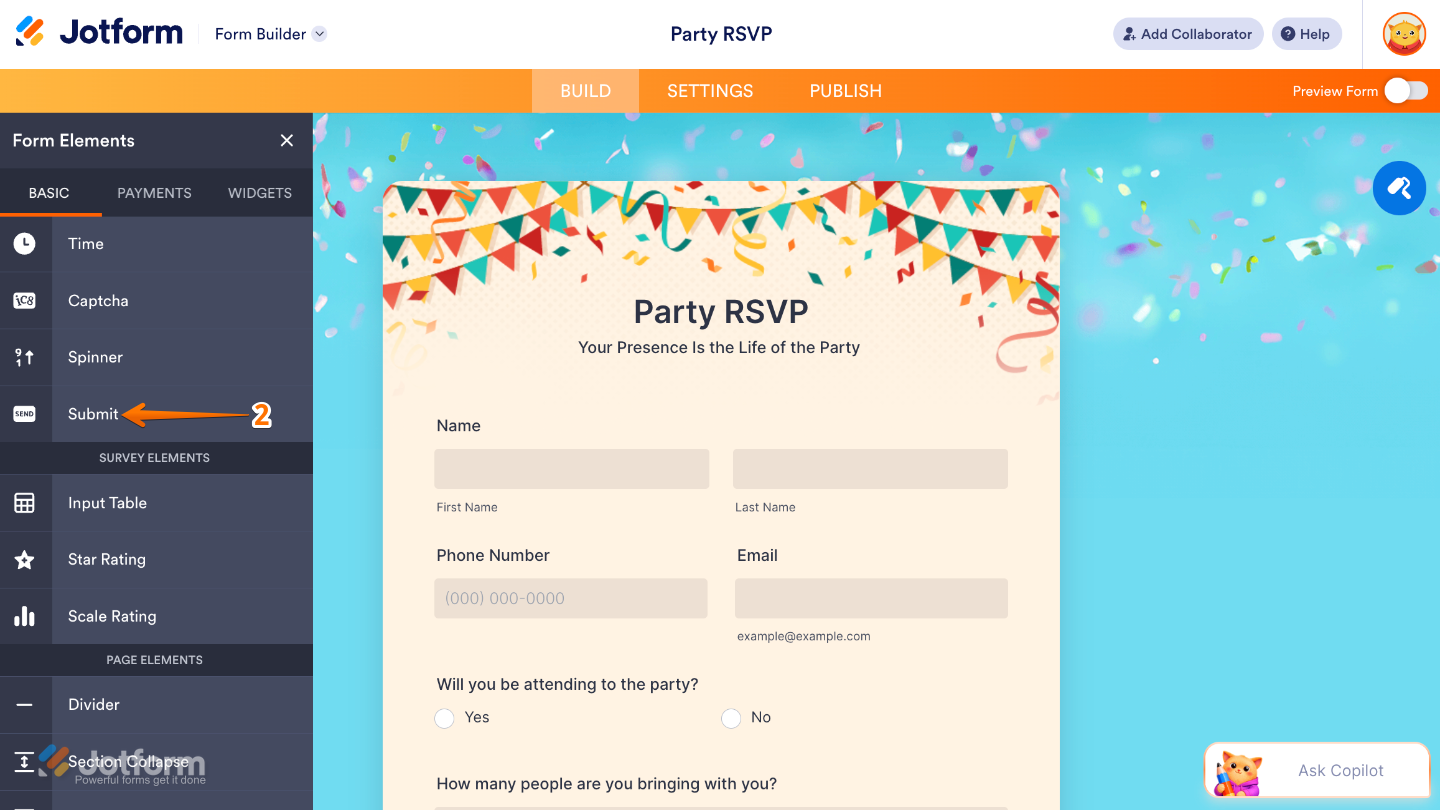
- Then, in the Form Elements menu, under the Basic tab, scroll down and then click on Submit. Or, just drag and then drop it to where you want it to be on your form.
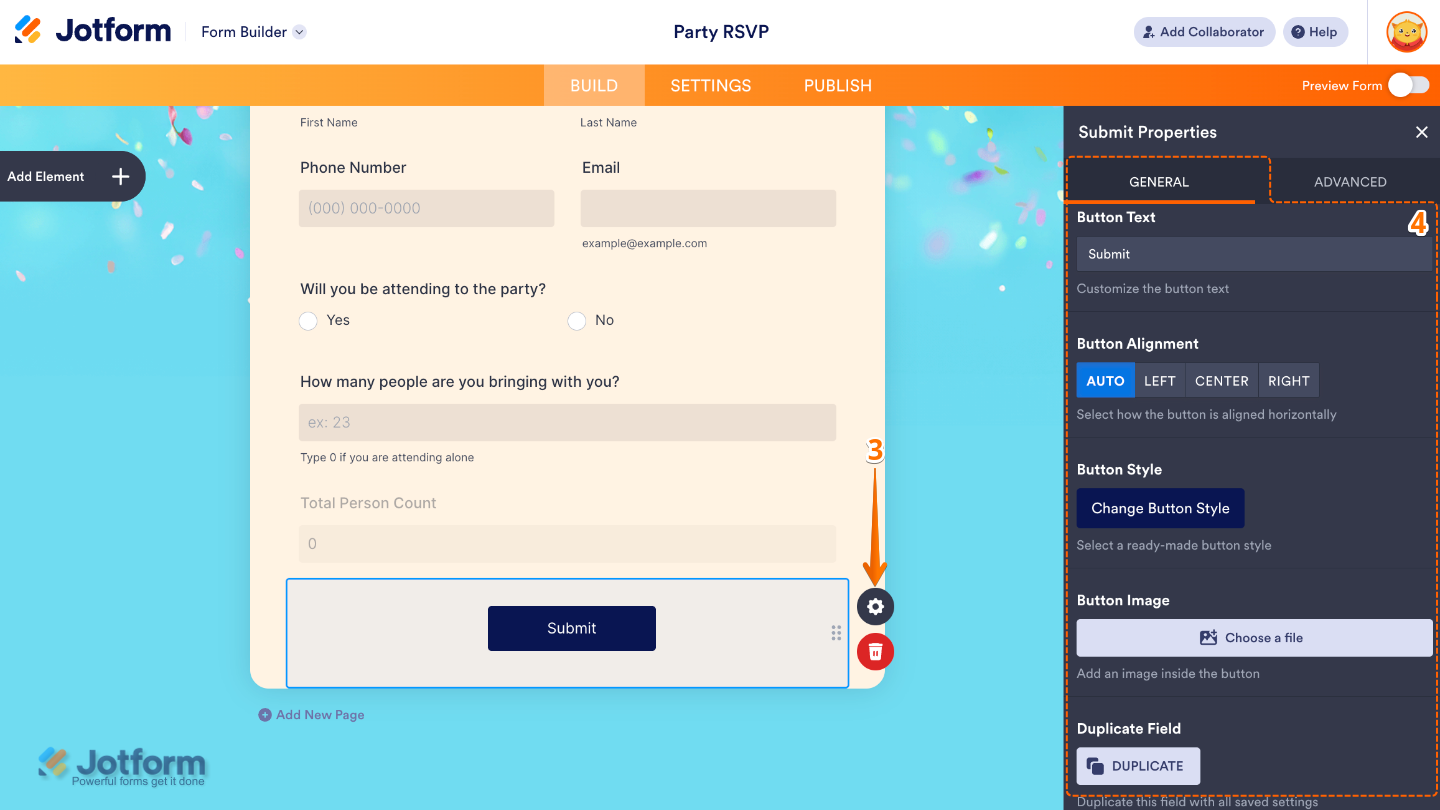
- Next, click on the Gear icon to open the Submit Properties menu on the right side of the page.
- Then, under the General tab, set up these things:
- Button Text — Sets the label shown on the submit button. For example, Submit, Send, or Get Started, helping you match the action tone of your form.
- Button Alignment — Controls where the submit button appears on the form, such as left, center, or right alignment, to match your layout style.
- Button Style — Lets you choose the visual design of the button, including predefined styles that affect its shape, color, feel, and overall appearance.
- Button Image — Allows you to replace the standard button look with a custom image, giving you more design flexibility or branding control.
- Duplicate Field — Click on Duplicate to create a copy of this button with all its saved settings.
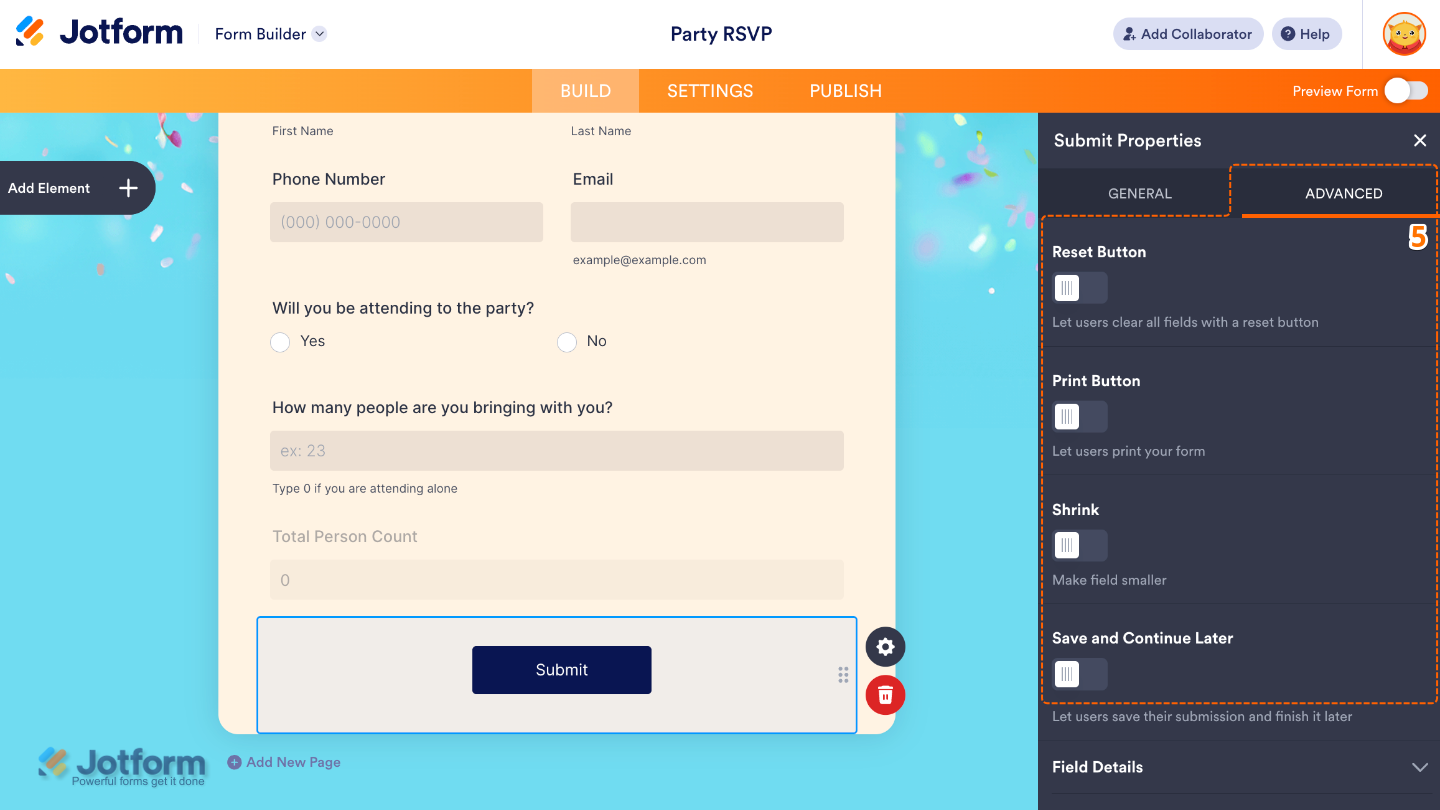
- After that, click on the Advanced tab and toggle on the options that you want to use:
- Button Reset — Turn this on to add a reset option that clears all form fields when clicked, useful if users would like to start over without refreshing the page.
- Print Button — Toggle this on to add a print option so users can print the form or their responses directly from the submission interface.
- Shrink — Reduces the size of the submit button to make it less dominant or to better fit compact form layouts.
- Save and Continue Later — Enable this to let users save their progress and return later to complete the form, especially helpful for longer or multi-step forms.
- Then, scroll down and check the Field Details, which will show you additional technical information about the field:
- Unique Name — The unique identifier for the field, which can be used to pre-populate it from a URL or pass data to another form automatically.
- Field IDs — The CSS selector for the field, which can be used to style it with custom CSS.

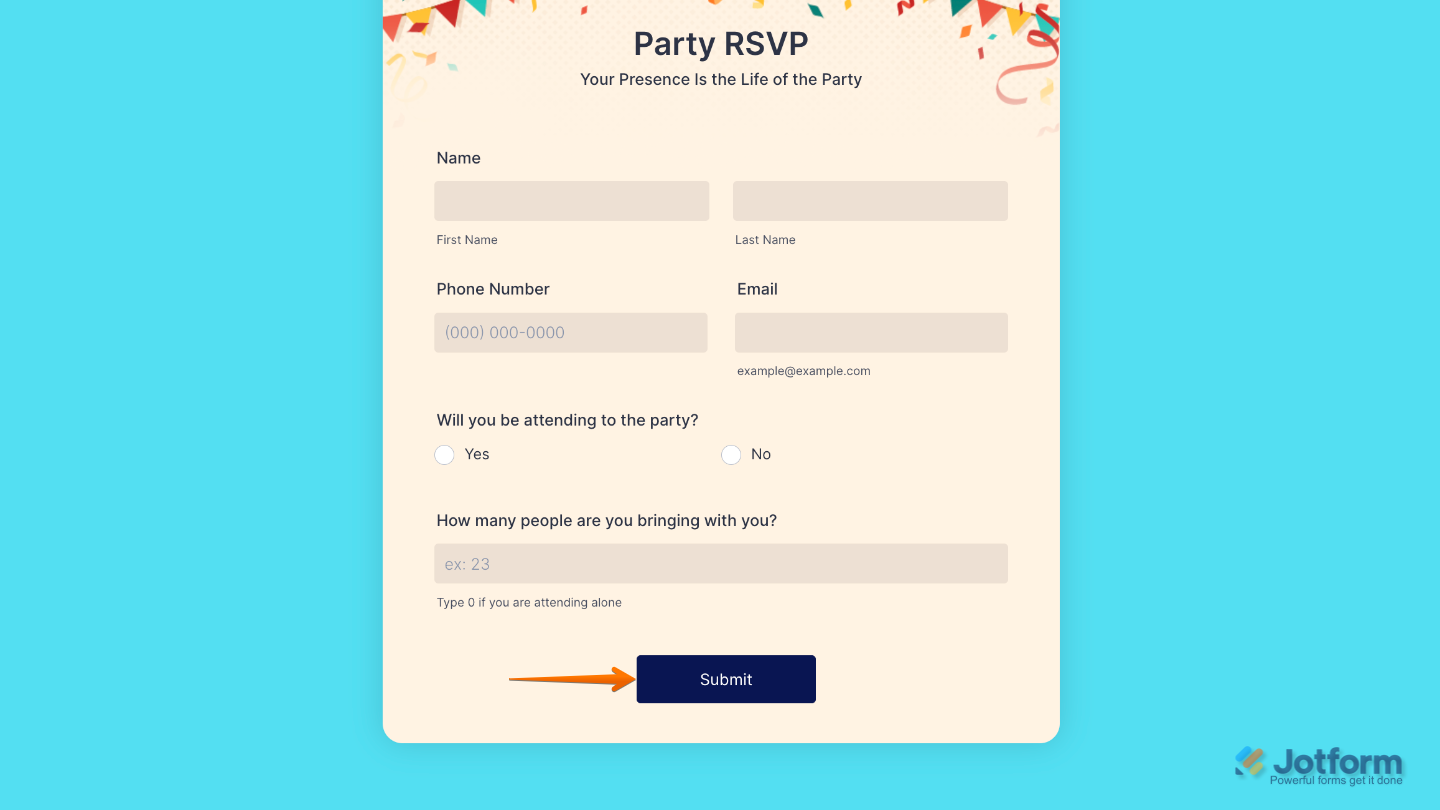
That’s it. You now have a fully set-up Submit element that allows users to send their responses smoothly and complete your form with ease, helping create a clear and seamless submission experience. Want a quick preview? This demo form shows how it works.
Note
The Submit element is not available in Card Forms because the submission process is built into the form flow. In the Card Form layout, Jotform automatically handles the submit action at the final step, so there’s no need to manually add a Submit button element.
Pro Tips
- Place the Submit button at the end of your form so the flow feels natural and easy to follow.
- Test your form before publishing to make sure the Submit button works properly and triggers the correct action.

Send Comment: