Inbox makes it easy to send emails directly from a submission without switching to another email app. This can be useful when following up with form submitters, sharing updates, or responding to questions related to a specific entry.
When sending an email from Inbox, you can customize the sender, recipients, subject line, and message content. You can also include submission data in your email and configure additional email settings when needed.
Emailing Entries in Inbox
You can compose and send emails directly from a selected submission in Inbox. Here’s how to set it up:
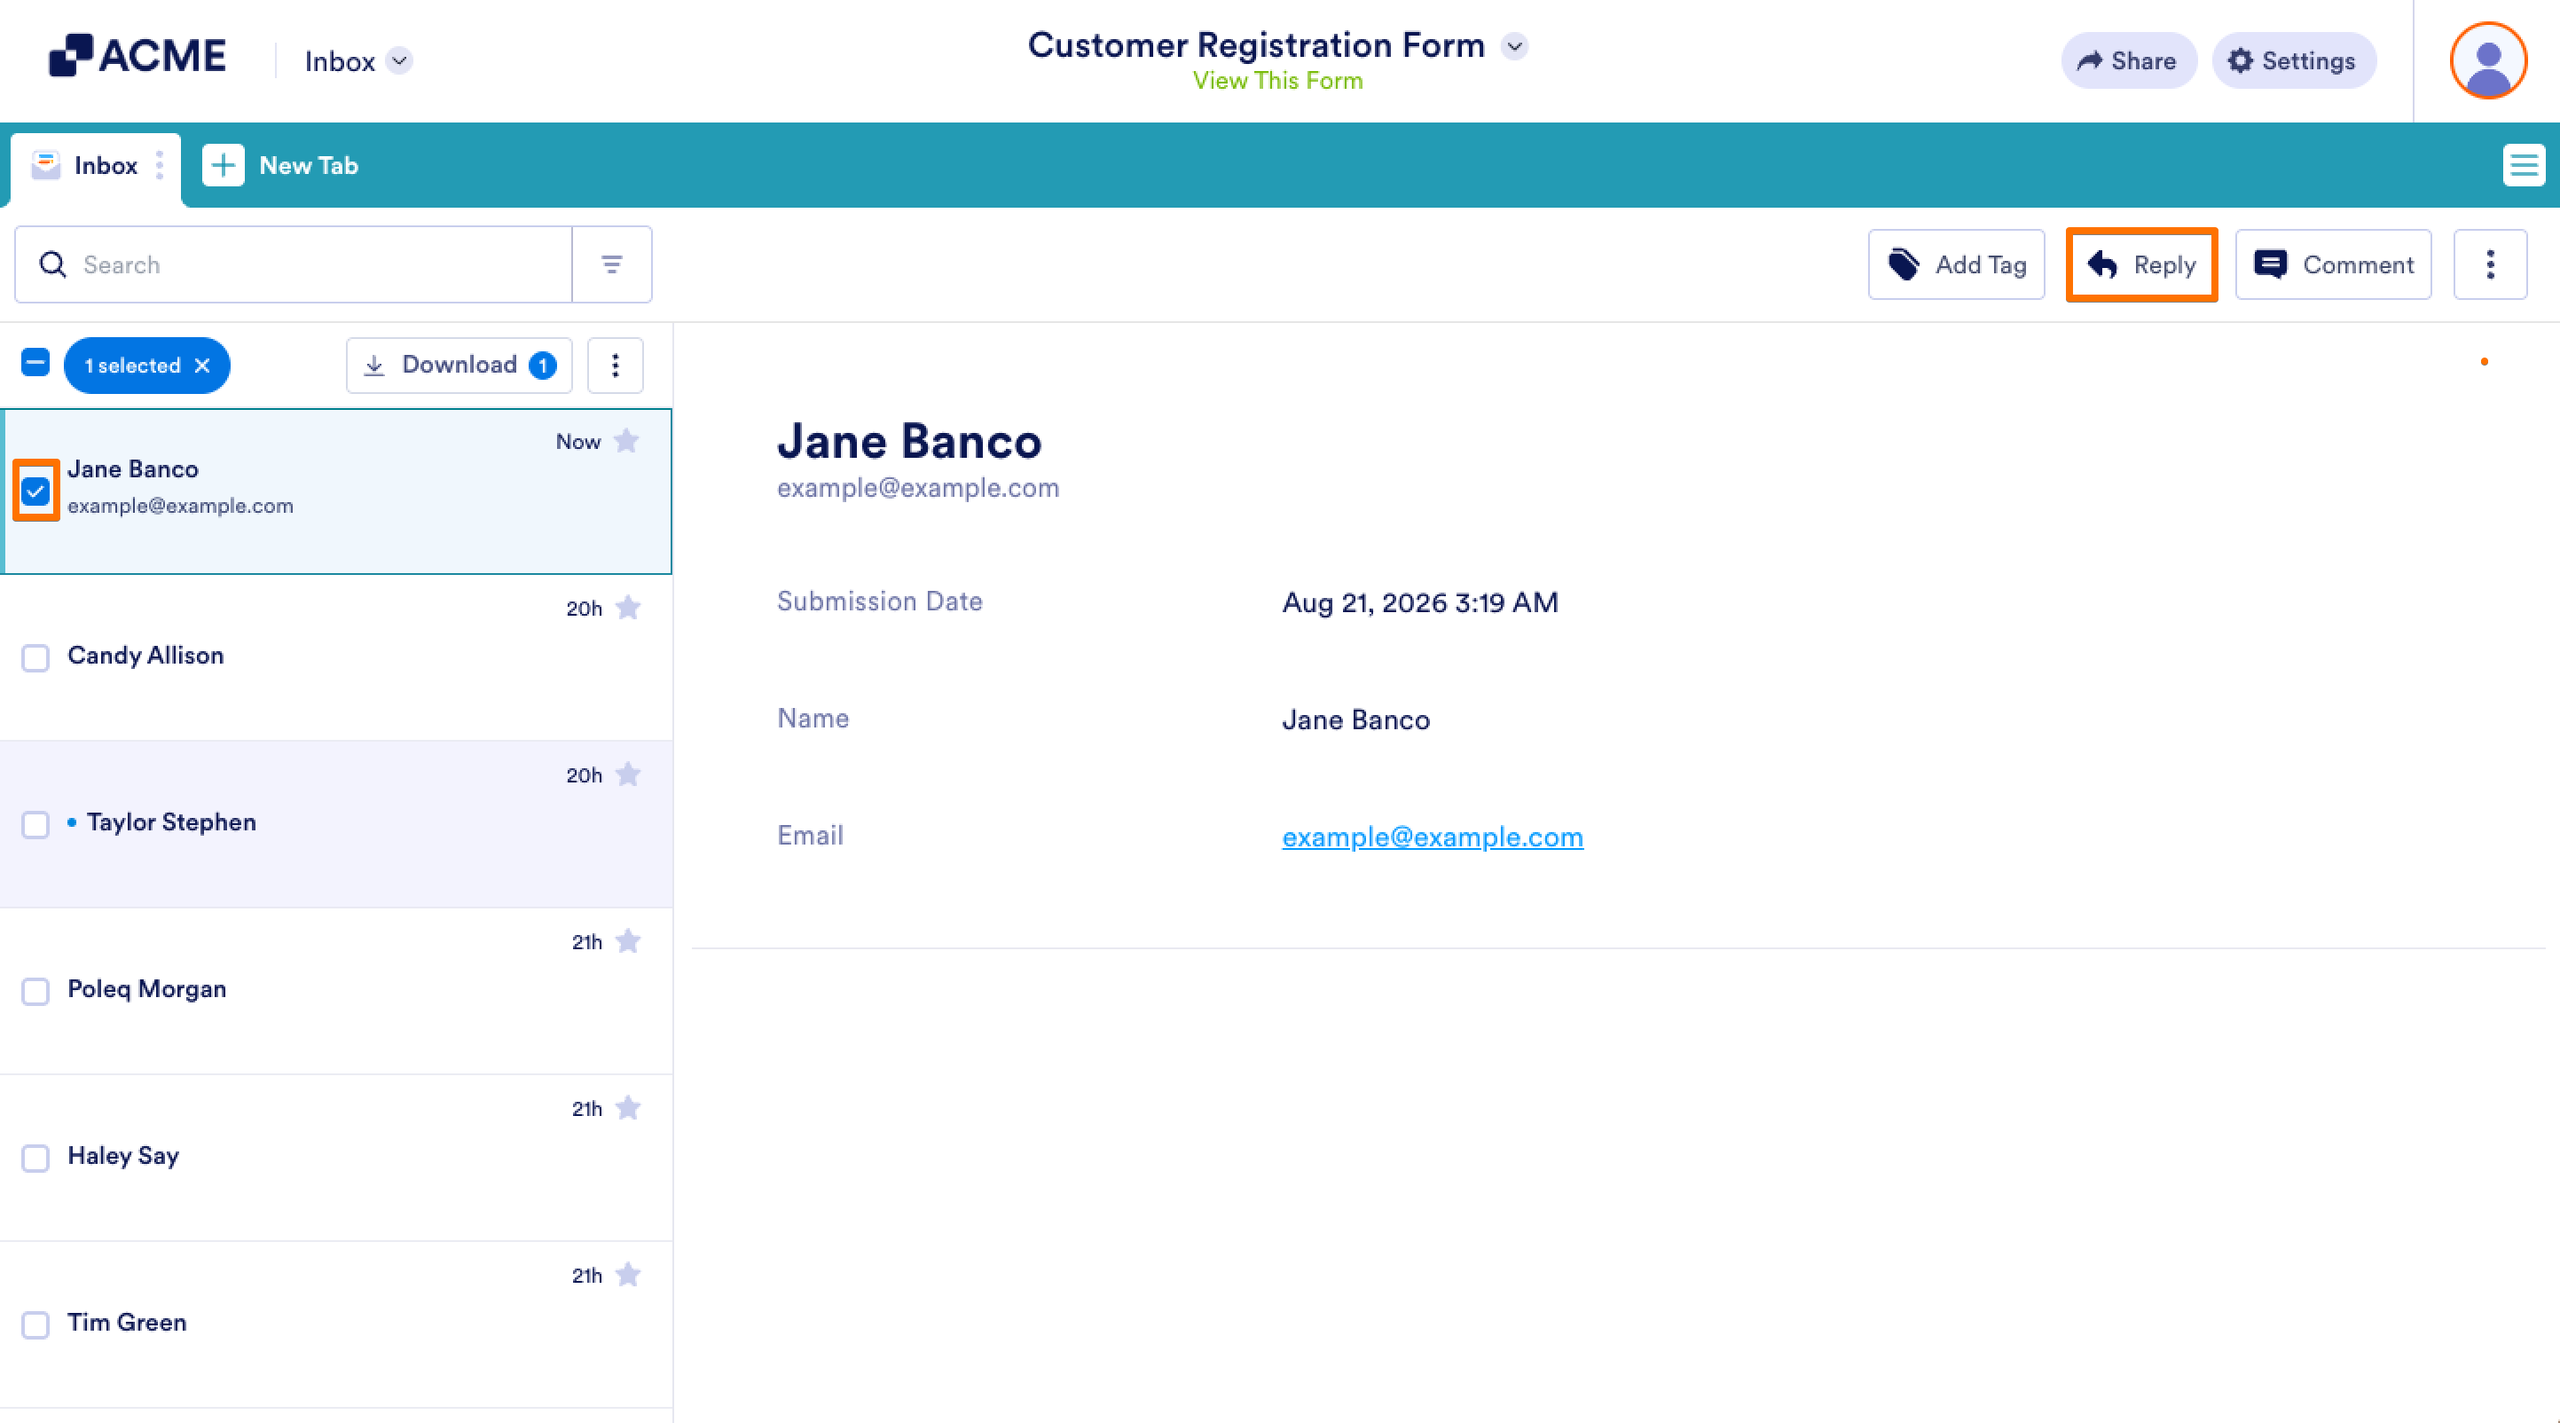
- In Inbox, put a check in the box next to the entry you want to email.
- Then, on the upper-right side of the page, click on Reply.
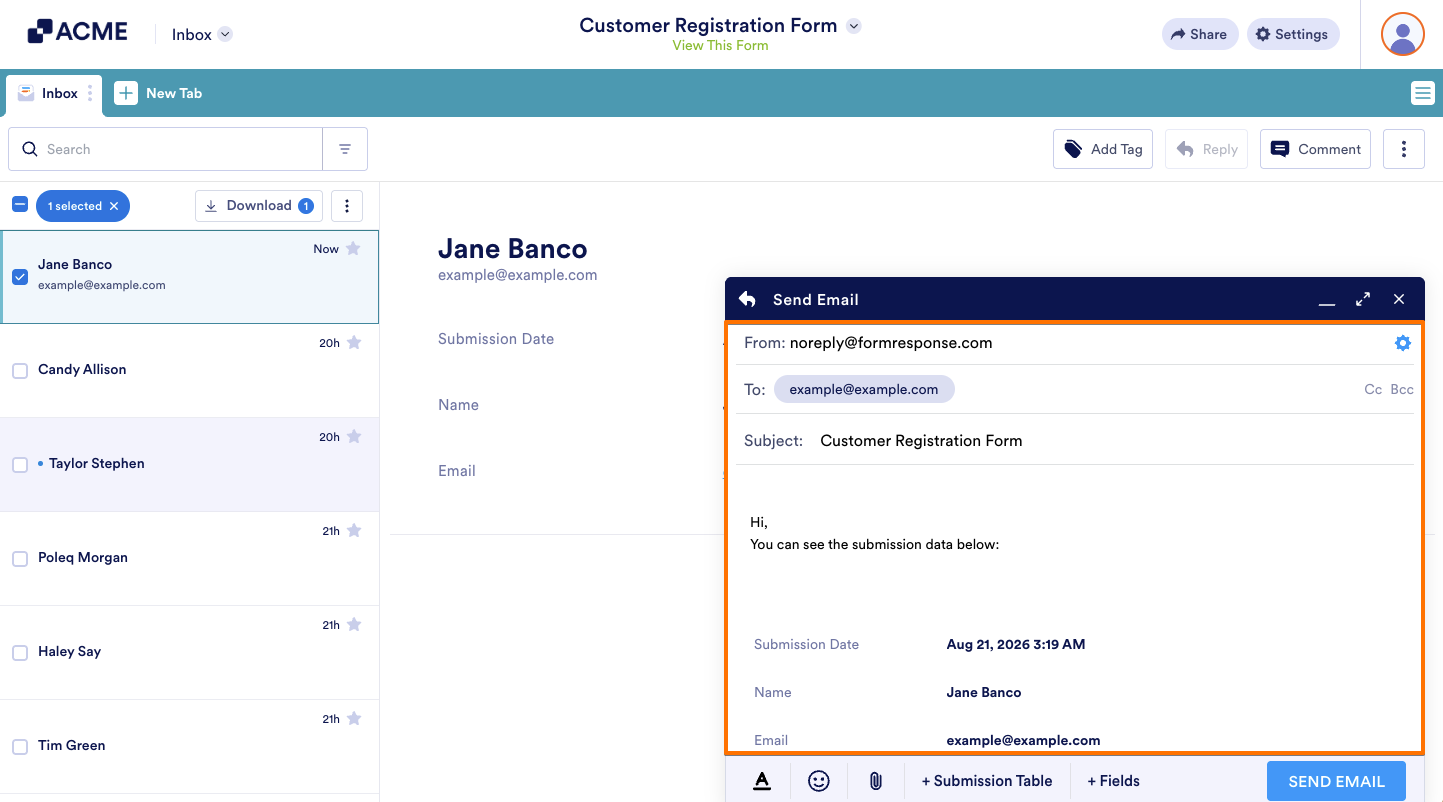
- Now, in the Send Emailwindow that opens, configure these email details:
- From — Select the sender email address.
- To — The form submitter’s email address is added automatically, but you can edit or replace it if needed.
- Cc/Bcc — Add additional recipients if needed.
- Subject — Customize the email subject line.
- Message Body — Edit the email content.
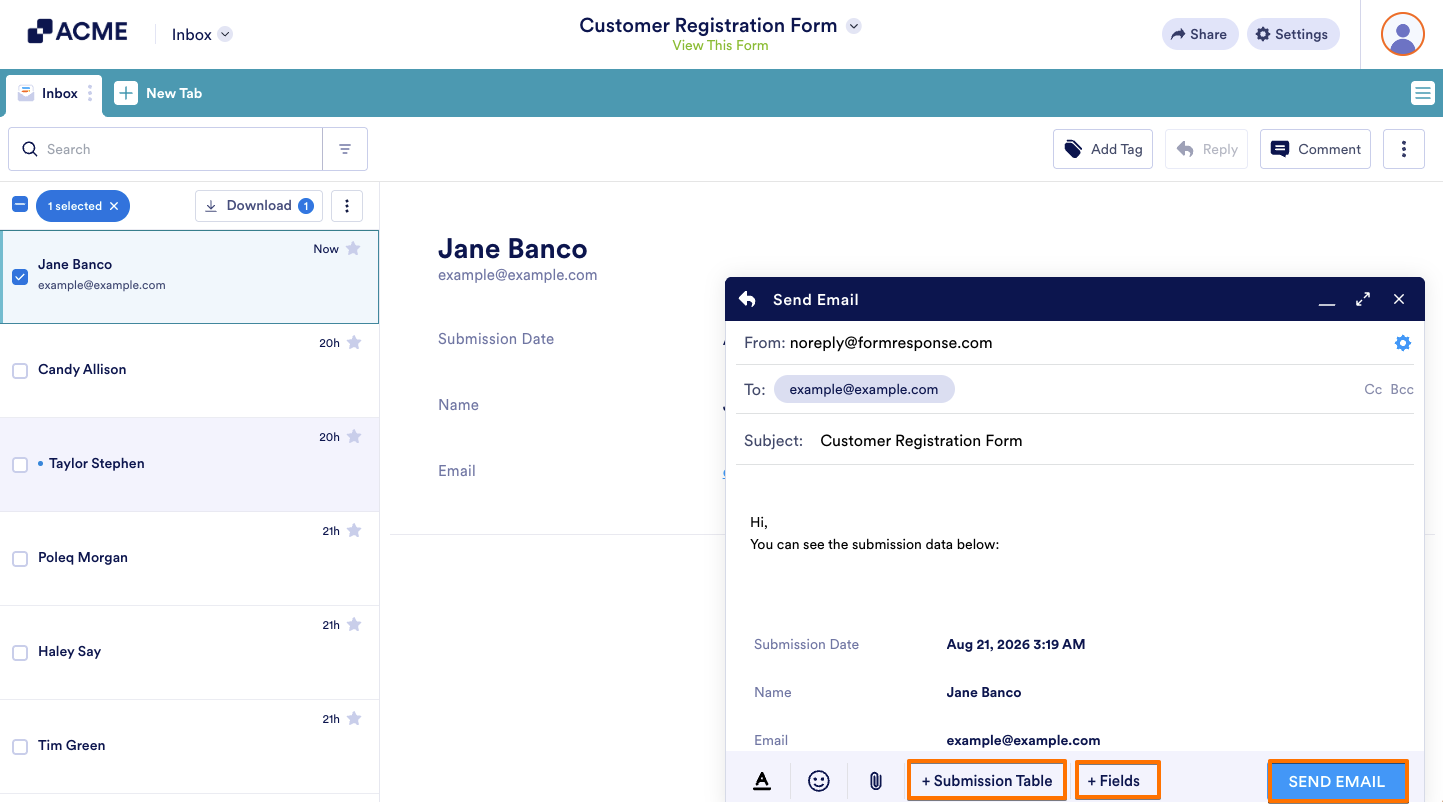
- If needed, you can also use the options at the bottom of the email editor:
- Submission Table — Insert the selected submission data into the email.
- Fields — Insert form field values into the email message.
- Finally, click on Send Email, and you’re done.
That’s it! Your email will be sent with the selected submission data included in the message.
Note
If multiple entries are selected, only the most recently selected entry will be included in the email. To email a specific submission, make sure only that entry is selected before clicking Reply.
Configuring Email Settings
If you need more control over how your email is sent, you can adjust the email settings before sending it. Here’s the quick way to do it:
- While in the Send Email window, on the right side, click on the Gear icon.
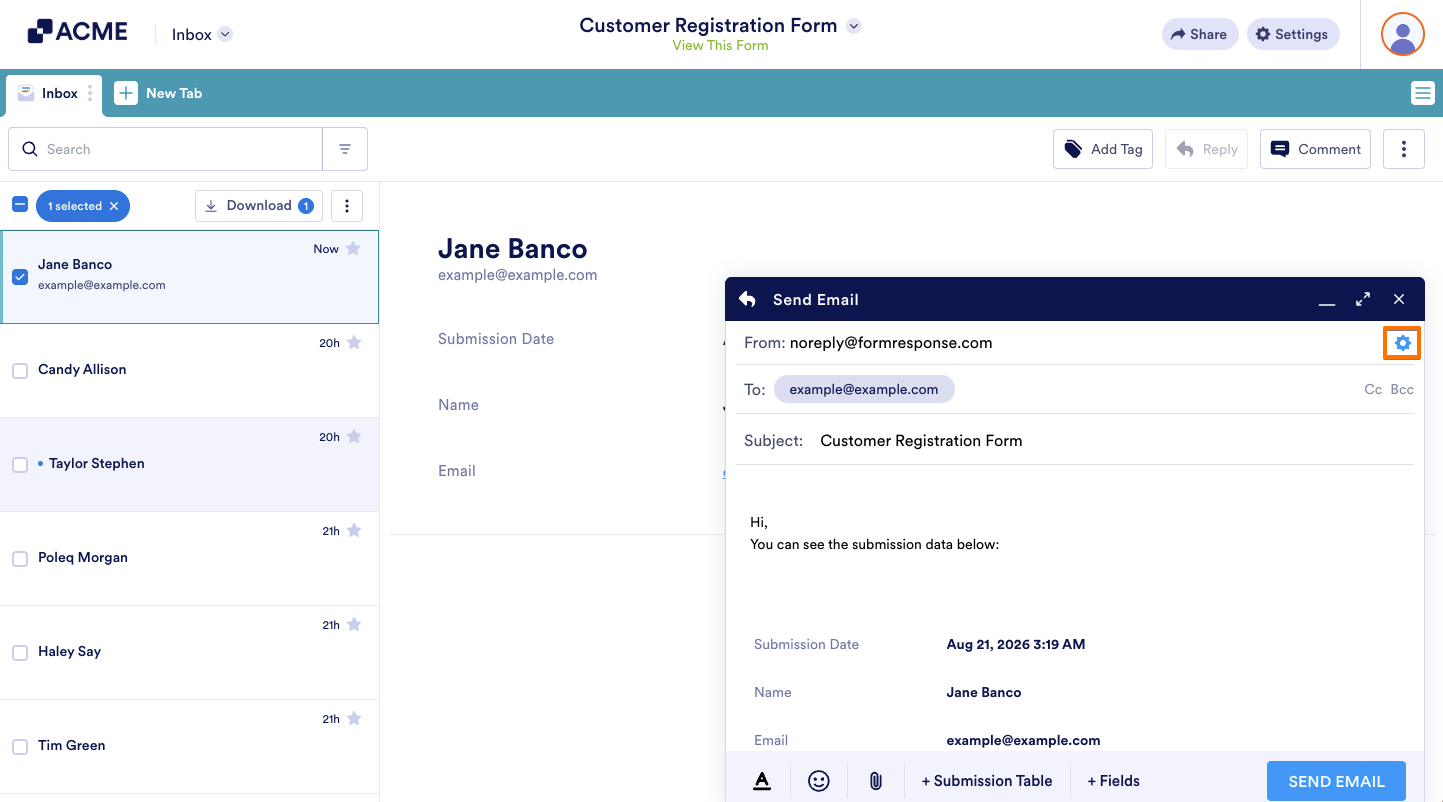
- Then, in the Email Settings window that opens, configure these things:
- Reply-to Email — Specify the email address that will receive replies from recipients.
- Sender Email — Select the email address that will appear as the sender of the message.
- Now, click on Done, and you’re all set.
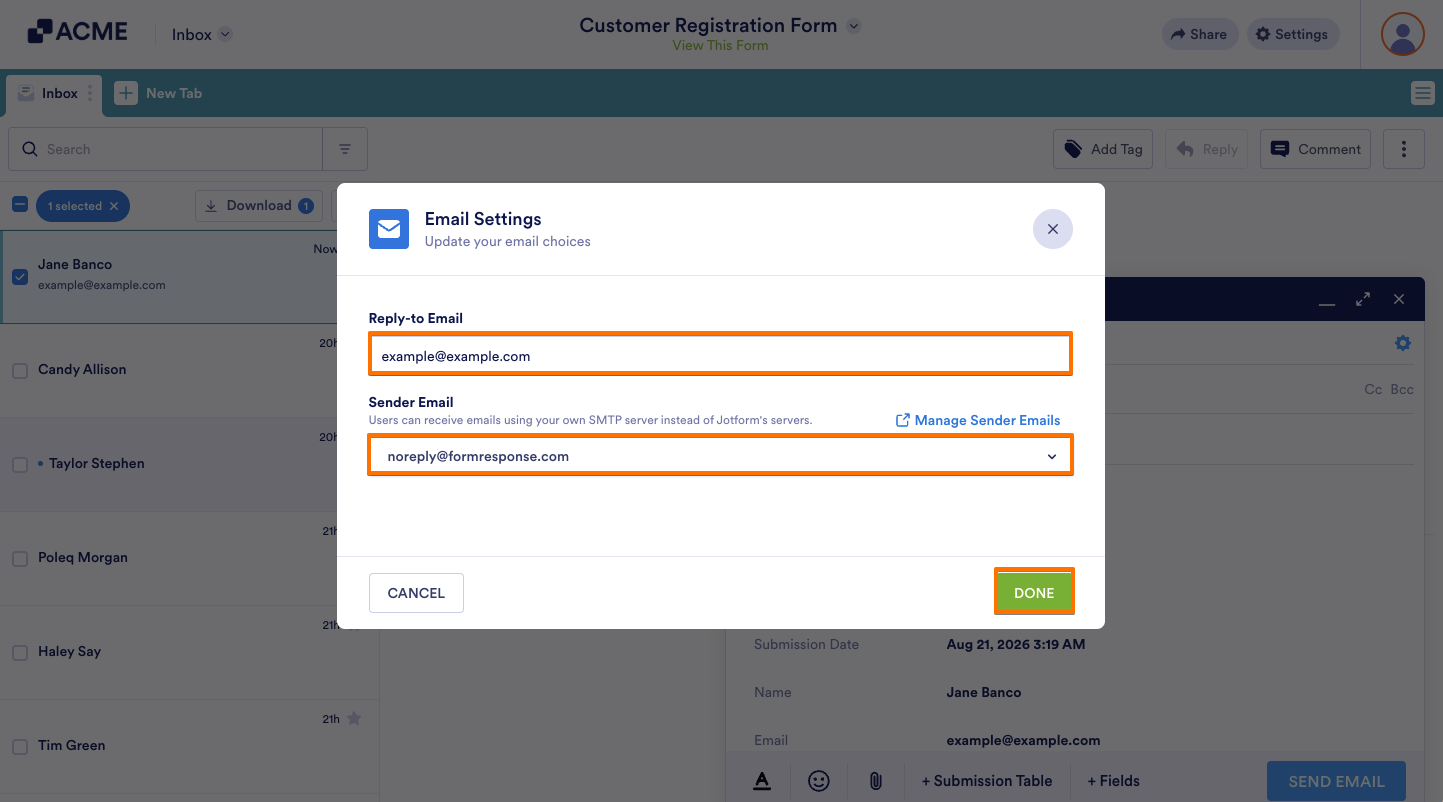
Your email settings will be applied to the message you’re preparing to send.

Send Comment: