The Send Data via Webhook action button allows you to send submission data to a webhook endpoint. You can push data to your own or third-party services directly from Tables.
To begin adding a column with that button, view your submissions in Tables and follow the steps below:
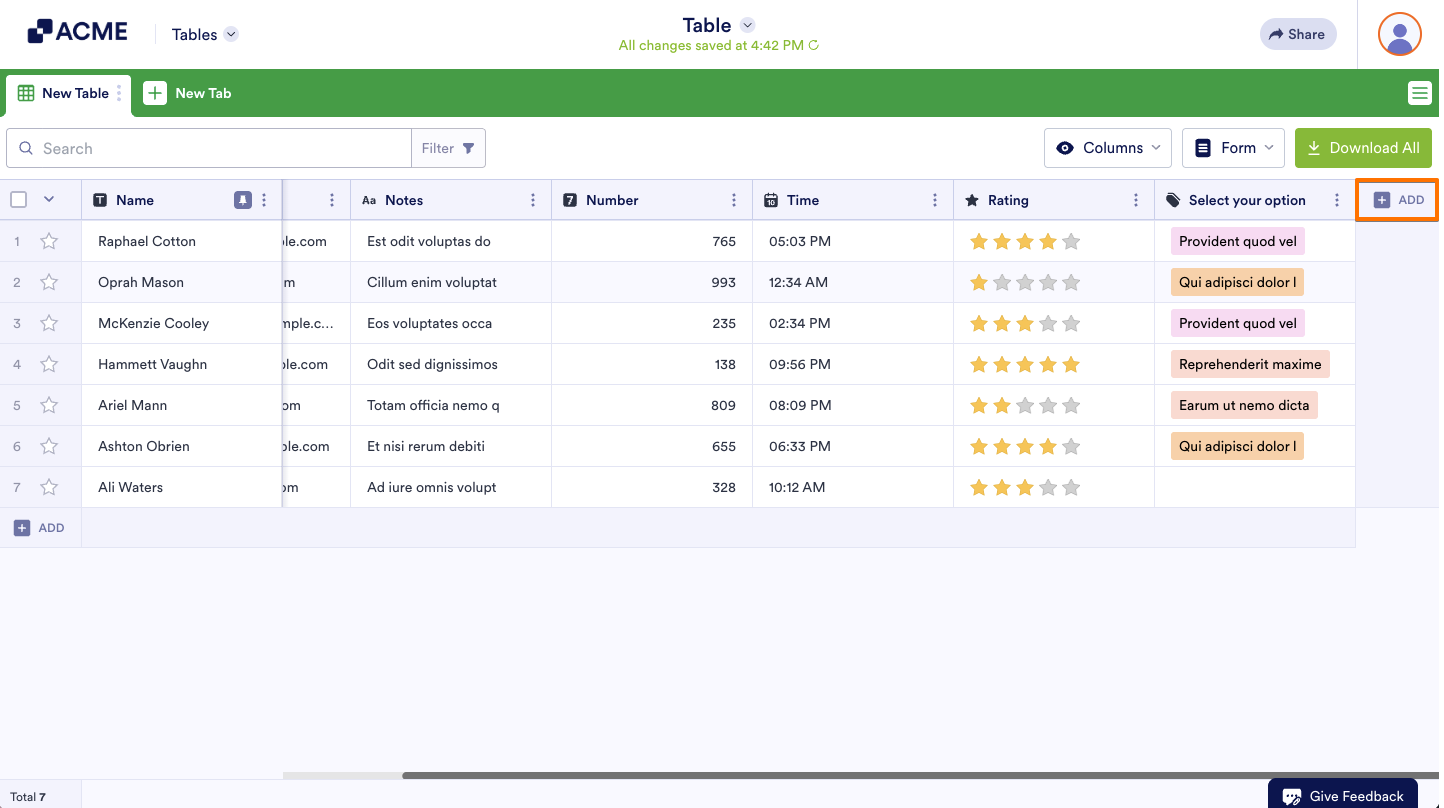
- In Tables, click on the Add button at the end of the table to insert a new column. See How to Add and Organize Columns for more information.
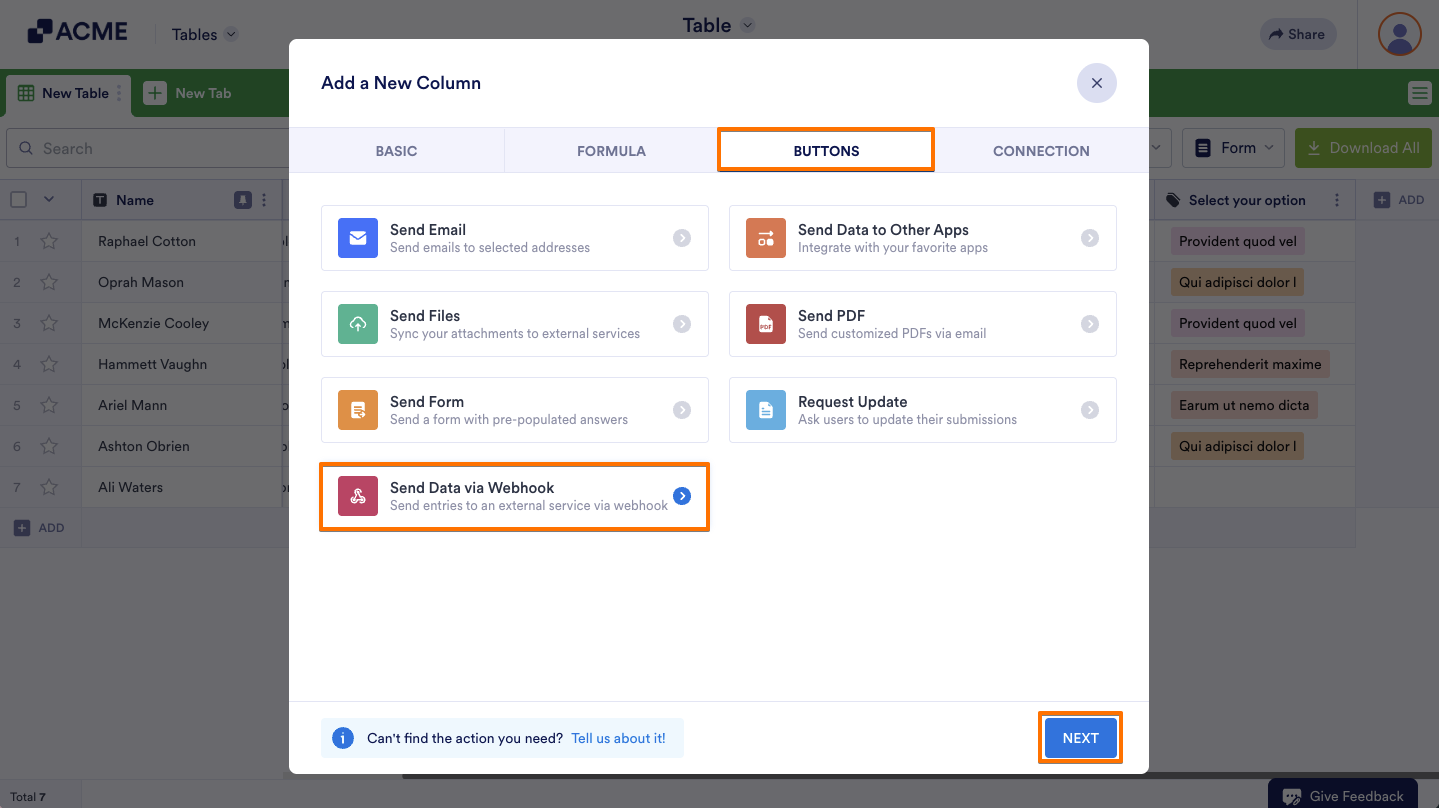
- In the Add a New column window, go to the Buttons tab.
- Then, select Send Data via Webhook and click on Next.
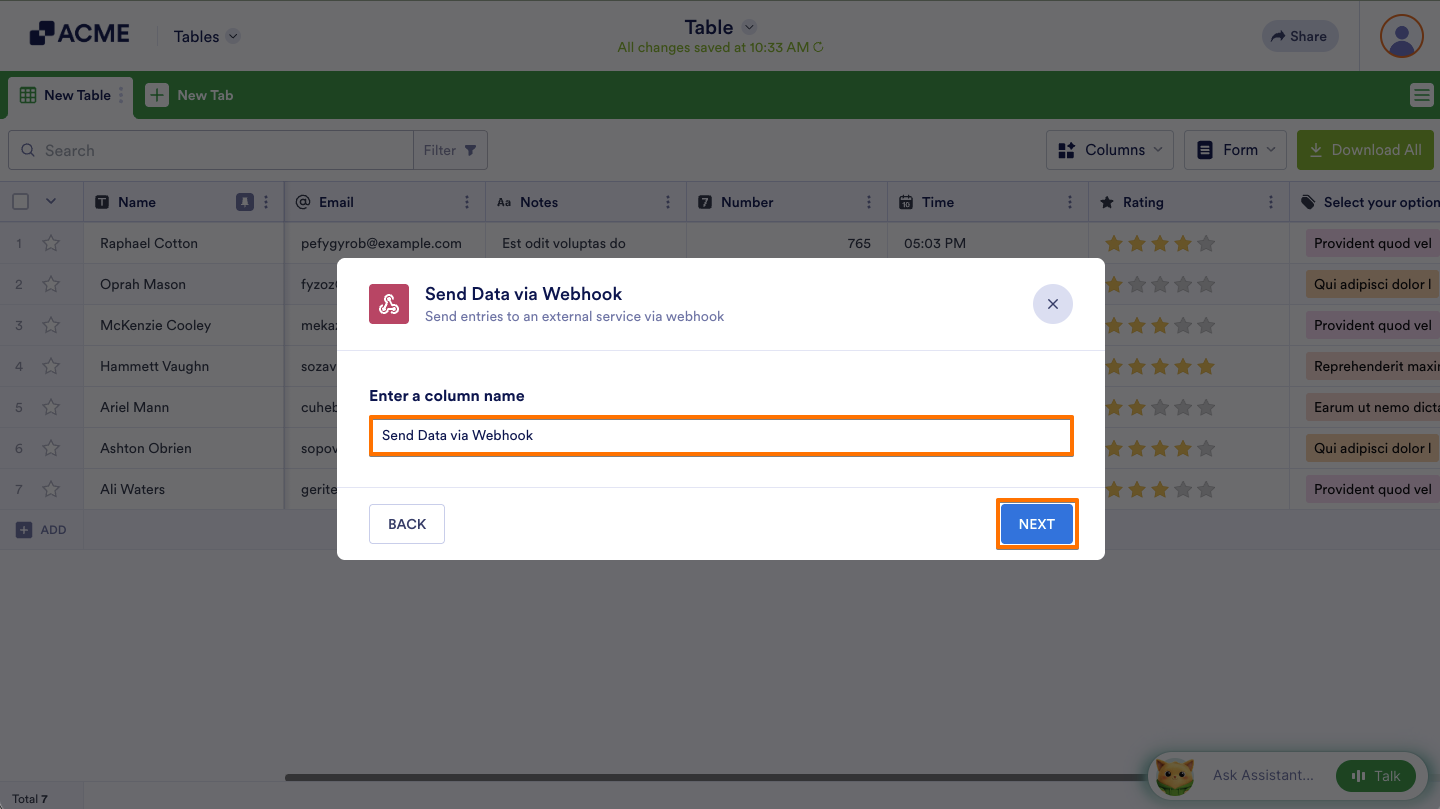
- In the Send Data via Webhook window, enter a name for your column and click on Next.
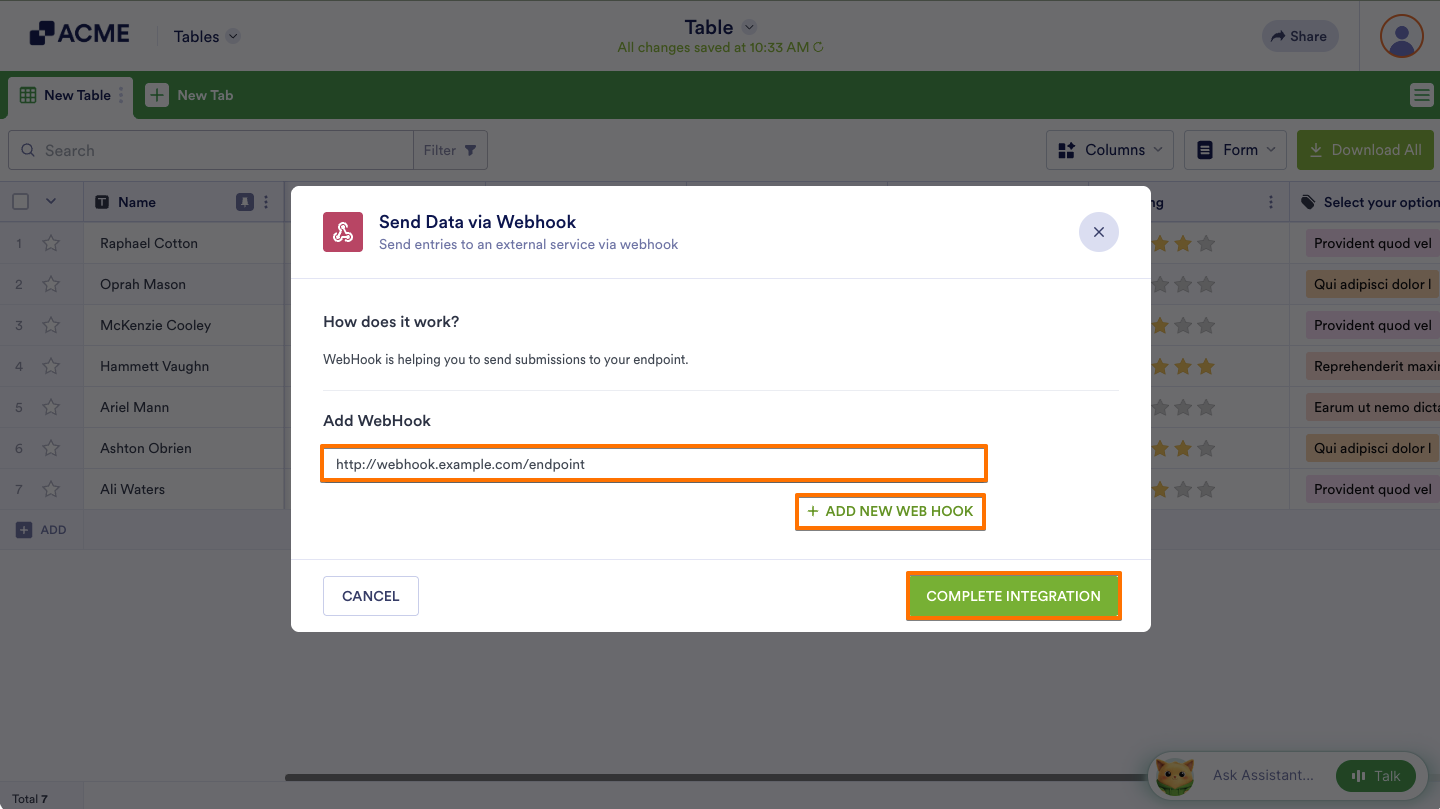
- In the next screen, enter your Webhook URL or endpoint and click on Complete Integration. To add more endpoints, click on the Add New Web Hook button.
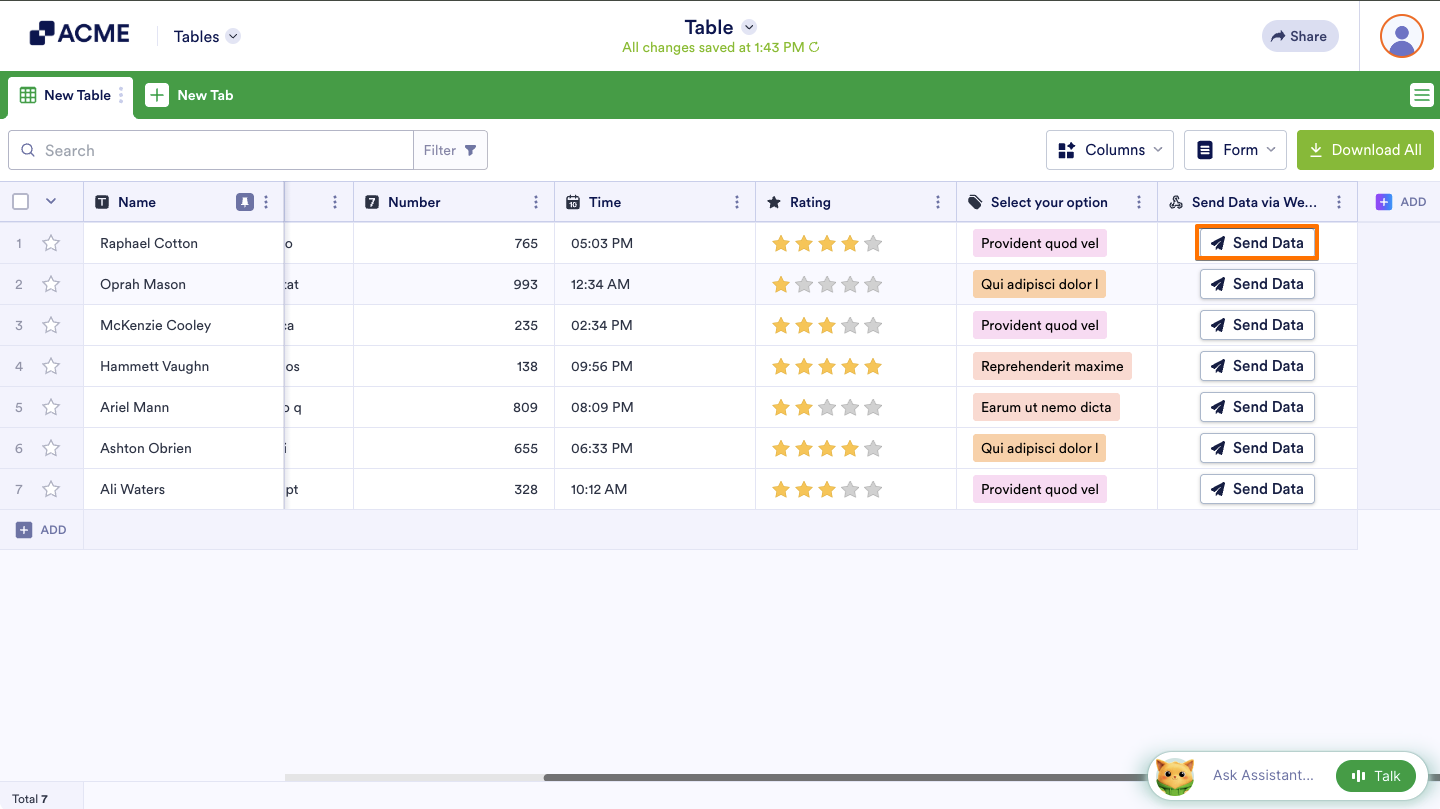
You can now send submission data to your webhook endpoint.
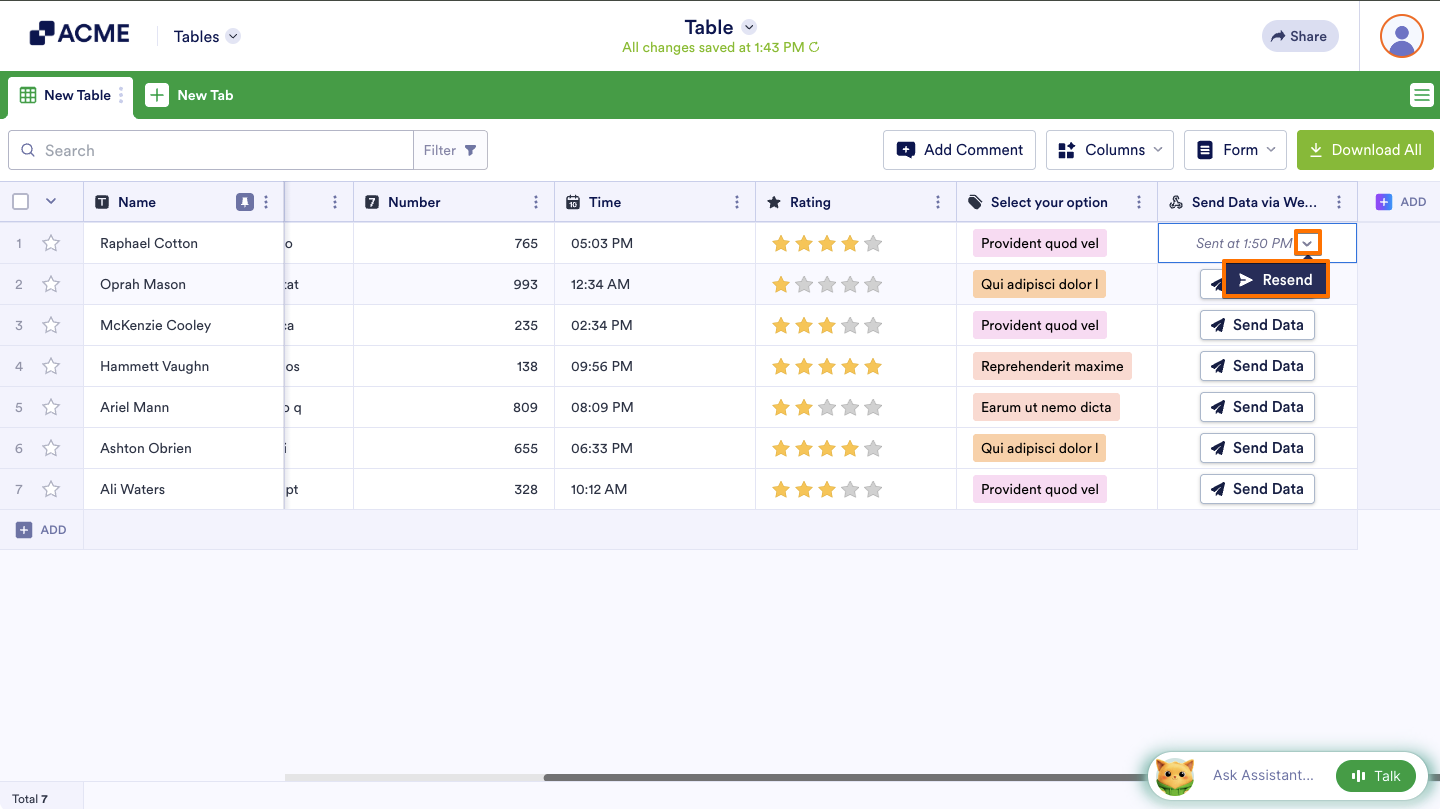
To resend an entry, click on the Downward Arrow icon next to the timestamp when it was previously sent then click on Resend.
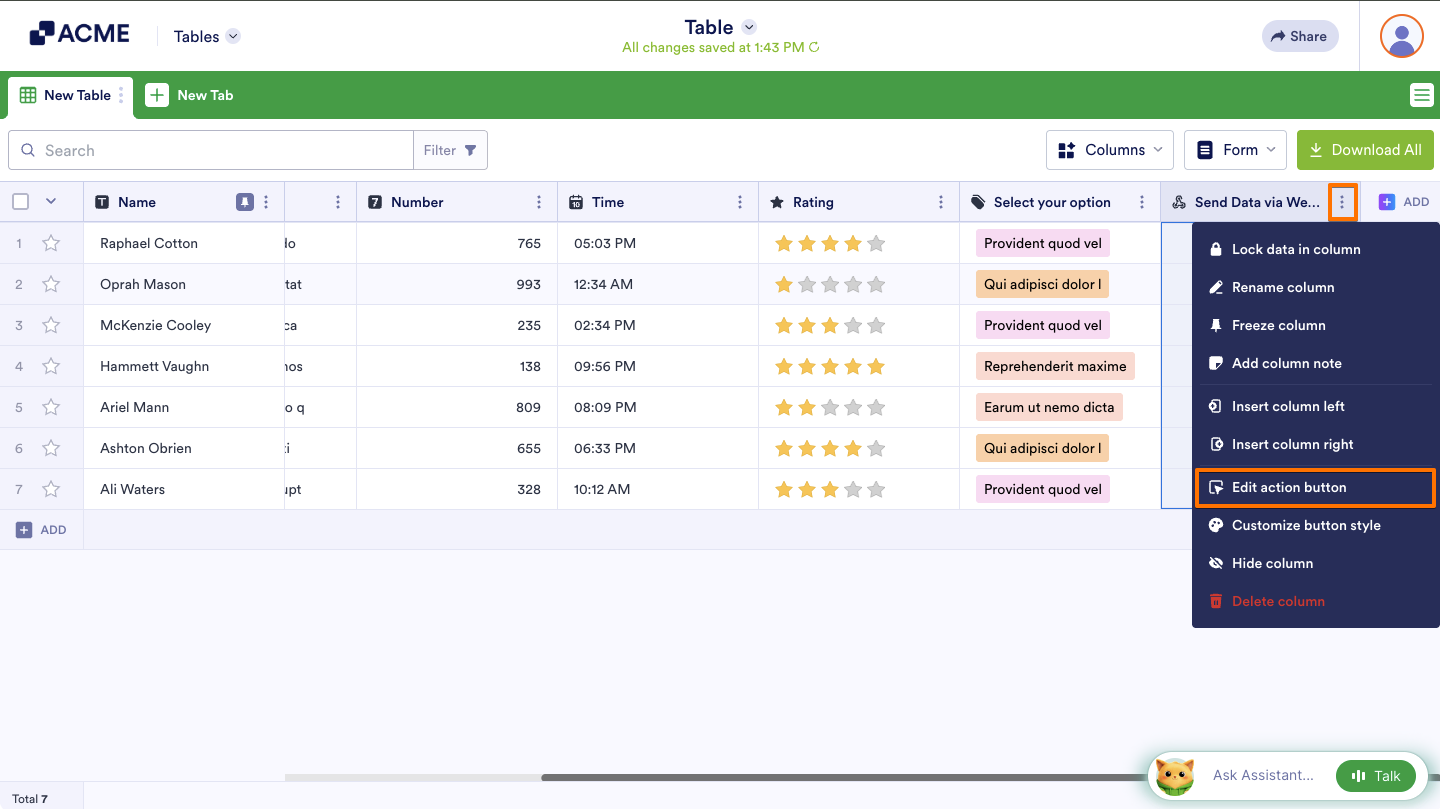
To reconfigure your Send Files via Webhook action button, click on the Three Dots icon next to the column name and select Edit action button from the menu.

Send Comment: