
Today we will will go through creation process of a Medieval Knight Shield in Adobe Illustrator. We will try to create nice, shiny Shield that can be used as the website icon or a company logo. Creation process is quite simple. All we have to do is to use simple shape as ellipse, to distort it a little bit and to combine it with other shapes. Beside that we will get the chance to play with nice metal gradients, trying to create an impression of the light reflection on the shiny metal.
In the end, our shield should look something like this:

Now let’s get down to work!
Combining Elements in Order to Create the Shape of the Shield
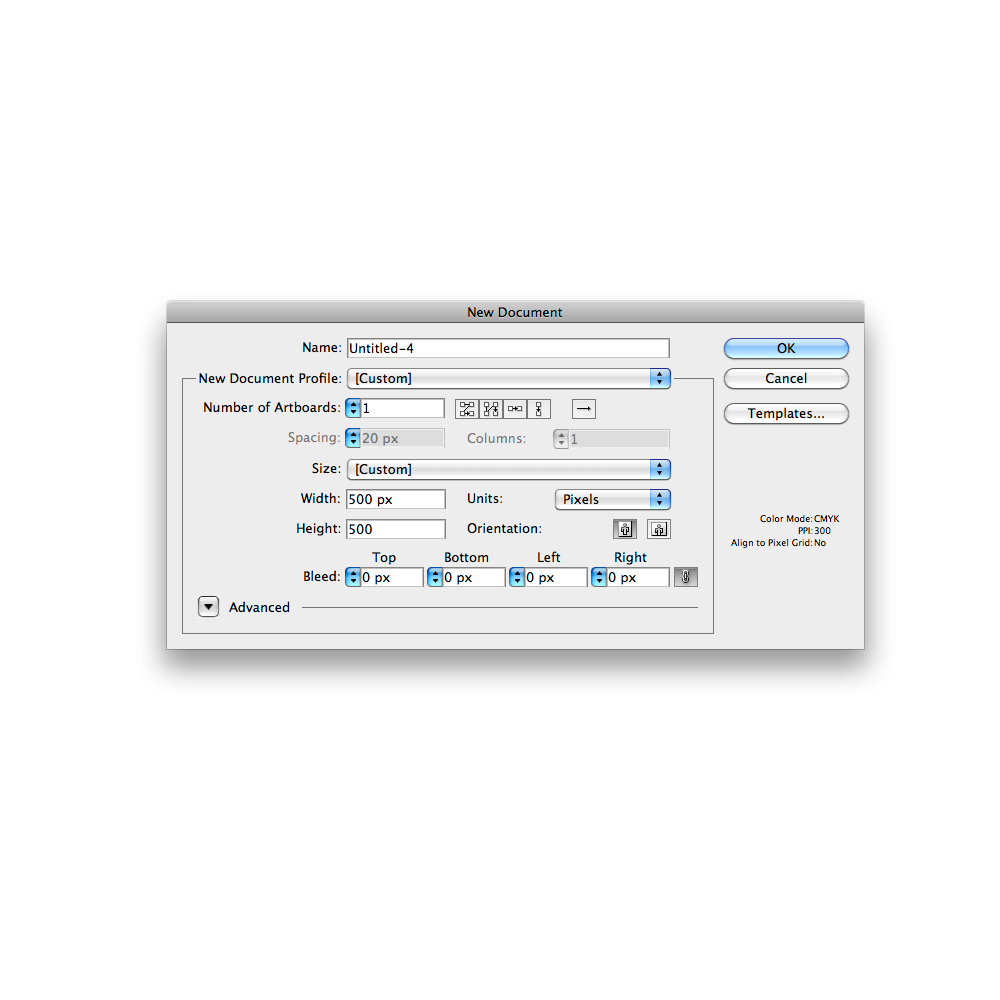
Set the new illustrator document in 500 x 500 pixels in size.
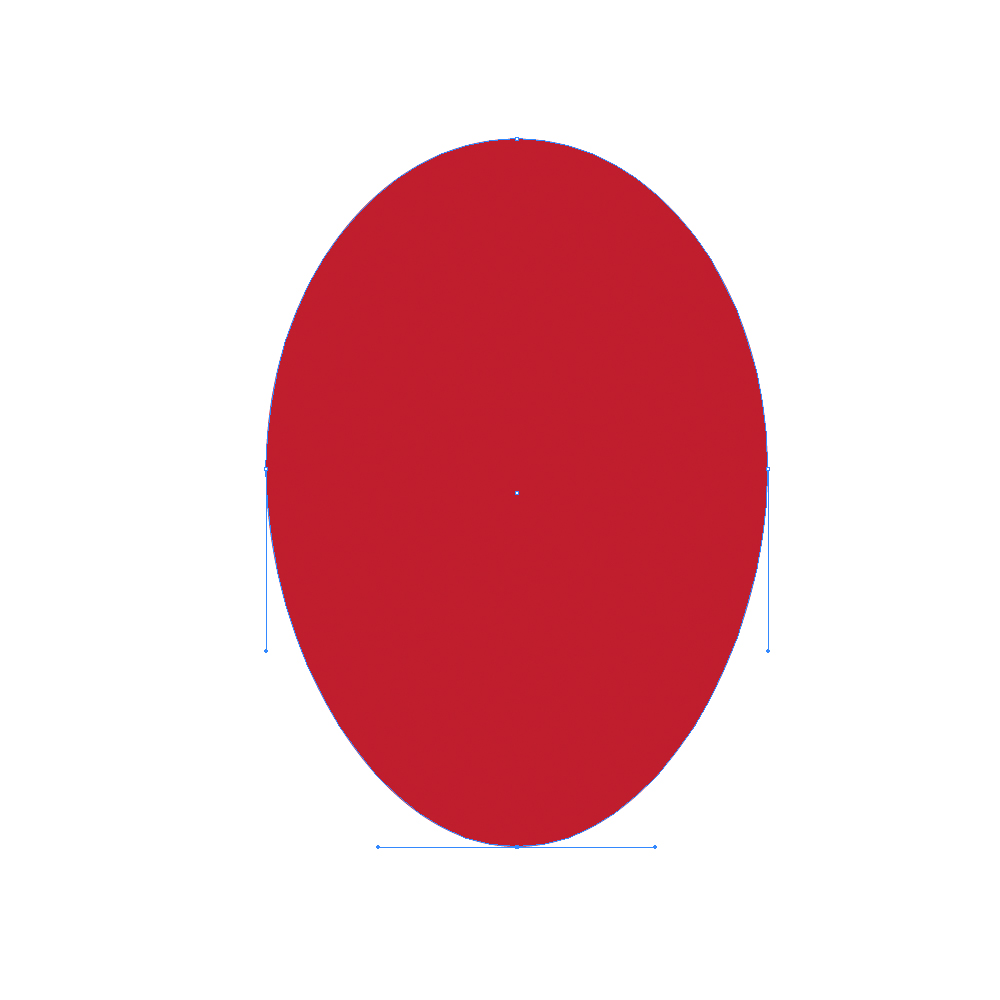
Grab the Ellipse Tool (L) from the Tool Panel and create the ellipse.

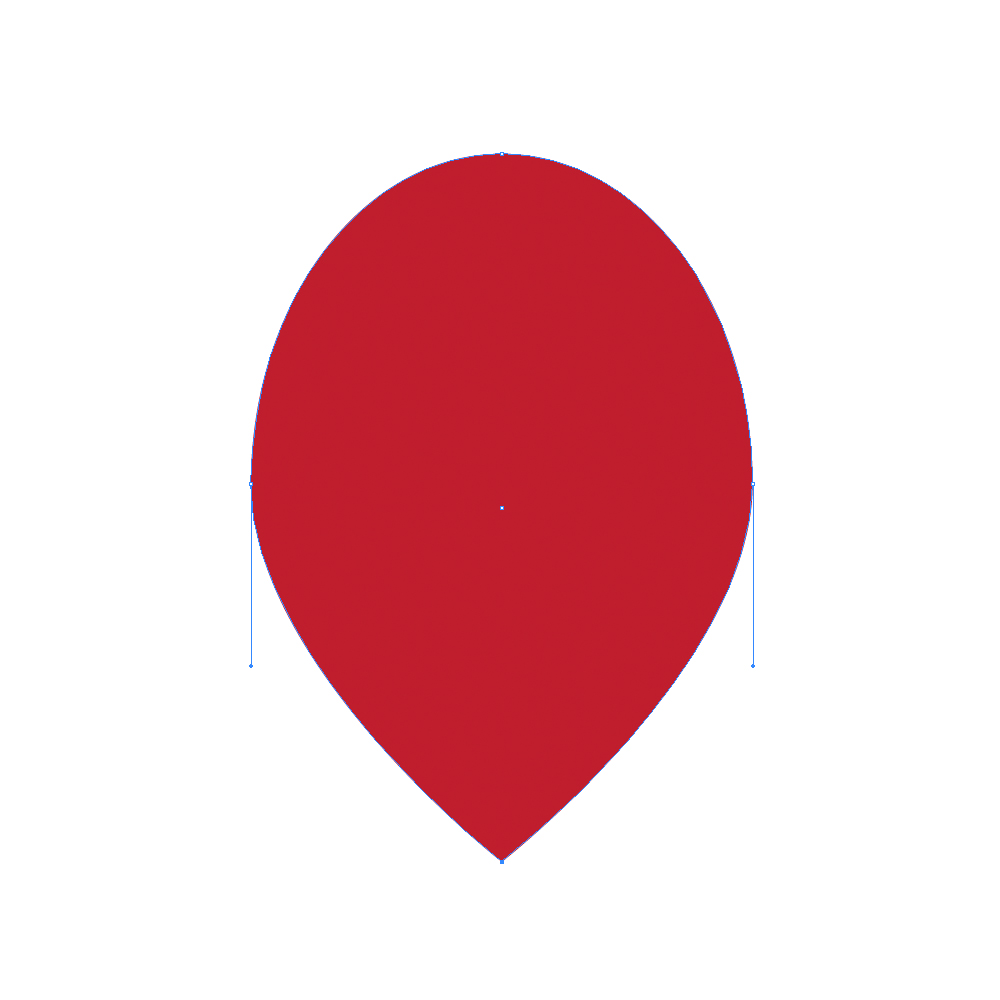
To distort the ellipse grab the Direct Selection Tool (A) from the Tool Panel and click on the lower anchor point. Hit the down arrow key on the keyboard to nudge the anchor points downwards for the few pixels.
Select the Convert Anchor Point Tool ( Shift + C ) from the Tool Panel and click on the nudged anchor point. It will make a sharp corner.
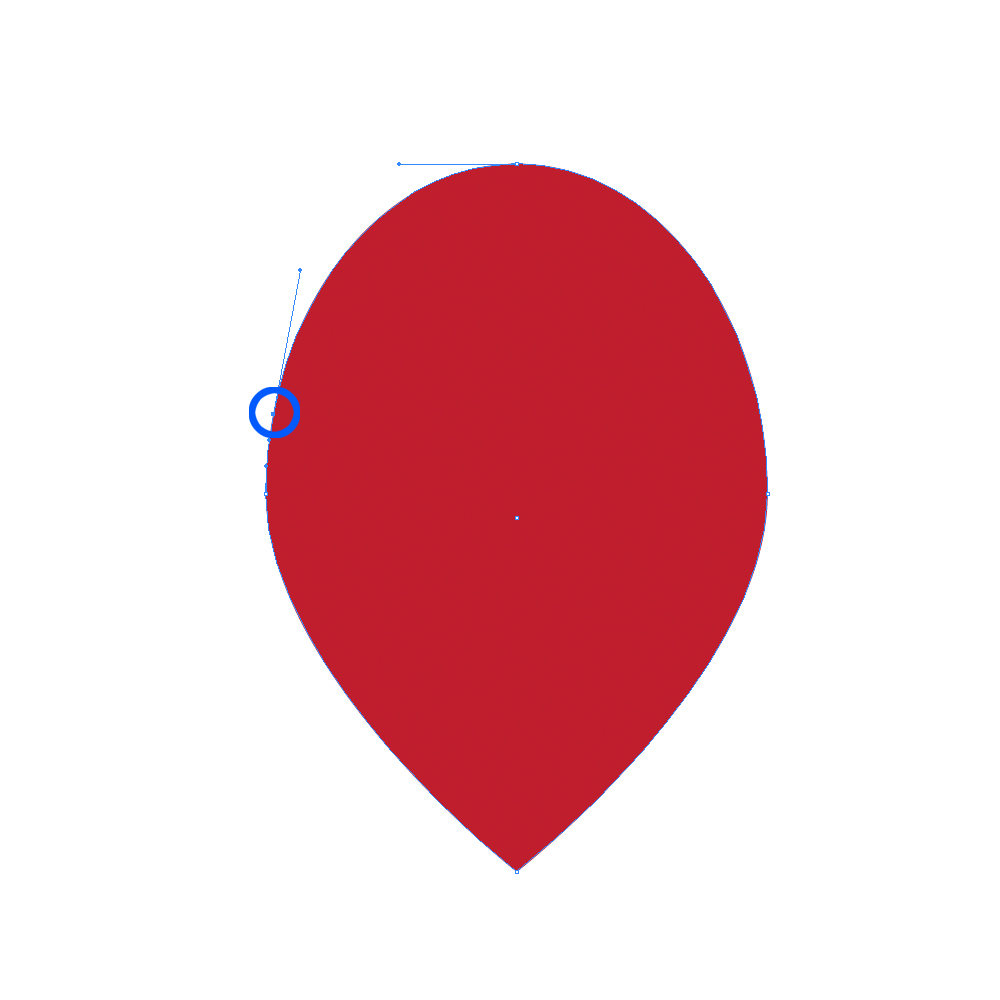
Use the Add Anchor Point Tool (+) to add the anchor point as it shown on the picture below.
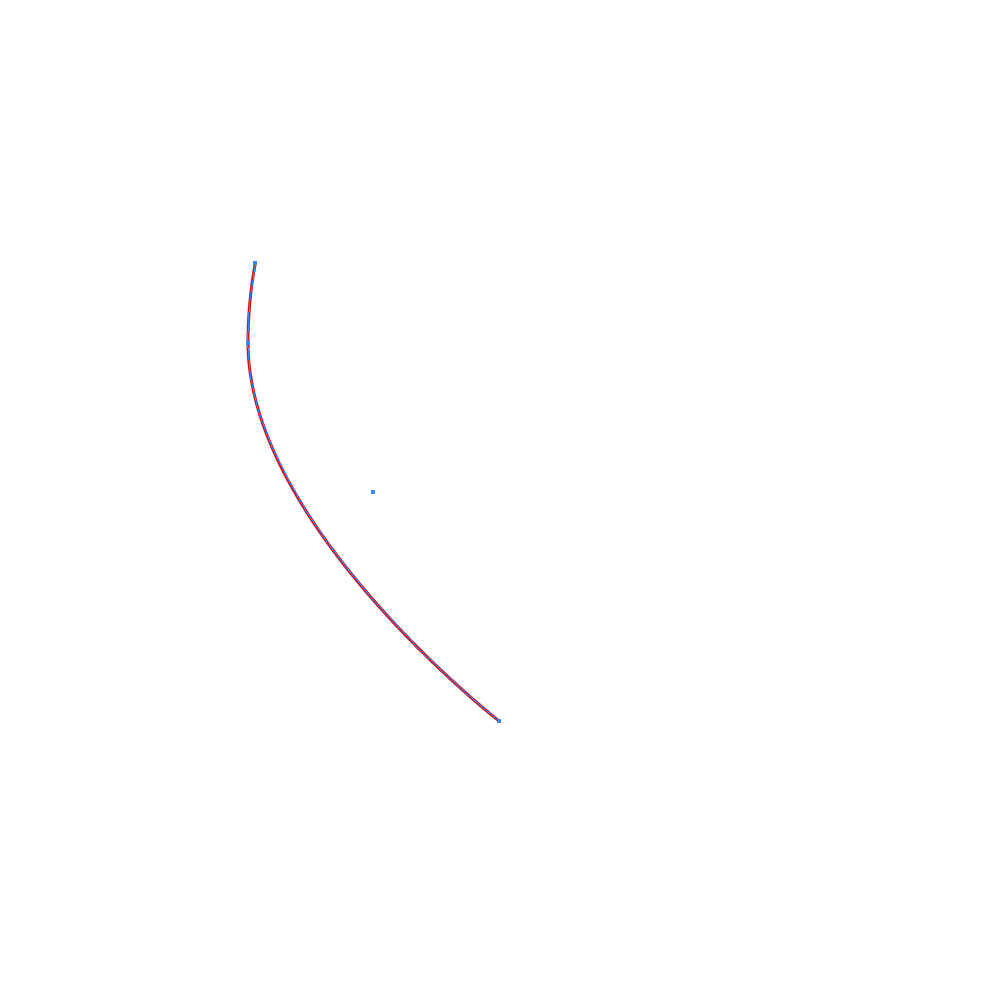
With the Direct Selection Tool (A) remove few anchor points. Set the Fill color to none and for the Stroke color chose any color you like.
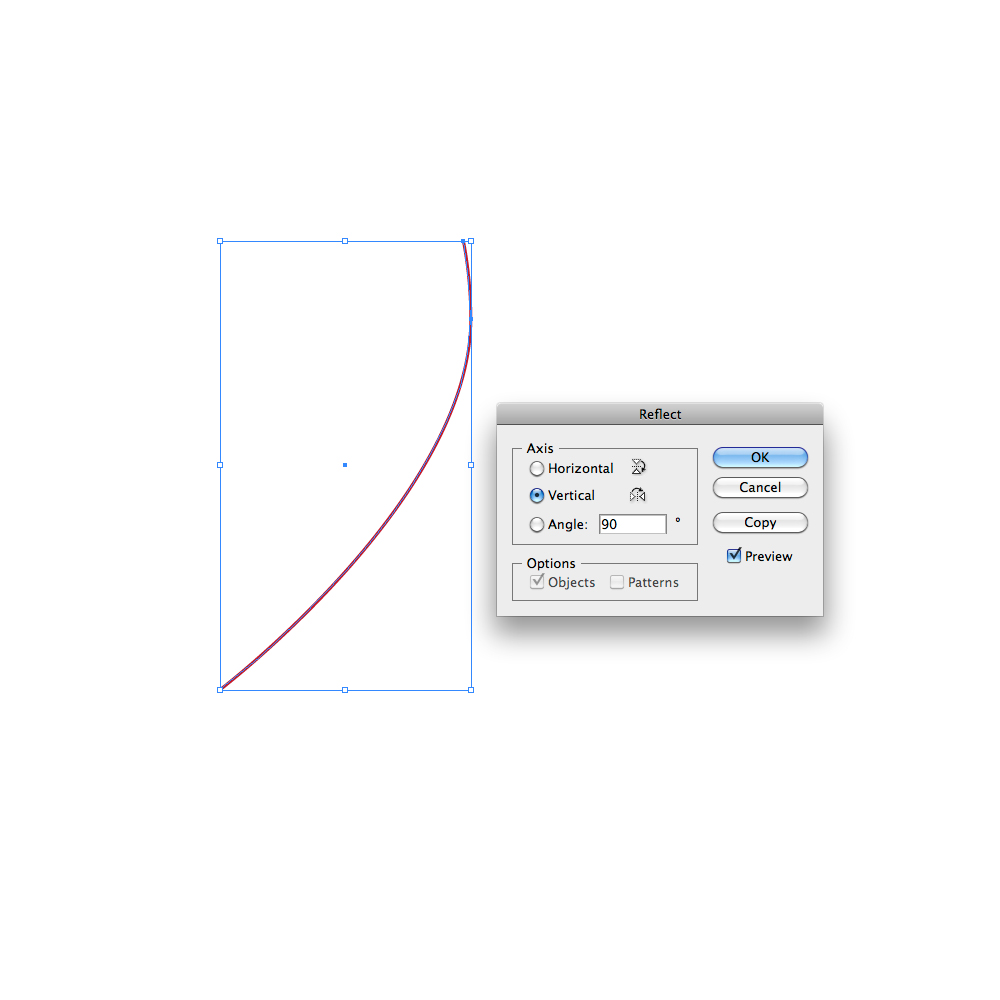
Under the Object select Transform > Reflect. Set the Axis to Vertical and hit the Copy button. This way we will reflect the path we have just created.
Holding the Shift key on the keyboard move the reflected path to the right. With the Direct Selection Tool (A) select lower endpoints and under the right click hit Join.
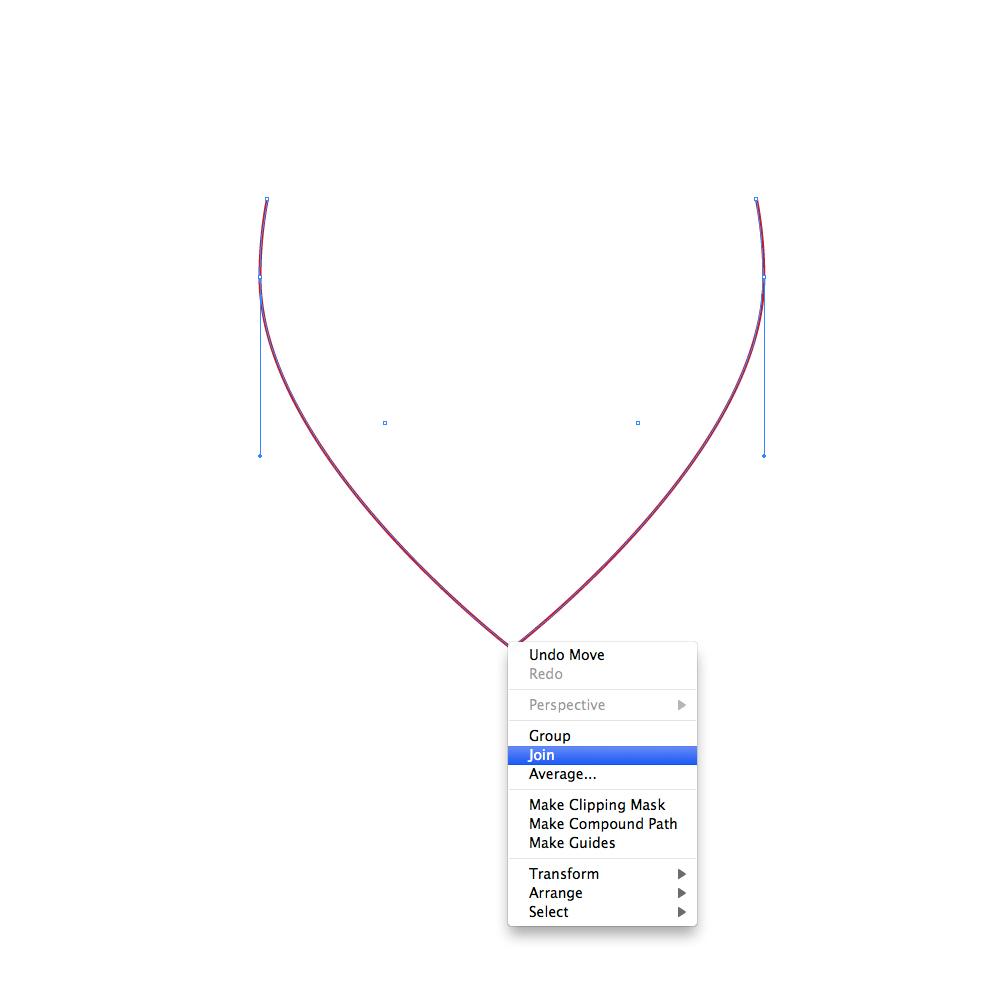
Grab the Pen Tool ( P ) from the Tool Panel and close the path.

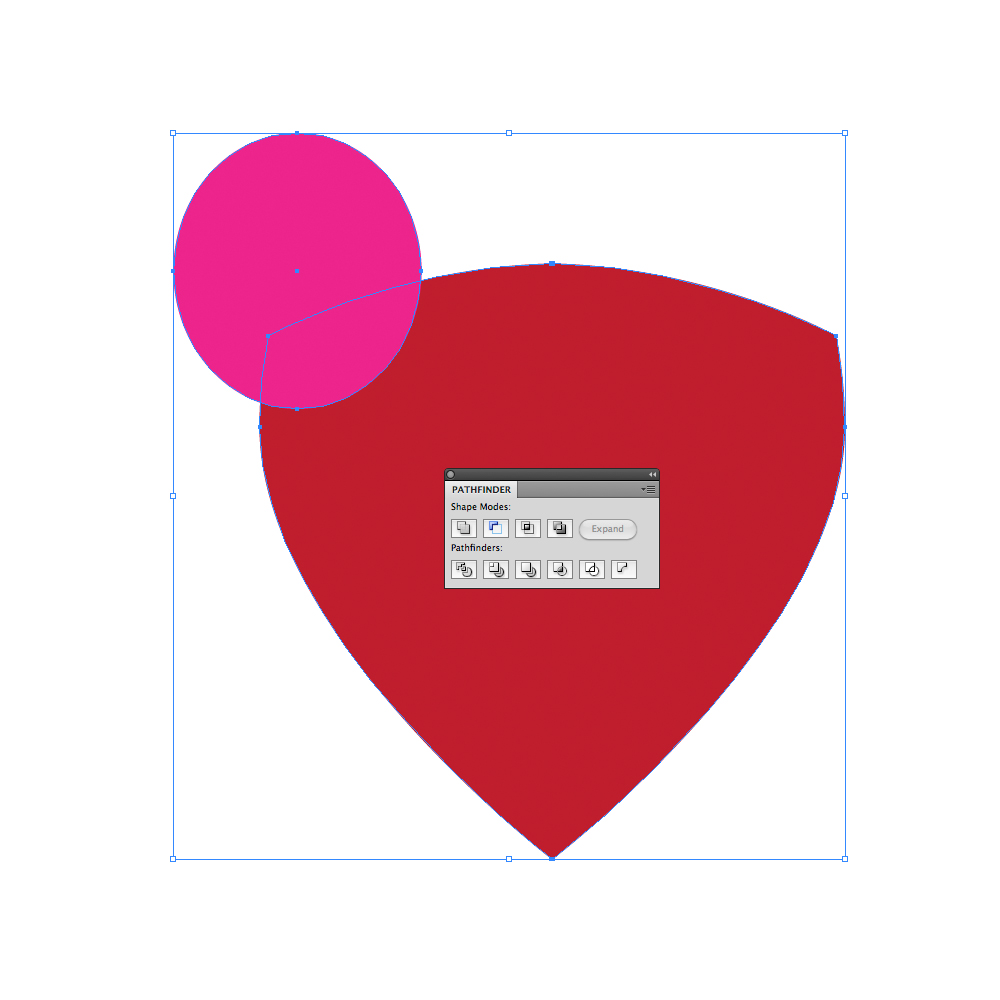
Grab the Ellipse Tool (L) from the Tool Panel and create the ellipse. Place it as it shown on the picture below.
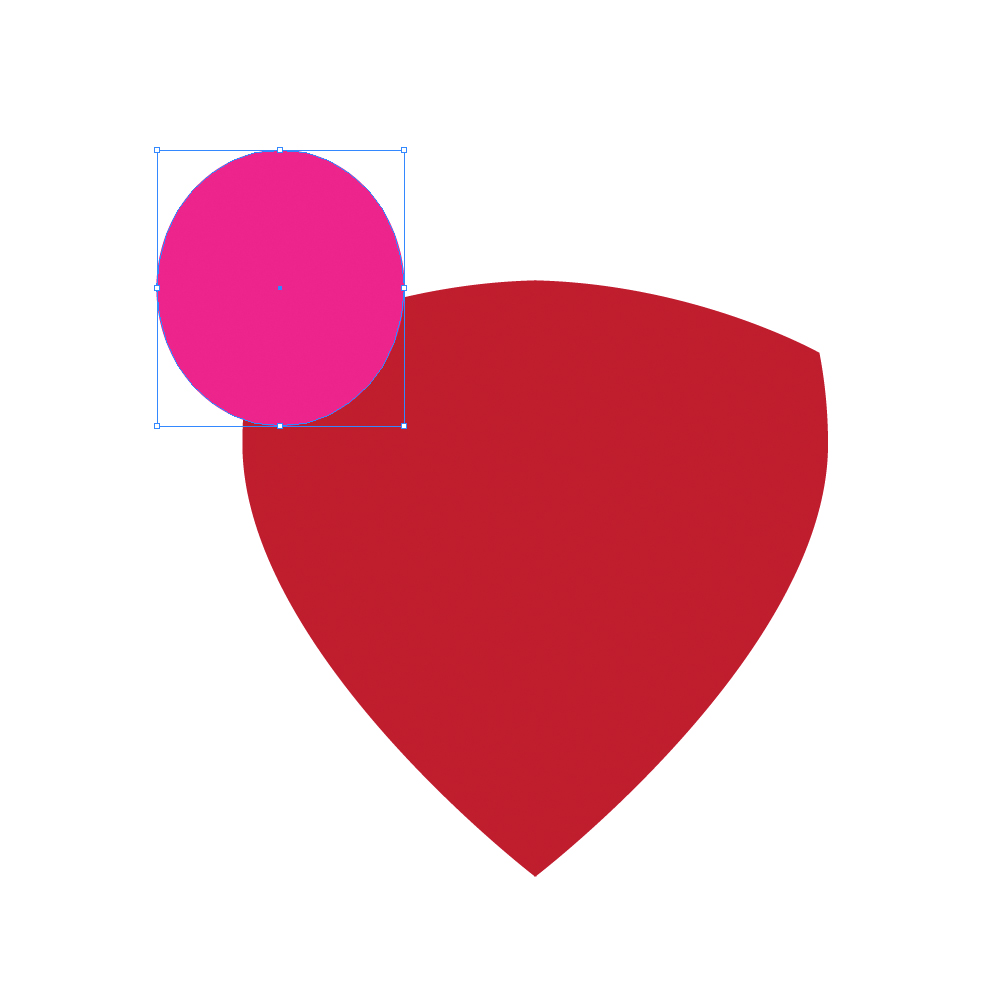
Select both objects and under the Pathfinder Panel hit the Minus Front button.
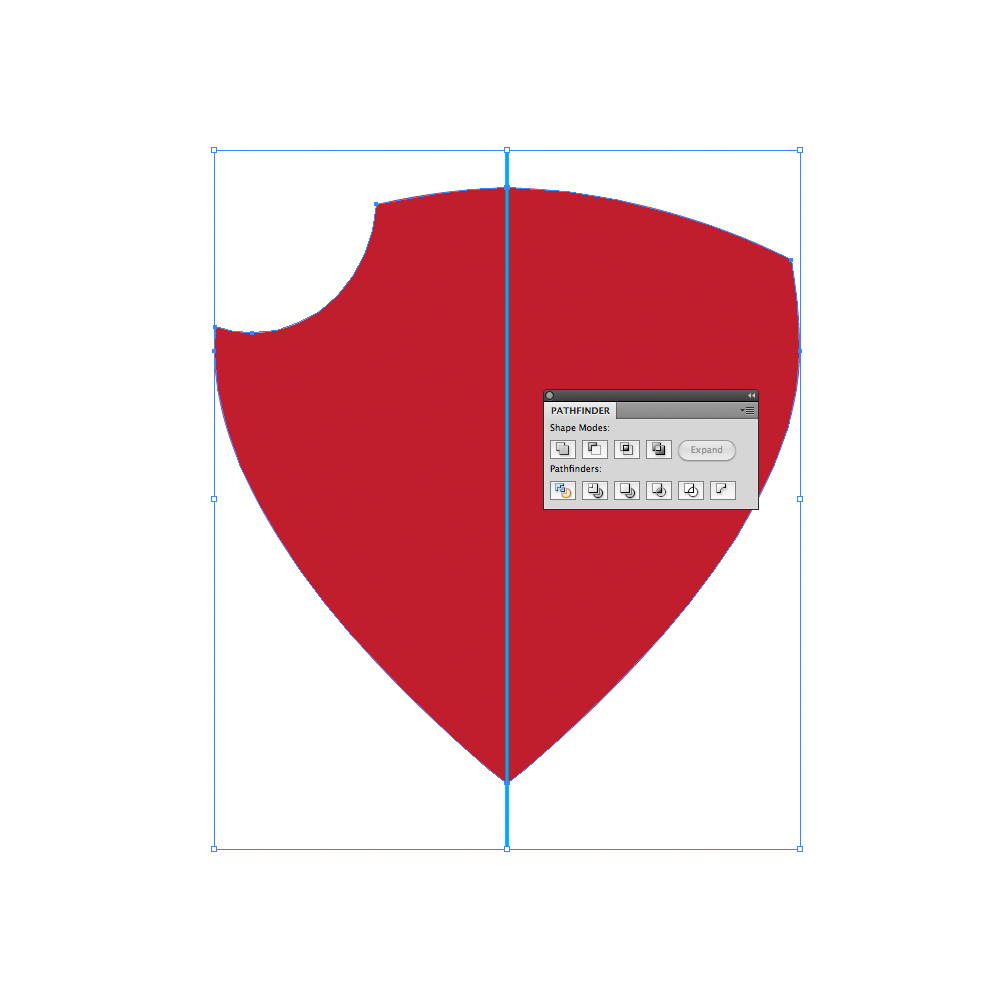
We have to do the same thing to the right side. But instead to trying to do exact the same thing and to create symmetrical shield we will simple divide our object to half, remove the right side and reflect the left side.
Grab the Line Tool (/) from the Tool Panel and create the vertical line (hold the Shit key on the keyboard for straight dragging). Select both objects and align them under the Align Panel by hitting Horizontal Align Center. After that hit a Divide button under the Pathfinder Panel. It will divide the Shield exactly to half. Remove the right side of the Shield.
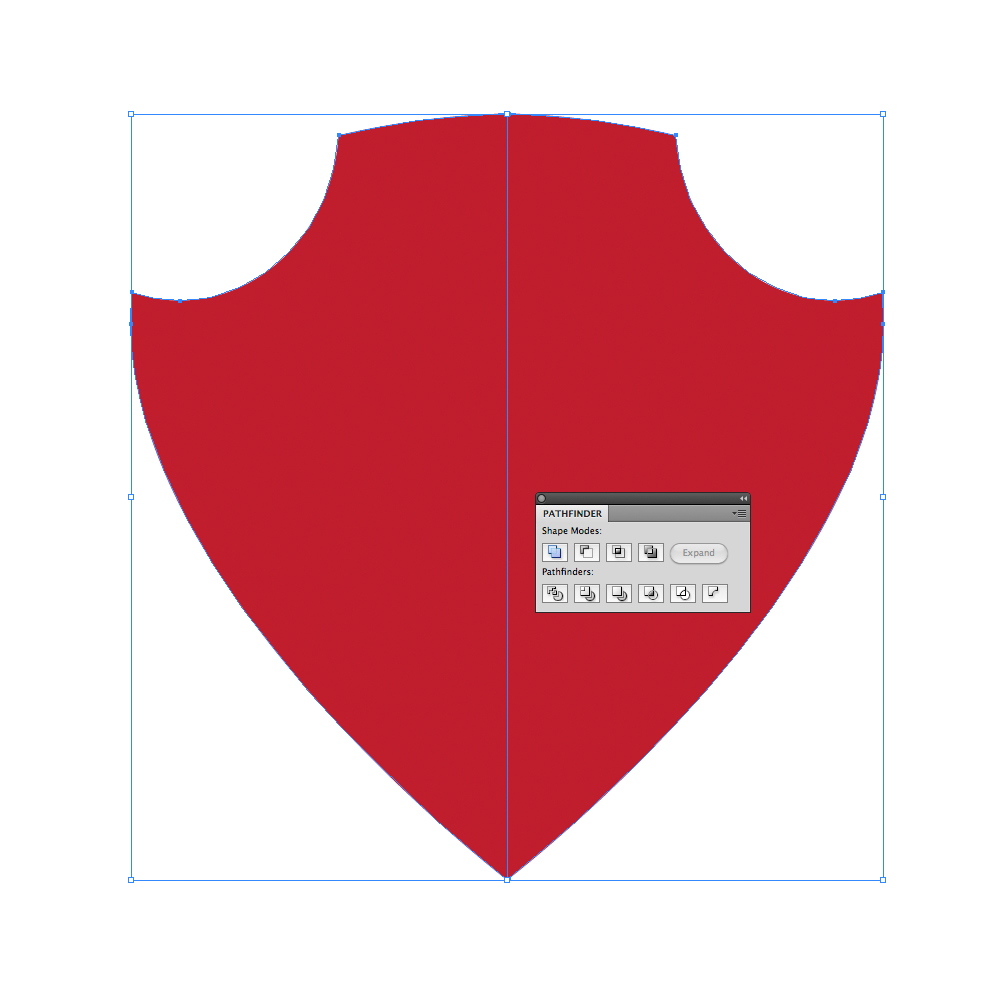
Under Object select Transform > Reflect. Set the Axis to Vertical and hit the Copy button. Move the reflected part to the right until the middle parts meet. Under the Pathfinder Panel hit the Unite button. It will create the final shape of our Shield.
Applying Gradients
Select the Shield and under the Object select Path > Offset Path. Set the value for Offset to -10. It will create the scaled copy of the Shield.

Let’s apply a nice metal linear gradient to our Shield. Under the Swatch Panel open the Swatch Library. You can find amazing source of the metal gradients. Chose one of them and apply it to our Shield. In case you don’t like them feel free to adjust some of those gradients or to create your own metal linear gradient.


Select the red shape and under the Object select Path > Offset Path. Set the value for Offset to 2.

Apply linear gradient to the new shape as well. It will represent the inner part of the metal frame,

and the red radial gradient for the color of the Shield.

Select the Ellipse Tool (L) from the Tool Panel and create a small circle for the screw.

Scale it down and place it on the metal Part of the Shield. Duplicate the circle ( Ctrl / Cmd + C, Ctrl / Cmd + F ), set the Fill color to #58595B, nudge it downwards for 1 pixel and send it backward ( Ctrl / Cmd + [ ). It will be a tiny shadows from the screw. Group the circles.

Duplicate ( Ctrl / Cmd + C, Ctrl / Cmd + F ) the screw six more times in order to create enough of them for the entire Shield.

Creating Details
Roughly speaking, our Shield is done. At this point we have to try our best to improve the illustration as much as possible. First, we will create the reflection for the metal part of the Shield.
Select the largest part of the Shield and under Object select Path > Offset Path. Set the value for Offset to -1.

Select the Ellipse Tool (L) from the Tool Panel and create a big ellipse. Place it as it shown on the picture below. Select the blue ellipse and the scaled shape of the Shield we’ve made in previous step and under the Pathfinder Panel hit the Intersect button.

You should end up with something like this.

Select the inner part of the Shield, as it show on the picture below, and under the Object select Path > Offset Path. Set the value for Offset to 1.


Select the shape we have just created and the blue shape and under the Pathfinder Panel hit the Exclude button.

Ungroup ( Shift / Ctrl + Cmd + G ) the new shape and remove the lower part. Apply the same gradient we have used for the larger part of the Shield. You should end up with something like this.

Now we will change the gradient a little bit. Make sure to set the lower part of the reflection to light gray color. It will create a nice illusion of light reflection.

Let’s do create a similar reflection for the red part of the Shield.
Grab the Ellipse Tool (L) from the Tool Panel, create the ellipse and place it as it shown on the picture below.

Duplicate the red part of the Shield ( Ctrl / Cmd + C, Ctrl / Cmd + F ) and holding the Shift key on the keyboard select the gray ellipse as well. Under the Pathfinder Panel hit the Intersect button.

Set the Fill color of the new shape to white (#FFFFFF) and lower the Opacity to 5%.

Duplicate ( Ctrl / Cmd + C, Ctrl / Cmd + F ) twice the red shape. Scale them up and rotate both of them. Select them and under the Pathfinder Panel hit the Minus Front button. Set the Fill color of the new shape to white (#FFFFFF). You should end up with something like this.


Create one more copy ( Ctrl / Cmd + C, Ctrl / Cmd + F ) of the red part of the Shield. Select it together with the white shape we’ve created in previous step and under the Pathfinder Panel hit the Intersect button.

Lower the Opacity of the new shape to 15%. Under the Object select Transform > Reflect. Set the Axis to Vertical and hit the Copy button. Move the reflected shape to the left and place it as it shown on the picture below.
There are many different shapes of the Medieval Shield you can create. Just feel free to be creative. Try out some other colors as well.

The Conclusion
There are many ways to create a nice shiny Medieval Shields. The great thing about creation process is that you can use different shapes and forms and to combine them in order to create nice Shields. Using the same technique try to create a Medieval Shield in perspective. Applying reflections, highlights and shadows will lead to professional look of the illustration. I hope you like this tutorial. If you have any questions or comments please post them in the comments section below. Thank you for following along!
(rb)
Photo by N I F T Y A R T ✍🏻 on Unsplash


Send Comment:
8 Comments:
April 4, 2014
Don't know what this means: With the Direct Selection Tool (A) remove few anchor points. I'd like to try this project but I can't get past this step.
January 29, 2012
I gonna give this a go, im new to AI but 1 of my clients needs a vector image and im not paying for it so here goes.
thanks for a great tutorial!!!
November 11, 2011
I never knew that pathfinders were all that important. Big thanks!
October 3, 2011
Excelente modo de explicar la forma de ilustrar con illustrator!
Gracias por compartir!!!!
*
excellent way to explain how you have to draw whit illustrator!
Thanks for sharing!!
August 12, 2011
Very nice work. Your explanation was easy to follow and I learned lots of new things. I would have liked to been able to open the file with a link so I could look at the steps personally. If you have a chance and can send it along, that would be great.
Looking forward to seeing more of your work.
July 21, 2011
Nice tutorial
July 20, 2011
Very nice explained. I like the outcome. Thank you for sharing!
July 18, 2011
Nice tutorial! Thank's for sharing it!