


When building forms, it’s kind of a given to include basic fields for information like names and phone numbers.
But forms become more effective when they have the right widget(s) for getting the information you need. Widgets can add functionality that makes filling out forms easier and more intuitive for your end users. And the easier you can make things for your form respondents, the more your workflow’s efficiency grows — leading to higher form conversion rates in the end.
It’s our job (one we take a lot of pride in) to ensure you and your end users get the most out of your forms. It’s why we have over 300 widgets available to help you simplify everything from providing maps to embedding video to verifying entered data.
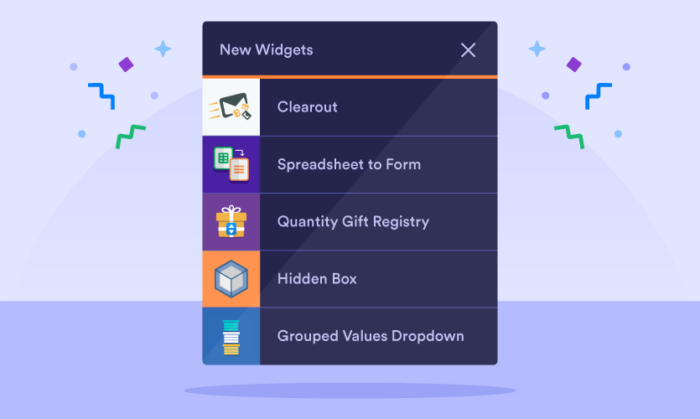
We introduce new widgets regularly, and today we’ve got five great new widgets to tell you about:
- Clearout Email Validation
- Spreadsheet to Form
- Quantity Gift Registry
- Hidden Box
- Grouped Values Dropdown
Widget breakdown and use cases
You may be wondering, just what is a widget? Technically, it’s a software application that handles data in a neat and visually engaging interface — kind of like a web-based gadget (which is where the term comes from).
Ready to find out how our newest widgets will help you format your data and lead to a better overall user experience?
Let’s get started!
Clearout Email Validation

- What it does: Clearout is a dynamic tool that ensures you collect reliable email contact information, which then helps you increase email deliverability and conversion opportunities. Clearout works in the background to validate email addresses so you don’t have to waste time on fake accounts.
- What it’s used for: Clearout is great for small businesses, sales and marketing professionals, and entrepreneurs who want to verify emails for sales leads, newsletter subscribers, or other contacts.
To use Clearout with your forms, you’ll first need to sign up for a Clearout account (you can sign up for free to get a limited number of credits)
To authenticate your Clearout account within Jotform, you’ll need to generate a token. But don’t worry — it’s a quick and simple process.
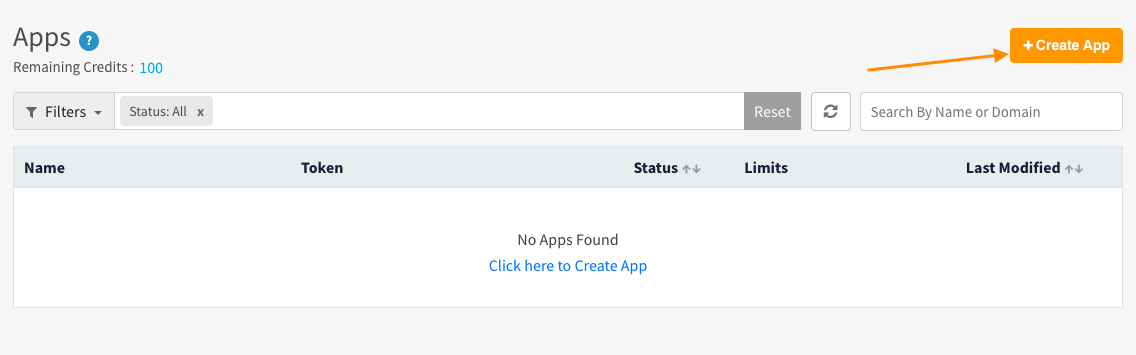
To get started, once you’re logged into Clearout’s website, click on the Apps tab in the top right. Then click Create App.
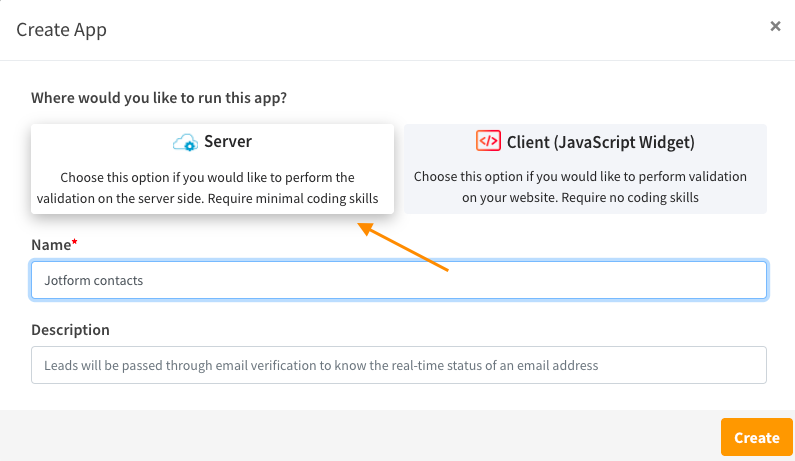
When asked where you will run this app, select Server. You can also choose to name your app and give it a description, which may be helpful if you have multiple email lists. Click Create.
Copy your new app token.
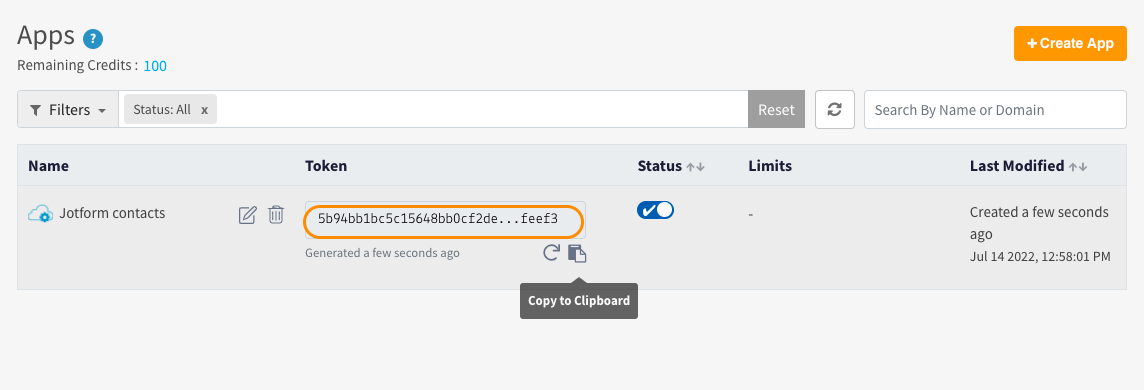
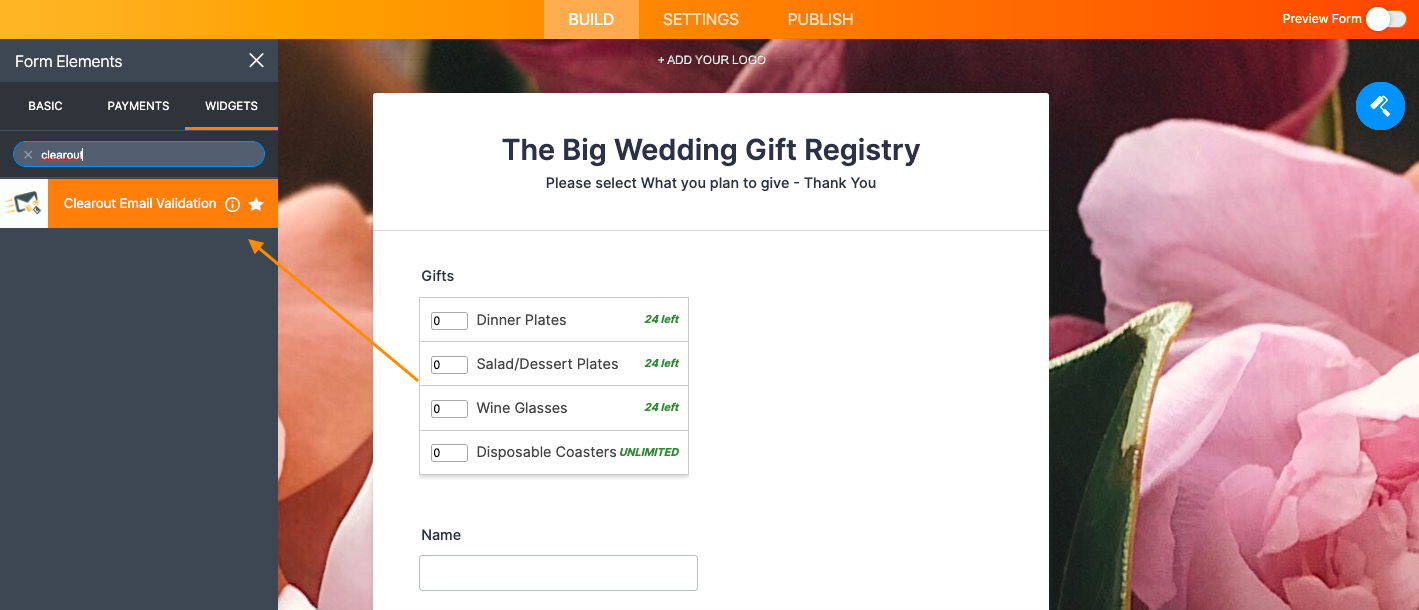
Next, in the Jotform Form Builder, search for “Clearout” in the Form Elements panel on the left, under the Widgets tab. Then just click on the widget (or drag and drop it) to add it to your form.
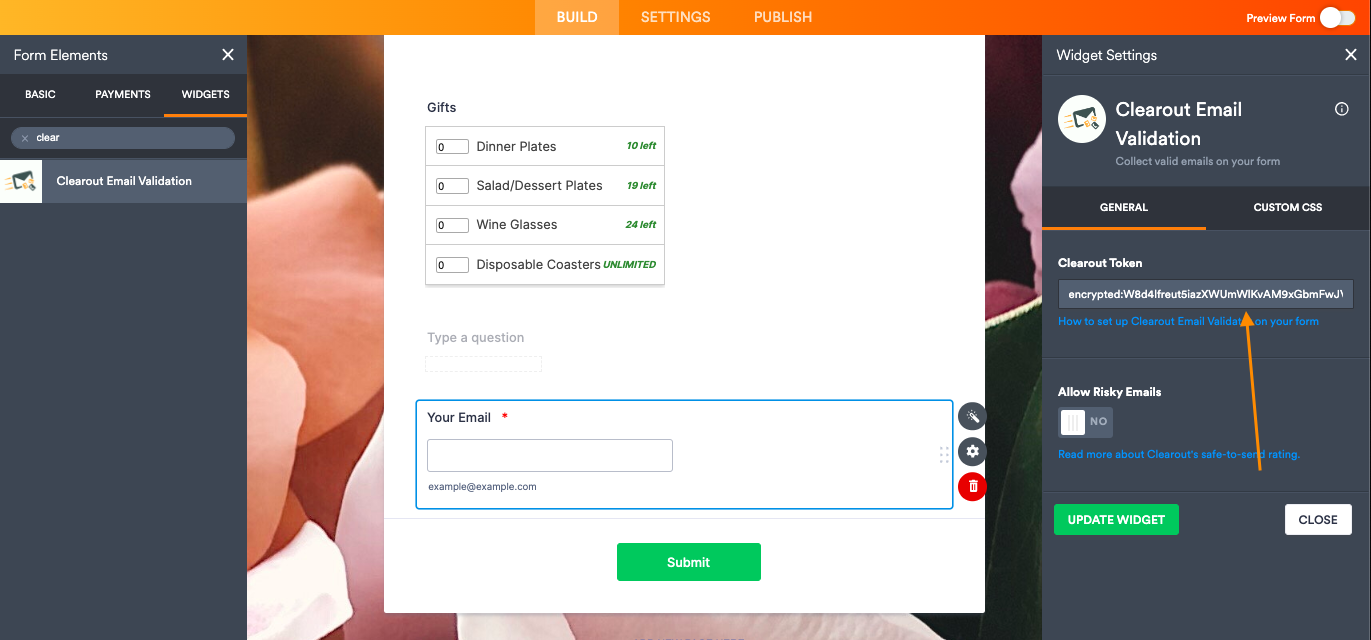
Finally, enter your token to authenticate your account, then click the green Update Widget button.
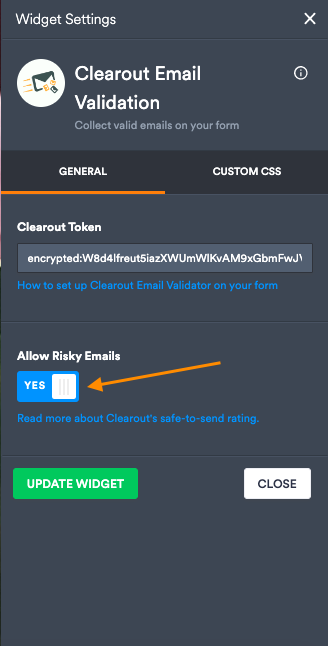
Within the widgets settings is the nifty ”Allow Risky Emails” feature. When switched on, this feature will bar email addresses that seem risky.
That risk is based on certain values which determine how secure an email address is based on the probability of a bounce-back.
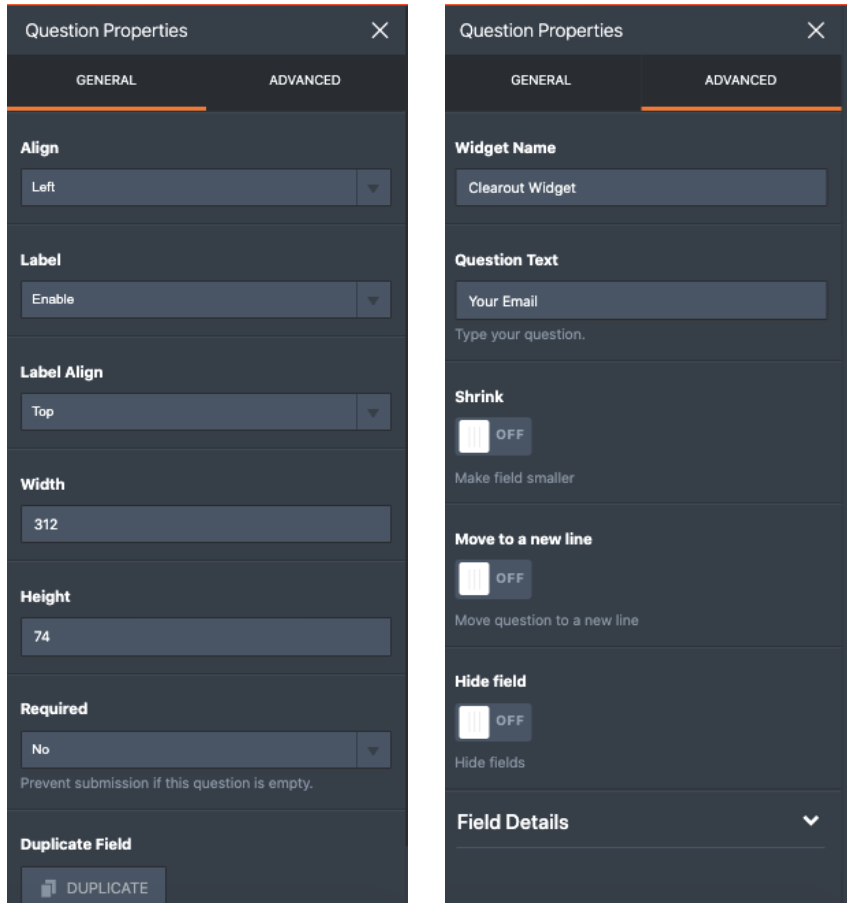
If you want to customize the format or description of your email field, you can do so by clicking on the gear icon to access the question properties of the widget.

That’s it! You’re all set to begin using Clearout as your go-to email validator.
One quick side note: While Clearout offers a free plan with a limited number of credits, it also offers pay-as-you-go, monthly, and annual subscriptions to scale with the volume of form submissions (and emails) you’re receiving.
To learn more about our new Clearout widget, check out the video from our Customer Education Specialist, Kim Pulito.

Spreadsheet to Form
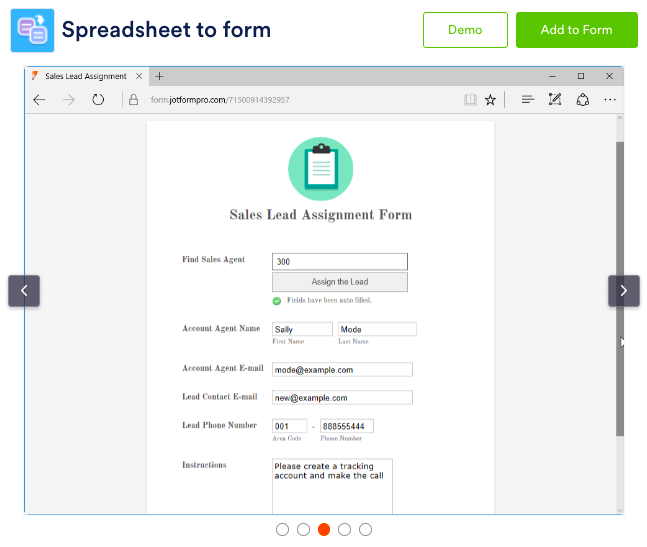
- What it does: The Spreadsheet to Form widget automatically populates your form with external spreadsheet values when the sheet column headings match your form field labels.
- What it’s used for: This widget allows you to autopopulate values for full name, email, phone number, single and multiple choice options, short and long text entries, dropdowns, and ratings values, making it perfect for any general use. This widget saves time and helps you avoid data entry errors.
To get started, you’ll need to add or select a column in your source spreadsheet that assigns a unique code to each row of your spreadsheet. Then, when a code is entered into your form, it will populate the values from that spreadsheet row into the designated fields.
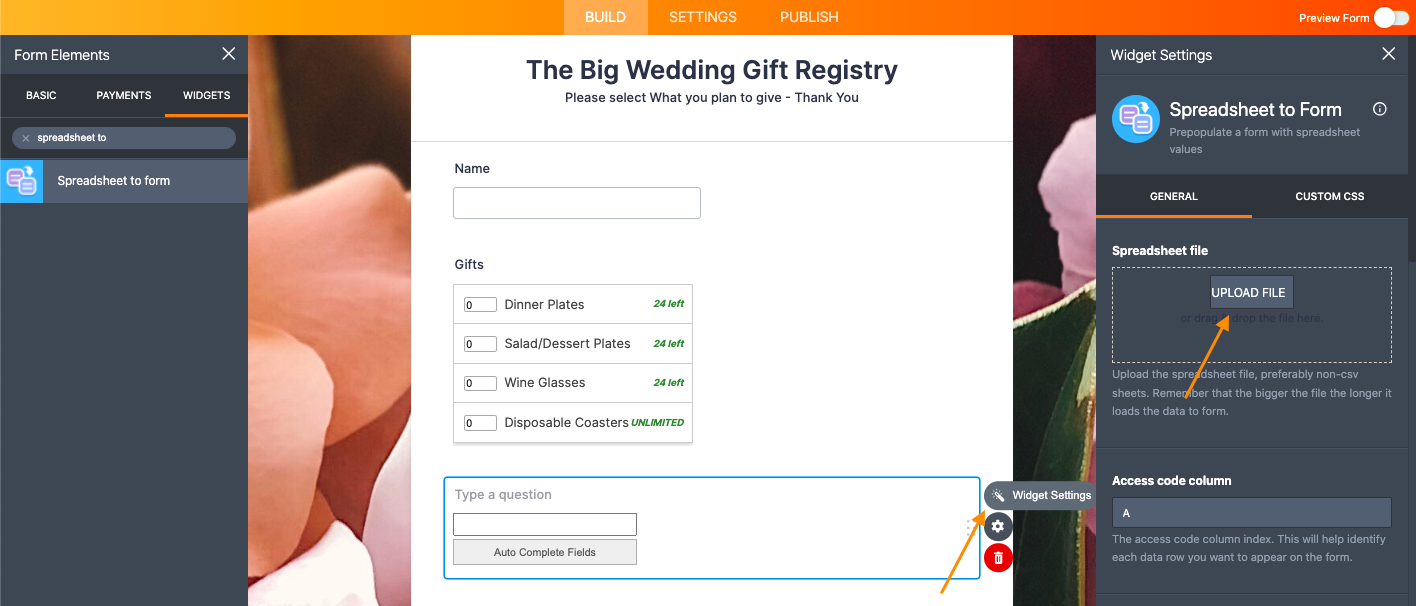
In the Widgets tab in Jotform, find the Spreadsheet to Form widget and drag it over to your form.
When you click on Widget Settings, you’ll see the settings panel open up on the right. Click on Upload File to upload your spreadsheet.
The most important fields to fill out are the Access code column and Labels row settings. The Access code column identifies the column with your unique codes.
For instance, if your unique codes are located on column K in Excel, then type in “K” in this field. When a user enters a code from the K column into your form, the data in the corresponding row will autopopulate in the form.
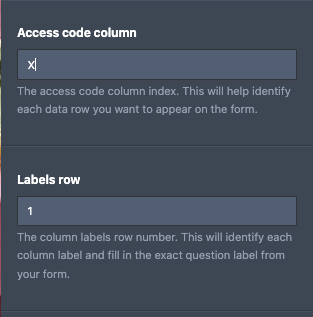
The Labels row identifies the row in your spreadsheet that contains your column labels. You’ll want those labels to match the question label in your form exactly (e.g. Email).
To learn more about using the Spreadsheet to Form widget, check out our handy user guide.
Quantity Gift Registry

- What it does: This widget dynamically crosses items off your registry or store lists once they’ve been claimed. When an item on your form is claimed, the Quantity Gift Registry widget will automatically render that item unavailable — making items available on a first-come, first-served basis.
- What it’s used for: Couples-to-be and shop owners will find this widget works well for wedding registries and managing limited-stock items like clothing or food.
Similar to the other widgets, find your gift registry widget in the panel on the left and drag it over to your form.
When you click on Widget Settings, you’ll see the right panel open up and you can list your items in the Items field.
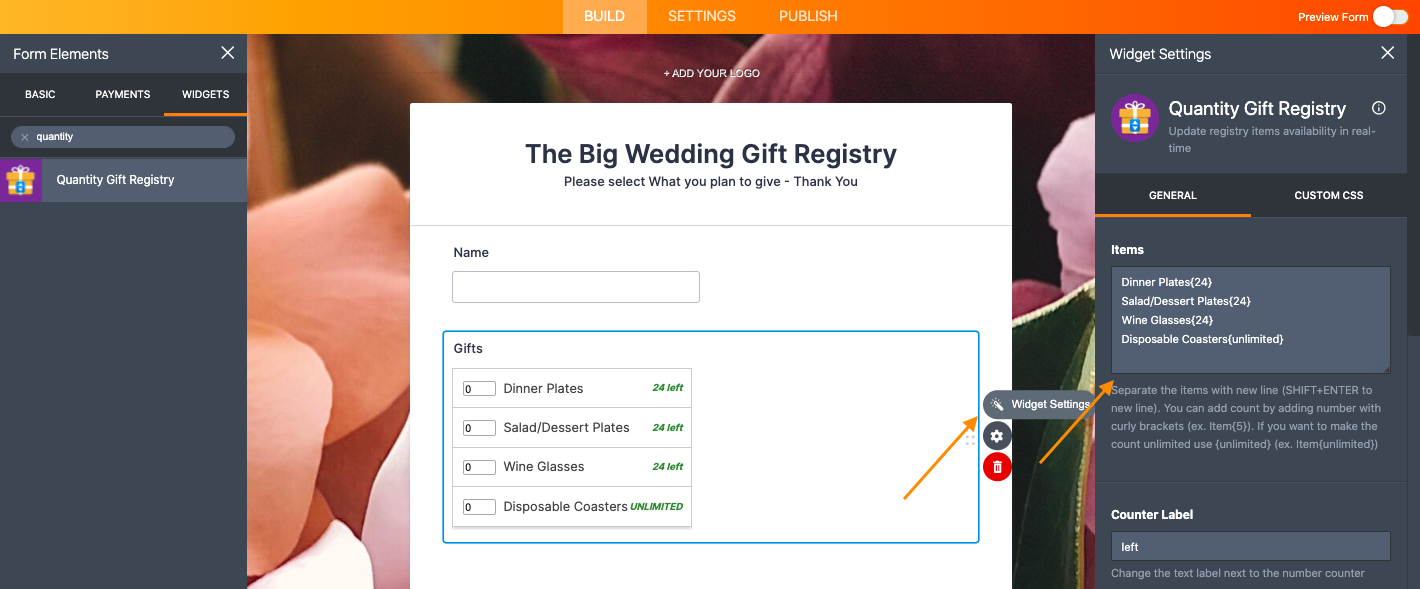
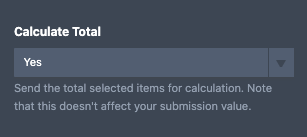
You can also elect to calculate the total number of items available, so when the form is submitted by respondents, new users will have an accurate count of items.
Hidden Box

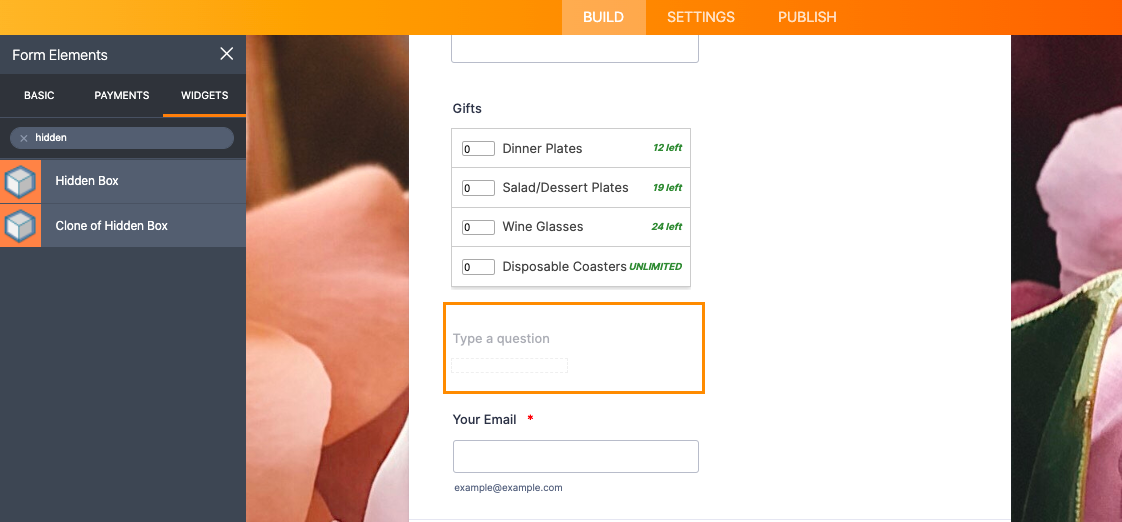
- What it does: The Hidden Box widget collects details about your form respondent (like browser, operating system, device and more). By using this invisible widget on your form, you’ll automatically gather useful information when your form is opened.
- What it’s used for: This widget provides value for marketers, entrepreneurs, sales professionals, or anyone who wants a better understanding of their audience.
Even when building your form, you’ll notice the Hidden Box widget is grayed out to indicate it won’t be visible on your published form.
Grouped Values Dropdown

- What it does: If your dropdown menus tend to get way too long, you can use this widget to split up options into multiple categories while keeping them in the same list.
- What it’s used for: The Grouped Values Dropdown is a great widget to use for food services, healthcare, support desks, or situations where you need many choices organized within the same parent category. By doing so, you’ll improve the user experience of your form.
After you drag the widget onto your form, you can enter the values you’d like to group together in the widget settings.
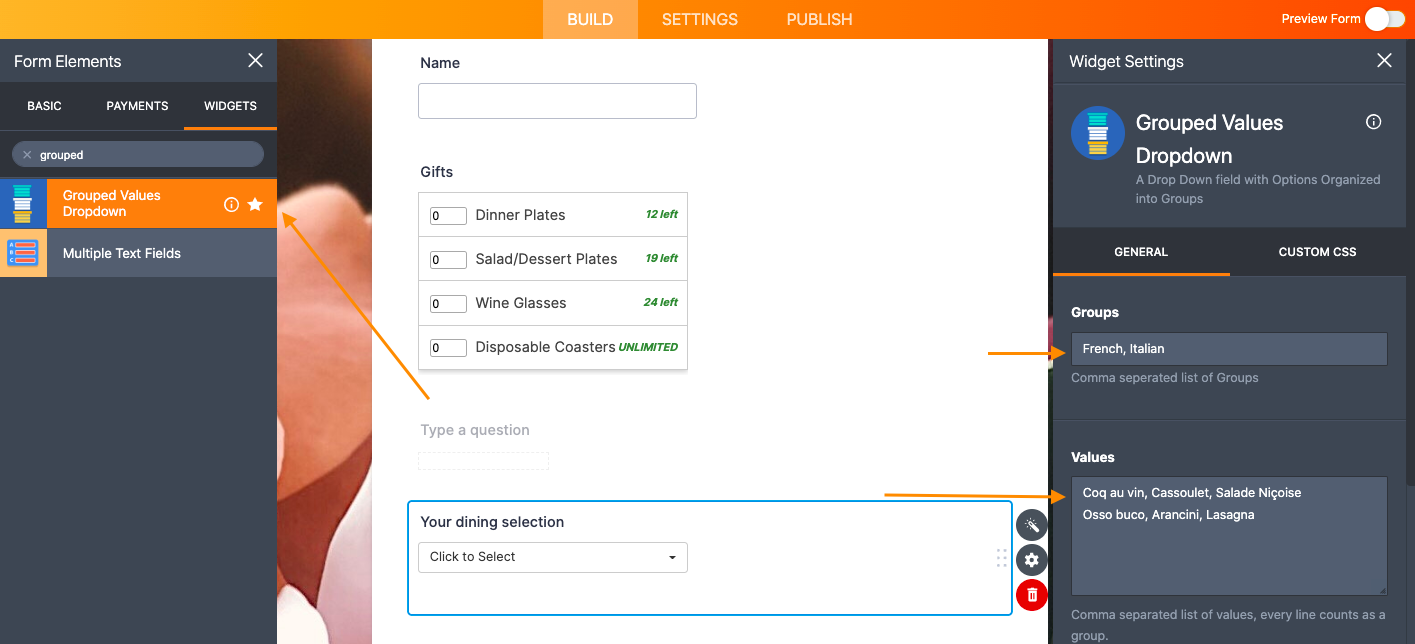
As an example, I’ve listed cuisine types in the Groups field and the dishes that correspond with their cuisine in the Values section.
Conclusion
Many of the helpful widgets we offer come about because you voiced a need for a certain functionality, or have searched for new and different ways to improve your workflow. We encourage you to keep up the good work and let us know if there are other handy tools you need!For now, get a jump-start on making your forms more efficient and fun by adding new online form widgets today.


Send Comment:
1 Comments:
More than a year ago
Is there anything new with the Spreadsheet to Form Widget or is it the same from always?
It would be great if it could work with life data (e.g. the spreadsheet automatically updates when new rows are added)