With Jotform Mobile App, you can easily collect responses wherever you are. Whether you’re gathering feedback, registering attendees, or recording information in the field, you can fill out forms right from your phone or tablet—even without an internet connection.
You also have the flexibility to fill out forms on behalf of your users or let them respond directly using a shared device. It’s a great fit for teams working on-site, businesses running events, or anyone who needs a simple, portable way to collect information on the spot.
Completing Forms With Fill Out Option
Use the Fill Out option when you want to complete the form yourself on behalf of your users. It’s ideal for assisted data entry, such as interviews, customer check-ins, or anytime you’re gathering responses and entering them directly into the form.
You can start filling out your form right on your device whenever you need it. Setting it up is quick—here’s how:
- On the top left side of your Jotform Mobile App, tap on the Type dropdown.
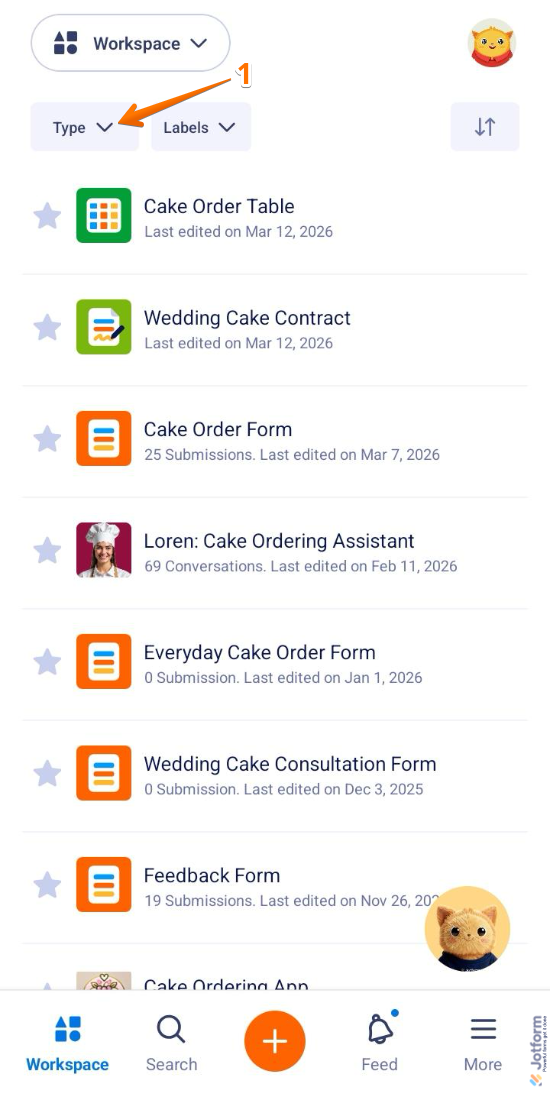
- Now, in the Type menu that opens at the bottom of the screen, uncheck the boxes next to all the assets except Forms, so only they’ll be shown in your Workspace.

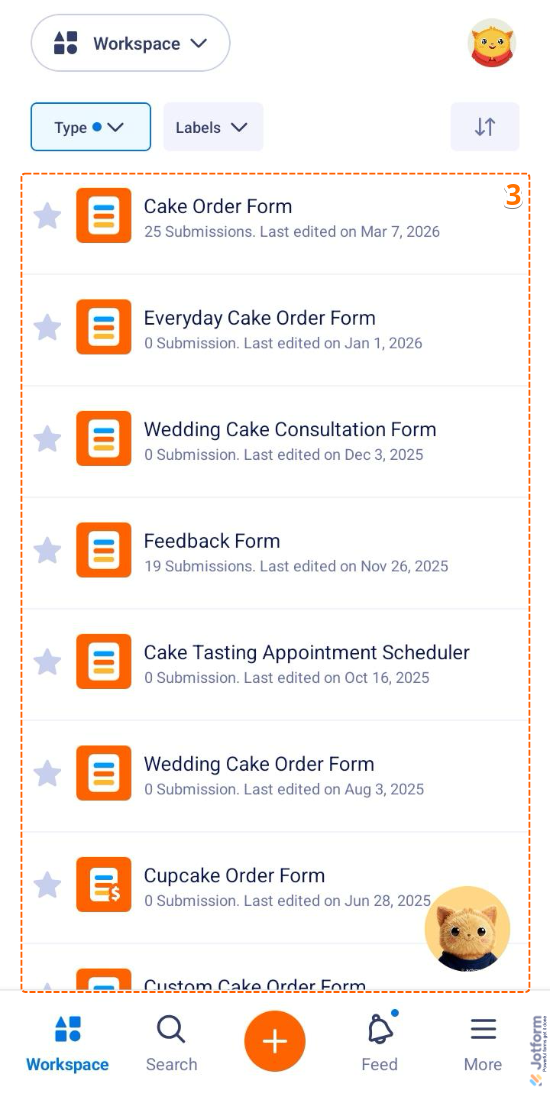
- Then, tap on the form you’d like to fill out.

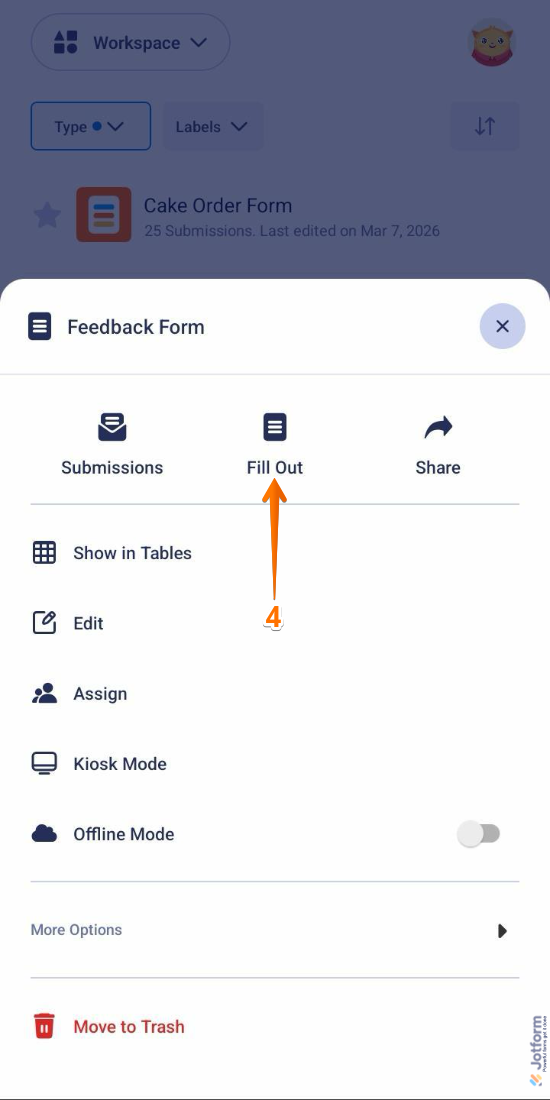
- Next, in the Form menu that opens at the bottom of the screen, tap on Fill Out.
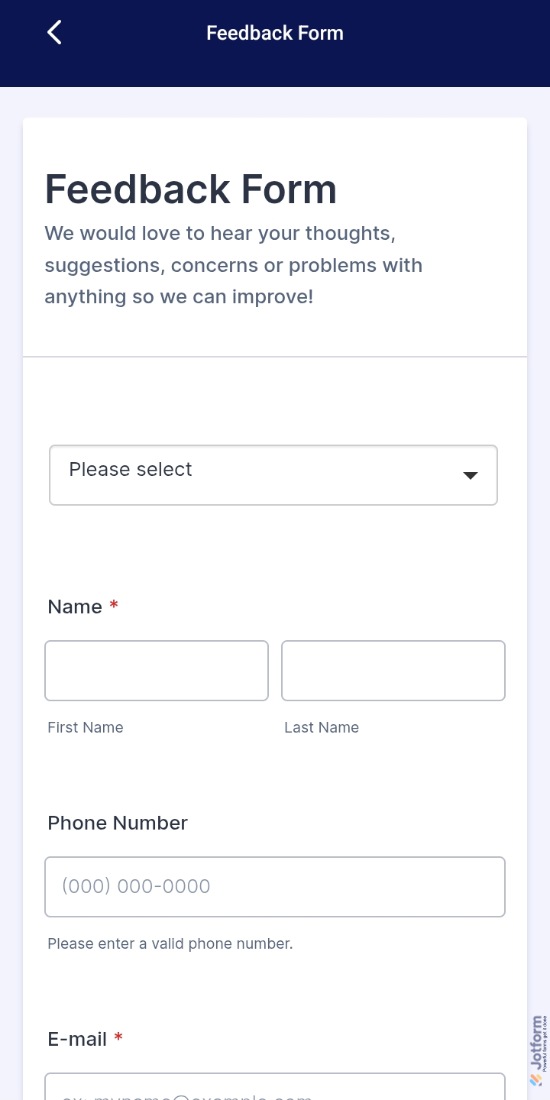
That’s it. You can start completing your forms right away and entering responses on behalf of your users.
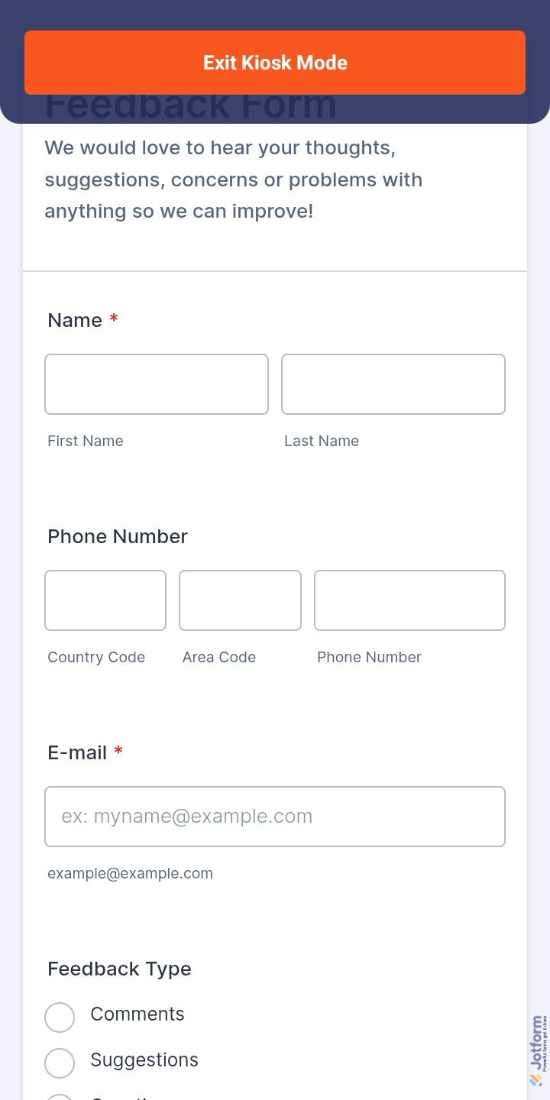
Collecting Responses in Kiosk Mode
Kiosk Mode is perfect when you want to let users fill out your form on a shared device without supervision. It keeps the form ready for the next respondent after each submission, making it a great choice for events, registrations, or on-site feedback collection.
You can set up your form for continuous, self-service responses on a shared device. Getting started is simple—here’s what to do:
- On the top left side of your Jotform Mobile App, tap on the Type dropdown.

- Now, in the Type menu that opens at the bottom of the screen, uncheck the boxes next to all the assets except Forms, so only they’ll be shown in your Workspace.

- Then, tap on the form you’d like to display in the kiosk.
- Next, in the Form menu that opens at the bottom of the screen, tap on Kiosk Mode.
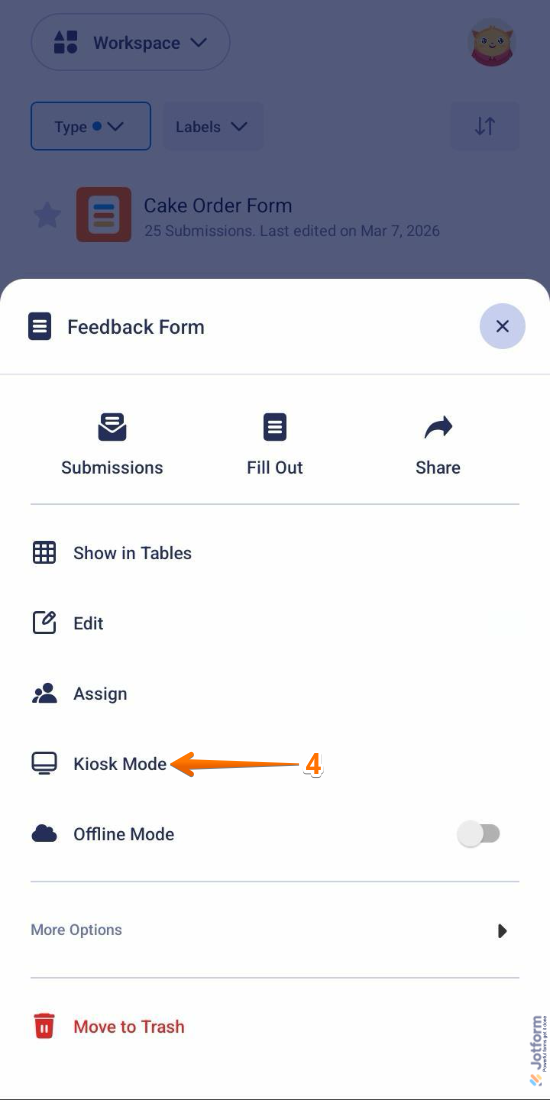
- Now, in the Kiosk Settings screen, tap on Launch Kiosk. If you want to learn more about Kiosk Settings, check out our guide on How to Use Kiosk Mode in Jotform Mobile App.

That’s it. You can start letting users submit responses on a shared device effortlessly.

Send Comment:
1 Comment:
June 5, 2024
Does Jotform have a form for "Exit Intent". A pop-up form that is triggered when someone starts to exit my web page - at which time I can ask a question. The viewer can then type a response to my question on the same form. This response will be saved in a message folder for me to collect each day.