Jotform takes the hassle out of collecting legally binding signatures with the DocuSign widget, letting you send documents for signing directly through your form. This makes it easier to manage agreements, contracts, and approvals in one streamlined workflow.
Here are a few ways to use it:
- Send documents for signature directly from your form.
- Collect signed contracts or agreements.
- Get waivers or consent forms completed.
- Manage signature workflows more efficiently.
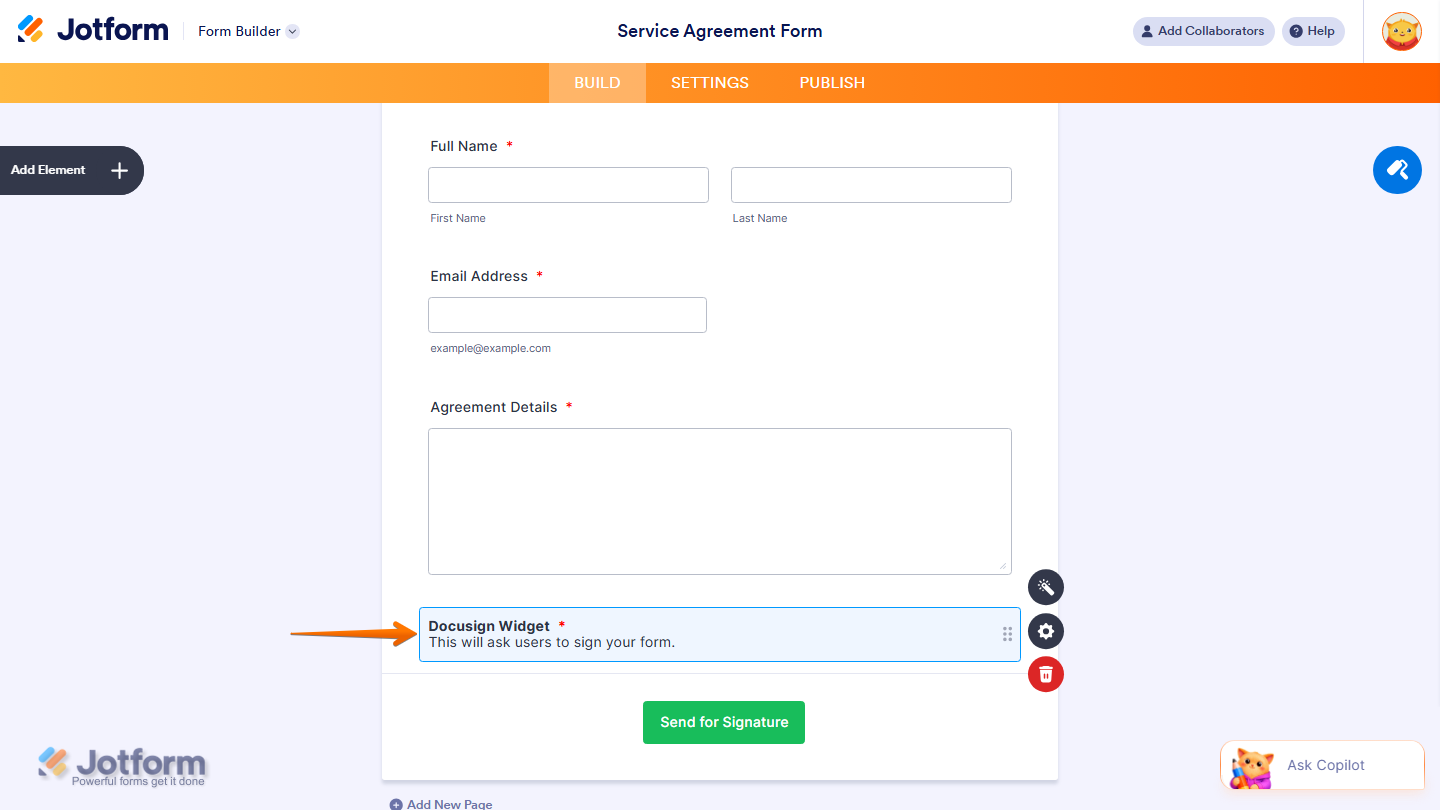
Whether you’re starting fresh or updating a form, adding and setting up the Docusign widget takes only a few steps. Here’s a quick how-to:
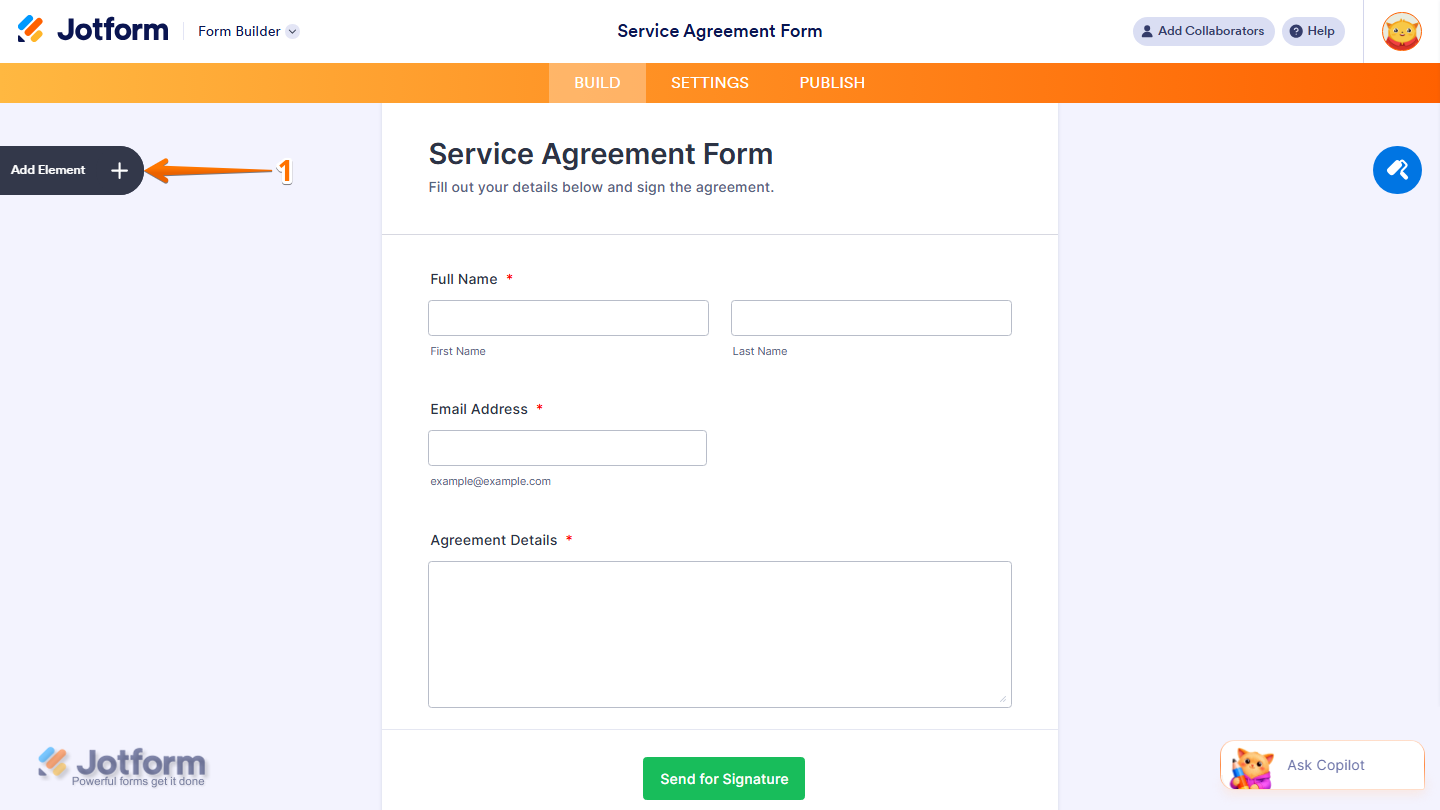
- In Form Builder, click on Add Element on the left side of the page.
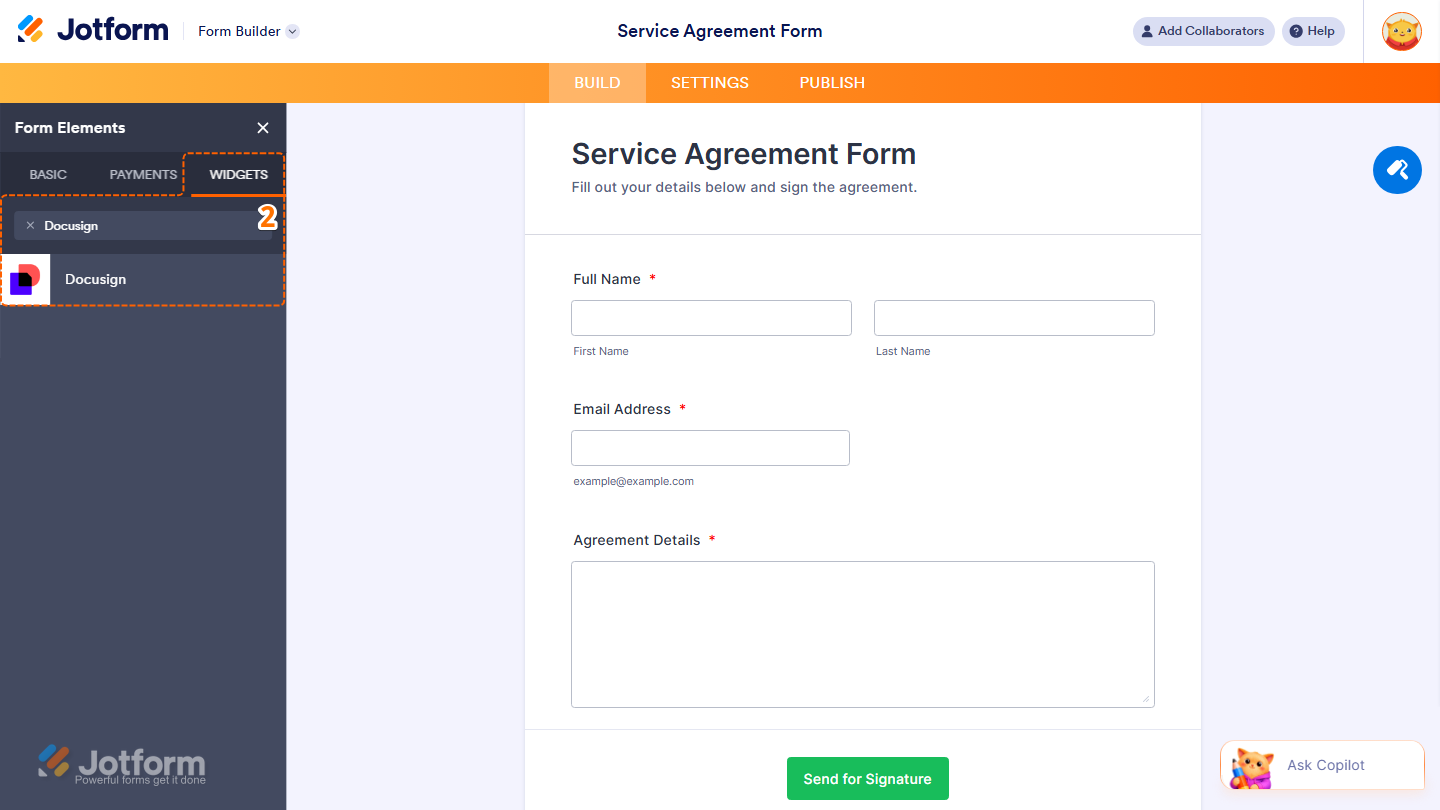
- Now, in the Form Elements menu, under the Widgets tab, search for Docusign and click on it. Or, just drag and drop it to where you want it to be on your form.
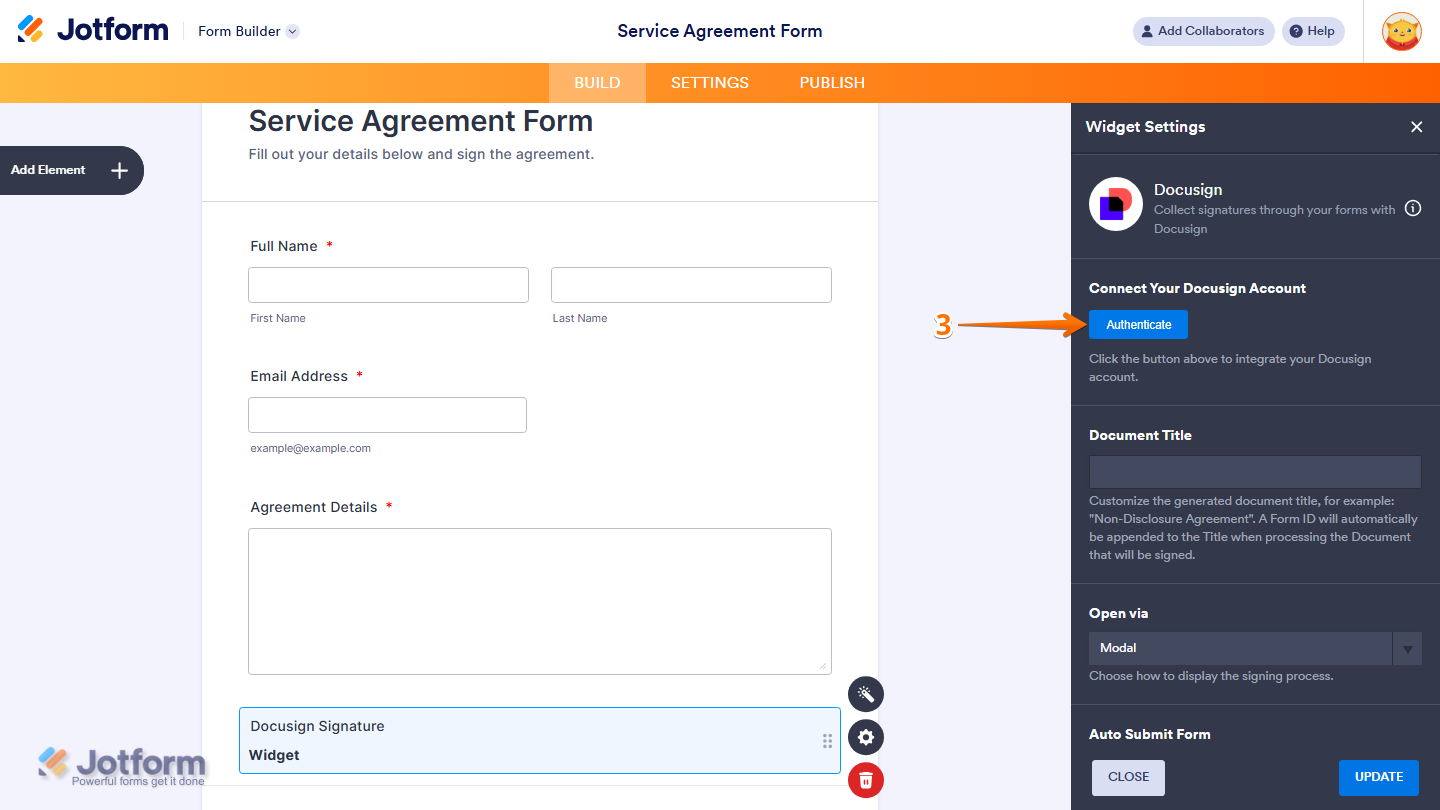
- Next, in the Widget Settings window that opens on the right side of the page, click on Authenticate to integrate your Docusign Account with the widget.
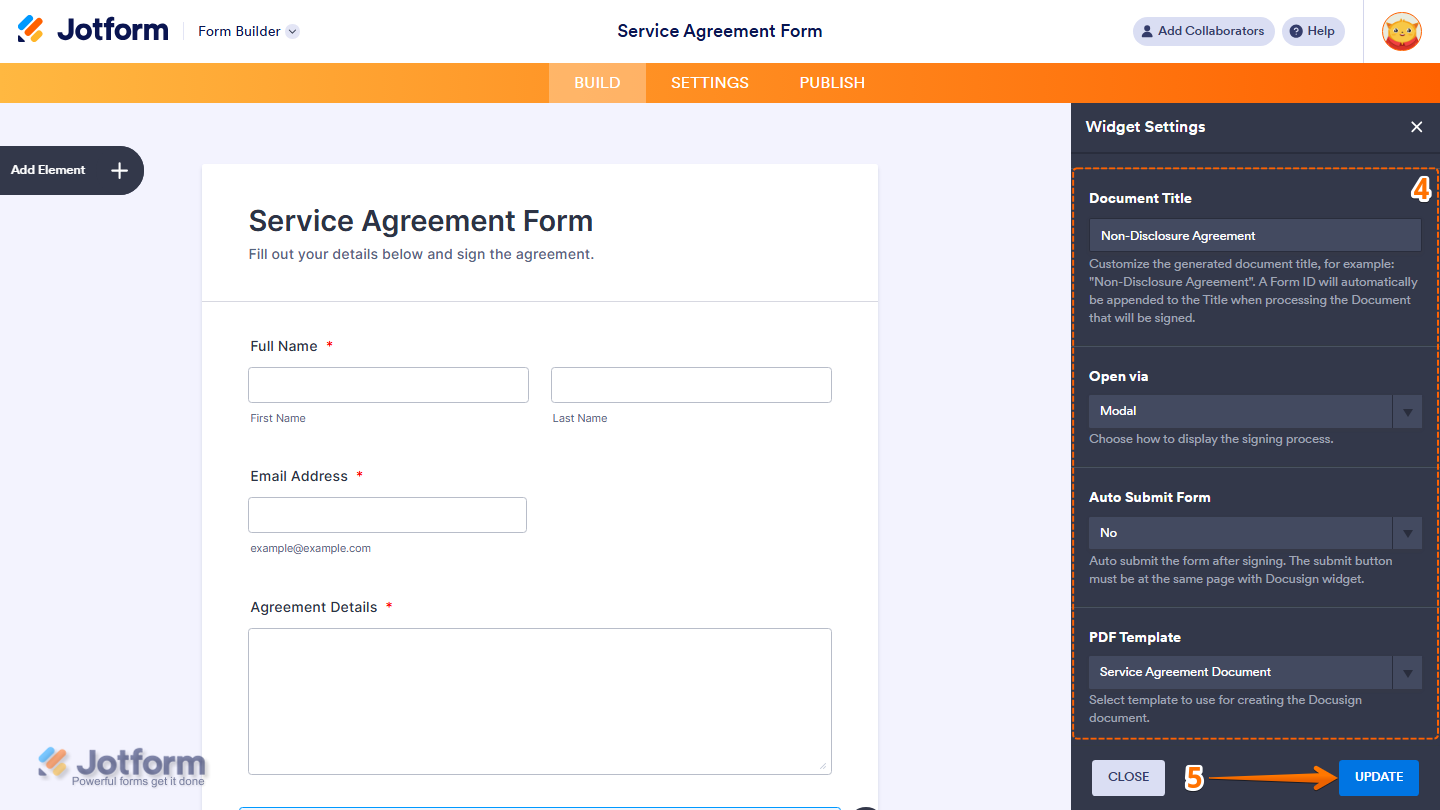
- After connecting your Docusign Account, scroll down to the bottom and continue to set up these settings:
- Document Title — Set the name of the generated document that will be sent for signing. This title will be appended automatically when the document is created.
- Open Via — Select how the signing process is displayed, either in a modal window or a popup window.
- Auto Submit Form — Select Yes to automatically submit the form after signing, or No to require manual submission.
- PDF Template — Select the PDF document template that will be used to create the DocuSign document.
- Once everything’s set, click on Update.
That’s it. You’ve successfully added and set up the Docusign widget on your form.
You can explore how it looks with this demo form.
Note
- You can only add one DocuSign widget per form.
- You can also configure the widget properties, like alignment, labels, size, visibility, and more, to control how it looks and behaves in your form. Check out our guide on How to Access and Configure the Question Properties of a Widget to learn more.

Send Comment: