Jotform’s Airport Picker widget makes travel planning easier by letting users quickly choose airports from a ready-made list—no need to type out long names or tricky codes manually. Whether you’re building a booking form, a travel survey, or anything in between, this widget makes the process smoother and ensures accurate airport data every time.
Here are a few ways to use it:
- Collect Departure and Arrival Airports — You can use the Airport Picker widget to let users select their departure and destination airports from a predefined list. This ensures accurate and standardized travel information.
- Simplify Travel Booking Forms — The widget makes it easy for users to choose airports without typing, which speeds up the booking process and reduces input errors.
- Organize Transportation or Shuttle Requests — Event organizers or hotels can use the widget to collect airport details for pickup and drop-off services. This helps coordinate transportation more efficiently.
- Manage Travel Requests for Employees — Companies can use the widget in internal forms to gather flight details for business trips. This helps streamline travel planning and approvals.
Notes
- The Airport Picker widget comes with a ready-to-use list of airports, so there’s no need to manually type in airport names or codes.
- When users start typing, the widget will automatically filter and suggest airports, making the process quick and error-free.
Adding and Setting Up the Add to Airport Picker Widget
Adding the Airport Picker widget to your form gives users a simple dropdown list to quickly find their airport—perfect for personal travel planning or businesses like chauffeurs and travel agencies. To get going, here’s what you’ll do:
- In Form Builder, click on Add Element on the left side of the page.

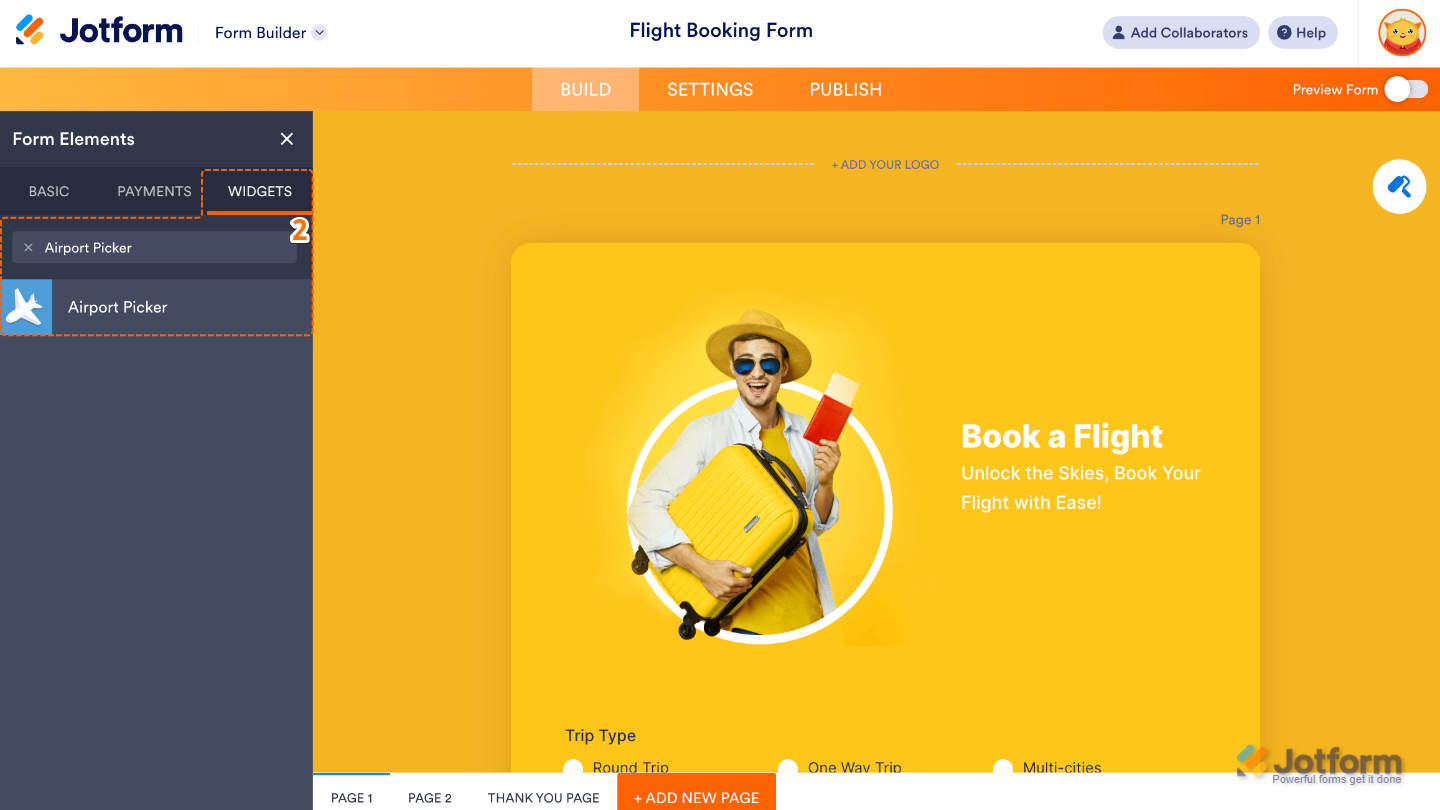
- Now, in the Form Elements menu, under the Widgets tab, search for Airport Picker and then click on it. Or, just drag and drop it to where you want it to be on your form.
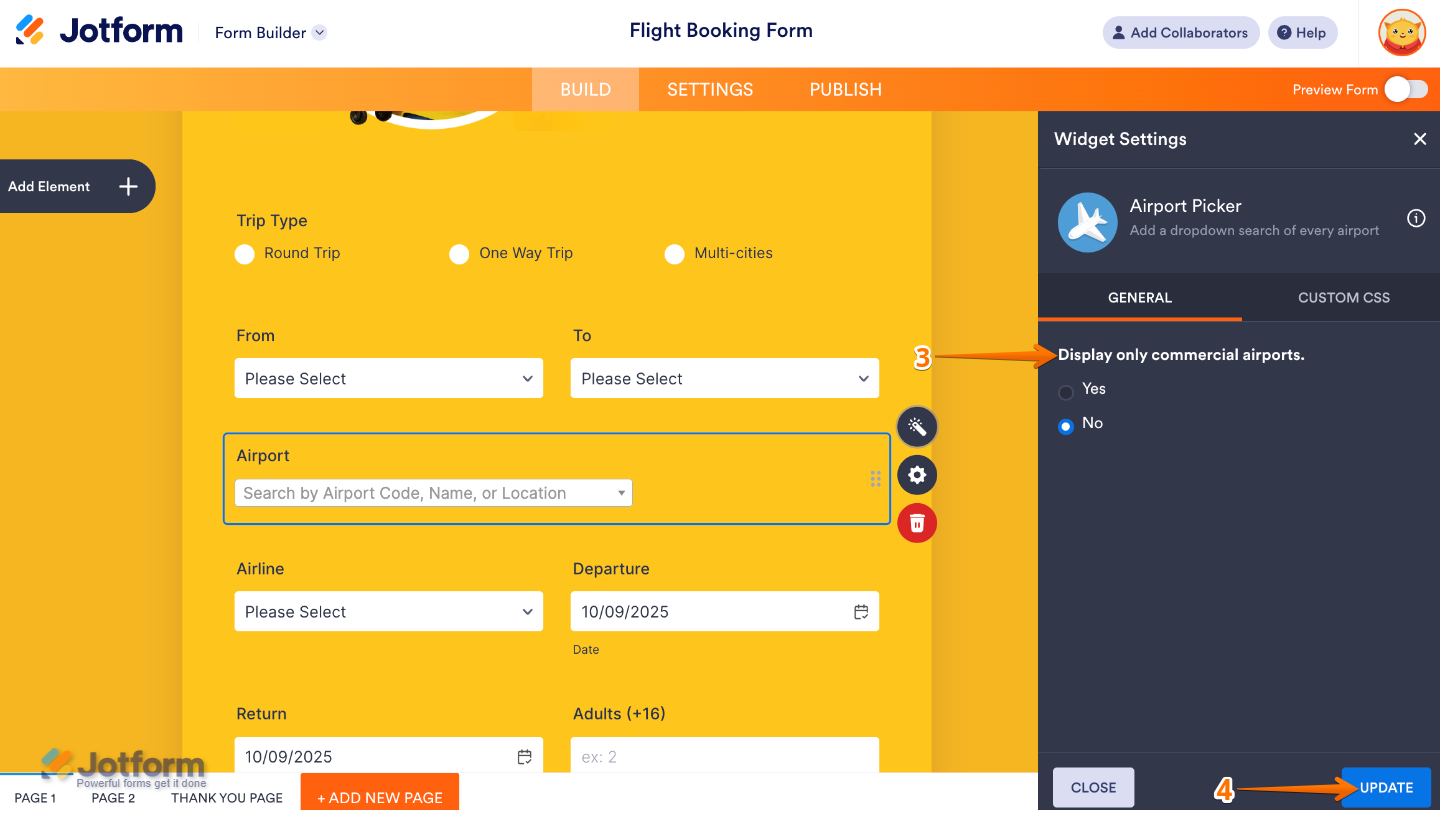
- Next, in the Widget Settings menu that opens on the right side of the page, set up the Display Only Commercial Airports option to filter out private or smaller regional airfields and only show major commercial airports that travelers are more likely to use.
- Once you’re done, click on Update.
That’s it. You’ve successfully added and set up the Airport Picker widget to your form. Now, you have a field in your form that makes it easy for users to pick their airport from a ready-made list, saving them time and effort while keeping things simple and accurate. Curious how it works on a live form? Check out this Demo Form.

To further customize your Airport Picker field’s appearance, just click on the Gear icon to open its properties.
Note
For advanced styling, you can add your own custom CSS under the Custom CSS tab in the widget settings and style the Airport Picker field. Our guide on How to Inject CSS Codes to Widgets walks you through everything.
Pro Tip
Before publishing, try selecting different airports to make sure the widget feels smooth and intuitive for your users.

Send Comment: