Jotform’s All States and Cities widget makes it super easy for users to share their location details without the hassle of typing everything out. With just a few clicks, people can select their state and city from a ready-made dropdown list—saving time and reducing errors. Whether you’re building an order form, a registration form, or a survey, this widget is a quick way to collect accurate location data while keeping your form simple and user-friendly.
Here are a few ways to use it:
- Collect Detailed Address Information — You can use the All States and Cities widget to let users select their state and city from predefined lists. This helps ensure accurate and standardized location data in your form submissions.
- Simplify Location Selection for Users — Instead of asking users to manually type their location, the widget allows them to quickly choose their state and city from dropdown menus. This reduces typing errors and speeds up form completion.
- Improve Shipping and Delivery Forms — The widget is useful for order forms where customers need to provide their location for shipping or service availability. It helps ensure the correct state and city are selected.
- Organize Event Registrations by Location — Event organizers can use the widget to collect participant locations. This makes it easier to track where attendees are coming from and plan logistics accordingly.
Notes
- By default, the widget includes every country, state, and city in the dropdown list.
- The field name for this widget is fixed as Country, so you won’t be able to change it.
Adding and Setting Up the All States and Cities Widget
Adding the All States and Cities widget to your form lets users quickly pick their country and state from a handy dropdown list. Setting it up takes no time at all—here’s how:
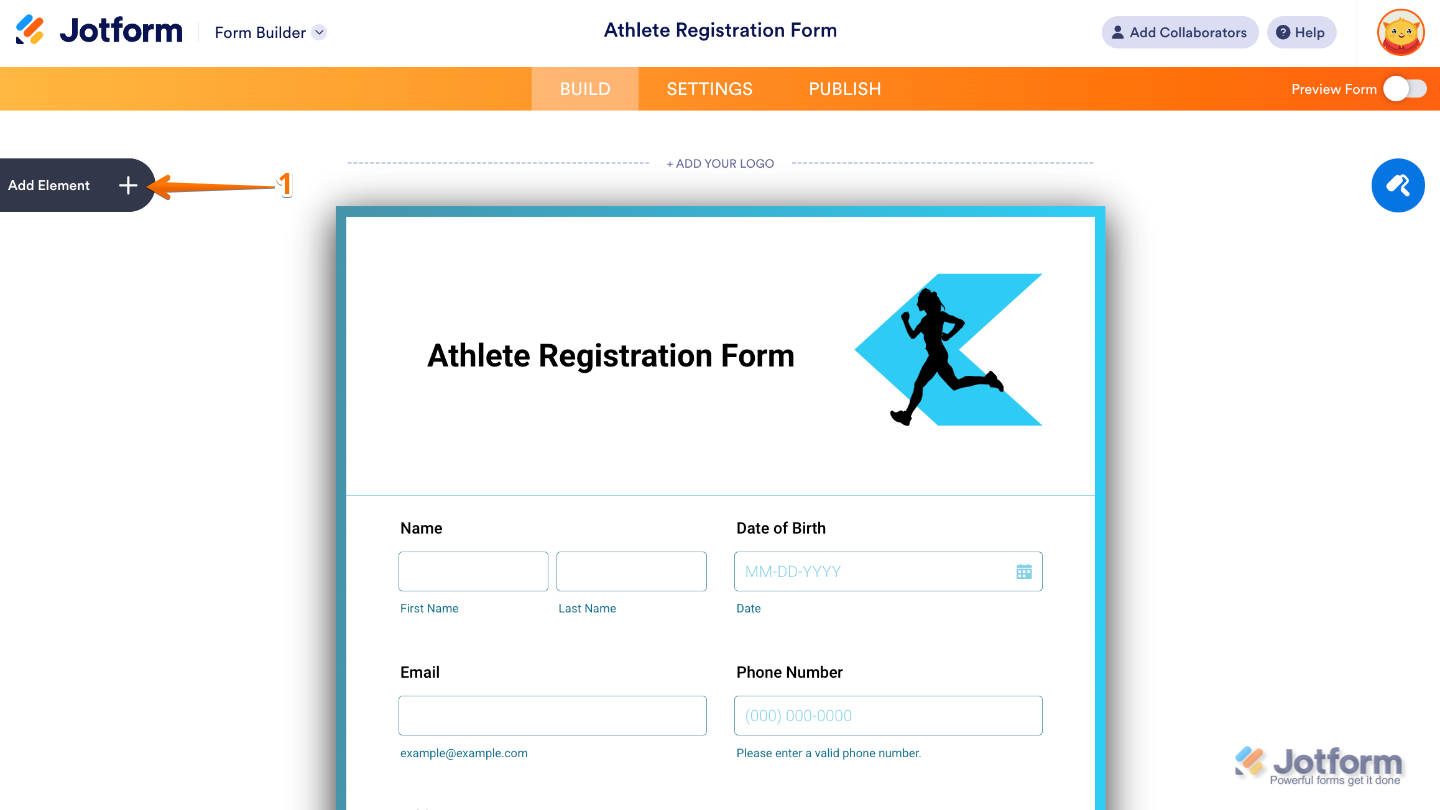
- In Form Builder, click on Add Element on the left side of the page.
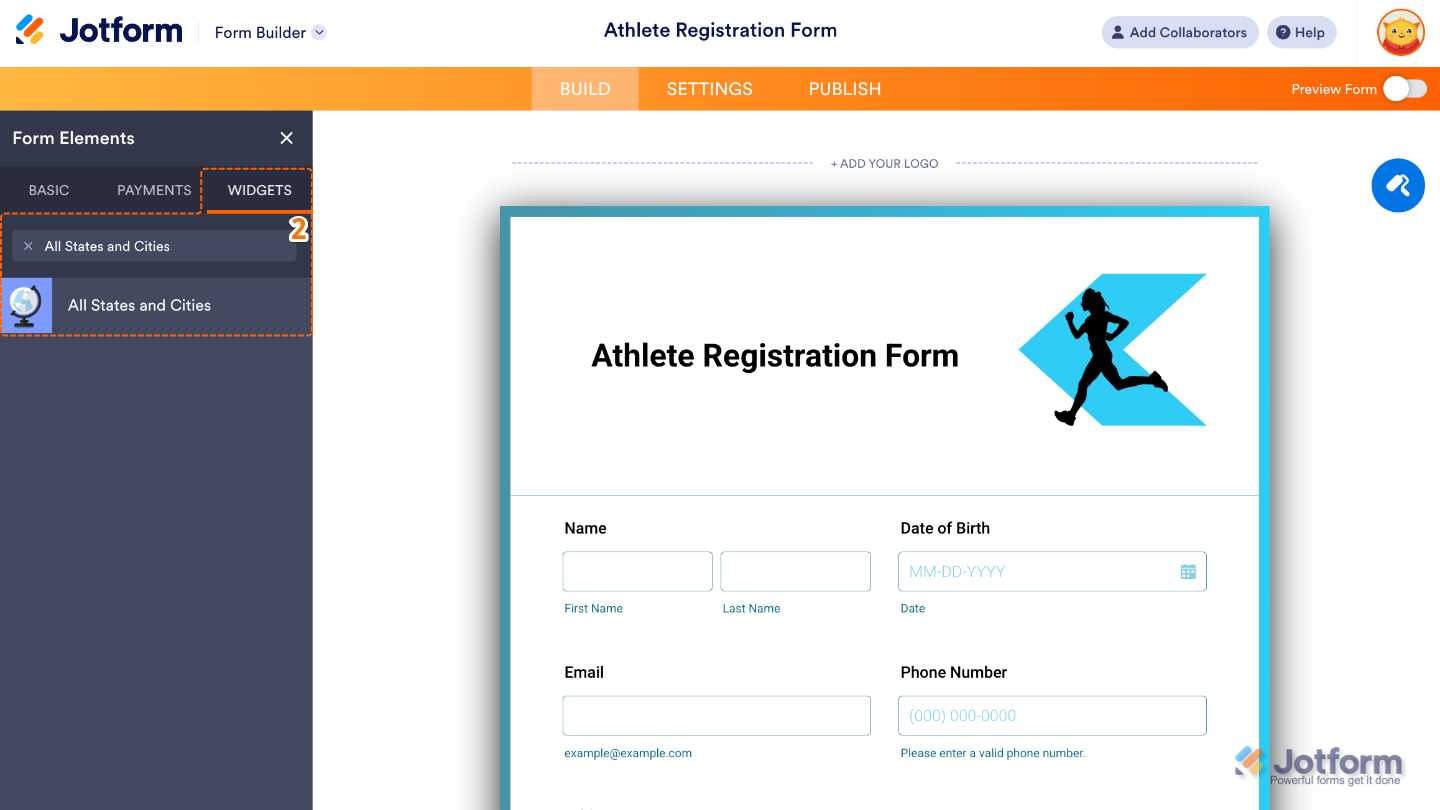
- Now, in the Form Elements menu, under the Widgets tab, search for All States and Cities and then click on it. Or, just drag and drop it to where you want it to be on your form.
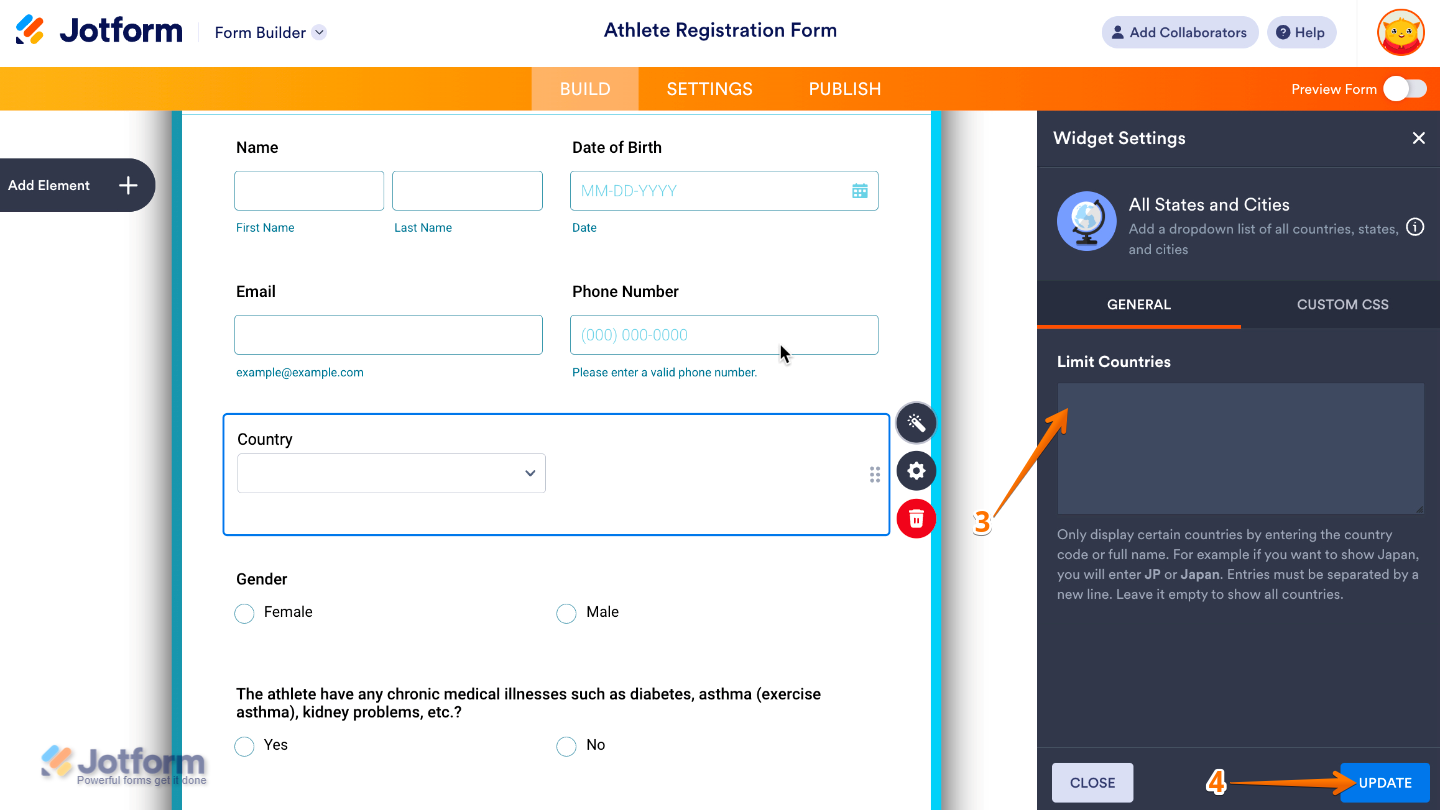
- Next, in the Widget Settings window that opens on the right side of the page, set up the following options:
- Limit Countries — Add the country codes or full country names for the ones you’d like to include. That way, your users will only see the countries you want them to pick from.
- Once you’re done, click on Update.
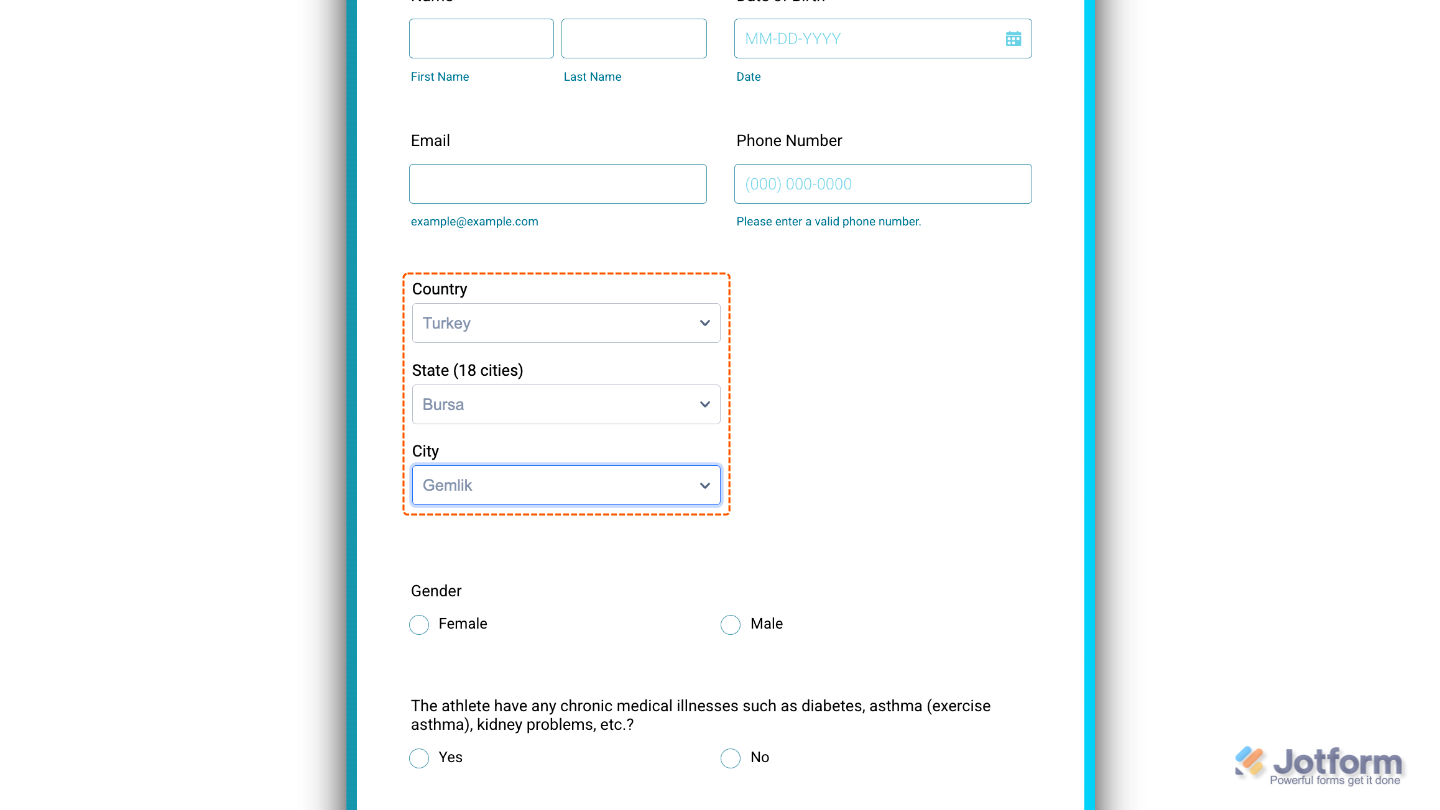
That’s it. You’ve successfully added and set up the All States and Cities widget to your form. Now, you have a field in your form that shows all countries or limits the list to just the ones you need—keeping things simple and organized. Curious how it works on a live form? Check out this Demo Form.
To tweak how your All States and Cities field looks, just click the gear icon to open its settings and adjust it to your liking.
Note
For advanced styling, you can add your own custom CSS under the Custom CSS tab in the widget settings and style the All States and Cities field. Our guide on How to Inject CSS Codes to Widgets walks you through everything.
Pro Tips
- If your form is global but you want to highlight your main service areas, limit the list to just those countries for a cleaner dropdown.
- Test the widget after setup to make sure the countries, states, and cities display exactly as you want.

Send Comment: