If you want to catch your users’ attention and make important messages stand out, the AutoScrolling Text widget is a fantastic choice. It allows you to display text that scrolls smoothly across your form, so announcements, instructions, or updates are easy to notice without cluttering the page.
You can customize the speed, direction, and style of the scrolling text to match your form’s look and feel, creating a dynamic and engaging way to communicate key information. It’s a simple feature that adds a little extra flair while keeping your form organized and user-friendly.
Here are a few ways to use it:
- Highlight Important Announcements — Use it to display deadlines, updates, or instructions that you want everyone to notice. The scrolling motion draws attention naturally.
- Showcase Promotions or Special Offers — If your form is part of a sales campaign, event, or contest, you can scroll messages like “Limited spots available!” or “Sign up now for a discount!”
- Share Instructions Clearly — For long forms, scrolling text can provide tips or reminders that users can refer to as they fill out the form, reducing mistakes and confusion.
- Add a Visual, Interactive Element — Scrolling text adds motion and visual interest, making your form feel modern, interactive, and lively.
Adding and Setting Up the AutoScrolling Text Widget
Adding the AutoScrolling Text widget to your form is quick and easy, and personalizing it so your messages scroll smoothly and grab attention is even simpler. You can do it in a few simple steps:
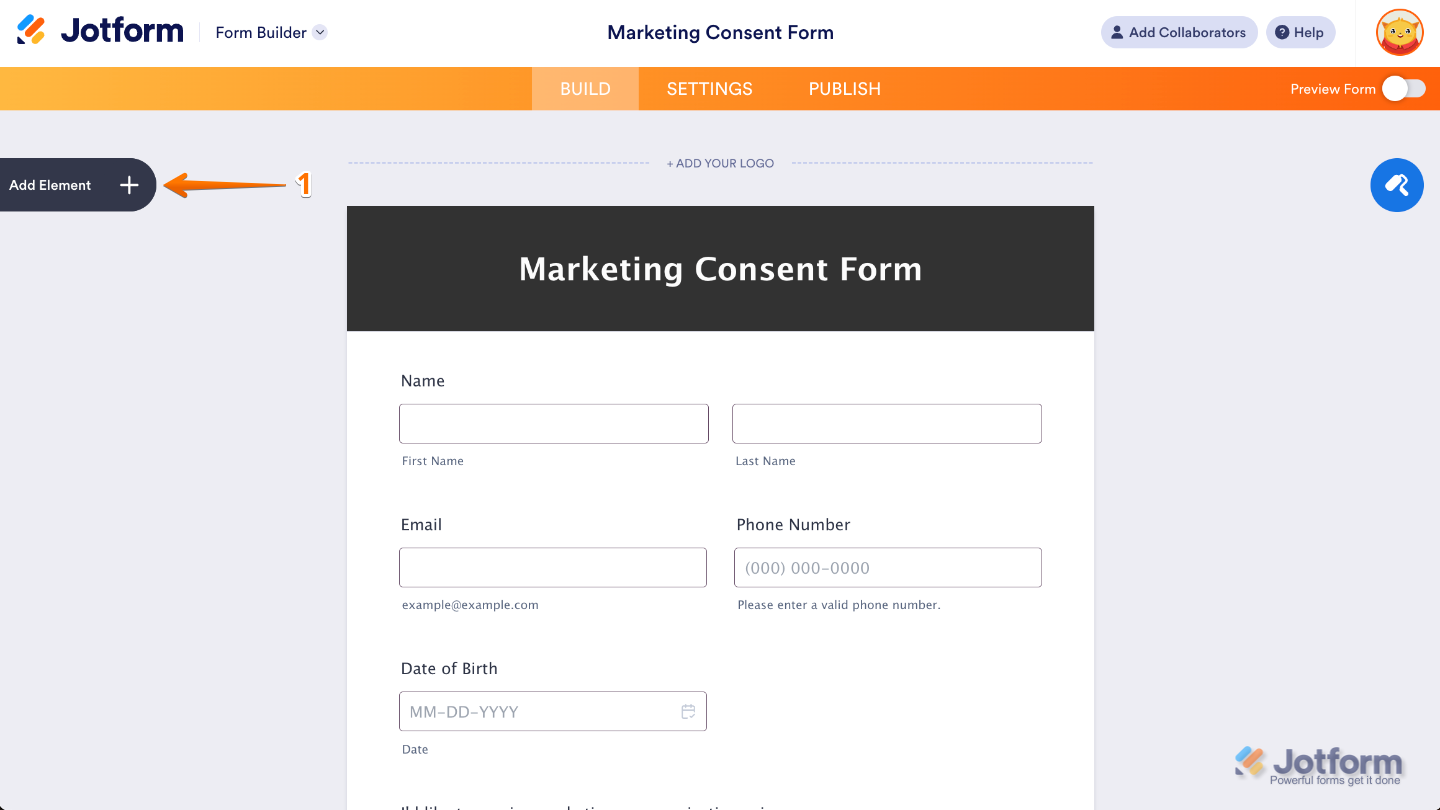
- In Form Builder, click on Add Element on the left side of the page.
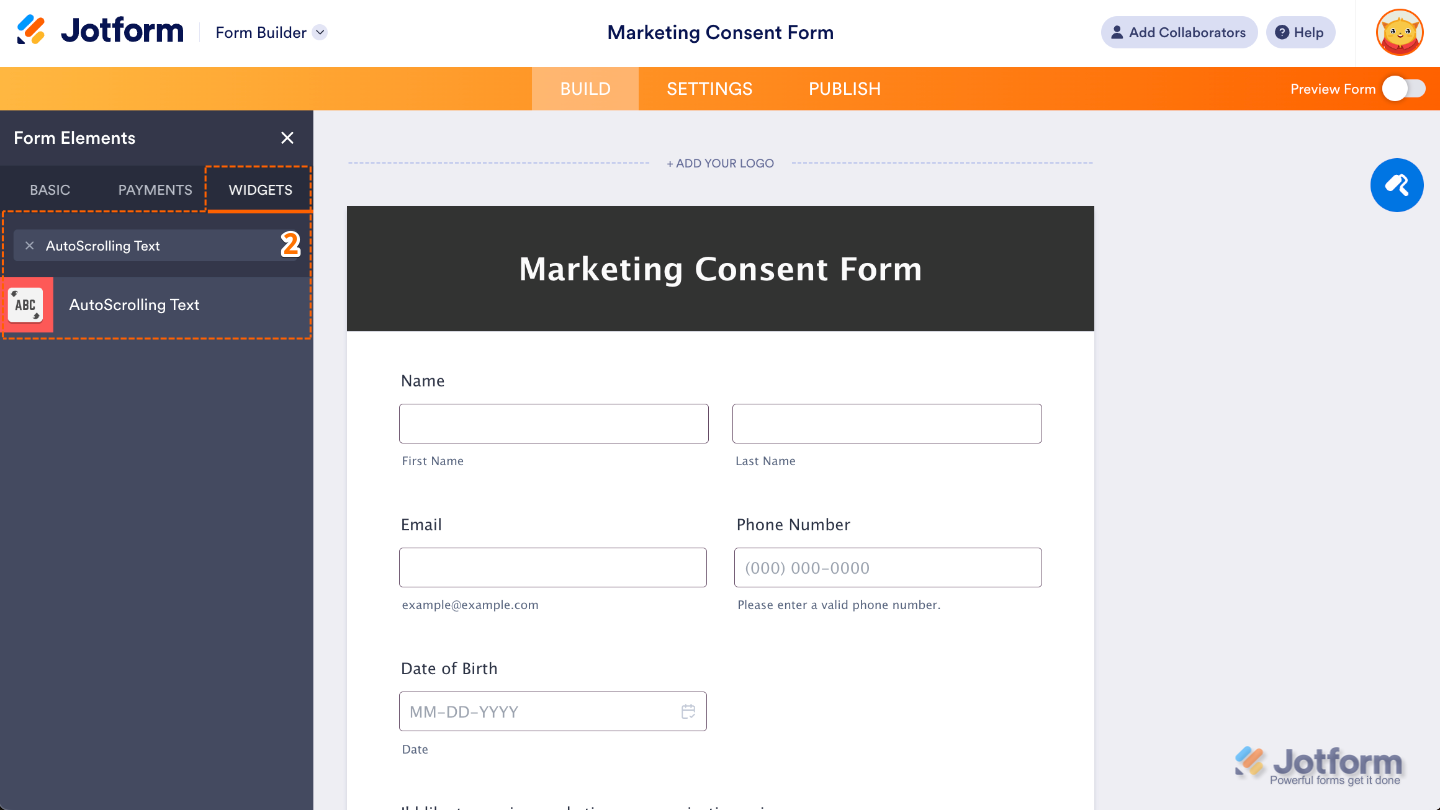
- Now, in the Form Elements menu, under the Widgets tab, search for AutoScrolling Text and then click on it. Or, just drag and drop it to where you want it to be on your form.
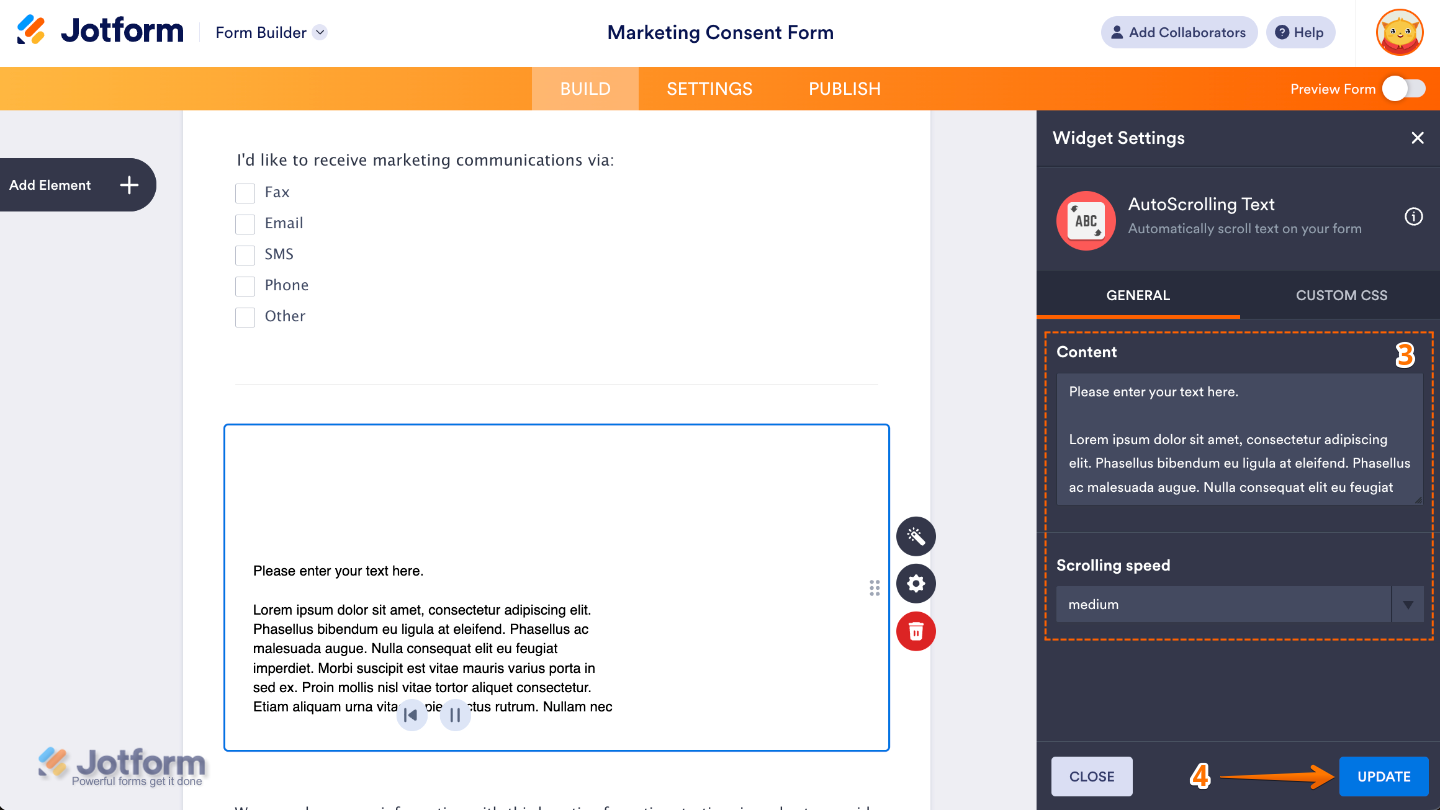
- Next, in the Widget Settings menu that opens on the right side of the page, set up the following options:
- Content — Enter the text that will be displayed and automatically scrolled inside the widget.
- Scrolling Speed — Adjust this to control how fast the text moves (scrolls) inside the widget.
- Once you’re done, click on Update.
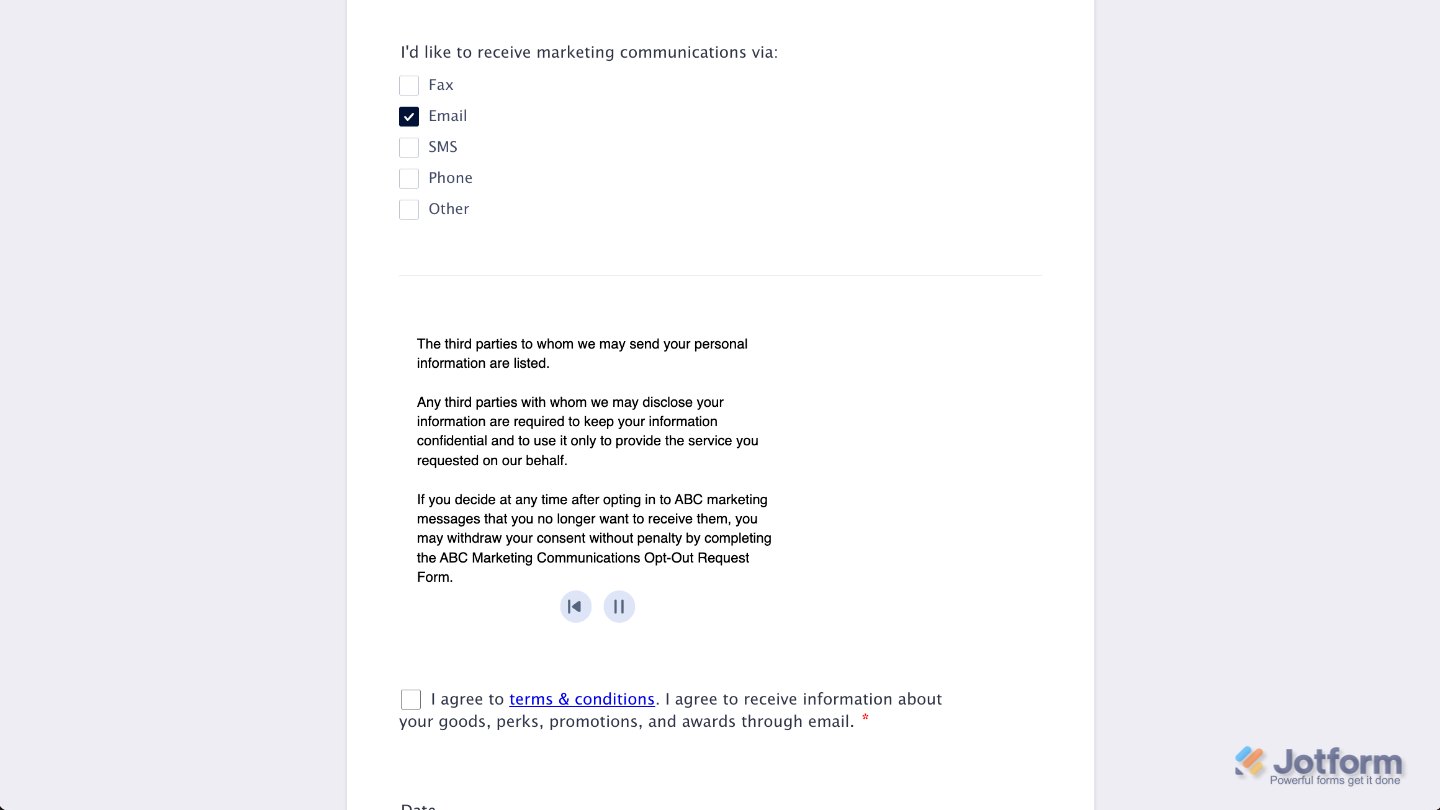
That’s it. You’ve successfully added and set up the AutoScrolling Text widget to your form. Now, you have a field in your form that makes it easy for users to share clean, readable code without the hassle of messy formatting. Curious how it works on a live form? Check out this Demo Form.
To further customize your AutoScrolling Text field appearance, just click on the Gear icon to open its properties.
Note
For advanced styling, you can add your own custom CSS under the Custom CSS tab in the widget settings and style the AutoScrolling Text field. Our guide on How to Inject CSS Codes to Widgets walks you through everything.
Pro Tips
- Auto-scrolling text is eye-catching, but too much content can feel overwhelming. Stick to short, clear messages that users can read comfortably as they scroll by.
- A slower scroll is easier on the eyes, especially for longer messages. If you speed things up, make sure the text still feels readable rather than rushed.
- Instead of one large block of text, use spacing or short sentences to help the content feel lighter. This makes the scrolling experience much more pleasant.

Send Comment: